- Winter Garden Cleanup
- 1. Remove Dead Plants
- 2. Prune Trees and Shrubs
- 3. Clean and Sharpen Tools
- 4. Mulch Beds and Borders
- 5. Clear Garden Debris
- 6. Organize Garden Supplies
- 7. Test and Prepare Soil
- 8. Plan for Spring
- 9. Protect Delicate Plants
- 10. Maintain Bird Feeders
- 11. Consider Winter Greenhouse Gardening
- 12. Take Care of Yourself
- Preparing the Vegetable Patch
- 1. Clearing the Area
- 2. Testing the Soil
- 3. Adding Organic Matter
- 4. Leveling the Soil
- 5. Creating Planting Rows
- 6. Fertilizing
- 7. Installing Supports
- 8. Mulching
- Planting Cold-Hardy Vegetables
- Benefits of Cold-Hardy Vegetables
- Popular Cold-Hardy Vegetables
- Planting Tips
- Pruning Fruit Trees
- 1. Remove Dead or Diseased Branches
- 2. Thin Out Crowded Branches
- 3. Prune for Shape and Structure
- 4. Cut Back Overgrown Branches
- 5. Use Proper Pruning Techniques
- 6. Prune Young Trees
- Organizing and Planning the Garden
- 1. Assess the Space
- 2. Consider the Climate
- 3. Create a Planting Schedule
- 4. Decide on Crop Rotation
- 5. Plan the Layout
- 6. Prepare the Soil
- 7. Gather Necessary Supplies
- 8. Set Goals
- 9. Create a Budget
- 10. Research and Learn
- 11. Consider Sustainability
- 12. Stay Flexible
- Starting Seeds Indoors
- 1. Choose the Right Seeds
- 2. Gather Supplies
- 3. Prepare the Containers
- 4. Sow the Seeds
- 5. Provide Proper Lighting
- 6. Maintain Optimal Temperature
- 7. Properly Water the Seedlings
- 8. Thin Out the Seedlings
- 9. Harden Off the Seedlings
- 10. Transplant into Larger Containers
- 11. Protect from Frost
- 12. Plan Transplant Date
- Preparing the Soil for Spring
- 1. Clearing the Garden
- 2. Testing the Soil
- 3. Adding Organic Matter
- 4. Turning the Soil
- 5. Removing Weeds
- 6. Adding Amendments
- 7. Mulching
- 8. Planning Crop Rotation
- 9. Watering
- 10. Maintenance and Care
- 11. Soil Protection
- 12. Documentation
- Winter Home Maintenance
- 1. Check for drafts
- 2. Clean gutters and downspouts
- 3. Inspect your roof
- 4. Service your heating system
- 5. Test smoke and carbon monoxide detectors
- 6. Check your insulation
- 7. Seal cracks and gaps
- 8. Clean and maintain your fireplace
- 9. Protect outdoor faucets and pipes
- 10. Insulate exposed pipes
- 11. Check your sump pump
- 12. Clean and organize your storage spaces
- Questions and Answers:
- What are some activities I can do in my garden in January?
- Can I start planting vegetables in January?
- What should I do to take care of my vegetable patch in January?
- When is the best time to prune fruit trees?
- What are some home improvement projects I can do in January?
- How can I prepare my garden for spring?
- What are some winter flowers I can plant in January to add color to my garden?
- Videos: 9 NEW VEGGIES To Grow In 2023 For The BEST GARDEN Of Your Life!

If you think that January is a dormant month when it comes to gardening and taking care of your vegetable patch, think again! Despite the cold weather and shorter days, there are plenty of tasks that need to be done to ensure a bountiful harvest later in the year. In this article, we will explore 12 must-do activities that will help you make the most of your garden, vegetable patch, and home in January.
One of the first tasks to tackle in January is pruning. This is the perfect time to prune your fruit trees and shrubs while they are dormant. Pruning helps promote healthier growth and improves the overall structure of the plant. Be sure to use sharp, clean tools and remove any dead or diseased branches.
Another important task for January is planning. Take some time to review your vegetable patch and plan what you want to grow in the coming months. Consider crop rotation to prevent disease and improve soil fertility. Make a list of the seeds you need to order and start preparing your seed trays for planting.
When it comes to the home, January is a great time to declutter and organize. Start by tackling one room at a time and get rid of any items you no longer need or use. Donate or sell these items to free up space and create a more organized living environment. Consider investing in storage solutions to keep things neat and tidy.
In conclusion, January may be a quieter month in the garden and home, but it is certainly not a month for doing nothing. By pruning, planning, and organizing, you can set yourself up for a successful year in the garden and create a more organized living space. So bundle up and get to work – your garden and home will thank you!
Winter Garden Cleanup
Winter is the perfect time to clean up your garden and get it ready for the coming spring. Here are some essential tasks you can do to ensure a healthy and thriving garden:
1. Remove Dead Plants
Start by removing any dead plants or vegetation from your garden. This will prevent diseases and pests from lingering throughout the winter and ensure a clean slate for the next growing season.
2. Prune Trees and Shrubs
Trim any dead or damaged branches from your trees and shrubs. This will help promote healthy growth and prevent the spread of diseases. Be sure to use proper pruning techniques and tools to avoid causing unnecessary harm to your plants.
3. Clean and Sharpen Tools
Take the time to clean and sharpen your gardening tools. This includes pruning shears, shovels, and hoes. Clean tools will last longer and perform better, making your gardening tasks easier and more efficient.
4. Mulch Beds and Borders
Add a layer of mulch to your flower beds and garden borders. Mulch helps insulate the soil, protect plant roots from freezing temperatures, and suppress weed growth. Choose an organic mulch, such as bark chips or straw, for best results.
5. Clear Garden Debris
Remove any fallen leaves, twigs, and other garden debris. These can harbor pests and diseases and inhibit the growth of new plants in the spring. Consider composting the organic debris to create nutrient-rich soil for your garden.
6. Organize Garden Supplies
Take the time to tidy up your gardening shed or storage area. Organize your tools, replace any broken or missing items, and discard any expired or unnecessary garden products. A well-organized space will make it easier to find what you need when you start gardening again.
7. Test and Prepare Soil
Test the pH and nutrient levels of your garden soil. This will help you determine if any amendments are needed before the planting season begins. Add compost or organic matter to improve soil structure and fertility.
8. Plan for Spring
Use the winter months to plan for your spring garden. Research new plants, create a planting calendar, and design new layouts or additions to your garden. This will ensure you are prepared and ready to make the most of the growing season.
9. Protect Delicate Plants
If you have any tender plants or perennials that are not cold-hardy, take steps to protect them from frost and freezing temperatures. Use frost blankets, straw, or other insulation methods to cover and safeguard these plants.
10. Maintain Bird Feeders
Continue to provide food and water for birds throughout the winter. Clean and refill bird feeders regularly to attract a variety of bird species to your garden. Birds help control pests and add beauty and enjoyment to your outdoor space.
11. Consider Winter Greenhouse Gardening
If you have a greenhouse, take advantage of the winter months to grow cold-tolerant crops or start seedlings for the upcoming season. A greenhouse provides a controlled environment for gardening and allows you to extend your growing season.
12. Take Care of Yourself
Lastly, don’t forget to take care of yourself while working in the garden. Dress warmly, use proper lifting techniques, and take breaks when needed. Stay hydrated and protect your skin from the cold and wind to ensure a safe and enjoyable gardening experience.
By performing these winter garden cleanup tasks, you will set yourself up for success in the coming gardening season. Your garden will be clean, organized, and ready to flourish in the spring.
Preparing the Vegetable Patch
1. Clearing the Area
Before you start preparing the vegetable patch, it is important to clear the area of any debris, weeds, or old plants. Remove any weeds by hand or use a garden hoe to loosen their roots. Be sure to remove any rocks or other obstacles that could hinder the growth of your vegetables.
2. Testing the Soil
Once the area is cleared, it’s a good idea to test the soil to determine its pH level and nutrient content. You can purchase a soil testing kit from a garden center or send a sample to a soil testing lab. This will help you understand what amendments, if any, are needed to create the ideal growing conditions for your vegetables.
3. Adding Organic Matter
One of the most important steps in preparing the vegetable patch is adding organic matter to the soil. Organic matter, such as compost or well-rotted manure, improves soil structure, fertility, and drainage. Spread a layer of organic matter over the surface of the soil and use a garden fork or tiller to incorporate it into the top few inches of soil.
4. Leveling the Soil
After adding organic matter, it is important to level the soil to create a smooth and even surface for planting your vegetables. Use a garden rake to remove any bumps or depressions and ensure the soil is level across the entire area.
5. Creating Planting Rows
Depending on the layout of your vegetable patch, you may want to create planting rows. Use a garden hoe or a string to mark straight lines for your rows. Leave enough space between the rows to allow for easy access and proper growth of your vegetables.
6. Fertilizing
Before planting your vegetables, consider fertilizing the soil to provide them with an extra boost of nutrients. Choose a balanced fertilizer that is appropriate for the type of vegetables you will be growing. Follow the instructions on the packaging to determine the appropriate amount to use.
7. Installing Supports
If you will be growing vining vegetables or plants that require support, such as tomatoes or peas, it’s important to install supports before planting. This will prevent damage to the plants later on. Install trellises, stakes, or cages according to the specific needs of your vegetables.
8. Mulching
Lastly, consider mulching the vegetable patch to help retain moisture, suppress weed growth, and regulate soil temperature. Apply a layer of organic mulch, such as straw or wood chips, around your plants, being careful not to cover them completely.
With these steps, your vegetable patch will be well-prepared for the upcoming growing season. Take the time to properly prepare the soil and create optimal conditions for your vegetables, and you will be rewarded with a bountiful harvest!
Planting Cold-Hardy Vegetables
If you love fresh vegetables and live in a region with cold winters, don’t worry! You can still enjoy homegrown produce by planting cold-hardy vegetables. These resilient plants can survive and even thrive in chilly temperatures, allowing you to continue gardening during the winter months.
Benefits of Cold-Hardy Vegetables
Planting cold-hardy vegetables has several advantages:
- Extended Harvest: Cold-hardy vegetables can be planted in late fall or early winter, allowing you to extend your harvest season.
- Frost Protection: These crops are more resistant to frost, which means they can survive light freezes without damage.
- Less Pest Pressure: Winter pests are less active, so you’ll have fewer issues with insects and diseases.
- Fresher, Healthier Vegetables: By growing your own cold-hardy vegetables, you can enjoy fresher, healthier produce even during the winter months.
Popular Cold-Hardy Vegetables
Here are some popular cold-hardy vegetables to consider planting:
- Kale: Kale is highly frost-resistant and can be harvested throughout the winter.
- Spinach: Spinach can tolerate cold temperatures and will continue growing slowly in winter.
- Carrots: Carrots can withstand freezing temperatures and actually become sweeter after the first frost.
- Radishes: Radishes are fast-growing and can be harvested in just a few weeks, even in cold weather.
- Brussels Sprouts: Brussels sprouts can tolerate frost and become sweeter after exposure to cold temperatures.
Planting Tips
When planting cold-hardy vegetables, keep the following tips in mind:
- Timing: Plant your cold-hardy vegetables in late summer or early fall, giving them enough time to become established before winter.
- Soil Preparation: Ensure your soil is well-draining and enriched with organic matter to provide optimal growing conditions.
- Protection: Consider using row covers, cold frames, or hoop houses to provide additional protection from cold weather.
- Watering: Even in winter, it’s important to water your plants regularly, as dry winter winds and heaters can dehydrate them.
- Harvesting: Harvest your cold-hardy vegetables regularly to prevent them from becoming too mature and tough.
By planting cold-hardy vegetables, you can continue to enjoy the satisfaction of homegrown produce and stay connected to your garden even during the winter months. So don’t let the cold weather stop you – start planning your cold-hardy vegetable patch today!
Pruning Fruit Trees
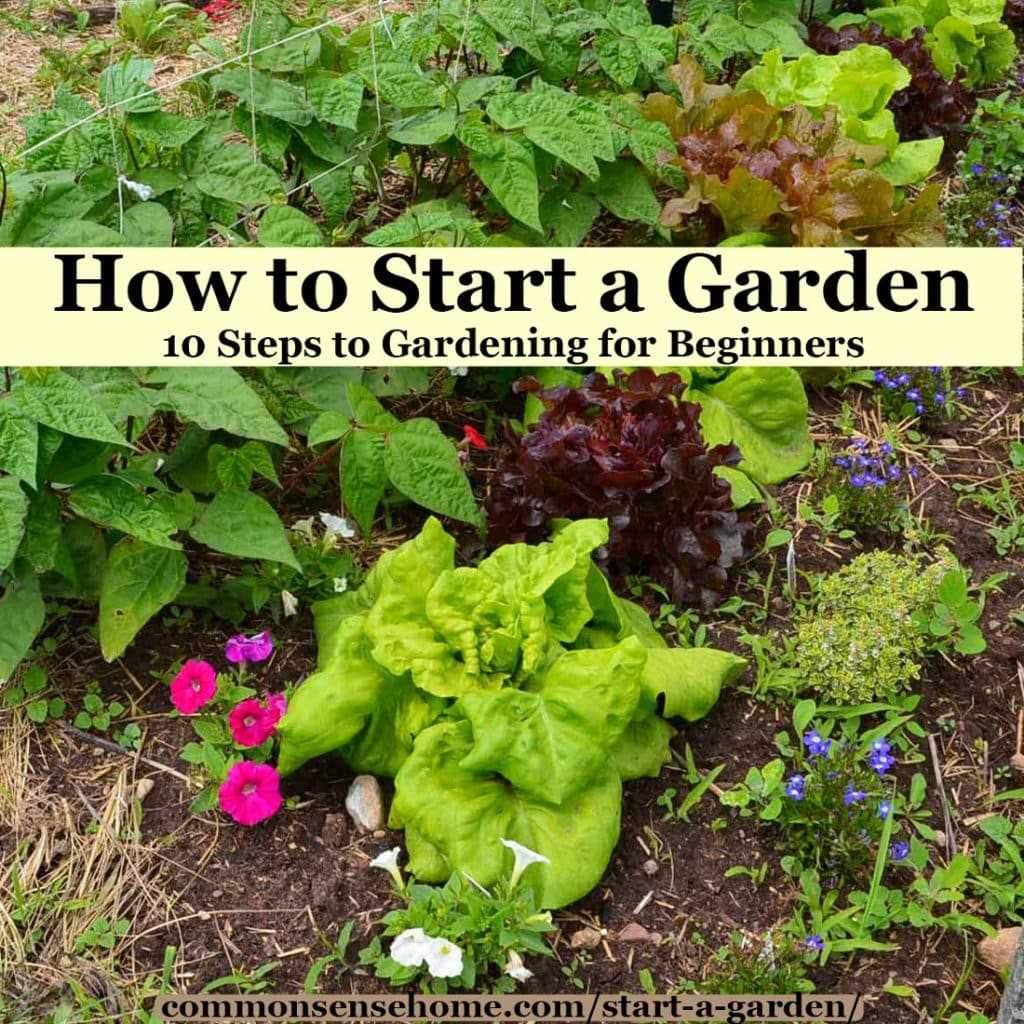

Pruning fruit trees is an important task to ensure proper tree health, maintain its shape, and maximize fruit production. It is best to prune fruit trees during their dormant period, which is in January for most temperate fruit trees. Here are some essential tips for pruning fruit trees in January:
1. Remove Dead or Diseased Branches
Start by inspecting the tree for any dead or diseased branches. Use clean, sharp pruning shears to cut these branches back to healthy wood. This helps to prevent the spread of disease and allows the tree to allocate its energy towards healthy growth and fruit production.
2. Thin Out Crowded Branches
Over time, fruit trees can become crowded with branches, resulting in poor air circulation and limited sunlight penetration. Thin out the branches to create an open canopy and allow the tree to receive adequate light and air.
3. Prune for Shape and Structure
Consider the desired shape and structure of your fruit tree. Prune branches that are crossing, rubbing, or growing in undesirable directions. By shaping the tree, you can promote better fruit production and easier maintenance.
4. Cut Back Overgrown Branches
If your fruit tree has become overgrown, it may be necessary to cut back some of the longer, overly vigorous branches. This will help to balance the tree and encourage healthy growth in the coming seasons.
5. Use Proper Pruning Techniques
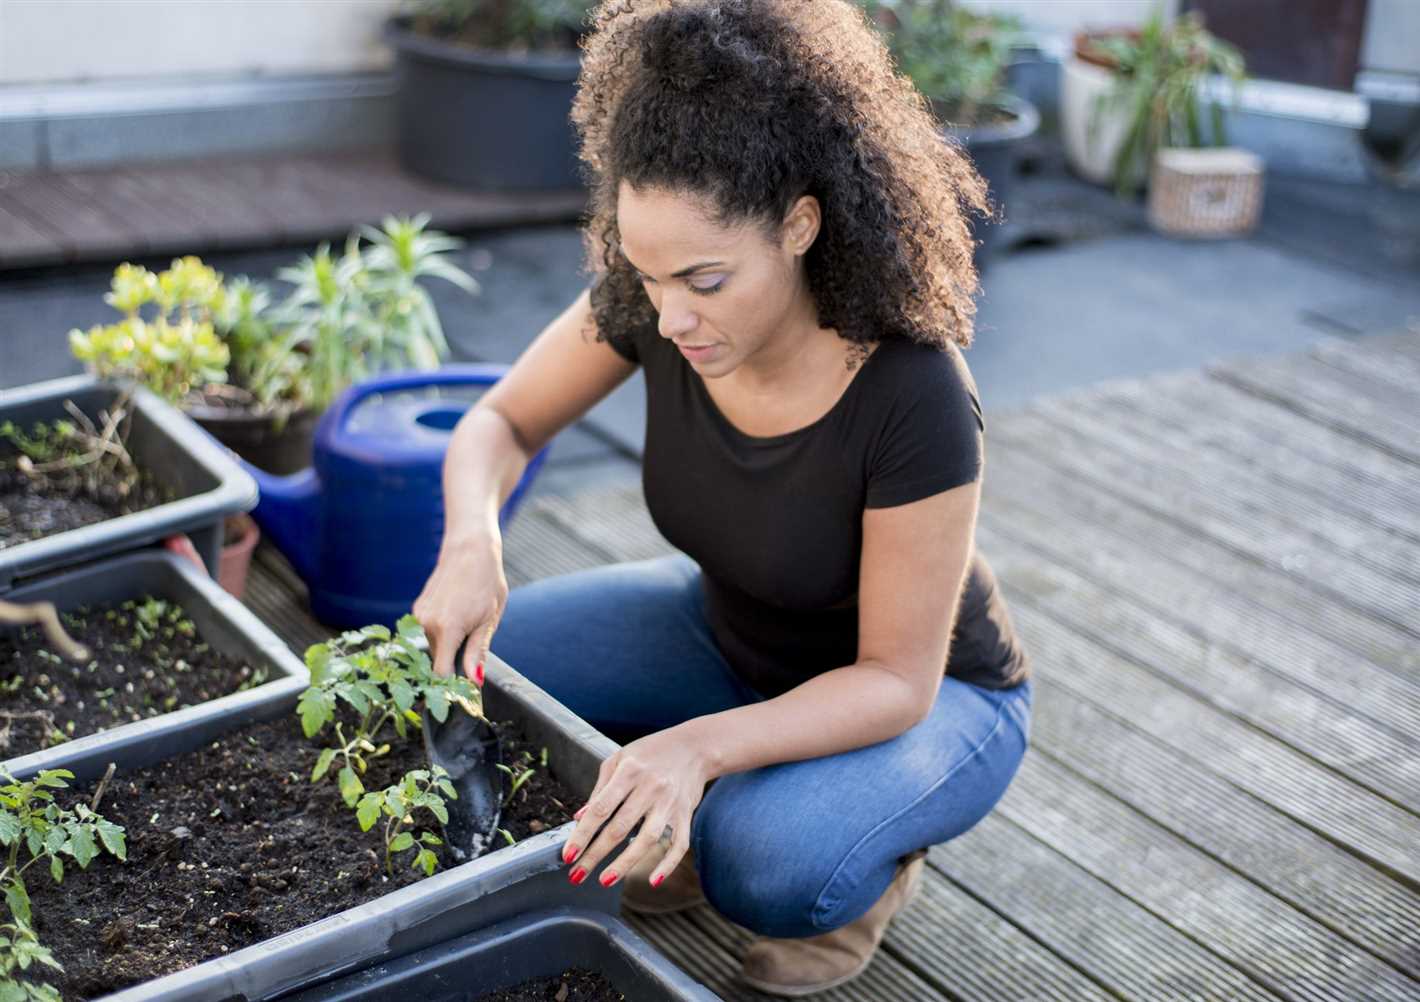

When pruning, make clean, angled cuts just above a bud or branch. Avoid leaving stubs as they can become potential entry points for diseases and pests. Additionally, make sure to sanitize your pruning shears between cuts to prevent the spread of pathogens.
6. Prune Young Trees
Pruning young fruit trees is crucial for shaping their growth and establishing a strong framework. Remove any competing branches and focus on developing a central leader and well-spaced lateral branches.
By following these pruning tips, you can ensure the health and productivity of your fruit trees. Remember to always use sharp, clean tools and to consult specific pruning guides for your specific fruit tree varieties.
Organizing and Planning the Garden
Before diving into the tasks of the garden in January, it’s important to take some time to organize and plan. By doing this, you can ensure a successful and productive gardening season.
1. Assess the Space
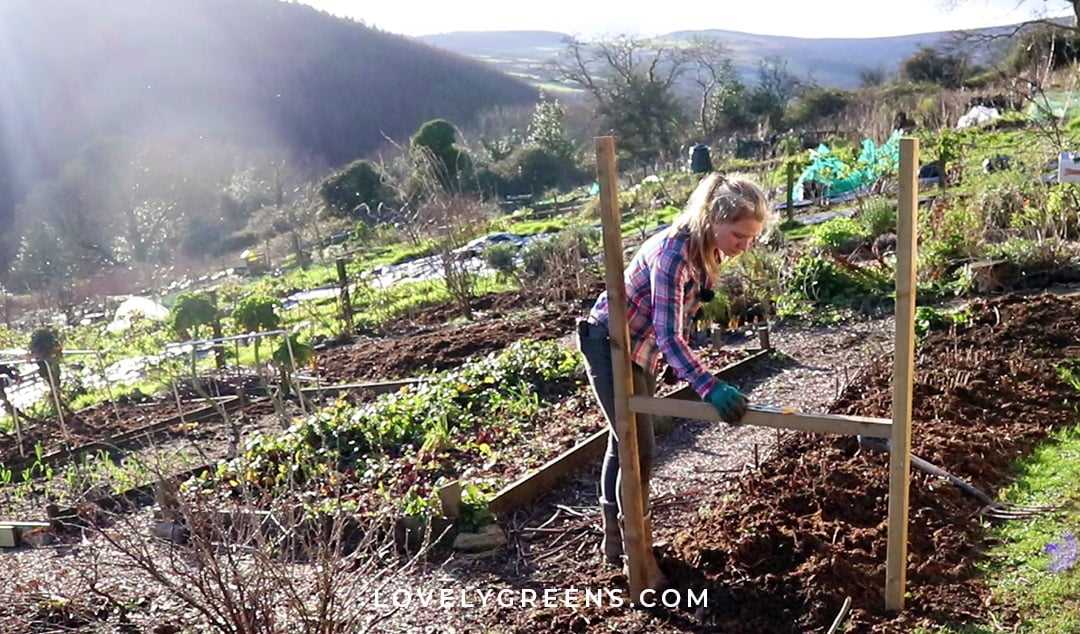

Start by assessing the space you have available for gardening. Consider the size and dimensions of your garden, as well as any existing features such as trees or structures. This will help you determine what types of plants and layout will work best.
2. Consider the Climate
Take into account the climate of your area. This will affect the types of plants that will thrive in your garden. Research suitable plant varieties for your climate zone, and make a list of the ones you are interested in growing.
3. Create a Planting Schedule
Create a planting schedule that outlines when you should start seeds indoors, when to transplant seedlings, and when to directly sow seeds in the garden. This will ensure that you stay on track and plant at the optimal times.
4. Decide on Crop Rotation
Consider implementing crop rotation in your garden. This involves changing the location of plants from year to year to prevent the build-up of pests and diseases. Plan out which areas of your garden will be designated for specific crops.
5. Plan the Layout
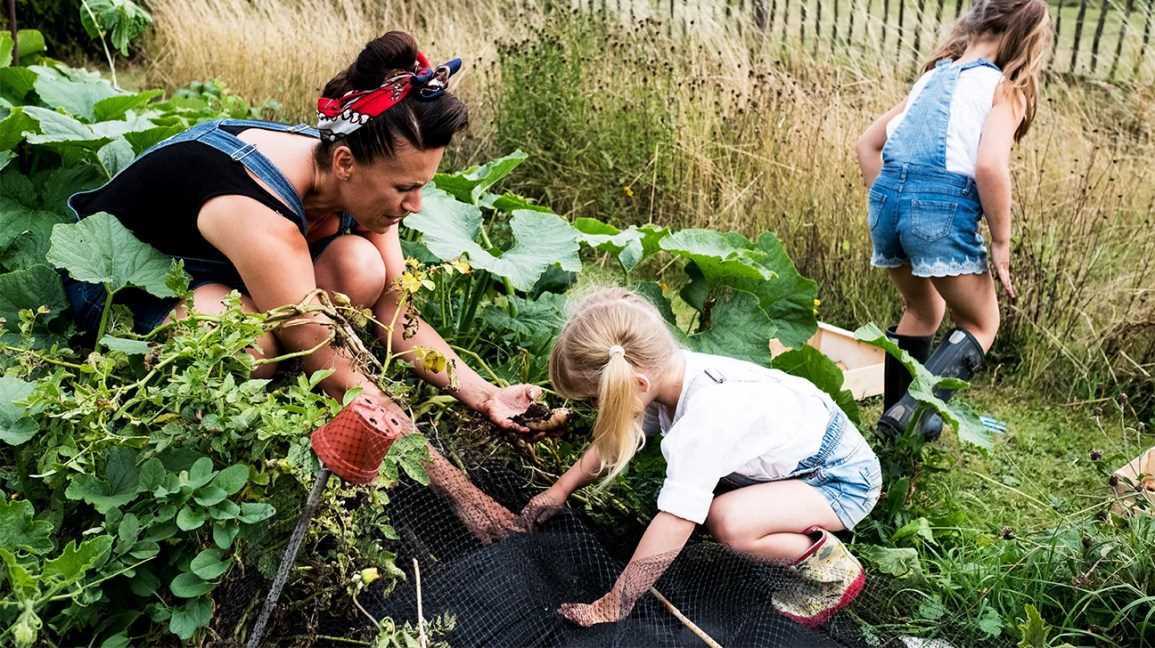

Sketch out a layout of your garden, including where each type of plant will be located. Consider companion planting, where certain plants are grown together to benefit each other. This can help with pest control and nutrient enrichment.
6. Prepare the Soil
Take the time in January to prepare the soil in your garden. Test the pH levels and amend the soil as necessary. This may involve adding organic matter such as compost or fertilizer, and tilling the soil to improve its structure.
7. Gather Necessary Supplies
Make a list of the supplies you will need for your gardening activities. This can include tools, seeds, pots, soil amendments, and any other materials. Take inventory of what you already have and purchase or gather the rest.
8. Set Goals
Set goals for your garden. Determine what you hope to achieve, whether it’s growing enough vegetables to feed your family, experimenting with new plant varieties, or simply creating a beautiful outdoor space. Having goals will help keep you motivated throughout the season.
9. Create a Budget
Establish a budget for your gardening activities. Consider the cost of supplies, any necessary repairs or improvements, and ongoing maintenance. This will help you stay on track financially and ensure that you have the resources you need.
10. Research and Learn
Take the time to research and learn about gardening techniques, plant care, and any specific challenges or considerations for your chosen plants. This knowledge will empower you to make informed decisions and troubleshoot any issues that may arise.
11. Consider Sustainability
Think about ways to make your garden more sustainable. This can include implementing water-saving techniques, using organic and natural fertilizers, and minimizing chemical pesticide use. Additionally, consider composting and recycling to reduce waste.
12. Stay Flexible
Remember that gardening is a dynamic process, and things may not always go as planned. Stay flexible and willing to adapt your plans as needed. Be open to experimentation and learning from both successes and challenges.
By organizing and planning your garden in January, you will set yourself up for a successful and enjoyable gardening season. Take the time to assess your space, consider the climate, and create a planting schedule. Plan the layout, prepare the soil, and gather necessary supplies. Set goals, establish a budget, and continue learning about gardening techniques. With these steps in place, you’ll be ready to start your garden off on the right foot.
Starting Seeds Indoors
January is the perfect time to start your seeds indoors. This allows you to get a head start on your garden and ensure healthy and strong plants for the upcoming growing season.
1. Choose the Right Seeds
Consider the type of vegetables or flowers you want to grow and make sure to select seeds that are suitable for starting indoors. Some plants are better suited for direct sowing, so be sure to do your research before purchasing seeds.
2. Gather Supplies
Before you start, gather all the necessary supplies. You’ll need seed trays or pots, seed starting mix, a watering can or spray bottle, and proper lighting such as grow lights or a sunny window.
3. Prepare the Containers
Fill your seed trays or pots with the seed starting mix, leaving a small gap at the top. Moisten the mix before sowing the seeds to ensure proper moisture levels.
4. Sow the Seeds
Follow the instructions on the seed packet for the correct planting depth and spacing. Use your finger or a pencil to create small holes, place the seeds in them, and cover them with soil. Gently pat down the soil to ensure good seed-to-soil contact.
5. Provide Proper Lighting
Seeds need adequate light to grow properly. If you don’t have a sunny window, use grow lights to provide 12-16 hours of light per day. Position the lights about 2-3 inches above the seedlings and adjust the height as the plants grow.
6. Maintain Optimal Temperature
Most seeds germinate best at temperatures between 65-75°F (18-24°C). Use a seedling heat mat or place the seed containers on top of the refrigerator or water heater to provide bottom heat if necessary.
7. Properly Water the Seedlings
Water the seedlings carefully to avoid dislodging the seeds or drowning them. Use a gentle misting or fine spray to moisten the soil. Avoid waterlogging the containers, as this can lead to rotting.
8. Thin Out the Seedlings
Once your seedlings have grown a few inches tall, they may need to be thinned out to prevent overcrowding. Remove the weaker or excess seedlings, leaving only the healthiest and strongest ones.
9. Harden Off the Seedlings
About a week before planting your seedlings outdoors, gradually expose them to outdoor conditions. Start by placing them outside for a few hours a day and gradually increase the time and intensity of exposure. This process helps them adjust to the outdoor environment.
10. Transplant into Larger Containers
As your seedlings grow, they may outgrow their original trays or pots. Transplant them into larger containers with fresh potting soil to ensure they have enough space to develop strong root systems.
11. Protect from Frost
Be cautious of late winter or early spring frosts. Protect your seedlings by covering them with a frost cloth or bringing them indoors if frost is predicted.
12. Plan Transplant Date
Keep track of the recommended transplant date for each type of plant. This will help you plan when to move your seedlings into the garden while taking into account the last expected frost date in your area.
Preparing the Soil for Spring
Preparing the soil for spring is one of the most important tasks for gardeners. It sets the foundation for a successful growing season and ensures that plants have the necessary nutrients to thrive. Here are some essential steps to prepare your soil for the spring:
1. Clearing the Garden
Start by clearing any debris, such as leaves or weeds, from your garden. This will help create a clean slate for the upcoming season and prevent any pests or diseases from overwintering.
2. Testing the Soil
Before making any amendments to your soil, it’s important to test its pH and nutrient levels. You can do this by using a soil testing kit or by sending a sample to a laboratory. This will help you determine what nutrients your soil may be lacking and how to address those deficiencies.
3. Adding Organic Matter
One of the best ways to improve your soil’s fertility is by adding organic matter. This can include compost, well-rotted manure, or leaf mold. Organic matter helps improve soil structure, retain moisture, and provide essential nutrients to plants.
4. Turning the Soil
Using a garden fork or spade, turn over the soil to a depth of about 12 inches. This helps aerate the soil and allows organic matter to mix thoroughly. Avoid turning the soil when it is too wet, as this can lead to compaction.
5. Removing Weeds
During the soil preparation process, be sure to remove any weeds or grasses that may have taken root. These can compete with your plants for nutrients and water, so it’s important to eliminate them before planting.
6. Adding Amendments
Based on the results of your soil test, you may need to add specific amendments to improve nutrient levels. This can include adding lime to adjust pH levels or adding fertilizers to address nutrient deficiencies.
7. Mulching
A thick layer of mulch can help suppress weeds, conserve moisture, and regulate soil temperature. Consider adding a layer of organic mulch, such as straw or wood chips, around your plants after planting.
8. Planning Crop Rotation
Crop rotation is important to prevent the build-up of pests and diseases in the soil. Plan your planting beds for the upcoming season and rotate your crops to different areas of the garden.
9. Watering
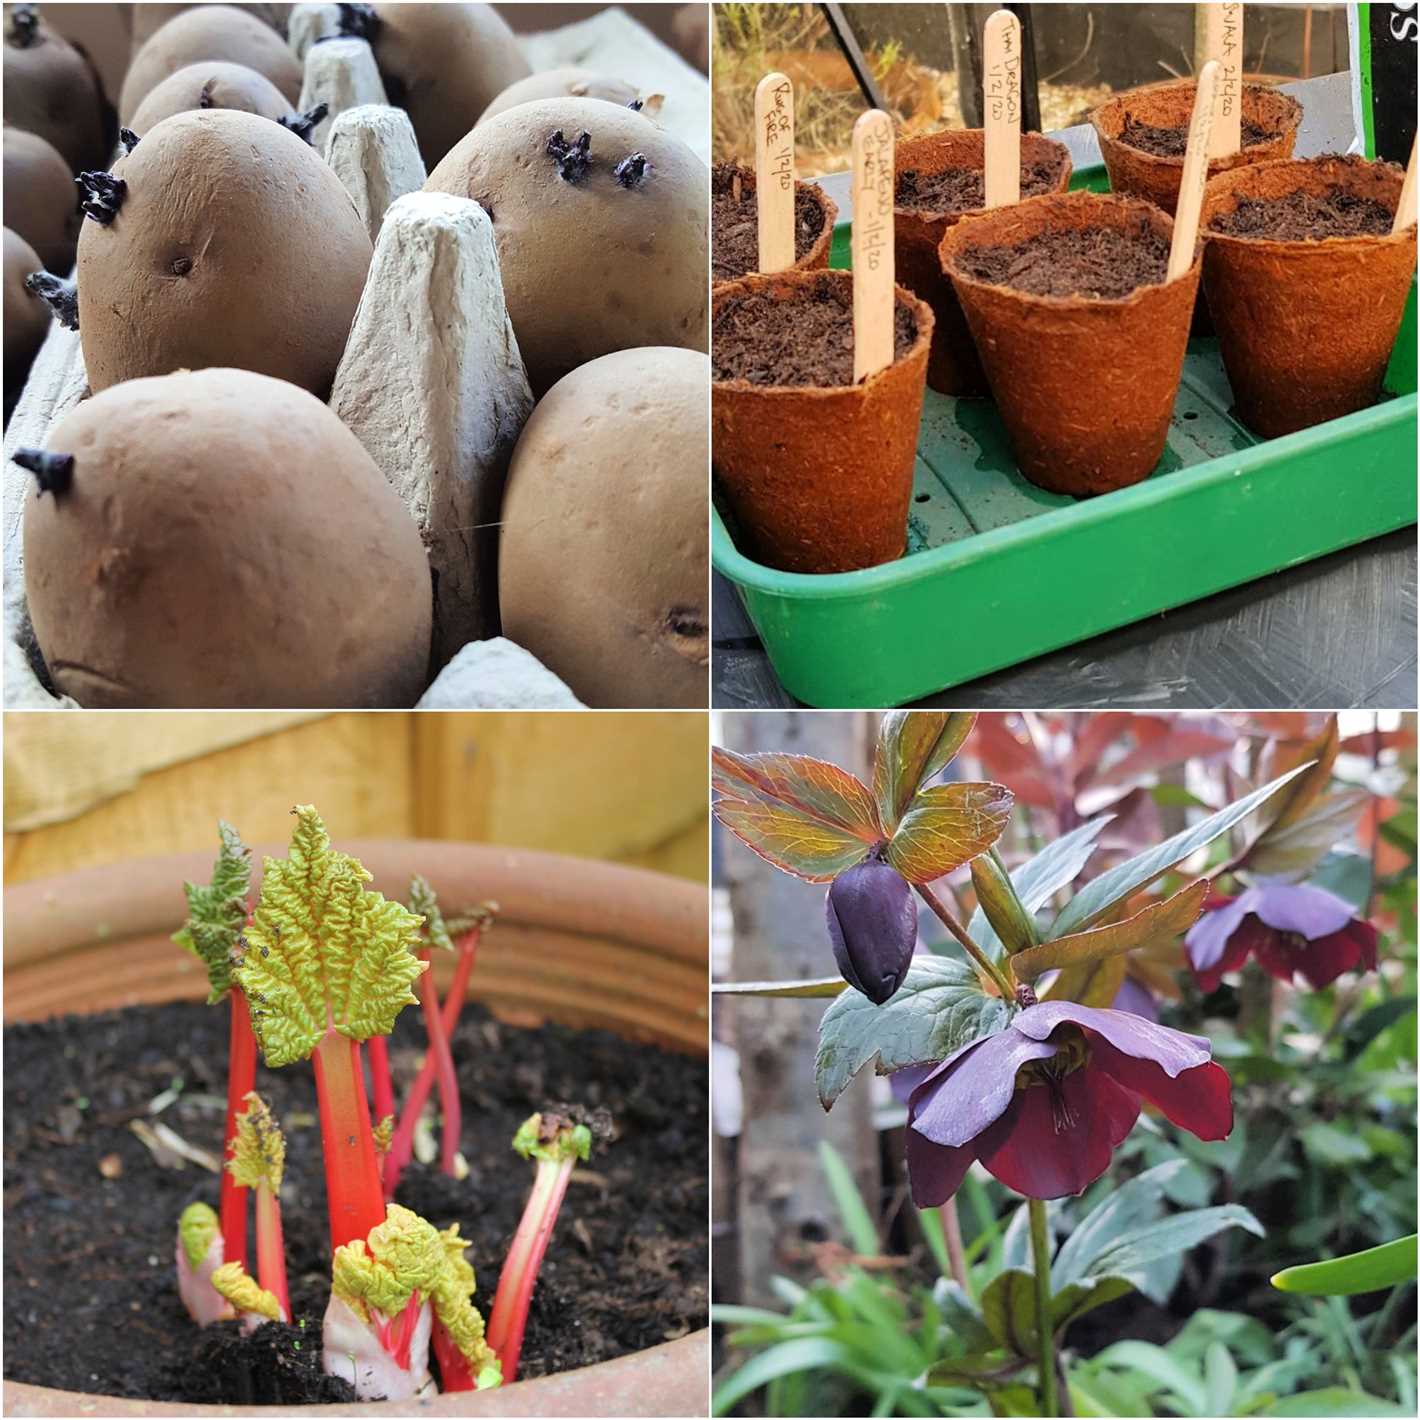

Water your garden beds thoroughly after planting to help settle the soil and ensure good seed-to-soil contact.
10. Maintenance and Care
Once your soil is prepared and your plants are in the ground, it’s important to monitor their growth and provide regular maintenance. This can include watering, weeding, and applying additional fertilizers or amendments as needed.
11. Soil Protection
During the winter, you can protect your soil by using covers such as mulch or cover crops. This will help prevent erosion, retain moisture, and add organic matter to the soil.
12. Documentation
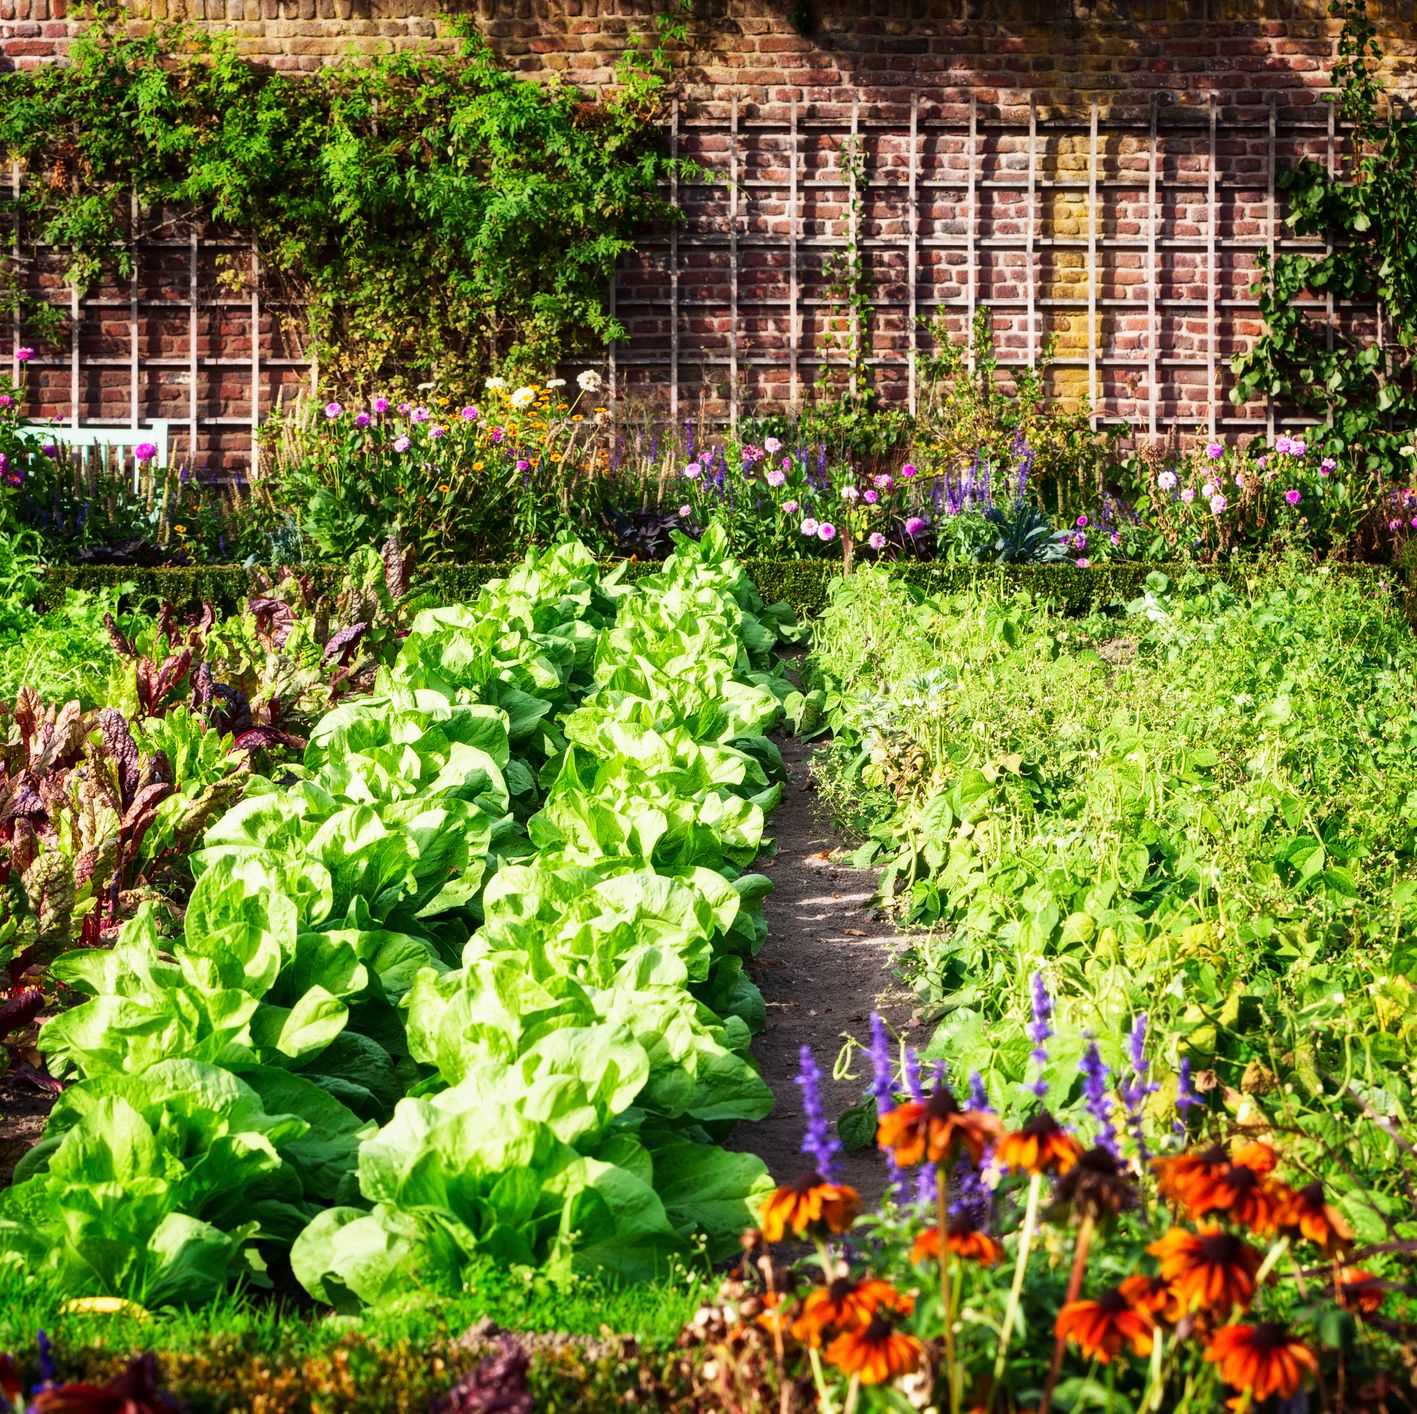

Keep track of your soil preparation activities and any amendments you make. This will help you monitor and improve your gardening practices in the future.
By following these steps, you can ensure that your soil is well-prepared for the spring planting season. Healthy soil means healthy plants, so invest time and effort into creating the best possible growing environment for your garden.
Winter Home Maintenance
Winter is the perfect time to give your home some extra care and attention. Here are some essential home maintenance tasks to tackle during the winter months:
1. Check for drafts
Inspect windows and doors for any drafts or air leaks. Use weatherstripping or caulking to seal any gaps and keep cold air out and warm air in.
2. Clean gutters and downspouts
Clear out any leaves, debris, or ice that may be clogging your gutters and downspouts. This will help prevent water from backing up and causing damage to your home’s foundation or roof.
3. Inspect your roof
Check your roof for any damaged or missing shingles. Repair or replace them to prevent leaks and water damage during winter storms.
4. Service your heating system
Have a professional HVAC technician inspect and clean your heating system. This will ensure it is working efficiently and reduce the risk of breakdowns during the cold winter months.
5. Test smoke and carbon monoxide detectors
Make sure all smoke and carbon monoxide detectors are functioning properly by testing them and replacing batteries if needed.
6. Check your insulation
Inspect the insulation in your attic and walls. Add or replace insulation where necessary to improve energy efficiency and keep your home warm.
7. Seal cracks and gaps
Use caulk or weatherstripping to seal any cracks or gaps around windows, doors, and pipes. This will help prevent cold air from entering and warm air from escaping.
8. Clean and maintain your fireplace
If you have a fireplace, clean and inspect it before using it during the winter. Remove any creosote buildup and make sure the flue is functioning properly.
9. Protect outdoor faucets and pipes
Drain and disconnect any outdoor hoses and cover outdoor faucets with insulated covers to prevent freezing and bursting.
10. Insulate exposed pipes
If you have exposed pipes in unheated areas, such as your garage or crawl space, wrap them with insulation to prevent freezing and potential pipe bursts.
11. Check your sump pump
If you have a sump pump, test it to ensure it is working properly. This will help prevent basement flooding during heavy rains or snowmelt.
12. Clean and organize your storage spaces
Take advantage of the winter months to declutter and organize your storage spaces. Donate or dispose of items you no longer need and create a more functional space.
By taking the time to perform these winter home maintenance tasks, you can ensure a safe, comfortable, and efficient home throughout the cold season.
Questions and Answers:
What are some activities I can do in my garden in January?
In January, you can prune your fruit trees, plant winter vegetables, and clean up your garden to prepare for spring.
Can I start planting vegetables in January?
Yes, you can start planting winter vegetables such as lettuce, spinach, and carrots in January.
What should I do to take care of my vegetable patch in January?
In January, you should protect your vegetables from frost by covering them with a frost cloth, ensure they are properly watered, and remove any weeds or debris from the patch.
When is the best time to prune fruit trees?
The best time to prune fruit trees is in January when they are dormant. This helps promote healthy growth in the spring.
What are some home improvement projects I can do in January?
In January, you can repaint your walls, organize your closets, and deep clean your home to start the new year fresh and tidy.
How can I prepare my garden for spring?
To prepare your garden for spring, you can remove any dead plants, till the soil, add compost or fertilizer, and plan your planting schedule for the upcoming season.
What are some winter flowers I can plant in January to add color to my garden?
In January, you can plant winter flowers such as pansies, violas, and primroses to add color to your garden during the colder months.


