- Осенняя посадка тюльпанов: сроки и глубина сажания
- Как определить сроки посадки?
- Как определить глубину посадки?
- Выбор сортов и подготовка почвы
- Определение оптимальных сроков посадки
- Правила выбора места для посадки
- Глубина посадки тюльпанов
- Особенности подготовки рассады
- Техника правильной посадки
- Уход за посаженными тюльпанами
- Предотвращение болезней и вредителей
- Определить болезни и вредителей
- Правильная глубина посадки
- Обработка посадочного материала
- Особенности ухода после цветения
- Определение сроков работ
- Глубина сажания
- Как проводить работы
- Основные ошибки при посадке и уходе
- Ошибки при определении сроков работ:
- Ошибки при определении глубины посадки:
- Вопрос-ответ:
- Когда лучше всего сажать тюльпаны осенью?
- Какая глубина сажания тюльпанов?
- Что нужно сделать перед посадкой тюльпанов?
- Можно ли сажать тюльпаны в горшки?
- Можно ли сажать тюльпаны в тени?
- Видео:
- ВСЕ СЕКРЕТЫ правильной посадки ТЮЛЬПАНОВ: сроки, обработка, глубина, подкормка, как сажать детки
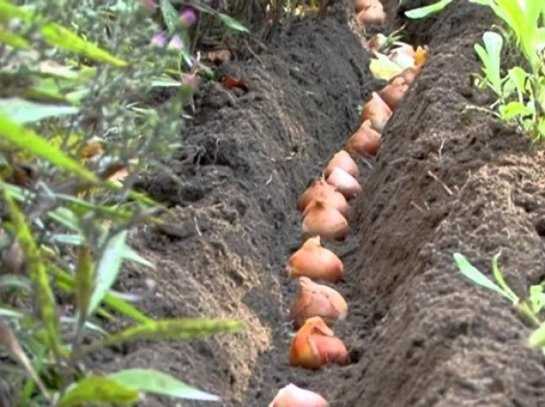
Осень — отличное время для посадки тюльпанов, ведь именно в этот период определяются сроки работ и глубина сажания. Чтобы получить красивые и здоровые цветы весной, необходимо правильно подготовить грунт и выбрать самые подходящие сорта тюльпанов.
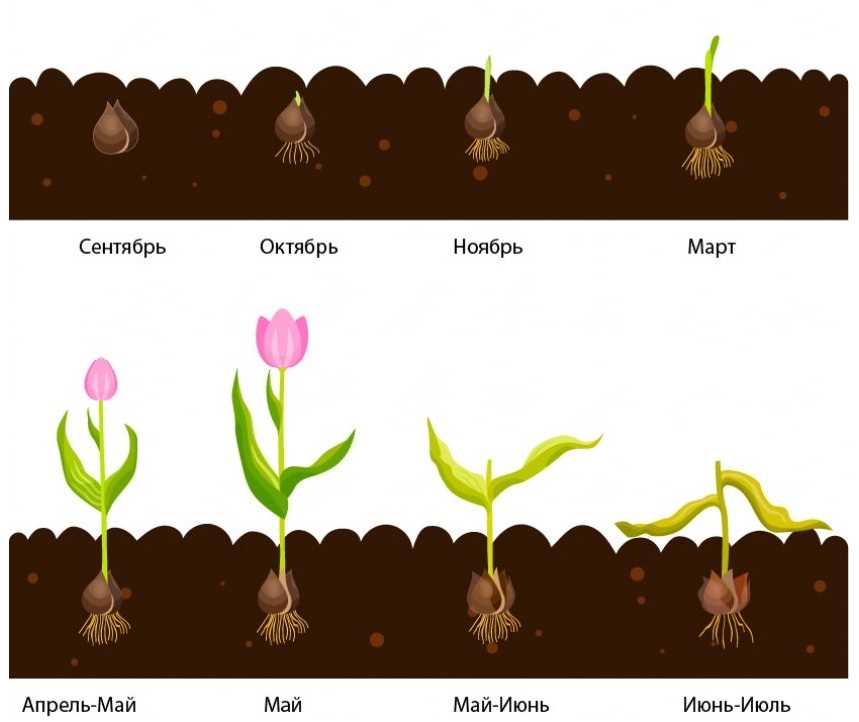
Как определить сроки посадки? Все зависит от климатических условий вашего региона. В основном, посадку тюльпанов рекомендуется проводить в конце сентября — начале октября. В этот период грунт еще не замерз, но основная теплота уже ушла, что позволяет растениям корениться и подготовиться к зиме.
Важно также определить глубину сажания. Обычно для тюльпанов рекомендуется глубина сажания в 2-3 раза больше, чем размер луковицы. Но стоит учитывать, что в разных регионах эта величина может немного различаться. Если почва в вашем районе слишком сырая или, наоборот, слишком сухая, глубину сажания нужно корректировать.
Осенняя посадка тюльпанов — это ответственное и интересное дело. Следуя правильным срокам и глубине сажания, вы обеспечите своим цветам благоприятные условия для развития и зацветания весной.
Осенняя посадка тюльпанов: сроки и глубина сажания
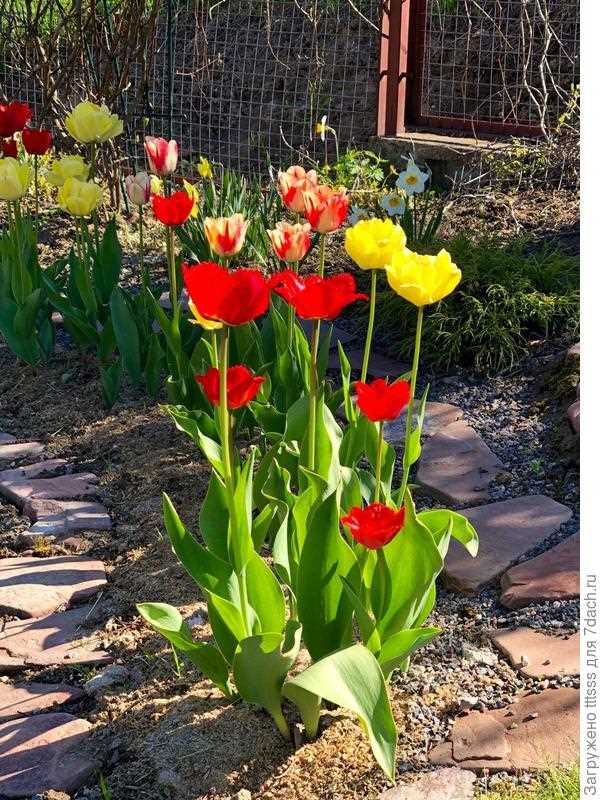
Тюльпаны — это изящные и красочные цветы, которые прекрасно украшают сады и клумбы. Чтобы получить красивые цветы весной, необходимо правильно провести осеннюю посадку.
Как определить сроки посадки?
Сроки посадки тюльпанов зависят от климатических условий и сорта цветов. Основное правило — посадка должна быть завершена до наступления заморозков. В средней полосе России это обычно приходится на конец сентября — начало октября. Для более точного определения сроков, можно обратиться к садоводческим календарям или проконсультироваться с опытными садоводами.
Как определить глубину посадки?
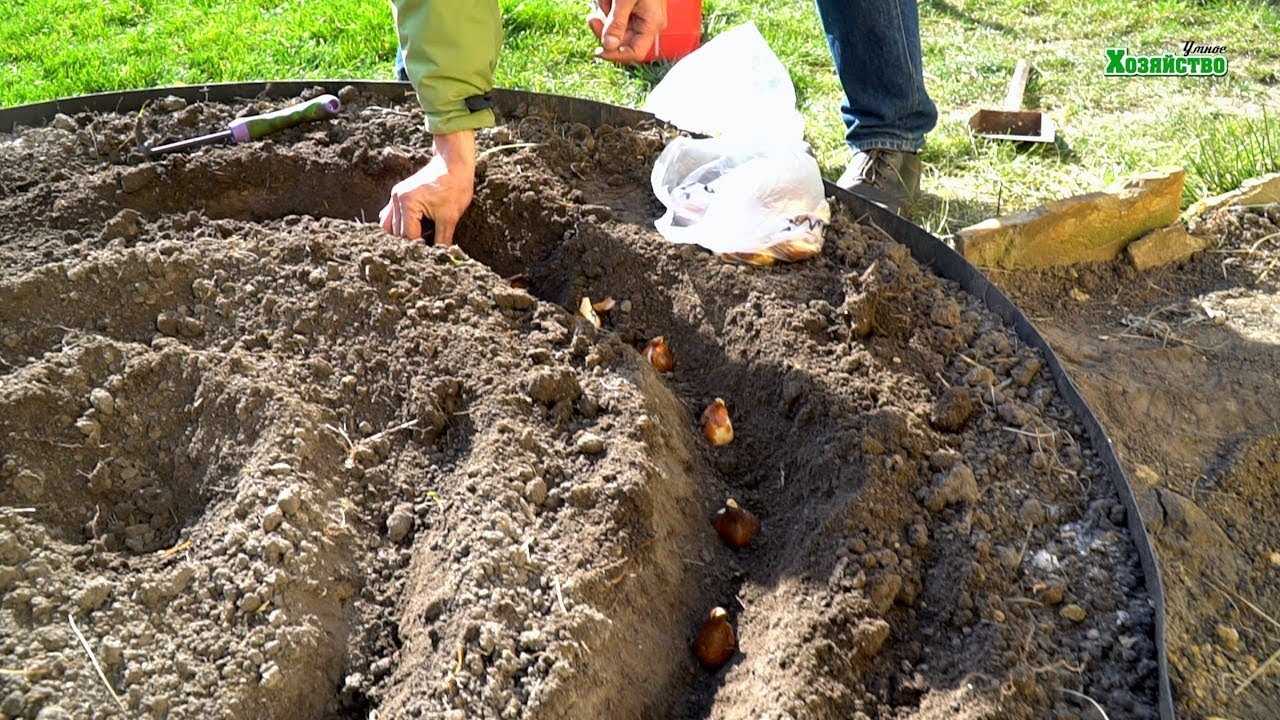
Глубина посадки тюльпанов также зависит от сорта. Обычно, правило такое: луковицы необходимо сажать на глубину в 2-3 раза больше их высоты. То есть, если луковица имеет высоту 5 см, то ее нужно посадить на глубину примерно 10-15 см. Однако, для каждого сорта могут быть свои отклонения от этого правила. Чтобы быть уверенным, следует ознакомиться с инструкцией по посадке для конкретного сорта тюльпанов.
Таким образом, осенняя посадка тюльпанов требует определенных сроков и глубины сажания. Следуя этим правилам, можно быть уверенным в том, что весной в саду распустятся красивые и яркие цветы.
Выбор сортов и подготовка почвы
Осень — идеальное время для посадки тюльпанов. Но перед тем, как приступить к работам, необходимо определить, какие сорта тюльпанов вы хотите высадить. Существует огромное разнообразие сортов: от классических однотонных до оригинальных двухцветных. Выберите сорта, которые наиболее соответствуют вашим предпочтениям и условиям выращивания.
Подготовка почвы также играет важную роль в успешной посадке тюльпанов. Глубина посадки определяется сортом тюльпана и климатическими условиями вашего региона. В среднем, тюльпаны сажают на глубину от 10 до 15 см. Если почва у вас тяжелая или глинистая, рекомендуется добавить песок или перегной для улучшения ее структуры.
Также перед посадкой рекомендуется провести глубокую вспашку почвы и удалить все сорняки и камни. Если почва слишком кислая, можно добавить известковую муку для ее нейтрализации. При необходимости, можно также внести удобрения, чтобы обеспечить растения питательными веществами.
Определение оптимальных сроков посадки
Осень — идеальное время для посадки тюльпанов. Определить оптимальные сроки для проведения работ можно, учитывая климатические особенности региона и ботанические характеристики сортов.
Как правило, тюльпаны сажают в конце сентября или в начале октября, когда почва достаточно остыла и позволяет корням растения укорениться перед наступлением зимы.
Сажать тюльпаны следует на глубину, равную двум-трем диаметрам луковицы. Глубина сажания зависит от размера луковицы и вида тюльпана, поэтому важно выбрать правильный сорт и подготовить почву заранее.
Для определения глубины сажания можно использовать следующую формулу: размер луковицы умножается на 2-3 и полученное значение указывает на необходимую глубину сажания.
Осенняя посадка тюльпанов — важный этап подготовки садового участка к весеннему цветению. Тщательное определение оптимальных сроков и глубины посадки позволит получить красивые и здоровые растения, которые будут радовать глаз своими яркими цветами уже в следующем сезоне.
Правила выбора места для посадки
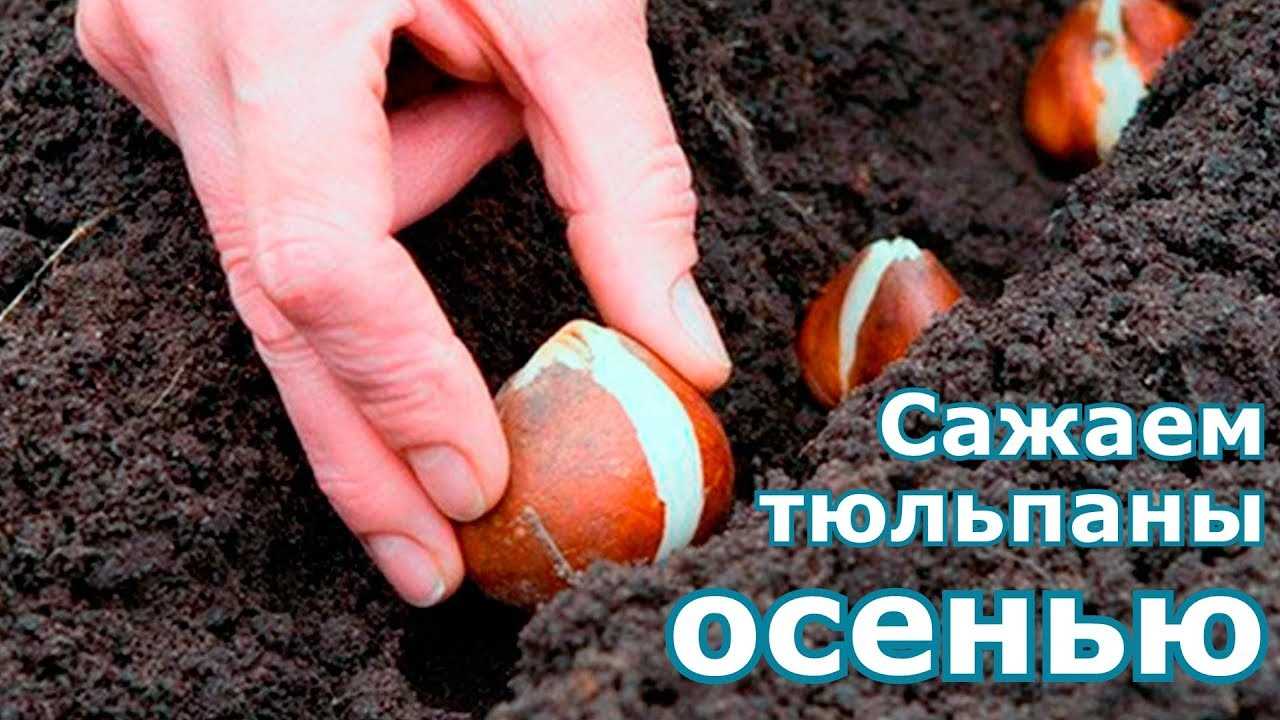
Сроки осенней посадки тюльпанов очень важно определить правильно, чтобы растения имели достаточно времени для образования корней перед наступлением зимы. Оптимальное время для посадки тюльпанов — конец сентября или начало октября. В этот период земля еще достаточно теплая и благоприятная для корневой системы.
Как выбрать место для посадки тюльпанов? Важно помнить, что тюльпаны любят свет, поэтому выбирайте открытое солнечное место для посадки. Также обратите внимание на состав почвы — тюльпаны предпочитают легкую, плодородную и хорошо дренированную почву.
Определите глубину сажания тюльпанов — обычно это 2-3 диаметра луковицы. Глубина сажания зависит от размера луковицы: крупные сажают глубже, мелкие — поверхностно. Важно помнить, что тюльпаны не любят стоять в воде, поэтому не забудьте обеспечить хорошую дренажную систему.
Следуйте указаниям на упаковке при покупке тюльпанов. Там указаны сроки посадки и рекомендации по уходу за растениями. При посадке тюльпаны размещаются в группах или рядами с определенным интервалом между луковицами. Помните, что правильное размещение растений позволит им полноценно развиваться и радовать вас своими красивыми цветами весной.
Глубина посадки тюльпанов
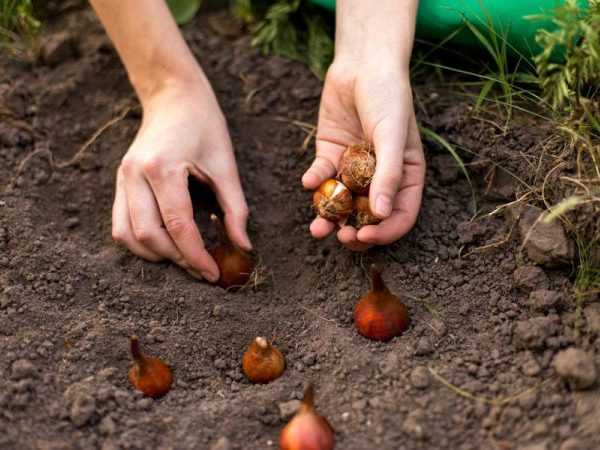
Осень — идеальное время для проведения работ по посадке тюльпанов. Определение правильной глубины сажания является важным этапом этих работ.
Глубина посадки тюльпанов должна быть определена с учетом сроков посадки и особенностей растения. Обычно, рекомендуется сажать тюльпаны на глубину, равную три раза высоте луковицы. Такой подход позволяет обеспечить необходимую стабильность и надежность.
Определить глубину сажания тюльпанов можно с помощью линейки или измерительного инструмента. При этом необходимо помнить, что правильная глубина способствует более красивому и здоровому росту растения, а неправильная может привести к его замедленному развитию или даже гибели.
Поэтому, перед началом работ по посадке тюльпанов, необходимо определить и придерживаться рекомендуемой глубины сажания. Это позволит обеспечить красивый и продолжительный цветение тюльпанов.
Особенности подготовки рассады
Так стоп!!! Вы всё ещё не подписаны на наши каналы в Телеграмм и Дзен? Посмотрите: ТГ - (@historyfantasydetectivechat) и Дзен (https://dzen.ru/myshortsstorys)
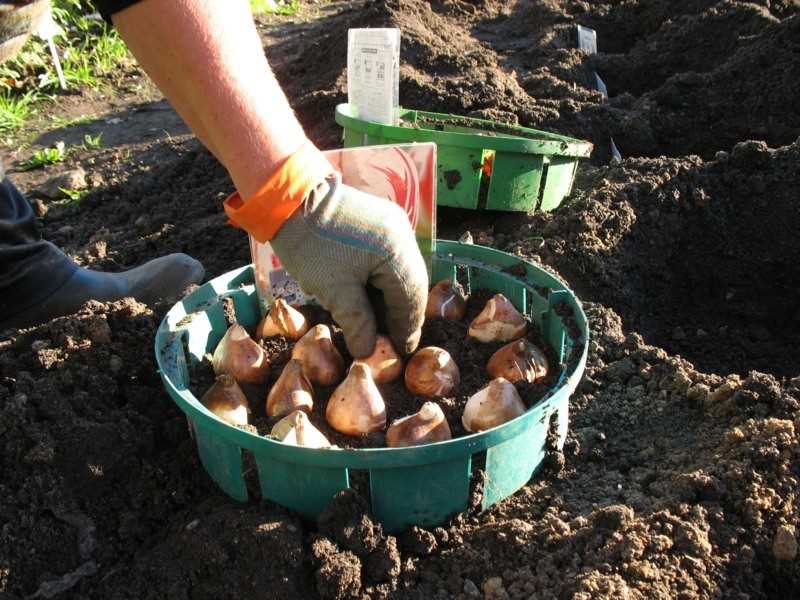
Как правило, осенью проводят работы по подготовке рассады тюльпанов для дальнейшей посадки. Это важный этап, который определяет успешное развитие и цветение растений в следующем году.
Глубина сажания рассады тюльпанов играет важную роль. Оптимальная глубина составляет около 10 см. Глубже сажать не рекомендуется, так как это может затруднить развитие луковиц и ухудшить цветение. С другой стороны, слишком мелкая глубина может привести к недостатку питания и вымерзанию луковиц в холодное время года.
Сроки осенней посадки тюльпанов также важны для успешного развития растений. Рекомендуется проводить посадку в середине или конце сентября, когда почва достаточно остыла и растения успеют укорениться перед началом зимы. Если посадку проводить слишком поздно, это может негативно сказаться на развитии и цветении тюльпанов.
При подготовке рассады тюльпанов нужно учитывать особенности каждого сорта. Некоторые виды требуют дополнительной обработки перед посадкой, например, обработки антифунгином или проращивания. Также важно выбрать здоровые и крупные луковицы для сажания, чтобы получить красивые и здоровые растения.
Техника правильной посадки
Осень — наилучшее время для посадки тюльпанов. Сроки работ определяются климатическими условиями и местоположением. Идеально сажать тюльпаны за 2-3 недели до наступления постоянных заморозков.
Глубина посадки также играет важную роль. Чтобы определить правильную глубину, нужно учитывать размер луковицы. Обычно рекомендуется сажать тюльпаны на глубину в 2-3 раза больше их высоты.
Перед посадкой тюльпаны необходимо подготовить. Отсортировать луковицы по размеру и состоянию, отбросив поврежденные и больные экземпляры. При необходимости, обработать противогрибковым средством.
После определения сроков и глубины посадки, можно приступать к непосредственно работе. Раскопать ямки нужной глубины и разместить луковицы в них, придерживаясь рекомендованного расстояния между ними. Затем засыпать ямки землей и хорошо утрамбовать.
Уход за посаженными тюльпанами
После того, как вы определили сроки и глубину посадки тюльпанов, настало время узнать, как правильно ухаживать за ними. Как только тюльпаны прорастут, необходимо регулярно поливать посадки. В период осени и весны достаточно поливать тюльпаны раз в неделю, а в период лета, особенно в жаркую погоду, поливать нужно чаще — два-три раза в неделю.
Кроме полива, также необходимо удобрять тюльпаны. Оптимально проводить удобрение два раза в год: осенью и весной. Для этого можно использовать специальные удобрения, богатые азотом, фосфором и калием. Такое удобрение позволит тюльпанам получить все необходимые питательные вещества для здорового роста и развития.
Также важно следить за состоянием грядки, где вы посадили тюльпаны. Удаляйте сорняки и держите ее в чистоте. Кроме того, регулярно пропалывайте землю между цветами, чтобы убрать возможную конкуренцию за влагу и питательные вещества. Это позволит тюльпанам развиваться наилучшим образом.
Таким образом, уход за посаженными тюльпанами не требует особых усилий, но при этом является важной составляющей в получении красивого и здорового сада. Регулярный полив, удобрение и удаление сорняков позволят вам насладиться яркими и красивыми цветами тюльпанов на протяжении всего их сезона цветения.
Предотвращение болезней и вредителей
Тюльпаны, как и другие растения, подвержены различным болезням и вредителям. Чтобы сохранить их здоровье и красоту, необходимо выполнить определенные работы и принять меры предосторожности.
Определить болезни и вредителей
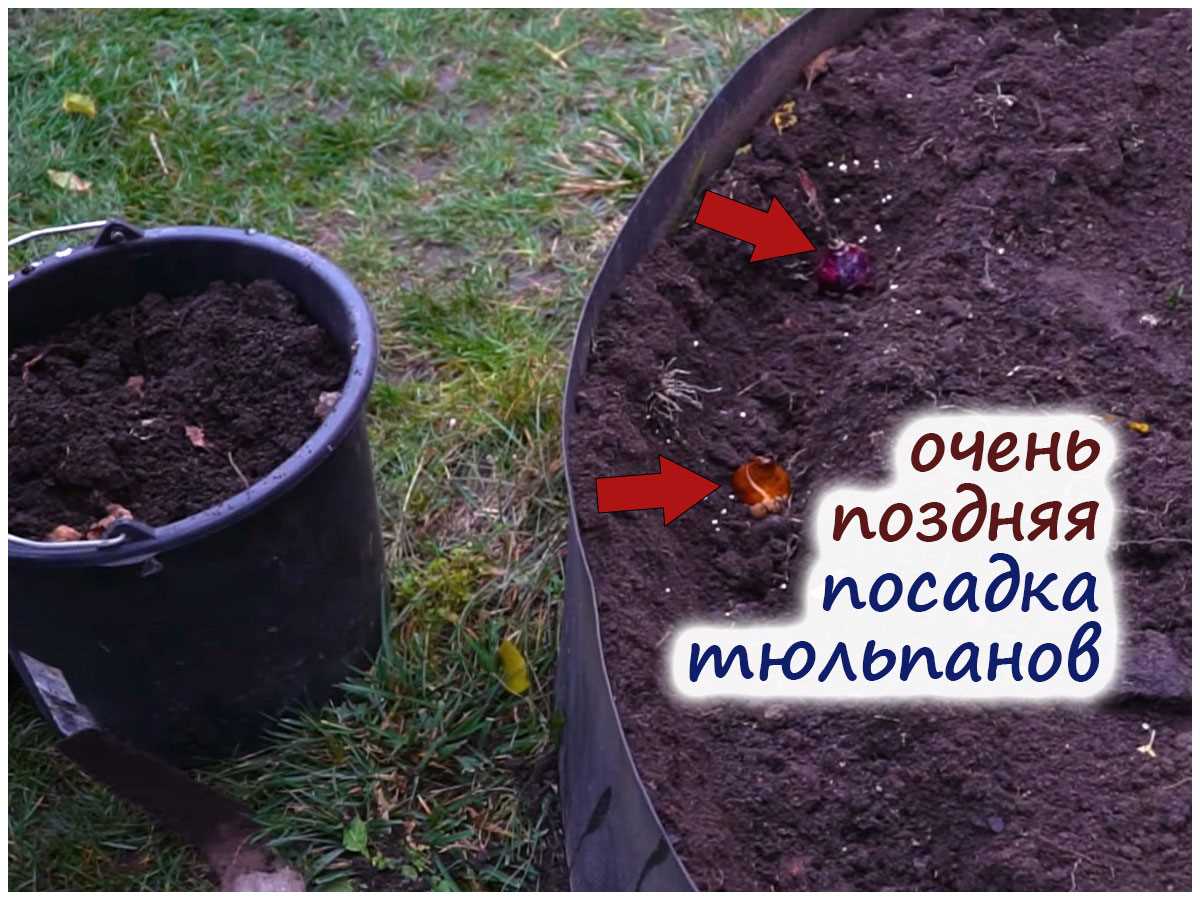
Перед осенней посадкой тюльпанов необходимо оценить состояние луковиц и определить наличие болезней и вредителей. Важно обратить внимание на возможные признаки поражения, такие как пятна на листьях, гниль луковицы или наличие насекомых. Если вы обнаружите подобные признаки, необходимо принять меры для их устранения и предотвращения дальнейшего распространения.
Правильная глубина посадки
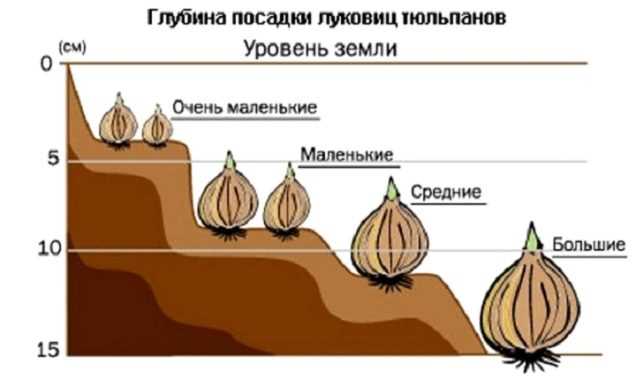
Глубина сажания тюльпанов играет важную роль в предотвращении болезней и вредителей. Рекомендуется сажать луковицы на глубину от 10 до 15 сантиметров. Такая глубина поможет предотвратить поверхностное поражение грибковыми инфекциями и защитит от некоторых вредителей, таких как медведка.
Обработка посадочного материала
Перед посадкой тюльпанов рекомендуется обработать луковицы специальными препаратами, которые помогут предотвратить развитие болезней и защитить от вредителей. Такие препараты можно приобрести в специализированных магазинах или получить рекомендации у специалистов.
Важно помнить, что предотвращение болезней и вредителей является одним из важных этапов осенней посадки тюльпанов. Правильная глубина сажания, обработка посадочного материала и своевременное определение болезней и вредителей помогут сохранить здоровье растений и получить красивый цветущий сад весной.
Особенности ухода после цветения
После того, как тюльпаны оцветут, необходимо продолжить уход за ними, чтобы подготовить их к следующему сезону. Осенью нужно провести несколько работ, чтобы сохранить растения здоровыми и поддержать их рост в будущем.
Определение сроков работ
Определить оптимальные сроки для осенних работ можно, исходя из климатических условий и характеристик конкретного региона. В средней полосе России обычно рекомендуется проводить уходные работы в конце сентября или начале октября, когда почва достаточно остыла, но еще не замерзла.
Глубина сажания
После цветения тюльпаны необходимо пересадить на новое место. Для этого нужно определить оптимальную глубину сажания. Обычно цветоносы тюльпанов сажают на глубину, равную тройному размеру луковицы. Однако, если прошлогодние цветоносы были слабыми или их высота неудовлетворительна, глубину сажания можно увеличить.
Как проводить работы
Для ухода после цветения тюльпанов нужно выполнить следующие работы:
- Выкопать луковицы с помощью лопаты или садового орудия. Осторожно очистить их от почвы.
- Рассортировать и отсортировать луковицы по размеру и состоянию. Выбросить поврежденные и больные экземпляры.
- Подготовить новое место для посадки. Раскопать ямы нужной глубины и добавить удобрения в виде перегноя или компоста.
- Сажать луковицы в ямы ровными рядами с учетом рекомендуемого расстояния между ними.
- Закопать луковицы и немного придавить землей, чтобы они были надежно закреплены.
- Полить посадку водой, чтобы обеспечить хорошее увлажнение почвы.
Выполнив эти работы, вы обеспечите тюльпанам оптимальные условия для роста и развития. Такой уход после цветения позволит получить красивые и здоровые цветы в следующем сезоне.
Основные ошибки при посадке и уходе
Посадка тюльпанов в осень — ответственное мероприятие, на которое необходимо обратить особое внимание. Ошибки при глубине посадки могут привести к неправильному развитию луковиц, а ошибки в уходе могут стать причиной заболевания растений и уменьшения цветения.
Ошибки при определении сроков работ:
- Поздняя посадка тюльпанов — одна из основных ошибок садоводов. Растения должны успеть прорасти корни и хорошо прижиться до начала зимы. Сажать тюльпаны нужно за месяц до первых заморозков, чтобы они успели образовать новые корешки и подготовиться к зимнему периоду.
- Слишком ранняя посадка тюльпанов тоже может быть ошибкой. Если садить луковицы слишком рано, они могут начать прорастать уже в осень, а затем погибнуть от морозов. Определить оптимальный срок посадки можно, ориентируясь на климатические условия региона и рекомендации опытных садоводов.
Ошибки при определении глубины посадки:
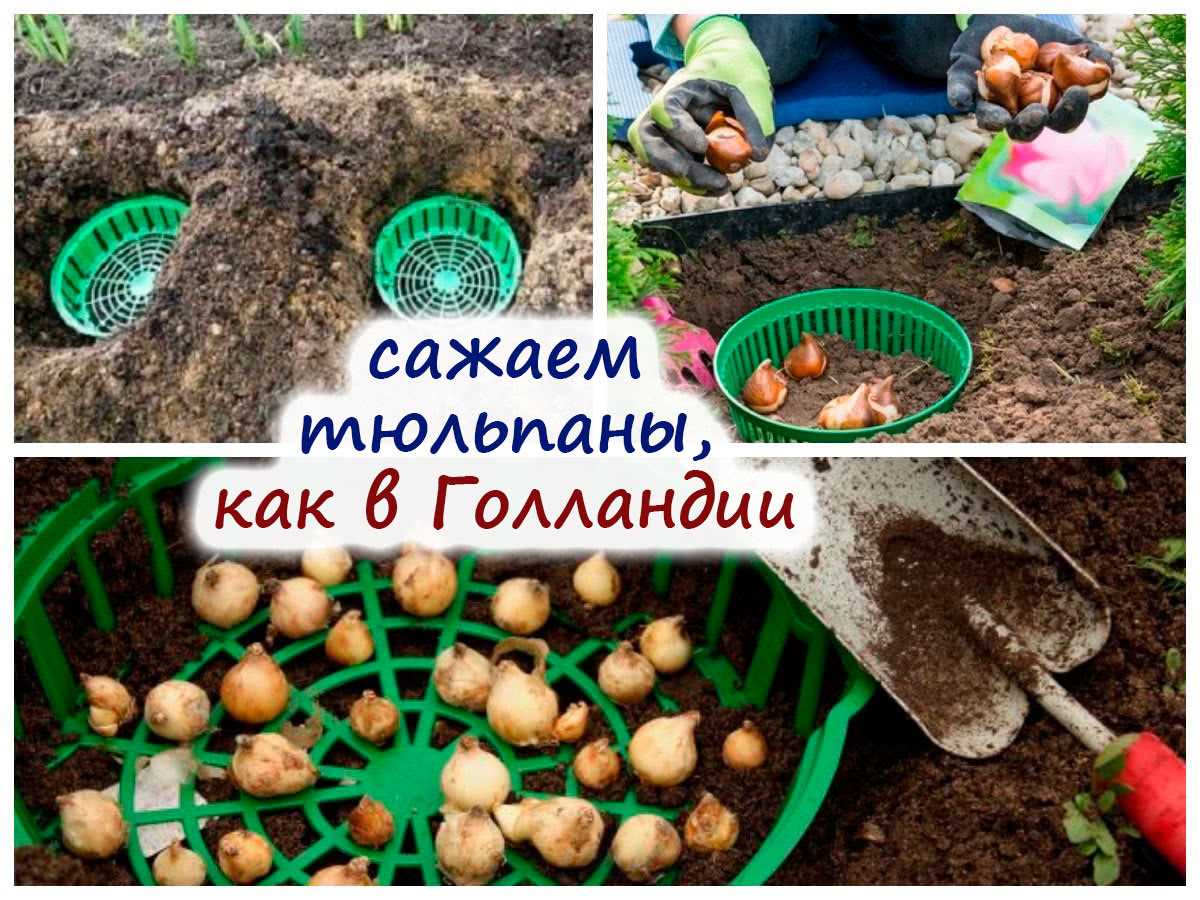
- Сажать тюльпаны слишком глубоко — одна из распространенных ошибок. Луковицы должны быть посажены на глубину, равную 2-3 диаметрам самой луковицы. Если сажать слишком глубоко, тюльпаны могут не прорасти или долго развиваться.
- Сажать тюльпаны слишком мелко — другая распространенная ошибка. Если луковицы сажаются недостаточно глубоко, они могут подвергаться пересыханию и замерзанию.
Чтобы избежать ошибок при посадке и уходе за тюльпанами, следует внимательно следовать рекомендациям по срокам работ и глубине посадки. Особое внимание стоит уделять выбору правильного места для посадки, а также регулярному поливу и уходу за растениями в течение всего периода их роста и цветения.
Вопрос-ответ:
Когда лучше всего сажать тюльпаны осенью?
Осенняя посадка тюльпанов обычно проводится в октябре-ноябре, когда температура почвы опускается до +10°C и ниже. Это позволяет луковицам образовать корни перед наступлением зимы и готовиться к весеннему цветению.
Какая глубина сажания тюльпанов?
Тюльпаны сажают на глубину, равную 2-3 раза их высоты. То есть, если высота луковицы составляет 5 см, то она должна быть засыпана на глубину 10-15 см. Если луковицы слишком мелкие, их можно сажать поглубже.
Что нужно сделать перед посадкой тюльпанов?
Перед посадкой тюльпанов необходимо подготовить почву. Она должна быть рыхлой, хорошо дренированной и плодородной. При необходимости, можно добавить органическое удобрение или песок, чтобы улучшить структуру почвы и обеспечить хорошую вентиляцию корней.
Можно ли сажать тюльпаны в горшки?
Да, тюльпаны можно сажать в горшки. Для этого нужно выбрать подходящие горшки, обеспечить хорошую дренажную систему и использовать плодородную почву. Посадку следует проводить также на глубину, равную 2-3 раза высоты луковицы.
Можно ли сажать тюльпаны в тени?
Тюльпаны предпочитают солнечные места, поэтому их лучше сажать на открытых участках с хорошей освещенностью. Однако, некоторые сорта тюльпанов могут выживать и в полутени. Важно помнить, что в тени цветение может быть менее обильным и продолжительным.


