
- Как пересадить азалии в саду живым цветом?
- Выбор места для пересадки
- Выбор правильного времени для пересадки
- Подготовка и процесс пересадки
- Выбор подходящего места
- Подготовка почвы для пересадки
- Выбор грунта
- Подготовка почвы
- Подготовка куста к пересадке
- Подготовка ямы для пересадки
- 1. Выбор места для ямы
- 2. Подготовка грунта
- 3. Создание дренажного слоя
- 4. Посадка азалии в яму
- 5. Полив и уход после пересадки
- Уход за азалиями после пересадки
- Полив
- Освещение
- Подкормка
- Полив азалий в период пересадки
- Оптимальное время полива
- Способ полива
- Защита азалий от заболеваний и вредителей
- Выбор здоровых растений
- Использование правильного почвосмеси
- Устранение поврежденных частей
- Предотвращение заражения болезнями
- Борьба с вредителями
- Питание азалий в период пересадки
- Выбор подходящей почвы
- Удобрение в период пересадки
- Полив в период пересадки
- Особенности пересадки гортензий
- Важные советы по пересадке азалий
- 1. Выбор горшка и почвы
- 2. Подготовка азалии к пересадке
- 3. Правильный способ пересадки
- Вопрос-ответ:
- Азалии рекомендуется пересаживать весной или осенью, после завершения цветения и перед началом активного роста растения. Такие сезоны наиболее благоприятны для успешной адаптации азалии к новой почве и горшку.
- При выборе горшочной смеси для азалий, предпочтение следует отдавать кислотным почвам с нейтральным или слегка кислым pH. Хорошим вариантом может быть смесь из равных долей садовой земли, торфа и крупнозернистого песка. Также важно добавить дренажный материал в горшок для обеспечения хорошей водоотводимости.
- Для пересадки азалии потребуется подготовить новый горшок с подходящей горшочной смесью, а также извлечь растение из старого горшка, осторожно разломав корни. Затем азалию следует разместить в новом горшке, добавляя горшочную смесь постепенно и периодически утрамбовывая. После пересадки растение нужно хорошо полить и поместить в тень до полного адаптирования.
- Азалии не требуют слишком частой пересадки. Обычно рекомендуется пересаживать растение раз в 2-3 года, чтобы обновить горшочную смесь и дать корням пространство для роста. Если азалия активно растет и заполняет весь горшок корнями, ее можно пересадить и чаще, но в этом случае следует быть осторожным с повреждением корневой системы.
- Если корни азалии были повреждены при пересадке, их следует осторожно обрезать, удалив пораженные участки и оставив только здоровые корни. После этого растение нужно пересадить в новый горшок с свежей горшочной смесью и особенно тщательно ухаживать за ним, обеспечивая оптимальные условия для восстановления корневой системы и роста растения.
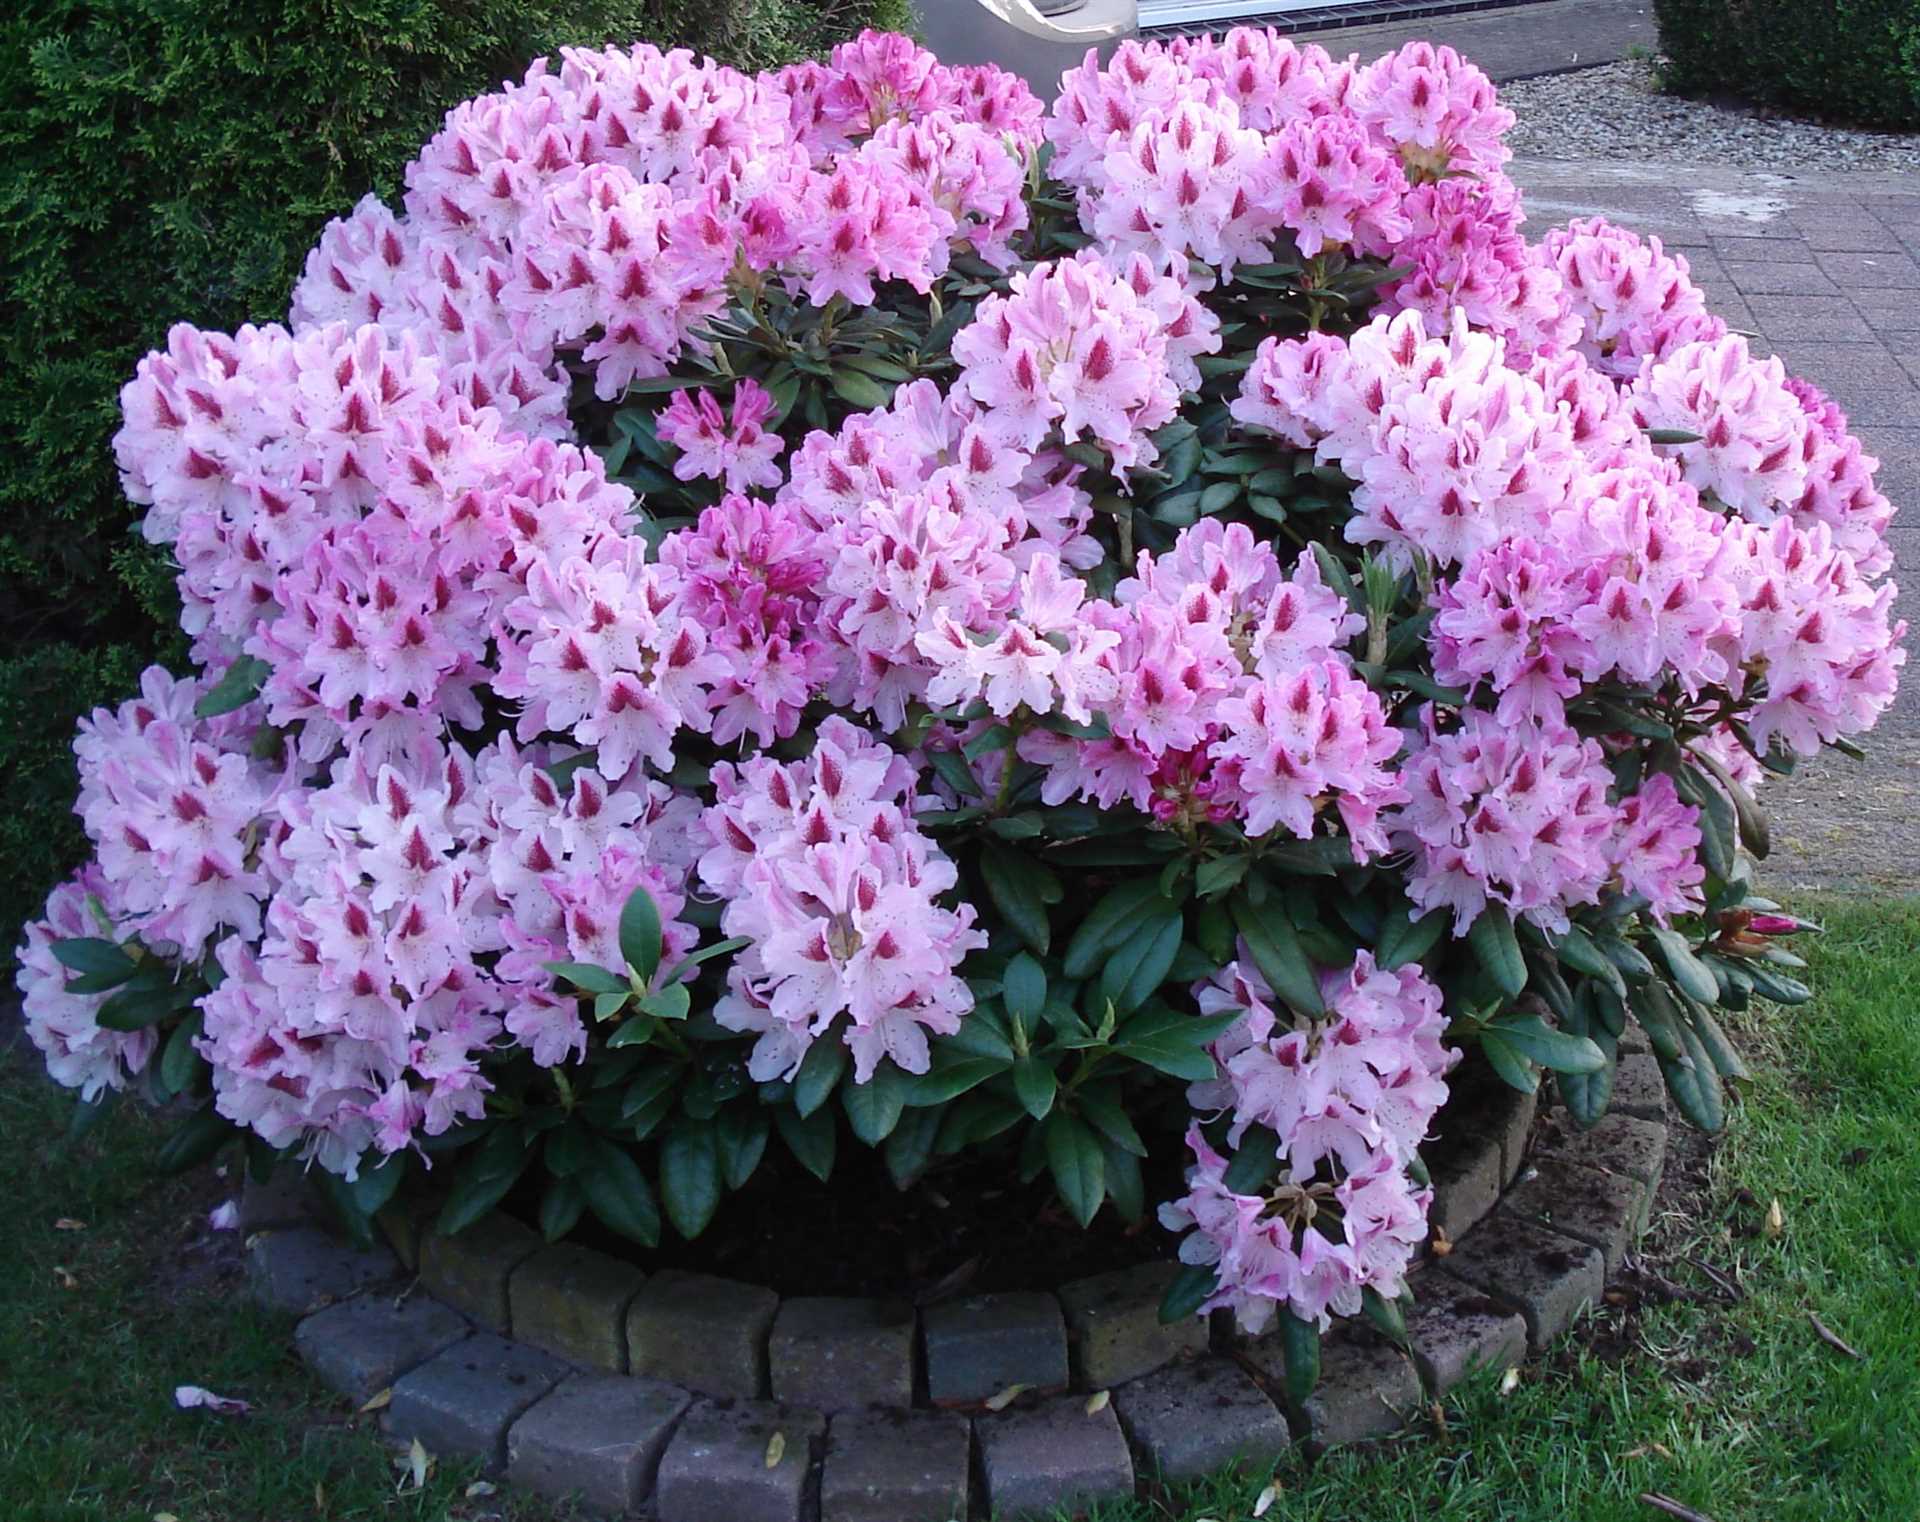
Азалии – изящные и красивые растения, которые могут украсить любой сад или интерьер. Однако рано или поздно владельцу придется задуматься о пересадке своих азалий. Пересадка – это один из важных и неотъемлемых этапов в уходе за растением, который позволяет обеспечить ему оптимальные условия для развития. В данной статье мы рассмотрим основные аспекты пересадки азалий, чтобы помочь вам успешно выполнить эту процедуру.
Пересадка азалий необходима по нескольким причинам. Во-первых, растение может вырасти из текущего горшка и перестать комфортно развиваться. Во-вторых, по истечении определенного периода времени почва в горшке может перестать быть питательной для растения. Кроме того, пересадка может потребоваться в случае обнаружения заболеваний или вредителей, которые могут повлиять на здоровье азалии.
Перед пересадкой необходимо правильно подготовиться. В первую очередь, определите подходящий горшок для азалии – он должен быть немного больше предыдущего, чтобы растение имело достаточно места для роста, но не слишком большим, чтобы не вызвать загнивание корней. Также приготовьте удобрение и новую питательную почву для азалий. Для пересадки выберите оптимальный момент – время после цветения и перед началом вегетационного периода.
Как пересадить азалии в саду живым цветом?
Выбор места для пересадки
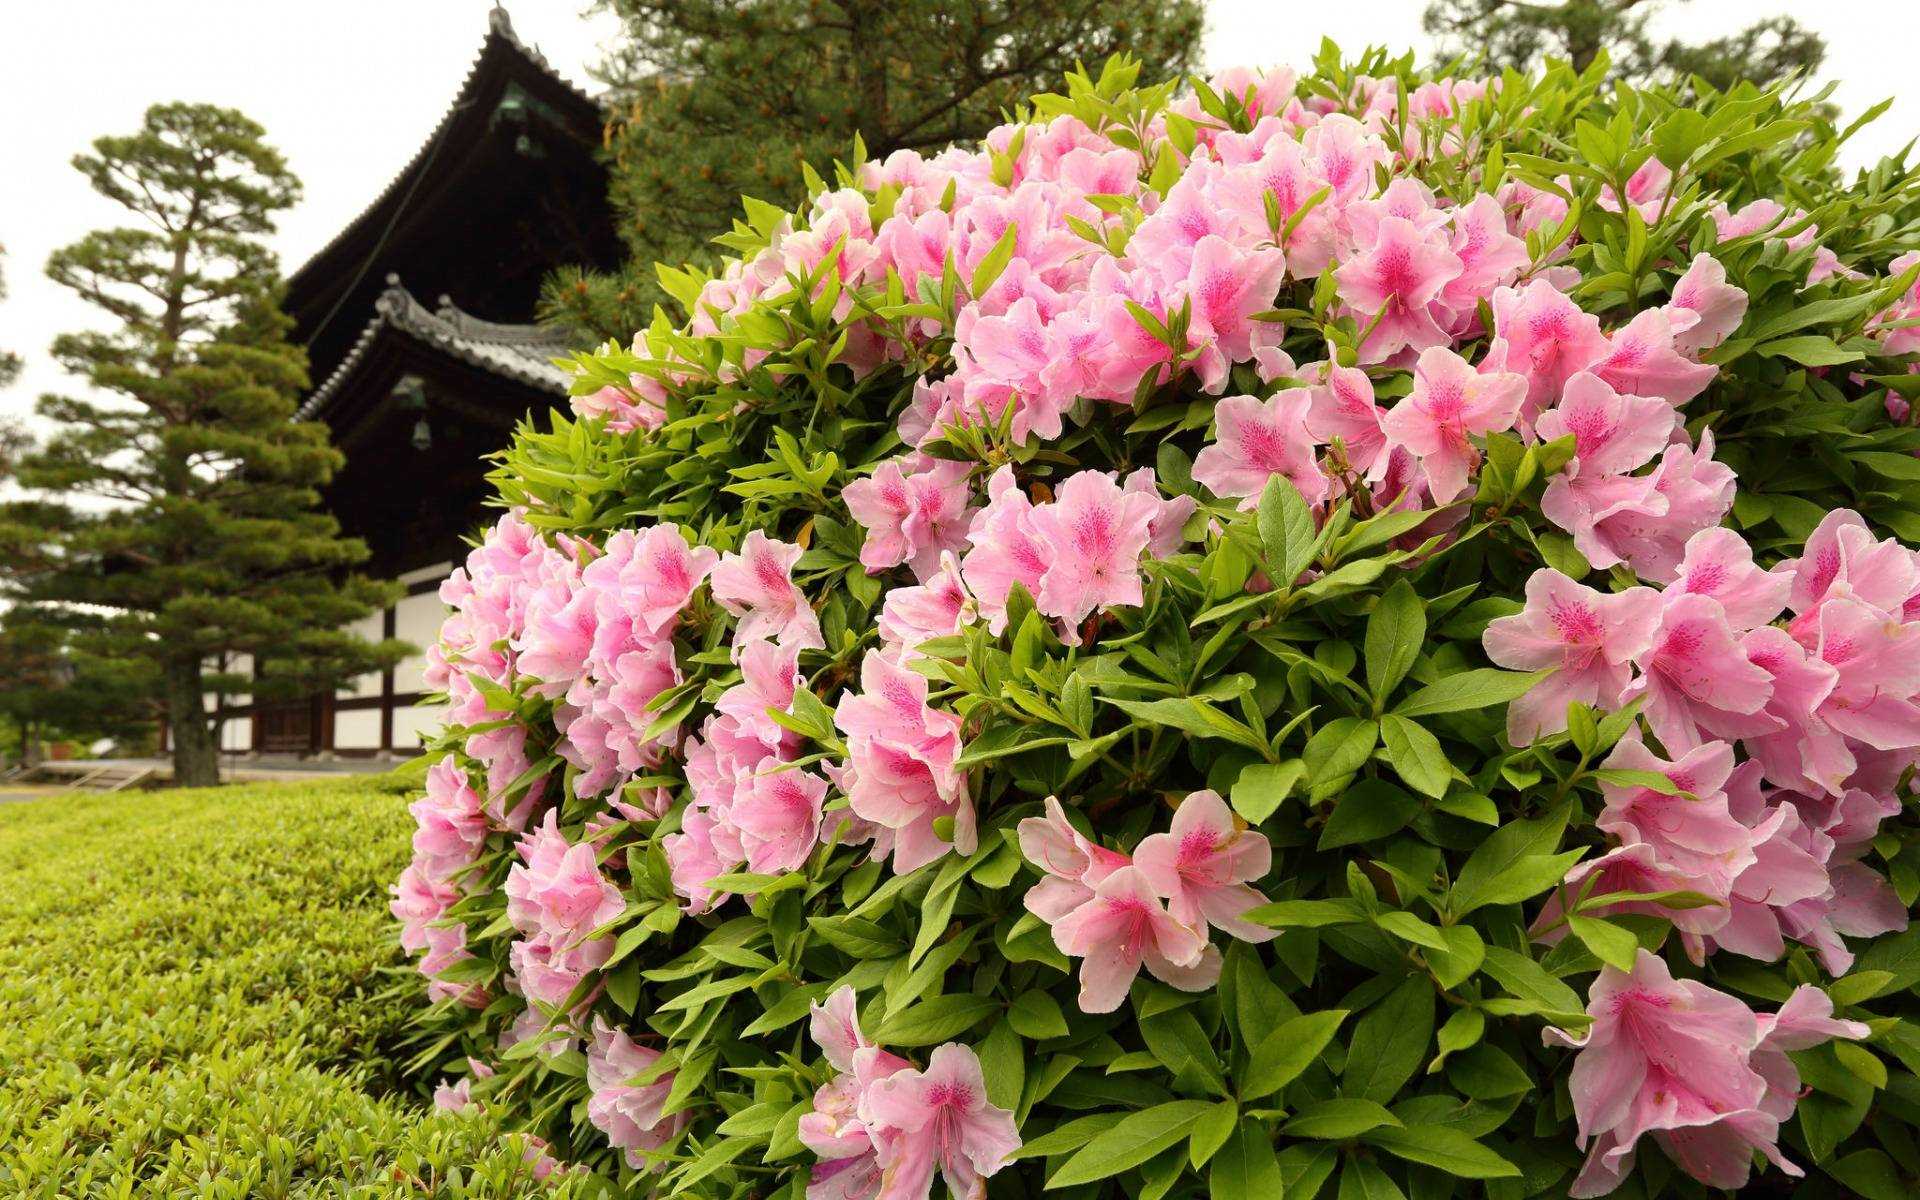
Перед пересадкой азалий необходимо выбрать подходящее место в саду или на участке. Они предпочитают растения, которые растут в полутенистых условиях, защищенные от прямого солнечного света и сильных ветров. Идеальное место для пересадки азалий должно иметь легкую и влажную почву, хорошую дренажную систему и возможность защиты от заморозков в холодные месяцы.
Выбор правильного времени для пересадки
Азалии следует пересаживать в весенний или осенний период, когда растение находится в состоянии покоя и оно не цветет. В это время они меньше травмируются и быстрее приспосабливаются к новым условиям. Осенью пересадка лучше проводить за 2-3 недели до начала морозов, чтобы корни успели укорениться перед зимой.
Подготовка и процесс пересадки
Перед пересадкой азалий необходимо подготовить почву. Рыхлую и влажную почву можно дополнительно обогатить перегной, торфом или компостом. Для снижения кислотности почвы можно добавить известь или дерновую землю. При пересадке растение нужно аккуратно вытащить из старого горшка, осмотреть корни и удалить поврежденные или больные части. Затем азалию следует поместить в новый горшок или приспособленное место в саду, утрамбовать почву вокруг корней и хорошо полить.
Оптимальный уход за пересаженными азалиями включает регулярное поливание, удобрение, подрезку и предоставление необходимой защиты от паразитов и болезней. Следуя этим рекомендациям, вы сможете пересадить азалии в саду с сохранением их живого цвета и здоровья.
Выбор подходящего места
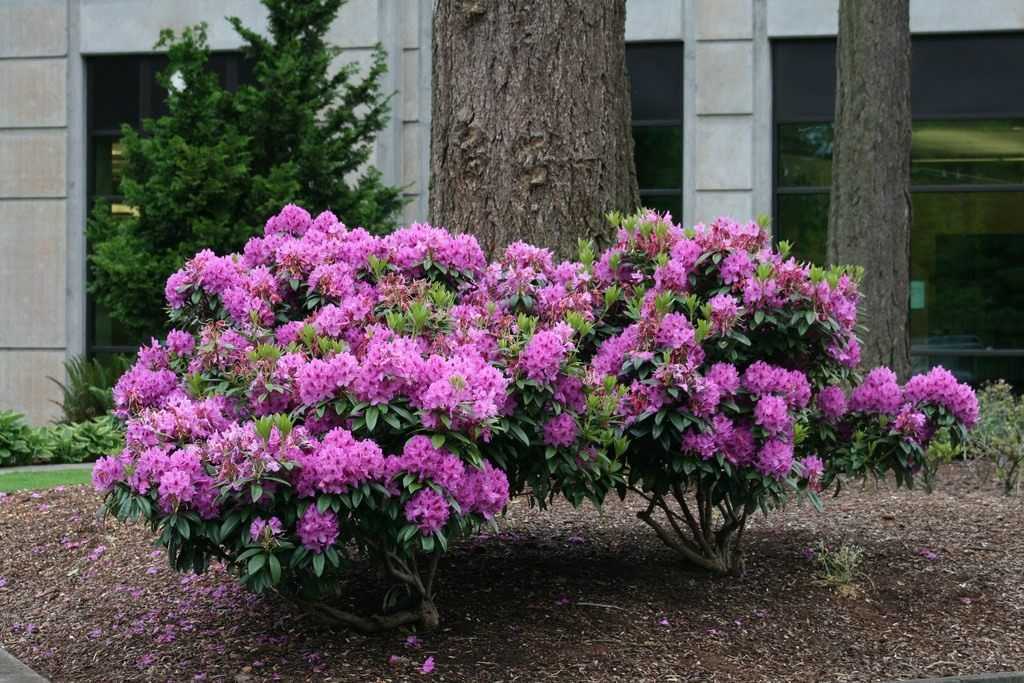
При пересадке азалий очень важно выбрать подходящее место для нового расположения растения. Несоблюдение этого условия может серьезно повлиять на рост и развитие азалии.
Во-первых, необходимо учитывать освещение. Азалии предпочитают diff Для успешного развития они требуют яркого, но рассеянного света. Не стоит ставить азалии на прямое солнце, так как это может вызвать ожоги листьев и стеблей.
Во-вторых, важно учитывать температурный режим. В помещении, где находится азалия, не должно быть слишком жарко или слишком холодно. Оптимальная температура для роста и цветения азалии составляет от 15 до 25 градусов по Цельсию.
Также следует обратить внимание на влажность воздуха. Азалии требуют высокой влажности, поэтому рядом с растением можно разместить емкость с водой или использовать специальные увлажнители воздуха.
Исходя из этих условий, рекомендуется выбирать для пересадки азалий такие места, где будет достаточно рассеянного света, умеренная температура и высокая влажность воздуха. Это поможет создать оптимальные условия для роста и развития растения.
Подготовка почвы для пересадки
Пересадка азалий — это ответственный и важный процесс, который требует правильной подготовки почвы. Чтобы пересаженные растения успешно прижились и продолжили свое развитие, необходимо учесть несколько важных моментов.
Выбор грунта
Пересадка азалий лучше всего проводится в специально подготовленной почве, которая удовлетворяет их потребностям. Для азалий подходит кислая почва с низким уровнем pH. Она должна быть воздухопроницаема и хорошо дренирована, чтобы избежать застоя влаги.
Подготовка почвы
Перед пересадкой рекомендуется подготовить почву особым образом. Первым шагом стоит удалить с поверхности почвы все сорные растения и органические остатки. Затем нужно тщательно прополоть и провести вспашку на глубину около 20 сантиметров.
После этого можно вносить питательные вещества, такие как компост или перегной. Это обеспечит растения всем необходимым для здорового роста и развития. Также рекомендуется добавить специализированные удобрения для азалий.
Важно помнить, что при пересадке азалий необходимо сохранять неповрежденные корни и обеспечивать им достаточно влаги. После завершения процесса пересадки необходимо хорошо полить растения и установить их в полутенистом месте для адаптации.
Подготовка куста к пересадке
Пересадка азалий — это важное событие в жизни растения, которое требует определенной подготовки. Перед пересадкой необходимо провести ряд мероприятий, чтобы гарантировать успешное обновление корневой системы и сохранение здоровья куста.
Первым шагом является полив азалии. Для этого подходит только отстоявшаяся не менее 6-8 часов вода комнатной температуры. Куст следует хорошенько увлажнить, дождаться, когда вода полностью впитается в почву, и только затем продолжать процесс подготовки.
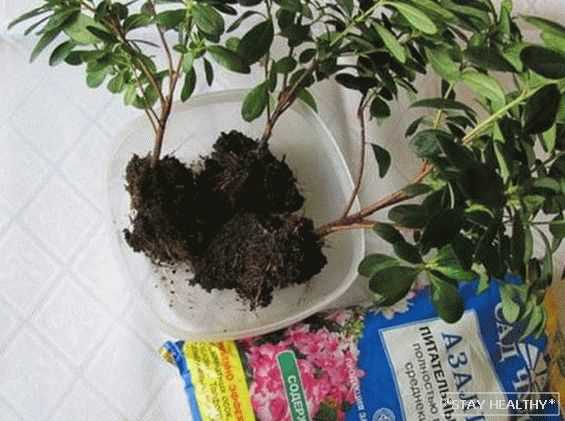
Далее необходимо осмотреть корни растения. Если они стали выходить наружу через дренажные отверстия горшка или образовали клубень, тогда настало время для пересадки. Растение аккуратно вынимают из горшка, освобождают от старой почвы и тщательно исследуют корни.
Удаление поврежденных корней — важный этап подготовки куста к пересадке. При обнаружении сухих, гнилых или поврежденных корней они должны быть удалены. Это поможет предотвратить распространение инфекции и создать благоприятное окружение для нового роста.
После этого можно перейти к обработке растения. Для этого азалию надо поместить в особый раствор, содержащий грибок землянику. Такая процедура благотворно скажется на состоянии корней и стимулирует их рост.
Подготовка ямы для пересадки
1. Выбор места для ямы
Перед началом пересадки азалии необходимо выбрать подходящее место для ямы. Не рекомендуется выбирать места с тенистой атмосферой или слишком ярким солнцем, так как это может негативно сказаться на росте и развитии растения.
2. Подготовка грунта
Для успешной пересадки азалии важно правильно подготовить грунт в яме. Рекомендуется использовать смесь из перегноя и листовой земли в равных пропорциях. Это позволит обеспечить хороший дренаж и достаточное количество питательных веществ для растения.
3. Создание дренажного слоя
Для предотвращения задержки влаги в яме необходимо создать дренажный слой. Для этого могут использоваться керамзит, гравий или крупный песок. Дренажный слой должен быть примерно 5-7 см толщиной и располагаться внизу ямы.
4. Посадка азалии в яму
После подготовки ямы и грунта можно приступать к посадке азалии. Рекомендуется выложить растение в центр ямы, уровнять его корни и накрывать их грунтом, чтобы растение было устойчиво и имело достаточно питательного грунта для развития.
5. Полив и уход после пересадки
После пересадки азалию необходимо хорошо полить. В дальнейшем следует регулярно поддерживать уровень влажности в грунте, избегая переувлажнения. Кроме того, рекомендуется устанавливать азалию в полутенистом месте и следить за тем, чтобы она не подвергалась перегреву или заморозкам.
Уход за азалиями после пересадки
После пересадки азалии необходимо продолжать ухаживать за растением, чтобы оно быстрее прижилось и активно развивалось. Важно следить за поливом, уровнем освещения и регулярно подкармливать растение.
Полив
После пересадки азалии рекомендуется умеренное поливание. Необходимо следить, чтобы почва была влажной, но не перенасыщенной водой. Чтобы избежать гниения корней, стоит обратить внимание на дренажную систему горшка и не допускать задержки влаги в уплотнении между корнями и новой почвой.
Освещение
Азалиям требуется яркий, но рассеянный свет для нормального развития. После пересадки растение может требовать некоторой адаптации к новым условиям освещения. Рекомендуется помещать азалии на окнах с восточной или западной стороны помещения, где они получат достаточное количество света, но не будут подвергаться прямым солнечным лучам, которые могут вызвать ожоги на листьях.
Подкормка
После пересадки азалии рекомендуется подкармливать растение специальными удобрениями для кислолюбивых растений. Удобрения следует применять согласно инструкции на упаковке и не переусердствовать, чтобы не вызвать перегрузку растения питательными веществами.
Следуя этим рекомендациям, можно обеспечить здоровое развитие азалий после пересадки, что приведет к их красивому цветению и радовать вас своей красотой.
Полив азалий в период пересадки
Период пересадки азалий является важным этапом и требует особого внимания к поливу растений. Во время пересадки азалии необходимо правильно обеспечить их влагой, чтобы избежать стресса и обеспечить успешное приживление.
Так стоп!!! Вы всё ещё не подписаны на наши каналы в Телеграмм и Дзен? Посмотрите: ТГ - (@historyfantasydetectivechat) и Дзен (https://dzen.ru/myshortsstorys)
Оптимальное время полива
Полив азалий в период пересадки следует проводить аккуратно и в оптимальное время. Важно помнить, что азалии предпочитают умеренное влажное почвосложение, поэтому излишество или недостаток влаги могут негативно сказаться на растении.
Идеальное время для полива азалий в период пересадки — это утренние часы. В это время земля еще не нагрелась от солнечных лучей, а влага успеет проникнуть в корни и обеспечить растению необходимые питательные вещества.
Способ полива
Полив азалий в период пересадки следует проводить аккуратно и поэтапно. Для этого можно использовать метод капельного полива или поливать между рядами закоренившихся азалий. Важно не заливать растения, чтобы избежать загустения почвы и гниения корней.
Также стоит помнить, что азалии предпочитают нормализованную влажность, поэтому на каждом этапе пересадки нужно обеспечивать им умеренно влажную среду.
Вывод: В период пересадки азалий необходимо особенно аккуратно и внимательно подходить к поливу растений. Оптимальное время полива — утро, а метод — капельный или межрядный полив. Соблюдая эти рекомендации, можно обеспечить азалиям комфортные условия и успешную пересадку.
Защита азалий от заболеваний и вредителей
Азалии, как и многие другие растения, подвержены различным заболеваниям и нападению вредителей. Однако соблюдение определенных мер предосторожности и регулярный контроль помогут защитить азалии от негативного воздействия.
Выбор здоровых растений
При покупке азалий важно выбирать здоровые и сильные растения. Обратите внимание на листья: они должны быть зелеными, без пятен и повреждений. Также проверьте корни и стебель на наличие гнили или сушки. Здоровые растения проще противостоят болезням и вредителям.
Использование правильного почвосмеси
Азалии нуждаются в кислой почве, поэтому для посадки рекомендуется использовать специальную почвосмесь для кислолюбивых растений. Она обеспечит оптимальный pH-баланс и помогут сохранить здоровье растения. Регулярная подкормка удобрениями для азалий также способствует здоровому росту и предотвращает развитие заболеваний.
Устранение поврежденных частей
Если вы обнаружили поврежденные листья, цветы или побеги на азалиях, рекомендуется удалить их сразу же. Поврежденные части растения могут стать источником инфекции и привести к заболеванию всего растения. Поэтому важно своевременно удалять поврежденные элементы.
Предотвращение заражения болезнями
Для предотвращения заражения азалий болезнями следует соблюдать некоторые рекомендации. Не переувлажняйте почву и избегайте застоя влаги. Однако также не допускайте пересушивания. Постоянный контроль за почвой и соблюдение оптимального режима полива поможет предотвратить развитие грибковых и бактериальных инфекций. Также регулярное проветривание помещения, где находятся азалии, поможет избежать конденсации и накопления влаги.
Борьба с вредителями
Азалии подвержены нападению различных вредителей, таких как щитовки, трипсы и паутинные клещи. Для борьбы с ними можно использовать натуральные инсектициды, такие как настойка чеснока или отвар крапивы. Регулярный осмотр растений поможет своевременно обнаружить вредителей и предпринять необходимые меры.
Соблюдение всех вышеперечисленных мер позволит защитить азалии от заболеваний и вредителей, сохранить их здоровье и красоту.
Питание азалий в период пересадки

Выбор подходящей почвы

Пересадка азалий – важный процесс, который требует внимательного и качественного подхода. Одним из важных аспектов пересадки является выбор подходящей почвы. Азалии предпочитают кислую почву с нейтральным или слегка кислым pH.
Для пересадки азалий лучше использовать готовую почву для кислолюбивых растений, которую можно приобрести в специализированных магазинах или приготовить самостоятельно. Типичный состав подходящей почвы для азалии включает смесь торфа, перлита или вермикулита, древесной коры и кокосового волокна.
Удобрение в период пересадки
Удобрение играет важную роль в процессе пересадки азалий. В период пересадки следует использовать специальные удобрения, которые содержат важные элементы питания, такие как азот, фосфор и калий.
Для азалий подходят удобрения, которые содержат большее количество азота и фосфора по сравнению с калием. Регулярное удобрение поможет здоровому и красивому росту азалий после пересадки.
Полив в период пересадки
Правильный полив играет важную роль в период пересадки азалий. После пересадки растения следует поливать достаточно регулярно, но не избыточно. Важно избегать пересыхания или переувлажнения грунта.
Улучшить дренажность и впитывающую способность почвы можно добавлением вермикулита или перлита при пересадке. Эти материалы помогут сохранить оптимальный уровень влажности в почве и предотвратить загнивание корней азалии.
Важно отметить, что поливание азалий в период пересадки также зависит от условий окружающей среды, включая температуру и влажность воздуха. Рекомендуется регулярное контролирование влажности и адаптация режима полива в соответствии с потребностями растения.
Особенности пересадки гортензий
Гортензия – это красивое и популярное растение с декоративными соцветиями, которое может быть замечательным украшением сада или интерьера. Однако, для сохранения здоровья и красоты гортензии, периодическая пересадка может быть необходимой. Вот некоторые особенности, которые стоит учитывать при пересадке гортензий.
- Выбор места для пересадки. Перед пересадкой гортензии необходимо определить оптимальное место для ее размещения. Гортензии любят полутень или тень, поэтому лучше выбрать место, которое частично освещается солнцем или находится в тени деревьев. Также важно выбрать место, защищенное от сквозняков.
- Подготовка почвы. Гортензии предпочитают кислую почву, поэтому перед пересадкой следует подготовить подходящую почву. Для этого можно использовать смесь из вермикулита, торфа и песка, добавив немного перегноя или компоста.
- Правила пересадки. Пересадку гортензии лучше проводить весной или осенью, когда почва достаточно влажная. Необходимо осторожно вынуть растение из горшка и перенести его в новую почву. При этом следует обратить внимание на корневую систему, чтобы не повредить ее.
Полив и уход после пересадки. После пересадки гортензии необходимо обильно полить и укрыть от прямого солнечного света на некоторое время. Поливать гортензию следует умеренно, не позволяя почве пересыхать. Также важно удалять увядшие цветы и проводить регулярную подкормку, чтобы обеспечить растению необходимые питательные вещества.
Выполняя пересадку гортензии с соблюдением всех особенностей, можно сохранить здоровье и красоту растения и наслаждаться его прекрасными цветами на протяжении долгих лет.
Важные советы по пересадке азалий
Пересадка азалий является одной из важных процедур по уходу за этими прекрасными растениями. Ее следует проводить каждые 1-2 года, чтобы обеспечить развитию и цветению растения оптимальные условия. Вот несколько важных советов, которые помогут вам успешно пересадить свои азалии:
1. Выбор горшка и почвы
Для пересадки азалий необходимо выбрать подходящий горшок и почву. Горшок должен быть немного больше предыдущего, чтобы обеспечить растению достаточно места для роста корней. Почва должна быть хорошо дренированной и кислой. Лучше всего использовать специальный субстрат для азалий или создать его самостоятельно, смешав торф, опилки и пергамент.
2. Подготовка азалии к пересадке
Перед пересадкой необходимо тщательно проверить состояние растения и удалить поврежденные, больные или сухие корни. Для этого аккуратно выньте азалию из горшка и осмотрите корни. При необходимости удалите поврежденные корни с помощью острого садового ножа или ножниц.
3. Правильный способ пересадки
Во время пересадки азалии следует обращать особое внимание на то, чтобы корни не повреждались и не выпадали из горшка. Положите слой дренирующего материала на дно нового горшка, затем аккуратно поместите растение в горшок и засыпьте его свежей почвой. Не забудьте хорошо уплотнить почву вокруг корней и немного приподнять растение над уровнем почвы.
Эти простые, но важные советы помогут вам успешно пересадить азалии и обеспечить им оптимальные условия для роста и цветения. Следуйте им, и вашим азалиям будет комфортно и красиво!
Вопрос-ответ:
Азалии рекомендуется пересаживать весной или осенью, после завершения цветения и перед началом активного роста растения. Такие сезоны наиболее благоприятны для успешной адаптации азалии к новой почве и горшку.
Как выбрать правильную горшочную смесь для пересадки азалий?
При выборе горшочной смеси для азалий, предпочтение следует отдавать кислотным почвам с нейтральным или слегка кислым pH. Хорошим вариантом может быть смесь из равных долей садовой земли, торфа и крупнозернистого песка. Также важно добавить дренажный материал в горшок для обеспечения хорошей водоотводимости.
Как правильно пересадить азалию?
Для пересадки азалии потребуется подготовить новый горшок с подходящей горшочной смесью, а также извлечь растение из старого горшка, осторожно разломав корни. Затем азалию следует разместить в новом горшке, добавляя горшочную смесь постепенно и периодически утрамбовывая. После пересадки растение нужно хорошо полить и поместить в тень до полного адаптирования.
Часто ли требуется пересадка азалий?
Азалии не требуют слишком частой пересадки. Обычно рекомендуется пересаживать растение раз в 2-3 года, чтобы обновить горшочную смесь и дать корням пространство для роста. Если азалия активно растет и заполняет весь горшок корнями, ее можно пересадить и чаще, но в этом случае следует быть осторожным с повреждением корневой системы.
Что делать, если корни азалии повреждены при пересадке?


: как вырастить из семян и какие виды и сорта существуют 4")


