- What are Microgreens?
- Benefits of Growing Microgreens at Home
- The Most Popular Microgreen Varieties
- Radish Microgreens
- Health Benefits
- Growing Conditions
- How to Grow
- Usage and Storage
- Recipe Ideas
- In Conclusion
- Sunflower Microgreens
- Nutritional Benefits
- Taste and Texture
- Growing Sunflower Microgreens
- Uses of Sunflower Microgreens
- Summary
- Pea Microgreens
- Health Benefits
- Growing Pea Microgreens
- Usage and Storage
- Conclusion
- How to Grow Microgreens
- Choosing the Right Seeds and Soil
- 1. Seed Selection
- 2. Soil or Growing Medium
- 3. Container Selection
- 4. Watering and Maintenance
- 5. Light Requirements
- 6. Temperature and Humidity
- Creating the Ideal Growing Conditions
- Lighting
- Temperature
- Air Circulation
- Watering
- Soil and Growing Medium
- Harvesting
- Harvesting and Storing Microgreens
- 1. Timing the Harvest
- 2. Harvesting the Microgreens
- 3. Washing the Microgreens
- 4. Drying the Microgreens
- 5. Storing the Microgreens
- 6. Using Harvested Microgreens
- Q&A:
- What are microgreens?
- How do I grow microgreens?
- What are the best plants for growing microgreens?
- What are the benefits of eating microgreens?
- Can I grow microgreens indoors?
- How long does it take for microgreens to grow?
- Can I use any type of soil to grow microgreens?
- Video: Beginners Guide to Growing Microgreens
Microgreens have gained immense popularity in recent years as a trendy and nutritious addition to any diet. These tiny, tender greens are harvested at an early stage of growth, typically within 7-14 days of sowing the seeds. Packed with essential vitamins, minerals, and antioxidants, microgreens are a concentrated source of nutrients that can easily be incorporated into salads, sandwiches, smoothies, and more.
One of the best things about growing microgreens is that you can do it right in your own home, regardless of the season. All you need is a small space, some seeds, and a few basic supplies. But what are the best plants to grow as microgreens? While there are numerous options to choose from, some plants stand out for their delicious flavors and abundance of nutrients.
Broccoli is a popular choice for microgreen enthusiasts. These greens have a mild, yet slightly peppery taste that adds a burst of flavor to any dish. Broccoli microgreens are also packed with vitamins A, C, and K, as well as important minerals like potassium and calcium. They are known for their potential cancer-fighting properties and antioxidant content.
Purple Radish microgreens are another top pick. With their vibrant purple stems and leaves, they are visually striking and add a pop of color to your plate. They have a slightly spicy flavor that pairs well with a variety of dishes. Purple radish microgreens are packed with essential nutrients, including vitamin C, potassium, and iron, making them a great choice for boosting your immune system.
Microgreens have gained immense popularity in recent years as a trendy and nutritious addition to any diet.
What are Microgreens?
Microgreens are young vegetable greens that are harvested when they are very small, typically after the first set of true leaves have developed. They are packed with flavor and nutrition, and have gained popularity in recent years for their vibrant colors, unique textures, and concentrated nutrient content.
Microgreens can be grown from a wide variety of vegetable, herb, and even some flower seeds. These tiny greens are usually harvested within one to three weeks after planting, depending on the specific variety. The harvested greens are typically 1 to 3 inches tall and are harvested as a whole including the stem and leaves.
Microgreens are often used as a garnish or accent to enhance the flavor, texture, and appearance of meals. They are commonly used in salads, sandwiches, wraps, and as a topping for soups or main dishes. Microgreens are known for their intense flavors, which can range from mild and nutty to spicy and peppery, depending on the variety.
Microgreens are not only aesthetically pleasing and delicious, but they are also highly nutritious. Studies have shown that microgreens can contain up to 40 times more vitamins, minerals, and antioxidants than their mature counterparts. They are a rich source of vitamins C, E, and K, as well as iron, calcium, and potassium.
Growing microgreens is relatively simple and can be done indoors or outdoors, depending on the space available and the desired growing conditions. Microgreens can be grown in trays or containers filled with a growing medium such as potting soil or coco coir. They require adequate moisture, light, and ventilation to thrive.
Overall, microgreens are a trendy and nutritious addition to any diet. Whether you are a seasoned gardener or a beginner, growing your own microgreens can be a fun and rewarding experience. With their vibrant colors, intense flavors, and high nutrient content, microgreens are a great way to enhance your meals and boost your health.
Benefits of Growing Microgreens at Home
- Nutritional Powerhouses: Microgreens are known for their intense flavor and high nutritional content. Despite their small size, they are packed with vitamins, minerals, antioxidants, and enzymes. Including microgreens in your diet can help boost your immune system, improve digestion, and support overall health and well-being.
- Economical: Growing microgreens at home is a cost-effective way to enjoy these nutritious greens. With just a small initial investment in seeds and growing supplies, you can harvest a bountiful supply of microgreens for a fraction of their store-bought price. This is especially beneficial for those who consume microgreens regularly.
- Convenience: Having your own microgreens garden at home means you have a fresh supply of greens available whenever you need them. Instead of relying on trips to the grocery store, you can simply snip off a few microgreens from your indoor garden to add to your meals or snacks. This convenience can save you time and ensure you always have access to fresh and healthy greens.
- Flavor Variety: Growing microgreens at home allows you to experiment with a wide range of flavors and varieties. From spicy arugula to mild pea shoots, you can customize your microgreens garden to include your favorite flavors. This variety adds excitement and diversity to your meals, making them more enjoyable and satisfying.
- Environmental Benefits: Growing your own microgreens reduces the carbon footprint associated with transporting and packaging greens from the grocery store. By cultivating microgreens at home, you can contribute to a more sustainable and eco-friendly food system. Additionally, growing microgreens indoors eliminates the need for pesticides and herbicides, making them a healthier choice for you and the environment.
The Most Popular Microgreen Varieties
Microgreens are young vegetable greens that are harvested just after the first leaves have developed. They are packed with flavor and nutrients, making them a popular choice for adding a nutritious boost to meals. Here are some of the most popular microgreen varieties:
Broccoli: Broccoli microgreens have a mild, slightly bitter flavor. They are rich in vitamins A and C, and are also a good source of fiber. Broccoli microgreens can be added to salads, sandwiches, or used as a topping for soups and stews.
Radish: Radish microgreens have a spicy, peppery flavor. They are low in calories and contain high levels of antioxidants. Radish microgreens are commonly used in salads, sandwiches, and as a garnish for various dishes.
Pea: Pea microgreens have a sweet, fresh flavor. They are high in vitamins A, C, and K, and are also a good source of iron and fiber. Pea microgreens can be added to salads, stir-fries, or used as a topping for pizzas and pastas.
Sunflower: Sunflower microgreens have a nutty flavor and a crunchy texture. They are rich in vitamins and minerals, including vitamin E, magnesium, and selenium. Sunflower microgreens can be used in salads, sandwiches, or added to smoothies for an extra nutritional boost.
Kale: Kale microgreens have a mild, slightly bitter flavor. They are packed with vitamins and minerals, including vitamin A, vitamin C, and calcium. Kale microgreens can be used in salads, sandwiches, or added to smoothies and juices.
These are just a few of the many microgreen varieties available. Experiment with different varieties to discover your favorites and enjoy the fresh, nutritious taste of microgreens in your meals.
Radish Microgreens
Radish microgreens are a popular choice for growing as they are easy to cultivate and have a delicious spicy flavor. These tiny greens are packed with nutrients, making them a healthy addition to your diet.
Health Benefits
Radish microgreens are a good source of vitamin C, vitamin K, and folate. They are also rich in antioxidants, which can help protect against cell damage and reduce the risk of chronic diseases. These greens also contain high levels of minerals such as potassium, calcium, and iron.
Growing Conditions
Radish microgreens are quick-growing and can be grown in soil or hydroponically. They require minimal space, making them perfect for small gardens or indoor cultivation. These greens prefer cooler temperatures between 60°F-70°F (15°C-21°C) and can be harvested in as little as 10 days.
How to Grow
Here is a step-by-step guide to growing radish microgreens:
- Soak radish seeds in water for about 8-12 hours to encourage germination.
- Place a layer of moistened potting soil or a hydroponic mat in a tray or container.
- Spread the soaked radish seeds evenly on top of the soil or mat, making sure they are not overcrowded.
- Lightly press the seeds into the soil or mat and cover them with a thin layer of soil or vermiculite.
- Water the seeds gently to keep the soil or mat moist but not waterlogged.
- Place the tray or container in a well-lit area, away from direct sunlight.
- Maintain the moisture level by misting the greens with water daily.
- After about 7-10 days, when the microgreens have reached the desired height of around 1-2 inches (2.5-5 cm), they are ready to be harvested.
- Cut the greens just above the soil or mat using clean scissors or a sharp knife.
Usage and Storage
Radish microgreens can be added to salads, sandwiches, wraps, or used as a garnish for soups and other dishes. They can also be blended into smoothies for an extra nutritional boost. To store, place the harvested microgreens in an airtight container or plastic bag and refrigerate. They will stay fresh for up to one week.
Recipe Ideas
Here are some recipe ideas to incorporate radish microgreens into your meals:
- Add a handful of radish microgreens to a green salad for a peppery kick.
- Top your avocado toast with radish microgreens for extra flavor and texture.
- Make a radish microgreen pesto by blending the greens with garlic, nuts, Parmesan cheese, olive oil, and lemon juice.
- Use radish microgreens as a topping for tacos or nachos for a refreshing twist.
In Conclusion
Radish microgreens are a trendy and nutritious addition to your diet. They are easy to grow, packed with nutrients, and have a spicy flavor that can enhance your favorite meals. So why not give them a try and enjoy their fresh and vibrant taste?
Sunflower Microgreens
Sunflower microgreens, also known as sunflower sprouts, are the young seedlings of sunflower plants. These tiny greens are not only delicious but also pack a powerful nutritional punch.
Nutritional Benefits
Sunflower microgreens are rich in vitamins and minerals, making them a great addition to a healthy diet. They are a good source of vitamins A, B, C, and E, as well as minerals such as potassium, iron, and calcium. These nutrients are essential for maintaining a healthy immune system and promoting overall well-being.
Taste and Texture
Sunflower microgreens have a mild, nutty flavor that is often compared to sunflower seeds. They have a crisp and tender texture, which adds a delightful crunch to salads, sandwiches, and other dishes.
Growing Sunflower Microgreens
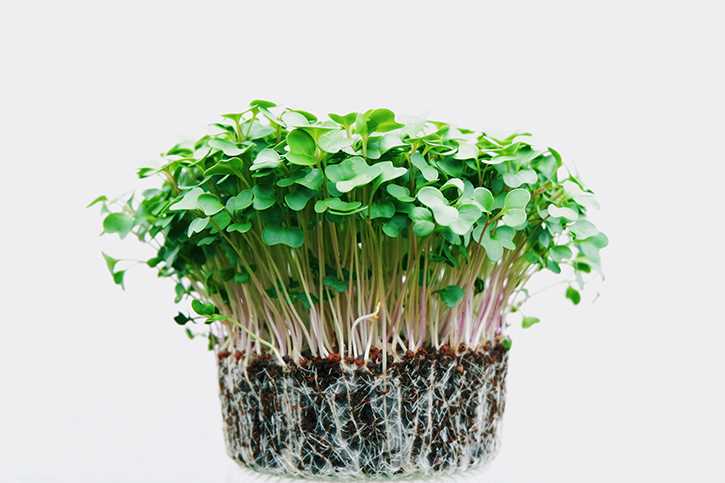
Here is a simple guide on how to grow sunflower microgreens:
- Soak sunflower seeds in water for 8-12 hours to help with germination.
- Drain the water and spread the seeds evenly on a tray or container filled with a layer of moist soil or other growing medium.
- Lightly cover the seeds with a thin layer of soil or growing medium.
- Place the tray in a sunny location or under grow lights.
- Water the seeds daily, making sure to keep the soil moist but not waterlogged.
- After about 7-10 days, the sunflower microgreens should be ready to harvest.
Uses of Sunflower Microgreens
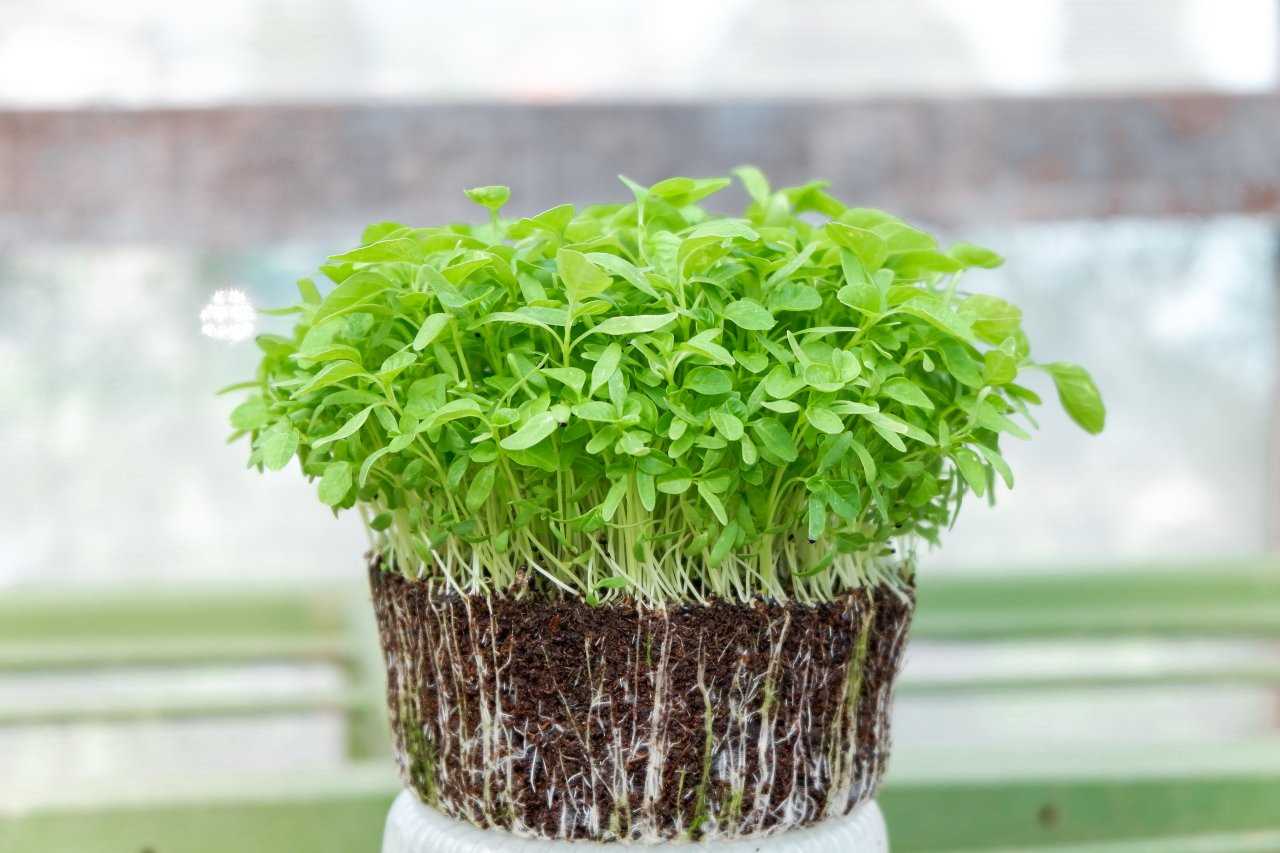
Sunflower microgreens can be used in a variety of dishes to add flavor, texture, and nutritional value. Some popular ways to enjoy sunflower microgreens include:
- Adding them to salads for an extra crunch and nutty taste.
- Topping sandwiches or wraps to add freshness and a pop of color.
- Blending them into smoothies for a nutrient boost.
- Garnishing soups or stir-fries to add a decorative touch.
Summary
Sunflower microgreens are a trendy and nutritious addition to any diet. They are packed with vitamins and minerals and have a pleasant flavor and texture. With their easy cultivation and versatile uses in cooking, sunflower microgreens are definitely worth a try.
Pea Microgreens
Pea microgreens are a popular choice for growing at home due to their delicious flavor and high nutritional value. They are easy to grow and can be harvested in as little as 10 to 14 days.
Health Benefits
Pea microgreens are packed with nutrients, making them an excellent addition to any diet. They are a great source of vitamins A, C, and K, as well as folate and fiber. These tiny greens also contain enzymes that aid in digestion and improve overall gut health.
Growing Pea Microgreens
Here is a simple step-by-step guide to growing pea microgreens:
- Start by soaking pea seeds in water for 8-12 hours to help with germination.
- Prepare a shallow container or tray with drainage holes and fill it with a good-quality seed starting mix.
- Evenly spread the soaked pea seeds over the soil, making sure they are not too crowded.
- Cover the seeds with a thin layer of soil and mist gently with water.
- Place the container in a location that receives bright, indirect sunlight.
- Water the seeds regularly, keeping the soil moist but not soggy.
- After about 10 to 14 days, when the pea microgreens have reached a height of about 2 inches, they are ready to be harvested.
- To harvest, use scissors to cut the microgreens just above the soil line.
- Rinse the harvested greens gently with water and pat them dry before using them in your favorite recipes.
Usage and Storage
Pea microgreens can be used in a variety of dishes to add a fresh and crunchy texture. They work well as a garnish for soups, salads, sandwiches, and stir-fries. These microgreens are best consumed fresh, but if you have extras, they can be stored in a sealed container in the refrigerator for up to 5 days.
Conclusion
Pea microgreens are not only delicious but also highly nutritious. They are easy to grow at home and can be a great addition to any meal. So why not give them a try and enjoy the benefits of these trendy and nutritious greens?
How to Grow Microgreens
Growing microgreens is a simple and rewarding process. Follow these steps to start growing your own nutritious and trendy microgreens:
- Choose the right seeds: Select seeds that are specifically labeled for microgreen production. Some popular choices include broccoli, kale, radish, and sunflower.
- Prepare the growing medium: Fill a shallow container or tray with a sterile growing medium, such as peat moss or coco coir. Moisten the medium with water, but ensure there is no standing water.
- Sow the seeds: Evenly spread the seeds over the surface of the growing medium. For larger seeds, such as sunflower, you may need to press them gently into the soil. Leave a small space between the seeds to allow them to grow without competition.
- Provide proper lighting: Place the tray in a well-lit area, such as a windowsill or under grow lights. Microgreens require at least 6 to 8 hours of sunlight or artificial light per day.
- Water the microgreens: Mist the microgreens with water using a spray bottle. Keep the growing medium consistently moist, but avoid overwatering, as this can lead to mold or rot.
- Monitor the growth: Keep an eye on the microgreens as they grow. They should start sprouting within a few days and be ready for harvest in 1 to 2 weeks, depending on the variety.
- Harvest the microgreens: Once the microgreens have reached the desired size, typically when they have developed their first set of true leaves, use a pair of scissors to cut them just above the soil line. Rinse the harvested microgreens gently and pat them dry before consuming.
- Enjoy your microgreens: Microgreens can be added to salads, sandwiches, smoothies, or used as a garnish for various dishes. They are packed with flavor, nutrients, and make a beautiful addition to any meal.
Remember to experiment with different seed varieties and enjoy the process of growing your own microgreens. Happy growing!
Choosing the Right Seeds and Soil
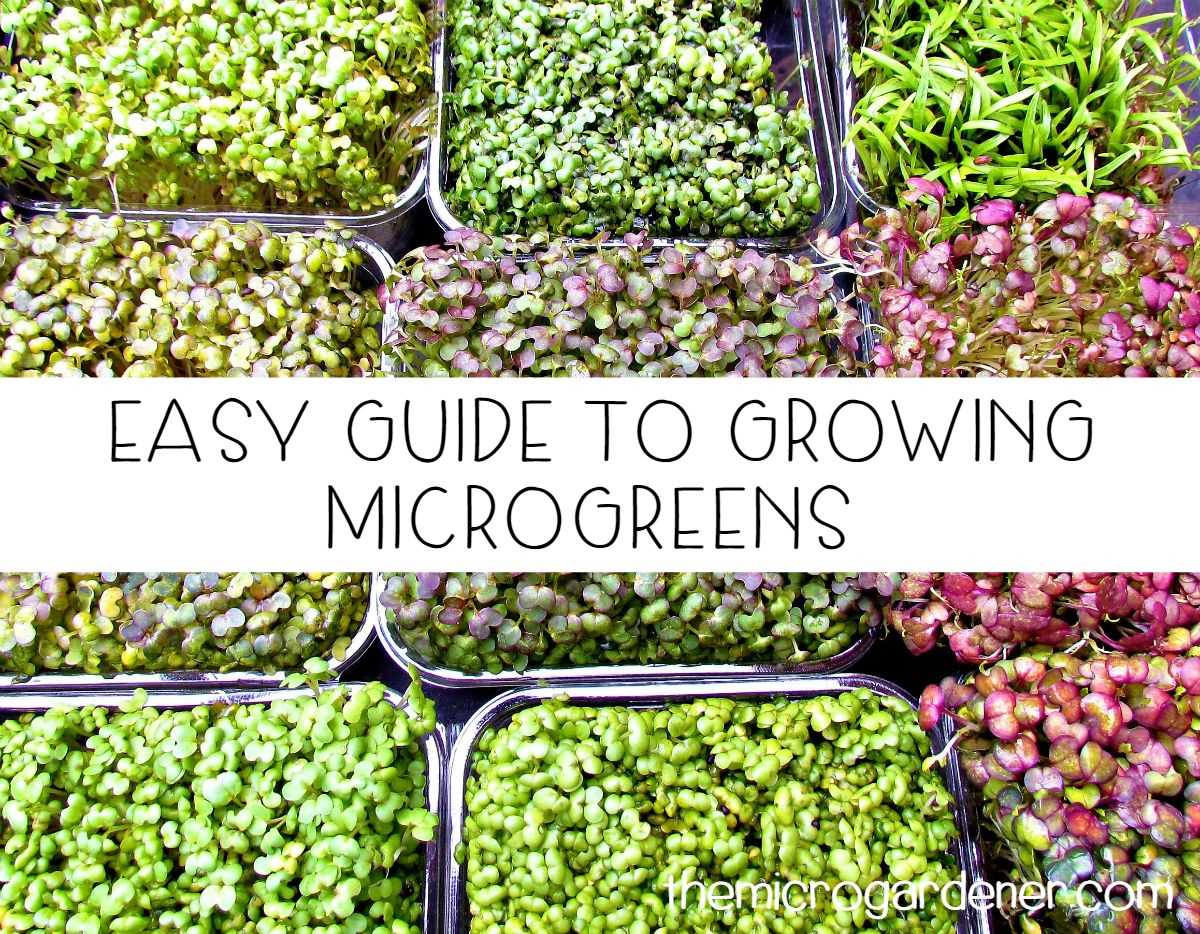
When it comes to growing microgreens, selecting the right seeds and soil is essential for a successful harvest. Here are some key factors to consider:
1. Seed Selection
Choose seeds that are specifically labeled for microgreen production. These seeds are often untreated and have a higher germination rate, ensuring a greater yield. Popular choices for microgreens include broccoli, radish, kale, and sunflower.
It’s important to source seeds from a reputable supplier to ensure their quality and purity. Look for organic and non-GMO options if possible.
2. Soil or Growing Medium
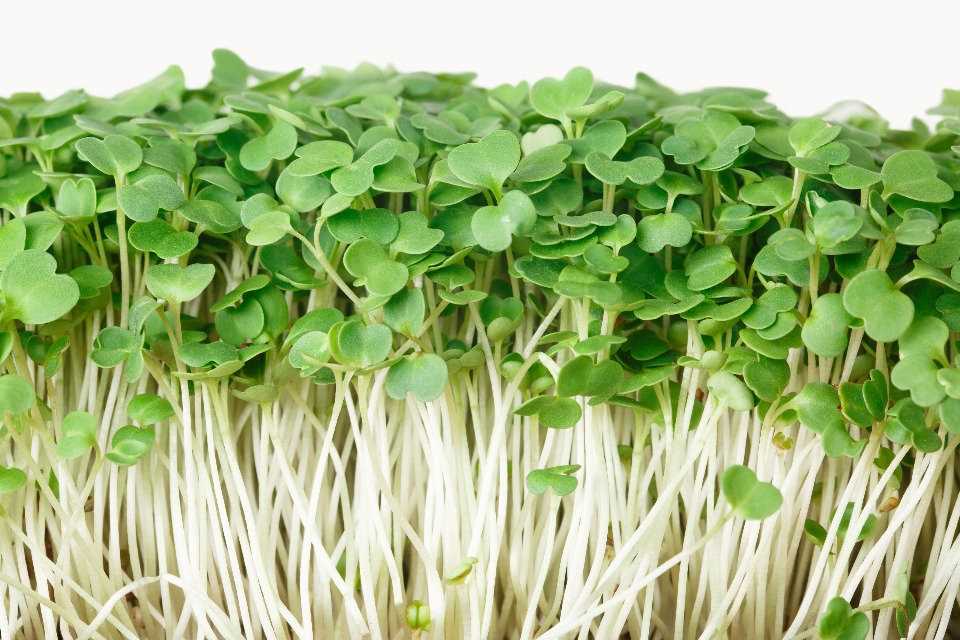
The soil or growing medium you use for your microgreens is crucial for their growth and nutrition. While there are many options available, a high-quality, nutrient-rich potting mix or seed-starting mix is often recommended.
Avoid using garden soil, as it can contain contaminants and may not provide the necessary nutrients for optimal growth.
3. Container Selection
Microgreens can be grown in a variety of containers, including shallow trays, seedling trays, or even recycled containers. The key is to choose a container that allows for proper drainage and airflow.
Ensure that the container is clean and free from any chemicals or residues that could negatively impact the growth of your microgreens.
4. Watering and Maintenance
Microgreens require regular watering to ensure they stay hydrated and promote healthy growth. However, it’s important not to water them excessively, as this can lead to mold and fungal issues.
Monitor the moisture level of the soil or growing medium and water accordingly. Providing proper air circulation and ventilation can also help prevent moisture-related problems.
5. Light Requirements
Microgreens need sufficient light to thrive and develop vibrant colors and flavors. Place them in a well-lit area or use grow lights if natural light is limited.
Keep in mind that different varieties of microgreens may have specific light requirements, so it’s important to research and adjust accordingly.
6. Temperature and Humidity
Microgreens generally prefer a temperature range of 60-75°F (15-24°C) for optimal growth. They also thrive in moderate humidity levels, around 50-60%.
Monitor the temperature and humidity in your growing area to ensure it falls within these ranges. Using a thermometer and hygrometer can help you track these factors accurately.
By carefully selecting the right seeds and soil, and providing the ideal growing conditions, you can enjoy a bountiful harvest of nutritious and flavorful microgreens.
Creating the Ideal Growing Conditions
Creating the ideal growing conditions is crucial for growing microgreens successfully. Here are some important factors to consider:
Lighting
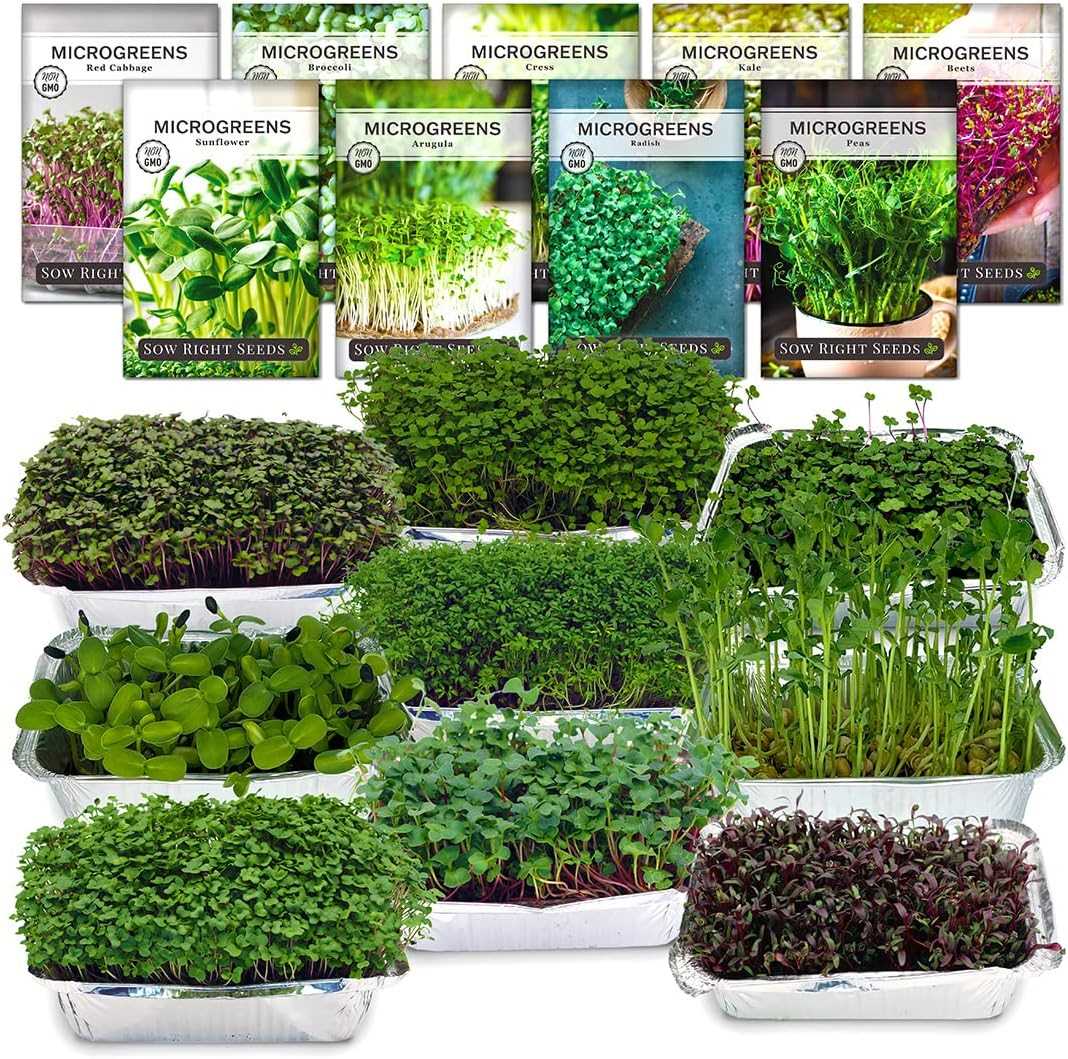
Microgreens require bright light to grow properly. Place them in a sunny spot or use full-spectrum grow lights if natural light is limited. Keep the lights positioned close to the plants to ensure they receive enough light for photosynthesis.
Temperature
Maintaining the right temperature is important for microgreen growth. Most microgreens prefer temperatures between 60°F and 75°F (15°C and 24°C). Make sure to avoid extreme temperature fluctuations, as it can stress the plants.
Air Circulation
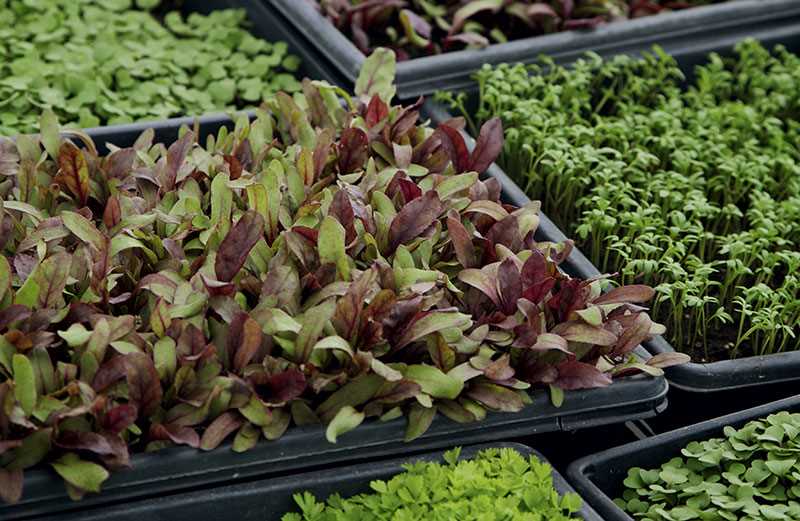
Proper air circulation is essential for preventing disease and fungal growth. Use a fan to keep the air moving around the plants, but avoid direct airflow, as it can dry out the soil.
Watering
Water microgreens carefully to avoid overwatering or underwatering. Use a spray bottle or a gentle watering can to moisten the soil evenly, taking care not to disturb the delicate plants. It’s best to water from the bottom by placing the tray in a shallow dish with water and allowing the plants to soak it up.
Soil and Growing Medium
Choosing the right soil or growing medium is crucial for microgreen growth. Look for a soilless mix specifically formulated for seed starting or microgreens. These mixes provide good drainage and aeration while retaining moisture. Avoid using garden soil, as it can contain pests and diseases that can harm the microgreens.
Harvesting
Harvest microgreens when they have reached the desired size, usually about 1-2 inches in height. Use clean scissors to cut the greens just above the soil level. Rinse the harvested microgreens with cool water and pat them dry before using or storing.
By creating the ideal growing conditions, you can ensure that your microgreens grow healthily and provide you with the highest nutritional value. Experiment with different varieties and techniques to find what works best for you. Happy growing!
Harvesting and Storing Microgreens
Harvesting microgreens at the right time is crucial to ensure maximum freshness and flavor. Follow these steps to harvest and store your microgreens:
1. Timing the Harvest
Microgreens are typically ready to harvest when they have developed their first true leaves, which is usually around 1-3 weeks after sowing. The exact timing can vary depending on the type of microgreen you are growing, so it’s essential to refer to the specific variety’s seed packet or instructions for guidance.
2. Harvesting the Microgreens
Using a pair of clean scissors or a sharp knife, cut the microgreens just above the soil level. Be careful not to pull or uproot the entire plant. Harvesting in this manner allows the microgreens to continue growing for a possible second or even third harvest.
3. Washing the Microgreens
Gently rinse the harvested microgreens under cool water to remove any debris or soil particles. Place them in a colander or use a salad spinner to remove excess water.
4. Drying the Microgreens
After washing, spread the microgreens on a clean kitchen towel or paper towels to air dry. Pat them gently with another towel to speed up the drying process if desired. Ensure that the microgreens are completely dry before storage to prevent moisture-related issues.
5. Storing the Microgreens
It’s essential to store microgreens properly to maintain their freshness and nutritional value. Here are some common storage methods:
- Refrigerator Storage: Place the dry microgreens in a clean, airtight container or zipper-lock bag and store them in the refrigerator. They can typically be stored for up to a week, but it’s best to consume them as soon as possible for optimal freshness.
- Seedling Trays or Containers: If you have additional space, you can store the microgreens in their growing trays or containers. Keep them in a cool and dark area to slow down their growth. Harvest them just before use to ensure maximum freshness.
- Packaging: Some microgreen varieties are sold in special packaging that helps maintain their freshness. If you purchase microgreens in packaging, follow the recommended storage instructions provided.
6. Using Harvested Microgreens
Microgreens are best enjoyed fresh, so try to use them as soon as possible after harvest. They make a fantastic addition to salads, sandwiches, wraps, smoothies, and garnishes. Experiment with different dishes to explore their flavors and add a nutritious boost to your meals.
By following these harvesting and storage guidelines, you can enjoy the vibrant flavors and nutritional benefits of homegrown microgreens for an extended period.
Q&A:
What are microgreens?
Microgreens are young vegetable greens that are harvested when they are just a few inches tall, after the first set of true leaves have formed. They are packed with nutrients and are known for their vibrant flavors.
How do I grow microgreens?
Growing microgreens is easy. You can start by filling a shallow container with soil or a soilless medium. Sprinkle the seeds evenly over the surface and lightly cover them with soil. Keep the soil moist and provide plenty of light. Within a week or two, the microgreens will be ready to harvest.
What are the best plants for growing microgreens?
There are many plants that are ideal for growing microgreens. Some popular choices include broccoli, kale, radish, sunflower, and pea. Each plant has its own unique flavor and nutritional profile, so it’s a good idea to experiment and find your favorites.
What are the benefits of eating microgreens?
Eating microgreens has many benefits. They are packed with vitamins, minerals, and antioxidants, making them a great addition to a healthy diet. They are also low in calories and high in fiber, which can support digestion and weight management.
Can I grow microgreens indoors?
Absolutely! Microgreens can be easily grown indoors. They require minimal space and can be grown on a windowsill or under grow lights. Just make sure they have access to plenty of light and keep the soil moist.
How long does it take for microgreens to grow?
The time it takes for microgreens to grow varies depending on the plant. Generally, they can be harvested in 1-3 weeks. Some varieties, like radish and sunflower, grow faster and can be harvested in as little as one week.
Can I use any type of soil to grow microgreens?
While you can use regular potting soil to grow microgreens, it’s best to use a soilless medium like coconut coir or vermiculite. These mediums are lightweight, sterile, and provide good drainage, which is important for growing healthy microgreens.
Video:
Beginners Guide to Growing Microgreens
