- Подготовка почвы для выращивания сливы
- Выбор солнечного места
- Разрыхление и удобрение почвы
- Регулирование кислотности почвы
- Посадка и размещение саженцев сливы
- Выбор сорта и подвоя
- Правильная глубина посадки
- Размещение саженцев на участке
- Уход и обрезка сливы
- Обрезка сливы
- Уход за сливой
- Полив и подкормка
- Защита от болезней и вредителей
- Формирование кроны и обрезка веток
- Обрезка веток
- Формирование кроны
- Лучшие виды и сорта сливы
- Вопрос-ответ:
- Какие виды сливы лучше всего подходят для выращивания в саду?
- Какие условия выращивания сливы нужно обеспечить?
- Как определить готовность сливы к сбору?
- Как защитить сливу от вредителей и болезней?
- Какие проблемы могут возникнуть при выращивании сливы и как с ними бороться?
- Видео:
- Колоновидные груши, сливы и абрикосы. Миф или реальность?
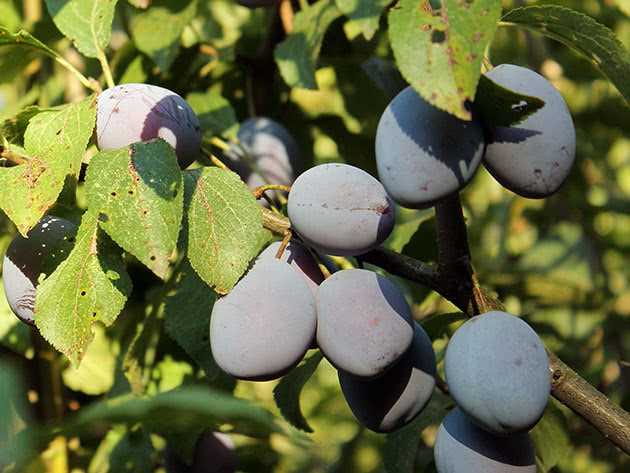
Выращивание сливы в саду может быть интересным и полезным занятием для любителей садоводства. Слива — это плодовое дерево семейства розовых. Она отличается своей неприхотливостью и высокими урожаями. Однако, чтобы получить хорошие плоды, необходимо знать некоторые секреты выращивания.
Один из главных секретов успешного выращивания сливы — правильный выбор сорта. Существует огромное количество различных сортов сливы, отличающихся по цвету, размеру и вкусу плодов. Некоторые сорта подходят для возделывания в северных регионах, где климат холодный, другие — для южных районов, где климат более теплый и сухой. Важно учитывать также сезон созревания плодов и их устойчивость к болезням и вредителям.
Еще одним важным аспектом выращивания сливы является подготовка почвы. Слива предпочитает рыхлые, плодородные почвы с хорошей влагоудерживающей способностью. Перед посадкой необходимо провести глубокую вспашку и добавить органические удобрения. Важно также обеспечить дренажную систему, чтобы избежать застоя воды в корневой зоне.
Выращивание сливы в саду может стать приятным и полезным хобби. Следуя секретам выращивания, правильно выбирая сорты и заботясь о почве, вы сможете получить вкусные и сочные плоды этого популярного фрукта. Не забывайте также о регулярном обрезке и подкормке деревьев, чтобы увеличить урожайность и качество плодов.
Подготовка почвы для выращивания сливы
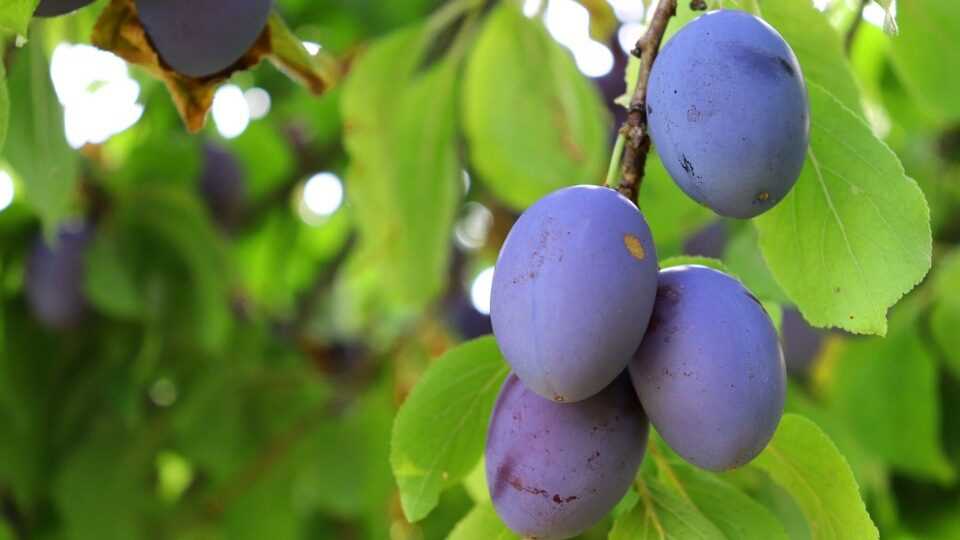
Выращивание сливы в саду требует хорошей подготовки почвы. Важно выбрать подходящую почву, учитывая различные виды и сорта сливы. Слива предпочитает рыхлые, плодородные почвы с хорошей влагоудерживающей способностью.
Перед посадкой сливы необходимо провести обработку почвы. Перекопайте землю на глубину около 40 см, удаляя сорняки и камни. Если почва слишком кислая, ее можно известь измельченным известняком или доломитовой мукой. Если же почва слишком щелочная, добавьте торф или опилки. Для улучшения плодородия почвы можно добавить компост или перегной.
После обработки почвы необходимо провести анализ ее кислотности и питательности. Исходя из результатов анализа, можно корректировать состав почвы, добавляя необходимые минеральные удобрения. Важно помнить, что слива не любит избыток азота, поэтому удобрения следует применять умеренно.
После подготовки почвы можно приступать к посадке сливы. Важно выбрать подходящее место, учитывая освещение и защиту от ветра. Рекомендуется высаживать сливу на небольшом возвышенном месте, чтобы избежать застаивания воды. Для лучшего роста и развития корневой системы можно использовать пеньки или шпалеру.
Выбор солнечного места

Среди различных видов сливы для выращивания в саду, важно правильно выбрать место, где она будет расти. Слива любит солнечные места, поэтому для ее выращивания необходимо выбрать открытое место, хорошо освещенное солнцем. Такие условия позволят сливе развиваться и плодоносить лучше.
При выборе места для сливы важно учитывать и другие факторы. Например, важно избегать мест с затопляемыми почвами или слишком плотными грунтами. Слива предпочитает умеренно влажные почвы, которые хорошо дренируются. Кроме того, желательно выбирать места, защищенные от сильных ветров, чтобы сливы не повреждались или не слетали с дерева.
Если вы собираетесь выращивать несколько разных сортов сливы, полезно разместить их в разных частях сада. Это позволит снизить риск распространения возможных болезней или вредителей. Также можно разделить сорта сливы в саду по их сроку созревания, чтобы иметь возможность наслаждаться вкусными плодами сливы в течение всего сезона.
Разрыхление и удобрение почвы
Для успешного выращивания различных видов и сортов сливы необходимо обеспечить оптимальные условия для роста и развития растений. Одной из важных задач является разрыхление и удобрение почвы.
Разрыхление почвы позволяет улучшить воздухо-водный режим, обеспечивает доступ кислорода к корням растений и способствует усвоению питательных веществ. Для разрыхления почвы рекомендуется использовать рыхлительные инструменты, такие как мотыга или грабли.
Удобрение почвы необходимо проводить перед посадкой саженцев сливы и в последующие годы. Для этого можно использовать органические и минеральные удобрения. Органические удобрения, такие как компост или перегной, обогащают почву органическими веществами и улучшают ее структуру. Минеральные удобрения содержат необходимые растению макро- и микроэлементы и позволяют компенсировать их недостаток в почве.
Важно помнить, что удобрения нужно применять с учетом требований конкретного вида или сорта сливы. Необходимо учитывать потребности растений в питательных веществах и регулярно проводить анализ почвы для контроля ее плодородия. Правильное разрыхление и удобрение почвы способствуют здоровому росту и развитию сливы, а также улучшают ее плодоношение.
Регулирование кислотности почвы

Кислотность почвы — один из ключевых факторов, влияющих на рост и развитие растений. В случае с выращиванием сливы в саду, правильное регулирование кислотности почвы играет особенно важную роль.
Существуют различные виды и сорта сливы, каждый из которых предпочитает определенный уровень кислотности почвы. Оптимальный pH для большинства сортов сливы составляет от 5,5 до 6,5. Если почва имеет кислую реакцию (ниже 5,5), это может негативно отразиться на росте и развитии сливы, а также на урожайности.
Для регулирования кислотности почвы можно использовать различные методы. Например, добавление извести или доломитовой муки, которые помогут повысить pH почвы. Также можно использовать органические удобрения, такие как перегной или компост, которые помогут улучшить структуру почвы и увеличить ее щелочность.
Важно также учитывать особенности конкретного сорта сливы. Некоторые виды сливы предпочитают более кислую почву, поэтому для них регулирование кислотности может потребовать других методов. Рекомендуется обратиться к специалисту или исследовать требования конкретного сорта сливы перед проведением работ по регулированию кислотности почвы.
Посадка и размещение саженцев сливы
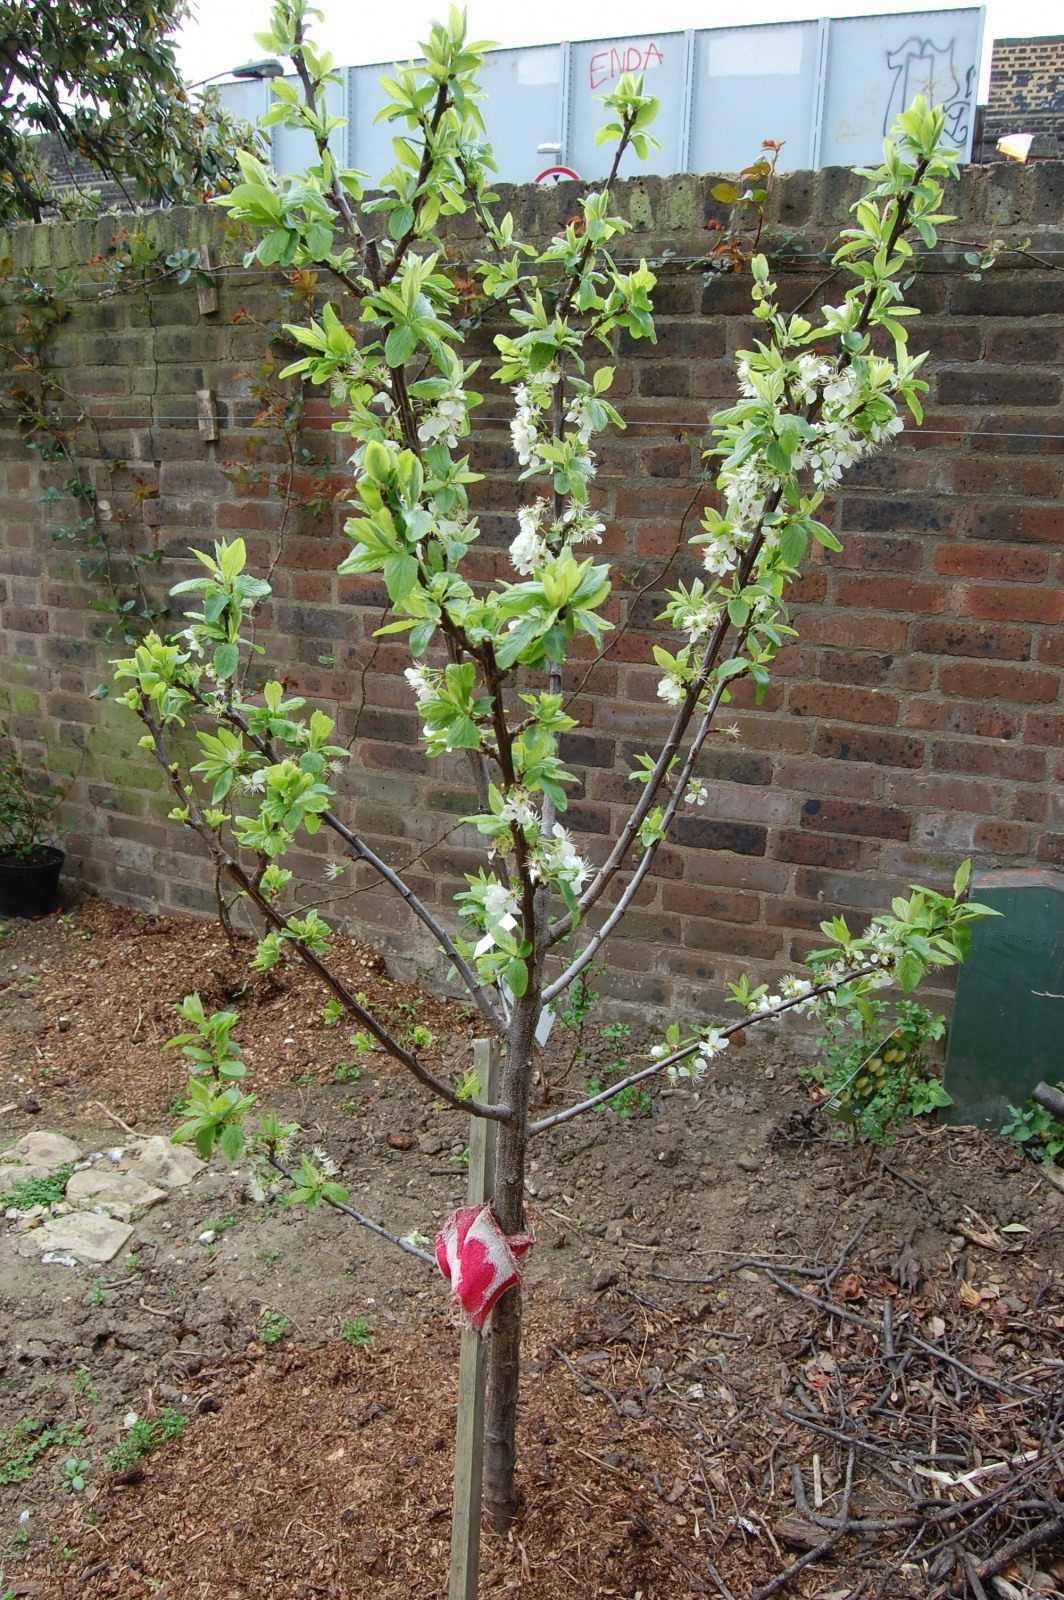
Для успешного выращивания сливы в саду необходимо правильно выбрать и разместить саженцы. При выборе сорта сливы для посадки рекомендуется учитывать климатические особенности региона и особенности почвы. Важно также учесть предпочтения вкусовых качеств и урожайности.
Для посадки саженцев сливы важно выбрать солнечное место в саду, защищенное от сильных ветров. Слива предпочитает среднее или слабое освещение, поэтому лучше выбирать место, где не будет слишком много прямого солнечного света. Также необходимо обеспечить хорошую дренажную систему в почве.
При посадке саженцев сливы следует учесть расстояние между ними. Обычно между саженцами рекомендуется оставлять расстояние в 2-3 метра. Это позволит растениям иметь достаточно места для роста и развития.
Также можно использовать разные способы размещения саженцев сливы в саду, например, создавать ряды или группы. Это позволит удобно ухаживать за растениями и собирать урожай.
Выбор сорта и подвоя
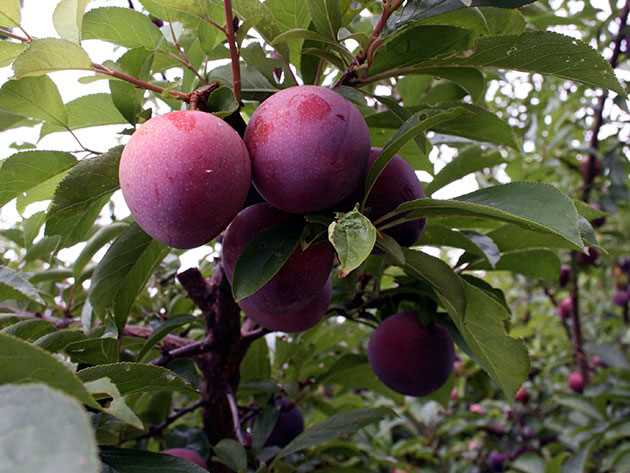
Выбор подходящего сорта сливы и подвоя является одним из важных моментов при выращивании этого плодового дерева в саду. Существует множество видов и сортов сливы, каждый из которых имеет свои особенности и преимущества.
Сорта сливы могут отличаться по цвету плодов, их размеру, вкусовым качествам и срокам созревания. Некоторые сорта отличаются хорошей устойчивостью к заболеваниям и вредителям, что делает их более предпочтительными при выборе для сада.
Кроме того, необходимо учитывать климатические условия региона, в котором будет выращиваться слива. Некоторые сорта могут быть более устойчивы к низким температурам или засухе, что также влияет на выбор.
Подвой является основой для сливы и влияет на ее рост и развитие. Наиболее распространенным подвоем для сливы является слива домашняя, которая отличается хорошей адаптивностью к разным почвенным условиям и устойчивостью к засухе. Однако, для некоторых сортов сливы может быть лучше использовать другие виды подвоев, такие как слива американская или японская, которые имеют свои преимущества в определенных условиях.
В целом, выбор сорта и подвоя сливы в саду зависит от множества факторов, включая вкусовые предпочтения, климатические условия и особенности почвы. При правильном выборе можно получить хороший урожай вкусных и полезных плодов этого плодового дерева.
Правильная глубина посадки

Правильная глубина посадки является одним из ключевых моментов при выращивании сливы в саду. От этого параметра зависит успешное развитие растения и его долговечность.
Виды и сорта сливы имеют свои особенности, поэтому глубина посадки может немного варьироваться. Однако, в большинстве случаев рекомендуется сажать саженцы сливы на глубину около 60-70 см. Это обеспечит хорошую стабильность растения и его нормальное развитие.
Так стоп!!! Вы всё ещё не подписаны на наши каналы в Телеграмм и Дзен? Посмотрите: ТГ - (@historyfantasydetectivechat) и Дзен (https://dzen.ru/myshortsstorys)
Важно также учесть, что глубина посадки может быть корректирована в зависимости от типа почвы. Если почва в саду тяжелая и глинистая, то саженец следует посадить немного выше, чтобы избежать затопления корней влагой. Если почва легкая и песчаная, то саженец можно посадить чуть глубже, чтобы обеспечить ему дополнительную стабильность.
Помните, что правильная глубина посадки – это важный этап в выращивании сливы в саду, который нужно учитывать для достижения хороших результатов. Она обеспечит растению необходимые условия для развития и позволит получить богатый урожай в будущем.
Размещение саженцев на участке
Правильное размещение саженцев сливы на участке — важный этап в процессе выращивания этого плодового дерева. При выборе места для посадки необходимо учитывать особенности разных сортов сливы и их видов.
Перед посадкой саженцев сливы необходимо учесть, что некоторые сорта предпочитают солнечное место, а другие предпочитают легкую полутень. Важным фактором является также влажность почвы. Слива предпочитает умеренно влажные почвы, но с хорошим дренажем.
Для облегчения ухода за растением рекомендуется размещать саженцы сливы на расстоянии друг от друга. Для малорослых видов и сортов это расстояние может быть около 2-3 метров, для крупнорослых сортов — до 4-5 метров. Такое расстояние позволит растениям нормально развиваться, а также обеспечит хорошую вентиляцию и доступ света.
При размещении саженцев сливы можно также использовать групповую посадку. Для этого можно выделить зону на участке и посадить в нее несколько растений сливы. Такая группировка создаст эффектный вид и способствует более эффективному опылению растений.
Уход и обрезка сливы

Уход за сливой в саду играет важную роль в ее успешном выращивании. Правильное обрезание позволяет формировать красивую и здоровую крону дерева, а также улучшает плодоношение. При выборе сорта сливы для выращивания важно учесть возможности и особенности сада.
Обрезка сливы
Обрезка сливы проводится осенью или весной, до начала активного вегетационного периода. Основная цель обрезки — удаление поврежденных, слабых и старых веток, а также формирование красивой кроны сливы. Необходимо удалять все сухие и засохшие побеги, а также отрастания от пни. Важно также удалить все ветви, растущие внутрь кроны, чтобы обеспечить достаточное освещение и вентиляцию.
Уход за сливой
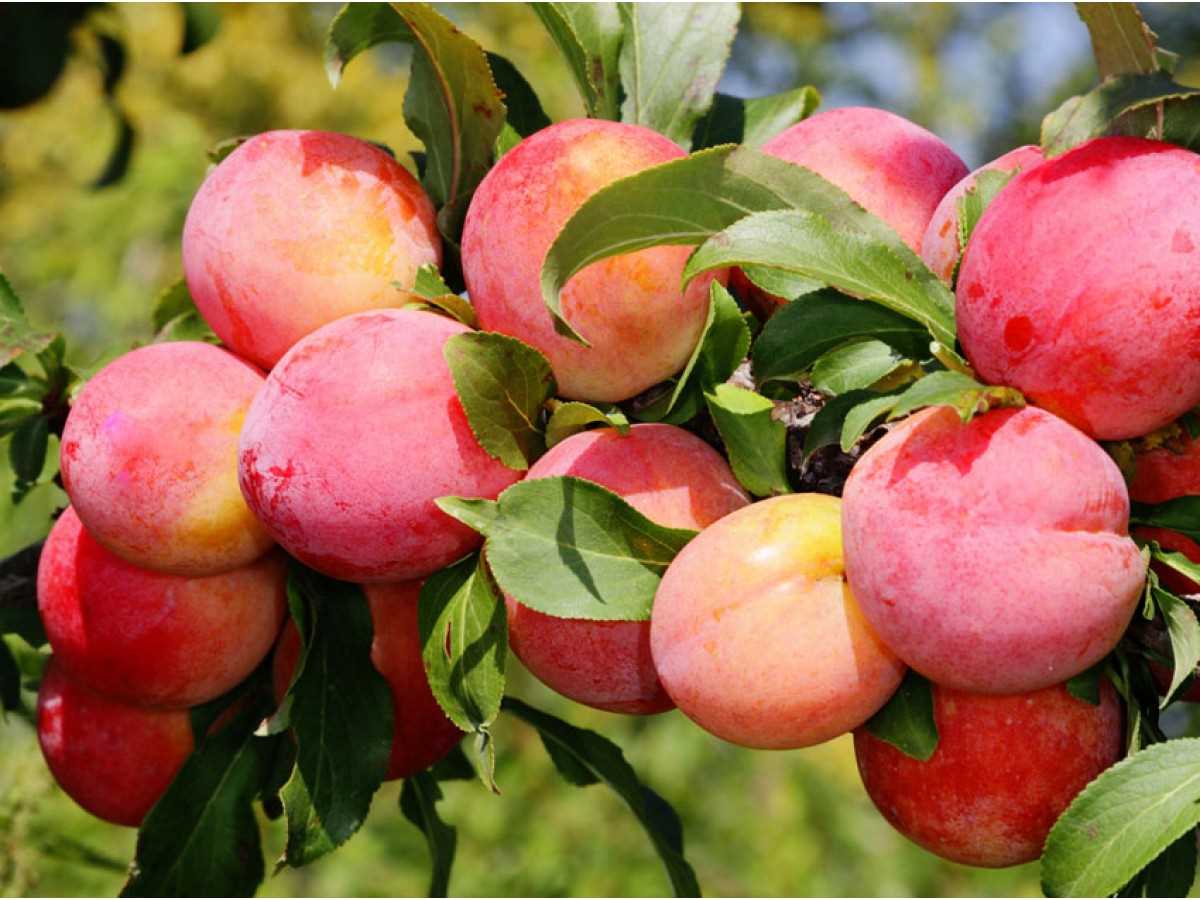
Уход за сливой включает в себя полив, подкормку, обработку от вредителей и болезней. Слива нуждается в регулярном поливе, особенно в сухие периоды. Важно поддерживать влажность почвы на необходимом уровне, чтобы предотвратить пересыхание корней и улучшить плодоношение. Также рекомендуется проводить подкормку сливы органическими и минеральными удобрениями для обеспечения необходимых питательных веществ.
Помимо этого, необходимо регулярно проверять сливу на наличие вредителей и болезней. При обнаружении паразитов или заболеваний рекомендуется применять соответствующие препараты для их уничтожения. Также важно проводить профилактическую обработку сливы, чтобы предотвратить возникновение проблем с здоровьем дерева.
Полив и подкормка
Выращивание сливы требует регулярного полива и подкормки для обеспечения хорошего роста и развития растения. Полив следует проводить регулярно, особенно в период сухой погоды, чтобы предотвратить засыхание почвы и обеспечить достаточное поступление влаги к корням.
Как правило, растения сливы нуждаются в умеренном поливе – 1-2 раза в неделю в период сухой погоды. Однако, стоит помнить, что избыточный полив может спровоцировать гниение корней и привести к заболеваниям растений. Поэтому важно контролировать влажность почвы и поливать только при необходимости.
Помимо полива, сливу необходимо подкармливать для обеспечения достаточного питания растения. Для этого можно использовать органические или минеральные удобрения. Рекомендуется проводить подкормку сливы два-три раза в год: весной перед началом вегетации, летом во время активного роста и осенью перед зимовкой.
При выборе удобрений для сливы стоит обратить внимание на содержание азота, фосфора и калия. Азот способствует росту зеленой массы, фосфор укрепляет корни и стимулирует цветение и плодоношение, а калий повышает устойчивость растения к засухе и зимним холодам.
Защита от болезней и вредителей
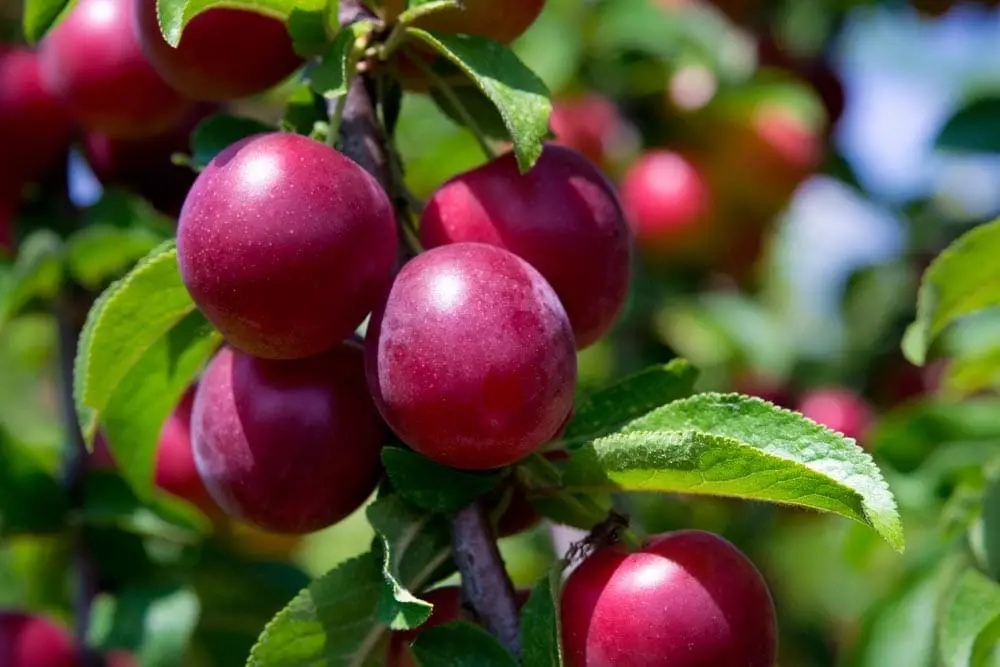
При выращивании сливы в саду необходимо уделить внимание защите растений от различных болезней и вредителей. Существует несколько основных видов болезней, которые могут повредить сливу: монилиоз, кладоспориоз, цитоспороз и т.д. Для защиты от этих болезней рекомендуется применять препараты, содержащие фунгициды, такие как «Топаз», «Скор». Также важно регулярно осуществлять обрезку и удаление больных и поврежденных веток.
Одним из наиболее опасных вредителей для сливы являются сливовая муха и сливовый долгоносик. Сливовая муха откладывает яйца на плодах, в результате чего они портятся и непригодны для употребления. Для борьбы с этим вредителем можно использовать специальные ловушки, приманки и препараты на основе пиретроидов.
Сливовый долгоносик является опасным вредителем, так как его личинки разрушают плоды сливы. Для борьбы с этим вредителем можно применять химические препараты, содержащие инсектициды, например «Фастацид». Также полезно уничтожать сливовый долгоносик с помощью ловушек и периодической обрезки и сжигания пораженных веток.
Формирование кроны и обрезка веток
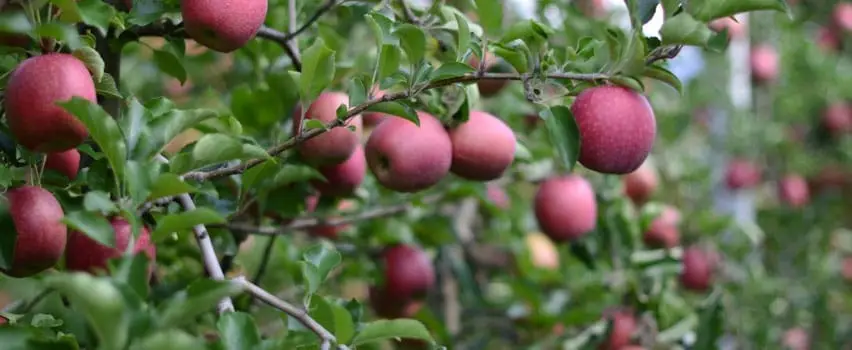
Формирование кроны является важной частью процесса выращивания сливы. От правильного образования кроны зависит не только эстетический вид дерева, но и его плодоношение. Существует несколько методов формирования кроны для разных видов и сортов сливы.
Обрезка веток

Обрезка веток сливы проводится для устранения сухих, поврежденных или перекрывающих друг друга веток. Это позволяет обеспечить лучшую доступность света и воздуха для кроны, а также улучшить циркуляцию влаги. Обрезка веток также способствует формированию красивой и здоровой кроны.
Формирование кроны

Для формирования кроны сливы можно использовать различные методы, включая формирование каркаса, гребни, скипидарные формы и другие. Каждый метод имеет свои особенности и подходит для определенных видов и сортов сливы. Важно помнить, что формирование кроны должно быть проведено в молодом возрасте дерева, чтобы позволить ему правильно развиваться и обеспечить хорошее плодоношение в будущем.
Лучшие виды и сорта сливы
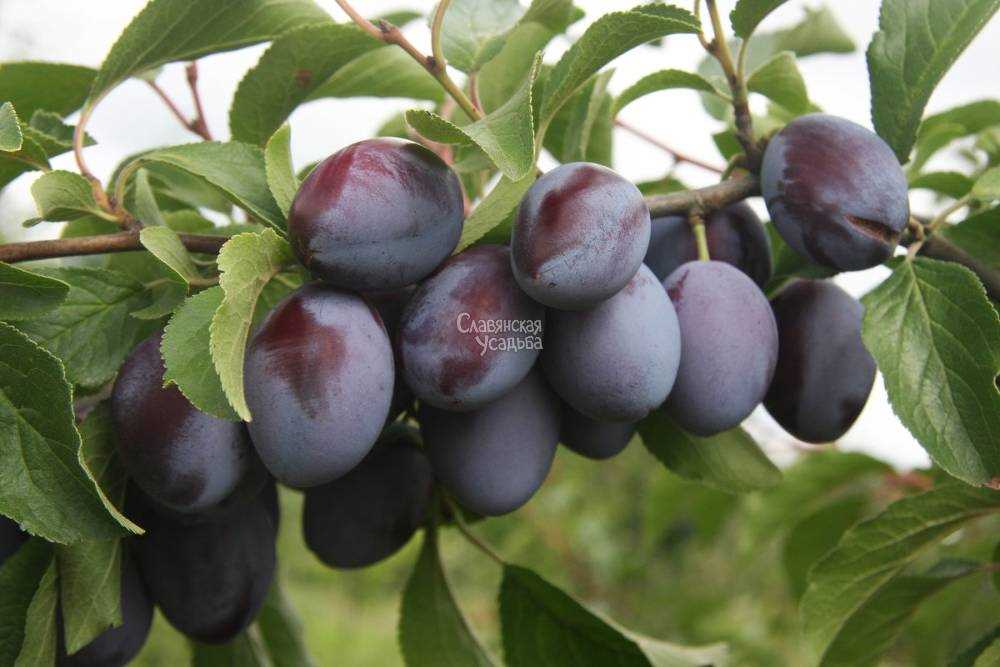
Слива является одним из самых распространенных плодовых деревьев в саду. Существует большое количество видов и сортов сливы, которые отличаются по внешнему виду, вкусу и характеристикам. Выбор правильного сорта сливы для выращивания в саду играет важную роль в получении хороших урожаев.
Одним из самых популярных видов сливы является обыкновенная слива (Prunus domestica). Она отличается крупными плодами с сочной мякотью и приятным вкусом. В зависимости от сорта, плоды могут быть разных форм и цветов. Среди популярных сортов обыкновенной сливы можно выделить «Стэнли», «Ренклод», «Венгерка» и др.
Еще один интересный вид сливы – японская слива (Prunus salicina). Она отличается более крупными и сочными плодами, чем обыкновенная слива. Японская слива имеет разнообразные сорта, среди которых «Метелка», «Джипперсон» и «Сатурн». Эти сорта отличаются высокой урожайностью и хорошей транспортабельностью.
Еще одним интересным видом сливы является американская слива (Prunus americana). Она отличается более кислыми и ароматными плодами, чем обыкновенная слива. Среди популярных сортов американской сливы можно выделить «Каламазу», «Лонгер» и «Огин». Эти сорта обладают хорошей морозоустойчивостью и отлично подходят для выращивания в холодных регионах.
Выбор видов и сортов сливы для выращивания в саду зависит от климатических условий, вкусовых предпочтений и целей выращивания. Важно учитывать зону морозостойкости сорта и его совместимость с другими растениями. Подобрав правильные сорта, можно наслаждаться вкусными и полезными плодами сливы в своем саду.
Вопрос-ответ:
Какие виды сливы лучше всего подходят для выращивания в саду?
Для выращивания в саду лучше всего подходят такие виды сливы, как «Ренклод», «Стэнли», «Анжелика» и «Венгерская слива». Они отличаются высокой урожайностью, хорошей зимостойкостью и устойчивостью к болезням. Также стоит обратить внимание на сливы отечественной селекции — «Родник», «Антоновка» и «Кубанская сладкая».
Какие условия выращивания сливы нужно обеспечить?
Для успешного выращивания сливы необходимо выбрать солнечное место с хорошо дренированным почвенным покровом. Слива плохо переносит затопление и застой воды. Кроме того, почва должна быть увлажненной, но не залитой. Рекомендуется также проводить регулярное подкормку и обрезку деревьев.
Как определить готовность сливы к сбору?
Готовность сливы к сбору можно определить по цвету и консистенции плода. Зрелая слива имеет насыщенный цвет, отличающийся от зеленого оттенка. Кроме того, плод должен быть мягким на ощупь и легко отделяться от ветки при небольшом усилии. Если слива еще кислая и твердая, лучше подождать некоторое время.
Как защитить сливу от вредителей и болезней?
Для защиты сливы от вредителей и болезней рекомендуется проводить регулярное обследование растений и применять профилактические меры. Для этого можно использовать специальные препараты, а также механические средства защиты, например, сетки или ловушки. Также полезно проводить обрезку сливы, чтобы удалить поврежденные или больные ветви.
Какие проблемы могут возникнуть при выращивании сливы и как с ними бороться?
В ходе выращивания сливы могут возникнуть различные проблемы, такие как поражение деревьев вредителями, гниение плодов, образование червоточин и прочие. Для борьбы с этими проблемами рекомендуется регулярно осматривать растения, проводить обработку специальными препаратами, а также соблюдать правила по уходу за сливой (полив, подкормка, обрезка).

