- Best Practices for Inspecting Grape Cuttings
- 1. Visual Examination
- 2. Check for Disease
- 3. Check for Pests
- 4. Evaluate Bud Swelling
- 5. Consider Discoloration
- 6. Note Stem Thickness
- 7. Document Findings
- Visual Examination of Cuttings
- 1. Overall Appearance
- 2. Bud Development
- 3. Leaf Scars
- 4. Rooting Potential
- 5. Pests and Disease
- Checking for Pest Infestation
- Evaluating Rooting Potential
- Assessing Stem Girth and Length
- Inspecting Bud and Shoot Development
- Conducting Disease Tests
- 1. Visual Inspection
- 2. Laboratory Tests
- 3. Disease Identification
- 4. Treatment or Prevention
- 5. Regular Monitoring
- Determining Moisture Levels
- Recording and Documenting Findings
- 1. Use a Checklist
- 2. Take Detailed Notes
- 3. Take Photographs
- 4. Organize and Label
- 5. Maintain a Record Log
- 6. Consider Using a Spreadsheet or Database
- Question-answer:
- Can I store my grape cuttings in winter?
- What is the best way to inspect grape cuttings for diseases?
- How should I store grape cuttings in winter?
- What are the signs of healthy grape cuttings?
- How often should I check on my stored grape cuttings?
- What should I do if I find diseases or pests on my grape cuttings?
- Video: pruning stages from cutting to fully developed grape vines
Grape cuttings are an essential component of grapevine propagation. When properly inspected and preserved, these cuttings can produce healthy and vigorous grapevines. It is crucial to inspect grape cuttings in winter to ensure that they are free from diseases, pests, and other abnormalities that can hinder their growth and development.
Inspecting grape cuttings involves examining the overall health and condition of the cuttings. This can include checking for any signs of disease, such as discoloration, lesions, or unusual growth patterns. It is also important to inspect the buds on the cuttings, as they can indicate the potential for bud break and future growth.
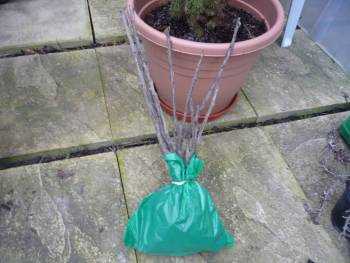
Preserving grape cuttings is vital to maintain their viability during the winter months. This can be done by storing the cuttings in a cool, dark, and humid environment, such as a refrigerator or cellar. It is important to bundle the cuttings together and wrap them in damp paper towels or newspaper to keep them moist. This will help prevent dehydration and maintain their overall health.
In conclusion, inspecting and preserving healthy grape cuttings in winter is essential for successful grapevine propagation. By carefully examining the cuttings and providing the proper storage conditions, growers can ensure the viability and health of the cuttings, leading to the production of strong and productive grapevines.
Best Practices for Inspecting Grape Cuttings
Inspecting grape cuttings is an essential step in ensuring their health and viability for preservation. By carefully examining your cuttings, you can identify any potential issues or diseases that may affect their growth and development. Here are some best practices to follow when inspecting grape cuttings:
1. Visual Examination
Begin by visually examining the cuttings for any signs of damage, discoloration, or deformities. Look for any indications of pests, such as holes or webs. Pay attention to the overall appearance of the cuttings, as healthy ones should have firm and plump buds.
2. Check for Disease
Inspect the cuttings for any signs of disease, such as powdery mildew, downy mildew, or black rot. These diseases can significantly impact the health and growth of the cuttings. Look for discolored or decaying parts of the cutting and take note of any unusual or foul odors.
3. Check for Pests
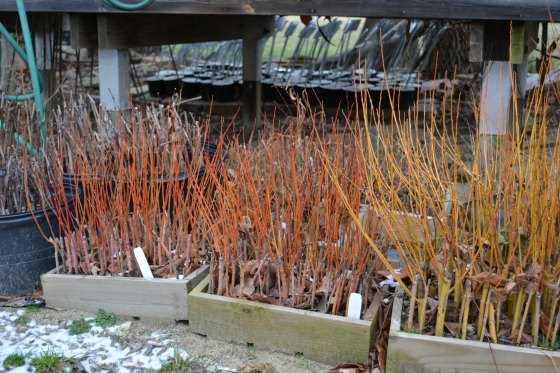
Check for any signs of pests that could be present on the cuttings. Look for small holes or tunnels, webs, or insects crawling on the surface. Pests like mites, aphids, or caterpillars can cause damage to the cuttings and hinder their growth.
4. Evaluate Bud Swelling
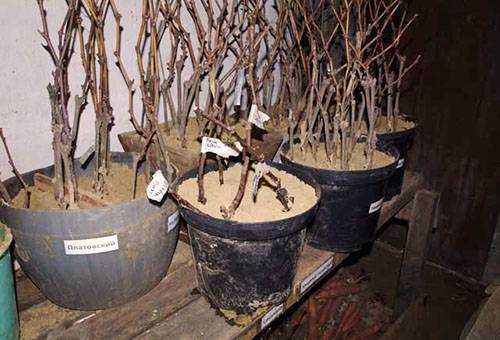
Examine the buds on the cuttings to determine their swelling. Healthy grape cuttings should have buds that are evenly swollen and show signs of readiness for growth. Buds that are shriveled or excessively swollen may indicate issues with the cuttings’ health.
5. Consider Discoloration
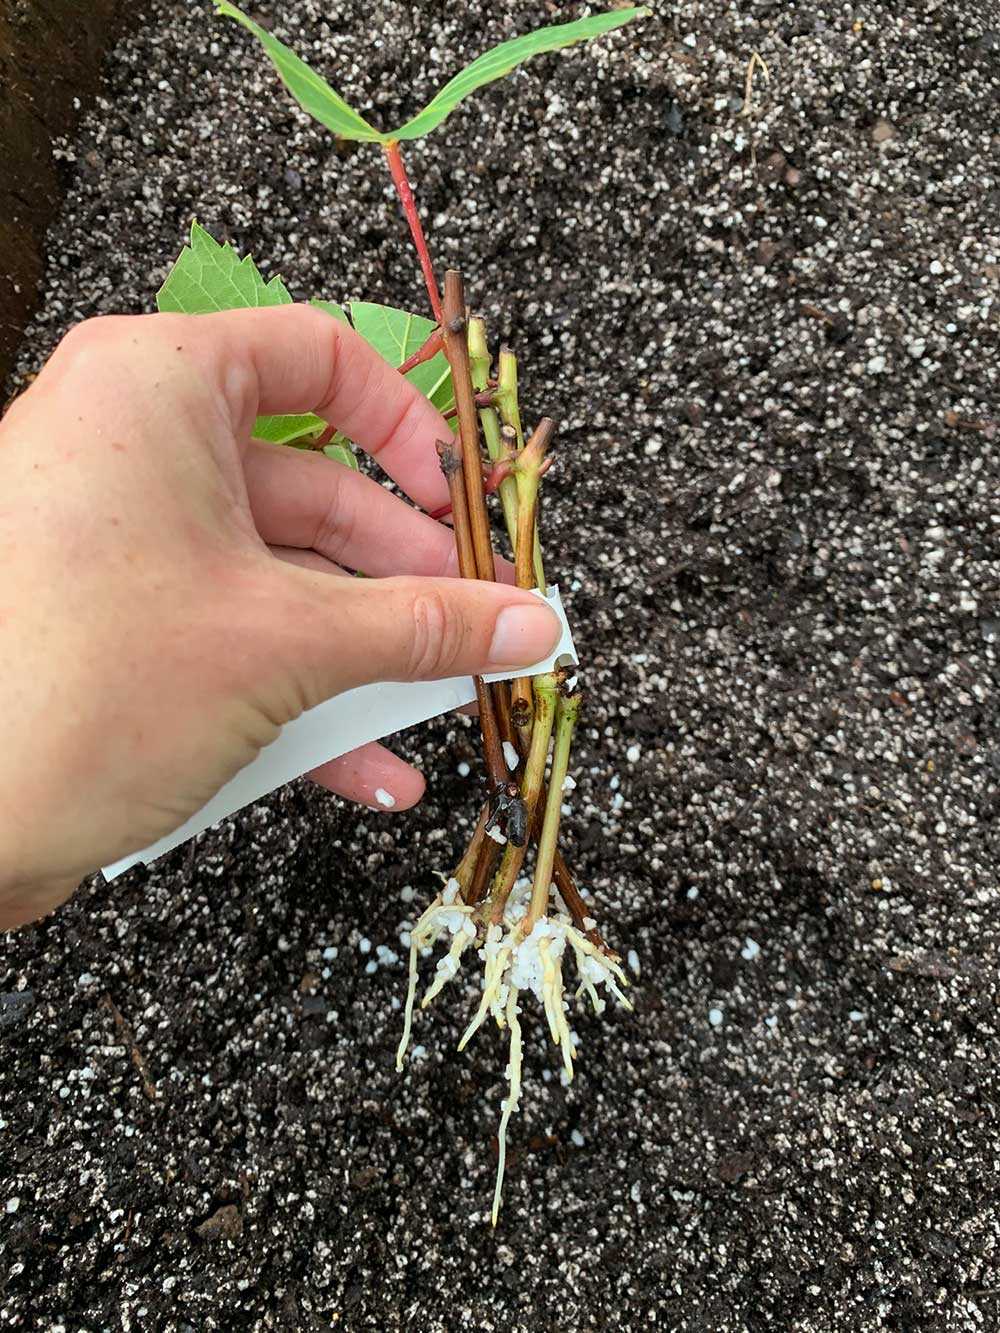
Take note of any discoloration present on the cuttings, such as yellowing or browning. Discoloration may be a sign of nutrient deficiencies or diseases affecting the cuttings. Healthy cuttings should have vibrant green coloration.
6. Note Stem Thickness
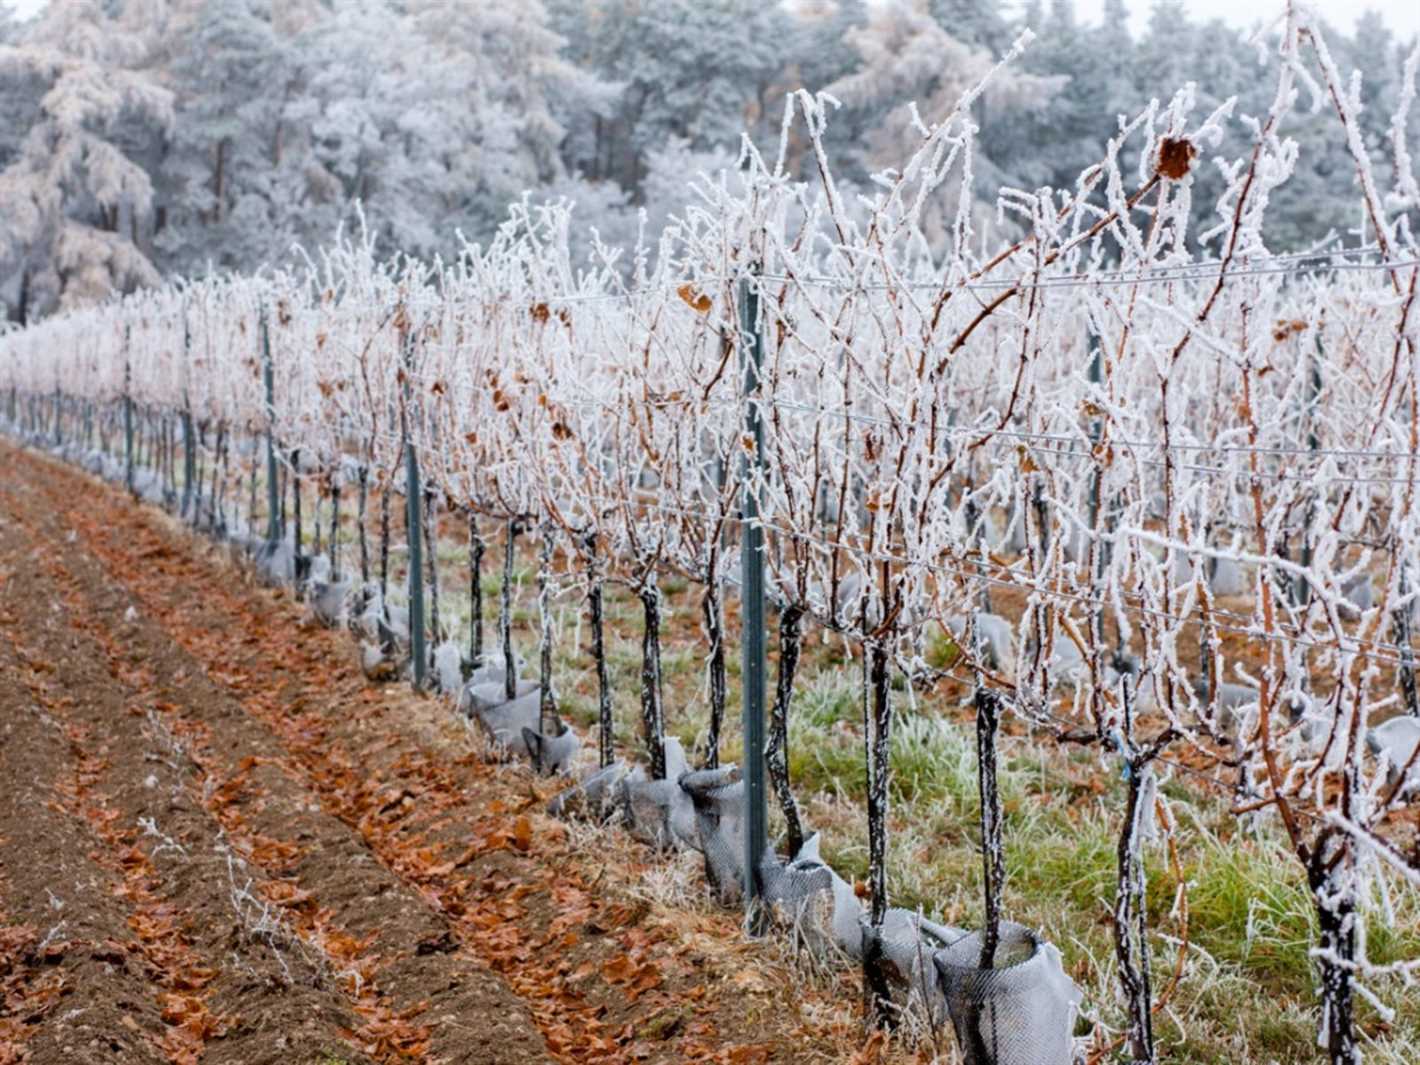
Assess the thickness and firmness of the stem. Healthy grape cuttings should have sturdy stems that are not excessively thin or fragile. Thin and weak stems may indicate poor health or lack of vigor.
7. Document Findings
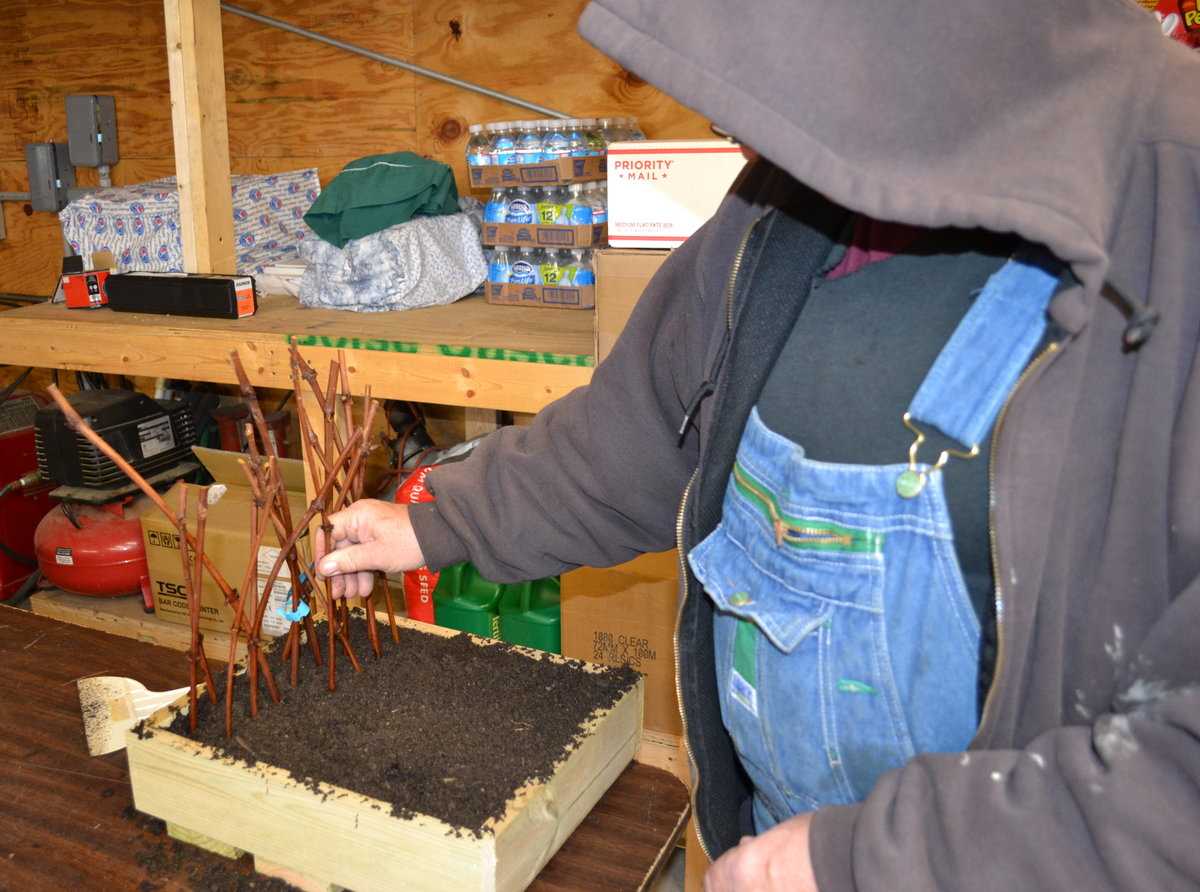
Record your findings during the inspection process. Make note of any issues, diseases, pests, or abnormalities you observe. This documentation will help you track the health and progress of your cuttings over time.
By following these best practices for inspecting grape cuttings, you can ensure that you are preserving and propagating healthy plant material. Identifying and addressing any issues early on will increase the likelihood of success in growing healthy grapevines.
Visual Examination of Cuttings
Inspecting grape cuttings visually is an essential step in preserving their health during the winter season. Here are some key aspects to consider during the visual examination:
1. Overall Appearance
Start by examining the overall appearance of the cutting. Look for signs of damage, such as wilted or broken stems, discoloration, or any deformities. A healthy cutting should have a vibrant color and a firm, plump texture.
2. Bud Development
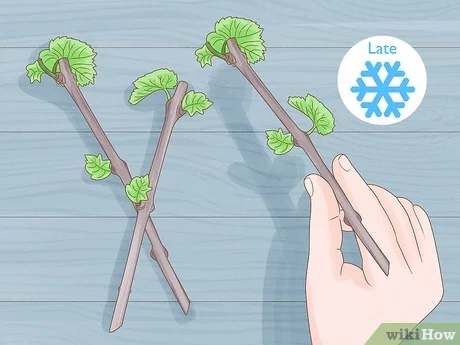
Closely inspect the buds along the cutting. Healthy buds will be plump and well-formed, indicating good potential for growth in the upcoming season. Avoid cuttings with shriveled or blackened buds, as they may be diseased or damaged.
3. Leaf Scars
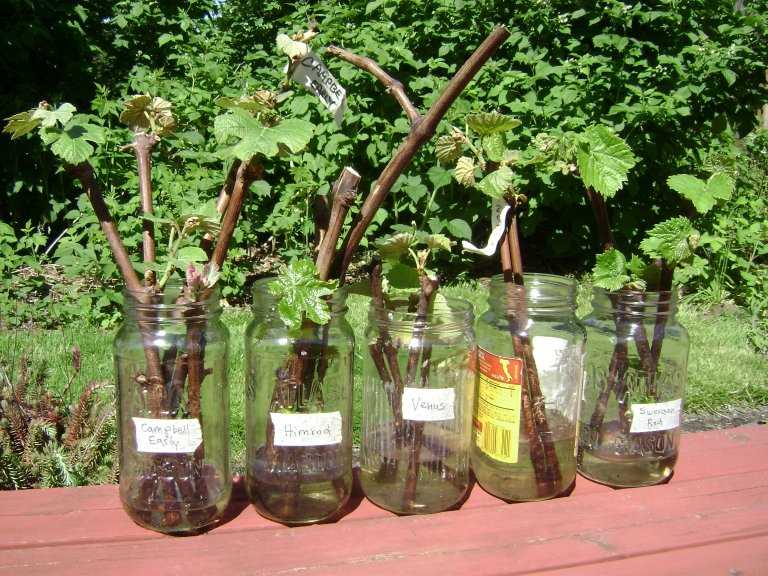
Check the leaf scars on the cutting for any signs of disease or damage. Healthy leaf scars should appear clean and smooth. Avoid cuttings with discolored or sunken leaf scars, as they may be infected or weakened.
4. Rooting Potential
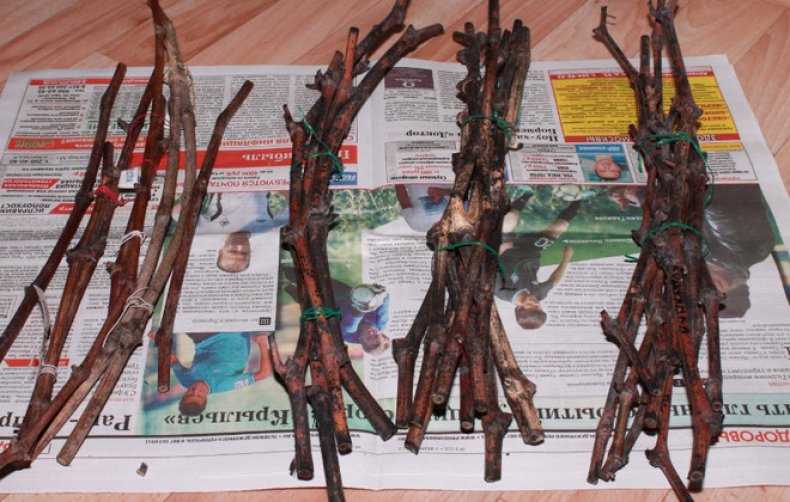
Examine the base of the cutting for potential root formation. Look for callus tissue, which appears as a swollen, fleshy growth at the base. This indicates that the cutting has the potential to develop roots when placed in a suitable rooting medium.
5. Pests and Disease
Thoroughly inspect the cutting for any signs of pests or diseases. Look for visible insects, webs, or holes on the surface. Also, be on the lookout for any signs of fungal or bacterial growth, such as powdery mildew or rot. If you notice any signs of pests or diseases, it is best to discard the cutting to prevent the spread to other plants.
Performing a visual examination of grape cuttings before storing or planting them can help ensure that only healthy and viable cuttings are preserved for future growth. It is crucial to be thorough and diligent during the inspection process to avoid any potential issues and promote successful propagation.
Checking for Pest Infestation
When inspecting grape cuttings in winter, it is important to check for any signs of pest infestation. Pests can cause damage to the cuttings, affecting their overall health and viability. Here are some steps to follow to identify and address potential pest issues:
- Visual Inspection: Carefully examine the cuttings for any visible signs of pests, such as webs, eggs, or holes in the wood. Pay close attention to the buds, leaves, and stems.
- Shake Test: Gently shake the cuttings over a white piece of paper or fabric to see if any pests or their byproducts fall off. This can help identify hidden pests, such as scale insects or mites.
- Damage Assessment: Look for any signs of damage caused by pests, such as chewed leaves or wilted stems. This can indicate the presence of caterpillars, beetles, or other chewing insects.
- Pheromone Traps: Place pheromone traps near the cuttings to attract and catch certain types of pests, such as moths or beetles. This can help monitor pest populations and determine the need for further action.
- Soil Examination: Carefully inspect the soil around the cuttings for any signs of pests, such as larvae or eggs. Pests like grubs or nematodes may reside in the soil and can cause damage to the roots.
If you discover any signs of pest infestation, it is important to take appropriate measures to control them. Depending on the type and severity of the infestation, you may choose to use organic methods, such as introducing predatory insects or applying insecticidal soap, or chemical treatments if necessary. Consult with a local horticulturist or agricultural extension service for guidance on the most effective and environmentally friendly approach to pest control.
| Pest | Signs of Infestation | Treatment |
|---|---|---|
| Aphids | Clusters of small, soft-bodied insects on leaves and stems. | Spray with a strong stream of water or apply insecticidal soap. |
| Spider Mites | Fine webbing and tiny dots on leaves; leaves may appear yellow or bronzed. | Apply insecticidal soap or release predatory mites. |
| Scale Insects | Small, immobile insects attached to stems or undersides of leaves; honeydew or sooty mold may be present. | Scrape off with a soft brush or apply horticultural oil. |
| Caterpillars | Chewed leaves or damaged buds; presence of frass (caterpillar droppings). | Pick off by hand or use bacillus thuringiensis (Bt) spray |
Evaluating Rooting Potential
- Visual Evaluation: Carefully examine the grape cuttings to assess their rooting potential. Look for healthy, green stems and leaves, as well as plump and firm buds. Avoid using cuttings that have shriveled or discolored stems and leaves, as they may indicate poor health.
- Bend Test: Gently bend the grape cuttings to check for flexibility and resistance. Healthy cuttings should have a certain level of flexibility and resistance, indicating that they are capable of rooting successfully. If the cuttings feel brittle or snap easily, they may not have enough moisture or vitality for rooting.
- Water Float Test: Fill a container with water and place the grape cuttings in it. Healthy cuttings should sink and remain submerged in the water within a few seconds. If they float or take a long time to sink, it may indicate that the cuttings are not viable or have inadequate water uptake potential.
- Scratch Test: Use a sharp knife or your fingernail to scratch the bark of the grape cuttings gently. Look for green tissue underneath the bark, as it indicates that the cutting is alive and capable of producing roots. If the tissue is brown or dry, it may suggest that the cuttings are dormant or dead.
By using these evaluation techniques, you can select grape cuttings with high rooting potential, increasing the chances of successful propagation and preserving healthy grape vines during winter.
Assessing Stem Girth and Length
Assessing the stem girth and length of grape cuttings is an important step in determining their health and viability. It allows growers to select the best cuttings for propagation and ensures that the resulting plants will have strong and healthy root systems.
When assessing stem girth, it is important to measure the thickness of the cutting at the base. This can be done by using a caliper or a measuring tape. The ideal stem girth for a healthy grape cutting is around 3/8 to 1/2 inch. If the stem girth is smaller than this range, it may indicate that the cutting is weak or may not have enough stored nutrients to grow into a healthy plant.
When assessing stem length, it is important to measure the overall length of the cutting from the top to the base. This can be done using a ruler or a measuring tape. The ideal stem length for a healthy grape cutting is around 8 to 12 inches. If the stem length is shorter than this range, it may indicate that the cutting was not properly pruned or it may not have enough stored carbohydrates to support root development.
After assessing the stem girth and length, it is also important to inspect the overall appearance of the cutting. Look for any signs of disease or damage, such as discoloration, lesions, or cracks. Healthy grape cuttings should have a smooth and firm bark, without any visible signs of damage.
By carefully assessing the stem girth, length, and overall appearance of grape cuttings, growers can ensure that they are using healthy and viable plant material for propagation. This will increase the chances of success and help create strong and productive grapevines.
Inspecting Bud and Shoot Development
Inspecting the development of buds and shoots is crucial for ensuring the health and quality of grape cuttings during winter. Here are some key observations to make during inspection:
- Bud Swell: Check for signs of bud swell, which indicates that the buds are beginning to grow. Look for slight enlargement and softening of the buds.
- Bud Break: Look for the appearance of green shoots or leaves emerging from the buds. This signifies that the bud has successfully broken and growth has commenced.
- Shoot Elongation: Measure the length of the shoots to assess their growth. Longer shoots indicate healthy development.
- Leaf Formation: Examine the shoots for the presence of fully formed leaves. Healthy shoots should have a good number of leaves along their length.
- Healthy Coloration: Observe the color of the shoots and leaves. Healthy shoots should have a vibrant green color, while leaves should be evenly green and free from discoloration.
- No Signs of Diseases: Check for any signs of diseases such as discoloration, spots, or lesions on the buds, shoots, or leaves. If any abnormalities are observed, take appropriate action to prevent the spread of diseases.
Regular inspection of bud and shoot development throughout the winter months will help you identify any issues early on and take necessary measures to preserve the health and vigor of your grape cuttings.
Conducting Disease Tests
Before preserving healthy grape cuttings for the winter, it is important to conduct disease tests to ensure that the cuttings are free from any potential pathogens or infections. Disease tests help identify any issues that may affect the overall health and productivity of the plants.
1. Visual Inspection
Start by visually inspecting the grape cuttings for any signs of disease or damage. Look for discoloration, spots, lesions, mold, or any other abnormalities on the bark, leaves, or stems.
2. Laboratory Tests
If any signs of disease are observed during the visual inspection, it is recommended to conduct laboratory tests to confirm the presence of pathogens or infections. This can be done by collecting samples from the affected areas and sending them to a reputable plant pathology laboratory for analysis.
3. Disease Identification
Once the laboratory tests are completed, the next step is to identify the specific disease or pathogen affecting the grape cuttings. This information is crucial for determining the appropriate treatment or prevention methods.
4. Treatment or Prevention
Based on the disease identification, appropriate treatment or prevention methods should be implemented to address the issue and prevent the spread of disease. This may include pruning affected areas, applying fungicides or other treatments, or adjusting environmental conditions.
5. Regular Monitoring
After conducting disease tests and implementing treatment or prevention methods, it is important to regularly monitor the grape cuttings for any recurring signs of disease or new infections. Timely intervention and continued vigilance will help maintain the overall health of the plants.
By conducting disease tests and taking necessary actions, grape growers can ensure that the preserved cuttings are free from disease and capable of producing healthy plants in the following growing season.
Determining Moisture Levels
Inspecting the moisture levels of grape cuttings is crucial in preserving their health during the winter months. The moisture content of the cutting can affect its ability to survive and grow during this dormant period. Here are several methods you can use to determine the moisture levels of grape cuttings:
- Visual Inspection: One simple way to assess moisture levels is through visual inspection. Look for signs of wilting, such as droopy leaves or stems. Dry and shriveled cuttings may indicate low moisture levels.
- Touch Test: Gently squeeze the grape cutting between your fingers. If it feels dry and brittle, it likely has low moisture content. On the other hand, if it feels moist and pliable, it suggests adequate moisture levels.
- Weighing Method: Weighing the grape cuttings before and after a period of drying can provide a quantifiable measure of moisture loss. Record the initial weight, place the cuttings in a dry area for a certain period, and then reweigh them. The difference in weight can indicate the amount of moisture lost.
- Moisture Meter: Using a moisture meter is a more accurate and scientific method to determine moisture levels in grape cuttings. These handheld devices measure the moisture content within the cutting. Follow the manufacturer’s instructions to obtain accurate readings.
- Soil Moisture: If you have potted grape cuttings, checking the moisture level of the soil can provide insights into the moisture levels within the cuttings. Use a soil moisture probe or simply stick your finger into the soil to see if it feels moist or dry.
By utilizing these methods, you can ensure that your grape cuttings have optimal moisture levels during the winter. Maintaining proper moisture will support their survival and increase the chances of successful growth when spring arrives.
Recording and Documenting Findings
When inspecting and preserving healthy grape cuttings in winter, it is important to record and document your findings to keep track of the health and condition of the cuttings. This information can be valuable for future reference and analysis.
Here are some steps to effectively record and document your findings:
1. Use a Checklist
Create a checklist of important factors to observe during the inspection, such as the overall appearance of the cuttings, presence of pests or diseases, and any abnormalities or damage.
2. Take Detailed Notes
As you inspect each cutting, take detailed notes of your observations. Include information such as the length and diameter of the cuttings, color and texture of the bark, presence of roots or buds, and any signs of diseases or pests.
3. Take Photographs
Photographs can provide visual documentation of the cuttings and their condition. Take clear and detailed photos of each individual cutting, as well as any specific areas of interest or concern. These photos can be useful for future reference or for sharing with experts for further analysis.
4. Organize and Label
Keep your recorded findings organized and labelled properly. Use clear and concise labels for the cuttings and associated notes or photographs. This will make it easier to access and review the information in the future.
5. Maintain a Record Log
It is important to maintain a log or diary to record the date, location, and specific details of each inspection. This log can serve as a reference point and provide a chronological account of your findings. Include any additional observations or recommendations in this log as well.
6. Consider Using a Spreadsheet or Database
If you are dealing with a large number of grape cuttings, consider using a spreadsheet or database to record and track your findings. These tools can help with organization, data analysis, and generating reports if needed.
By following these steps and effectively documenting your findings, you will have a comprehensive record of the health and condition of your grape cuttings. This information can be particularly useful for research purposes, tracking trends, and making informed decisions about preservation and propagation methods.
Question-answer:
Can I store my grape cuttings in winter?
Yes, you can store your grape cuttings in winter. It is important to inspect them carefully before storing to ensure they are healthy and disease-free.
What is the best way to inspect grape cuttings for diseases?
The best way to inspect grape cuttings for diseases is to examine the leaves and stems closely for any signs of discoloration, spots, or other abnormalities. You should also check for any presence of pests.
How should I store grape cuttings in winter?
Grape cuttings should be stored in a cool and dark place during winter. You can wrap them in damp paper towels or place them in a plastic bag with some moist soil. It is important to regularly check on them to make sure they are not drying out.
What are the signs of healthy grape cuttings?
Healthy grape cuttings will have vibrant green leaves, firm stems, and no signs of pests or diseases. The buds should be plump and pliable.
How often should I check on my stored grape cuttings?
You should check on your stored grape cuttings at least once a month during winter. This will allow you to catch any signs of diseases or drying out early on.
What should I do if I find diseases or pests on my grape cuttings?
If you find diseases or pests on your grape cuttings, you should remove the affected parts immediately. In some cases, it may be necessary to discard the entire cutting to prevent the spread of diseases. It is also important to clean and disinfect any tools used to avoid further contamination.
