- Steps to Repair Hollow in a Tree for Uninterrupted Fruit Production
- 1. Assess the Hollow
- 2. Remove Loose Debris
- 3. Clean and Sterilize the Hollow
- 4. Fill the Hollow
- 5. Seal the Hollow
- 6. Monitor and Maintain
- 7. Consult a Professional
- Step 1: Assess the Hollow’s Size and Condition
- 1. Measure the size of the hollow
- 2. Inspect the condition of the hollow
- 3. Consider the location of the hollow
- 4. Consult a professional arborist
- Step 2: Remove Damaged and Decaying Wood
- Step 3: Clean and Sterilize the Hollowed Area
- Step 4: Apply a Suitable Filling Material
- Materials Needed:
- Instructions:
- Step 5: Seal the Filled Area to Protect Against Moisture
- Step 6: Support the Tree’s Structure to Prevent Further Hollowing
- Step 7: Monitor and Maintain the Repaired Hollow
- Question-answer:
- What causes hollows in trees?
- Why is it important to fix hollows in a tree?
- How can a hollow in a tree affect fruit production?
- What are some methods to fix a hollow in a tree?
- Can a hollow tree still produce fruit?
- What are some signs that a tree has a hollow?
- Video: BRIDGE Grafting Technique | How to SAVE a DAMAGED FRUIT TREE with this grafting technique
Having a hollow in a tree can be a cause for concern, especially if you rely on it for fruit production. A hollow can weaken the tree’s structure and make it more prone to disease and pests. However, with the right techniques and tools, it is possible to repair the hollow and ensure a continuous supply of fruits.
First, it is important to assess the severity of the hollow. If the hollow is small and shallow, you may be able to fix it yourself. However, if the hollow is large and deep, it is recommended to consult a professional arborist to evaluate the situation and provide guidance.
To fix a small hollow in a tree, you will need a few materials. Start by cleaning the area surrounding the hollow, removing any debris or loose bark. Then, apply a coat of tree wound sealant to the exposed area to prevent further decay. Next, fill the hollow with a mixture of soil and compost, packing it tightly to provide support to the tree. Finally, cover the filled hollow with a layer of bark or mulch to protect it from the elements.
For larger hollows, the process may be more complex. It may involve removing the damaged area and replacing it with a graft or a reinforcing structure. This requires specialized knowledge and equipment, so it is advisable to seek professional help.
By fixing a hollow in a tree, you can help ensure its structural integrity and promote continuous fruit production. Regular maintenance and inspections are also important to catch any hollows early on and prevent further damage. Remember to consult a professional arborist when dealing with significant hollows or if you are unsure about the appropriate course of action.
Steps to Repair Hollow in a Tree for Uninterrupted Fruit Production
1. Assess the Hollow

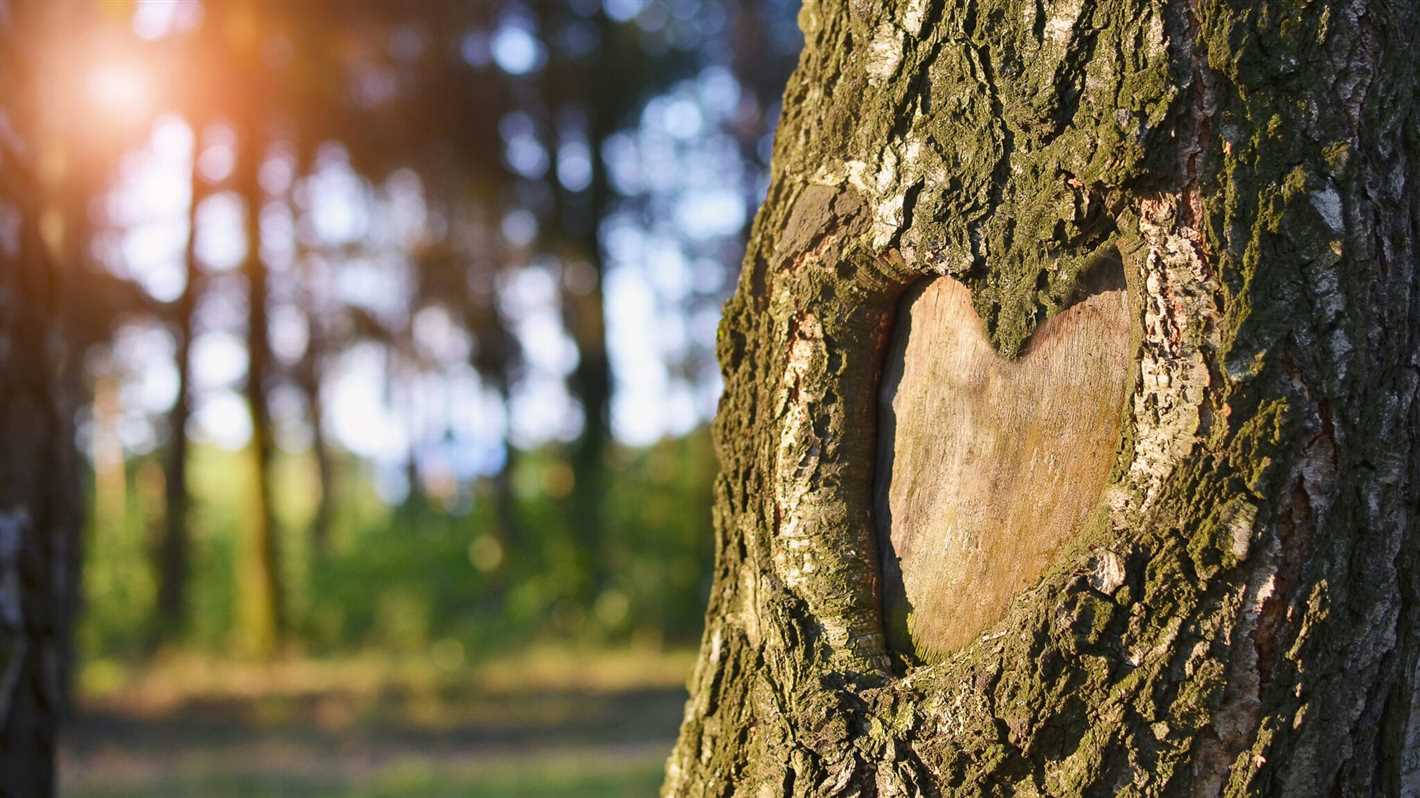
Start by examining the hollow in the tree to determine its severity. Make note of any signs of decay, rot, or other structural damage. Assessing the condition of the hollow will help you determine the appropriate repair method.
2. Remove Loose Debris

Carefully remove any loose bark, dead wood, or other debris from the hollow. This will help create a clean area for the repair process.
3. Clean and Sterilize the Hollow
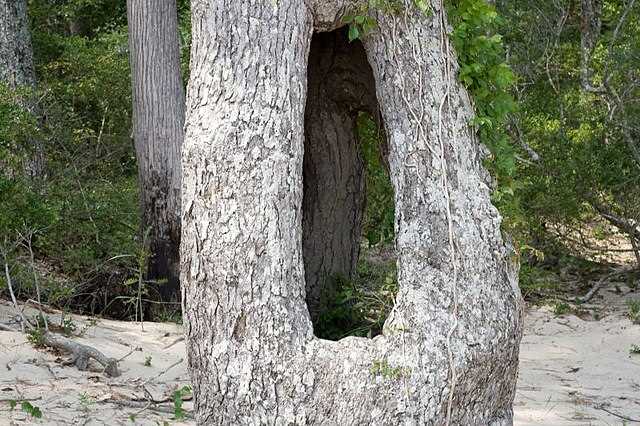
Use a brush and water to clean the inside of the hollow. Remove any remaining debris and dirt. Once the hollow is clean, sterilize it using a diluted bleach solution or a commercial tree wound dressing to prevent further decay.
4. Fill the Hollow
Fill the hollow with a suitable material to provide structural support and prevent the hollow from expanding. You can use a mix of soil and compost, expanding foam insulation, or a specialized tree wound filler. Make sure to follow the manufacturer’s instructions if using a commercial filler.
5. Seal the Hollow
After filling the hollow, seal it with a durable and weather-resistant sealant to protect it from moisture and pests. Consider using a silicone-based sealant or a wax-based tree wound dressing. Apply the sealant evenly to cover the entire surface of the hollow.
6. Monitor and Maintain
Regularly monitor the repaired hollow to ensure it remains stable and intact. Check for any signs of re-opening, deterioration, or insect activity. Additionally, keep the tree well-maintained by pruning dead branches and ensuring proper nutrition and irrigation.
7. Consult a Professional
If the hollow is extensive or the tree shows signs of significant damage, it might be necessary to consult a professional arborist. They can provide expert advice and recommend advanced repair techniques to ensure the tree’s health and continuous fruit production.
Step 1: Assess the Hollow’s Size and Condition
Before attempting to fix a hollow in a tree for continuous fruit production, it is important to assess the size and condition of the hollow. This will help determine the appropriate course of action to take.
1. Measure the size of the hollow
Take measurements of the length, width, and depth of the hollow using a measuring tape. This will give you a better understanding of the extent of the hollow and help determine the best approach to fix it.
2. Inspect the condition of the hollow
Closely examine the hollow for any signs of decay, rot, or infestation. Look for any fungus growth, insect activity, or soft spots in the wood. This will help determine if the hollow is still structurally sound and suitable for repair.
3. Consider the location of the hollow
Take into account the position of the hollow on the tree. If it is located near the trunk or major branches, it may pose a higher risk of compromising the tree’s stability. In such cases, additional precautions may be necessary.
4. Consult a professional arborist
If you are unsure about the size or condition of the hollow, it is always best to seek advice from a professional arborist. They can assess the tree and provide expert guidance on the best course of action to fix the hollow.
By thoroughly assessing the size and condition of the hollow, you can make an informed decision on how to proceed with the necessary repairs. This will help ensure the tree’s continued health and productivity for fruit production.
Step 2: Remove Damaged and Decaying Wood
After identifying the hollow in your tree, it is important to remove any damaged or decaying wood to promote healthy fruit production. Decaying wood can attract pests and diseases, which can further weaken the tree and hinder fruit production.
To remove damaged and decaying wood, follow these steps:
- Start by inspecting the hollowed area carefully for any loose or soft wood. This is an indication of decay.
- Use a chisel or a pruning knife to carefully remove the decayed wood. Make sure to remove all the loose wood, as leaving any behind can lead to further decay.
- If the affected area is too large to be removed with a chisel or pruning knife, consider using a saw. Make clean, precise cuts to ensure the removal of all damaged wood.
- Continue removing the damaged wood until you reach solid, healthy wood. This will promote new growth and support the tree’s fruit production.
Note: It is important to be cautious while removing wood to avoid unnecessary damage to the tree. Take your time and proceed with care to retain the tree’s structural integrity.
| Tip | Description |
|---|---|
| Wear Protective Gear | Wear gloves, goggles, and a dust mask to protect yourself from wood particles and potential allergens. |
| Use Proper Tools | Make sure to use sharp and appropriate tools for the job to ensure a clean and effective removal. |
| Clean Tools | Regularly clean your tools with a disinfectant to minimize the risk of spreading diseases between trees. |
| Dispose of Wood Properly | Do not leave removed wood near the tree as it can attract pests. Dispose of it properly to prevent further issues. |
Once you have removed all the damaged and decaying wood, your tree will be ready for the next step in the process of fixing the hollow to ensure continuous fruit production.
Step 3: Clean and Sterilize the Hollowed Area
After removing the rotten or decayed wood in the hollow, it is crucial to clean and sterilize the area to prevent further damage or infection to the tree.
Follow these steps to effectively clean and sterilize the hollowed area:
- Remove debris: Begin by removing any leaves, twigs, or other debris that may have accumulated inside the hollowed area. This will ensure a clean working environment.
- Scrub the area: Use a stiff brush or a scraper to scrub the walls of the hollowed area. This will help remove any loose bark, fungi, or other organic matter that may be present.
- Wash with water: Use a hose or a bucket of water to thoroughly wash the inner walls of the hollow. This will help remove any remaining dirt or debris.
- Apply disinfectant: After washing, apply a disinfectant solution to sterilize the hollowed area. This will help kill any bacteria, fungi, or other microorganisms that might be present.
- Allow to dry: Let the disinfectant solution sit and dry in the hollowed area. This will ensure that the area is fully sterilized before proceeding with the next steps.
By following these steps to clean and sterilize the hollowed area, you will create a healthy and optimal environment for the tree to continue its fruit production.
Step 4: Apply a Suitable Filling Material
Once you have prepared the hollow in the tree by removing any deadwood or debris, it is time to fill the space to ensure proper healing and continuous fruit production. The filling material should be chosen carefully to provide stability and support to the tree.
Materials Needed:
- Wood chips or bark mulch
- Compost or organic matter
- Pruning sealant or tree wound dressing
Instructions:
- Start by filling the bottom of the hollow with a layer of wood chips or bark mulch. This will help absorb excess moisture and prevent rotting.
- Add a layer of compost or organic matter on top of the wood chips. This will provide nutrients to the tree and promote new growth.
- Continue adding layers of wood chips and compost until the hollow is filled to the same level as the surrounding bark. Make sure to compact the materials gently as you go.
- Once the hollow is filled, apply a layer of pruning sealant or tree wound dressing on top. This will help protect the wound from pests and diseases, as well as aid in the healing process.
Note: Avoid using expanding foam or cement to fill the hollow, as these materials can hinder the tree’s ability to heal properly.
Remember to water the tree regularly and provide proper care to ensure its overall health and recovery. By following these steps, you can fix a hollow in a tree and promote continuous fruit production.
Step 5: Seal the Filled Area to Protect Against Moisture
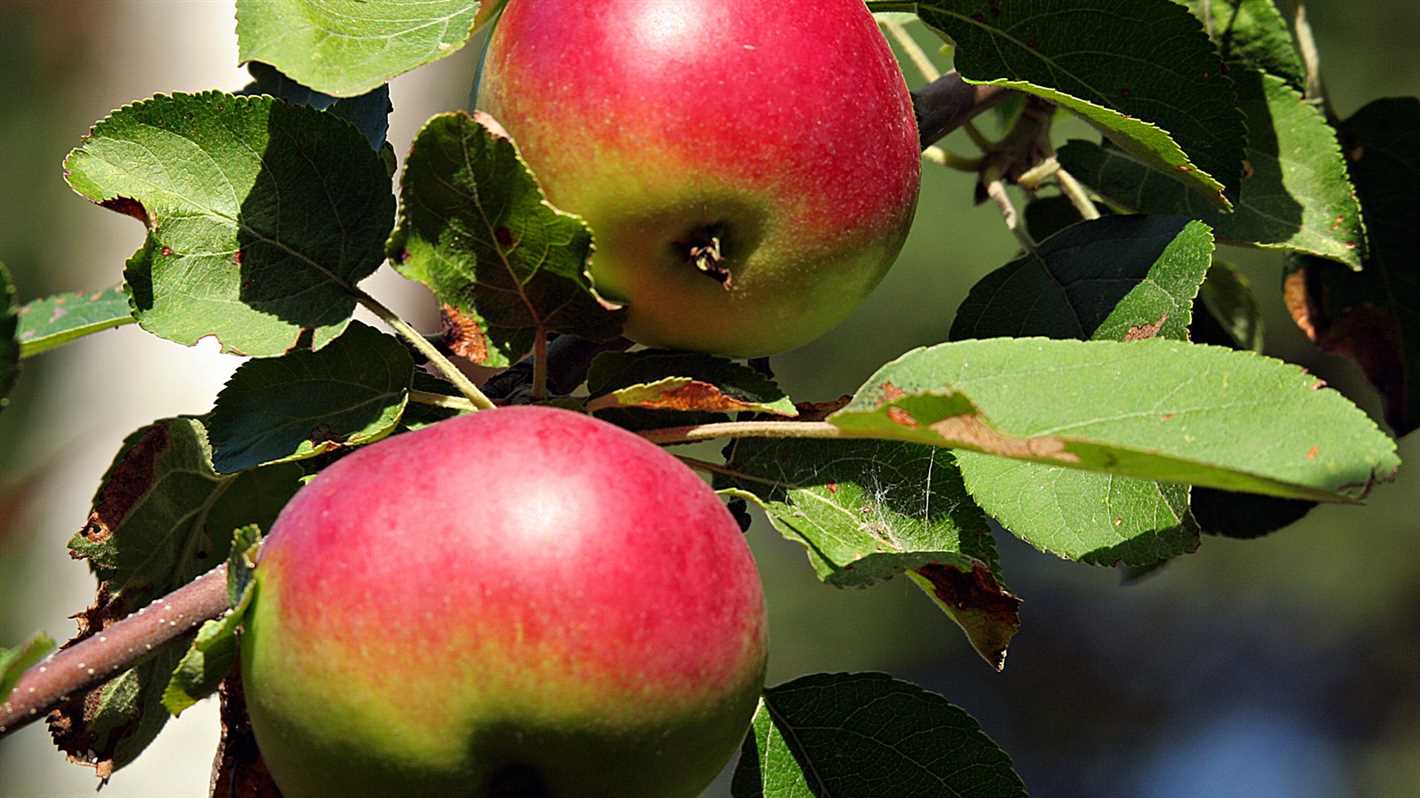
After filling the hollow area in the tree, it is important to seal the filled area to protect it against moisture. Moisture can seep into the hollow and cause decay, which can weaken the tree and inhibit its ability to continue fruit production.
To seal the filled area, follow these steps:
- Clean the surface around the filled area to remove any debris or loose bark. Use a brush or a soft cloth to gently wipe away any dirt or dust.
- Apply a tree wound sealant or pruning paint to the filled area. These products create a waterproof barrier that helps prevent moisture from entering the hollow. Follow the instructions on the sealant or paint for proper application.
- Use a brush or a small roller to evenly spread the sealant or paint over the filled area. Make sure to cover all exposed surfaces and edges of the filled area.
- Allow the sealant or paint to dry completely before removing any excess. This usually takes a few hours or as directed on the product label.
Sealing the filled area will help protect the tree from moisture and ensure that it remains healthy and able to produce fruit. Regularly inspect the sealed area and reapply the sealant or paint as needed to maintain its effectiveness.
Step 6: Support the Tree’s Structure to Prevent Further Hollowing
Ensuring the stability of the tree’s structure is essential to prevent further hollowing and maintain continuous fruit production. Here are some ways to support the tree:
- Install bracing systems: Depending on the size and age of the tree, you may need to install a bracing system to provide additional support. This can include using steel cables, stakes, or braces that are attached securely to the trunk and branches.
- Prune regularly: Pruning is crucial to maintain the overall health and structure of the tree. Regularly removing dead or diseased branches helps reduce the weight on the tree and minimizes the risk of further hollowing.
- Use tree wraps: Tree wraps can provide protection against pests, diseases, and extreme weather conditions. Wrapping the trunk with a breathable material can also help prevent further damage and protect the tree’s structure.
- Provide proper irrigation: Ensuring the tree receives adequate water is crucial for its overall health. Proper irrigation helps strengthen the tree’s roots, making it more resistant to diseases and pests that can worsen hollowing.
- Apply fertilizers: Regularly applying fertilizers can provide the necessary nutrients for the tree to thrive. This boosts its overall resilience and growth, helping to prevent further hollowing.
By implementing these measures, you can provide the necessary support to the tree’s structure, preventing further hollowing and ensuring continuous fruit production.
Step 7: Monitor and Maintain the Repaired Hollow
Once you have repaired the hollow in the tree, it is important to monitor and maintain the repair to ensure the continuous fruit production. The following steps will help you in this process:
- Regular Inspections: Regularly inspect the repaired hollow to check for any signs of damage or deterioration. This will help you identify any issues before they become serious and enable you to take timely action.
- Pruning: Prune any branches or shoots that may be obstructing the repaired hollow. This will ensure proper airflow and sunlight reach the affected area.
- Support: If the repaired hollow is in a vulnerable position or the tree is weak, you may need to provide additional support. This can be done using stakes or braces to prevent any future damage.
- Protective Measures: Take necessary precautions to protect the repair from pests and diseases. Use appropriate pesticides or organic remedies to safeguard the tree and its fruit production.
- Regular Watering: Ensure the tree receives regular watering, especially during dry periods. This will help keep the tree healthy and promote fruit production.
- Fertilizing: Apply a balanced fertilizer to provide necessary nutrients to the tree. This will enhance its growth and fruiting capabilities.
- Record Keeping: Maintain a record of the tree’s progress, including any changes in fruit production, overall health, and any specific issues related to the repaired hollow. This will help you make informed decisions and adjustments in the future.
By following these steps and giving proper attention to the repaired hollow, you can ensure the continuous fruit production of the tree and enjoy a bountiful harvest for years to come.
Question-answer:
What causes hollows in trees?
Hollows in trees can be caused by a variety of factors such as fungal infections, insect infestations, injuries to the tree trunk, or natural decay.
Why is it important to fix hollows in a tree?
Fixing hollows in a tree is important to ensure continuous fruit production. Hollows can weaken the tree’s structure, making it more susceptible to breakage or collapse. By fixing the hollows, you can help maintain the health and longevity of the tree.
How can a hollow in a tree affect fruit production?
A hollow in a tree can affect fruit production by weakening the tree’s overall structure and reducing its ability to transport water and nutrients. This can result in decreased fruit yield and quality. Additionally, the hollow can provide a breeding ground for pests and diseases that can further impact fruit production.
What are some methods to fix a hollow in a tree?
There are several methods to fix a hollow in a tree. One approach is to fill the hollow with an appropriate tree wound dressing or sealant to prevent further decay. Another method is to install support systems such as cabling or bracing to help strengthen the tree. In some cases, it may be necessary to prune or remove damaged branches. Consulting with a professional arborist is recommended to determine the most suitable method for your specific tree.
Can a hollow tree still produce fruit?
Yes, a hollow tree can still produce fruit, but its overall health and fruit production may be compromised. The hollow can weaken the tree’s structure, making it more susceptible to diseases and pests. It is important to take steps to fix the hollow and provide appropriate care to ensure the tree’s continued fruit production.
What are some signs that a tree has a hollow?
There are several signs that a tree may have a hollow, including visible cavities or holes in the trunk, soft or decaying wood, cracks or splits in the trunk, and the presence of insects or fungi. Additionally, trees with hollows may exhibit leaning or instability.
