- Pruning Raspberries in Spring: A Step-by-Step Guide
- 1. Timing
- 2. Tools
- 3. Remove Dead Canes
- 4. Thin Out Weak Canes
- 5. Prune Suckers
- 6. Support the Remaining Canes
- 7. Mulch and Fertilize
- 8. Clean Up
- Timing and Tools for Raspberry Pruning
- 1. Timing:
- 2. Tools:
- 3. Pruning Technique:
- 4. Aftercare:
- Removing Dead Canes and Diseased Wood
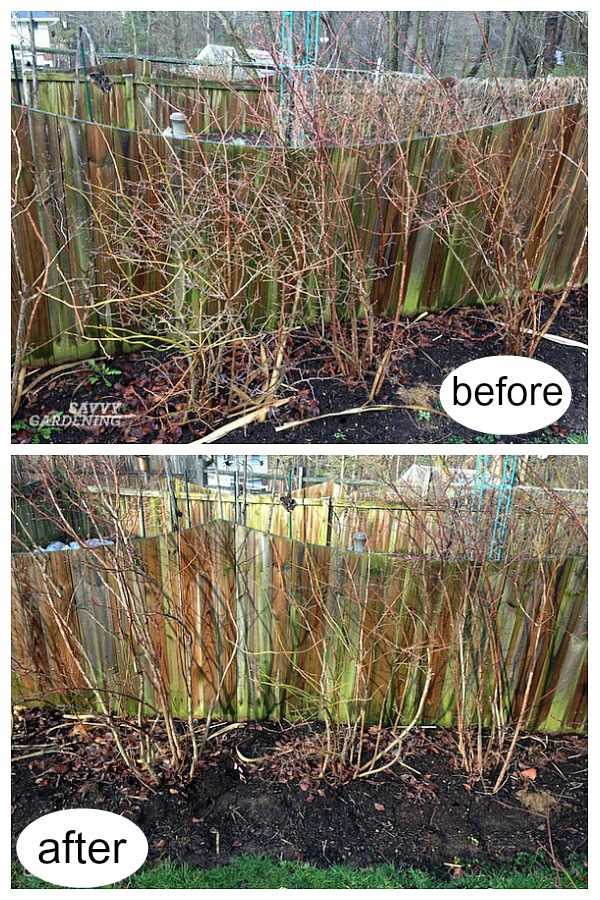
- Thinning Out Raspberry Canes for Better Air Circulation
- Training Raspberry Canes for Proper Support
- Fertilizing Raspberries for Strong Growth and Higher Yields
- 1. Soil Testing
- 2. Nitrogen Application
- 3. Timing of Fertilization
- 4. Uniform Application
- 5. Organic Fertilizers
- 6. Mulching
- 7. Watering
- 8. Avoid Overfertilization
- 9. Regular Maintenance
- Watering Raspberries: How to Keep Them Hydrated
- 1. Regular Watering Schedule
- 2. Mulching
- 3. Irrigation System
- 4. Rainwater Collection
- 5. Observation
- Mulching Raspberries to Suppress Weeds and Conserve Moisture
- Why Mulching is Important
- How to Mulch Raspberries
- Additional Tips for Mulching Raspberries
- Protecting Raspberries from Pests and Diseases
- 1. Sanitation
- 2. Weed Control
- 3. Mulching
- 4. Proper Watering
- 5. Pruning and Thinning
- 6. Pest Control
- 7. Disease-resistant Varieties
- Question-answer:
- When is the best time to prune raspberry plants?
- How often should I water raspberry plants in the spring?
- Should I fertilize raspberry plants in the spring?
- How do I protect raspberry plants from pests in the spring?
- What can I do to prevent diseases in my raspberry plants in the spring?
- How can I increase the yield of my raspberry plants in the spring?
- Can I transplant raspberry plants in the spring?
- Video: How to Prune Raspberries for BIGGER Harvests!
As spring arrives, it’s time to start caring for your raspberry plants to ensure a bountiful harvest later in the year. Raspberries are a popular fruit known for their delicious taste and versatility in cooking. Whether you’re a seasoned gardener or a beginner, these essential spring care tips will help you maintain healthy raspberry plants and maximize your yield.
1. Pruning: One of the first tasks in spring is to prune your raspberry plants. Pruning helps remove dead or damaged canes, improves air circulation, and encourages new growth. Use sharp pruning shears to cut the canes that produced fruit last year, leaving only the healthiest and strongest ones.
2. Fertilizing: Raspberries benefit from regular fertilization to promote vigorous growth. Apply a balanced fertilizer with a ratio of 10-10-10 or a slow-release organic fertilizer at the beginning of spring. Spread the fertilizer evenly around the base of the plants, taking care not to let it touch the canes, and water thoroughly.
3. Mulching: Mulching is an essential step to help retain moisture, suppress weed growth, and regulate the soil temperature around raspberry plants. Apply a layer of organic mulch, such as straw or wood chips, around the base of the plants, taking care not to bury the canes. This will also help prevent soil erosion and protect the roots during extreme weather conditions.
4. Irrigation: Adequate watering is crucial for raspberry plants, especially during the spring when they are actively growing. Ensure that the soil remains consistently moist, but not waterlogged. Water deeply at least once a week, or more often during hot and dry periods. Avoid overhead watering to prevent the spread of diseases and consider using a drip irrigation system to deliver water directly to the roots.
5. Disease and pest control: Regular monitoring is essential to identify and address any disease or pest problems early before they can damage your raspberry plants. Inspect the leaves and canes for signs of diseases like powdery mildew or pests like aphids. Apply appropriate organic or chemical treatments as necessary to prevent their spread and protect your plants.
Remember, proper spring care is crucial for the health and productivity of your raspberry plants. By following these essential tips, you’ll set the stage for a successful growing season and enjoy a plentiful harvest of delicious raspberries.
Pruning Raspberries in Spring: A Step-by-Step Guide
Pruning raspberry plants in the spring is essential for their optimal growth and fruit production. Follow these step-by-step instructions to ensure healthy and abundant harvest:
1. Timing
Pruning raspberry plants should be done in early spring, before new growth begins. This is usually around late February to early April, depending on your climate and location.
2. Tools
Before you start pruning, gather the necessary tools. You will need sharp pruning shears, gloves to protect your hands, and a clean cloth or disinfectant spray to sanitize the tools between cuts to prevent the spread of diseases.
3. Remove Dead Canes
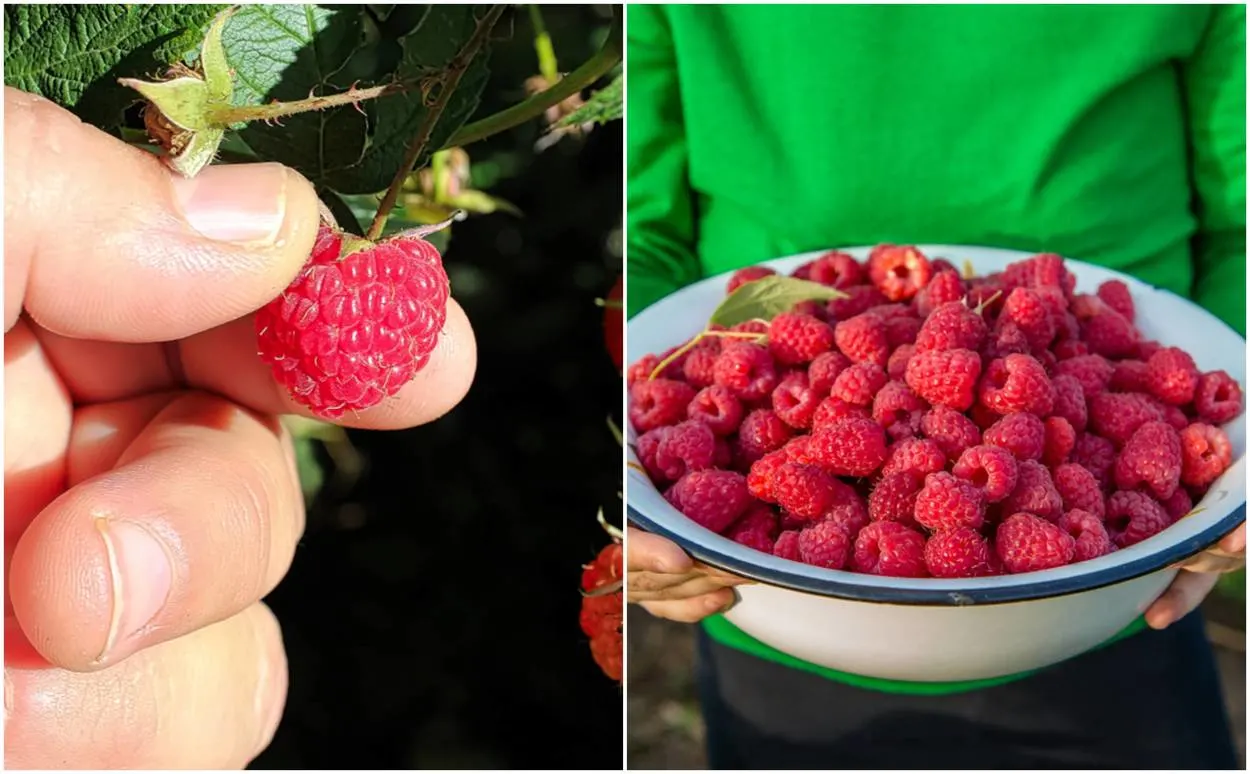
Begin by identifying the dead canes, which are usually brown, dried, and brittle. Carefully cut these canes at ground level, making sure to discard them away from the raspberry patch.
4. Thin Out Weak Canes
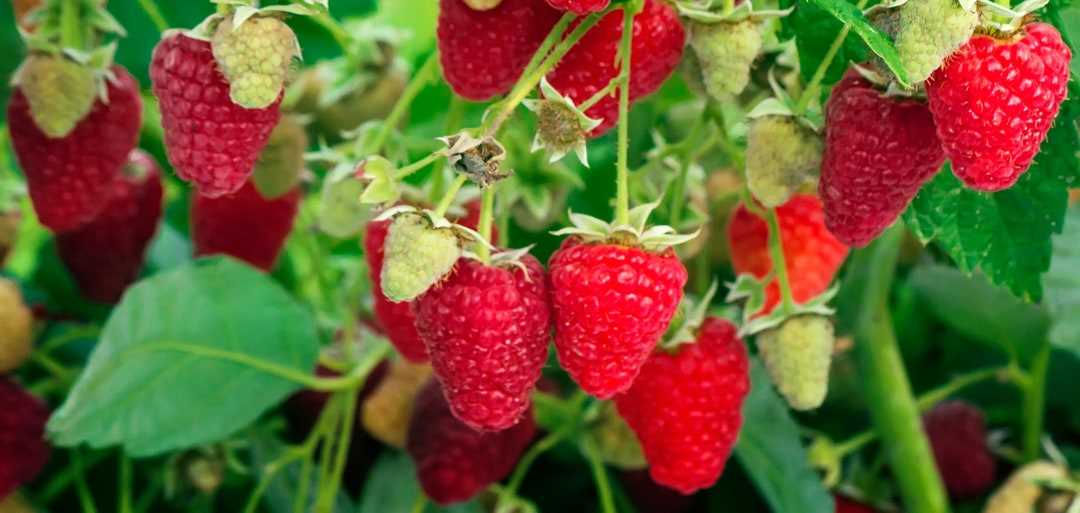
Next, identify any weak or thin canes that may hinder the growth of the remaining healthy ones. Thin out these canes by cutting them at ground level, leaving the stronger ones with more space to develop.
5. Prune Suckers
Raspberry plants often produce suckers, which are new shoots that grow from the base of the plant. These suckers can compete for nutrients and sunlight, so it’s important to remove them. Cut the suckers as close to the ground as possible.
6. Support the Remaining Canes
If you have a trellis or support system in place for your raspberry plants, make sure to tie the remaining canes to the support structure. This will promote upright growth and prevent the canes from bending or breaking under the weight of the fruit later in the season.
7. Mulch and Fertilize
After pruning, apply a layer of organic mulch around the base of the raspberry plants to help retain moisture and suppress weeds. Additionally, fertilize the plants with a balanced fertilizer to provide essential nutrients for vigorous growth.
8. Clean Up
After you finish pruning, clean up the area by removing any debris or pruned canes. Dispose of the waste away from the raspberry patch to prevent the spread of diseases or pests.
By following these step-by-step instructions, you can ensure that your raspberry plants are properly pruned and set up for a bountiful harvest in the coming season.
Timing and Tools for Raspberry Pruning
Pruning raspberries is an essential step in maintaining the health and productivity of your plants. By removing old, damaged, or crowded canes, you can encourage new growth, improve air circulation, and increase the overall fruit production. However, knowing when and how to prune your raspberries is crucial to ensure the best results. Here are some tips on timing and tools for raspberry pruning:
1. Timing:
The best time to prune raspberries is during the dormant season, which typically falls between late winter and early spring. Avoid pruning in late fall or early winter, as this can leave the plants vulnerable to cold damage. Wait until the threat of sub-freezing temperatures has passed, but before the plants start actively growing in the spring.
2. Tools:
Having the right tools for pruning raspberries can make the task much easier and more efficient. Here are some essential tools you’ll need:
- Hand pruners: Use a sharp pair of bypass hand pruners to cut through smaller canes and branches. Look for pruners with a comfortable grip and clean-cutting blades.
- Loppers: For thicker canes, loppers are a better option. Choose loppers with long handles for better reach and leverage.
- Pruning saw: In case you need to remove larger and tougher canes, a pruning saw will be necessary. Look for a saw with a narrow blade and sharp teeth for smooth cutting.
- Gloves: Pruning raspberries can be prickly, so it’s important to wear gloves to protect your hands from thorns and scratches.
3. Pruning Technique:
When pruning raspberries, it’s important to follow these basic steps:
- Remove dead and damaged canes: Start by cutting off any canes that are dead or damaged, as they will no longer produce fruit.
- Thin out crowded canes: Cut back any canes that are crossing or overcrowding each other. Aim to leave about 5-7 of the healthiest canes per plant.
- Trim the remaining canes: Once you’ve removed the unwanted canes, trim the remaining ones to a manageable height. Aim to cut them back to about knee height, or about 4-5 feet for summer-bearing varieties.
- Dispose of pruned canes: Finally, make sure to remove and dispose of the pruned canes properly. Don’t leave them lying around as they can harbor diseases and pests.
4. Aftercare:
After pruning, it’s important to provide proper aftercare to your raspberries. This includes fertilizing, mulching, and providing adequate water throughout the growing season. Monitor your plants for any signs of pests or diseases and take appropriate action if needed.
By following these timing and tools tips for raspberry pruning, you can ensure healthy and productive raspberry plants that will reward you with an abundant harvest.
Removing Dead Canes and Diseased Wood
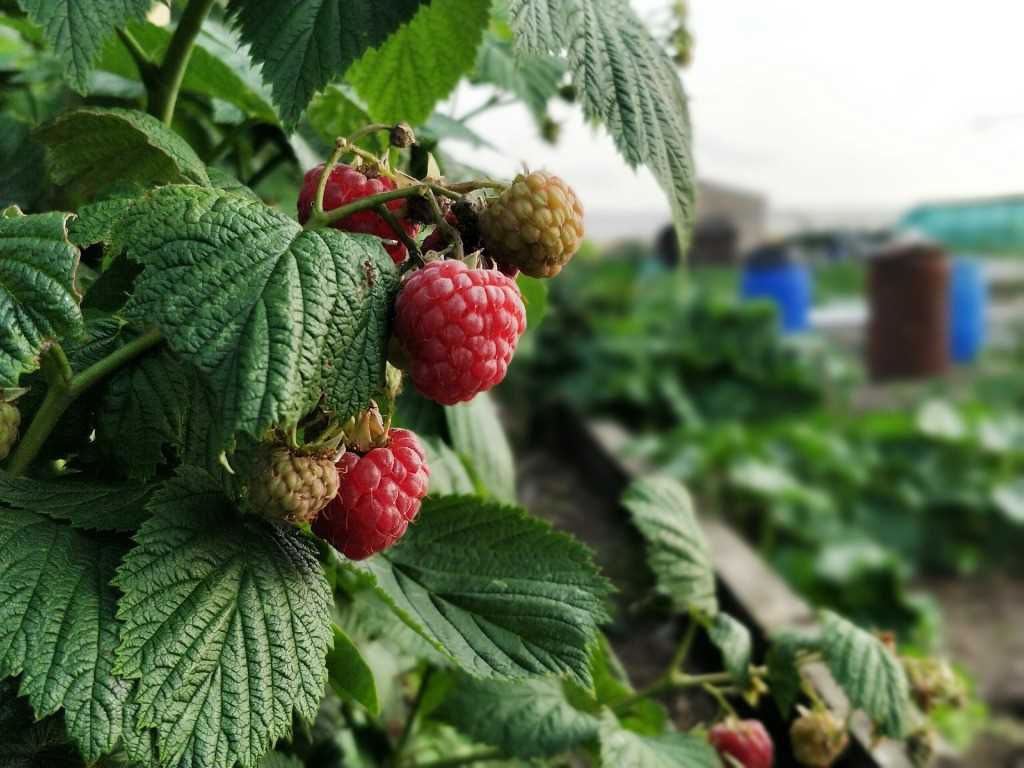
Removing dead canes and diseased wood is an essential task in spring to ensure the health and productivity of raspberry plants. Dead canes and diseased wood can harbor pests and diseases, and can also hinder the growth and production of healthy canes.
Here are some tips on how to effectively remove dead canes and diseased wood from raspberry plants:
- Begin by inspecting the raspberry patch closely to identify any dead or diseased canes. Dead canes will be brown and brittle, while diseased wood may have spots, cankers, or signs of rot.
- Use clean and sharp pruning shears or loppers to cut the dead canes and diseased wood at their base, close to the ground. Make sure to sanitize your tools before and after each cut to prevent the spread of diseases.
- Dispose of the removed canes and wood properly. Do not compost them, as this can further spread diseases. Burn them or dispose of them in sealed bags.
- After removing the dead canes and diseased wood, clear any debris or fallen leaves around the base of the plants to reduce the risk of pests and diseases.
- Inspect the remaining healthy canes for any signs of disease or pests. If you notice any issues, take appropriate measures to address them.
Regularly removing dead canes and diseased wood will promote airflow and light penetration within the raspberry patch, reducing the risk of fungal diseases and improving overall plant health. It also allows the healthy canes to thrive and produce a bountiful harvest of delicious raspberries.
Thinning Out Raspberry Canes for Better Air Circulation
Raspberries are vigorous growers and can quickly become overcrowded if left unattended. To ensure optimal air circulation and prevent the spread of diseases, it is essential to thin out raspberry canes regularly. Thinning out the canes also helps to promote better fruit production and easier harvesting.
Why thin out raspberry canes?
- Improved air circulation: Thinning out raspberry canes allows air to circulate freely around the plants, reducing the risk of fungal diseases such as powdery mildew.
- Increased sunlight exposure: Removing excess canes allows more sunlight to reach the remaining canes and their fruit, promoting better ripening and higher sugar content.
- Easier harvesting: Thinning out the canes makes it easier to access and pick ripe berries, as well as maintain the overall health of the plants.
When to thin out raspberry canes?
The best time to thin out raspberry canes is in early spring, before new growth begins. This allows the remaining canes to receive enough sunlight and nutrients for optimal fruit production.
How to thin out raspberry canes:
- Identify the older canes: Look for canes that are two years or older. These canes tend to be thicker and have a grayish-brown color.
- Remove weak and damaged canes: Remove any canes that are weak, damaged, or diseased. These canes are less likely to produce quality fruit and can spread diseases to healthy canes.
- Space out the remaining canes: Leave about 6-8 inches of space between each remaining cane. This ensures optimal air circulation and allows the canes to grow without overcrowding.
- Prune the removed canes: Cut the removed canes to ground level and dispose of them properly to prevent the spread of diseases.
Tips for thinning out raspberry canes:
- Use clean and sharp pruners or loppers to make clean cuts and minimize the risk of introducing diseases.
- Consider wearing gloves to protect your hands from thorns and potential injuries.
- Regularly monitor the raspberry patch throughout the growing season and remove any additional canes that may emerge.
Thinning out raspberry canes is a simple but crucial step in maintaining the health and productivity of your raspberry plants. By promoting better air circulation and reducing crowding, you can ensure a bountiful harvest of delicious raspberries year after year.
Training Raspberry Canes for Proper Support
Proper support is essential for the healthy growth and abundant harvest of raspberry plants. Training raspberry canes to grow in a specific manner helps to ensure strong support and prevent the canes from becoming tangled or damaged. Here are some tips for training raspberry canes for proper support:
- Install stakes or trellises: Before the raspberry canes start to grow, install sturdy stakes or trellises in the planting area. This will provide the necessary support for the canes as they grow.
- Space the stakes or trellises: Depending on the variety of raspberries you are growing, space the stakes or trellises around 2 to 3 feet apart. This will allow enough room for the canes to grow without overcrowding.
- Train the canes as they grow: As the raspberry canes begin to grow, gently guide them towards the stakes or trellises. Loosely tie the canes to the support structure using soft twine or plant clips. Avoid using materials that can cause damage or constrict the growth of the canes.
- Prune excess canes: In order to maintain proper support and airflow, it is important to thin out excess canes. Remove any weak or diseased canes, as well as any canes that are growing too close to each other. This will help to prevent overcrowding and promote healthy growth.
- Continue to train throughout the season: As the raspberry canes continue to grow, regularly check and adjust their positions on the support structure. This will help to keep the canes properly supported and prevent them from becoming tangled or leaning excessively.
By following these tips for training raspberry canes, you can ensure proper support and encourage healthy growth, resulting in a bountiful harvest of delicious raspberries.
Fertilizing Raspberries for Strong Growth and Higher Yields
Fertilizing raspberries is an essential step in their care to ensure strong growth and higher yields. Proper fertilization provides the necessary nutrients for the plants to develop healthy canes and produce abundant fruits. Here are some tips on how to fertilize raspberries effectively:
1. Soil Testing
Before applying any fertilizers, it is important to test the soil to determine its nutrient levels. A soil test can help identify any deficiencies and guide you in choosing the appropriate fertilizer.
2. Nitrogen Application
Raspberries have a high demand for nitrogen, especially during their early growth stages. Applying nitrogen-rich fertilizers, such as ammonium nitrate or urea, can help promote vigorous growth and increase fruit production.
3. Timing of Fertilization
It is best to fertilize raspberries in early spring before new growth begins. This allows the plants to benefit from the nutrients as they start their active growth phase.
4. Uniform Application
When applying fertilizer, ensure an even distribution around the base of the plants. This helps prevent nutrient imbalances and ensures that each plant receives an equal amount of nutrients.
5. Organic Fertilizers
Using organic fertilizers, such as compost or well-rotted manure, can be beneficial for raspberries. These organic materials not only provide nutrients but also improve soil structure and enhance moisture retention.
6. Mulching
After fertilizing, mulching around the raspberry plants can help retain moisture and reduce weed competition. Mulch also breaks down over time, releasing organic matter and nutrients into the soil.
7. Watering
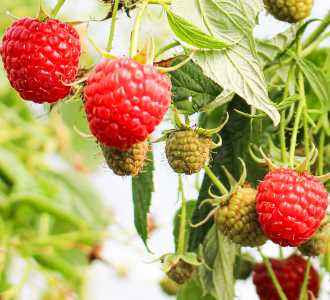
Proper watering is crucial after fertilizing raspberries. Ensure that the plants receive adequate moisture to help dissolve and distribute the fertilizer throughout the root zone.
8. Avoid Overfertilization
Overfertilization can lead to excessive vegetative growth and reduce fruit production. Follow the recommended dosages and avoid applying more fertilizer than necessary.
9. Regular Maintenance
Monitor the health of your raspberry plants throughout the growing season. If any signs of nutrient deficiencies, such as yellowing leaves or stunted growth, appear, consider adjusting your fertilization program accordingly.
By following these fertilization tips, you can provide your raspberry plants with the necessary nutrients for strong growth, healthy canes, and higher yields.
Watering Raspberries: How to Keep Them Hydrated
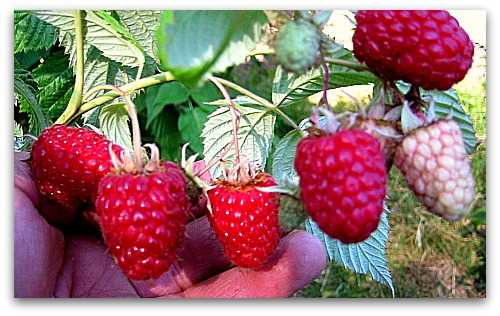
Proper watering is crucial for the health and productivity of raspberry plants. Here are some tips to help you keep your raspberries hydrated:
1. Regular Watering Schedule
- Establish a regular watering schedule for your raspberry plants.
- During the growing season, water the plants consistently to keep the soil moist but not waterlogged.
- Water deeply, ensuring that the water reaches the roots.
2. Mulching
- Mulch around the base of the raspberry plants to help retain moisture in the soil.
- Apply a layer of organic mulch, such as straw or wood chips, to a depth of 2-3 inches.
- This will also help suppress weeds and regulate soil temperature.
3. Irrigation System
- Consider using an irrigation system, such as drip irrigation or soaker hoses, to efficiently water your raspberry plants.
- These systems deliver water directly to the soil, minimizing evaporation and ensuring that the water goes where it is needed most.
4. Rainwater Collection
- Utilize rainwater to irrigate your raspberry plants.
- Set up a rain barrel or a collection system to capture and store rainwater.
- Use this water to supplement your regular watering routine.
5. Observation
- Observe your raspberry plants regularly to determine their watering needs.
- Look for signs of wilting or drooping leaves, as these are indications that the plants need water.
- Adjust your watering schedule or amount accordingly.
By following these watering tips, you can ensure that your raspberry plants stay properly hydrated and thrive, leading to a bountiful harvest.
Mulching Raspberries to Suppress Weeds and Conserve Moisture
One of the essential spring care tips for raspberries is mulching. Mulching is the process of covering the soil around the raspberry plants with a layer of organic material, such as straw, wood chips, or leaves. Mulching offers several benefits for raspberry plants, including suppression of weeds and conservation of moisture.
Why Mulching is Important
1. Weed Suppression: One of the biggest challenges in growing raspberries is dealing with weeds. Weeds compete with raspberries for nutrients and resources and can significantly reduce the yield of the plants. Mulching helps suppress weeds by creating a physical barrier that blocks sunlight from reaching the weed seeds, preventing them from germinating and growing. This reduces the need for manual weeding and helps keep the raspberry patch clean and tidy.
2. Moisture Conservation: Raspberries are shallow-rooted plants that require a consistent supply of moisture. Mulching helps to conserve moisture in the soil by reducing evaporation. It acts as a protective layer that prevents water from evaporating from the soil surface, keeping the roots of the raspberry plants moist and reducing the need for frequent watering.
How to Mulch Raspberries
- Clean the raspberry patch: Before mulching, remove any existing weeds or debris from the raspberry patch. This will ensure that the mulch layer is applied on a clean surface.
- Select the mulching material: Choose organic materials such as straw, wood chips, or leaves for mulching raspberries. Avoid using materials that may contain weed seeds.
- Apply the mulch layer: Spread a layer of mulch around the base of the raspberry plants, ensuring that the mulch is about 2-3 inches thick. Be careful not to place the mulch directly against the raspberry canes, as this can create a favorable environment for pests and diseases.
- Maintain the mulch: Check the mulch regularly and replenish it as needed throughout the growing season. Over time, the mulch will break down and decompose, adding organic matter to the soil.
Additional Tips for Mulching Raspberries

- Do not use plastic mulches for raspberry plants, as they can prevent water and air from reaching the roots.
- Avoid piling up mulch against the raspberry canes, as it can lead to rot and pest problems.
- Consider using a weed barrier fabric under the mulch layer for extra weed suppression.
- Apply mulch in early spring, before the raspberry plants start to actively grow.
By mulching your raspberry plants, you can effectively suppress weeds and conserve moisture, ensuring healthy and bountiful harvests.
Protecting Raspberries from Pests and Diseases
Raspberries are susceptible to a variety of pests and diseases that can limit their growth and impact the quality of your harvest. Implementing appropriate pest and disease prevention measures will help ensure the health and productivity of your raspberry plants. Here are some tips to protect your raspberries from common pests and diseases:
1. Sanitation
Good garden hygiene is essential in preventing the spread of diseases. Remove any fallen leaves, fruit, and plant debris from around the raspberry plants, as they can harbor pests and diseases. Regularly clean and sanitize your tools to prevent the transmission of pathogens.
2. Weed Control
Weeds can provide a breeding ground for insects and diseases, and they compete with raspberry plants for nutrients and water. Keep the area around your raspberry plants weed-free by regularly removing any weeds that sprout.
3. Mulching
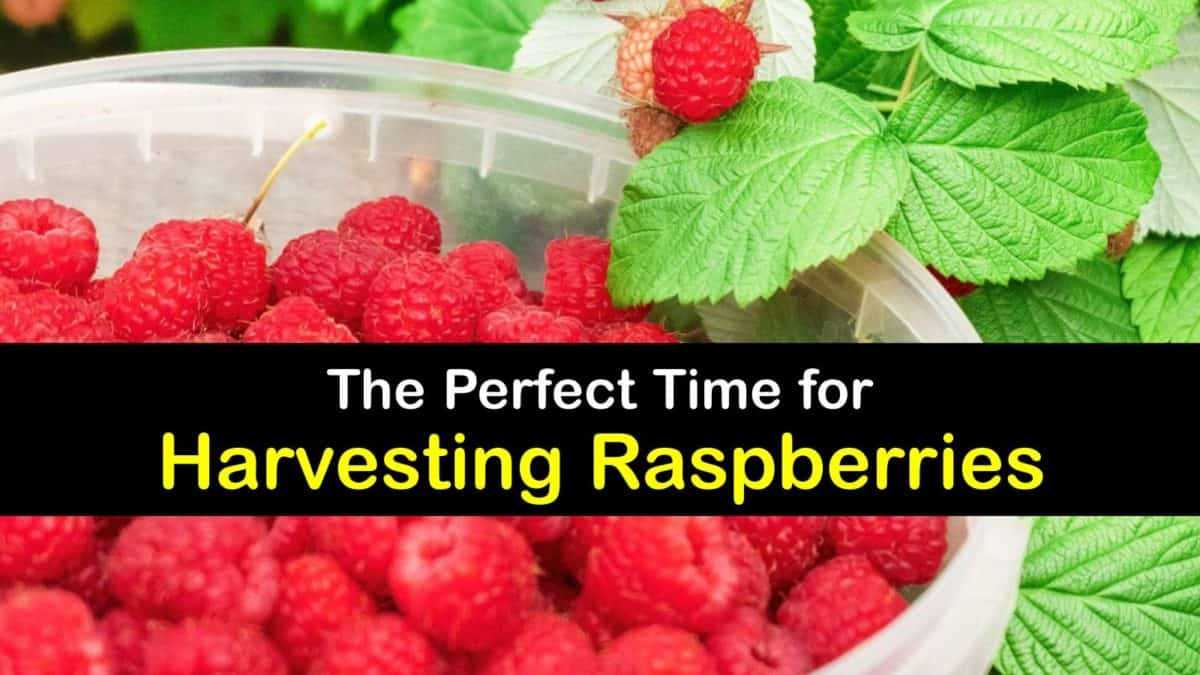
Apply a layer of organic mulch, such as straw or wood chips, around the base of your raspberry plants. Mulching helps suppress weed growth, retain moisture in the soil, and regulate temperature. Additionally, it can act as a physical barrier, preventing certain pests from reaching the plants.
4. Proper Watering
Raspberries require regular and consistent watering, especially during dry spells. Ensure that the plants receive about 1-2 inches of water per week. However, avoid overwatering, as it can create favorable conditions for diseases such as root rot.
5. Pruning and Thinning
Regularly prune and thin your raspberry plants to improve air circulation and reduce the risk of diseases. Remove any dead, damaged, or diseased canes, and thin out overcrowded areas to allow for better light penetration and airflow.
6. Pest Control
Monitor your raspberry plants regularly for signs of pests such as aphids, spider mites, and raspberry fruitworms. Use insecticidal soaps or organic pest control methods to manage pest populations. Consider using netting or row covers to protect the plants from birds and other larger pests.
7. Disease-resistant Varieties
Choose disease-resistant raspberry varieties when planting your garden. Many modern raspberry varieties have been bred to be resistant to common diseases such as raspberry leaf spot and powdery mildew. Check with your local extension service or nursery for recommendations on disease-resistant varieties.
By implementing these preventive measures, you can minimize the risk of pests and diseases in your raspberry plants and ensure a healthy and abundant harvest.
Question-answer:
When is the best time to prune raspberry plants?
The best time to prune raspberry plants is in early spring, before new growth begins. This allows the plant to focus its energy on producing new canes and fruit.
How often should I water raspberry plants in the spring?
Raspberry plants need regular watering in the spring, especially during dry spells. Water them deeply at least once a week, making sure the soil is moist to a depth of about 1 inch.
Should I fertilize raspberry plants in the spring?
Yes, it is recommended to fertilize raspberry plants in the spring. Use a balanced fertilizer, such as a 10-10-10, and apply it according to the instructions on the package.
How do I protect raspberry plants from pests in the spring?
To protect raspberry plants from pests in the spring, you can try several methods. One option is to cover the plants with a fine mesh netting to prevent insects from reaching the fruit. Another option is to use organic insecticides, like neem oil, to repel pests.
What can I do to prevent diseases in my raspberry plants in the spring?
To prevent diseases in raspberry plants in the spring, it is important to practice good sanitation. Remove any dead or diseased canes, and clean up fallen leaves and debris from around the plants. Also, make sure the plants have good air circulation by spacing them properly.
How can I increase the yield of my raspberry plants in the spring?
There are several ways to increase the yield of raspberry plants in the spring. Pruning is one method that helps promote new growth and more fruit production. Additionally, fertilizing, watering, and providing proper sunlight and soil conditions can all contribute to a higher yield.
Can I transplant raspberry plants in the spring?
While it is possible to transplant raspberry plants in the spring, it is generally recommended to do so in the fall. This gives the plants a chance to establish their root systems before the winter. However, if you need to move a raspberry plant in the spring, make sure to dig up as much of the root ball as possible and replant it quickly in its new location.
