- Step-by-Step Guide for Growing Viola from Seeds
- Different Types of Viola
- 1. Johnny Jump-Up (Viola tricolor)
- 2. Sweet Violet (Viola odorata)
- 3. Pansies (Viola x wittrockiana)
- 4. Horned Violet (Viola cornuta)
- 5. Dog-Violet (Viola riviniana)
- 6. Australian Native Violet (Viola hederacea)
- 7. Bedding Violas
- 8. Winter Flowering Violas
- Popular Varieties of Viola
- Tips for Successful Viola Growing
- 1. Choose the Right Variety
- 2. Start from Seeds
- 3. Provide the Right Growing Conditions
- 4. Water Regularly
- 5. Fertilize Properly
- 6. Deadhead Regularly
- 7. Control Pests and Diseases
- 8. Mulch to Conserve Moisture
- 9. Monitor and Adjust
- 10. Enjoy the Beauty
- Tricks to Enhance Viola’s Beauty
- 1. Plant in the Right Location
- 2. Provide Adequate Watering
- 3. Deadhead Regularly
- 4. Fertilize Occasionally
- 5. Protect from Pests
- 6. Mix with Complementary Plants
- 7. Regular Maintenance
- Common Problems and Solutions for Viola Growing
- Poor Germination
- Disease and Pest Problems
- Yellowing Leaves
- Stunted Growth
- Failure to Flower
- Conclusion
- Questions and Answers:
- What are the different types of viola seeds available?
- Can violas be grown from seeds?
- What is the best time to sow viola seeds?
- How long does it take for viola seeds to germinate?
- What are some tips for growing violas from seeds?
- Are there any specific tricks for growing violas from seeds?
- Videos: BEGONIA PLANT CARE, How to Grow and Propagate Begonia Cuttings – Garden Tips in English
Viola, commonly known as violets, are a popular choice for gardeners looking to add a splash of color to their landscape. These delicate flowers are easy to grow from seeds and offer a wide range of types and varieties to choose from. Whether you’re a seasoned gardener or just starting out, here are some tips and tricks to help you successfully grow and care for violas in your garden.
When it comes to growing violas from seeds, it’s important to start with high-quality seeds. Look for a reputable seed supplier and choose a variety that suits your taste and aesthetic preferences. Viola seeds are small and delicate, so handle them with care. Sow the seeds in a well-draining potting mix, covering them lightly with soil. Keep the soil consistently moist, but be careful not to overwater as this can lead to root rot.
Violas come in a variety of types and varieties, each with its own unique characteristics. Some popular types include pansies, which have larger flowers and a wider range of vibrant colors; and Johnny-jump-ups, which are smaller in size and have dainty, multi-colored blooms. There are also trailing varieties of violas, which are perfect for hanging baskets and containers.
Once your violas have germinated and begun to grow, it’s important to provide them with the right conditions for optimal growth. Violas prefer cool temperatures, ideally between 50°F and 60°F. They thrive in partial shade, although they can tolerate full sun in cooler climates. Regular deadheading – removing faded flowers – will encourage continuous blooming throughout the season.
In conclusion, violas are a beautiful addition to any garden, adding color and charm. With the right care and attention, you can successfully grow and enjoy these lovely flowers in your own backyard. So why not give it a try and start growing violas from seeds today?
Step-by-Step Guide for Growing Viola from Seeds
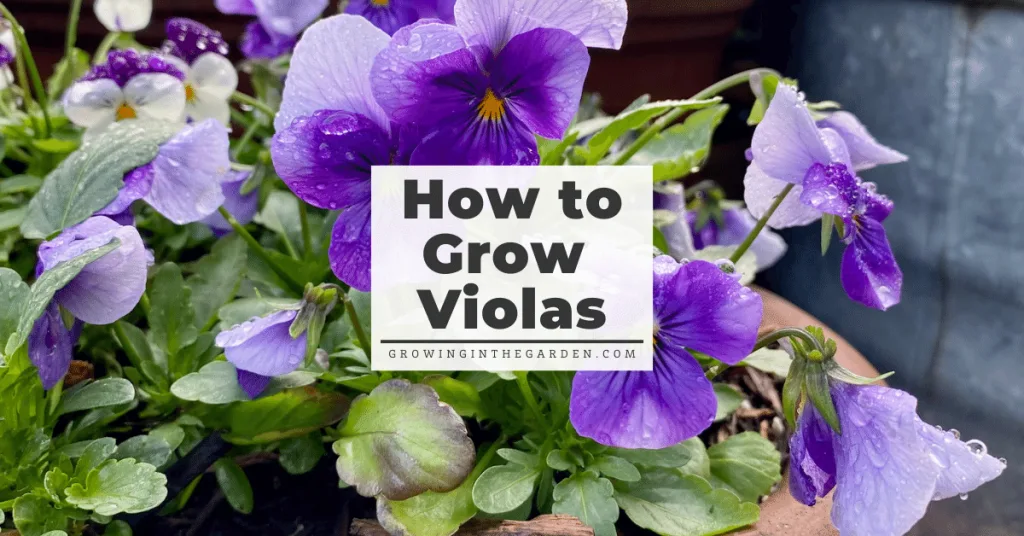
Growing viola from seeds is a rewarding and fulfilling process. Here’s a step-by-step guide to help you successfully grow viola from seeds:
- Choose the right Viola seeds: Select seeds that correspond to the variety of viola you want to grow. Viola seeds come in a variety of colors and sizes, so choose according to your preferences.
- Prepare the soil: Violas thrive in well-draining soil with a pH range of 6.0 to 7.0. Prepare the soil by removing any weeds or debris and loosen it with a garden fork or tiller.
- Sow the seeds: Sow the viola seeds on the soil surface, gently pressing them into the soil. Make sure to space the seeds properly, following the spacing requirements mentioned on the seed packet.
- Water the seeds: After sowing the seeds, gently water the soil to keep it moist. Avoid overwatering, as it may lead to damping off or root rot. Regularly check the moisture levels and water when the soil feels dry to the touch.
- Provide adequate sunlight: Violas prefer full sun to partial shade. Place the seed tray or pots in a location that receives at least 6 hours of direct sunlight every day. If growing indoors, use grow lights to provide sufficient light.
- Monitor the temperature: Violas prefer cool temperatures between 55°F (13°C) and 70°F (21°C). Maintain a consistent temperature range for optimal growth. Avoid extreme heat or cold.
- Thin out the seedlings: Once the seedlings have grown their first true leaves, thin them out to provide enough space for each plant to grow properly. Remove the weakest seedlings, leaving only the healthiest ones.
- Fertilize regularly: Feed the viola plants with a balanced fertilizer every 2-3 weeks to promote healthy growth and blooming. Follow the instructions on the fertilizer packaging for proper application.
- Protect from pests: Keep an eye out for pests like aphids, slugs, and snails. Use organic pest control methods or insecticidal soap to protect your violas from these garden invaders.
- Enjoy the blooms: With proper care, your viola plants will start blooming in a few weeks. Enjoy the vibrant and colorful flowers that will bring beauty and charm to your garden or indoor space.
Following these steps will help you successfully grow viola from seeds. Remember to have patience and provide consistent care to ensure the best results. Happy gardening!
Different Types of Viola
Viola plants come in a variety of types and varieties that offer beautiful colors and unique features. Here are some of the different types of viola that you can choose from for your garden:
1. Johnny Jump-Up (Viola tricolor)
The Johnny Jump-Up viola is a common type known for its petite size and vibrant purple, yellow, and white flowers. It is often used as a ground cover or in borders and rock gardens.
2. Sweet Violet (Viola odorata)
The Sweet Violet is a fragrant type of viola that blooms in early spring. It has heart-shaped leaves and small purple or white flowers. This variety is often used in perfumes, potpourri, and culinary creations.
3. Pansies (Viola x wittrockiana)
Pansies are one of the most popular types of viola. They come in a wide range of colors including purple, yellow, orange, white, and multicolored combinations. Pansies are known for their large flowers and are often used in containers, hanging baskets, and flower beds.
4. Horned Violet (Viola cornuta)
The Horned Violet is a type of viola with distinctive backward-pointing petals, giving it a unique appearance. It comes in various shades of blue, purple, yellow, and white, and is often used in borders, rock gardens, and containers.
5. Dog-Violet (Viola riviniana)
The Dog-Violet is a wild species of viola that can be found in woodlands and meadows. It has small, delicate flowers that range in color from pale violet to deep purple. This type of viola is often grown as a native wildflower or for attracting pollinators.
6. Australian Native Violet (Viola hederacea)
The Australian Native Violet is a low-growing species that is native to Australia. It has small purple flowers and glossy leaves. This type of viola is often used as a ground cover and is tolerant of shade and damp conditions.
7. Bedding Violas
Bedding violas are small-flowered types of viola that are often used for mass planting in flower beds and borders. They come in a wide range of colors and are known for their ability to bloom continuously throughout the growing season.
8. Winter Flowering Violas
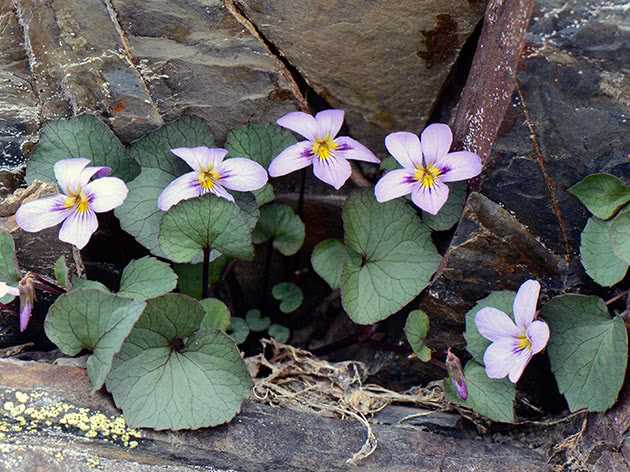
Winter flowering violas are varieties that are bred to bloom during the winter months. They can withstand colder temperatures and shorter daylight hours, providing color and interest to the garden during the colder months.
These are just a few examples of the many different types and varieties of viola available. Whether you choose a fragrant variety, large-flowered pansies, or a native wildflower, adding violas to your garden is sure to bring beauty and charm.
Popular Varieties of Viola
Viola plants come in a wide range of varieties, each with its own unique traits and characteristics. Here are some popular varieties of viola:
- Johnny-Jump-Up – This variety is known for its vibrant purple and yellow flowers. The blooms have a cheerful and whimsical appearance, making them a favorite among gardeners.
- Purple Showers – As the name suggests, this variety features beautiful deep purple flowers. The blooms are larger than those of other viola varieties, making them a standout in any garden.
- Yellow Baby – This variety is characterized by its delicate yellow flowers. The blooms have a soft and gentle appearance, adding a touch of brightness to any garden space.
- Black Magic – Black Magic violas are known for their rich and dark purple flowers. These blooms add a touch of drama and elegance to any garden or container.
- Velvet Queen – The Velvet Queen variety boasts velvety purple and orange flowers. The unique color combination makes this viola a striking addition to any garden or landscape.
These are just a few examples of the many different varieties of viola available. When selecting a viola variety, consider factors such as flower color, size, and overall appearance to choose the best option for your gardening needs.
Tips for Successful Viola Growing
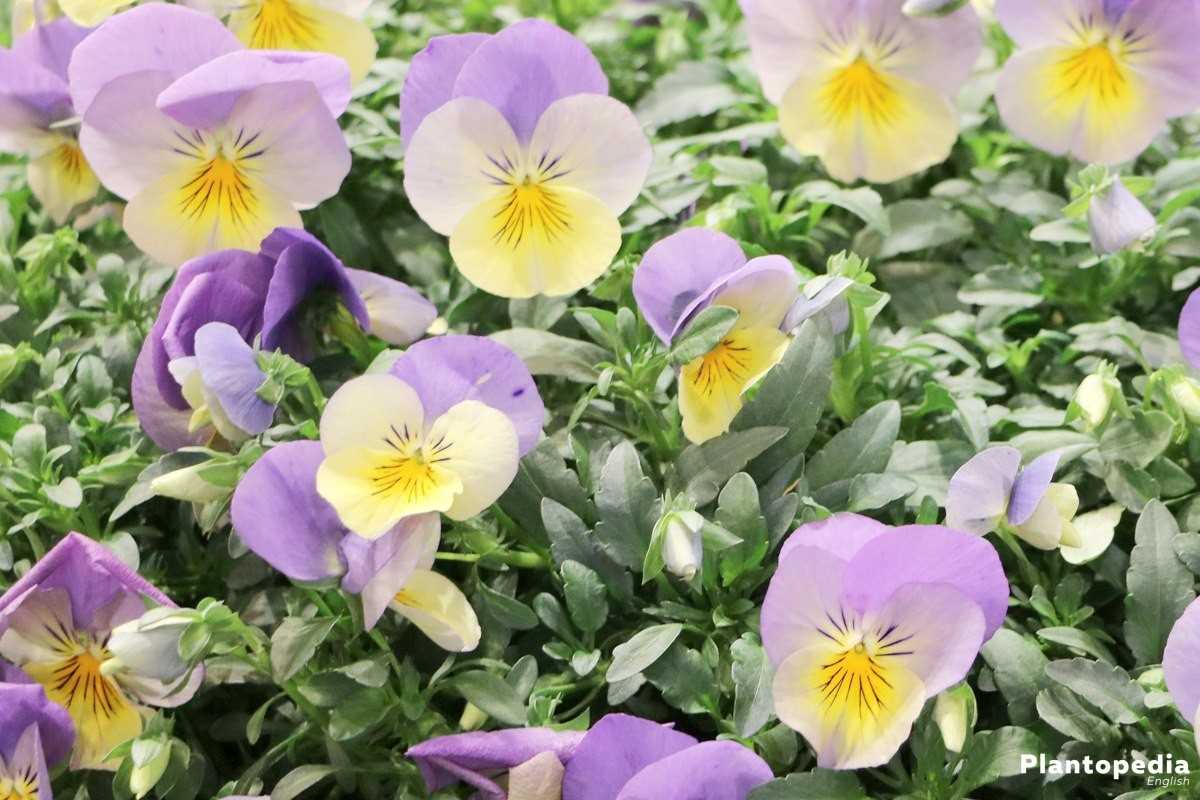
1. Choose the Right Variety
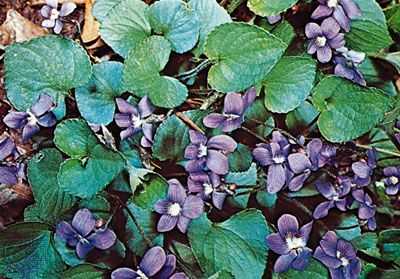
There are many different varieties of violas available, so it’s important to choose the right one for your growing conditions and preferences. Some varieties are more suitable for hot climates, while others prefer cooler temperatures. Consider factors such as flower size, color, and fragrance when selecting your viola variety.
2. Start from Seeds
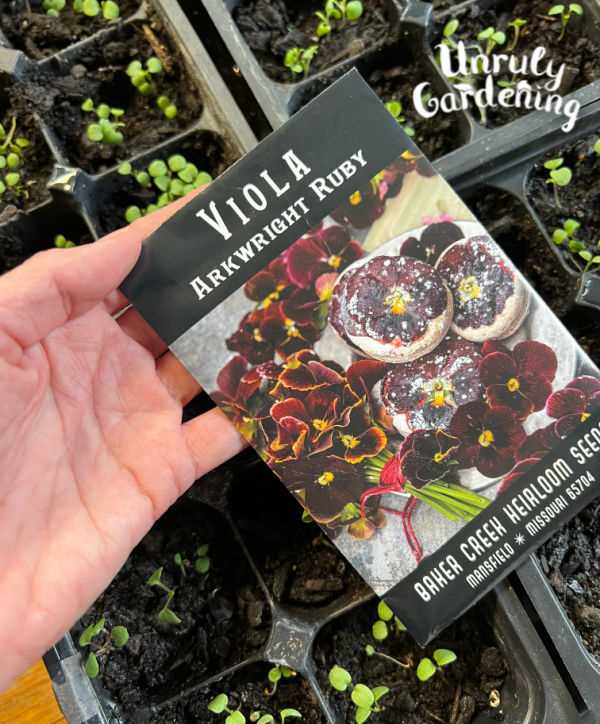
Violas can be easily grown from seeds, and this is often a more cost-effective option compared to buying mature plants. Start the seeds indoors about 8-10 weeks before the last frost date in your area. Transplant the seedlings outdoors once the danger of frost has passed.
3. Provide the Right Growing Conditions
Violas prefer full sun to partial shade. Choose a location that receives at least 6 hours of sunlight per day. The soil should be well-draining and slightly acidic. Amend the soil with compost or organic matter to improve its fertility and drainage.
4. Water Regularly
Violas require regular watering to thrive. Keep the soil consistently moist, but not soggy. Water deeply and infrequently rather than shallowly and frequently. Avoid overhead watering, as this can increase the risk of disease.
5. Fertilize Properly
Feed your violas with a balanced, slow-release fertilizer once a month during the growing season. This will provide them with the necessary nutrients to encourage healthy growth and abundant flowering. Avoid over-fertilizing, as this can lead to weak plants and reduced flowering.
6. Deadhead Regularly
To promote continuous blooming, deadhead your violas regularly. This involves removing spent flowers before they can form seeds. This will encourage the plants to produce more blooms and extend their flowering period.
7. Control Pests and Diseases
Monitor your violas regularly for signs of pests, such as aphids or slugs, and diseases like powdery mildew or root rot. Use natural and organic pest control methods whenever possible, such as handpicking pests or using insecticidal soap. Remove and destroy any infected or diseased plants to prevent the spread.
8. Mulch to Conserve Moisture
Applying a layer of organic mulch around your violas can help conserve soil moisture, suppress weeds, and regulate soil temperatures. Use a lightweight mulch, such as straw or shredded bark, and apply it to a depth of about 2-3 inches.
9. Monitor and Adjust
Keep a close eye on your violas and make any necessary adjustments to their care. Monitor their growth, flowering, and overall health. If you notice any issues, such as stunted growth or yellowing leaves, take appropriate action to address the problem, such as adjusting watering or fertilization.
10. Enjoy the Beauty
Finally, remember to enjoy the beauty and fragrance of your violas. These charming little flowers are sure to bring joy and color to your garden or containers. Take the time to appreciate their delicate blooms and the effort you put into their successful growth.
Tricks to Enhance Viola’s Beauty
Violas are beautiful and delicate flowers that can brighten up any garden or indoor space. If you want to enhance the beauty of your violas, here are some tricks to try:
1. Plant in the Right Location
Violas thrive in well-drained soil and prefer full sun to partial shade. Make sure to choose a location that receives enough sunlight and has soil that drains well. This will help the violas grow healthy and produce more flowers.
2. Provide Adequate Watering

Violas need regular watering to thrive. Keep the soil evenly moist, but be careful not to overwater as this can lead to root rot. Water violas at the base to avoid wetting the leaves, which can lead to disease. It is best to water in the morning so that any excess water can dry up during the day.
3. Deadhead Regularly
Deadheading is the process of removing faded or dying flowers from the violas. This not only improves the appearance of the plant but also encourages more blooms. Use a pair of sharp scissors or pruning shears to snip off the flowers just above the first set of leaves.
4. Fertilize Occasionally
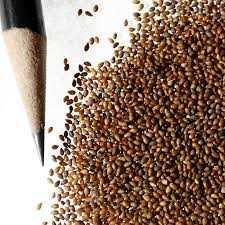
Violas benefit from occasional fertilization to promote healthy growth and abundant flowering. Use a balanced, water-soluble fertilizer and follow the manufacturer’s instructions for application. Generally, fertilizing once every 4-6 weeks during the growing season should be sufficient.
5. Protect from Pests
Keep an eye out for pests like aphids, caterpillars, and slugs, as they can damage violas. Use organic pest control methods, such as handpicking or using insecticidal soap, to keep the pests at bay. Regularly inspect your violas for any signs of infestation.
6. Mix with Complementary Plants
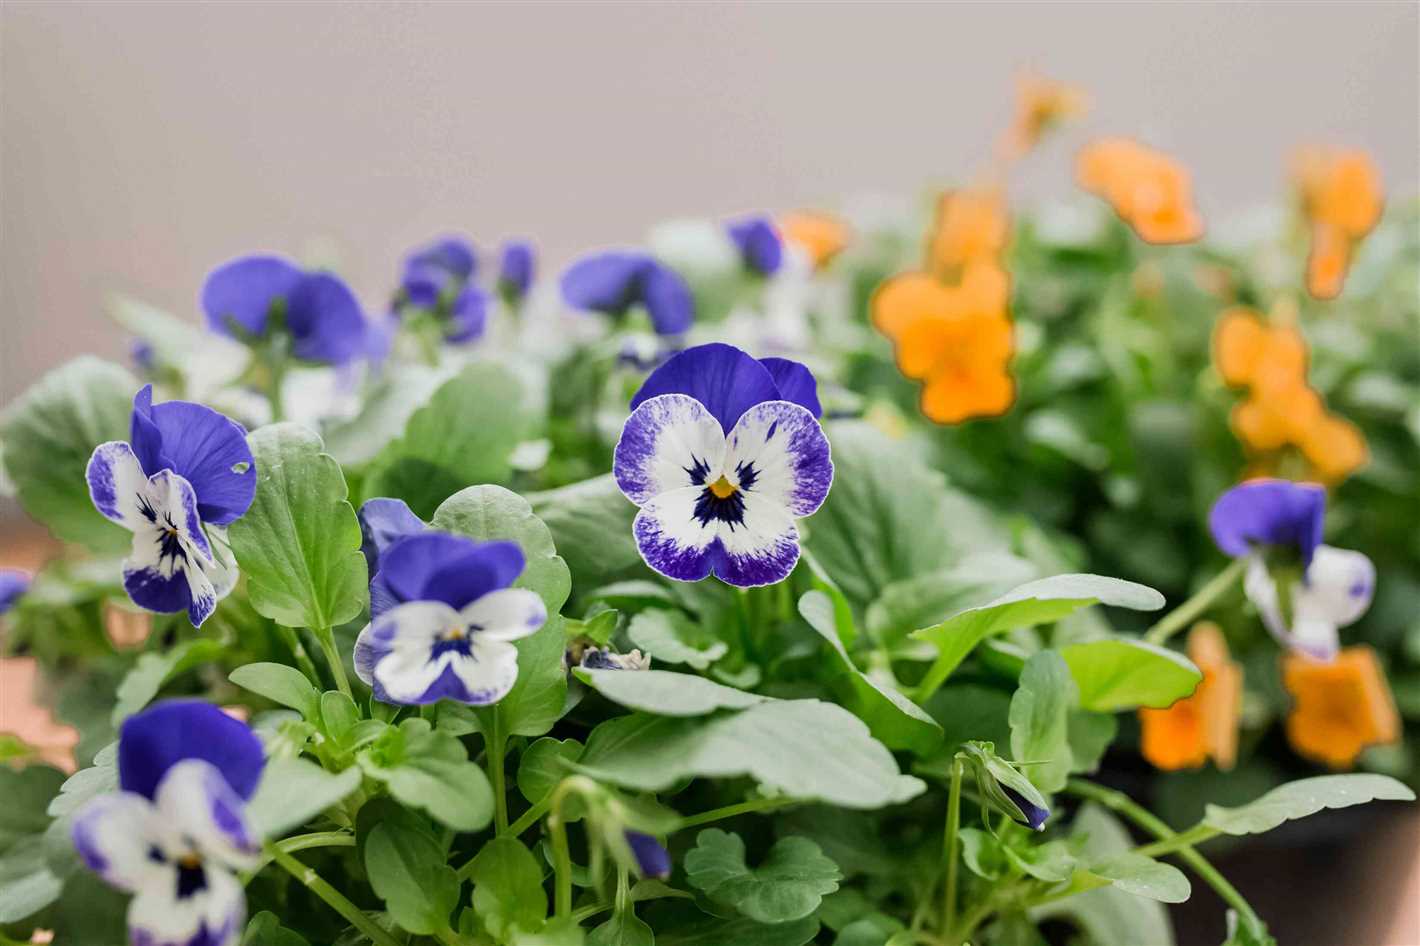
Violas look stunning when planted alongside other flowering plants. Consider mixing them with complementary plants like pansies, primroses, or daisies to create a beautiful and colorful display. Choose plants with similar sunlight and watering requirements for best results.
7. Regular Maintenance
Perform regular maintenance tasks like removing weeds, removing faded foliage, and checking for any signs of disease or nutrient deficiencies. Pruning may also be necessary to maintain the shape and size of the plants.
By following these tricks, you can enhance the beauty of your violas and enjoy their vibrant colors and delicate blooms for longer. Experiment with different techniques and combinations to create your own unique display of violas in your garden or indoor space.
Common Problems and Solutions for Viola Growing
Poor Germination
One common problem when growing violas from seeds is poor germination. This could be due to several factors:
- Old or poor-quality seeds
- Inadequate moisture
- Improper temperature
To address these issues and improve germination, make sure to use fresh, high-quality seeds. Provide consistent moisture by watering regularly, but avoid overwatering, as this can lead to fungal diseases. Keep the temperature in the range of 60 to 70 degrees Fahrenheit (15 to 21 degrees Celsius) for optimal germination.
Disease and Pest Problems
Violas can be susceptible to various diseases and pests, including:
- Powdery mildew
- Fungal leaf spot
- Aphids
- Slugs and snails
To prevent and control these problems, you can:
- Choose disease-resistant varieties
- Practice good sanitation by removing and destroying infected plant parts
- Apply fungicides or insecticides, if necessary and following the instructions
- Use organic pest control methods, such as neem oil or handpicking
Yellowing Leaves
If you notice yellowing leaves in your violas, it could be a sign of:
- Nutrient deficiency
- Overwatering
- Root rot
To address this issue, make sure your violas are receiving proper nutrition by using a balanced fertilizer. Avoid overwatering and ensure well-draining soil to prevent root rot. Adjust your watering schedule accordingly, allowing the top inch (2.5 cm) of soil to dry out before watering again.
Stunted Growth
Stunted growth in violas can be caused by:
- Insufficient sunlight
- Overcrowding
- Competition for nutrients
Ensure your violas are receiving at least 4 to 6 hours of direct sunlight per day. Avoid overcrowding by spacing plants properly. If growing in containers, provide adequate space for each plant. Additionally, thin out crowded areas if necessary to reduce competition for nutrients.
Failure to Flower
If your violas fail to produce flowers, the possible reasons could be:
- Inadequate sunlight
- High temperatures
- Over-fertilization with nitrogen-rich fertilizers
To encourage flowering, provide your violas with at least 4 to 6 hours of direct sunlight per day. Keep temperatures below 75 degrees Fahrenheit (24 degrees Celsius) as high temperatures can inhibit flower production. Avoid over-fertilization with nitrogen-rich fertilizers, as this can promote foliage growth at the expense of flowers. Choose a balanced fertilizer or one specifically formulated for flowering plants.
Conclusion
Growing violas from seeds can be a rewarding experience, but it’s important to be aware of common problems and their solutions. By addressing issues such as poor germination, disease and pest problems, yellowing leaves, stunted growth, and failure to flower, you can ensure the health and beauty of your violas.
Questions and Answers:
What are the different types of viola seeds available?
There are many different types of viola seeds available, including common viola, pansy viola, and horned viola.
Can violas be grown from seeds?
Yes, violas can be easily grown from seeds.
What is the best time to sow viola seeds?
The best time to sow viola seeds is in early spring, around 6-8 weeks before the last frost date.
How long does it take for viola seeds to germinate?
Viola seeds usually take about 10-14 days to germinate.
What are some tips for growing violas from seeds?
Some tips for growing violas from seeds include sowing them in well-drained soil, providing them with plenty of sunlight, and keeping the soil moist but not waterlogged.
Are there any specific tricks for growing violas from seeds?
One trick for growing violas from seeds is to soak the seeds in water overnight before sowing them, as this can help improve germination rates. Additionally, using a seed starting mix can also help ensure successful germination.


