- Growing Chrysanthemums from Seed
- 1. Choosing the Right Seeds
- 2. Seed Starting
- 3. Providing the Right Conditions
- 4. Transplanting Seedlings
- 5. Hardening Off and Planting Outdoors
- 6. Garden Preparation
- 7. Care and Maintenance
- 8. Winter Protection
- Selecting the Perfect Spot in the Garden
- Sunlight
- Soil Type
- Wind Protection
- Space
- Accessibility
- Protection from Frost
- Preparing the Soil for Chrysanthemums
- 1. Choose a Sunny Location
- 2. Clear the Area
- 3. Test the Soil
- 4. Improve Drainage
- 5. Add Fertilizer
- 6. Loosen the Soil
- 7. Create Raised Beds
- Sowing Chrysanthemum Seeds
- 1. Choosing the Right Time
- 2. Preparing the Soil
- 3. Sowing the Seeds
- 4. Covering and Watering
- 5. Caring for the Seedlings
- 6. Transplanting or Direct Seeding
- 7. Enjoying the Blooms
- Caring for Chrysanthemum Seedlings
- 1. Transplanting Seedlings
- 2. Watering
- 3. Fertilization
- 4. Light and Temperature
- 5. Pinching
- 6. Pest and Disease Control
- 7. Hardening Off
- 8. Transplanting into the Garden
- Transplanting Chrysanthemums into the Garden
- 1. Choose the Right Time
- 2. Select the Ideal Location
- 3. Prepare the Soil
- 4. Water the Seedlings
- 5. Dig the Planting Holes
- 6. Transplant the Seedlings
- 7. Water and Mulch
- 8. Provide Support
- 9. Monitor and Maintain
- Pruning and Pinching Chrysanthemums for Optimal Growth
- When to Prune Chrysanthemums
- How to Prune Chrysanthemums
- Pinching Chrysanthemums
- Conclusion
- Protecting Chrysanthemums from Pests and Diseases
- Pests
- Diseases
- Questions and Answers:
- What are chrysanthemums?
- Can I grow chrysanthemums from seeds?
- When is the best time to sow chrysanthemum seeds?
- How do I sow chrysanthemum seeds?
- How long does it take for chrysanthemum seeds to germinate?
- What care do chrysanthemum seeds need after germination?
- When can I expect chrysanthemum flowers to bloom after sowing seeds?
- Videos: Plant Profile: How to Grow Chrysanthemums
Chrysanthemums are beautiful, vibrant flowers that can bring a burst of color to any garden. While many people opt to purchase chrysanthemums as plants, growing them from seed can be a rewarding and cost-effective option. With a little patience and the right technique, you can have a garden full of these stunning flowers.
Growing chrysanthemums from seed requires some planning and preparation. It’s important to choose a suitable location for your garden, as chrysanthemums thrive in full sunlight. Prepare the soil by removing any weeds and adding compost or organic matter to improve drainage and fertility. Make sure the soil is well-drained, as chrysanthemums don’t like sitting in water.
Once you have prepared the soil, it’s time to plant the seeds. Start by digging small holes, about 1 inch deep, in the soil. Place one seed in each hole and cover it with soil. Space the holes 12 to 18 inches apart to allow enough room for the chrysanthemum plants to grow.
Pro tip: Chrysanthemum seeds can be started indoors a few weeks before the last frost date. This will give them a head start and ensure they have enough time to grow and bloom before the end of the growing season.
After planting the seeds, gently water the soil to keep it moist. Avoid overwatering, as this can cause the seeds to rot. Keep the soil consistently moist until the seeds germinate, which usually takes about 1 to 2 weeks.
Tip: To speed up the germination process, you can cover the planted area with a clear plastic bag or a sheet of glass. This will create a greenhouse effect and help retain moisture and warmth.
Once the seedlings have emerged, thin them out by removing the weakest ones, leaving only the strongest plants. This will ensure that the remaining plants have enough space and resources to grow into healthy, vibrant chrysanthemums.
Throughout the growing season, it’s important to provide adequate care for your chrysanthemum plants. This includes regular watering, fertilizing every few weeks, and providing support for taller varieties. Remember to pinch back the plants in early summer to promote bushier growth and more abundant blooms.
With proper care and attention, your chrysanthemum plants will reward you with a stunning display of colorful flowers in the autumn. Enjoy the beauty and fragrance of these wonderful flowers, and be proud of your gardening skills!
Growing Chrysanthemums from Seed
Chrysanthemums are beautiful and vibrant flowers that can bring color to any garden. Growing chrysanthemums from seed is a rewarding process that allows you to customize your garden with a variety of colors and shapes. Here are some steps to help you successfully grow chrysanthemums from seed.
1. Choosing the Right Seeds
When selecting chrysanthemum seeds, consider the specific variety you want to grow. There are numerous types of chrysanthemums, including daisy, spider, pompon, and anemone types. Each has its own unique characteristics, so choose based on your personal preference and the growing conditions in your region.
2. Seed Starting
Start the chrysanthemum seeds indoors about 8 to 10 weeks before the last frost date in your area. Fill a seed tray with a well-draining seed starting mix and sprinkle the seeds on the surface. Lightly cover the seeds with a thin layer of soil.
Tip: Chrysanthemum seeds are very tiny, so it’s important to handle them with care and avoid overcrowding the tray.
3. Providing the Right Conditions
Place the seed tray in a warm and brightly lit area, like a sunny window or under grow lights. The ideal temperature for germination is around 65 to 75°F (18 to 24°C). Regularly mist the soil surface to keep it moist, but be careful not to overwater, as this can lead to damping-off – a common disease that affects seedlings.
4. Transplanting Seedlings
Once the seedlings have developed their second set of true leaves, they are ready to be transplanted into individual pots or containers. Use a well-draining potting mix and gently lift the seedlings from the tray, being careful not to damage the delicate roots. Plant each seedling in its own pot and water thoroughly.
5. Hardening Off and Planting Outdoors
Before planting the chrysanthemum seedlings in your garden, they need to be hardened off to acclimate to outdoor conditions. Gradually expose them to outdoor temperatures and sunlight by placing them in a sheltered location for a few hours each day. After a week or two, the seedlings will be ready to be planted in your garden.
6. Garden Preparation
Prepare your garden by selecting a location with well-draining soil and full sun. Chrysanthemums thrive in fertile soil, so consider adding compost or well-rotted manure to enrich the soil. Dig a hole for each seedling, making sure to space them according to their mature size. Gently place the chrysanthemum seedlings in the holes and backfill with soil.
7. Care and Maintenance
Water the newly planted seedlings thoroughly and continue to keep the soil evenly moist throughout the growing season. Apply a balanced fertilizer every month to promote healthy growth and abundant blooms. Deadhead the spent flowers to encourage more blooms and remove any diseased or damaged leaves.
Tip: To extend the blooming season, pinch back the growing tips of the chrysanthemum plants in early summer to encourage bushier growth.
8. Winter Protection
In cold climates, chrysanthemums may need some winter protection. Applying a layer of mulch around the plants before the first frost can help insulate the roots and protect them from freezing. Remove the mulch in spring when the danger of frost has passed.
By following these steps, you can enjoy a stunning display of chrysanthemums in your garden, all grown from seeds. With their vibrant colors and beautiful blooms, chrysanthemums are sure to be a highlight of your garden.
Selecting the Perfect Spot in the Garden
Choosing the right location in your garden is crucial for the successful growth of your chrysanthemums. Here are some key factors to consider:
Sunlight
Chrysanthemums thrive in full sun, so it’s important to select a spot that receives at least 6 hours of direct sunlight per day. Make sure the area is not shaded by trees or buildings, as this can prevent the plants from getting enough light.
Soil Type
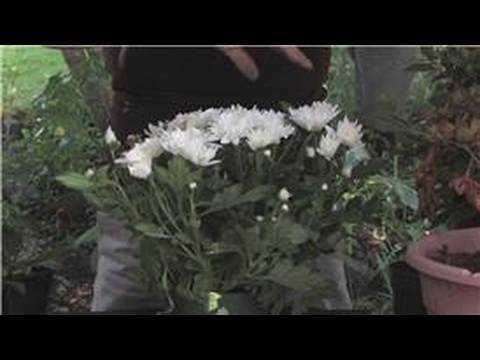
Chrysanthemums prefer well-draining soil with a pH level between 6.5 and 7.5. Avoid areas with heavy clay or sandy soil, as these can lead to poor drainage and nutrient deficiencies. If your soil is not ideal, you can improve it by adding organic matter such as compost or well-rotted manure.
Wind Protection
Chrysanthemums can be prone to wind damage, especially if they have tall, delicate stems. Choose a location that is sheltered from strong winds or consider installing a windbreak to protect the plants. This can be a fence, hedge, or even a row of taller plants.
Space
Make sure you have enough space in the selected area to accommodate the size of your chrysanthemums. These plants can grow up to 3 feet in height and spread about 2 feet wide, so they need room to expand. Avoid planting them too close to other plants or structures that could limit their growth.
Accessibility
Consider how easy it will be to access and maintain the chrysanthemums in the chosen location. Ensure there is enough space for you to water, fertilize, and prune the plants as needed. It is also important to consider how the plants will fit into the overall design and flow of your garden.
Protection from Frost
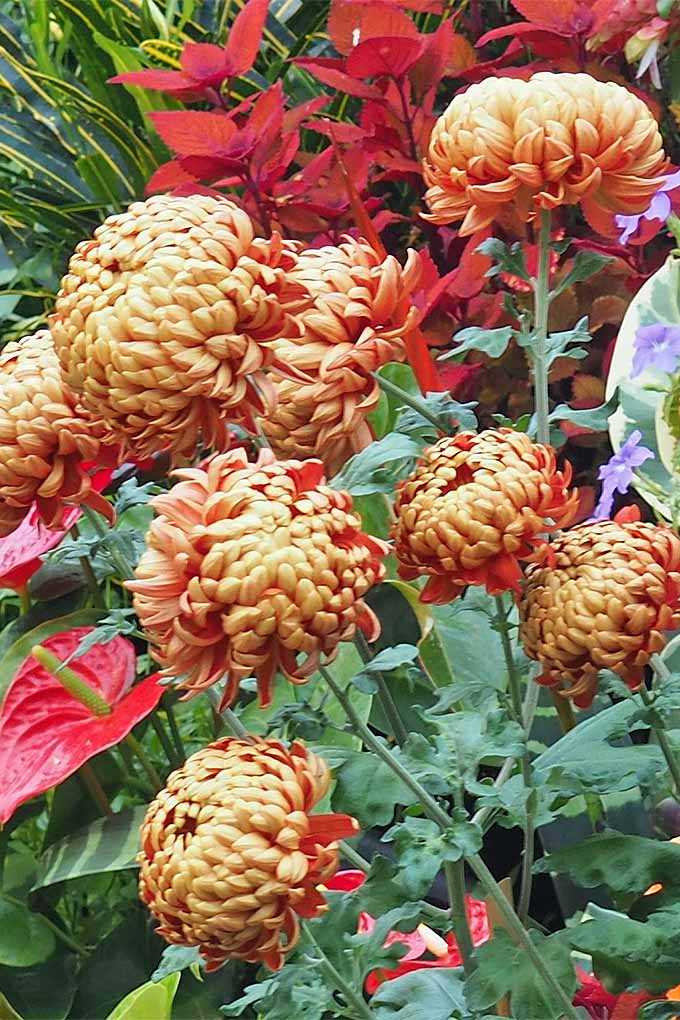
In colder climates, it is important to protect chrysanthemums from frost. Choose a location that is away from low-lying areas where cold air can settle. You can also cover the plants with a layer of mulch or a frost cloth during colder months to provide extra protection.
| Factors to Consider | Considerations |
|---|---|
| Sunlight | At least 6 hours of direct sunlight per day |
| Soil Type | Well-draining soil with a pH level between 6.5 and 7.5 |
| Wind Protection | Sheltered location or windbreak |
| Space | Adequate room for growth |
| Accessibility | Easy access for maintenance |
| Protection from Frost | Away from low-lying areas and use of mulch or frost cloth |
Preparing the Soil for Chrysanthemums
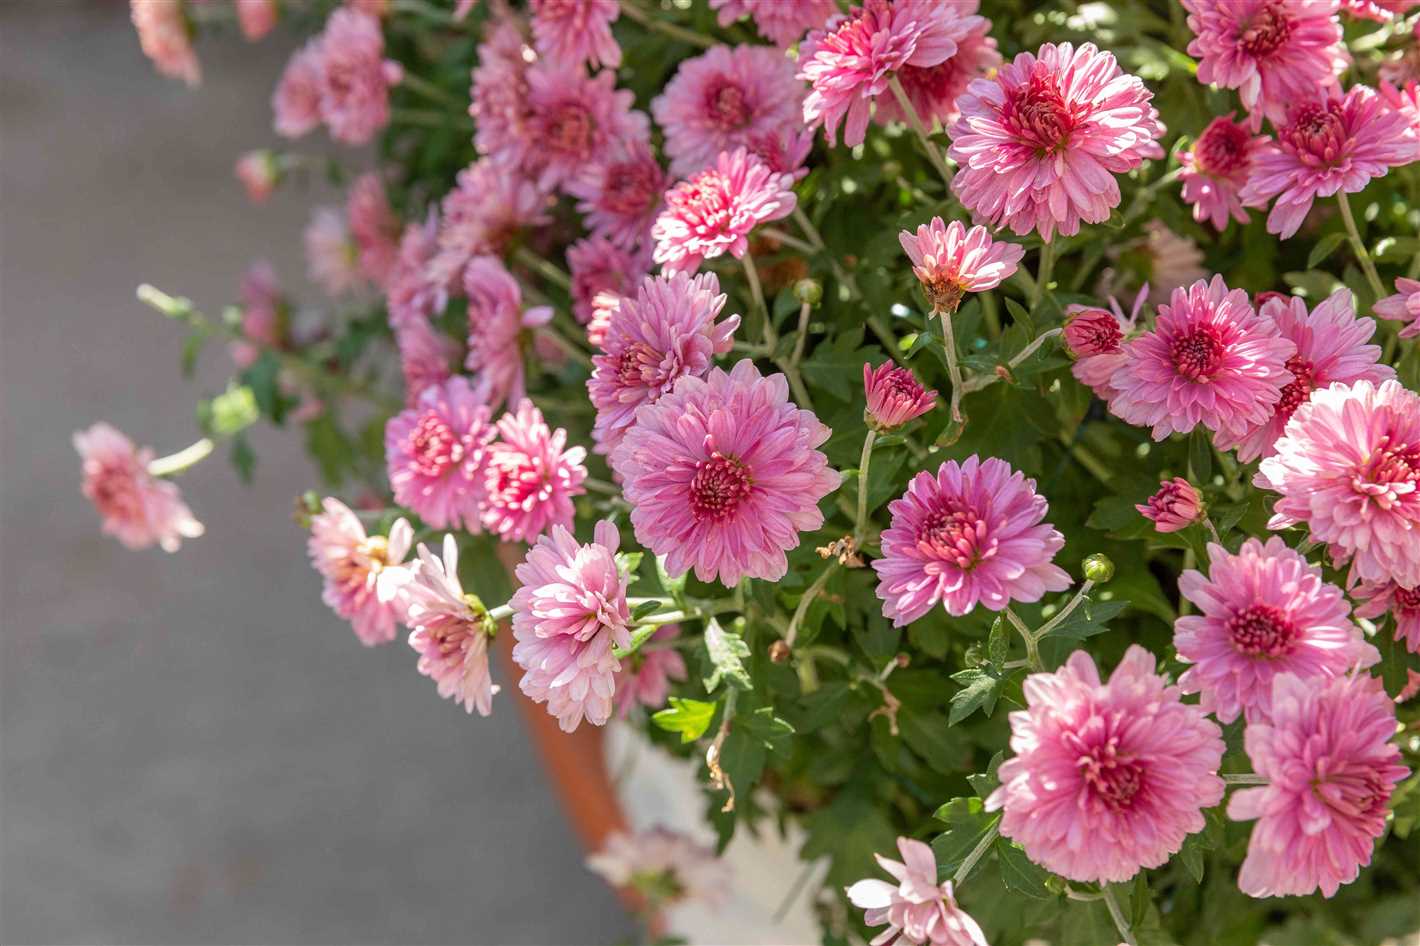
Before planting chrysanthemums, it is important to prepare the soil properly to ensure optimal growth and flowering. Follow these steps to prepare the soil for chrysanthemums:
1. Choose a Sunny Location
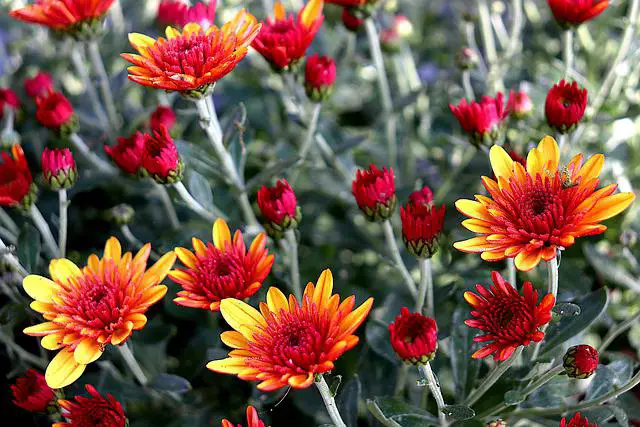
Chrysanthemums thrive in full sun and require at least six hours of direct sunlight each day. Select a spot in your garden that receives ample sunlight and has good drainage.
2. Clear the Area
Remove any weeds, rocks, or debris from the planting area. Chrysanthemums prefer soil that is free from competition and obstacles.
3. Test the Soil
Before planting, it is important to test the soil’s pH level. Chrysanthemums prefer slightly acidic soil with a pH range of 6.5 to 7.0. Use a soil testing kit to determine the pH level, and if necessary, adjust it by adding lime to raise the pH or sulfur to lower the pH.
4. Improve Drainage
Chrysanthemums prefer well-drained soil to avoid root rot and other water-related issues. If your soil has poor drainage, amend it by adding organic matter such as compost or peat moss. This will improve the soil structure and help excess water drain away.
5. Add Fertilizer
Chrysanthemums are heavy feeders and require regular fertilization. Before planting, incorporate a slow-release balanced fertilizer into the soil. This will provide a steady supply of nutrients throughout the growing season.
6. Loosen the Soil
Using a garden fork or tiller, loosen the soil to a depth of 12 to 15 inches. This will allow the roots of the chrysanthemum plants to penetrate deeply and establish themselves more easily.
7. Create Raised Beds
In areas with heavy clay soils or poor drainage, consider creating raised beds for your chrysanthemum plants. This will help improve drainage and prevent waterlogged soil.
By following these steps to prepare the soil for chrysanthemums, you can create an ideal growing environment for these beautiful flowers. Your chrysanthemums will thrive and reward you with an abundance of colorful blooms.
Sowing Chrysanthemum Seeds
Sowing chrysanthemum seeds is a great way to grow a variety of beautiful flowers in your garden. Follow these steps to sow chrysanthemum seeds successfully:
1. Choosing the Right Time
Chrysanthemum seeds can be sown indoors or directly in the garden, depending on your preference. If you choose to sow them indoors, start about 8-12 weeks before the last frost date in your area. If you prefer to sow them directly in the garden, wait until all danger of frost has passed.
2. Preparing the Soil
Chrysanthemums prefer well-drained soil with a pH of 6.5-7.5. Prepare the soil by removing any weeds or debris and loosening it with a garden fork or tiller. Add compost or well-rotted manure to improve the soil’s fertility and drainage.
3. Sowing the Seeds
Make small trenches or furrows in the soil, about 1/8 inch deep. Space the furrows about 12-18 inches apart to allow the plants to spread as they grow. Place the chrysanthemum seeds in the furrows, spacing them about 6-12 inches apart, depending on the variety.
4. Covering and Watering
Once the seeds are in place, cover them with a thin layer of soil or vermiculite. Lightly water the area to moisten the soil, but avoid overwatering, as it can lead to rotting of the seeds.
5. Caring for the Seedlings
Keep the soil consistently moist until the seeds germinate, which usually takes about 10-14 days. Once the seedlings emerge, thin them out if necessary, leaving the strongest ones to grow. Provide regular water and fertilizer throughout the growing season, and protect the plants from pests and diseases.
6. Transplanting or Direct Seeding
When the seedlings are large enough to handle and all danger of frost has passed, they can be transplanted into the garden. Alternatively, if you sowed the seeds directly in the garden, thin them to the desired spacing. Take care to avoid disturbing the roots while transplanting or thinning.
7. Enjoying the Blooms
With proper care and maintenance, your chrysanthemum plants should start to bloom in late summer or fall. Enjoy the vibrant colors and beautiful flowers that these versatile plants produce!
Caring for Chrysanthemum Seedlings
Once your chrysanthemum seeds have germinated and started to grow, it is important to provide the proper care to ensure healthy and vigorous seedlings. Here are some steps to follow:
1. Transplanting Seedlings
When the chrysanthemum seedlings have developed their first set of true leaves, they can be transplanted into individual pots or containers. Use a well-draining potting mix and make sure each seedling has enough space to grow.
2. Watering
Water the seedlings regularly, keeping the soil moist but not waterlogged. Avoid overhead watering, as it can promote the development of diseases. Instead, water the plants at the base to keep the foliage dry.
3. Fertilization
Feed your chrysanthemum seedlings with a balanced liquid fertilizer every two weeks. This will provide the necessary nutrients for healthy growth. Follow the manufacturer’s instructions for the correct dosage.
4. Light and Temperature
Place your chrysanthemum seedlings in a sunny location where they can receive at least 6 hours of direct sunlight per day. Maintain a temperature of around 65 to 75°F (18 to 24°C) to promote healthy growth.
5. Pinching
To promote bushier growth and more flower buds, pinch back the tips of the seedlings when they reach a height of about 6 inches (15 cm). This will encourage the development of side shoots and result in a more compact plant.
6. Pest and Disease Control
Monitor your chrysanthemum seedlings for any signs of pest or disease infestation. Common pests include aphids, spider mites, and whiteflies. Treat any infestations promptly with organic or chemical insecticides. Remove any diseased plants to prevent the spread of diseases.
7. Hardening Off
Before transplanting your chrysanthemum seedlings into the garden, they need to be hardened off. This process involves gradually exposing the seedlings to outdoor conditions, such as sunlight, wind, and cooler temperatures. Start by placing them outdoors for a few hours each day and gradually increase the time over the course of a week.
8. Transplanting into the Garden
When the danger of frost has passed and the seedlings are well acclimated to outdoor conditions, they can be transplanted into the garden. Choose a location with well-draining soil and full sun. Dig a hole slightly larger than the root ball, place the seedling in the hole, and backfill with soil. Water thoroughly after transplanting.
By following these care instructions, you can ensure that your chrysanthemum seedlings will develop into healthy and vibrant plants that will provide beautiful blooms in your garden.
Transplanting Chrysanthemums into the Garden
Transplanting chrysanthemums from seedlings into your garden requires careful preparation and handling to ensure their successful growth. Follow these steps for a successful transplant:
1. Choose the Right Time
It’s important to choose the right time to transplant your chrysanthemums into the garden. Wait until all danger of frost has passed and the soil has warmed up. This is usually in the late spring or early summer, depending on your climate.
2. Select the Ideal Location
Chrysanthemums thrive in well-draining soil and full sun exposure. Choose a location in your garden that receives at least six hours of direct sunlight daily. Ensure the soil is rich in organic matter and has good drainage to prevent waterlogging.
3. Prepare the Soil
Before transplanting, prepare the soil by removing any weeds or debris. Loosen the soil to a depth of 12-15 inches and incorporate compost or well-rotted manure to improve fertility. This will provide the chrysanthemums with the necessary nutrients for healthy growth.
4. Water the Seedlings
Water the chrysanthemum seedlings thoroughly before transplanting them into the garden. This will help prevent transplant shock and ensure the plants have enough moisture to establish themselves in the new location.
5. Dig the Planting Holes
Dig holes in the prepared soil that are slightly larger than the root ball of the seedlings. Space the holes at least 12-18 inches apart to allow for proper air circulation and growth.
6. Transplant the Seedlings
Carefully remove the seedlings from their containers, taking care not to damage the roots. Place each seedling in a planting hole and gently firm the soil around it. Ensure that the top of the root ball is level with the soil surface.
7. Water and Mulch
After transplanting, water the chrysanthemum seedlings thoroughly to settle the soil around their roots. Apply a layer of mulch around the plants to help retain moisture, suppress weed growth, and regulate soil temperature.
8. Provide Support
If your chrysanthemum variety requires support, install stakes or cages around the plants at the time of transplanting. This will provide support as the plants grow taller and prevent them from flopping or breaking in strong winds.
9. Monitor and Maintain
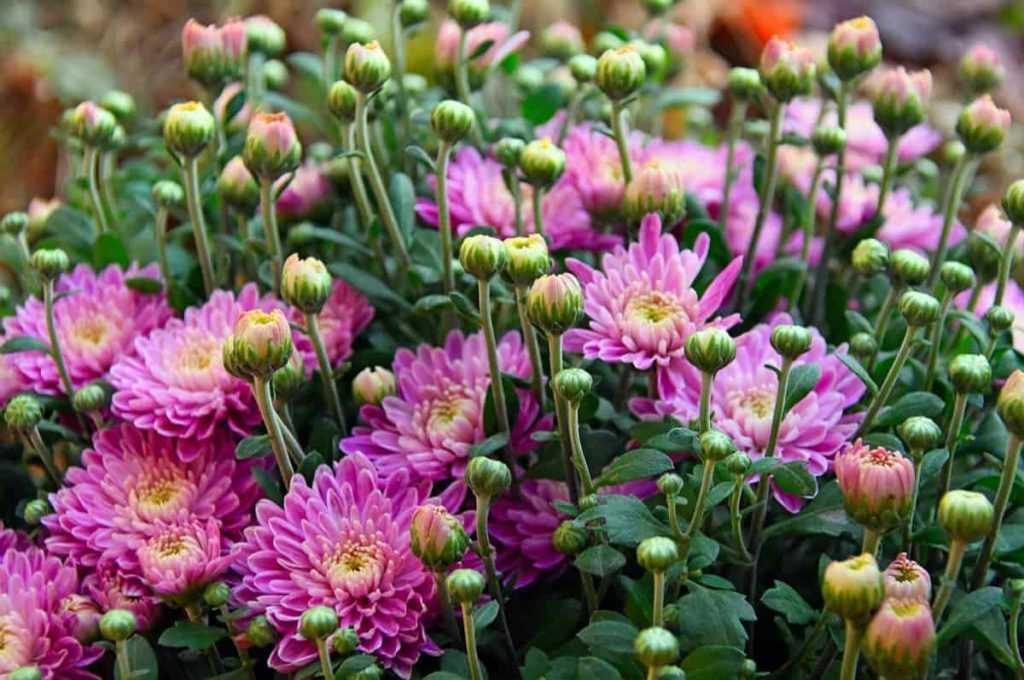
Continuously monitor the chrysanthemums for signs of pests or diseases and take necessary action to control them. Water the plants regularly, especially during dry periods, and fertilize them according to the recommended guidelines for your specific variety.
Following these steps will help ensure that your transplanted chrysanthemums thrive in your garden and provide you with beautiful blooms for years to come.
Pruning and Pinching Chrysanthemums for Optimal Growth
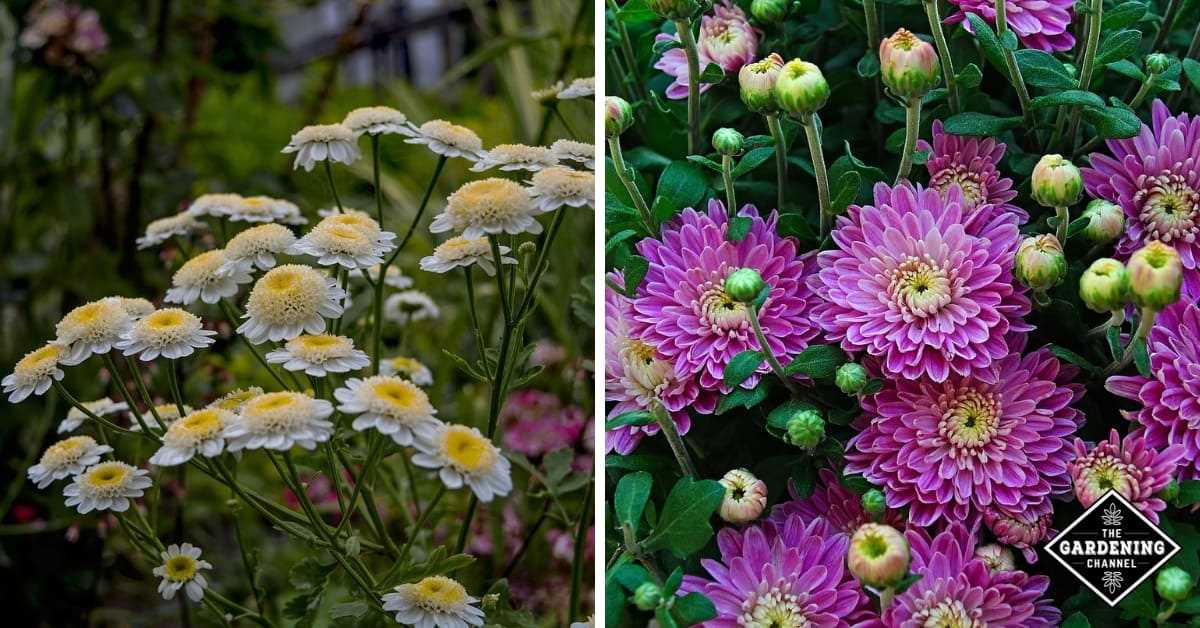
Pruning and pinching chrysanthemums is an important step in their care to promote optimal growth and beautiful blooms. Pruning helps to shape the plant, maintain its size, and encourage the growth of more flowers. Pinching, on the other hand, promotes bushier growth and prevents the plant from becoming leggy.
When to Prune Chrysanthemums
Pruning chrysanthemums should be done in early spring, once the threat of frost has passed and new growth has started. This is typically around March or April, depending on your climate. Pruning at this time allows the plant to recover and produce new growth before the flowering season begins.
How to Prune Chrysanthemums
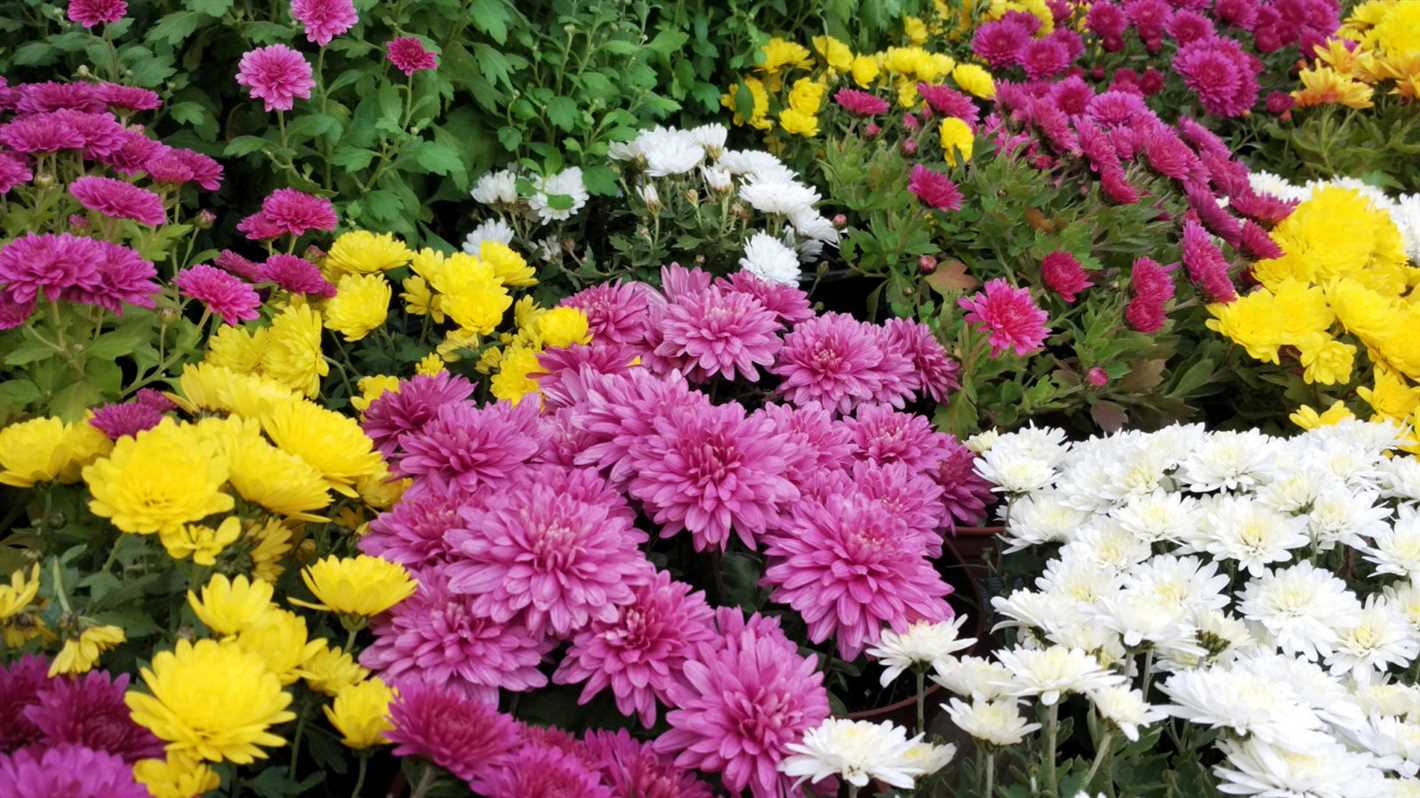
When pruning chrysanthemums, start by removing any dead or damaged stems. Use clean, sharp pruning shears to make clean cuts just above a leaf node or lateral bud. This encourages new growth from these areas and helps to maintain a pleasing shape. Remove any overcrowded or weak stems to improve air circulation and prevent disease.
It’s important not to prune chrysanthemums too late in the growing season, as this can delay flower production and result in fewer blooms. However, if your plants become unruly or too large during the summer months, you can lightly prune them to maintain their size and shape.
Pinching Chrysanthemums
Pinching chrysanthemums involves removing the tip of the main stem or the tips of the lateral branches. This encourages branching and bushier growth, resulting in a fuller plant with more flowers. Pinching should be done when the plant has reached a height of 6 to 8 inches (15 to 20 cm). Simply use your thumb and forefinger to pinch off the top inch or so of growth.
If you want larger but fewer flowers, you can pinch chrysanthemums a second time, when the new shoots have grown to a height of 6 inches (15 cm). This will result in fewer flowers but larger blooms.
Conclusion
Pruning and pinching chrysanthemums are essential techniques for promoting optimal growth and beautiful blooms. Pruning should be done in early spring to shape the plant and remove any dead or weak stems. Pinching, on the other hand, encourages bushier growth and more flowers. With proper pruning and pinching, you can enjoy a healthy and beautiful chrysanthemum garden.
Protecting Chrysanthemums from Pests and Diseases
Chrysanthemums are beautiful and colorful flowers that can be susceptible to various pests and diseases. However, with proper care and attention, you can protect your chrysanthemums from these common problems.
Pests
1. Aphids: These tiny insects can suck the sap from your chrysanthemum plants, causing them to wilt and become stunted. To prevent aphids, you can regularly inspect your plants and remove any infested leaves or stems. You can also use insecticidal soap or neem oil to control the aphid population.
2. Spider mites: These pests are difficult to see as they are very small and usually appear as tiny dots moving on the leaves. Spider mites feed on the plant sap, causing yellowing and curling of the leaves. To control spider mites, you can use a strong stream of water to wash them off the plant or apply insecticidal soap.
3. Slugs and snails: These slimy creatures eat holes in the leaves and flowers of chrysanthemums. To prevent slug and snail damage, you can remove any debris that could provide them with a hiding place. You can also set up beer traps or use a slug and snail bait to lure them away from your plants.
Diseases
1. Powdery mildew: This fungal disease appears as a white powdery coating on the leaves of chrysanthemum plants. To prevent powdery mildew, you should provide adequate air circulation around the plants by spacing them properly. You can also remove any infected foliage and use a fungicide if necessary.
2. Leaf spot: This fungal disease causes dark spots and lesions on the leaves of chrysanthemum plants. To prevent leaf spot, you should water your plants from below, avoiding splashing water onto the leaves. Remove any infected foliage and apply a fungicide if necessary.
3. Root rot: This disease is caused by overwatering and poor drainage, leading to the rotting of the roots. To prevent root rot, you should ensure that your chrysanthemums are planted in well-draining soil. Avoid overwatering and allow the soil to dry out slightly between waterings.
By following these tips and regularly monitoring your chrysanthemums, you can keep pests and diseases at bay and ensure healthy and vibrant plants.
Questions and Answers:
What are chrysanthemums?
Chrysanthemums are flowers that belong to the Asteraceae family. They are known for their colorful blooms and are often used as ornamental plants in gardens.
Can I grow chrysanthemums from seeds?
Yes, you can grow chrysanthemums from seeds. It is a cost-effective way to propagate these plants and allows you to choose from a wide variety of cultivars.
When is the best time to sow chrysanthemum seeds?
The best time to sow chrysanthemum seeds is in the spring, after the last frost has passed. This will give the seeds the optimal conditions for germination and growth.
How do I sow chrysanthemum seeds?
To sow chrysanthemum seeds, you can start by filling a seed tray or pots with seed starting mix. Then, scatter the seeds evenly on the surface of the soil and lightly press them down. Water the seeds gently and place them in a warm and well-lit area.
How long does it take for chrysanthemum seeds to germinate?
Chrysanthemum seeds usually take around 1 to 3 weeks to germinate. However, the germination time may vary depending on the variety of chrysanthemum and the environmental conditions.
What care do chrysanthemum seeds need after germination?
After germination, chrysanthemum seedlings require adequate moisture, sunlight, and nutrients. Water them regularly, provide them with at least 6 hours of sunlight per day, and fertilize them every 2-3 weeks with a balanced fertilizer.
When can I expect chrysanthemum flowers to bloom after sowing seeds?
Chrysanthemum flowers typically bloom about 3 to 4 months after sowing the seeds. However, this can vary depending on the specific cultivar and growing conditions.


