- Gather the Necessary Tools and Materials
- Tools:
- Materials:
- Prepare the Lobelia Cuttings
- Choose a Suitable Container
- Plant the Lobelia Cuttings
- Provide Proper Care and Maintenance
- Monitor the Growth and Development
- Prune and Shape the Lobelia Cuttings
- 1. Assess the Growth
- 2. Prepare the Tools
- 3. Start Pruning
- 4. Remove Dead or Diseased Foliage
- 5. Shape the Plant
- 6. Maintain Regular Pruning
- 7. Dispose of Pruned Materials
- 8. Care for the Pruned Lobelia Cuttings
- Enjoy the Beautiful Lobelia Plants
- Benefits of Lobelia Plants
- Tips for Growing Lobelia Plants
- Uses for Lobelia Plants
- Questions and Answers:
- Can I shape lobelia cuttings without using a step-by-step guide?
- What tools do I need to shape lobelia cuttings?
- How long do lobelia cuttings take to root?
- Can I shape lobelia cuttings in the winter?
- What are some common mistakes to avoid when shaping lobelia cuttings?
- Videos: How to Propagate Lobelia From Cuttings
Shaping lobelia cuttings is an important step in growing these delicate, flowering plants. Lobelia cuttings can be shaped to create beautiful and vibrant displays in your garden or containers, and they are a popular choice for adding color and texture to any landscape. In this step-by-step guide, we will walk you through the process of shaping lobelia cuttings, from selecting the right cuttings to caring for the newly shaped plants.
Step 1: Selecting the Cuttings
When selecting lobelia cuttings for shaping, it is important to choose healthy, young plants. Look for cuttings with strong stems and vibrant foliage. Avoid selecting cuttings that have signs of disease or damage. It is also a good idea to choose cuttings that are similar in size to ensure uniformity in the final display.
Step 2: Pruning the Cuttings
Before shaping the lobelia cuttings, it is necessary to prune them. Remove any dead, damaged, or diseased leaves and stems. This will help promote new growth and ensure that the plant is healthy. You can use sharp, clean pruning shears to make clean cuts and reduce the risk of transmitting any diseases.
Step 3: Shaping the Cuttings
To shape the lobelia cuttings, start by removing any excess foliage. This will help create a more compact and bushy plant. Trim the stems to the desired length and shape, keeping in mind the overall aesthetic you are trying to achieve. You can create different shapes, such as rounded, mounded, or cascading, depending on your preference.
Step 4: Caring for the Shaped Cuttings
After shaping the lobelia cuttings, it is important to provide them with the proper care to ensure their success. Place the cuttings in a well-draining potting mix and water them thoroughly. Keep the soil moist, but not soggy, and place the cuttings in a location where they will receive bright, indirect light. Avoid exposing the newly shaped cuttings to harsh, direct sunlight or extreme temperatures.
Step 5: Regular Maintenance
To maintain the shape and health of your lobelia cuttings, it is important to provide regular maintenance. Monitor the moisture levels in the soil and water the plants as needed. Remove any dead or yellowing leaves to promote new growth. Fertilize the cuttings regularly with a balanced, water-soluble fertilizer to provide them with the necessary nutrients for healthy development.
With these simple steps, you can shape lobelia cuttings and enjoy a stunning display of vibrant, flowering plants in your garden or containers. Experiment with different shapes and arrangements to create a unique and beautiful landscape. Happy shaping!
Gather the Necessary Tools and Materials
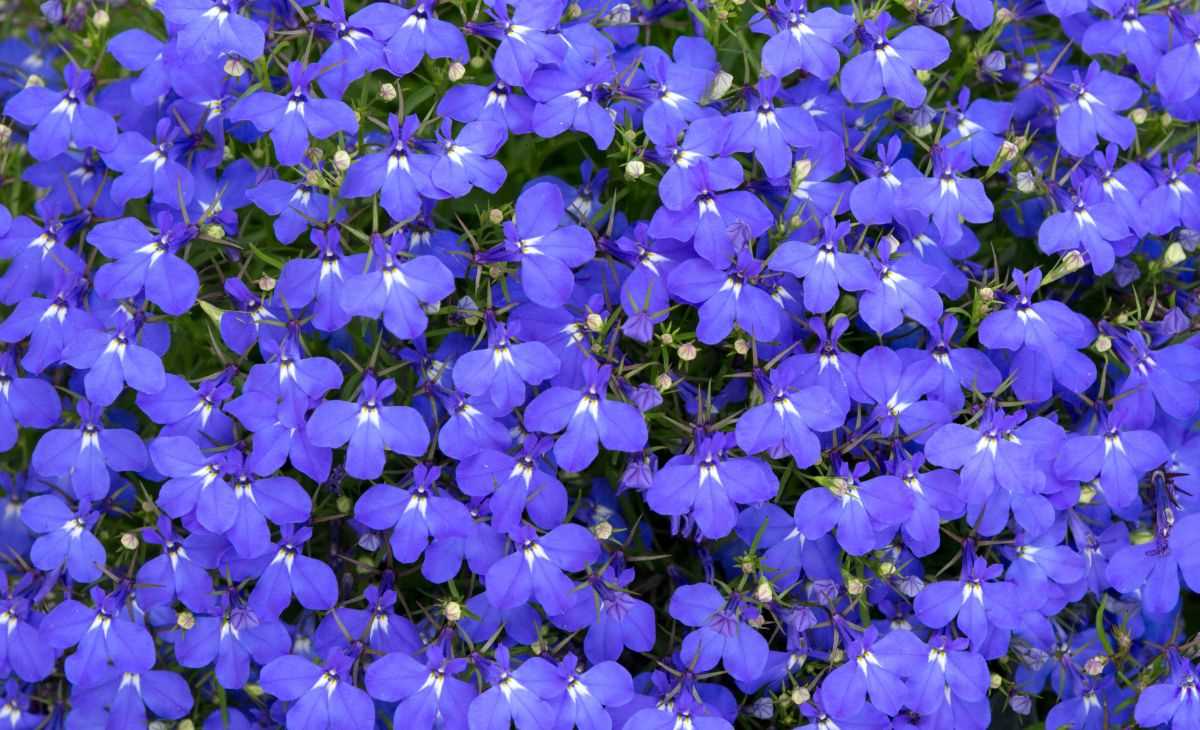
Before you can start shaping your lobelia cuttings, you will need to gather the necessary tools and materials. Having all the required items on hand will make the process smoother and more efficient.
Tools:
- Pruning shears or sharp scissors: These will be used to cut the lobelia stems.
- Sterilized knife or blade: This is needed to make clean cuts and minimize the risk of infection or disease.
- Rooting hormone: While not essential, using rooting hormone can increase the chances of successful rooting and growth.
- Plant pots or trays: You will need containers to plant the lobelia cuttings.
- Well-draining potting mix: A suitable soil mix is necessary to provide the young lobelia plants with the nutrients and moisture they need.
- Misting bottle: This is used to provide the cuttings with a fine mist of water to keep them hydrated.
Materials:
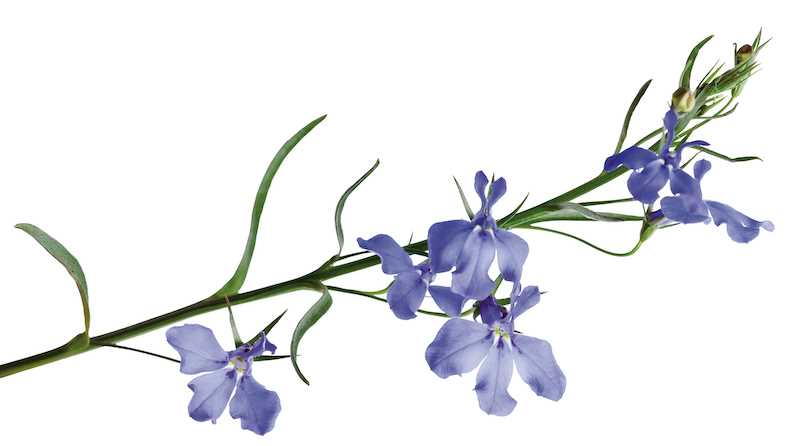
- Lobelia cuttings: These are the stems that will be propagated to grow new lobelia plants. Choose healthy, disease-free stems.
- Rooting medium: This can be perlite, vermiculite, or a mixture of perlite and peat moss. It helps the cuttings develop roots.
- Clear plastic bags or humidity domes: These are used to create a humid environment for the cuttings, which promotes root development.
- Labels: It’s helpful to label the containers with the date and variety of the lobelia cuttings to keep track of their progress.
- Plant markers or sticks: These can be used to identify and support the cuttings.
- Watering can or hose: You will need a way to water the cuttings once they are planted.
Having these tools and materials ready before you begin will save you time and ensure that you have everything you need for successful lobelia cutting propagation.
Prepare the Lobelia Cuttings
Before you start shaping the lobelia cuttings, it’s important to prepare them properly.
- Choose healthy lobelia plants: Look for strong and disease-free lobelia plants to take your cuttings from.
- Collect the necessary tools: Gather a clean pair of garden shears, a sharp knife, a clean container, and rooting hormone powder or gel.
- Fill the container: Fill the container with a well-draining potting mix or a mixture of peat moss and perlite.
- Water the soil: Moisten the soil in the container, ensuring it is evenly damp throughout.
- Select the cuttings: Identify the branches on the lobelia plant that you want to propagate and make sure they are at least 3-4 inches long.
- Take the cuttings: Using the garden shears or knife, make a clean cut just below a leaf node on each selected branch. Remove any leaves from the lower portion of the cutting.
- Apply rooting hormone (optional): Dip the cut end of each lobelia cutting into rooting hormone powder or gel to promote root development.
- Plant the cuttings: Insert the bottom end of each cutting into the prepared soil in the container, ensuring that at least one node is submerged in the soil.
- Space the cuttings: Leave enough space between the cuttings to allow for air circulation and prevent the spread of diseases.
- Water the cuttings: Gently water the cuttings after planting to settle the soil and provide moisture.
- Place the container in a suitable location: Choose a warm and bright spot, but avoid direct sunlight to prevent the cuttings from drying out.
Once you have completed these steps, you are ready to move on to shaping and caring for your lobelia cuttings.
Choose a Suitable Container
When propagating lobelia cuttings, it’s important to choose a suitable container to provide the necessary growing conditions for the plants. Here are some factors to consider when selecting a container:
- Size: Choose a container that is large enough to accommodate the lobelia cuttings. It should have enough space for the roots to grow and allow for proper air circulation.
- Drainage: Ensure that the container has adequate drainage holes to prevent water from pooling and causing root rot. Excess water should be able to flow out easily.
- Material: Consider using a container made of plastic, clay, or ceramic. Plastic containers are lightweight and easy to move, while clay and ceramic containers provide better insulation for the roots.
- Sanitation: Before using a container, make sure it is clean and free from any dirt or debris. This will help prevent the spread of diseases and pests.
Overall, choosing the right container is crucial for the success of lobelia cuttings. It plays a key role in providing proper growing conditions and ensuring the health and vigor of the plants.
Plant the Lobelia Cuttings
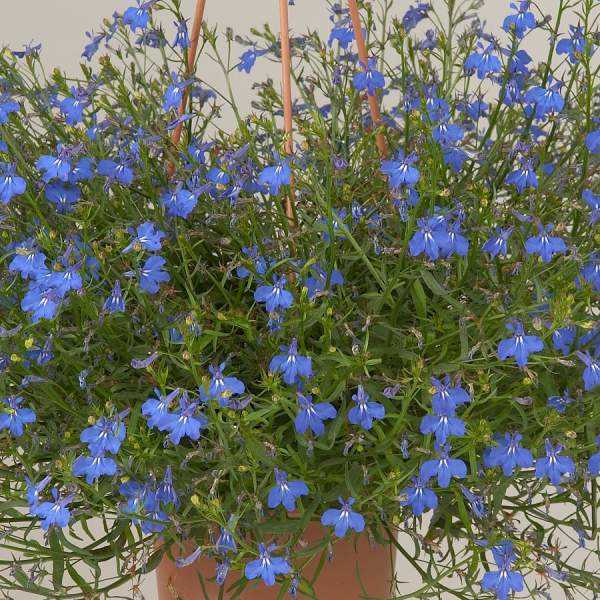
After preparing the lobelia cuttings, it’s time to plant them in a suitable growing medium. Follow these steps to ensure successful planting:
- Select a well-draining pot or container for planting the lobelia cuttings.
- Fill the pot with a high-quality potting mix or a combination of potting soil and perlite.
- Make small holes in the soil using a pencil or your finger. The holes should be deep enough to accommodate the length of the lobelia cuttings.
- Take one lobelia cutting at a time and gently place the bottom end into a hole. Make sure the leaves are above the soil line.
- Press the soil around the base of the cutting to secure it in place. Ensure that the cutting is upright and stable.
- Repeat the process for each lobelia cutting, spacing them at least an inch apart to allow room for growth.
- Water the cuttings thoroughly, ensuring that the soil is evenly moist.
- Place the planted cuttings in a location with bright, indirect light. Avoid direct sunlight, as it can scorch the tender plants.
- Keep the cuttings consistently moist but avoid overwatering, as excess moisture can lead to rotting.
- Monitor the cuttings regularly for signs of growth and adjust watering as needed.
By following these steps, you will have successfully planted your lobelia cuttings. Now, it’s time to care for them and watch them grow into beautiful, healthy plants!
Provide Proper Care and Maintenance
Once you have shaped your lobelia cuttings, it is important to provide them with proper care and maintenance to ensure their growth and health. Here are some steps you can follow:
- Watering: Lobelia cuttings require consistent and even moisture. Water them regularly, keeping the soil evenly moist but not soaking wet. Avoid overwatering, as it can lead to root rot.
- Light: Place your lobelia cuttings in a location where they can receive bright indirect light. Avoid direct sunlight, as it can scorch the delicate foliage.
- Temperature: Lobelia cuttings prefer moderate temperatures between 65-75°F (18-24°C). Avoid exposing them to extreme temperatures or drafts.
- Fertilization: Feed your lobelia cuttings with a balanced liquid fertilizer diluted to half strength every 2-3 weeks during the growing season. This will provide them with the nutrients they need for healthy growth.
- Pruning: Regularly check your lobelia cuttings for any dead or yellowing foliage and remove it promptly. This will help to maintain the plant’s health and appearance.
- Pest and Disease Control: Keep an eye out for common pests such as aphids, snails, and slugs. If you notice any signs of infestation or disease, take appropriate measures to control them, such as using insecticidal soap or organic pest control methods.
By following these care and maintenance tips, you can help your lobelia cuttings thrive and continue to provide beautiful blooms for your garden or containers.
Monitor the Growth and Development
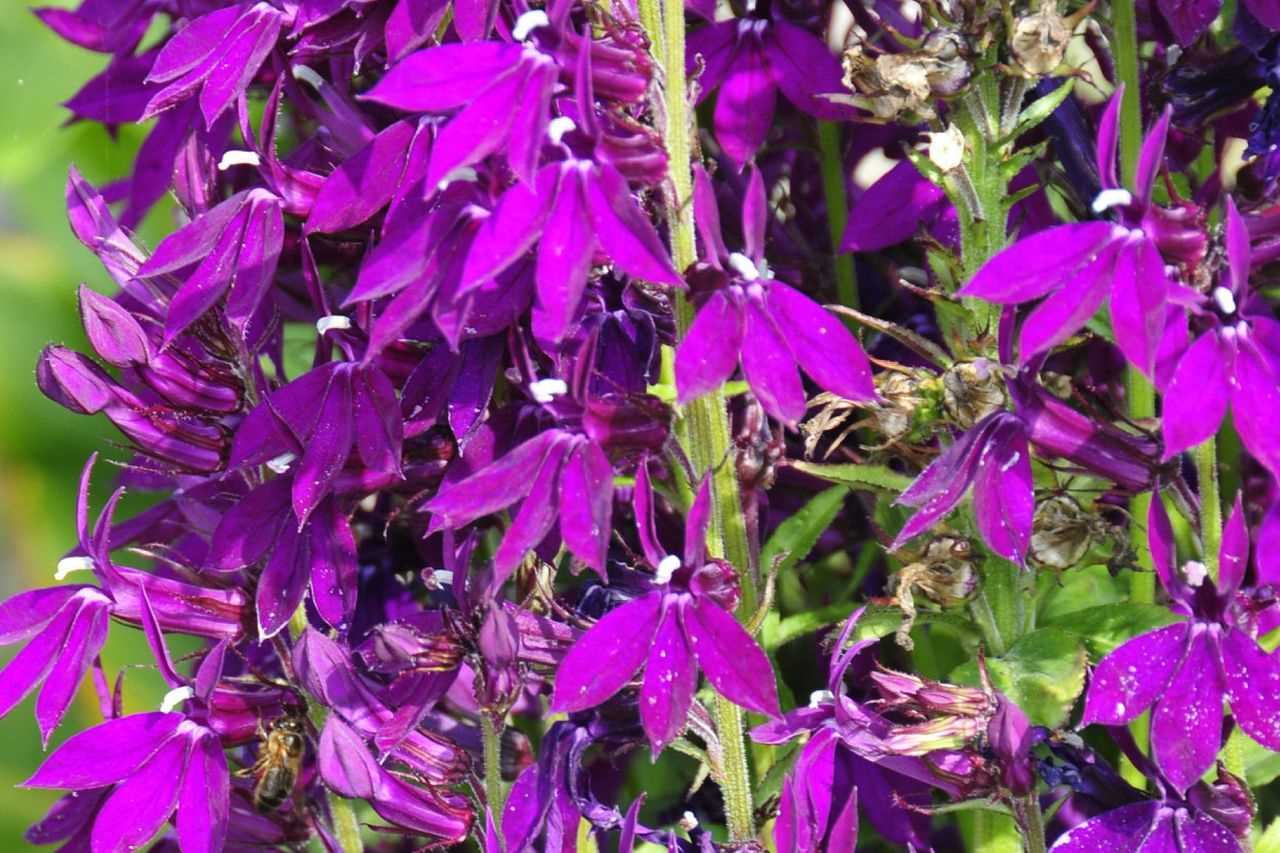
Once you have shaped your lobelia cuttings, it is important to monitor their growth and development to ensure their health and vitality. Here are some steps you can take to effectively monitor your lobelia cuttings:
- Regularly check the soil moisture: Lobelia cuttings should be kept in moist soil, but not saturated. Use your finger or a moisture meter to check the soil moisture level regularly. If the soil feels dry, water the cuttings gently.
- Observe the appearance of the foliage: The foliage of healthy lobelia cuttings should be vibrant and green. Look out for any signs of discoloration, wilting, or pest damage. If you notice any issues, take appropriate measures to address them.
- Monitor for root development: Over time, the lobelia cuttings should start to develop roots. Gently lift the cuttings from the soil to check for root growth. If you see roots starting to form, it is a good sign that the cuttings are establishing themselves.
- Track the growth rate: Keep a record of the growth rate of your lobelia cuttings. Measure the height of the plants and note it down periodically. This will help you track their progress and identify any growth issues.
- Inspect for pests and diseases: Regularly inspect your lobelia cuttings for any signs of pests or diseases. Look for insects, unusual spots on the foliage, or any other indications of trouble. If you spot any issues, take immediate action to prevent further damage.
By monitoring the growth and development of your lobelia cuttings, you can ensure that they are thriving and make any necessary adjustments to their care. This will help you achieve successful and healthy plants in the long run.
Prune and Shape the Lobelia Cuttings
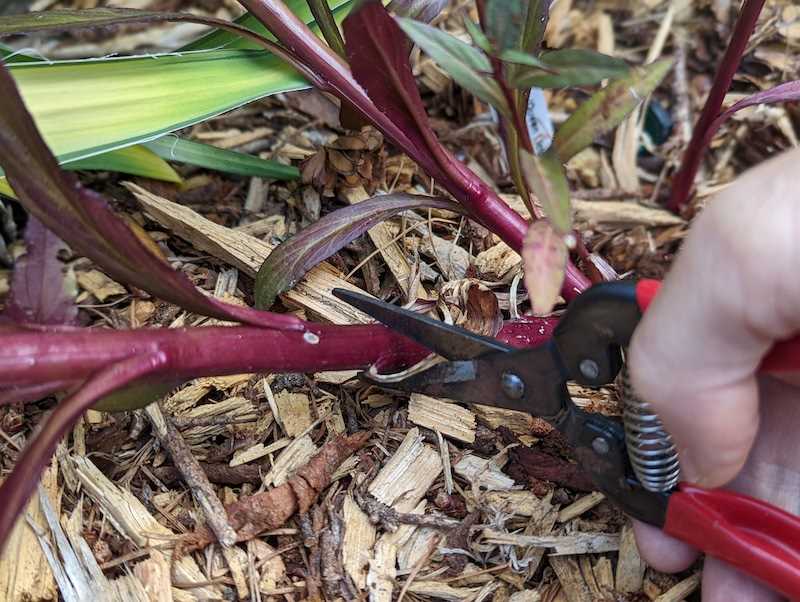
Pruning and shaping lobelia cuttings is an essential task to ensure their healthy growth and attractive appearance. Follow these step-by-step instructions to prune and shape your lobelia cuttings:
1. Assess the Growth
Before you begin pruning, take a close look at the lobelia cuttings and assess their growth. Identify any weak or leggy stems that need to be trimmed.
2. Prepare the Tools
Gather the necessary tools for pruning, including sharp pruning shears or scissors. Make sure the tools are clean and sanitized to prevent the spread of diseases.
3. Start Pruning
Begin pruning by cutting back any leggy or weak stems. Trim them down to the desired length, leaving enough foliage for the plant to thrive. Aim to create a balanced and compact shape.
4. Remove Dead or Diseased Foliage
Inspect the lobelia cuttings for any dead or diseased foliage. Using your pruning shears or scissors, carefully remove these damaged leaves and stems. This will help promote the overall health of the plant.
5. Shape the Plant
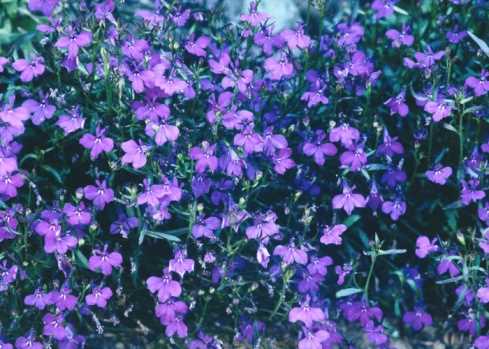
To create an aesthetically pleasing shape, trim the lobelia cuttings into a compact and rounded form. You can remove any branches or stems that are sticking out and disrupting the plant’s overall appearance.
6. Maintain Regular Pruning
Regularly monitor the lobelia cuttings and continue pruning as needed. This will help maintain the desired shape and prevent the plant from becoming unruly.
7. Dispose of Pruned Materials
After pruning, dispose of the pruned materials properly. This will help prevent the spread of diseases and maintain the cleanliness of your gardening space.
8. Care for the Pruned Lobelia Cuttings
After pruning, provide the lobelia cuttings with proper care. Water them regularly, ensure they receive sufficient sunlight, and provide them with appropriate nutrients to encourage healthy growth.
By following these steps, you can prune and shape your lobelia cuttings effectively, resulting in beautiful and well-maintained plants.
Enjoy the Beautiful Lobelia Plants
Lobelia plants are known for their vibrant and beautiful flowers. These plants come in a variety of colors including blue, purple, white, and pink. With their delicate blooms and trailing growth habit, lobelia plants make a stunning addition to any garden or hanging basket.
Benefits of Lobelia Plants
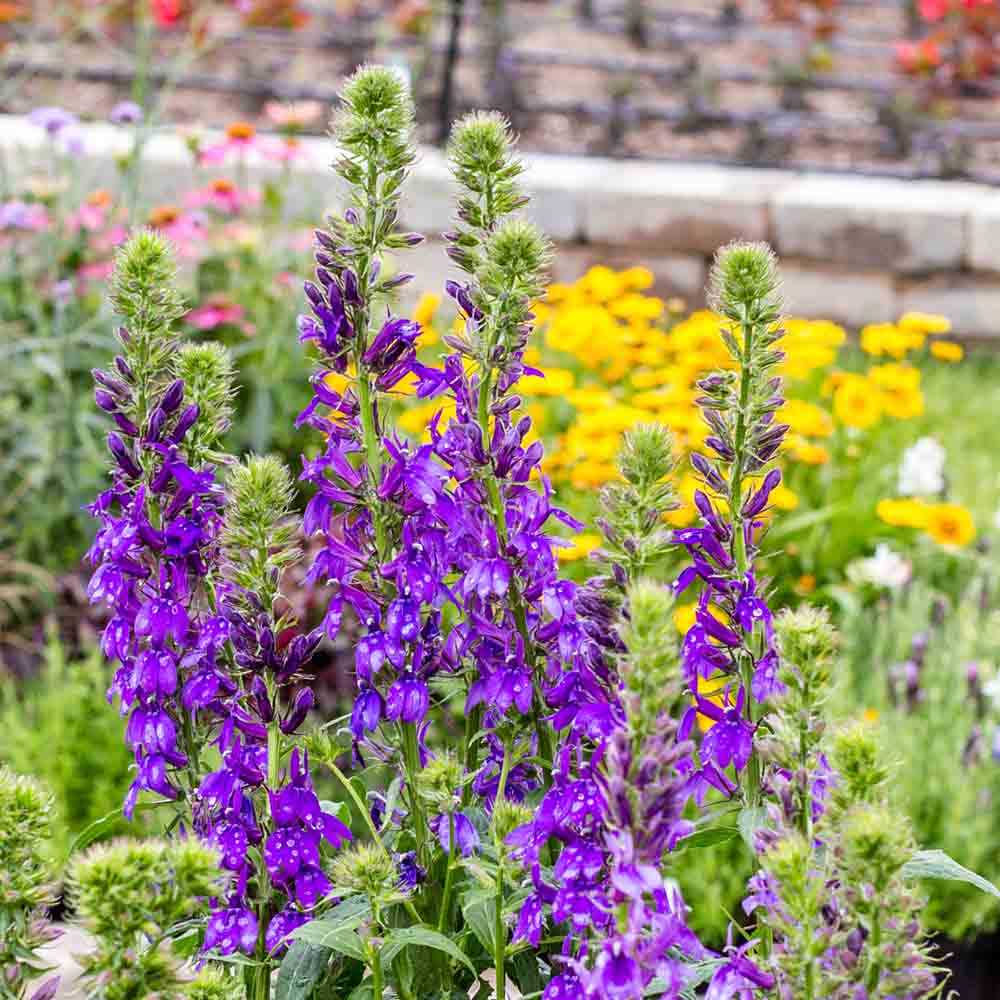
- Attractive flowers: Lobelia plants produce clusters of small, trumpet-shaped flowers that add a pop of color to your outdoor space.
- Easy to care for: Lobelia plants are relatively low-maintenance and can thrive in various growing conditions, making them a great choice for both beginner and experienced gardeners.
- Attracts pollinators: The colorful flowers of lobelia plants attract bees, butterflies, and hummingbirds, adding life and movement to your garden.
- Long blooming period: Lobelia plants have a long flowering season, providing you with weeks of beautiful blooms to enjoy.
Tips for Growing Lobelia Plants
Here are some tips to help you successfully grow and enjoy lobelia plants:
- Choose the right location: Lobelia plants prefer full sun to partial shade. Make sure to plant them in well-drained soil that is rich in organic matter.
- Provide regular watering: Lobelia plants like to be kept evenly moist. Water them whenever the top inch of soil feels dry.
- Apply fertilizer: Use a balanced, water-soluble fertilizer every two weeks during the growing season to promote healthy growth and abundant blooms.
- Deadhead spent flowers: Remove faded flowers to encourage continuous blooming and prevent the plant from going to seed.
- Protect from extreme temperatures: Lobelia plants are sensitive to extreme heat and frost. If temperatures rise above 85°F (29°C) or drop below 40°F (4°C), provide shade or move the plants indoors, respectively.
Uses for Lobelia Plants
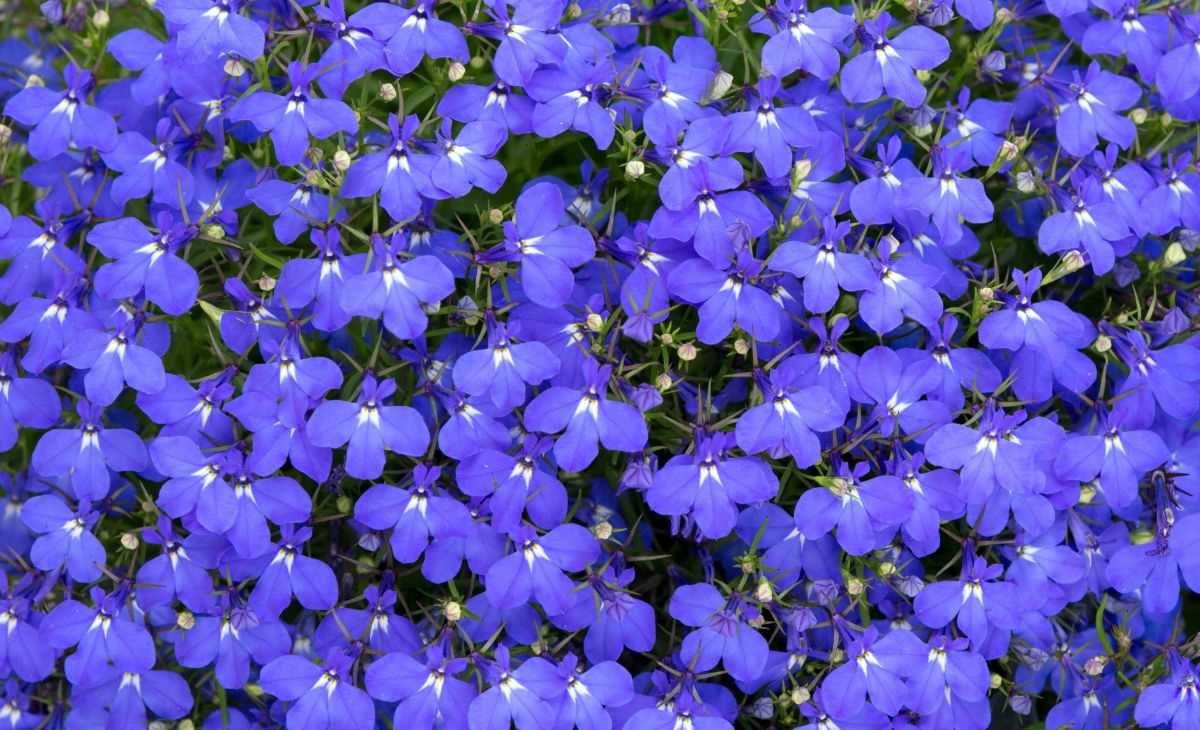
In addition to their beauty, lobelia plants have some practical uses:
- Ground cover: Lobelia plants can be used as a ground cover in flower beds or borders, providing a carpet of color.
- Container gardening: Lobelia plants work well in containers, hanging baskets, and window boxes, adding a cascading effect.
- Companion planting: Lobelia plants can be planted alongside other flowers and vegetables to attract pollinators and deter pests.
With their stunning flowers and versatility, lobelia plants are a wonderful addition to any garden or landscape. By following these tips and caring for them properly, you can enjoy the beauty of lobelia plants throughout the growing season.
Questions and Answers:
Can I shape lobelia cuttings without using a step-by-step guide?
While it is possible to shape lobelia cuttings without a step-by-step guide, following a guide can help ensure that you achieve the desired results. Plus, a step-by-step guide provides helpful tips and techniques that can make the process easier and more successful.
What tools do I need to shape lobelia cuttings?
To shape lobelia cuttings, you will need a sharp pair of pruning shears or scissors, a clean cutting surface, rooting hormone (optional), and a suitable container for planting the cuttings.
How long do lobelia cuttings take to root?
Lobelia cuttings typically take about 4-6 weeks to root. It is important to keep the cuttings in a warm and humid environment during this time to promote root development.
Can I shape lobelia cuttings in the winter?
While lobelia cuttings can be shaped in the winter, it is generally recommended to do so in the spring or summer. This is because lobelia plants are more actively growing during these seasons, which can increase the success rate of the cuttings.
What are some common mistakes to avoid when shaping lobelia cuttings?
Some common mistakes to avoid when shaping lobelia cuttings include using dull or dirty pruners, cutting too close to the main plant, not providing enough moisture to the cuttings, and not providing enough light for root development.


