- Причины неуспешного прорастания семян
- 1. Качество семян
- 2. Температура
- 3. Свет
- 4. Глубина посадки
- 5. Старение семян
- 6. Почва
- 7. Влажность
- 8. Полив
- Недостаток влаги
- Неправильная температура
- Недостаток света
- Плохое качество семян
- Неподходящая почва
- Нарушение режима полива
- Недостаток полива
- Избыток полива
- Неравномерное поливание
- Вредители и болезни
- Слишком глубокое заделывание семян
- Воздействие сорняков
- Конкуренция за ресурсы
- Повреждение семян
- Вытеснение семян
- Неправильное время посева
- Вопрос-ответ:
- Почему семена не прорастают?
- Как обеспечить успешное прорастание семян?
- Как влияет недостаток влаги на прорастание семян?
- Как недостаток света влияет на прорастание семян?
- Видео:
- Семя. Необходимость влаги для прорастания семян
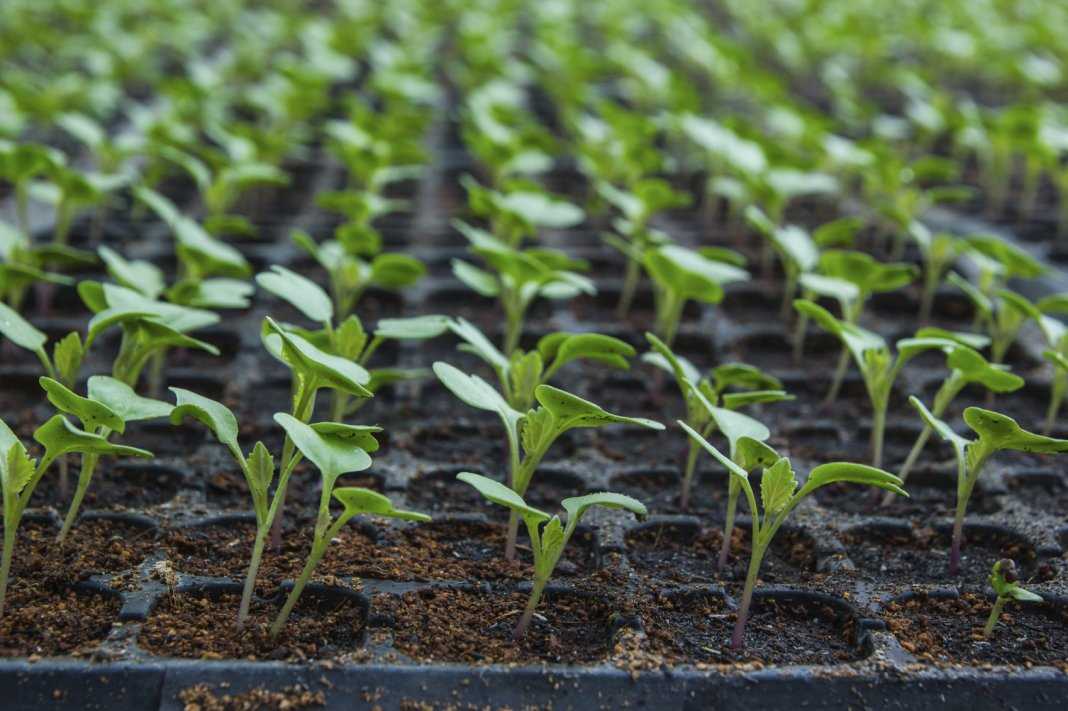
Полив является одной из важнейших условий для успешного прорастания семян. Недостаточное количество влаги может привести к тому, что семена не смогут размягчиться и не смогут прорасти. Однако, избыточное количество влаги также может быть вредным, так как может привести к гниению и разрушению семян. Правильное поливание — это ключ к успешному прорастанию.
Температура также имеет большое значение для прорастания семян. Каждый вид растений имеет свои оптимальные условия температуры, при которых семена начинают прорастать. Если температура слишком низкая, семена могут замерзнуть и не смогут прорасти. С другой стороны, слишком высокая температура может препятствовать прорастанию. Поддерживайте правильную температуру, чтобы обеспечить успешное прорастание.
Свет является неотъемлемым фактором для прорастания семян. Большинство растений нуждаются в свете для фотосинтеза, который является необходимым процессом для роста и развития. Однако, некоторые семена требуют темноты для прорастания. Важно изучить требования вашего вида растения к свету и предоставить ему оптимальные условия.
Причины неуспешного прорастания семян
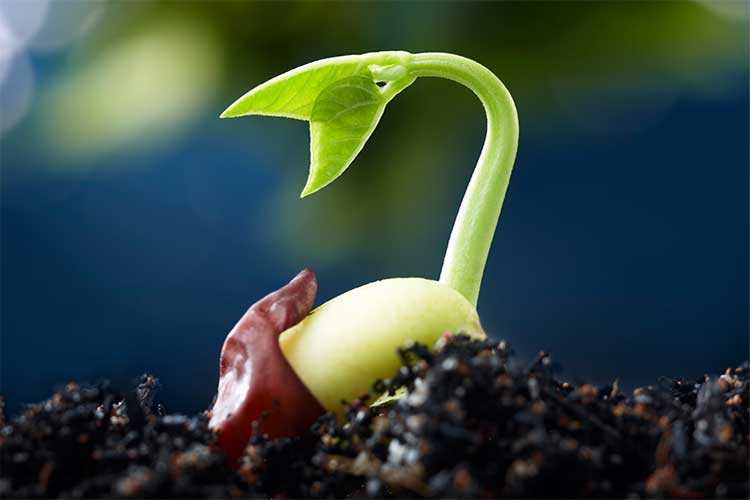
Неуспешное прорастание семян может быть вызвано несколькими причинами, включая низкое качество семян, неподходящую температуру, недостаток света, неправильную глубину посадки, старение семян, неподходящую почву, недостаточную влажность и неправильный полив.
1. Качество семян
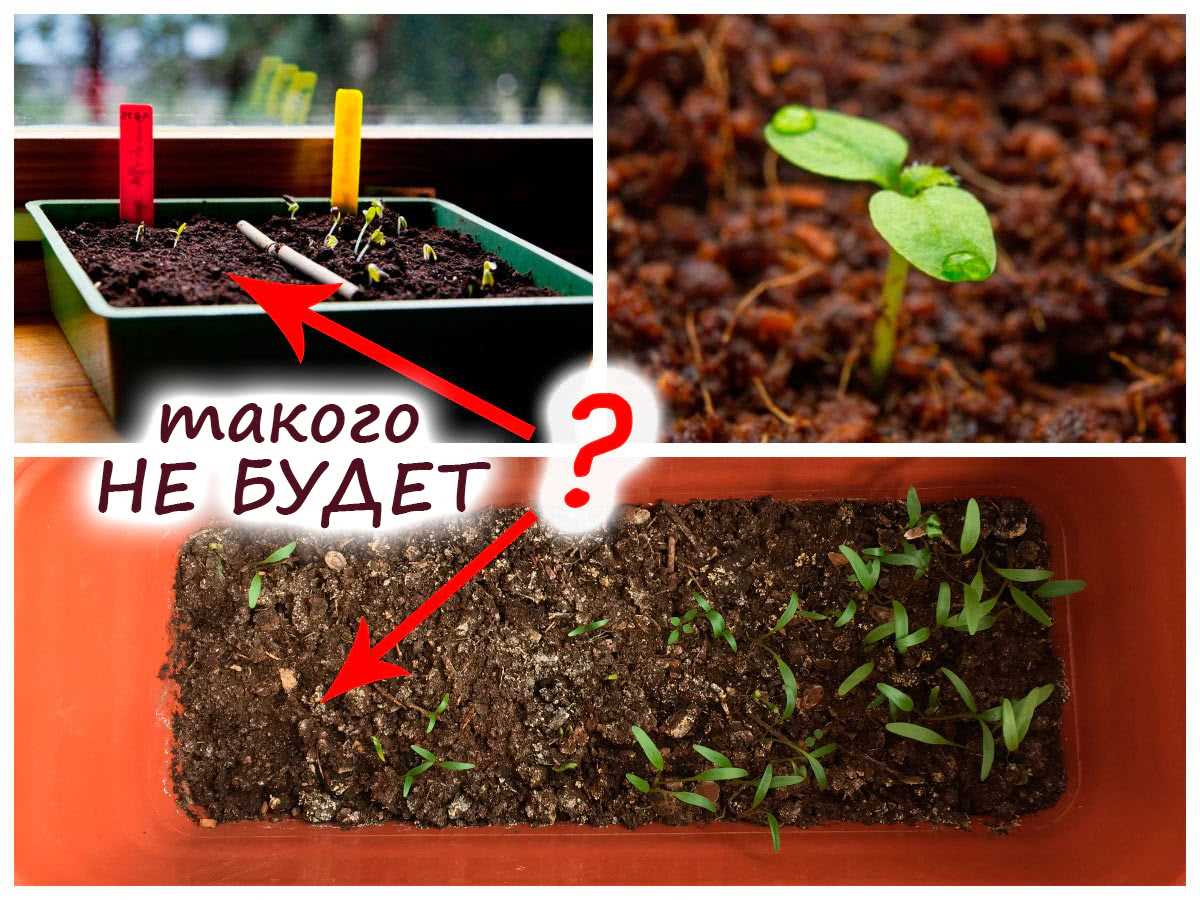
Качество семян играет важную роль в успешном прорастании. Если семена были собраны неправильно или хранились неправильно, они могут потерять свою способность к прорастанию. Поэтому важно приобретать семена от надежных поставщиков и хранить их в соответствии с рекомендациями.
2. Температура
Температура играет важную роль в прорастании семян. Слишком низкая или слишком высокая температура может замедлить или полностью остановить прорастание. Разные семена требуют разных температурных условий, поэтому важно ознакомиться с рекомендациями по температуре для каждого вида семян.
3. Свет
Свет также является важным фактором в прорастании семян. Некоторые семена требуют света для прорастания, в то время как другие предпочитают темноту. Неправильное освещение может привести к неуспешному прорастанию семян. Поэтому важно учитывать потребности в свете каждого вида семян.
4. Глубина посадки
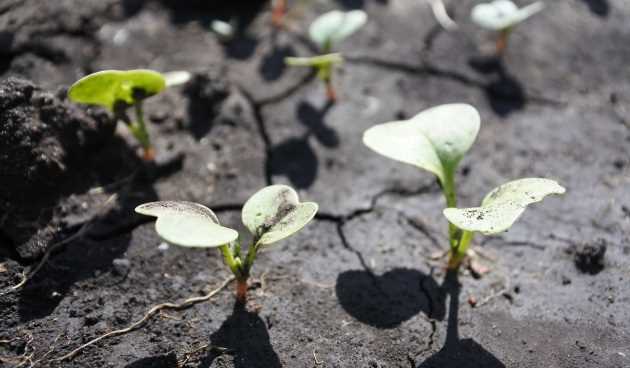
Глубина посадки также может оказать влияние на прорастание семян. Если семена посажены слишком глубоко или слишком поверхностно, они могут не смочиться достаточно влагой или не получить достаточного доступа к свету. Важно соблюдать рекомендации по глубине посадки для каждого вида семян.
5. Старение семян
Семена со временем теряют свою способность к прорастанию. Старые семена могут иметь низкую прорастаемость или вообще не прорастать. Поэтому важно использовать свежие семена или хранить их в правильных условиях, чтобы сохранить их прорастаемость.
6. Почва

Качество почвы может оказать влияние на прорастание семян. Некоторые семена требуют определенного состава почвы или pH-уровня для успешного прорастания. Поэтому важно выбирать подходящую почву для каждого вида семян и удобрять ее, если необходимо.
7. Влажность
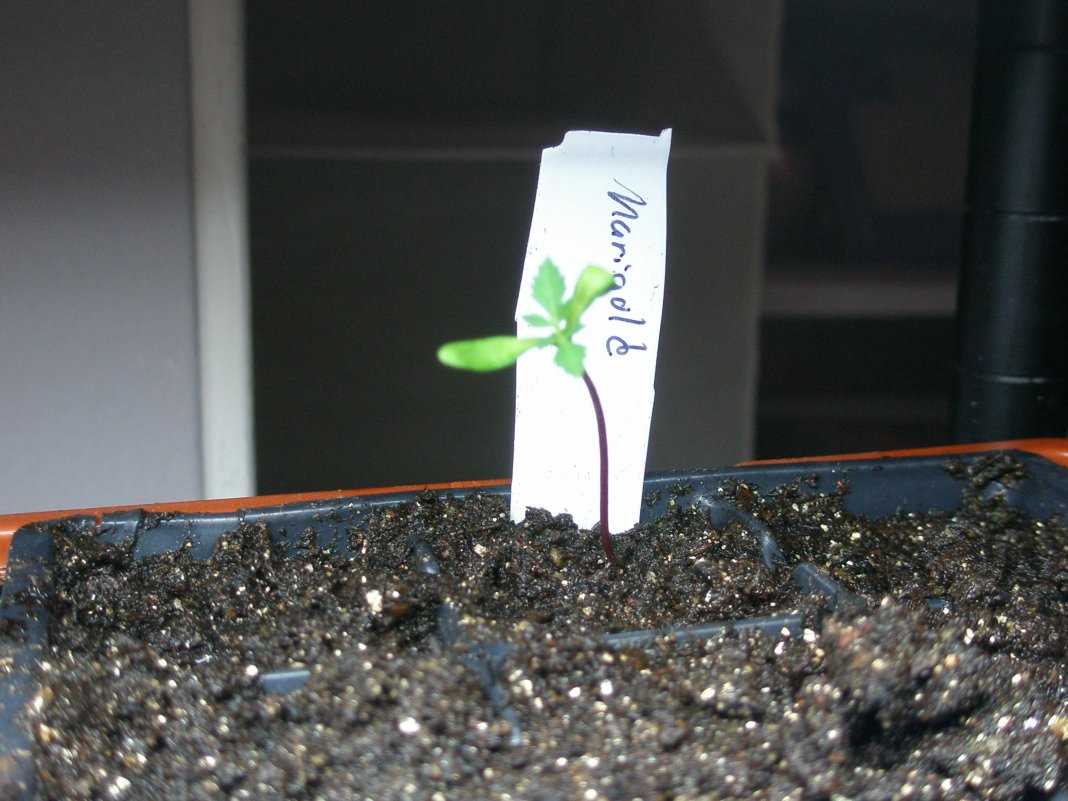
Недостаточная влажность может препятствовать прорастанию семян. Семена нуждаются в достаточном количестве влаги, чтобы активировать процесс прорастания. Поэтому важно следить за уровнем влажности в почве и обеспечивать достаточный полив.
8. Полив
Неправильный полив может стать причиной неуспешного прорастания семян. Избыточное поливание может привести к загниванию семян или гниению корней, в то время как недостаточное поливание может привести к их высыханию. Рекомендуется учитывать потребности в поливе каждого вида семян и поддерживать оптимальный уровень влажности.
Недостаток влаги
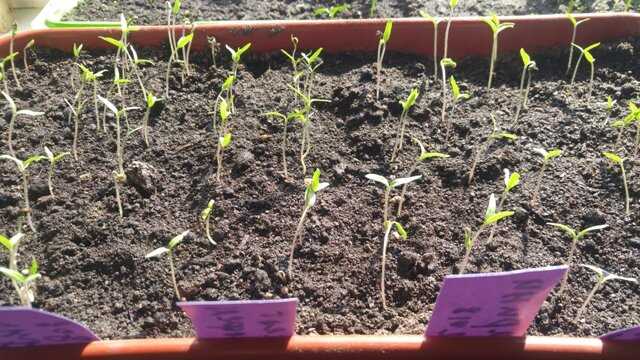
Один из наиболее распространенных факторов, препятствующих успешному прорастанию семян, — недостаток влаги. Для прорастания семян требуется определенное количество влаги, которая помогает активизировать процессы жизнедеятельности растения. Недостаток влаги может вызвать старение и повреждение семян, что приводит к их непрорастанию.
Оптимальная температура также играет важную роль в прорастании семян. Высокая температура может вызвать пересушивание почвы и семян, что приводит к их повреждению и непрорастанию. Низкая температура, напротив, может замедлить процессы прорастания и привести к задержке в выходе ростков на поверхность почвы.
Для успешного прорастания семян также важен правильный уход за почвой. Повреждения почвы, такие как уплотнение, неправильная глубина заделки семян или наличие сорняков, могут затруднить прорастание и развитие растений. Поэтому важно следить за состоянием почвы и проводить необходимые мероприятия для ее подготовки перед посевом.
Регулярный полив является неотъемлемой частью успешного прорастания семян. Недостаток влаги может привести к засыханию семян, а избыток влаги — к их гниению. Поэтому важно поддерживать оптимальную влажность почвы путем регулярного полива.
Свет также влияет на прорастание семян. Недостаток света может привести к задержке в развитии ростков и их избыточной тягучести. Поэтому важно обеспечить достаточное количество света для успешного прорастания семян, особенно для тех, которые требуют света для активизации своих жизненных процессов.
Неправильная температура
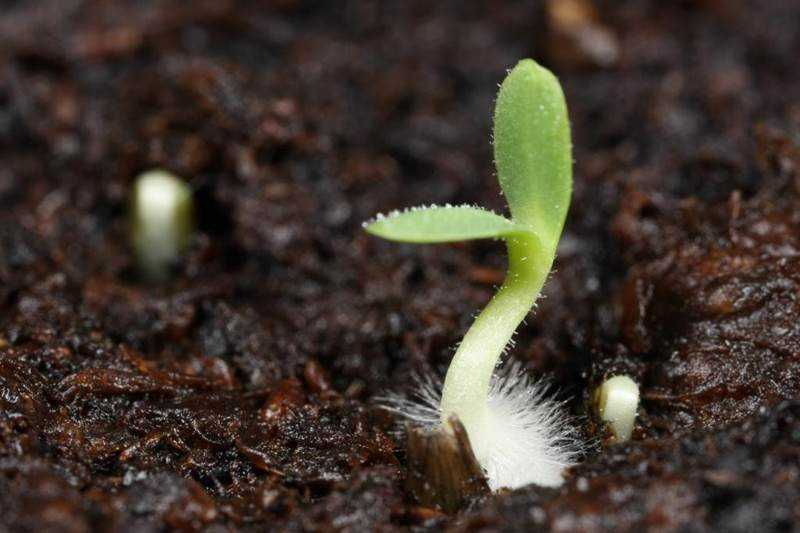
Одной из основных причин неуспешного прорастания семян является неправильная температура. Растения требуют определенного диапазона температур для успешного прорастания, и отклонение от этого диапазона может привести к повреждению семян.
Слишком низкая температура может привести к задержке или остановке процесса прорастания. Семена могут долго находиться в состоянии покоя и не начинать прорастать из-за холода. Кроме того, низкая температура может вызвать повреждения клеточных структур семян, что также препятствует их прорастанию.
С другой стороны, слишком высокая температура также может быть вредна для прорастания семян. Высокая температура может вызвать обезвоживание семян, что приводит к их гибели. Кроме того, высокая температура может повредить структуру почвы, снижая ее влажность и создавая неблагоприятные условия для прорастания семян.
Чтобы обеспечить успешное прорастание семян, необходимо следить за поддержанием оптимальной температуры. Это можно сделать путем контроля окружающей среды, используя специальные теплицы или парники. Также важно правильно выбрать время посадки семян, учитывая климатические особенности региона и рекомендации производителей.
Недостаток света
Влажность, повреждения, старение и качество почвы — все эти факторы могут оказывать влияние на прорастание семян. Однако, одной из основных причин неуспешного прорастания является недостаток света.
Свет необходим для проведения фотосинтеза, процесса, в результате которого семена получают энергию, необходимую для прорастания. В отсутствие достаточного количества света, семена могут не активироваться и остаться в состоянии покоя.
При выборе места для посадки семян необходимо учитывать уровень освещенности. Если семена будут посажены в тенистом месте, вероятность успешного прорастания будет значительно ниже. Поэтому рекомендуется выбирать места с хорошей доступностью солнечного света.
Также стоит помнить, что некоторые семена требуют определенной глубины посадки, чтобы получить достаточное количество света. Поэтому при посадке следует обратить внимание на рекомендации по глубине посадки, указанные на упаковке семян.
Для обеспечения успешного прорастания семян можно использовать искусственное освещение, особенно в помещениях без достаточного доступа к естественному свету. Также важно регулярно поливать семена, чтобы поддерживать оптимальную влажность, которая также способствует прорастанию.
Плохое качество семян
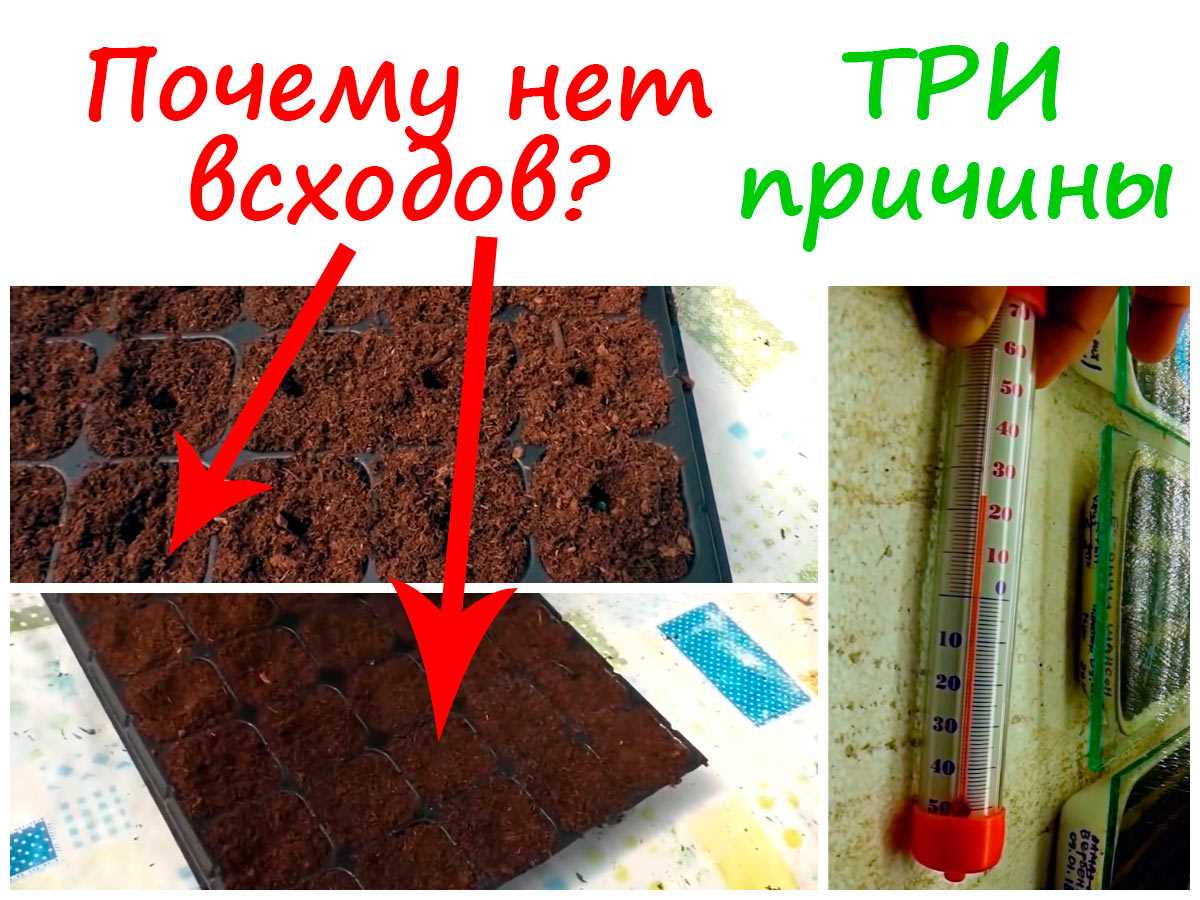
Качество семян является одной из основных причин неуспешного прорастания. Плохое качество семян может быть обусловлено различными факторами.
1. Полив: Недостаток или избыток влаги в почве может негативно повлиять на качество семян. Недостаток полива может привести к пересыханию и повреждению семян, а избыток — к загниванию и гниению.
2. Почва: Некачественная почва может содержать вредные вещества или иметь неподходящую структуру, что затрудняет прорастание семян. Оптимальная структура почвы должна быть рыхлой и хорошо дренированной.
3. Свет: Недостаток света может привести к деформации и вытягиванию прорастающих растений. Семена требуют определенного количества света для активации процесса прорастания.
Так стоп!!! Вы всё ещё не подписаны на наши каналы в Телеграмм и Дзен? Посмотрите: ТГ - (@historyfantasydetectivechat) и Дзен (https://dzen.ru/myshortsstorys)
4. Глубина посева: Неправильно выбранная глубина посева может привести к неблагоприятным условиям для прорастания семян. Слишком глубокое посевание может затруднить доступ кислорода, а слишком поверхностное — увеличить риск иссушения.
5. Температура: Неподходящая температура может замедлить или полностью остановить процесс прорастания. Разные виды семян требуют разных условий температуры для успешного прорастания.
6. Повреждения: Семена могут быть повреждены в процессе сбора, хранения или транспортировки. Даже мелкие повреждения могут существенно снизить вероятность успешного прорастания.
7. Старение: Семена со временем теряют свою жизнеспособность и способность к прорастанию. Чем старше семена, тем ниже вероятность успешного прорастания.
Неподходящая почва
Одной из причин неуспешного прорастания семян может быть неподходящая почва. Почва должна быть достаточно влажной для обеспечения правильного гидратационного процесса семян. Слишком сухая почва может привести к их повреждению и отсутствию прорастания.
Кроме того, глубина посева также имеет значение. Семена, посеянные слишком глубоко, могут столкнуться с проблемой недостатка света, что может затруднить их прорастание. С другой стороны, если семена посеяны слишком поверхностно, они могут подвергаться повреждениям и сушке.
Температура также является фактором, влияющим на прорастание семян. Некоторые семена требуют определенного диапазона температур для активации процесса прорастания. Слишком высокая или низкая температура может негативно сказаться на способности семян к прорастанию.
Качество почвы также играет роль в успешном прорастании семян. Некачественная почва может содержать вредные вещества или болезни, которые могут негативно влиять на жизнеспособность семян и предотвращать их прорастание.
Важно учитывать все эти факторы при посеве семян, чтобы обеспечить их успешное появление. Подготовка почвы, контроль влажности, правильная глубина посева, поддержание оптимальной температуры и использование качественной почвы — все это меры, которые помогут предотвратить проблемы с прорастанием семян из-за неподходящей почвы.
Нарушение режима полива
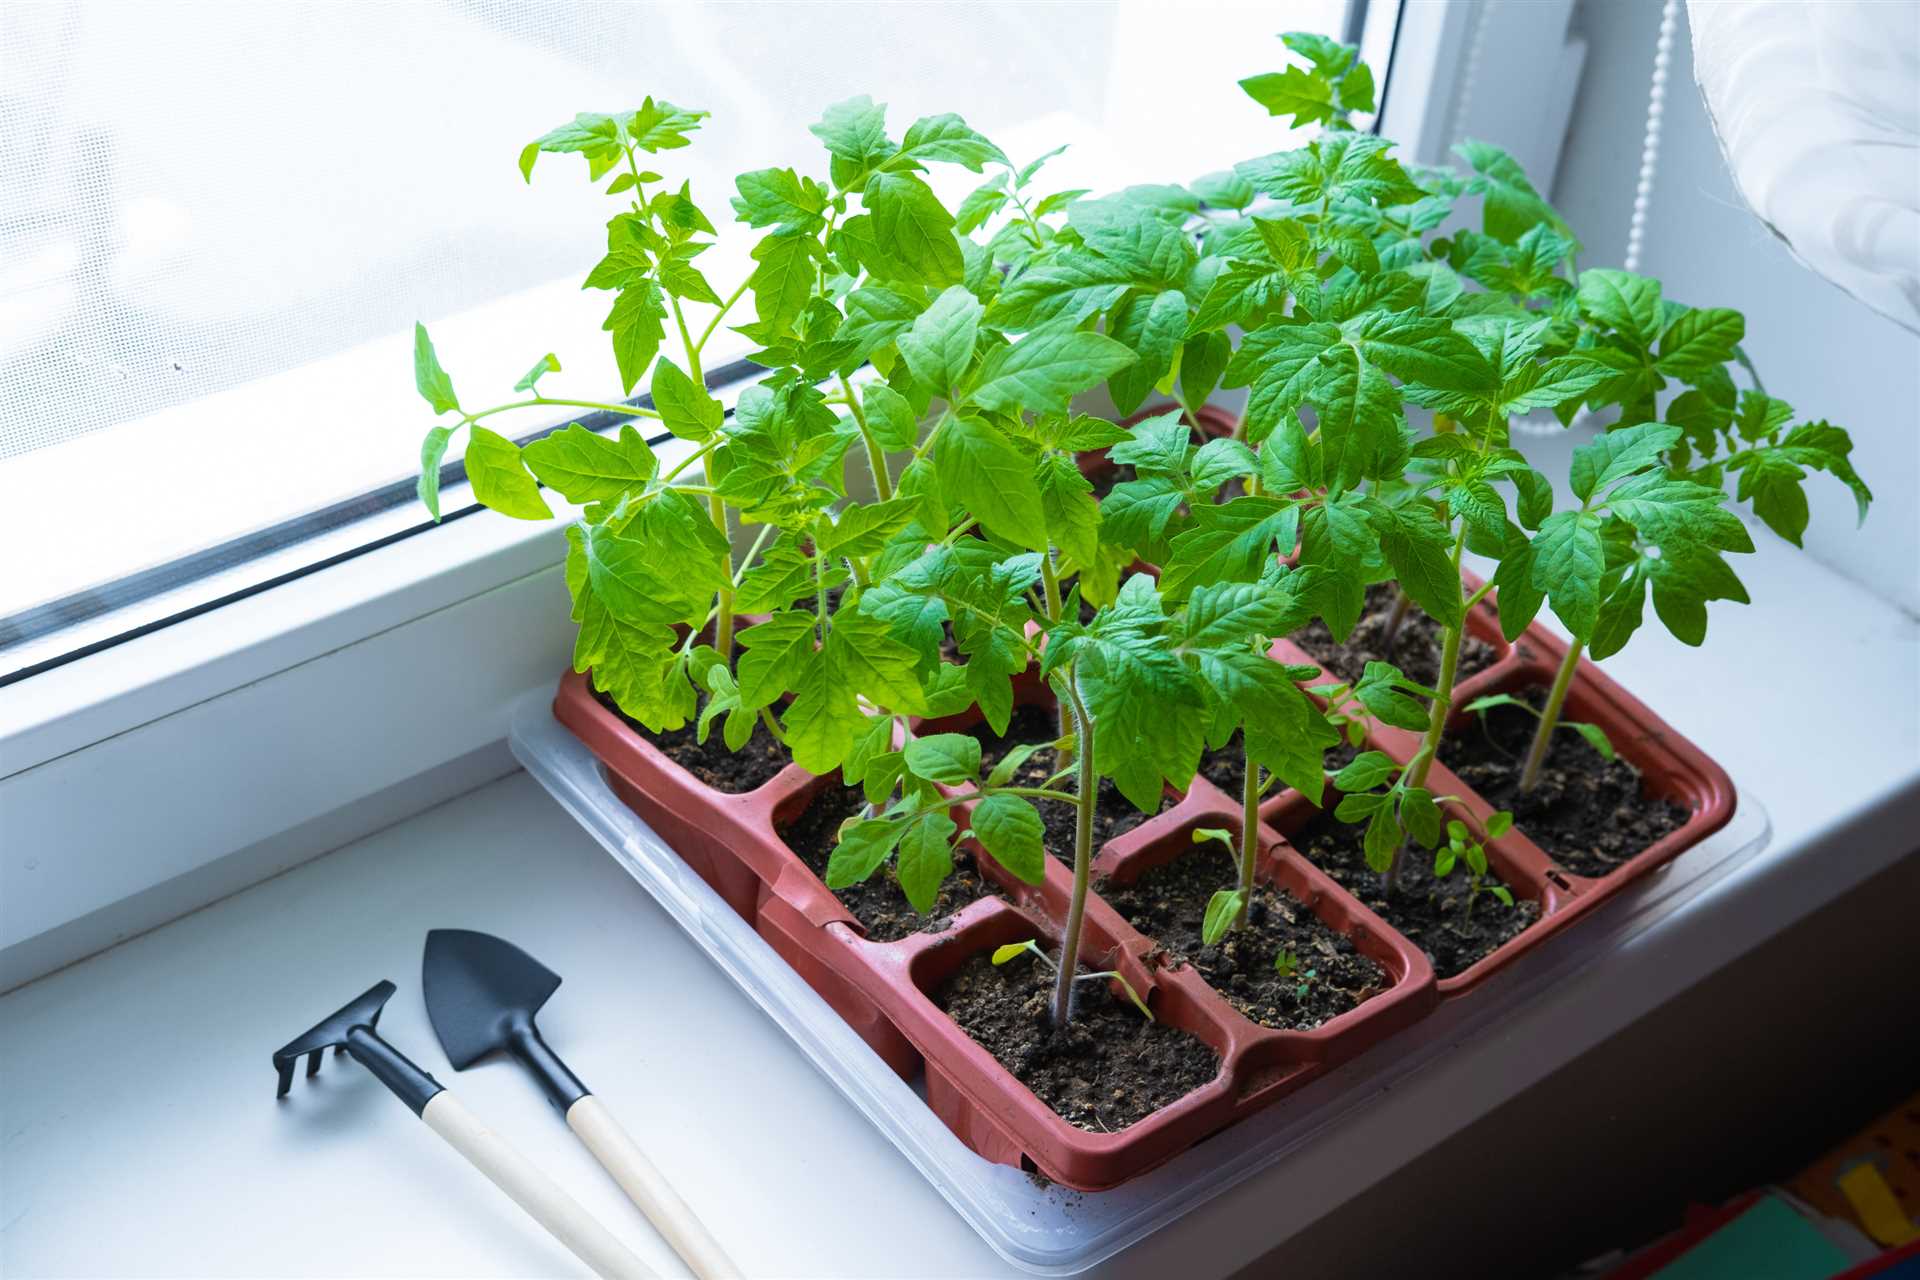
Неправильный режим полива является одной из главных причин неуспешного прорастания семян. От полива зависит обеспечение семян необходимыми условиями для прорастания и роста.
Недостаток полива
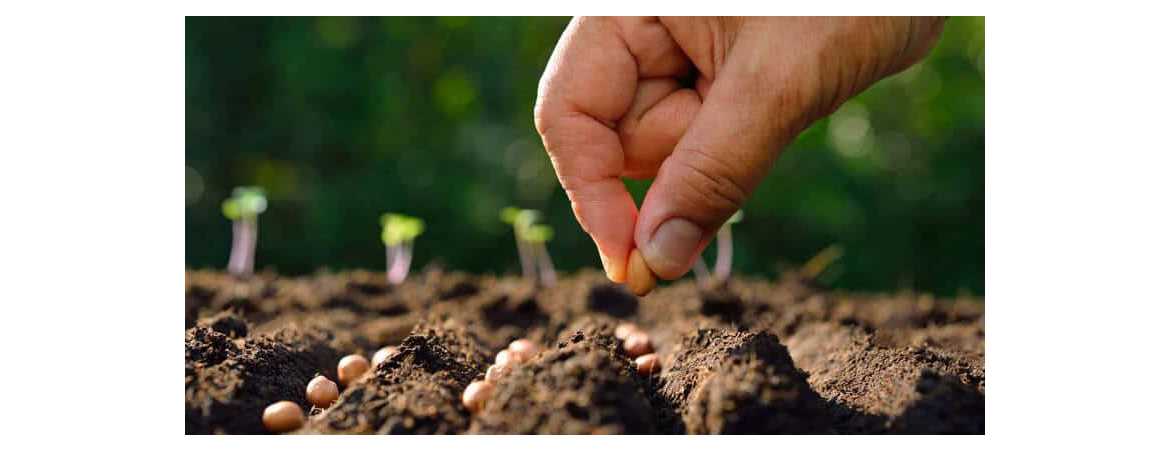
Недостаточное количество воды может привести к тому, что семена не смогут поглотить достаточное количество влаги для начала прорастания. Сухость почвы может также повредить семена, вызвав их обезвоживание и смерть.
Избыток полива
Слишком частый или обильный полив может привести к затоплению семян, что мешает доступу кислорода и приводит к их гниению. Также избыток влаги может спровоцировать развитие грибковых заболеваний и гнилей, которые препятствуют нормальному прорастанию.
Неравномерное поливание

Неравномерное поливание, когда одни семена получают больше влаги, а другие – меньше, также может привести к неуспешному прорастанию. Некоторые семена могут не получить достаточного количества влаги для начала прорастания, в то время как другие могут быть перенасыщены влагой, что приведет к гибели.
Правильное поливание – это одно из ключевых условий успешного прорастания семян. Оно должно быть регулярным и умеренным, учитывая потребности конкретных видов растений, особенности почвы, световой режим, температуру и влажность воздуха. Следует также учитывать глубину посева семян и их качество, чтобы обеспечить оптимальные условия для прорастания и роста растений.
Вредители и болезни
Одной из основных причин неуспешного прорастания семян является вредительство насекомых. Некоторые насекомые могут нападать на семена и предотвращать их прорастание. К таким вредителям относятся муравьи, птицы и некоторые виды жуков. При наличии вредителей, семена могут быть повреждены и не смогут успешно прорасти.
Также важное значение имеют различные болезни, которые могут поражать семена. Некачественные семена могут быть заражены различными грибковыми или вирусными инфекциями, которые препятствуют их прорастанию. Кроме того, семена могут быть повреждены повышенной влажностью или низкой температурой, что способствует развитию болезней и замедляет процесс прорастания.
Для предотвращения вредительства и болезней необходимо обеспечить оптимальные условия для прорастания семян. Перед посевом необходимо провести дезинфекцию семян, чтобы уничтожить возможные патогены. Также важно контролировать влажность и температуру окружающей среды, чтобы предотвратить развитие болезней и обеспечить оптимальные условия для прорастания.
Еще одним способом борьбы с вредителями и болезнями является правильный выбор почвы. Некоторые виды почвы могут быть заражены грибковыми инфекциями, поэтому выбор подходящей почвы является важным. Необходимо выбирать качественную почву с хорошей дренажной способностью, чтобы избежать застоя влаги, который способствует развитию болезней.
Слишком глубокое заделывание семян
Одной из причин неуспешного прорастания семян является их слишком глубокое заделывание в почву. Когда семена засыпаются слишком глубоко, они могут столкнуться с рядом проблем.
Во-первых, повреждения. Когда семена размещаются на глубине, которая превышает их естественную способность прорастать, они могут быть повреждены. В результате этого прорастание может быть затруднено или полностью остановлено.
Во-вторых, качество почвы. Глубокое заделывание семян может привести к тому, что они окажутся в слабой или плохо обогащенной почве. Это ограничит доступ к необходимым питательным веществам и влаге, что негативно скажется на прорастании семян.
В-третьих, свет и температура. Семена, засыпанные слишком глубоко, могут не получать достаточного количества света и оптимальной температуры для прорастания. Это может замедлить или остановить процесс прорастания.
Чтобы обеспечить успешное прорастание семян, необходимо правильно определить глубину заделывания их в почву. Для этого рекомендуется следовать инструкциям на упаковке семян или консультироваться с опытными садоводами. Также важно обеспечить правильный полив, достаточное количество света и оптимальную температуру для каждого вида семян. Это поможет сократить риск неуспешного прорастания и обеспечить успешное появление растений.
Воздействие сорняков
Сорняки могут оказывать негативное воздействие на прорастание семян различными способами.
Конкуренция за ресурсы
Сорняки конкурируют с посеянными семенами за доступ к влаге, питательным веществам и свету. Их корни могут проникать в глубину почвы, забирая воду и питательные вещества, что ограничивает ресурсы, необходимые для прорастания семян.
Повреждение семян
Некоторые сорняки могут повредить семена, например, своими корнями или покрывалами. Поврежденные семена имеют меньшую вероятность прорастания, так как их защитные оболочки могут быть повреждены и внутренние структуры — нарушены.
Вытеснение семян
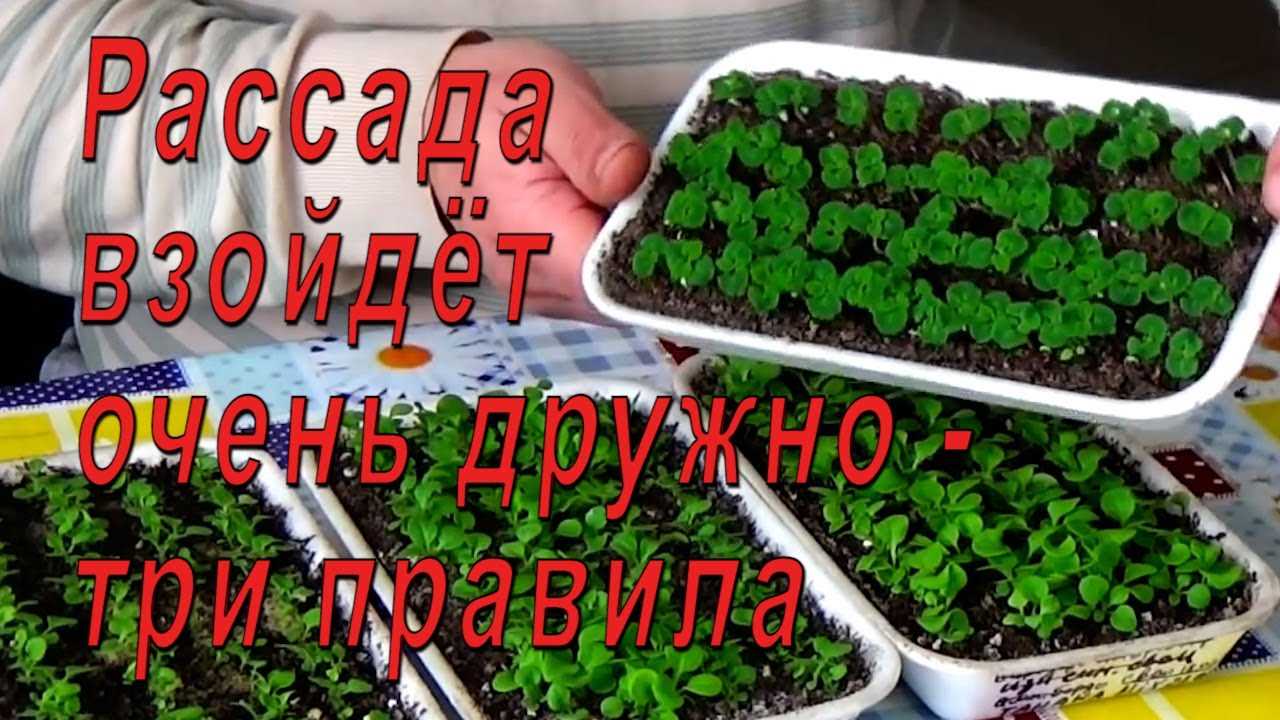
Сорняки могут также физически вытеснять семена из почвы. Более сильные и быстрорастущие корни сорняков могут оказаться сильнее, чем нежные корешки прорастающих семян, что приводит к их вытеснению и невозможности прорастания.
Неправильное время посева
Одной из причин неуспешного прорастания семян является неправильное время посева. Каждому растению необходим определенный период времени для успешного прорастания. Этот период зависит от множества факторов, таких как почва, полив, свет, температура и другие. Посев семян в неподходящее время может привести к их повреждению или даже уничтожению.
Оптимальная температура для прорастания семян различных растений может варьироваться. Некоторые семена требуют низкой температуры, чтобы начать прорастание, в то время как другие нуждаются в высокой. Неправильная температура может привести к задержке или полному отсутствию прорастания.
Глубина посева также влияет на успешность прорастания семян. Семена должны быть посеяны на определенную глубину, чтобы получить достаточно кислорода и влаги для прорастания. Если семена посеяны слишком глубоко, они могут не достать до поверхности и не получить достаточно света для прорастания.
Старение и качество семян также могут быть причиной неуспешного прорастания. Семена, которые уже долго хранятся, могут потерять свою жизненную силу и способность прорастать. Более темные или поврежденные семена также могут иметь низкую жизнеспособность и не способны к прорастанию, даже при правильных условиях.
Вопрос-ответ:
Почему семена не прорастают?
Неуспешное прорастание семян может быть вызвано различными факторами. Одной из причин может быть недостаток влаги. Если семена не получают достаточное количество влаги, они не смогут прорасти. Также, недостаток света может сказаться на прорастании семян. Если семена не получают достаточного количества света, они не смогут начать прорастать. Еще одной причиной может быть плохое качество семян. Если семена были неправильно хранены или уже устарели, они могут потерять свою способность к прорастанию.
Как обеспечить успешное прорастание семян?
Для обеспечения успешного прорастания семян необходимо учесть несколько факторов. Во-первых, обеспечить достаточное количество влаги. Семена должны быть увлажнены, но не избыточно. Во-вторых, обеспечить достаточное количество света. Если семена нуждаются в свете для прорастания, их следует поместить на светлом месте или использовать искусственное освещение. В-третьих, необходимо использовать качественные семена. Семена должны быть свежими и правильно хранимыми, чтобы обеспечить их способность к прорастанию.
Как влияет недостаток влаги на прорастание семян?
Недостаток влаги является одной из основных причин неуспешного прорастания семян. Если семена не получают достаточного количества влаги, они не смогут прорасти. Влага необходима для активации биохимических процессов, происходящих внутри семени при прорастании. Отсутствие влаги приводит к замедлению или полному прекращению этих процессов, что делает прорастание невозможным.
Как недостаток света влияет на прорастание семян?
Недостаток света также может привести к неуспешному прорастанию семян. Многие растения нуждаются в свете для запуска процесса прорастания. Фотосинтез, который происходит при наличии света, обеспечивает необходимую энергию для роста семени и развития новых клеток. Если семена не получают достаточного количества света, они не смогут начать прорастать и будут оставаться в состоянии покоя.


