- Preparing Bulbs for Winter Storage
- 1. Digging up the Bulbs
- 2. Removing Excess Soil
- 3. Trimming the Stems and Leaves
- 4. Curing the Bulbs
- 5. Inspecting for Damage or Disease
- 6. Sorting and Labeling
- 7. Choosing the Right Storage Containers
- 8. Storing in a Cool and Dry Location
- 9. Checking on the Bulbs Periodically
- 10. Planting the Bulbs in the Spring
- Choosing the Right Storage Containers
- Removing Excess Soil from Bulbs
- Curing Bulbs Before Storage
- Keeping Bulbs in a Cool and Dry Place
- 1. Choose the right storage location
- 2. Prepare the bulbs for storage
- 3. Use proper containers
- 4. Arrange the bulbs properly
- 5. Label the containers
- 6. Store the bulbs properly
- Monitoring Moisture Levels in Storage
- Checking on Bulbs During Winter
- Replanting Stored Bulbs in Spring
- Questions and Answers:
- What is the best way to store bulbs in winter?
- Can bulbs be stored in the refrigerator?
- Should bulbs be stored in the ground during winter?
- How long can bulbs be stored before planting?
- What should I do if the bulbs start sprouting during storage?
- Videos: How to Store Dahlia Tubers Over Winter
Winter can be a challenging time for gardeners, but proper bulb storage can ensure that your beloved flowers will thrive come springtime. Whether you have tulips, daffodils, or lilies, taking the time to store bulbs correctly will help protect them from freezing temperatures and keep them in optimal condition for the next growing season.
Step 1: Digging up the Bulbs
The first step in storing bulbs is to dig them up from the ground. Timing is crucial, as you’ll want to wait until the foliage has died back but before the ground freezes. Gently loosen the soil around the bulbs and lift them out with a garden fork or trowel, being careful not to damage the bulbs. Shake off any excess soil and remove any dead or damaged foliage.
Step 2: Cleaning and Drying
Once you have removed the bulbs from the ground, it’s important to clean them thoroughly to prevent any pests or diseases from spreading. Use a soft brush or your hands to remove any clinging dirt, taking care not to damage the bulb’s outer layer. After cleaning, lay the bulbs out in a single layer in a well-ventilated area to dry. This will help prevent rot or mold from developing in storage.
Step 3: Preparing for Storage
Before storing your bulbs, it’s important to inspect them for any signs of damage or disease. Discard any bulbs that show signs of rot, mold, or pest infestation. Once you have selected the healthy bulbs, prepare them for storage by placing them in a container or paper bag filled with a moisture-absorbing material, such as perlite or vermiculite. This will help regulate the humidity and prevent the bulbs from drying out or becoming too moist.
Step 4: Choosing the Right Storage Location
The final step in storing bulbs is to find the right location for their winter rest. Ideally, this should be a cool, dark, and dry place, such as a basement or garage. Avoid storing bulbs near sources of heat or excessive moisture, as this can cause premature sprouting or rot. It’s also a good idea to label your bulbs so you can easily identify them when it’s time to plant them in the spring.
By following these step-by-step instructions, you can ensure that your bulbs remain healthy and ready for planting when the warmer weather returns. Proper storage is the key to keeping your flowers thriving year after year, so take the time to give your bulbs the care they deserve.
Preparing Bulbs for Winter Storage
Properly preparing bulbs for winter storage is crucial to ensuring they will flower beautifully in the coming spring. Follow these step-by-step instructions to prepare your bulbs for winter storage:
1. Digging up the Bulbs
Start by carefully digging up the bulbs from the ground. Use a garden fork or trowel to gently loosen the soil around the bulbs, being careful not to damage them. Once they are loose, carefully lift them out of the ground.
2. Removing Excess Soil
Use your hands or a soft brush to gently remove excess soil from the bulbs. Be careful not to remove any scales or damage the bulbs during this process. It’s important to remove as much soil as possible to prevent the bulbs from rotting during storage.
3. Trimming the Stems and Leaves
Trim the stems and leaves of the bulbs to about 1-2 inches above the bulb. This helps conserve energy and resources for the bulbs during storage.
4. Curing the Bulbs
Allow the bulbs to cure in a cool, dry, and well-ventilated area for about one to two weeks. This helps the outer layer of the bulbs to dry and harden, which will protect them during storage.
5. Inspecting for Damage or Disease
Inspect each bulb carefully for any signs of damage or disease. Discard any bulbs that are soft, mushy, or show signs of rot or disease. This will help prevent the spread of disease to your other bulbs during storage.
6. Sorting and Labeling
Sort your bulbs by type and label them accordingly. This will make it easier to identify and locate specific bulbs when it’s time to plant them in the spring.
7. Choosing the Right Storage Containers
Choose the right storage containers for your bulbs. Use open trays or breathable bags to store your bulbs. Avoid using airtight containers, as they can promote the growth of mold and mildew.
8. Storing in a Cool and Dry Location
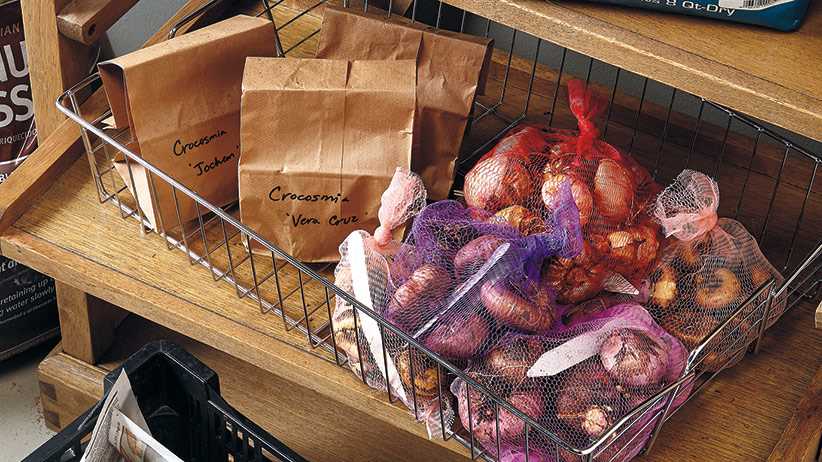
Store your bulbs in a cool, dry, and dark location. An ideal storage temperature is around 50-60 degrees Fahrenheit. Avoid storing bulbs near fruits or vegetables, as they release ethylene gas, which can cause the bulbs to sprout prematurely.
9. Checking on the Bulbs Periodically

Check on your stored bulbs periodically throughout the winter to ensure they are staying dry and healthy. If you notice any signs of mold, rot, or pests, remove the affected bulbs immediately to prevent further damage.
10. Planting the Bulbs in the Spring
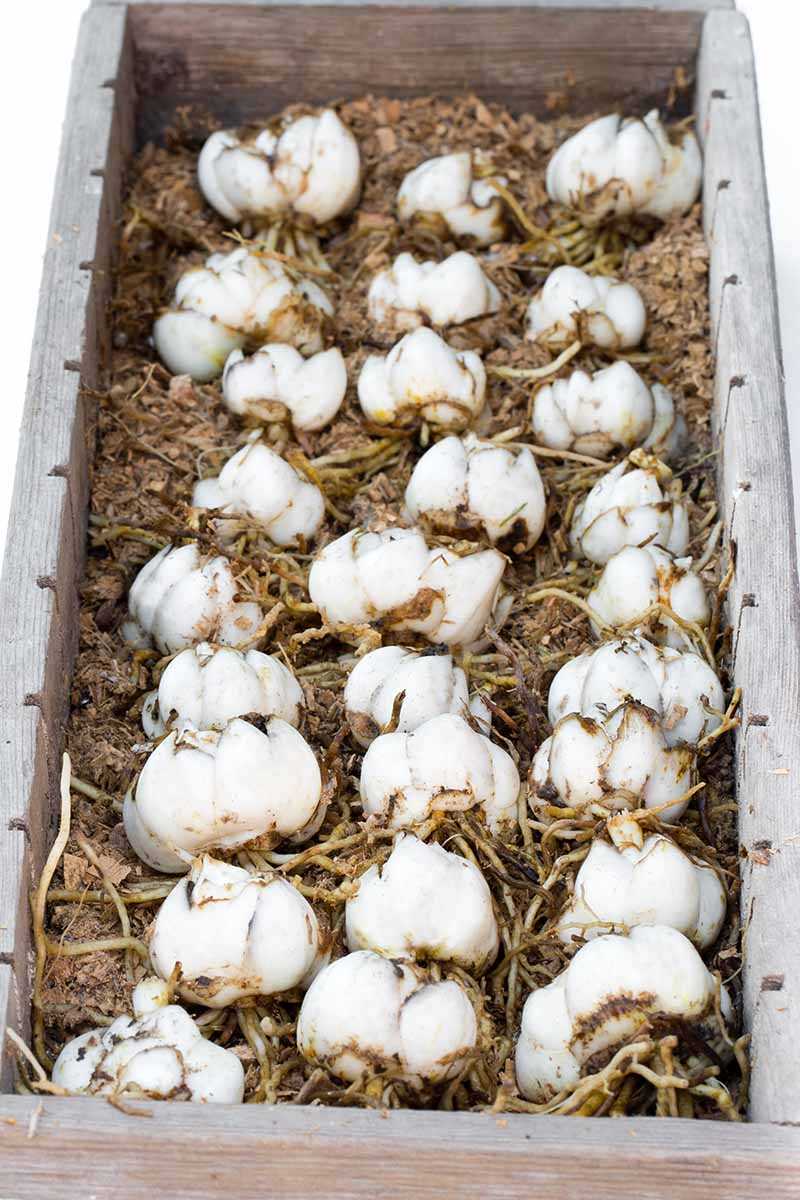
In the spring, when the frost has passed and the soil has warmed up, it’s time to plant your stored bulbs. Follow the planting instructions for each specific bulb type, and enjoy the beautiful blooms that result from your careful winter storage and preparation.
Choosing the Right Storage Containers
Proper storage containers are crucial for keeping your bulbs safe and healthy during the winter months. Here are some factors to consider when choosing the right storage containers:
- Material: Look for containers made of sturdy and durable materials such as plastic or metal. Avoid using containers made of materials that can easily break or crack.
- Size: Choose containers that are large enough to accommodate your bulbs without overcrowding them. Bulbs need adequate air circulation to prevent rotting.
- Sealability: Opt for containers with tight-fitting lids or covers to keep moisture and pests out. This will help maintain the optimal conditions for storing bulbs.
Additionally, consider using containers with transparent sides or lids, as they will allow you to easily see the contents without having to open the containers.
Below is a table comparing different types of storage containers for bulbs:
| Container Type | Material | Size | Sealability |
|---|---|---|---|
| Plastic bins with lids | Plastic | Various sizes available | Tight-fitting lids |
| Metal containers with lids | Metal | Various sizes available | Tight-fitting lids |
| Cardboard boxes | Cardboard | Various sizes available | May not provide airtight seal |
Choose the container that best suits your needs, ensuring that it provides adequate protection and ventilation for your bulbs. Remember to label each container with the type of bulbs stored inside for easy identification in the future.
Removing Excess Soil from Bulbs
When preparing to store bulbs for winter, it is important to remove excess soil from the bulbs. Excess soil can harbor moisture and potentially lead to rot or disease during storage. Follow these steps to properly remove soil from your bulbs:
- Place a tarp or a large piece of newspaper on the ground to catch the soil that will be removed from the bulbs.
- Gently tap the bulb on the tarp or newspaper to loosen any loose soil.
- Use a soft brush or your hands to gently brush away the remaining soil from the bulb. Be careful not to damage the bulb or remove any protective outer layers.
- If you encounter stubborn clumps of soil, you can gently rinse the bulb with water to remove them. However, make sure to allow the bulb to dry completely before storing it.
- Repeat the process for all the bulbs you are preparing for storage.
By removing excess soil from your bulbs, you are ensuring that they are clean and free from any potential issues that could arise during the storage period. This step will help minimize the chances of rot or disease affecting your bulbs and ensure a successful growth in the following season.
Curing Bulbs Before Storage
Before storing bulbs for the winter, it is important to cure them properly. Curing is the process of drying out the outer layers of the bulbs to protect them from moisture and prevent rotting. Here is a step-by-step guide on how to cure bulbs before storage:
- Harvesting: Dig up the bulbs carefully, being sure not to damage them. Shake off any excess soil and remove any foliage or stems.
- Trimming: Trim the roots of the bulbs, leaving about half an inch of the roots attached. This will help the bulbs dry more efficiently.
- Cleaning: Gently brush off any remaining soil or debris from the bulbs. Do not wash them with water, as moisture can encourage rotting.
- Drying: Place the bulbs in a well-ventilated area with low humidity, ideally with temperatures between 60°F and 70°F (15°C and 21°C). Spread them out in a single layer, making sure they do not touch each other.
- Avoiding Direct Sunlight: Keep the bulbs away from direct sunlight, as it can cause them to overheat and dry out too quickly.
- Checking for Mold: Regularly check the bulbs for any signs of mold or rotting. If you notice any affected bulbs, remove them immediately to prevent the spread of mold to healthy bulbs.
- Drying Time: Depending on the type of bulb and its size, the curing process can take anywhere from a few days to a few weeks. Check the bulbs regularly to see if they feel dry and papery.
- Storing: Once the bulbs are fully cured, they are ready for storage. Store them in a cool, dry place, such as a garage or basement, in a well-ventilated container. You can also label the containers to help identify the different types of bulbs.
By properly curing your bulbs before storage, you can help extend their lifespan and ensure healthy growth when planting them in the next season.
Keeping Bulbs in a Cool and Dry Place
Proper storage is essential to ensure the health and viability of bulbs during winter. One of the key factors in bulb storage is maintaining a cool and dry environment. Here are some steps you can take to store bulbs in a cool and dry place:
1. Choose the right storage location
Select a location that is cool and dry, such as a basement, garage, or shed. The temperature should be consistently between 40°F and 50°F (4°C and 10°C) to prevent the bulbs from freezing or rotting. The storage area should also be well-ventilated to prevent the formation of mold or mildew.
2. Prepare the bulbs for storage
Before storing the bulbs, make sure to clean them and remove any excess soil or debris. Gently brush off any dirt and let the bulbs dry completely. Inspect the bulbs for any signs of damage or disease, and discard any that are soft, mushy, or moldy.
3. Use proper containers
Choose containers that provide good airflow and insulation, such as paper bags, mesh bags, or wooden crates. Avoid using plastic bags or airtight containers, as they can trap moisture and lead to rot. Make sure the containers are clean and dry before placing the bulbs inside.
4. Arrange the bulbs properly
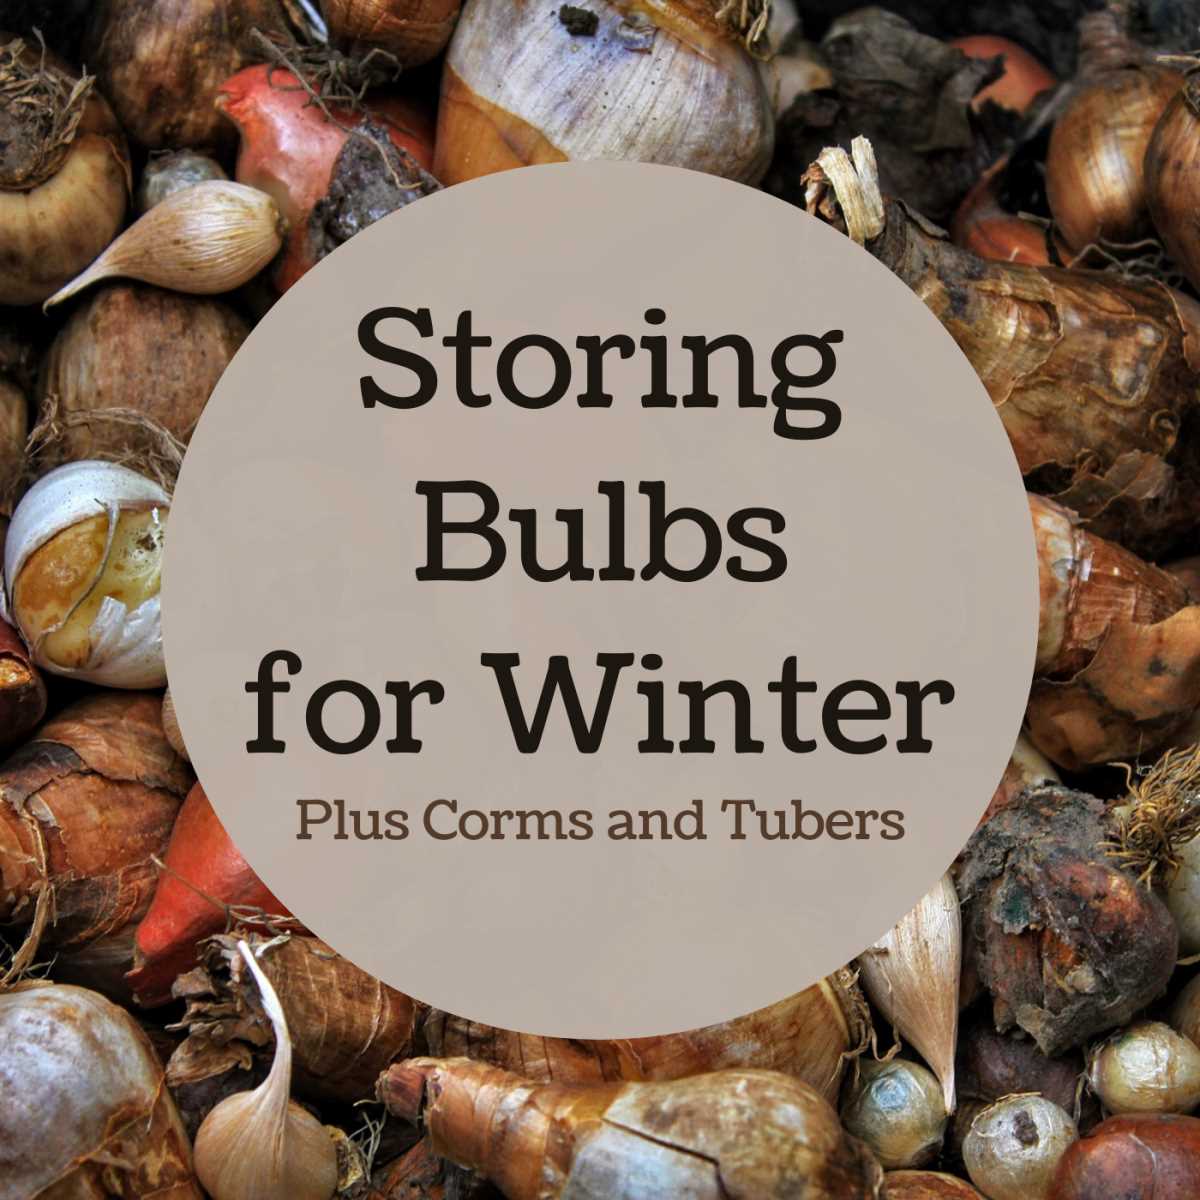
When storing bulbs, it’s important to prevent them from touching each other. This helps to avoid the spread of diseases and rot. Place the bulbs in a single layer in the container, making sure there is enough space between each bulb. If you have a large number of bulbs, consider using multiple containers.
5. Label the containers
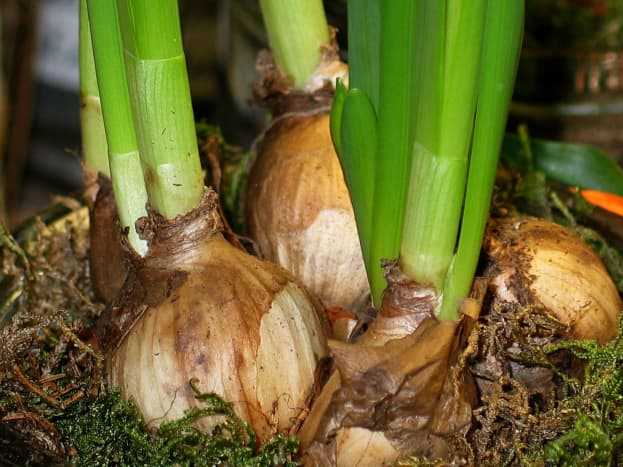
To keep track of the different types of bulbs and their planting times, label each container with the name of the bulbs inside. You can also include the date of storage to help you keep track of their freshness. This will make it easier to retrieve the bulbs when it’s time for planting.
6. Store the bulbs properly
Once the bulbs are arranged in the containers and labeled, place them in a cool and dry location. Make sure to monitor the storage area regularly to ensure the temperature and humidity remain stable. Check the bulbs periodically for any signs of rot or disease, and remove any affected bulbs to prevent further damage.
By following these steps and storing your bulbs in a cool and dry place, you can ensure their health and quality during winter storage. This will increase the chances of successful growth and beautiful blooms when you plant them in the spring.
Monitoring Moisture Levels in Storage
Proper storage of bulbs in winter requires monitoring moisture levels to prevent them from rotting or drying out. Here are some steps to ensure the right moisture environment:
- Choose a well-ventilated storage area: Select a dry and cool place to store the bulbs. Avoid areas with excessive moisture or extreme temperature fluctuations.
- Check bulbs regularly: Inspect the bulbs periodically to ensure they are not molding, rotting, or drying out. Remove any damaged or decaying bulbs to prevent spreading to the rest of the batch.
- Use moisture-absorbent materials: Place moisture-absorbent materials, such as silica gel packets or dried clay, in the storage area to help maintain the right humidity levels. These materials will help prevent excess moisture from ruining the bulbs.
- Avoid plastic containers: Plastic containers can trap moisture and lead to condensation, which promotes rotting. Instead, use breathable containers or bags made of materials like burlap or paper.
- Monitor humidity levels: Consider using a hygrometer to monitor humidity levels in the storage area. Ideally, the humidity should be around 50-60%. If it drops below 40%, you can use a humidifier or mist the bulbs lightly with water to increase moisture levels.
By following these steps and keeping a close eye on the moisture levels, you can ensure your bulbs remain healthy and ready for planting when the winter is over.
Checking on Bulbs During Winter
While bulbs are generally low maintenance during winter, it is still important to check on them periodically to ensure they are in good condition. Here are some steps to follow when checking on bulbs during winter:
- Inspect the storage location: Start by checking the storage location to ensure it is cool, dry, and well-ventilated. This helps prevent any moisture buildup or mold growth that can damage the bulbs.
- Check for signs of rot or disease: Take a close look at the bulbs to see if there are any signs of rot or disease. This can include mushy or discolored spots, a foul smell, or excessive mold growth. If you spot any issues, remove the affected bulbs immediately to prevent the spread of disease.
- Monitor for pests: Look for any signs of pest activity around the bulbs. Common pests include mice, squirrels, and voles, which may try to snack on the stored bulbs. If you notice any chewed bulbs or other signs of pests, take appropriate measures to deter or remove them.
- Check moisture levels: Ensure that the surrounding environment is not too humid or damp, as excess moisture can lead to bulb rot. Use a moisture meter, if available, to check the moisture levels in the storage area and make adjustments if necessary.
- Inspect for sprouting: Occasionally, bulbs may start to sprout prematurely during winter due to warmer temperatures or other factors. Check for any signs of sprouting and gently remove any emerging shoots. This will help redirect the bulb’s energy towards proper spring growth.
By regularly checking on the bulbs during winter and taking appropriate measures, you can help ensure their health and maximize their chances of producing beautiful blooms in the upcoming spring.
Replanting Stored Bulbs in Spring
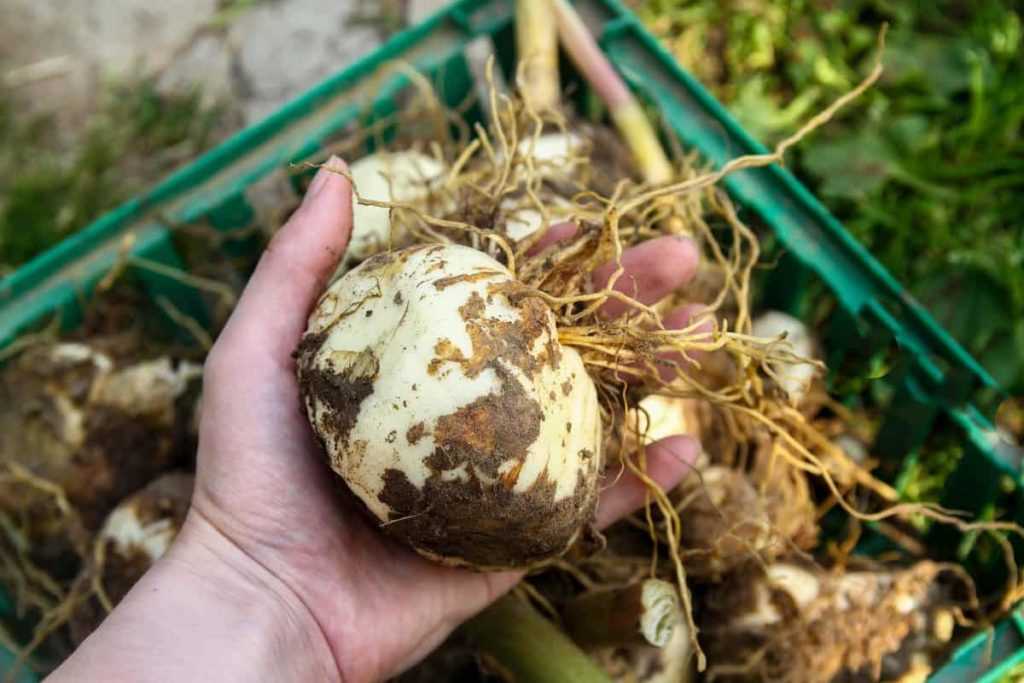
Once winter has passed and the threat of frost is gone, it’s time to replant your stored bulbs in the spring. Follow these steps to ensure a successful and vibrant garden:
- Inspect the bulbs: Before planting, carefully inspect the bulbs for any signs of damage or disease. Discard any bulbs that appear rotten, moldy, or diseased.
- Prepare the soil: Choose a well-draining location in your garden that receives the appropriate amount of sunlight for the type of bulbs you are planting. Prepare the soil by removing any weeds or debris and loosening it with a garden fork or trowel.
- Dig planting holes: Use a small shovel or bulb planter to dig holes for each bulb. The depth and spacing requirements will vary depending on the type of bulb, so refer to the specific planting instructions for your bulbs.
- Plant the bulbs: Place each bulb in its respective hole with the root end facing downwards. Gently backfill the hole with soil, ensuring that the bulb is covered to the recommended depth. Press the soil gently around the bulb to secure it in place.
- Water thoroughly: After planting, water the bulbs thoroughly to settle the soil and provide them with much-needed moisture. Ensure that the soil is evenly moist but not waterlogged.
- Maintain proper care: Throughout the growing season, continue to water the bulbs as needed, providing them with regular irrigation and moisture. Apply a balanced fertilizer according to the package instructions to encourage healthy growth and blooming.
- Monitor for pests and diseases: Keep an eye out for any signs of pests or diseases on your newly planted bulbs. Take appropriate action, such as applying organic pest control measures or fungicides, as needed.
- Enjoy the blooms: With proper care and attention, your stored bulbs will begin to sprout and bloom, adding beauty and color to your garden in the spring.
Remember to keep a record of the bulbs you have stored and replanted, as this will help you plan and track your garden’s progress from year to year. Happy gardening!
Questions and Answers:
What is the best way to store bulbs in winter?
The best way to store bulbs in winter is to keep them in a cool, dry place. This will help prevent them from rotting or drying out.
Can bulbs be stored in the refrigerator?
Yes, bulbs can be stored in the refrigerator. It is important to keep them in a paper bag or a breathable container to prevent moisture buildup.
Should bulbs be stored in the ground during winter?
It is not recommended to store bulbs in the ground during winter. The freezing temperatures can damage the bulbs and they may not survive until spring.
How long can bulbs be stored before planting?
Bulbs can be stored for several months before planting, but it is best to plant them as soon as possible to ensure their viability.
What should I do if the bulbs start sprouting during storage?
If the bulbs start sprouting during storage, you can plant them in pots indoors until the weather is suitable for outdoor planting.


