- Choosing the Right Time
- Spring Propagation
- Fall Propagation
- Identifying Suitable Cuttings
- Gathering the Necessary Tools
- Preparing the Cuttings
- Gather the Materials
- Select Healthy Boxwood Branches
- Prepare the Cuttings
- Prepare the Potting Mix
- Plant the Cuttings
- Cover and Provide Humidity
- Place in a Suitable Location
- Maintain Moisture
- Creating Optimal Growing Conditions
- 1. Light:
- 2. Temperature:
- 3. Humidity:
- 4. Soil:
- 5. Watering:
- 6. Ventilation:
- Planting the Cuttings
- Step 1: Choose the Container
- Step 2: Prepare the Potting Mix
- Step 3: Plant the Cuttings
- Step 4: Provide Proper Care
- Caring for Newly Planted Boxwood Cuttings
- 1. Watering
- 2. Mulching
- 3. Fertilizing
- 4. Pruning
- 5. Protecting from Harsh Weather
- Troubleshooting Common Issues
- 1. Root Rot
- 2. Mold or Fungus
- 3. Wilting or Dying Cuttings
- 4. Pests
- 5. Poor Root Development
- 6. Stunted Growth
- Questions and Answers:
- What is boxwood propagation?
- Can boxwood cuttings be divided in autumn?
- How long does it take for boxwood cuttings to root?
- Can boxwood cuttings be rooted in water?
- What is the best time of year to propagate boxwood?
- Videos: Boxwood Propagation from Cuttings (How to Make Your Own Boxwood Hedge for Free)
The fall season is the perfect time for propagating boxwoods. With their vibrant green foliage and dense growth, boxwoods are a popular choice for hedges and garden borders. Propagating boxwood cuttings in autumn allows for the establishment of new plants before the harsh winter weather sets in.
Separating and planting boxwood cuttings requires careful attention to detail. Start by selecting healthy cuttings from an established boxwood plant. Look for vigorous, disease-free stems that are about 4-6 inches long. Make sure to use clean, sharp pruning shears to minimize damage to the plants.
Once you have your cuttings, it’s important to prepare the planting area. Choose a location with well-draining soil and partial shade. Boxwoods prefer soil that is slightly acidic, so consider amending the soil if necessary. Dig a shallow trench and add organic matter to improve fertility and drainage.
Before planting the cuttings, remove the lower leaves from each stem. This will encourage root growth and prevent rot. Dip the cut end of the stem in rooting hormone to stimulate root development. Then, place the cuttings in the prepared trench, spacing them about 6-8 inches apart.
After planting, lightly water the cuttings to settle the soil and remove any air pockets. Cover the cuttings with a layer of mulch to conserve moisture and provide insulation during the winter months. Water the cuttings regularly, being careful not to over-water, as excessive moisture can lead to rot.
With proper care and attention, your boxwood cuttings will develop strong roots and establish themselves before the arrival of winter. In the spring, you can transplant the new plants to their permanent location in the garden, where they will provide years of beauty and structure.
Choosing the Right Time
When it comes to propagating autumn boxwood, timing is essential. The best time to separate and plant cuttings is during the spring or fall seasons. These seasons provide optimum conditions for root development.
Spring Propagation
In the spring, the weather starts to warm up, and plants begin to come out of their dormant state. This is an ideal time to propagate autumn boxwood as the plants are actively growing, and their energy is focused on root development.
When choosing to propagate in the spring, it is important to wait until the last frost has passed. This ensures that the new cuttings are not exposed to cold temperatures that could damage their tender root systems.
Spring propagation also allows for a longer growing season, giving the new plants ample time to establish themselves before the harsh conditions of winter arrive.
Fall Propagation
Autumn is another excellent time to propagate boxwood cuttings. In the fall, the weather begins to cool down, and plants start to prepare for dormancy. With the reduced heat and abundant moisture, this season creates favorable conditions for root development.
When choosing to propagate in the fall, it is crucial to give the new cuttings enough time to establish their root systems before the ground freezes. This will ensure they have a head start in the following spring and are better equipped to withstand the winter conditions.
Fall propagation also allows gardeners to take advantage of a dormant plant’s energy reserves. As the plants prepare for dormancy, they allocate more resources to root development, making it an ideal time for successful propagation.
Overall, whether you choose to propagate autumn boxwood in the spring or fall, it is important to choose a time when plants are most receptive to root development. This will increase your chances of successful propagation and ensure healthy and thriving new plants for your garden.
Identifying Suitable Cuttings
- Look for healthy, disease-free stems: Choose stems that are free from any signs of disease or pest damage. Select stems that have a vibrant green color and are free from any yellowing or browning.
- Choose mature stems: Opt for stems that are not too young or too old. Young stems may not have enough stored energy to root successfully, while old stems may be woody and difficult to propagate.
- Consider stem length: Cuttings should be around 4 to 6 inches in length. This allows for a sufficient number of nodes for rooting and allows the cutting to establish roots more easily.
- Select stem diameter: Choose stems that are approximately pencil-thick in diameter. This indicates that the stem is mature enough to successfully root and establish itself as a new plant.
- Identify leaf nodes: Look for leaf nodes along the cutting. These are small notches or bumps on the stem where leaves attach. Leaf nodes are essential for root production, so ensure that your cuttings have several nodes.
- Remove any flowers or buds: It’s best to remove any flowers or buds on the cutting, as they can divert energy away from root production. Focus on promoting root growth initially.
By selecting suitable cuttings, you increase the chances of success when propagating autumn boxwood. Taking the time to carefully choose healthy stems with the right characteristics will help ensure that your cuttings have the best chance of rooting and developing into thriving plants.
Gathering the Necessary Tools
Before starting the process of separating and planting cuttings from the autumn boxwood, it is important to gather all the necessary tools. Having the right tools on hand will ensure that the process goes smoothly and efficiently. Here are some essential tools that you will need:
- Pruning shears: A good pair of pruning shears will be needed to cut the branches and stems of the autumn boxwood.
- Gloves: Wearing gloves will protect your hands from scratches and cuts while handling the plant.
- Rooting hormone: Rooting hormone is used to stimulate the growth of roots on the cuttings and increase the chances of successful propagation.
- Potting soil: Good quality potting soil is needed to provide the necessary nutrients and moisture for the cuttings to grow.
- Pots or containers: You will need small pots or containers to plant the cuttings in. Make sure they have drainage holes.
- Misting bottle: A misting bottle will be useful for keeping the cuttings moist during the rooting process.
- Labels: Labels will help you keep track of the different varieties of autumn boxwood cuttings.
- Sharpie or marker: Use a marker to label your pots or containers.
Having all these tools ready before you start will make the process of separating and planting cuttings from the autumn boxwood much easier. Remember to clean and sanitize your tools before and after use to prevent the spread of disease.
Preparing the Cuttings
Before you begin propagating autumn boxwood through cuttings, it’s essential to prepare the cuttings properly to ensure their success.
Gather the Materials
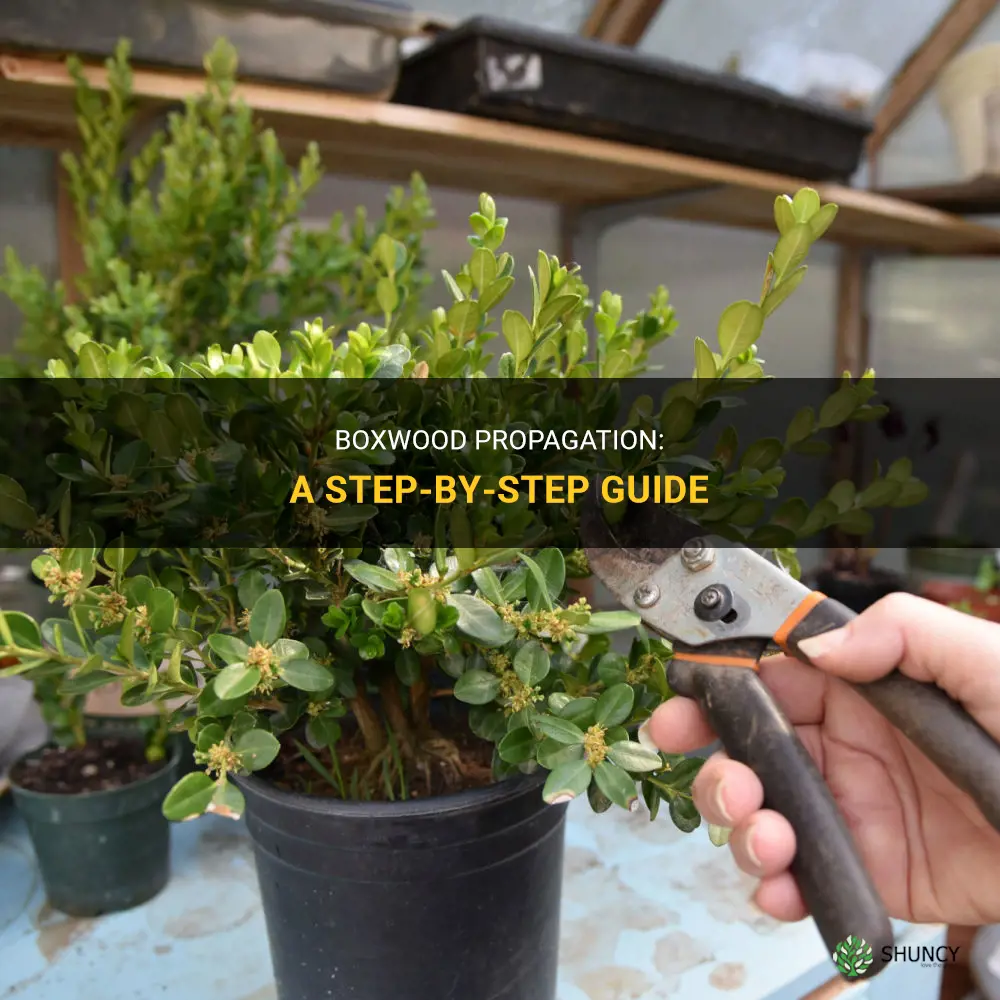
Before you start taking cuttings, gather all the necessary materials:
- Sterilized pruning shears or a sharp knife
- Rooting hormone powder
- Peat moss or a well-draining potting mix
- Small pots or seed trays
- Plastic bags or plastic wrap
- Misting bottle
Select Healthy Boxwood Branches
Choose healthy boxwood branches that are free from diseases, pests, and damage. Look for branches that are approximately 4-6 inches long and have multiple nodes. Nodes are the points where leaves or needles are attached to the stem.
Prepare the Cuttings
- Using sterilized pruning shears or a sharp knife, cut the selected branch just below a node. This will be the bottom of your cutting.
- Remove the bottom set of leaves or needles from the cutting, leaving a bare stem.
- If the cutting is too long, you can trim it down to the desired length, leaving at least two nodes on the stem.
- Dip the bottom of the cutting into rooting hormone powder to encourage root development.
Prepare the Potting Mix

Fill small pots or seed trays with a well-draining potting mix or a mixture of peat moss and perlite. Moisten the potting mix so that it is evenly moist but not soggy.
Plant the Cuttings
- Make a hole in the potting mix using a pencil or your finger.
- Insert the bottom of the cutting into the hole, making sure that at least one node is buried in the potting mix.
- Gently firm the potting mix around the cutting to secure it in place.
- Repeat the process for each cutting, spacing them evenly in the pots or seed trays.
Cover and Provide Humidity
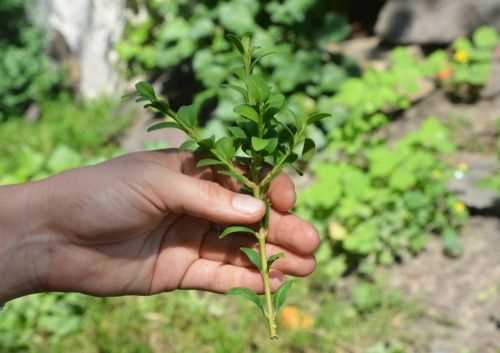
To provide the cuttings with the necessary humidity for root development, cover the pots or seed trays with a plastic bag or plastic wrap. This will create a mini greenhouse effect.
Place in a Suitable Location
Put the covered cuttings in a suitable location with bright, indirect light. Avoid placing them in direct sunlight, as this can cause the cuttings to overheat.
Maintain Moisture
Check the cuttings regularly and mist them with water to keep the potting mix moist. Be careful not to overwater, as excessive moisture can lead to rotting.
By following these steps, you will be well-prepared to separate and plant your autumn boxwood cuttings for successful propagation. Soon, you’ll have new boxwood plants to enjoy in your garden!
Creating Optimal Growing Conditions
Creating optimal growing conditions for your autumn boxwood cuttings is essential for their successful propagation. Here are some tips on how to create the right environment:
1. Light:
In order to promote healthy growth, place your cuttings in a location that receives bright, indirect sunlight. Too much direct sunlight can be harmful to the cuttings, so it’s important to strike a balance.
2. Temperature:
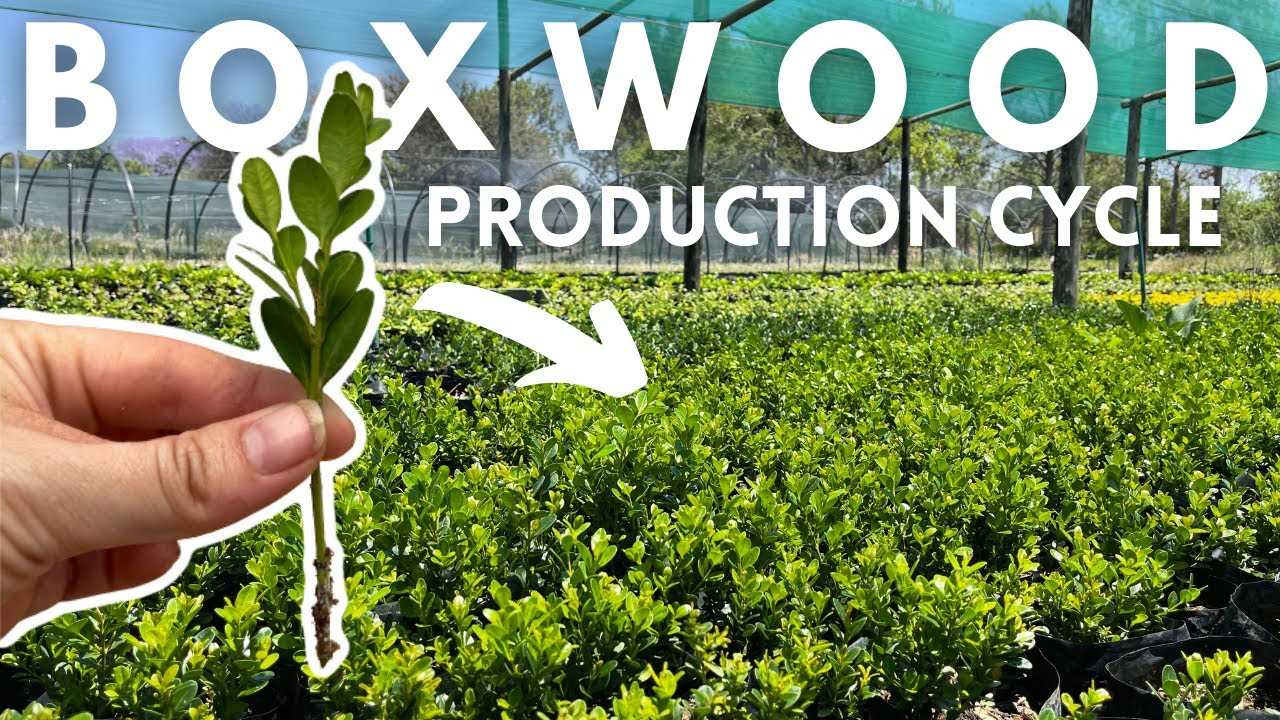
Autumn boxwood cuttings prefer moderate temperatures for optimal growth. Aim for a temperature range of 65-75°F (18-24°C). Avoid extreme heat or cold, as it can negatively affect the rooting process.
3. Humidity:
Keep the humidity levels high around your cuttings to prevent them from drying out. You can do this by placing the cuttings in a propagator or covering them with a clear plastic bag. This will create a humid environment that supports root development.
4. Soil:
Use a well-draining rooting medium for your boxwood cuttings. A mixture of peat moss and perlite or vermiculite works well. Avoid heavy, compacted soils which can lead to waterlogging and rot. Also, make sure to sterilize the soil mixture before use to prevent the introduction of pathogens.
5. Watering:
Keep the soil consistently moist but not waterlogged. Overwatering can lead to root rot, so make sure to allow excess water to drain away. Water the cuttings regularly, but wait until the top inch of the soil feels slightly dry before watering again.
6. Ventilation:
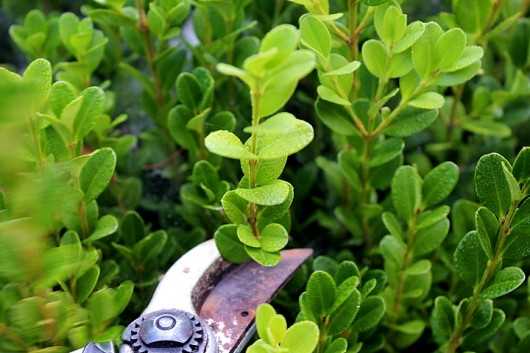
Proper air circulation is important for keeping your cuttings healthy. Make sure to provide some ventilation to prevent the buildup of excess moisture, which can lead to fungal diseases. However, avoid placing the cuttings in drafty areas, as this can cause stress and damage.
By creating these optimal growing conditions, you’ll give your autumn boxwood cuttings the best chance of rooting and thriving. Monitor their progress closely and make adjustments as needed to ensure their successful propagation.
Planting the Cuttings
Once you have prepared the cuttings by removing the lower leaves and applying rooting hormone, it’s time to plant them in a suitable growing medium.
Step 1: Choose the Container
Select a container for planting that has drainage holes to prevent waterlogging. You can use small pots or trays filled with a well-draining potting mix. Make sure the container is clean and disinfected to avoid any potential disease or pest issues.
Step 2: Prepare the Potting Mix
In a separate container, prepare the potting mix by combining equal parts of peat moss, perlite, and sand. This mixture provides excellent drainage and aeration for the young roots to develop.
Step 3: Plant the Cuttings
- Make holes in the potting mix using your finger or a pencil, spaced about 2 inches apart.
- Insert the cuttings into the holes, making sure that at least two nodes are buried in the potting mix.
- Gently press the potting mix around the cuttings to ensure good soil contact.
- Water the cuttings thoroughly after planting to settle the soil and eliminate any air pockets.
Step 4: Provide Proper Care
Place the container in a location with bright, indirect sunlight. Maintain a consistent temperature of around 70°F (21°C) to promote root development. Keep the potting mix moist but not soggy, watering whenever the top inch of soil feels dry. Avoid overwatering, as excessive moisture can lead to rotting of the cuttings.
Monitor the cuttings regularly for signs of root growth, such as new leaf growth or increased firmness in the stem. Once the cuttings have developed a strong root system, they can be transplanted into individual pots or the desired outdoor location.
Remember to be patient, as root development can take several weeks to months. With proper care and attention, you can successfully propagate autumn boxwood cuttings and expand your garden with these beautiful plants.
Caring for Newly Planted Boxwood Cuttings
After separating and planting your autumn boxwood cuttings, it’s important to provide proper care to ensure their successful growth. Here are some tips for caring for newly planted boxwood cuttings:
1. Watering
It’s crucial to water the newly planted boxwood cuttings regularly, especially during the first few weeks after planting. Keep the soil consistently moist but not waterlogged to promote root development. Water deeply at the base of the plants, making sure the water reaches the roots.
2. Mulching

Applying a layer of mulch around the base of the boxwood cuttings can help conserve moisture, suppress weed growth, and regulate soil temperature. Use organic mulch, such as shredded bark or wood chips, and apply it to a thickness of about 2-3 inches. Avoid piling the mulch against the stem of the plants.
3. Fertilizing
Although boxwood is generally a low-maintenance plant, providing some fertilizer can help stimulate growth. Apply a slow-release, balanced fertilizer according to the manufacturer’s instructions in early spring and again in late summer. Avoid over-fertilizing, as it can lead to excessive leaf growth and weak stems.
4. Pruning
Regular pruning is important for shaping and maintaining the desired size of boxwood plants. However, avoid heavy pruning immediately after planting to allow the newly planted cuttings to focus on establishing their roots. Wait until the following growing season to start pruning.
5. Protecting from Harsh Weather
During the winter months, boxwood cuttings may need some protection from harsh weather conditions, especially in areas with freezing temperatures. Consider covering the plants with burlap or a breathable fabric to shield them from drying winter winds and heavy snowfall.
By following these care tips, you can help your newly planted boxwood cuttings establish and thrive in their new location. Remember to monitor their progress regularly and make adjustments to their care as needed.
Troubleshooting Common Issues
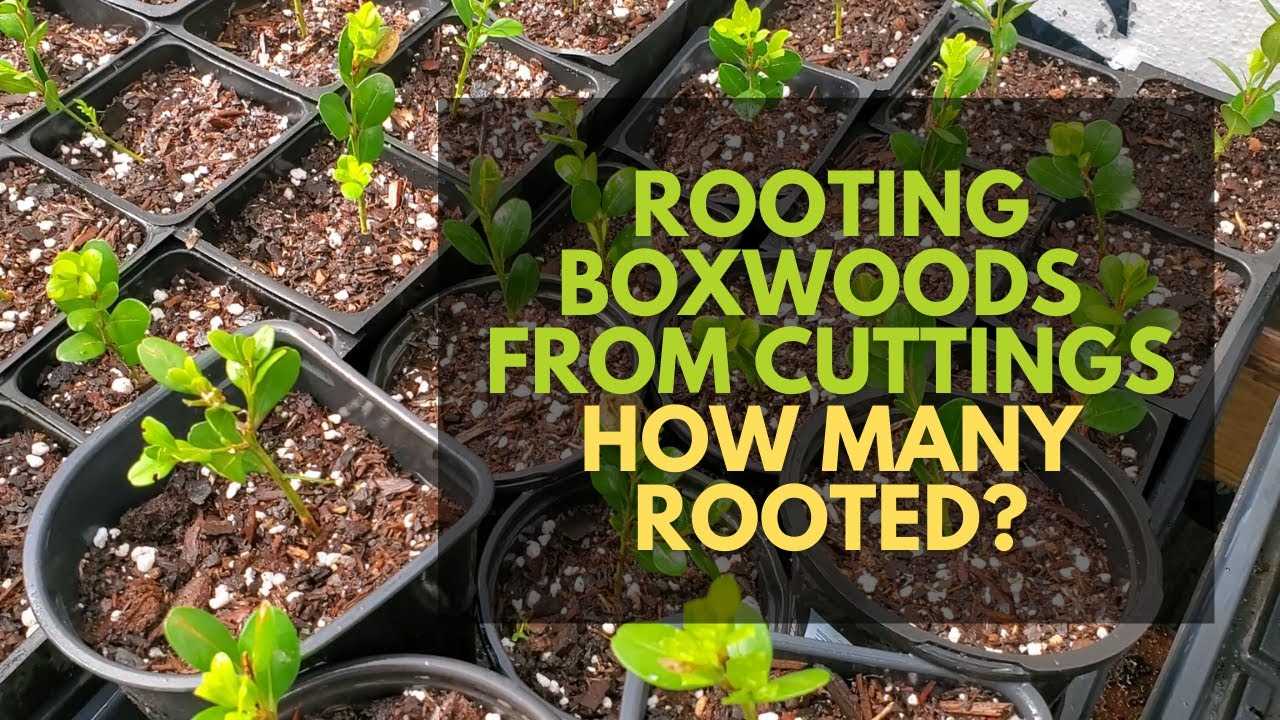
1. Root Rot
One common issue when propagating Autumn Boxwood is root rot. Root rot occurs when the soil becomes waterlogged and the roots are unable to receive enough oxygen. To prevent root rot, make sure to plant the cuttings in well-draining soil and avoid overwatering. Allow the top inch of soil to dry out before watering again.
2. Mold or Fungus
If you notice mold or fungus growing on your Autumn Boxwood cuttings, it could be a sign of overly moist conditions. To prevent mold or fungus, avoid overwatering and ensure proper air circulation around the plants. You may also consider using a fungicidal spray to treat the affected parts.
3. Wilting or Dying Cuttings
If your Autumn Boxwood cuttings are wilting or dying, it may indicate that they are not receiving enough water or too much direct sunlight. Check the moisture level of the soil and adjust watering as needed. Provide some shade or move the cuttings to a location with indirect sunlight until they regain their vigor.
4. Pests
Autumn Boxwood cuttings can be susceptible to pests such as aphids, scale insects, and spider mites. If you notice any signs of pest infestation, such as distorted leaves or webbing, take immediate action to control the pests. You can use insecticidal soap or neem oil spray to treat the affected plants.
5. Poor Root Development
If your Autumn Boxwood cuttings are not developing roots or the roots are weak, it could be due to inadequate moisture or improper temperature conditions. Make sure to keep the soil consistently moist but not waterlogged and maintain a moderate temperature range of 65-75°F (18-24°C) to promote root development.
6. Stunted Growth
If your propagated Autumn Boxwood cuttings are exhibiting stunted growth, it could be a result of nutrient deficiencies or poor soil quality. Ensure that you are providing a balanced fertilizer and amend the soil with organic matter to improve its fertility. Conduct a soil test to determine if any specific nutrients are lacking and adjust your fertilizer accordingly.
- Remember to regularly monitor the health of your propagated Autumn Boxwood cuttings and address any issues promptly to ensure successful rooting and growth.
- If you encounter persistent problems or need further assistance, consult with a local horticulturist or garden center for expert guidance.
Questions and Answers:
What is boxwood propagation?
Boxwood propagation is the process of growing new boxwood plants from cuttings or seeds.
Can boxwood cuttings be divided in autumn?
Yes, boxwood cuttings can be divided in autumn. Autumn is actually a great time to divide and plant boxwood cuttings because the plant is entering a period of dormancy. However, it is important to make sure the cuttings have enough time to establish roots before the ground freezes.
How long does it take for boxwood cuttings to root?
The time it takes for boxwood cuttings to root can vary depending on various factors, such as the specific variety of boxwood, environmental conditions, and the rooting medium used. In general, it can take anywhere from 4 to 8 weeks for boxwood cuttings to root.
Can boxwood cuttings be rooted in water?
Yes, boxwood cuttings can be rooted in water. Simply take a cutting, remove the leaves from the bottom half, and place the cut end in a jar or vase of water. Make sure to change the water every few days to prevent the growth of bacteria. After a few weeks, the cuttings should develop roots and can be planted in soil.
What is the best time of year to propagate boxwood?
The best time of year to propagate boxwood is in late spring or early summer when the plant is actively growing. This is when the wood is soft and the chances of successful propagation are highest. However, boxwood can also be propagated in autumn, as the plant enters a period of dormancy.


