- Choosing the Right Annuals for Early Sowing
- 1. Pansies (Viola tricolor)
- 2. Snapdragons (Antirrhinum majus)
- 3. Sweet Peas (Lathyrus odoratus)
- 4. Calendula (Calendula officinalis)
- Preparing the Soil for Early Sowing
- Providing Adequate Light and Temperature for Seedlings
- Light:
- Temperature:
- Watering and Fertilizing Seedlings
- Watering
- Fertilizing
- Protecting Seedlings from Frost and Pests
- Protecting Seedlings from Frost
- Protecting Seedlings from Pests
- Hardening Off Seedlings for Outdoor Planting
- Why is hardening off necessary?
- How to harden off seedlings
- Additional tips for successful hardening off
- Transplanting Seedlings into the Garden
- Choosing the Right Time
- Preparing the Soil
- Hardening Off the Seedlings
- Transplanting Technique
- Caring for Transplanted Seedlings
- Caring for Annuals Throughout the Growing Season
- Watering
- Fertilizing
- Deadheading
- Weed Control
- Pest and Disease Control
- Staking or Support
- Regular Inspections
- Questions and Answers:
- Is it too early to sow annuals in February and March?
- What are some popular annuals that can be sown in February and March?
- What are the benefits of sowing annuals indoors during February and March?
- What type of containers should I use to sow my annual seeds?
- How often should I water my sown annual seeds?
- When is the best time to transplant the seedlings outdoors?
- Can I sow annuals directly in the garden instead of starting them indoors?
- Videos: How to pinch Zinnias to make double the flowers!
As the winter frost begins to fade and the days slowly start to lengthen, gardeners everywhere eagerly anticipate the arrival of spring. This is the perfect time to start sowing annual seeds indoors, giving your seedlings the time they need to establish themselves before transplanting them outdoors.
Starting your annuals from seed allows you to have a wider variety of plants to choose from, as well as the satisfaction of seeing your garden grow from scratch. By sowing your seeds in February-March, you can give your seedlings a head start, ensuring they have the necessary time to grow strong and healthy.
When sowing your annuals in February-March, it’s important to provide them with the proper care. Place them in a sunny windowsill or under grow lights to ensure they receive enough light. Keep the soil moist but not waterlogged, and provide a gentle breeze to help strengthen their stems. As they grow, thin them out to prevent overcrowding and to give each plant enough space to thrive.
By giving your annual seedlings the time to thrive before planting them outdoors, you can enjoy a garden full of vibrant colors and lush foliage. So, grab your seeds, prepare your pots, and get ready to sow your annuals in February-March for a beautiful and bountiful garden come spring!
Choosing the Right Annuals for Early Sowing
When sowing annuals in February-March, it is important to select the right plants that can tolerate the lower temperatures and longer growth period. Here are some annuals that are well-suited for early sowing:
1. Pansies (Viola tricolor)
- Pansies are known for their vibrant and colorful flowers, which can withstand cool temperatures.
- They come in a variety of colors and can add a pop of color to your garden early in the season.
- Pansies prefer cool weather and are best sown in late winter or early spring.
2. Snapdragons (Antirrhinum majus)
- Snapdragons are cold-hardy annuals that can be sown early in the season.
- They produce tall flower spikes with colorful blooms, making them a popular choice for garden beds and borders.
- Snapdragons come in a wide range of colors and can add vertical interest to your garden.
3. Sweet Peas (Lathyrus odoratus)
- Sweet peas are fragrant annuals that thrive in cool temperatures.
- They produce beautiful, delicate flowers in a variety of colors.
- Sweet peas are best sown in early spring, as they prefer cooler weather and can withstand light frosts.
4. Calendula (Calendula officinalis)
- Calendula, also known as pot marigold, is a hardy annual that can be sown early in the season.
- It produces bright orange or yellow flowers that can add a splash of color to your garden.
- Calendula is also known for its medicinal properties and is often used in herbal remedies.
These are just a few examples of annuals that are suitable for early sowing. When choosing your plants, consider their cold tolerance, preferred temperature range, and growth rate. It is also important to provide appropriate care and protection to help your seedlings thrive before transplanting them outdoors.
Preparing the Soil for Early Sowing
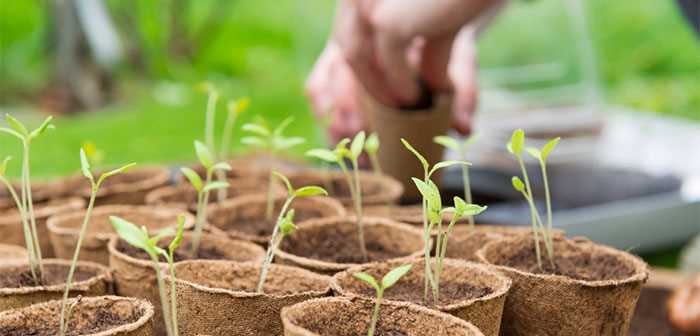
Before you start sowing your annuals in February-March, it is important to ensure that the soil is properly prepared. This will create a favorable environment for seed germination and plant growth.
1. Clear the area: Begin by removing any weeds, rocks, or debris from the area where you plan to sow your seeds. This will prevent any competition for nutrients and space.
2. Loosen the soil: Use a garden rake or tiller to loosen the soil. This will improve aeration and drainage, allowing the roots of your seedlings to penetrate and spread more easily.
3. Remove any large clumps: Break up any large clumps of soil to create a fine, crumbly texture. This will make it easier for the tiny seedlings to establish themselves and grow.
4. Add organic matter: Incorporate organic matter, such as compost or well-rotted manure, into the soil. This will enrich it with nutrients and improve its moisture retention capabilities.
5. Amend the soil pH: Test the soil pH and adjust it if necessary. Most annuals prefer a slightly acidic to neutral pH, so use lime to raise the pH or sulfur to lower it.
6. Fertilize: Apply a balanced fertilizer, following the recommended application rates. This will provide your plants with the necessary nutrients for healthy growth.
7. Moisturize the soil: Water the soil thoroughly to ensure that it is evenly moist before sowing your seeds. This will create a moist environment that promotes germination.
8. Mulch: Apply a layer of organic mulch, such as straw or wood chips, to help retain soil moisture, suppress weed growth, and regulate soil temperature.
9. Protect from frost: If there is still a risk of frost in your area, consider covering the prepared soil with a frost blanket or row cover.
By taking the time to properly prepare the soil for early sowing, you are setting the stage for successful seed germination and vigorous plant growth. Your annuals will have a better chance of thriving and providing you with beautiful blooms throughout the growing season.
Providing Adequate Light and Temperature for Seedlings
When sowing annuals in February-March, it is crucial to provide the seedlings with adequate light and temperature to ensure their healthy growth. Here are some tips to consider:
Light:
- Place your seedlings in a location where they can receive at least 12-16 hours of bright, indirect sunlight each day. This can be achieved by placing them near a south-facing window or using artificial grow lights.
- Avoid exposing the seedlings to direct sunlight, as it can cause them to dry out or become scorched.
- Regularly rotate the seedlings to ensure even exposure to light and prevent them from leaning towards the light source.
Temperature:
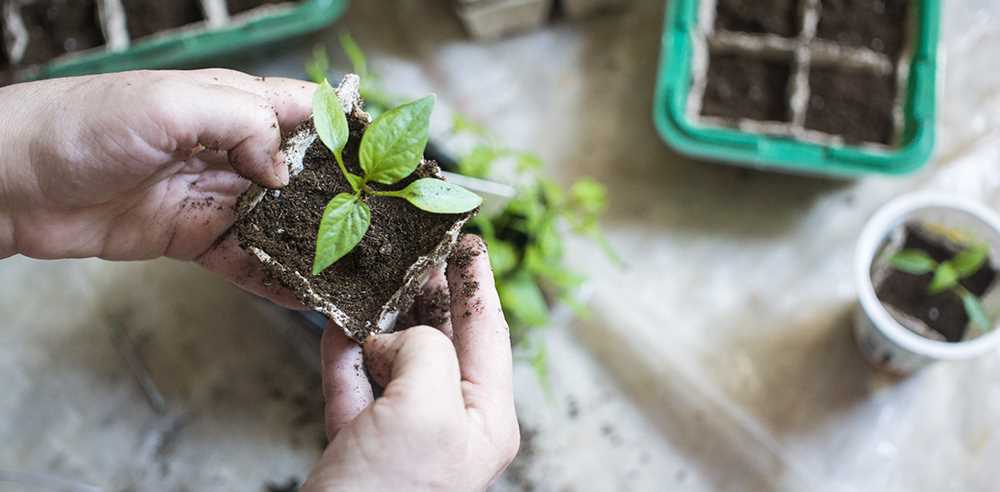
- Keep the seedlings in an area with a consistent temperature between 65-75°F (18-24°C) during the day and slightly cooler at night.
- Use a heating mat or gentle heat source to provide bottom warmth for the seed trays if necessary, especially if you are starting seeds in a cooler environment.
- Avoid exposing the seedlings to extreme temperature fluctuations, as it can lead to stress and poor growth.
By providing adequate light and temperature for your seedlings, you are creating the ideal conditions for them to thrive and develop into healthy plants. Remember to monitor their progress regularly and make any necessary adjustments to ensure their successful growth.
Watering and Fertilizing Seedlings
Proper watering and fertilization are crucial for the healthy growth of seedlings. Here are some tips to ensure your seedlings receive the necessary moisture and nutrients:
Watering
- Water seedlings gently and evenly to avoid over-watering or causing damage to delicate roots.
- Use a watering can with a fine rose or a spray bottle to provide a gentle shower of water.
- Ensure the soil is moist but not waterlogged. Soggy soil can lead to root rot and other problems.
- Check the moisture level by inserting your finger about an inch into the soil. If it feels dry, it’s time to water.
- Water from below by placing the seedling tray in a shallow container filled with water. The soil will absorb the moisture from the bottom.
- Avoid watering the leaves directly as this can increase the risk of fungal diseases. Water the soil instead.
Fertilizing
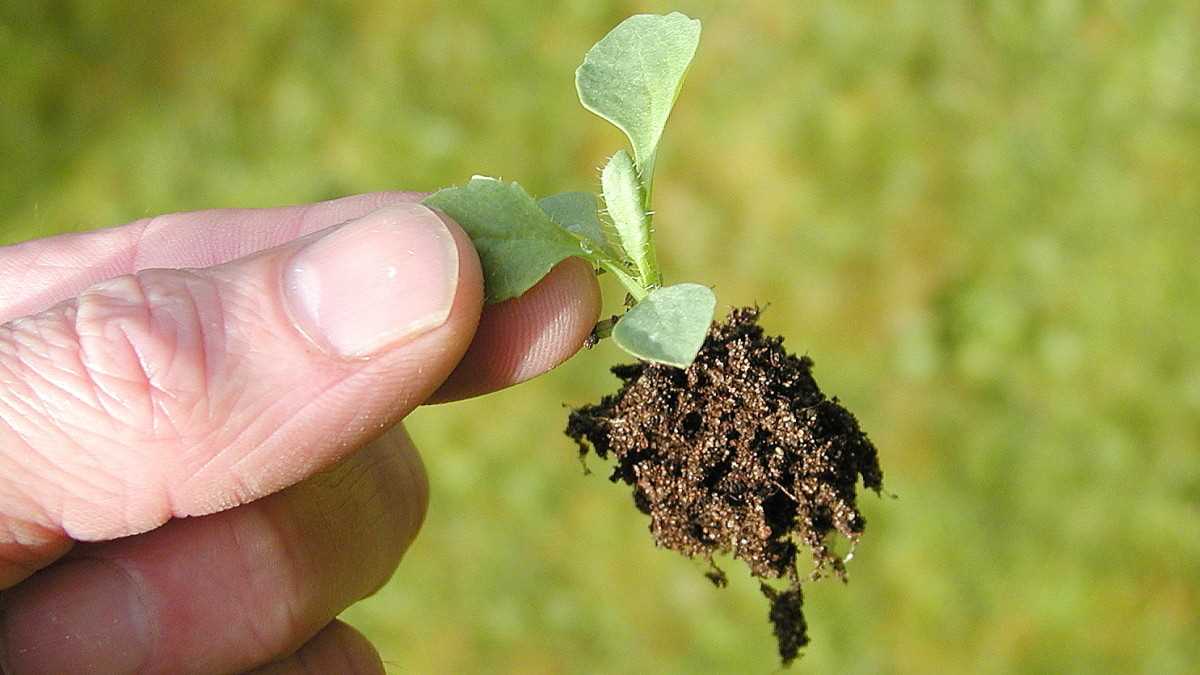
- Start fertilizing seedlings about two weeks after they have germinated or when they have developed their first true leaves.
- Use a balanced liquid fertilizer or a slow-release granular fertilizer specifically formulated for seedlings.
- Follow the package instructions for the recommended dosage and frequency of application.
- Apply the fertilizer around the base of the seedlings, keeping it away from the stems to prevent burning.
- Always water the seedlings thoroughly after fertilizing to ensure the nutrients are absorbed by the roots.
- Monitor the seedlings for signs of nutrient deficiency, such as yellowing leaves or stunted growth, and adjust the fertilizer application accordingly.
By providing adequate water and nutrients, you can give your seedlings the best chance to thrive and grow into healthy, strong plants.
Protecting Seedlings from Frost and Pests
After sowing your annuals in February-March, it’s important to protect your seedlings from potential threats such as frost and pests. Taking necessary measures can ensure their healthy growth and increase their chances of survival.
Protecting Seedlings from Frost
Frost can be a major concern for young plants, as it can cause damage or even kill them. Here are some steps you can take to protect your seedlings from frost:
- Covering seedlings with frost blankets or row covers can provide insulation and help trap the heat from the ground. This can protect them from cold temperatures and frost damage.
- Placing mulch around the base of your seedlings can help maintain soil temperature and provide additional protection against frost. Mulch acts as a barrier, preventing the cold air from reaching the roots of the plants.
- Avoid planting your seedlings in low-lying areas, as cold air tends to settle there. Instead, choose elevated spots where cold air can easily drain away.
Protecting Seedlings from Pests
Pests can pose a significant threat to your seedlings, causing damage or stunting their growth. Here are some methods to protect your seedlings from pests:
- Regularly inspect your plants for any signs of pest infestation, such as holes in leaves, chewed stems, or presence of pests themselves. Early detection can help prevent further damage.
- Implement companion planting, where certain plants are grown together to repel pests. For example, marigolds are known to deter nematodes, while chives can repel aphids.
- Use organic pest control methods such as neem oil or insecticidal soap. These products are effective in controlling pests without harming your plants or the environment.
- Consider using physical barriers such as netting or row covers to prevent pests, like birds or rabbits, from reaching your seedlings.
By implementing these protective measures, you can help your seedlings thrive and ensure their successful growth. It’s important to monitor your plants regularly and take prompt action if any issues arise to ensure a healthy and bountiful garden.
Hardening Off Seedlings for Outdoor Planting
Before transplanting your seedlings outdoors, it is important to harden them off. Hardening off is the process of gradually acclimating young seedlings to the conditions of the outdoor environment. This step is crucial to ensure the survival and success of your plants.
Why is hardening off necessary?
Seedlings that have been started indoors are typically grown in controlled environments with stable temperatures and protection from harsh outdoor conditions. If you directly transplant these tender seedlings into the garden without hardening them off, they may not be able to withstand the sudden changes in temperature, wind, and sunlight. This can lead to transplant shock and even the death of the seedlings.
How to harden off seedlings
Hardening off seedlings should be done gradually over a period of 7 to 10 days. Follow these steps to successfully harden off your seedlings:
- Start by placing your seedlings outdoors in a sheltered location for a few hours each day, preferably during the warmest part of the day.
- Gradually increase the amount of time the seedlings spend outdoors each day, extending the exposure to sun and wind.
- After a few days, you can leave the seedlings outside overnight if the weather conditions are mild.
- During this hardening off period, make sure to protect the seedlings from extreme weather conditions, such as strong winds, heavy rain, or frost. Move them indoors or cover them with a cloth or plastic dome if necessary.
- Monitor the seedlings closely for any signs of stress, such as wilting or yellowing leaves. If they show any signs of distress, reduce their exposure to outdoor conditions and gradually increase it again once they recover.
Additional tips for successful hardening off
- Choose a cloudy or overcast day to transplant your seedlings into the garden, as this will help reduce stress.
- Plant seedlings in well-prepared, moist soil and water them thoroughly after transplanting.
- Consider adding a layer of mulch around the seedlings to help retain moisture and regulate soil temperature.
- Continue to monitor and provide appropriate care for your seedlings after transplanting, such as regular watering, feeding, and protection from pests.
By following these steps and taking the time to harden off your seedlings, you will give them the best chance at thriving in their new outdoor environment. This extra effort will ultimately reward you with healthy, robust plants and a successful gardening season.
Transplanting Seedlings into the Garden
Once your seedlings have grown strong and healthy indoors, it’s time to transplant them into the garden. Transplanting seedlings can be an exciting but delicate process, as you want to ensure their survival and successful adaptation to the outdoor conditions.
Choosing the Right Time
Before transplanting, it’s crucial to consider the weather and soil conditions in your area. Make sure that the risk of frost has passed and that the soil is warm enough for the seedlings to thrive. Typically, this is around late spring or early summer, depending on your location.
Preparing the Soil
Prepare the soil in your garden bed by removing any weeds, rocks, or debris. Loosen the soil to allow for better drainage and root penetration. Adding compost or organic matter can also improve the soil’s fertility and moisture-retaining capacity.
Hardening Off the Seedlings
Before transplanting, it’s essential to harden off the seedlings gradually. This process involves gradually exposing them to outdoor conditions, such as wind, direct sunlight, and fluctuating temperatures. Begin by placing the seedlings outdoors in a shaded area for a few hours each day and gradually increase their exposure over the course of a week or two.
Transplanting Technique
When transplanting, follow these steps:
- Gently water the seedlings before removing them from their containers to ensure the soil stays moist and helps prevent root damage.
- Use a trowel or your hands to dig a hole in the prepared garden bed. The hole should be slightly larger than the root ball of the seedling.
- Carefully remove the seedling from the container, holding it by its leaves or root ball to avoid damaging the delicate stem.
- Place the seedling into the hole, making sure it sits at the same depth as it did in its container. Lightly press the soil around the seedling to secure it in place.
- Water the seedling thoroughly, allowing the water to penetrate the soil and reach the roots.
Caring for Transplanted Seedlings
After transplanting, it’s important to provide proper care for your seedlings:
- Water the seedlings regularly, keeping the soil evenly moist but not overly saturated.
- Mulch around the base of the seedlings to help retain moisture, suppress weed growth, and regulate soil temperature.
- Protect the seedlings from extreme weather conditions, such as strong winds or heavy rains, by using stakes, cages, or row covers.
- Monitor the seedlings for any signs of pests or diseases and take appropriate measures to prevent or control them.
By following these transplanting tips and providing adequate care, your seedlings have a higher chance of thriving and producing beautiful flowers in your garden.
Caring for Annuals Throughout the Growing Season
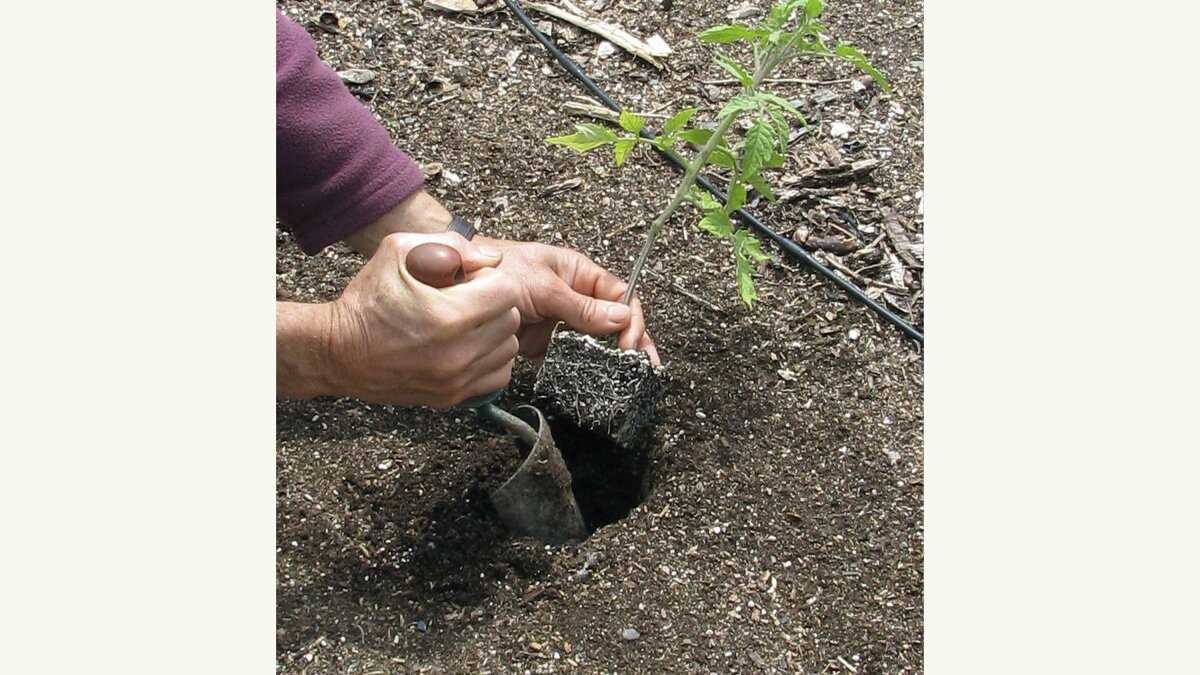
Once your annuals have been planted and are established in your garden, it’s important to provide them with proper care throughout the growing season. By taking the time to tend to their needs, you can ensure that your annuals thrive and produce beautiful blooms all season long.
Watering
Proper watering is essential for the health and vitality of your annuals. During the growing season, check the soil moisture regularly and water when necessary. Keep in mind that different annuals have different water requirements, so be sure to research the specific needs of the plants you have planted. To make watering more efficient, use a soaker hose or drip irrigation system to deliver water directly to the root zone.
Fertilizing
Annuals are heavy feeders and benefit from regular fertilization. Apply a balanced fertilizer every 4-6 weeks throughout the growing season to provide the necessary nutrients for healthy growth and abundant blooms. Be sure to follow the instructions on the fertilizer package for proper application rates.
Deadheading
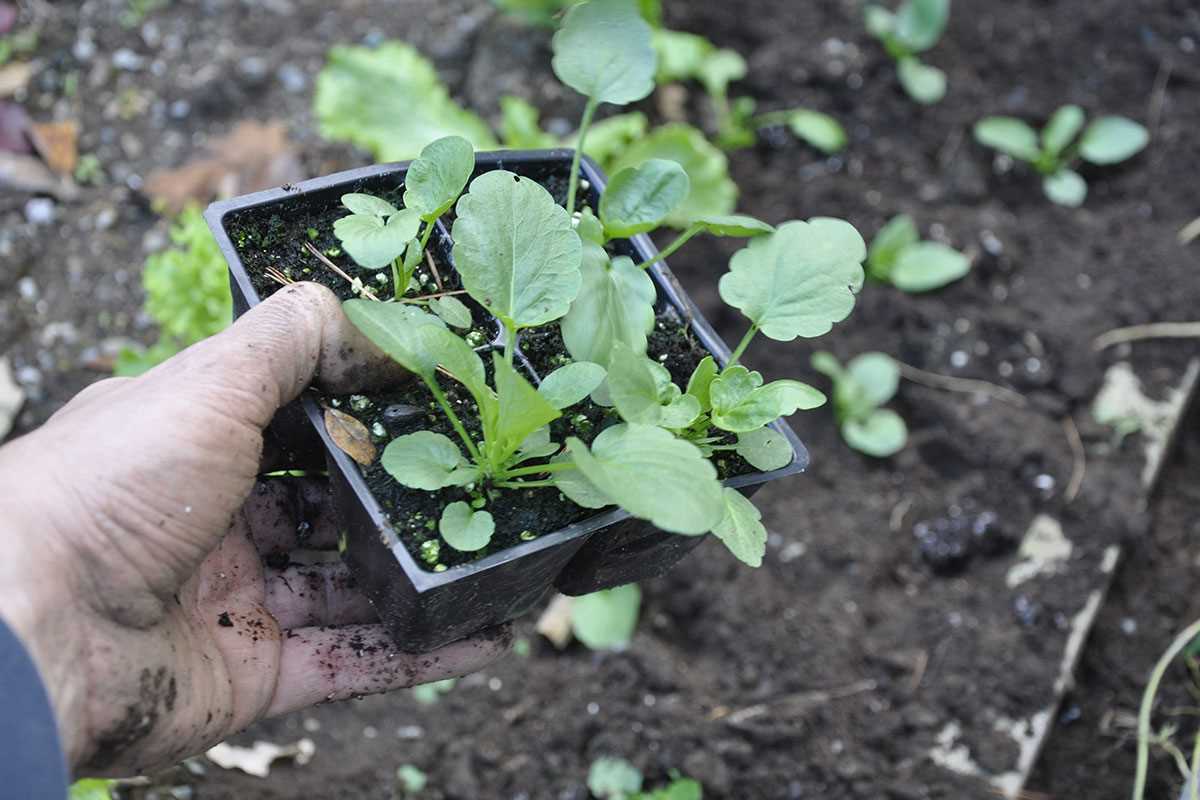
To encourage continuous blooming, deadhead your annuals regularly. This involves removing spent flowers by pinching or cutting them off at the base. Deadheading prevents the formation of seed heads and redirects the plant’s energy into producing more flowers. It also helps to keep your plants looking neat and tidy.
Weed Control
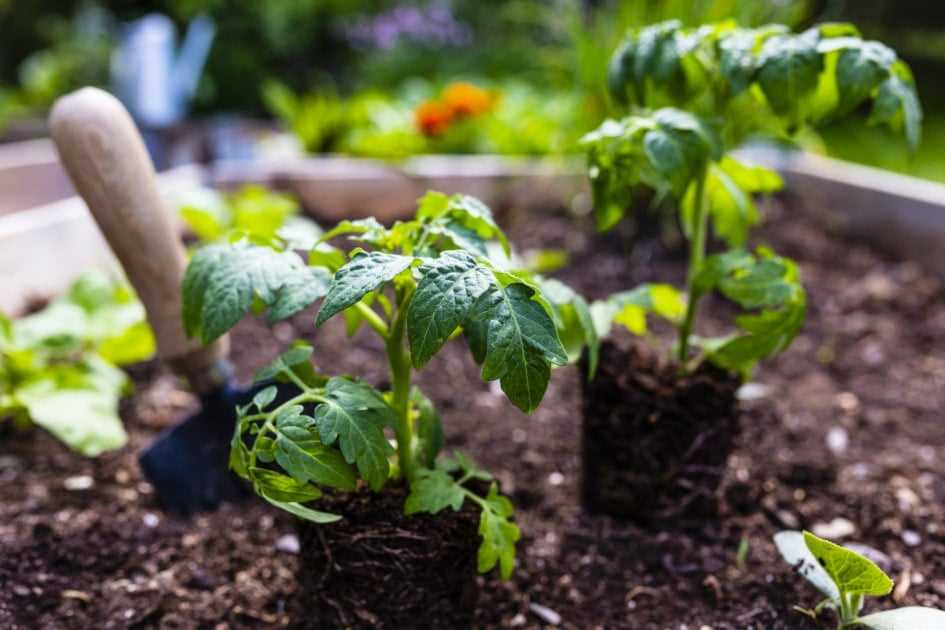
Keeping your annual garden free of weeds is important to prevent competition for nutrients and water. Regularly inspect your garden beds and remove any weeds as soon as they appear. Consider applying a layer of mulch around your plants to suppress weed growth and retain moisture in the soil.
Pest and Disease Control
Vigilant pest and disease control is crucial to keep your annuals healthy. Monitor your plants for any signs of pests or diseases, such as yellowing leaves, holes in the foliage, or discolored spots. If you notice any issues, identify the problem and take appropriate measures to address it. This may include using organic or chemical pest control methods or removing affected plants to prevent the spread of disease.
Staking or Support
Some annuals, such as tall flowering varieties, may require support to prevent them from flopping over or breaking in strong winds. Use stakes or support cages to help the plants maintain an upright form. Be sure to install the support structures early in the growing season to avoid damaging the roots later on.
Regular Inspections
Make it a habit to regularly inspect your annuals for any signs of stress, nutrient deficiencies, or other problems. Early detection and intervention can help prevent issues from escalating and ensure the continued health of your plants.
By providing proper care and attention throughout the growing season, you can help your annuals thrive and provide you with a colorful and vibrant garden all season long.
Questions and Answers:
Is it too early to sow annuals in February and March?
No, it is not too early to sow annuals in February and March. In fact, sowing seeds during these months can give your seedlings plenty of time to establish and thrive before transplanting them into the garden.
What are some popular annuals that can be sown in February and March?
Some popular annuals that can be sown in February and March include petunias, marigolds, zinnias, cosmos, and snapdragons. These flowers can add bright colors and beauty to your garden.
What are the benefits of sowing annuals indoors during February and March?
Sowing annuals indoors during February and March allows you to control the growing conditions for your seedlings. It also gives the plants a head start, as they can establish a strong root system before being transplanted outdoors.
What type of containers should I use to sow my annual seeds?
You can use seed trays, peat pots, or recycled containers with drainage holes to sow your annual seeds. Just make sure the containers are clean and sterilized to prevent any diseases or pests from affecting your seedlings.
How often should I water my sown annual seeds?
You should water your sown annual seeds consistently to keep the soil moist but not waterlogged. Check the moisture level of the soil regularly and adjust your watering schedule accordingly.
When is the best time to transplant the seedlings outdoors?
The best time to transplant your annual seedlings outdoors is when the danger of frost has passed and the soil has warmed up. This is typically in late spring or early summer, depending on your location.
Can I sow annuals directly in the garden instead of starting them indoors?
Yes, you can sow annuals directly in the garden instead of starting them indoors. However, sowing them indoors first gives them a better chance of survival and allows you to get a head start on the growing season.


