- All About Lily Bulbs
- Introduction
- Types of Lily Bulbs
- Planting Lily Bulbs
- Care and Maintenance
- Conclusion
- Planting Lily Bulbs
- Care of lily bulbs
- Planting season
- Soil preparation
- Planting depth
- Spacing
- Watering
- Fertilizing
- Mulching
- Staking
- Division and propagation
- Maintenance of lily bulbs
- Tips for successful lily bulb growth
- Choosing the right soil for lily bulbs
- 1. Drainage
- 2. pH level
- 3. Organic matter
- 4. Nutrient content
- 5. Texture
- Watering Lily Bulbs
- Protecting lily bulbs from pests and diseases
- Pests
- Diseases
- Harvesting and Storing Lily Bulbs
- When to Harvest Lily Bulbs
- How to Harvest Lily Bulbs
- Storing Lily Bulbs
- Questions and Answers:
- What are Lily Bulbs?
- How should I plant Lily Bulbs?
- When is the best time to plant Lily Bulbs?
- What kind of soil do Lily bulbs prefer?
- How often should I water Lily bulbs?
- Do Lily bulbs require any special care or maintenance?
- Can Lily bulbs be propagated?
- Videos: How to Grow Lilies ~ Lily Care ~ Y Garden
Lily bulbs are a popular choice among gardeners for their beautiful, fragrant flowers. They come in a wide variety of colors, shapes, and sizes, making them a versatile addition to any garden. Whether you’re a beginner or an experienced gardener, lilies are relatively easy to plant and care for, as long as you follow a few simple guidelines.
When it comes to planting lily bulbs, timing is key. Most lily bulbs should be planted in the early spring or fall, depending on the specific variety. It’s best to plant them in well-drained soil that has been amended with organic matter. The bulbs should be planted about 6 inches deep, with the pointed end facing up. This will encourage strong root development and healthy, vigorous growth.
Once your lily bulbs are planted, it’s important to provide them with the right care and maintenance. Lilies thrive in sunny locations with at least six hours of direct sunlight each day. They also prefer slightly acidic soil with a pH level between 6.0 and 6.5. Regular watering is essential, especially during dry periods, but be careful not to overwater as this can cause the bulbs to rot.
In terms of fertilization, lilies benefit from a slow-release fertilizer applied in early spring, just as new growth is beginning to emerge. This will provide the bulbs with the nutrients they need to produce strong stems and vibrant blooms. Additionally, deadheading – the removal of faded flowers – will help promote further blooming and prevent energy from being wasted on seed production.
In conclusion, lilies are a stunning addition to any garden, and with proper planting, care, and maintenance, they can flourish year after year. By following these simple guidelines, you can enjoy the beauty and fragrance of lily flowers for seasons to come.
All About Lily Bulbs

- Introduction
- Types of Lily Bulbs
- Planting Lily Bulbs
- Care and Maintenance
- Conclusion
Introduction
Lily bulbs are the underground storage organs of lily plants, which are popular for their beautiful and fragrant flowers. They come in a variety of sizes, colors, and shapes, and are widely grown in gardens and flower beds. In this article, we will explore everything you need to know about lily bulbs, from the different types available to how to plant and care for them.
Types of Lily Bulbs

There are several different types of lily bulbs, each with its own unique characteristics and growing requirements. Some of the most common types include:
- Asiatic lilies: These lilies are known for their vibrant colors and are often the earliest to bloom in the summer.
- Trumpet lilies: These lilies have large, trumpet-shaped flowers and are known for their sweet fragrance.
- Oriental lilies: These lilies are known for their large, showy flowers and strong fragrance.
- Interdivisional hybrids: These lilies are a cross between different types of lilies and offer a mix of characteristics.
Planting Lily Bulbs
When planting lily bulbs, it is important to choose a well-draining location that receives at least six hours of sunlight per day. The bulbs should be planted in the spring or fall, depending on the specific type of lily. Dig a hole that is two times the size of the bulb, and place the bulb with the pointed end facing up. Cover the bulb with soil and water thoroughly.
It is also important to space the bulbs at least 12 inches apart to allow room for growth. Adding organic matter to the soil and applying a layer of mulch can help improve drainage and retain moisture.
Care and Maintenance
Lily bulbs require regular care and maintenance to ensure healthy growth and abundant blooms. Here are some important tips:
- Watering: Lily bulbs should be watered regularly, especially during dry periods. However, be careful not to overwater, as this can lead to rotting.
- Fertilizing: Apply a balanced fertilizer in the spring, just as the new growth appears. Repeat the application every six weeks until the blooming period ends.
- Supporting: Tall lilies may require staking or support to prevent them from bending or falling over.
- Deadheading: Remove spent blooms to prevent seed production and encourage more flowers to bloom.
- Winter care: In colder regions, lily bulbs should be protected during the winter months by covering them with a layer of mulch or straw.
Conclusion
Lily bulbs are a beautiful addition to any garden, providing stunning blooms and a delightful fragrance. By choosing the right type, planting correctly, and providing proper care and maintenance, you can enjoy the beauty of lilies year after year.
Planting Lily Bulbs
Planting lily bulbs is a simple and rewarding process that can bring beautiful blooms to your garden. Here are some steps to follow when planting lily bulbs:
- Choose the right location: Lily bulbs prefer well-drained soil and full sun or partial shade. Make sure the soil is rich in organic matter and has good drainage.
- Prepare the soil: Before planting, remove any weeds or grass and loosen the soil to a depth of about 12 inches. This will help the bulbs establish their roots.
- Dig a hole: Dig a hole that is about twice as deep as the bulb’s height. For example, if the bulb is 2 inches tall, dig a hole that is 4 inches deep.
- Place the bulb: Place the bulb in the hole, making sure the pointed end is facing up. If you are planting multiple bulbs, space them about 6 to 8 inches apart.
- Backfill the hole: Gently fill the hole with soil, covering the bulb completely. Lightly press down on the soil to remove any air pockets.
- Water thoroughly: After planting, water the bulbs thoroughly to help them settle into the soil. Keep the soil evenly moist, but not waterlogged, during the growing season.
- Mulch: Mulching can help conserve moisture and suppress weeds. Apply a layer of organic mulch, such as wood chips or straw, around the lily bulbs.
Lily bulbs usually take about 2 to 3 weeks to establish their roots before they start sending up new growth. Once they start growing, provide them with regular watering and occasional fertilization to promote healthy growth and abundant blooms. With proper care and maintenance, your lily bulbs will reward you with beautiful flowers year after year.
Care of lily bulbs

Proper care is essential for the successful growth and blooming of lily bulbs. Here are some important tips to keep in mind:
Planting season
The best time to plant lily bulbs is in the fall, before the first frost. Planting them early allows the bulbs to establish their roots before the winter sets in. However, if you missed the fall planting window, you can also plant them in the spring.
Soil preparation
Lily bulbs prefer well-draining soil. Prepare the planting area by removing any weeds or grass and loosening the soil with a garden fork or tiller. Mix in some organic matter, such as compost or well-rotted manure, to improve the soil’s fertility and drainage.
Planting depth
When planting lily bulbs, make sure to place them deep enough in the soil. Most lily bulbs should be planted at a depth of three times their own height. For larger bulbs, this usually means placing them 6 to 8 inches deep, while smaller bulbs can be planted around 2 to 4 inches deep.
Spacing
Give lily bulbs enough space to grow and expand by planting them at the recommended spacing. Typically, bulbs should be spaced at least 6 to 12 inches apart, depending on their size and variety. This allows for proper air circulation and reduces the risk of disease.
Watering
Regular watering is crucial for the growth and development of lily bulbs. They need a consistent supply of moisture but should not be waterlogged. Water the bulbs deeply after planting and then regularly throughout the growing season, especially during dry periods. Avoid overwatering, as it can cause rot or fungal diseases.
Fertilizing
Lily bulbs benefit from a balanced fertilizer to provide them with the necessary nutrients. Apply a slow-release fertilizer or a granular fertilizer specifically formulated for bulbs in early spring, just as new growth starts to emerge. Follow the package instructions for the proper amount to use.
Mulching
Applying a layer of mulch around lily bulbs can help conserve moisture, suppress weeds, and regulate soil temperature. Use a organic mulch, such as straw or shredded bark, and apply it to a thickness of about 2 to 4 inches. Avoid piling the mulch directly on top of the bulbs.
Staking
Tall lily varieties may require staking to support their heavy blooms. Place the stakes in the ground at planting time to avoid damaging the bulbs later on. Use soft ties or garden twine to secure the stems to the stakes, making sure not to tie them too tightly to allow for some movement.
Division and propagation
After a few years, lily bulbs can become overcrowded and may need to be divided to maintain their vigor and promote better blooming. Divide the bulbs in late summer or early fall, when the foliage starts to die back. Plant the divisions at the appropriate depth and spacing, following the same care guidelines as for newly planted bulbs.
| Care Aspect | Tips |
|---|---|
| Planting season | Plant in fall or spring |
| Soil preparation | Well-draining soil with organic matter |
| Planting depth | 3 times the bulb’s own height |
| Spacing | 6 to 12 inches apart |
| Watering | Consistent moisture, but not waterlogged |
| Fertilizing | Use a balanced fertilizer in early spring |
| Mulching | Apply organic mulch around bulbs |
| Staking | Support tall varieties with stakes |
| Division and propagation | Divide bulbs every few years |
Maintenance of lily bulbs
Once you have planted your lily bulbs, it is important to properly maintain them to ensure healthy growth and beautiful blooms. Here are some tips for maintaining lily bulbs:
- Watering: Lilies prefer moist soil, so it is important to keep the soil consistently moist but not waterlogged. Water deeply and regularly, especially during dry spells or in hot weather.
- Fertilizing: To promote healthy growth and blooming, fertilize your lily bulbs. Use a balanced, slow-release fertilizer or a bulb-specific fertilizer according to the package instructions. Apply the fertilizer in early spring before new growth begins and again after flowering is finished.
- Deadheading: Removing spent flowers, or deadheading, helps redirect the plant’s energy towards producing new blooms instead of seed production. Once a lily flower has faded, cut the stem back to the base or remove the entire flower stalk.
- Support: Tall lilies may require support to prevent them from toppling over due to their weight or wind. Use stakes or cages to gently support the stems of taller lily varieties.
- Pruning: In late fall or early spring, remove any dead or damaged foliage from the lily plants. Pruning helps prevent the spread of diseases and allows for better air circulation around the bulbs.
By following these maintenance tips, you can ensure your lily bulbs thrive and produce stunning flowers year after year.
Tips for successful lily bulb growth
- Choose a well-draining location: Lily bulbs prefer soil that is moist but not waterlogged. Ensure that the planting location has good drainage to prevent rotting of the bulbs.
- Provide ample sunlight: Lilies thrive in areas with full sunlight or at least six hours of direct sunlight per day. Make sure to plant them in a location that receives adequate sunlight.
- Prepare the soil properly: Lily bulbs prefer slightly acidic soil with a pH level between 6.0 and 7.0. Incorporate organic matter, such as compost or well-rotted manure, into the soil before planting to improve its texture and fertility.
- Plant bulbs at the right depth: Lily bulbs should be planted at a depth that is two to three times their size. This ensures that they have adequate soil coverage for root development and stability.
- Space bulbs adequately: Depending on the variety, lily bulbs should be spaced approximately 8 to 12 inches apart to allow for proper air circulation and prevent overcrowding.
- Water consistently: Keep the soil evenly moist throughout the growing season, especially during periods of drought. Avoid overwatering, as lily bulbs are prone to rot in excessively wet conditions.
- Fertilize regularly: Feed lily plants every four to six weeks during the growing season with a balanced, slow-release fertilizer. This will provide the necessary nutrients for healthy growth and abundant blooms.
- Protect from pests and diseases: Monitor lily plants for common pests like aphids, slugs, and lily beetles. Treat any infestations promptly to prevent damage. Additionally, inspect the foliage regularly for signs of diseases such as botrytis or leaf spot and take appropriate action if necessary.
- Support tall varieties: Some lily varieties can grow quite tall and may require support to prevent them from toppling over. Use stakes or plant them near a fence or trellis to provide additional stability.
Choosing the right soil for lily bulbs
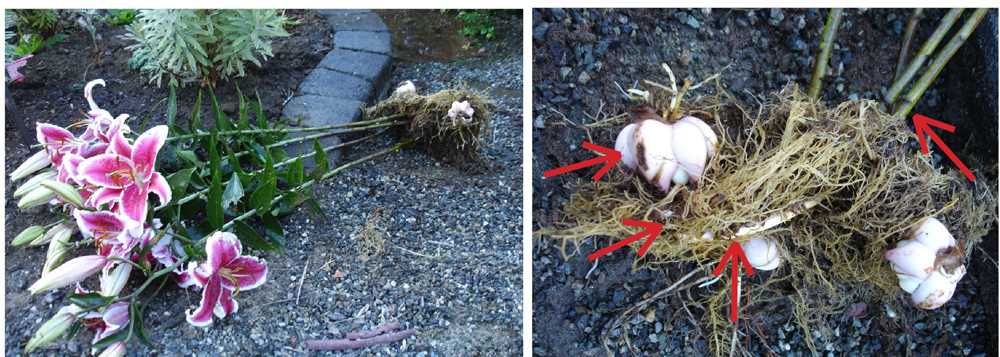
Lily bulbs require a well-draining soil that is rich in organic matter. The right soil will provide the necessary nutrients and moisture for the bulbs to grow and thrive. Here are some factors to consider when choosing the right soil for lily bulbs:
1. Drainage
Lily bulbs do not like to sit in waterlogged soil as it can cause them to rot. Therefore, it is important to choose a soil that provides good drainage. Sandy or loamy soils are ideal for lily bulbs as they allow excess water to drain away, preventing waterlogged conditions.
2. pH level
The pH level of the soil can affect the growth and health of lily bulbs. Most lilies prefer a slightly acidic to neutral soil with a pH range between 6.0 and 7.0. Testing the pH level of the soil is recommended to ensure it falls within the desired range. If the soil pH is too acidic or alkaline, it can be adjusted by adding soil amendments such as lime or sulfur.
3. Organic matter
Lily bulbs thrive in soil that is rich in organic matter. Organic matter improves soil structure, drainage, and nutrient-holding capacity. Adding well-rotted compost or aged manure to the soil before planting lily bulbs can help improve its organic matter content. This will provide a steady supply of nutrients to the bulbs as they grow.
4. Nutrient content
Lily bulbs require a balanced supply of nutrients to promote healthy growth and flowering. The soil should be rich in essential nutrients such as nitrogen, phosphorus, and potassium. Adding a slow-release fertilizer specifically formulated for bulbs to the soil can help ensure an adequate nutrient supply throughout the growing season.
5. Texture
The texture of the soil affects its ability to retain moisture and provide a suitable growing environment for lily bulbs. A well-draining soil with a loamy or sandy texture is preferred, as it allows excess water to drain away while retaining enough moisture for the bulbs. Avoid heavy clay soils that can become compacted and prevent proper aeration and drainage.
By considering these factors and choosing the right soil for your lily bulbs, you can provide them with an optimal growing environment and ensure their success in your garden.
Watering Lily Bulbs
Watering is a crucial aspect of caring for lily bulbs. Proper watering not only helps in the initial growth but also supports their long-term health. Here are some important tips to follow when it comes to watering your lily bulbs:
- Frequency: Lily bulbs require regular watering, especially during their active growth phase. It is important to ensure that the soil remains consistently moist but not waterlogged. Aim to water the bulbs 2-3 times a week during the growing season.
- Watering depth: When watering lily bulbs, it is important to provide water at a deep level. Lily bulbs have deep roots, so shallow watering may not reach the roots effectively. It is recommended to water deeply, allowing the moisture to penetrate down to a depth of 6-8 inches.
- Drainage: Good drainage is essential for lily bulbs. Ensure that the soil or growing medium used for your lily bulbs allows excess water to drain off easily. Avoid waterlogged conditions, as they can lead to root rot and other diseases.
- Rainfall: Take into account the amount of rainfall your area receives when determining the watering frequency. If there has been ample rainfall, you may need to adjust your watering schedule accordingly. It is important to strike a balance between providing enough moisture while avoiding excessive water accumulation.
- Container plants: If you are growing lily bulbs in containers, ensure that there are drainage holes at the bottom. These will allow excess water to drain out and prevent waterlogged conditions.
- Mulching: Mulching can help retain moisture and reduce evaporation from the soil. Apply a layer of organic mulch around the lily bulbs, leaving space around the stem to prevent rotting.
By following these watering tips, you can ensure that your lily bulbs receive the right amount of moisture for healthy growth and blooming. Remember to monitor the soil moisture levels regularly and adjust your watering routine as needed.
Protecting lily bulbs from pests and diseases
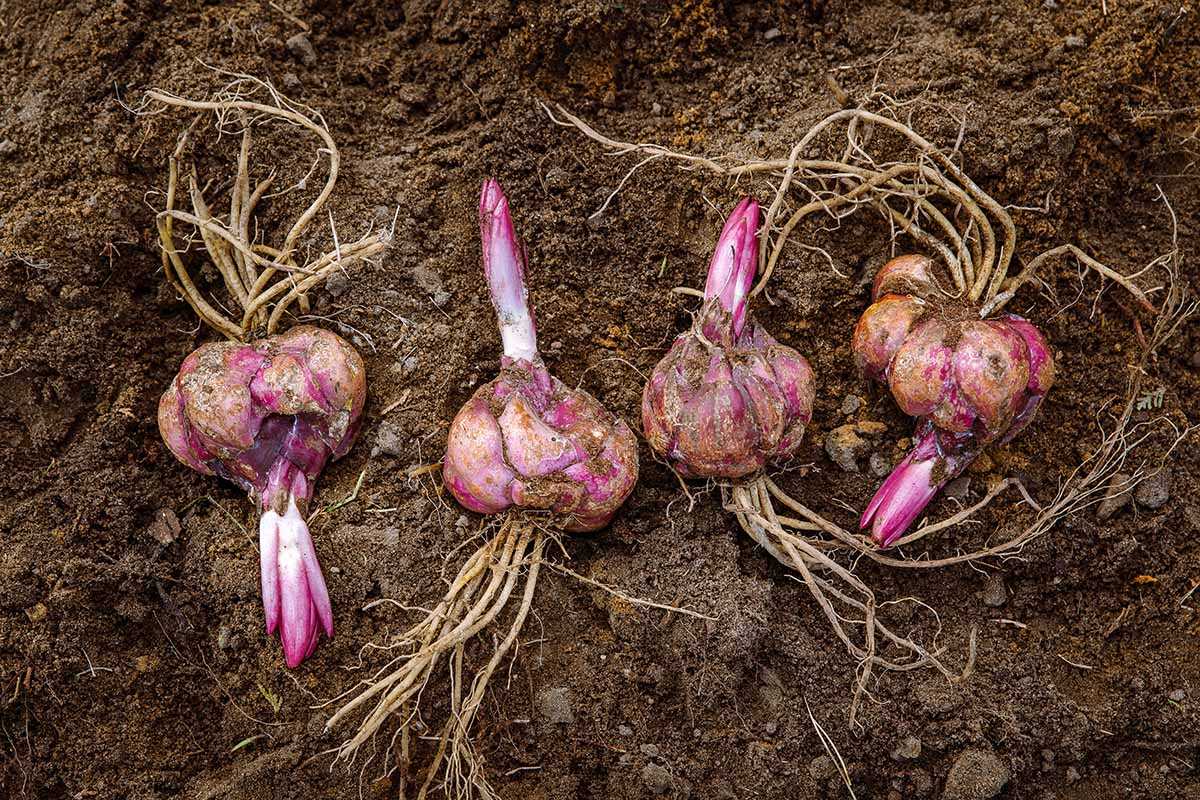
Lily bulbs can be susceptible to various pests and diseases, which can negatively impact their health and growth. To ensure the well-being of your lily bulbs, you should take proactive measures to protect them. Here are some common pests and diseases to watch out for, along with effective strategies for prevention and treatment:
Pests

- Aphids: These tiny insects feed on the sap of lily plants, causing leaves to curl and become distorted. Use insecticidal soap or neem oil to control aphid populations.
- Snails and slugs: These mollusks can chew through lily leaves, leaving behind unsightly holes. Use organic snail and slug baits or set up beer traps to eliminate them.
- Lily leaf beetles: These bright red beetles feed on lily foliage and lay their eggs on the underside of leaves. Handpick and destroy both the beetles and their eggs to prevent infestation.
Diseases
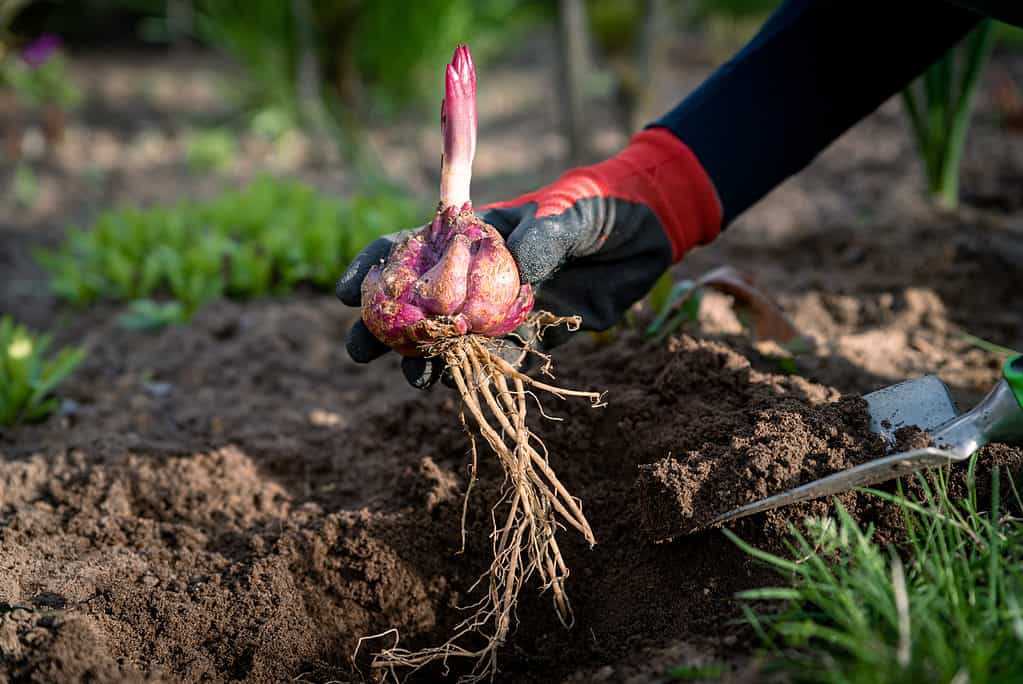
- Botrytis blight: This fungal disease causes gray mold to form on the leaves, stems, and flowers of lilies. Improve air circulation and remove infected plant material to prevent the spread of the disease.
- Root rot: Overwatering and poorly drained soil can lead to root rot in lilies. Ensure that the soil is well-draining and allow the topsoil to dry out between waterings to prevent this disease.
- Virus diseases: Various virus diseases can affect lilies, causing stunted growth, deformities, and yellowing of leaves. Avoid purchasing infected bulbs and remove any infected plants promptly to prevent the spread of the virus.
It is also essential to regularly inspect your lily bulbs for any signs of pests or diseases. Catching and treating these issues early on will greatly increase the chances of saving your lilies and ensuring their long-term health.
Harvesting and Storing Lily Bulbs
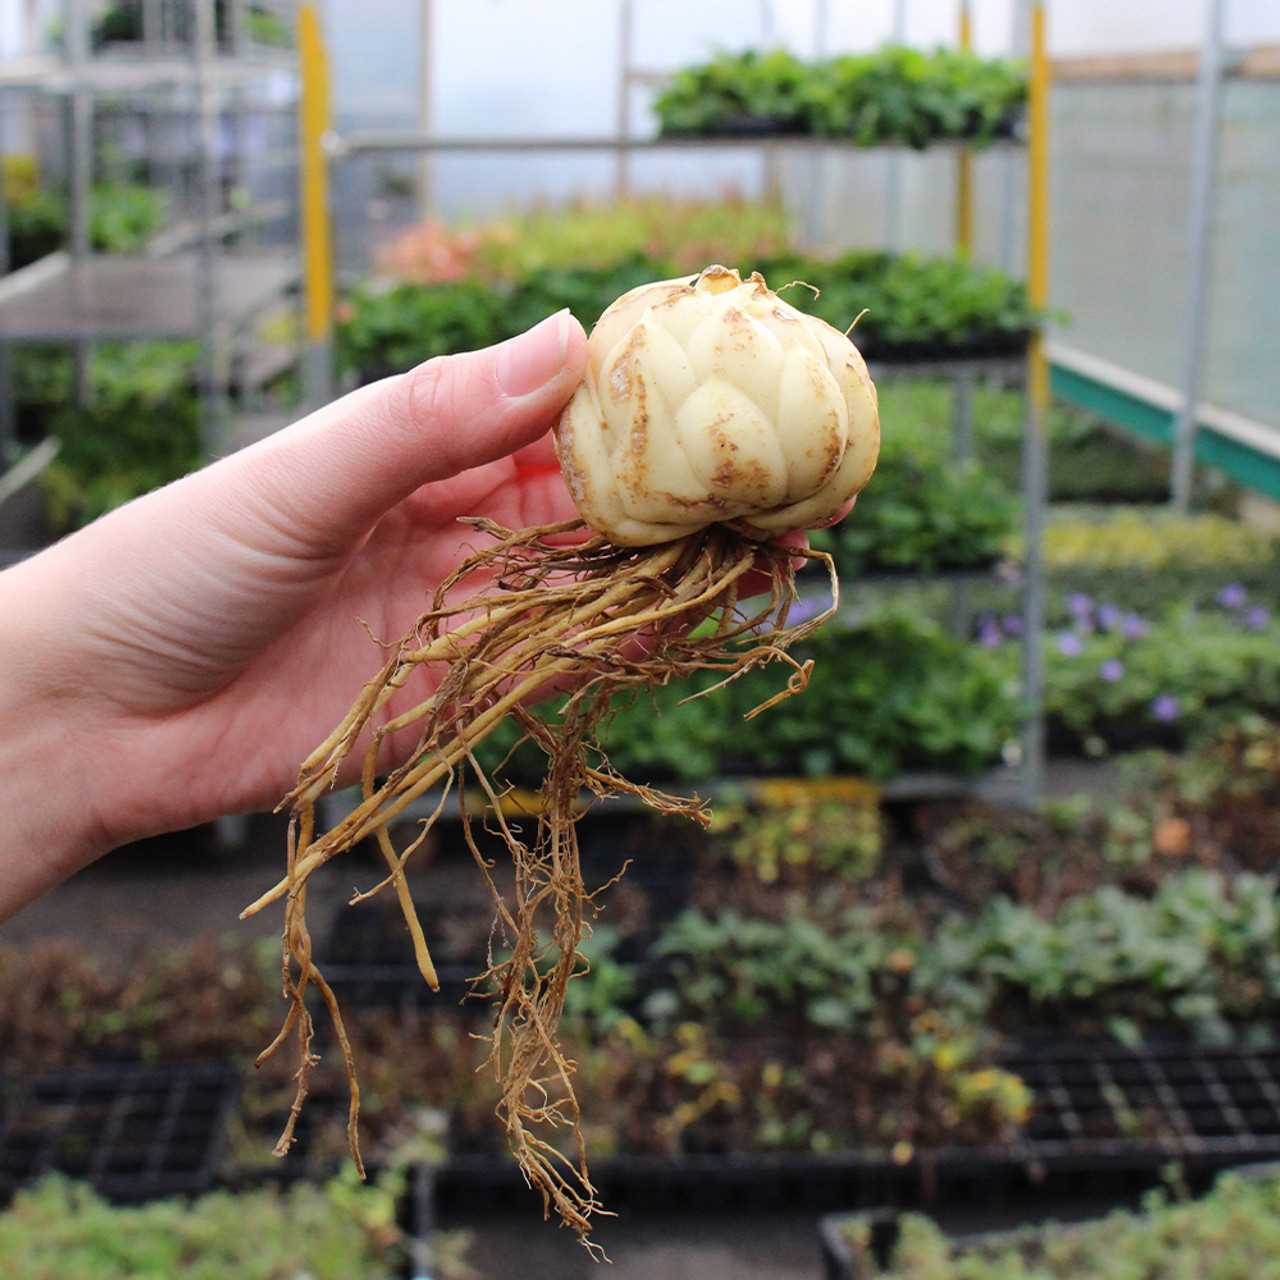
Harvesting lily bulbs is an important step in the care and maintenance of these beautiful plants. Knowing when and how to harvest lily bulbs will ensure their proper growth and future blooms.
When to Harvest Lily Bulbs
The best time to harvest lily bulbs is in the fall, after the plant has finished flowering and the foliage has turned yellow or brown. This usually occurs around late September to early October, depending on your location and the specific lily variety.
How to Harvest Lily Bulbs
To harvest lily bulbs, start by cutting back any leaves and stems to about 1-2 inches above the ground. Carefully dig around the base of the plant with a garden fork or shovel, taking care not to damage the bulbs.
Once the bulbs are exposed, gently lift them out of the soil, shaking off any excess dirt. It is important to handle the bulbs with care to avoid any bruising or damage.
If the bulbs are overcrowded, you may need to separate them. Carefully separate the smaller bulbs from the main bulb, making sure each division has roots attached.
Storing Lily Bulbs
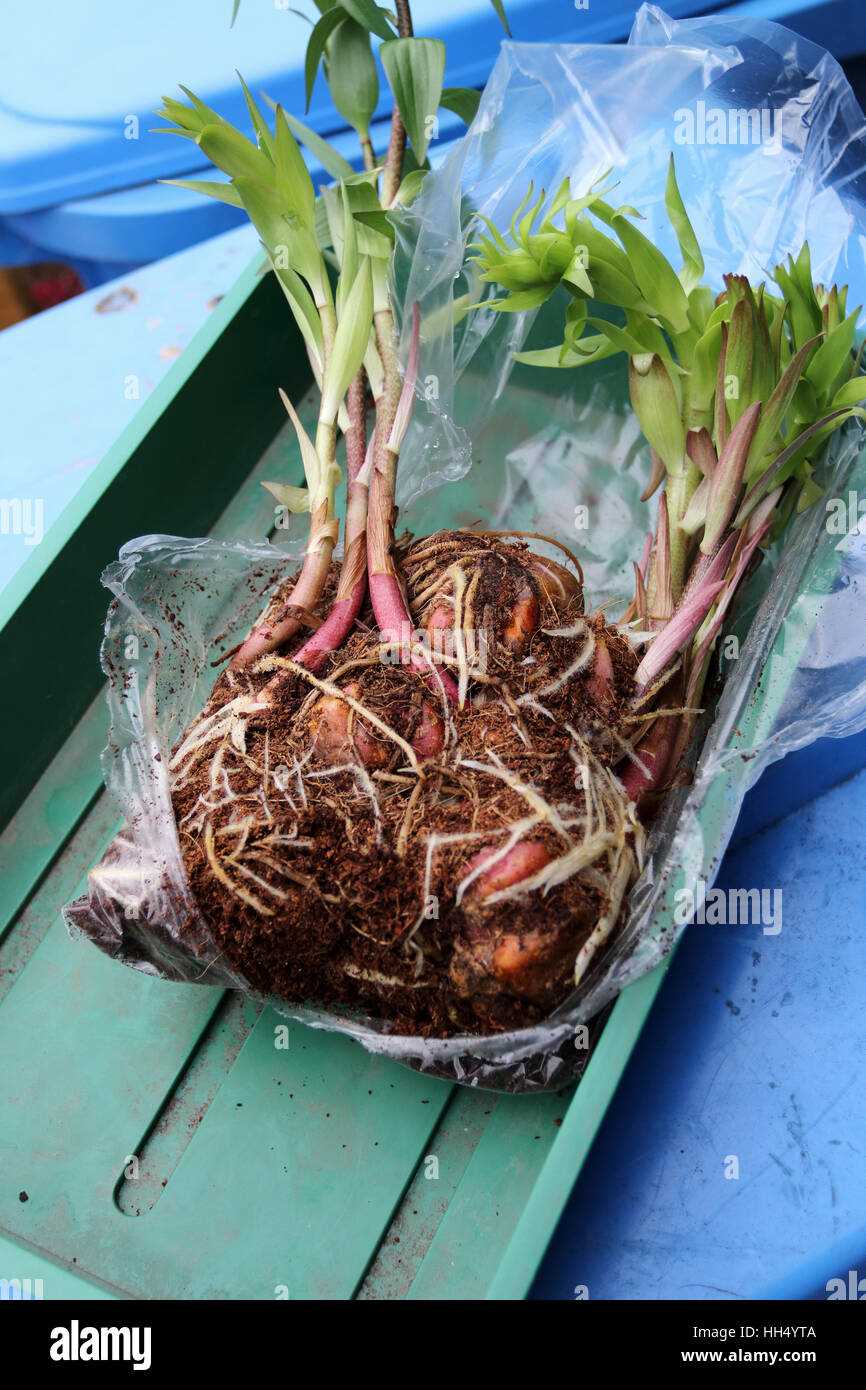
After harvesting and dividing the bulbs, it is essential to store them properly to ensure their future growth and health. Here are the steps to store lily bulbs:
- Allow the bulbs to dry in a cool, well-ventilated area for about a week. This will help them develop a protective skin and prevent rotting during storage.
- Once the bulbs are dry, remove any remaining soil or debris and inspect them for any signs of damage or disease. Discard any bulbs that appear unhealthy or damaged.
- Place the bulbs in a paper bag or a mesh bag, making sure to label them with the variety and color. This will help you identify them when it’s time to plant them again.
- Store the bulbs in a cool, dark place with low humidity, such as a basement or garage. Make sure the storage area is free from pests or rodents.
- Avoid storing lily bulbs near fruits or vegetables, as they release ethylene gas, which can cause premature sprouting or damage to the bulbs.
Regularly check the stored bulbs throughout the winter to remove any bulbs that show signs of rotting or disease. Healthy bulbs can be replanted in the spring, once the soil has thawed and temperatures are consistently above freezing.
By following these harvesting and storing guidelines, you can ensure the longevity and success of your lily bulbs for years to come.
Questions and Answers:
What are Lily Bulbs?
Lily bulbs are the underground storage organs of lily plants. They are usually round or elongated in shape and are responsible for providing energy and nutrients to the plant during periods of dormancy.
How should I plant Lily Bulbs?
To plant Lily bulbs, you should choose a well-draining location with full or partial sun. Dig a hole that is three times the depth of the bulb and place the bulb in the hole with the pointed end facing upwards. Cover the bulb with soil, water it thoroughly, and mulch the area to retain moisture.
When is the best time to plant Lily Bulbs?
The best time to plant Lily bulbs is in the fall, before the first frost. This will allow the bulbs to establish roots before the winter season. If you miss the fall planting window, you can also plant Lily bulbs in the spring.
What kind of soil do Lily bulbs prefer?
Lily bulbs prefer well-draining soil that is rich in organic matter. A pH level of around 6.5 is ideal for Lily bulbs. If your soil is heavy and clay-like, you can amend it with compost or peat moss to improve drainage.
How often should I water Lily bulbs?
Lily bulbs should be watered regularly, especially during dry periods. The soil should be kept evenly moist, but not waterlogged. It is recommended to water the bulbs deeply once a week rather than shallowly every day.
Do Lily bulbs require any special care or maintenance?
Yes, Lily bulbs require some special care and maintenance. They should be fertilized with a balanced fertilizer in the spring and again after they finish blooming. Deadheading faded flowers and removing yellow or brown leaves can help promote better growth. It is also important to protect the bulbs from pests and diseases.
Can Lily bulbs be propagated?
Yes, Lily bulbs can be propagated through division. This is usually done in the fall or early spring by digging up the bulbs and separating the smaller bulblets from the main bulb. The bulblets can then be replanted to grow into new Lily plants.


