- Choosing the Right Potting Mix
- 1. Well-Draining
- 2. Moisture Retention
- 3. Nutrient-Rich
- 4. pH Level
- 5. Sterile
- Providing Adequate Watering
- Ensuring Proper Drainage
- Choose the Right Pot
- Use Well-Draining Soil
- Monitor Watering
- Elevate the Pot
- Placing in the Right Light Conditions
- 1. Bright Indirect Light:
- 2. North or East-Facing Windows:
- 3. Indirect Artificial Light:
- 4. Avoid Direct Sunlight:
- 5. Rotate the Plant:
- Maintaining Humidity Levels
- Avoiding Drafts and Temperature Extremes
- Avoiding Drafts
- Maintaining the Right Temperature
- Monitoring Humidity
- Fertilizing for Optimal Growth
- Identifying and Treating Common Alocasia Pests and Diseases
- Q&A:
- How often should I water my Alocasia plant?
- What kind of light does an Alocasia plant need?
- How do I fertilize my Alocasia plant?
- Why are the leaves on my Alocasia turning yellow?
- Can I propagate my Alocasia plant?
- How do I prevent pests from infesting my Alocasia plant?
- What should I do if my Alocasia plant’s leaves are drooping?
- Video: Alocasia Plant Complete Care Guide | Elephant Ear Plant Care Tips
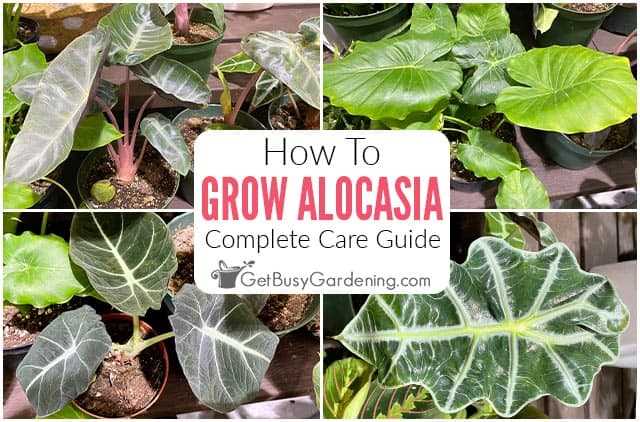
If you’re a plant lover looking to add some tropical vibes to your indoor space, Alocasia plants are the perfect choice. With their large, striking leaves and unique patterns, these plants can instantly transform any room into a lush oasis. However, like any other houseplant, proper care is essential to ensure the health and longevity of your Alocasia.
First and foremost, it is important to provide your Alocasia with the right amount of light. These plants thrive in bright, indirect light, so placing them near a window with filtered sunlight is ideal. Direct sunlight can cause the leaves to burn, while too little light can result in stunted growth. If you notice your Alocasia’s leaves turning yellow or drooping, it may be a sign that it is not receiving enough light.
In addition to proper lighting, Alocasia plants also require a well-draining soil mix. This is because they are tropical plants that prefer moist but not waterlogged conditions. Alocasia plants should be watered thoroughly, allowing excess water to drain out of the pot. It is important to let the top few inches of soil dry out between waterings to prevent overwatering and root rot.
Lastly, humidity is crucial for Alocasia plants, as they originate from tropical regions where humidity levels are high. To create a humid environment for your plant, you can mist its leaves with water or place a tray filled with water near the plant. Alternatively, you can also use a humidifier to maintain the necessary humidity levels.
With the right care and attention, your Alocasia plant can thrive and become a stunning centerpiece in your home. Remember to provide it with the proper lighting, well-draining soil, and ample humidity to ensure its health and longevity. By following these expert tips, you can enjoy the beauty of Alocasia plants in your indoor space for years to come.
Choosing the Right Potting Mix
Choosing the right potting mix is crucial for the health and well-being of your Alocasia plant. A good potting mix provides the necessary nutrients and drainage for the roots to grow properly. Here are some factors to consider when selecting a potting mix for your Alocasia:
1. Well-Draining
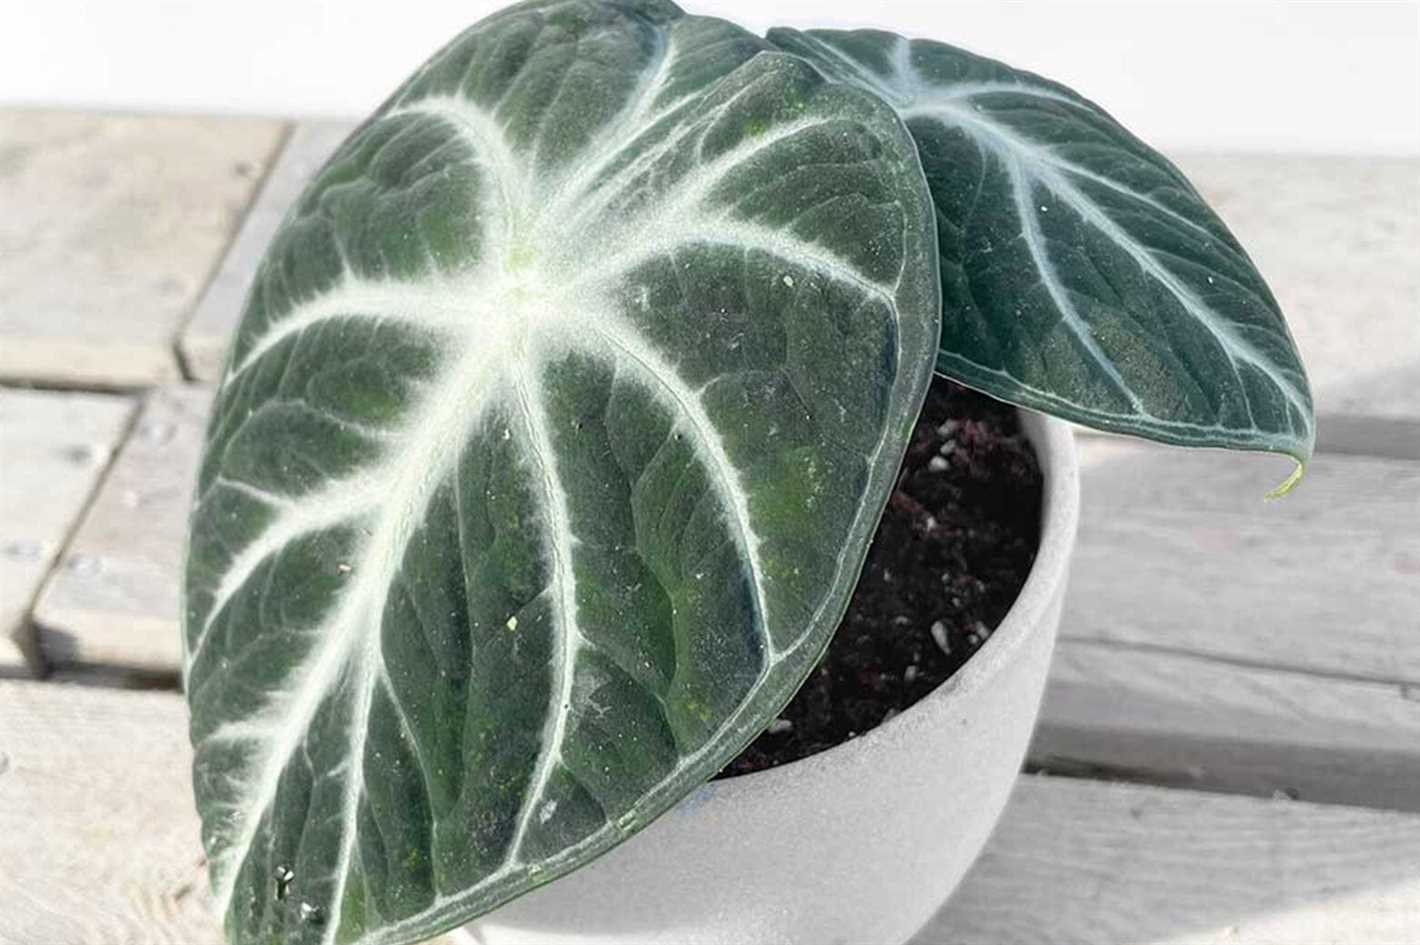
Alocasia plants prefer a well-draining potting mix that allows excess water to flow out freely. This prevents the roots from sitting in water, which can lead to root rot. Look for a mix that contains perlite or vermiculite, which helps improve drainage.
2. Moisture Retention
While it’s important for the potting mix to have good drainage, it should also retain some moisture to keep the roots hydrated. Look for a mix that contains materials like peat moss or coconut coir, which help retain moisture without becoming waterlogged.
3. Nutrient-Rich
Alocasia plants are heavy feeders and require a nutrient-rich potting mix. Look for a mix that includes organic matter, such as compost or well-rotted manure, as this provides essential nutrients for the plant’s growth. You can also consider using a slow-release fertilizer to ensure a steady supply of nutrients over time.
4. pH Level
Check the pH level of the potting mix before purchasing. Alocasia plants prefer a slightly acidic to neutral pH range of 5.5 to 7.0. Avoid potting mixes that are too alkaline as they can inhibit nutrient uptake and cause nutrient deficiencies in the plant.
5. Sterile
Choose a potting mix that is sterile or has been pasteurized to minimize the risk of pests and diseases. Alocasia plants can be susceptible to certain pests, such as fungus gnats or spider mites, so using a sterile potting mix reduces the chances of infestation.
Remember to repot your Alocasia plant every 1-2 years to refresh the potting mix and provide the plant with fresh nutrients. Regularly check the moisture level of the potting mix and adjust your watering schedule accordingly to keep your Alocasia happy and healthy.
Providing Adequate Watering
Watering your Alocasia plants properly is crucial for their health and growth. Here are some expert tips for providing adequate watering:
- Learn the watering needs: Alocasias prefer slightly moist soil, but overwatering can lead to root rot. It is essential to strike a balance and avoid both underwatering and overwatering.
- Check the soil moisture: Before watering, check the top few inches of soil using your finger or a moisture meter. If it feels dry, it’s time to water. If it still feels moist, hold off on watering for a few more days.
- Water deeply: When watering, ensure that you provide enough water so that it reaches the root ball. This will promote healthy root growth and prevent shallow roots.
- Avoid standing water: It is important to ensure proper drainage to prevent water from accumulating in the pot. Make sure your pot has drainage holes, and remove any excess water that collects in the saucer.
- Consider the season: During the growing season, which is typically spring and summer, Alocasias tend to need more water. However, in winter, when the plant’s growth slows down, you should reduce the frequency of watering.
- Use room temperature water: Cold water can shock the plant’s roots, so it is best to use room temperature water for watering your Alocasias.
- Mist the leaves: Alocasias appreciate higher humidity levels, so misting the leaves occasionally can help create a humid environment. However, avoid misting excessively, as it can promote fungal diseases.
By following these watering tips, you can ensure that your Alocasia plants receive the right amount of water for optimal growth and health.
Ensuring Proper Drainage
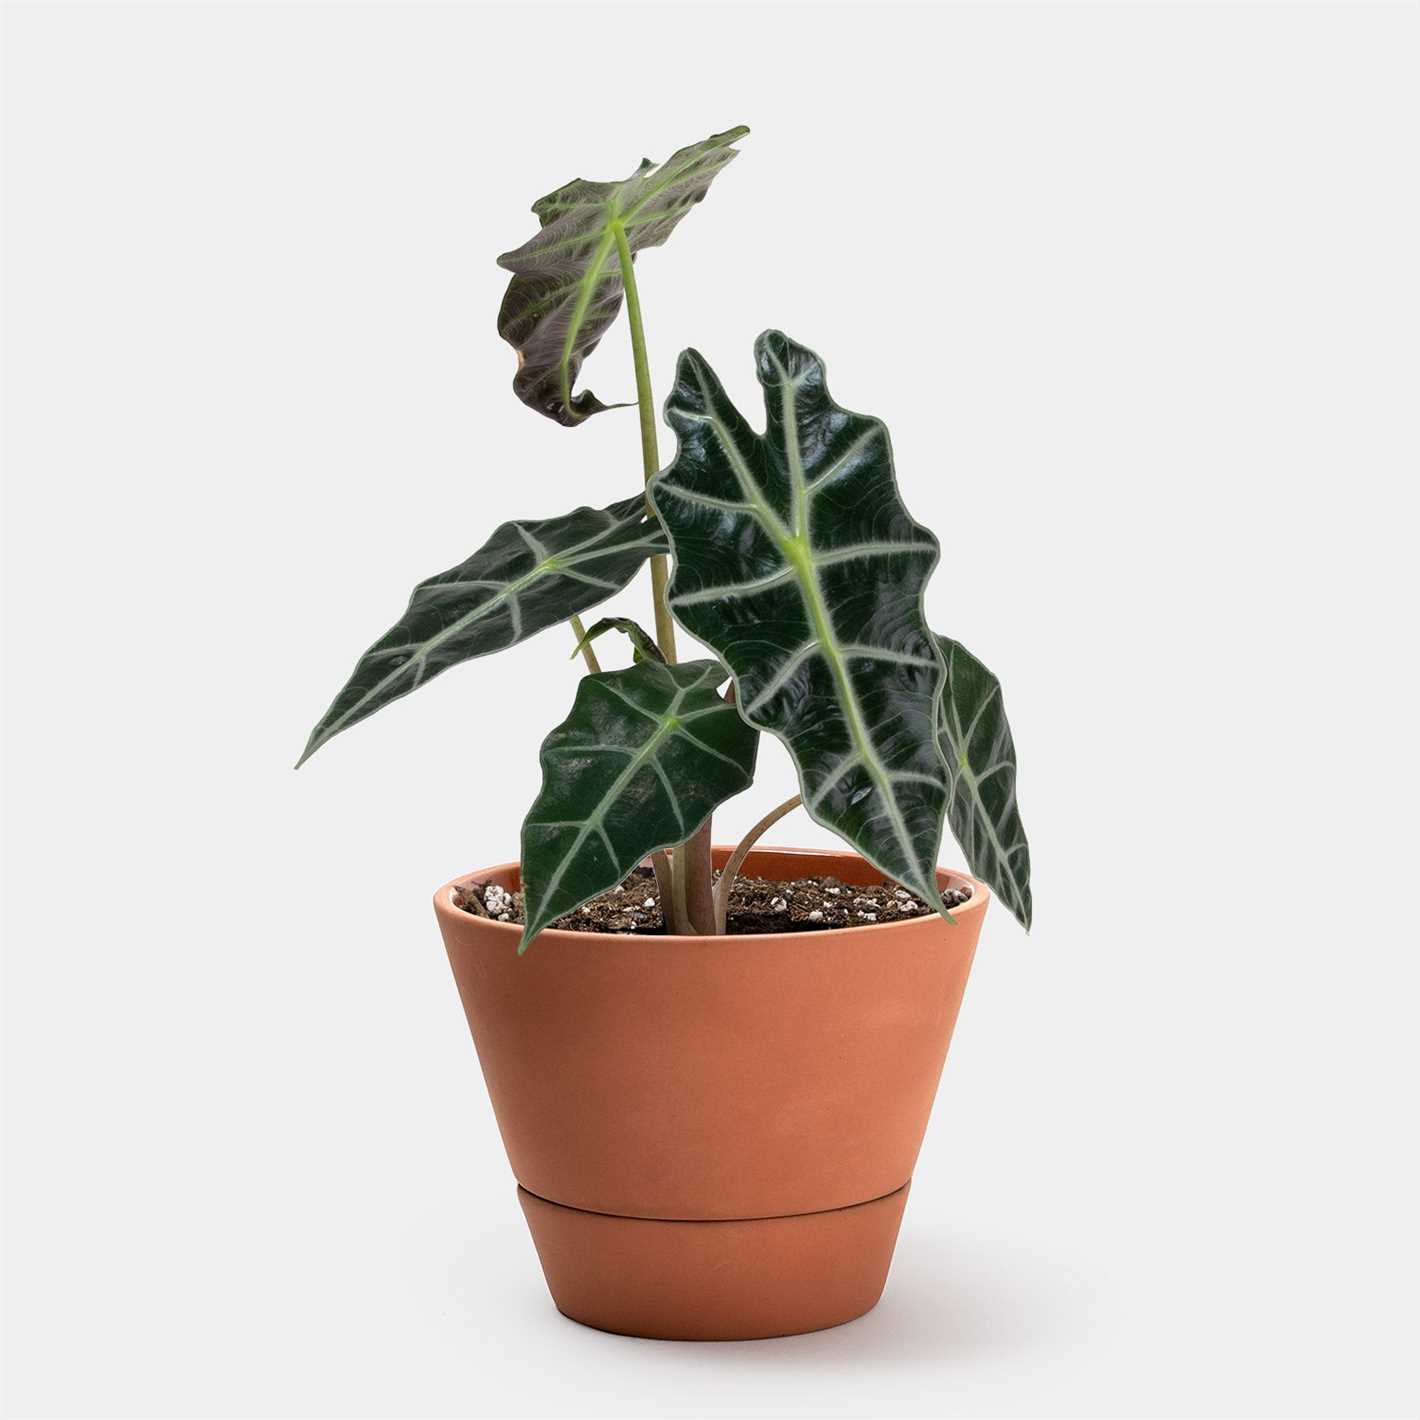
Proper drainage is crucial for the health and well-being of your Alocasia plants. Without adequate drainage, excess water can accumulate in the soil and cause root rot, which can ultimately lead to the death of your plant. Here are some tips to ensure proper drainage:
Choose the Right Pot
When selecting a pot for your Alocasia plant, opt for one with drainage holes at the bottom. This allows excess water to escape and prevents it from sitting in the bottom of the pot. Additionally, it’s important to choose a pot that is the appropriate size for your plant. If the pot is too large, it can hold too much water and increase the risk of overwatering.
Use Well-Draining Soil
Alocasia plants thrive in well-draining soil that allows water to pass through easily. A good potting mix for Alocasias is one that contains a mix of peat moss, perlite, and sand. This combination helps to create a soil structure that allows excess water to drain away efficiently.
Monitor Watering
It’s important to establish a consistent watering routine for your Alocasia plant. Water your plant thoroughly, allowing water to flow through the drainage holes, and then allow the soil to dry out slightly before watering again. This helps prevent overwatering and ensures that excess water has a chance to drain away properly.
Elevate the Pot
Placing your Alocasia pot on a saucer or tray with gravel or pebbles can help improve drainage. The elevated pot allows any excess water to collect in the saucer, while the gravel or pebbles prevent the bottom of the pot from sitting in water. This helps to prevent waterlogging and promotes proper drainage.
By ensuring proper drainage for your Alocasia plant, you can help maintain its health and promote healthy growth. Remember to choose a pot with drainage holes, use well-draining soil, monitor watering, and elevate the pot to prevent water accumulation. With the right care, your Alocasia plant will thrive and bring beauty to your indoor space.
Placing in the Right Light Conditions
Proper lighting is crucial for the health and growth of your Alocasia plant. Placing your plant in the right light conditions will ensure its vitality and prevent issues such as leaf burn or stunted growth. Here are some expert tips for positioning your Alocasia indoors:
1. Bright Indirect Light:
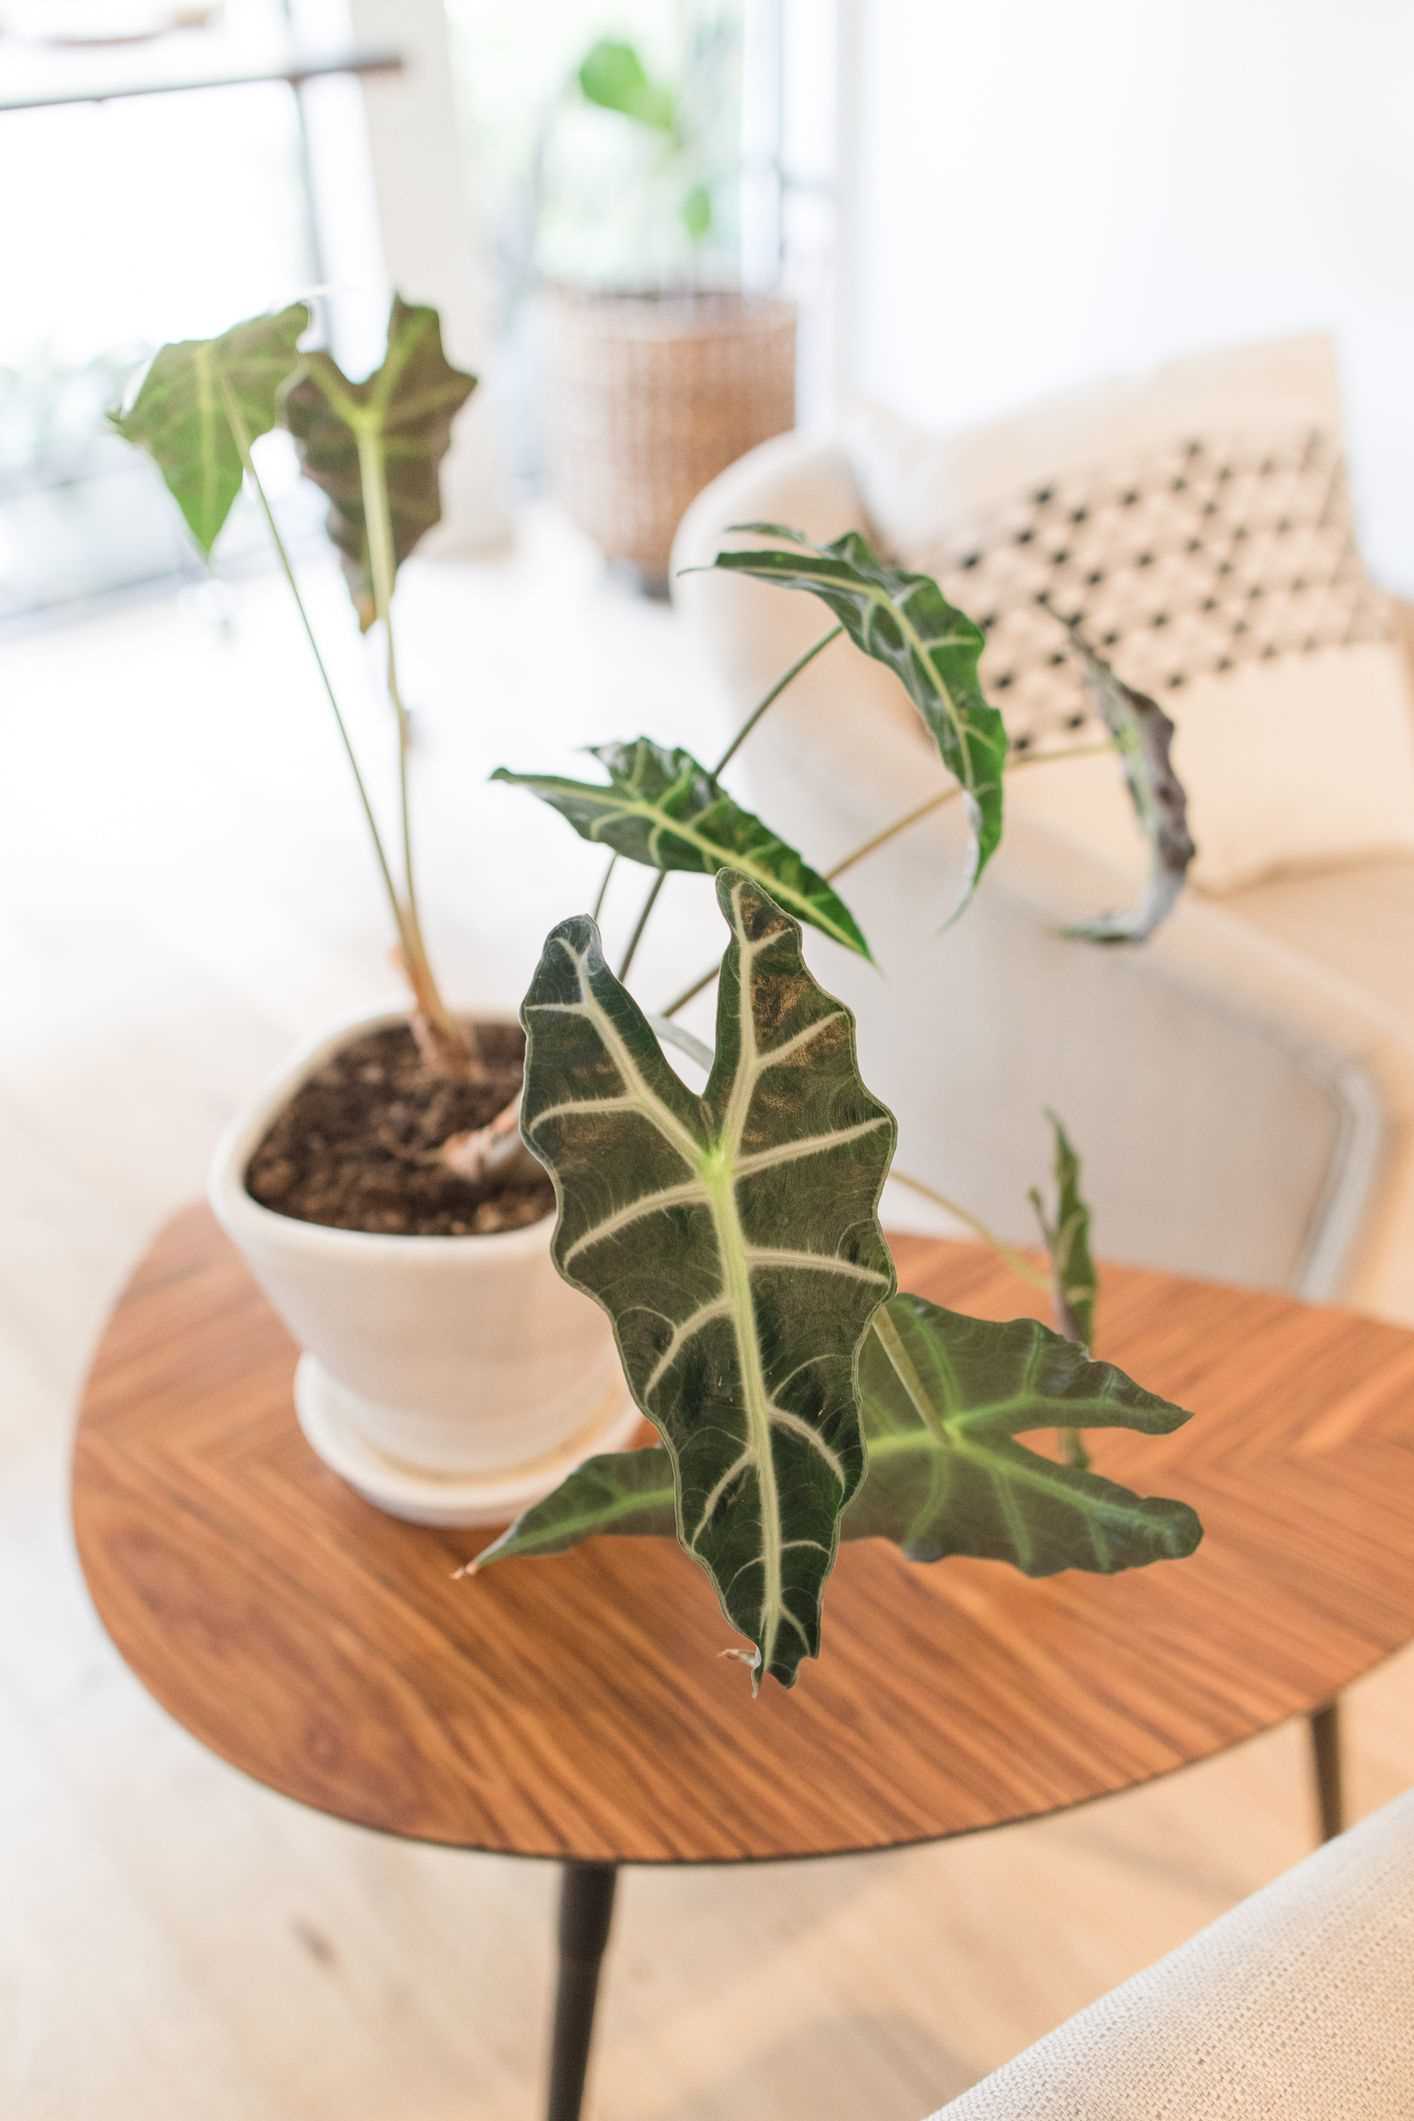
Alocasia plants thrive in bright, indirect light. Place your Alocasia near a window that receives filtered sunlight throughout the day. Direct sunlight can scorch the leaves, so it’s best to avoid placing your plant in direct sunlight.
2. North or East-Facing Windows:
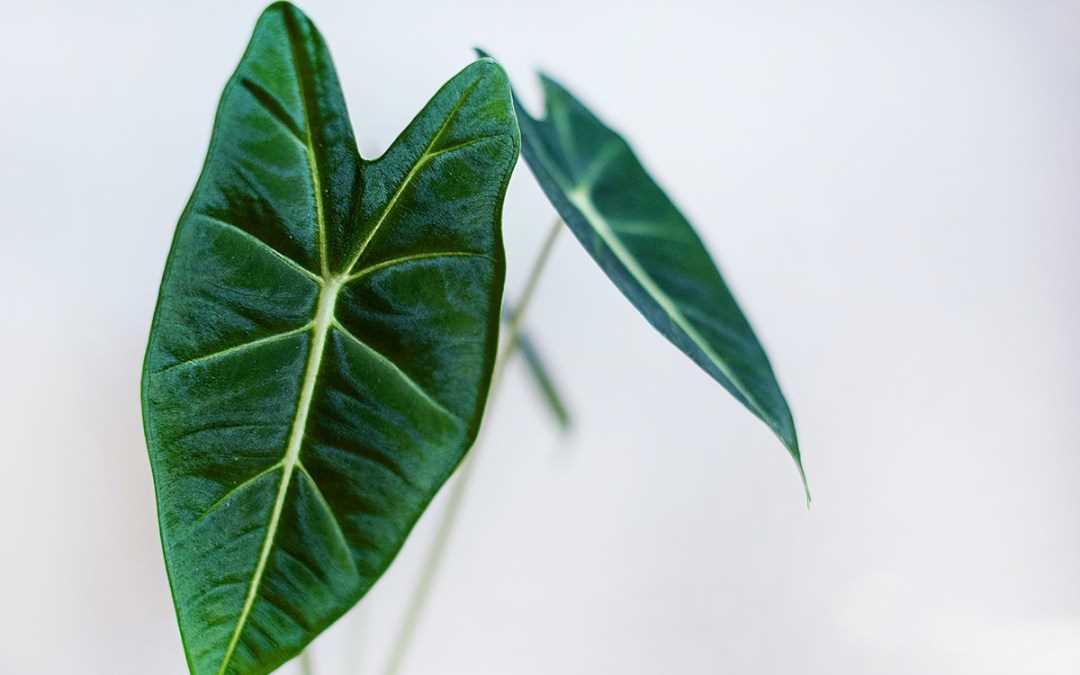
Alocasia plants prefer bright, but not intense, light. North or east-facing windows provide the ideal lighting conditions for your plant. These windows receive moderate sunlight during the day, ensuring your Alocasia gets the necessary light without being overwhelmed.
3. Indirect Artificial Light:
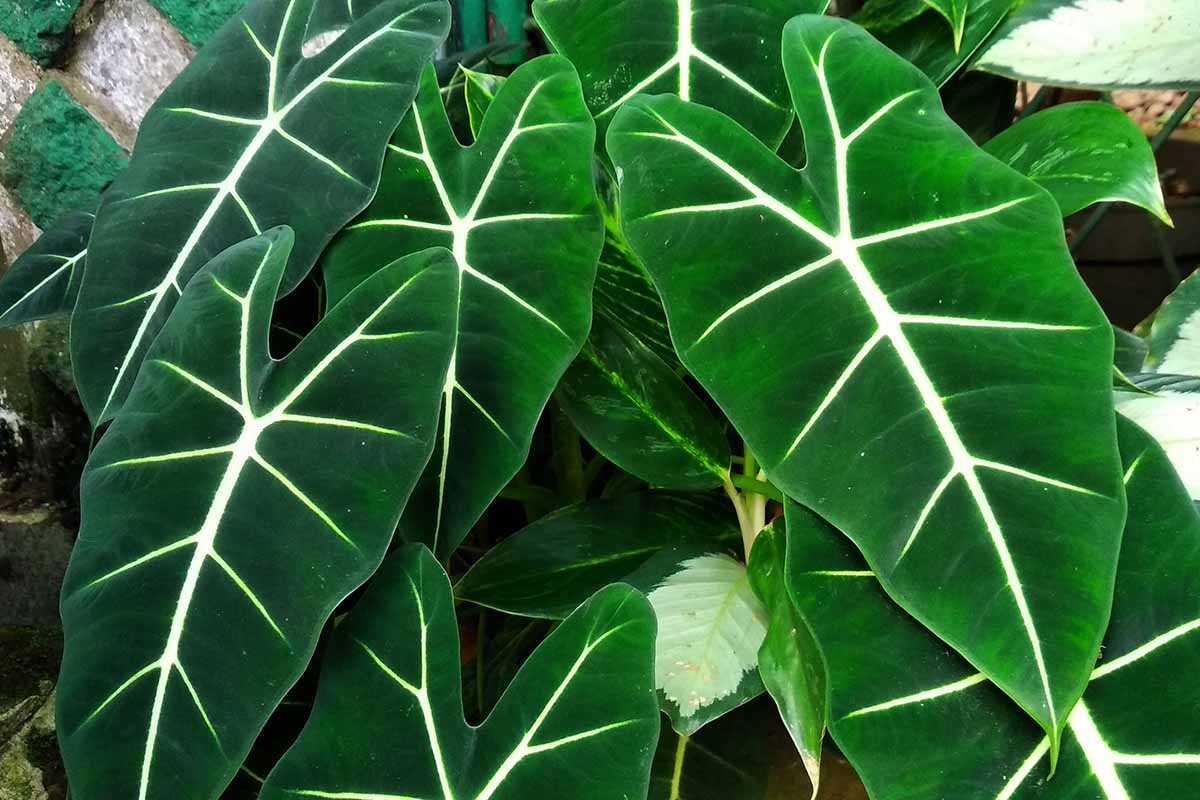
If you don’t have access to natural sunlight or your home doesn’t have suitable windows, you can also use artificial light to meet your Alocasia’s lighting needs. Place the plant near a fluorescent or LED light source, keeping it 12 to 18 inches away for optimal growth. Provide your Alocasia with 12-16 hours of artificial light per day.
4. Avoid Direct Sunlight:
Avoid placing your Alocasia in direct sunlight, as it can cause leaf burn. Direct sunlight can scorch the leaves and damage the plant. If you notice that your plant’s leaves are turning yellow, brown, or developing black spots, it may be a sign of excessive direct sunlight. Move your Alocasia to a spot with less intense light.
5. Rotate the Plant:
To ensure even growth and prevent your Alocasia from leaning toward the light source, rotate the plant every few weeks. This will help your plant receive light evenly from all directions, resulting in a more balanced and bushy growth.
By following these tips and placing your Alocasia in the right light conditions, you can ensure a healthy and thriving plant in your indoor space.
Maintaining Humidity Levels
Humidity is an important factor to consider when caring for Alocasia plants. These tropical plants thrive in high humidity environments, so it’s crucial to create and maintain the right levels of humidity in your home.
Here are some expert tips to help you maintain optimal humidity levels for your Alocasia plants:
- Mist the leaves: Regularly misting the leaves of your Alocasia plant can help increase humidity levels around the plant. Use a spray bottle filled with distilled water to gently mist the leaves, avoiding the flowers and any developing fruit.
- Group plants together: Placing multiple Alocasia plants together can create a microclimate with higher humidity. The plants will naturally release moisture through transpiration, which will increase the overall humidity in the area.
- Use a humidifier: If the ambient humidity in your home is consistently low, consider using a humidifier to increase the moisture levels. Set up the humidifier near your Alocasia plants to maintain the ideal humidity they require.
- Tray of water: Placing a tray filled with water near your Alocasia plants can help increase humidity levels in their immediate vicinity. As the water evaporates, it adds moisture to the air, benefiting the plants.
- Avoid drafts: Alocasia plants are sensitive to drafts, which can cause the leaves to lose moisture quickly. Keep your plants away from air vents, open windows, and other sources of airflow that can lower the humidity levels.
- Use a pebble tray: Create a pebble tray by filling a shallow tray with river rocks or pebbles. Add water to the tray, making sure that the water level is below the top of the stones. Place your Alocasia plant on top of the pebbles, ensuring that the pot is not submerged in water. As the water evaporates, it will increase the humidity around the plant.
By following these tips, you can provide your Alocasia plants with the necessary humidity levels for healthy growth and vibrant foliage.
Avoiding Drafts and Temperature Extremes
One of the key factors in maintaining healthy Alocasia plants is to provide them with the right environmental conditions. Alocasias are tropical plants that thrive in warm and humid climates, so it’s important to avoid drafts and temperature extremes that can be detrimental to their health.
Avoiding Drafts
Alocasias are sensitive to drafts, which can cause their leaves to dry out and become damaged. To avoid drafts, it’s best to keep your Alocasia away from windows, doors, and vents where cold air can seep in. If you notice that your Alocasia is being exposed to drafts, you can use curtains or blinds to create a barrier and protect your plant.
Maintaining the Right Temperature
Alocasias thrive in temperatures between 60°F (15°C) and 80°F (27°C). It’s important to avoid exposing them to extreme temperatures, such as hot drafts from heaters or cold drafts from air conditioners. They are particularly sensitive to cold air, so it’s best to keep them away from windows during the winter months or use insulation to protect them.
Monitoring Humidity
In addition to avoiding drafts and temperature extremes, it’s important to maintain the right humidity levels for your Alocasia. These plants prefer high humidity, ideally around 60-80%. You can increase humidity by misting your plant’s leaves with water or by using a humidifier. Placing a tray with water near your plant can also help increase humidity levels.
By avoiding drafts, maintaining the right temperature, and monitoring humidity levels, you can ensure that your Alocasia thrives in its indoor environment and remains healthy and vibrant.
Fertilizing for Optimal Growth
Applying fertilizer to your Alocasia plants is crucial for their optimal growth and overall health. Fertilizers provide essential nutrients that may be lacking in the soil, promoting vigorous foliage growth and vibrant colors.
Types of Fertilizers
- Organic fertilizers: These are derived from natural sources such as compost, manure, or plant materials. They release nutrients slowly over time and improve soil structure.
- Chemical fertilizers: These are synthetic products that contain specific amounts of nutrients. They offer a quick nutrient boost but may have a higher risk of burning the plants if not used correctly.
When to Fertilize
During the active growing season, which is usually in spring and summer, it’s best to fertilize your Alocasia plants every two to four weeks. However, during the dormant period in fall and winter, reduce fertilization to once a month or even stop altogether.
How to Fertilize
- Choose a balanced fertilizer with an NPK ratio of 10-10-10 or 20-20-20.
- Dilute the fertilizer according to the package instructions. It’s better to apply a diluted solution rather than a concentrated one to avoid the risk of burning the roots.
- Water your Alocasia plant thoroughly before fertilizing to ensure the soil is moist.
- Pour the diluted fertilizer solution evenly around the base of the plant, taking care not to splash it on the leaves.
- After fertilizing, water the plant again to help the nutrients reach the roots.
Signs of Over-Fertilization
Over-fertilization can be harmful to Alocasia plants. Look out for signs such as yellowing leaves, leaf burn, stunted growth, or a white crust on the soil surface. If you notice any of these signs, flush the soil with water to leach out excess nutrients and adjust your fertilizing routine.
Summary
Fertilizing your Alocasia plants is essential for their overall health and growth. Use organic or chemical fertilizers, following the recommended dilution and frequency guidelines. Pay attention to signs of over-fertilization and make adjustments as needed. With proper fertilization, your Alocasia plants will thrive and display stunning foliage in your indoor space.
Identifying and Treating Common Alocasia Pests and Diseases
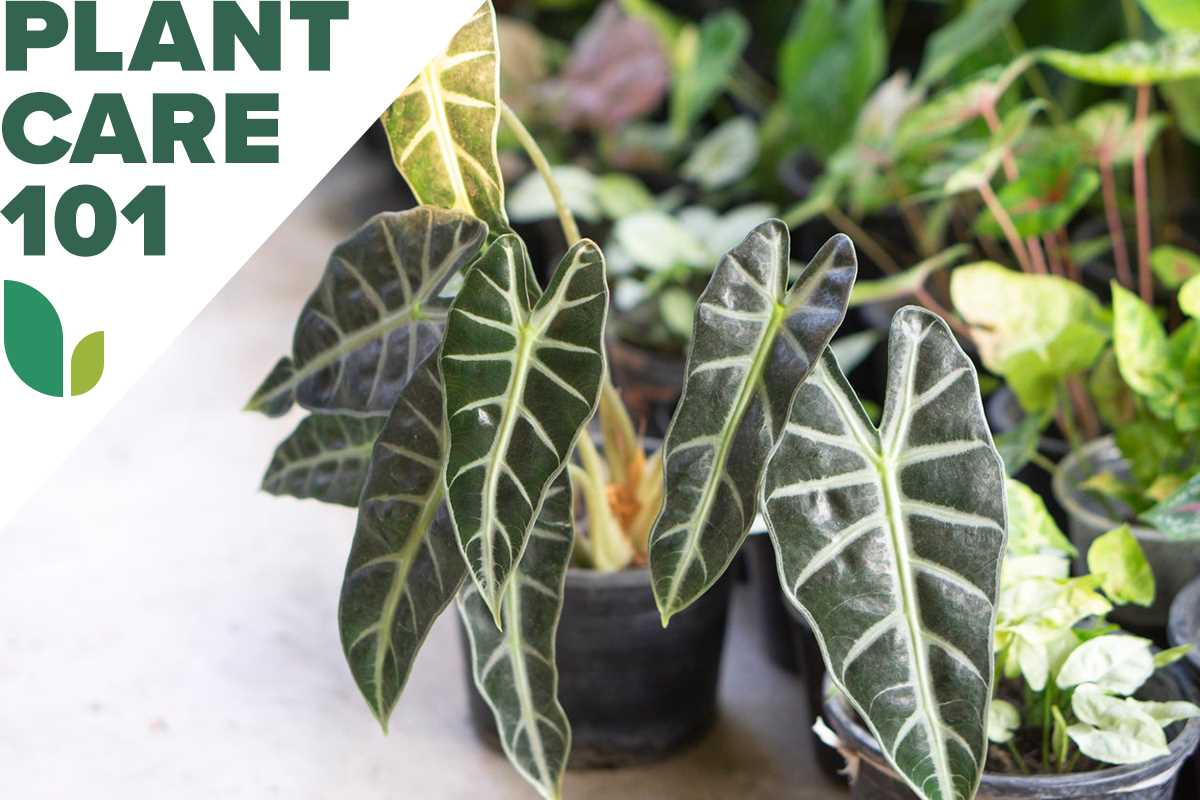
Like any other houseplant, Alocasia can be susceptible to pests and diseases. It’s important to regularly inspect your plants for any signs of infestation or health issues. Here are some common pests and diseases that can affect Alocasia plants:
Spider Mites: These tiny pests are usually found on the undersides of leaves and spin webs. Spider mites can cause yellowing of leaves and stunted growth. Use a solution of water and mild dish soap to wash off the spider mites. You can also introduce natural predators, such as ladybugs, to control their population.
Mealybugs: Mealybugs are small white insects that can form cottony masses on leaves and stems. They feed on plant sap and can cause yellowing and wilting of leaves. Use a cotton swab dipped in rubbing alcohol to remove mealybugs from the affected areas. Repeat this process every few days until the infestation is gone.
Scale Insects: Scale insects appear as small, circular bumps on leaves and stems. They feed on plant sap and can cause yellowing of leaves and weak growth. Use a cotton swab dipped in rubbing alcohol to remove scale insects from the plant. You can also spray the plant with neem oil to control their population.
Root Rot: Overwatering can lead to root rot, which is a fungal disease that affects the roots of the plant. Signs of root rot include yellowing leaves, mushy roots, and a foul odor. To treat root rot, remove the affected plant from the pot, trim away any rotting roots, and repot the plant in fresh, well-draining soil.
Powdery Mildew: Powdery mildew is a fungal disease that appears as a white powdery substance on leaves and stems. It thrives in humid conditions. To treat powdery mildew, remove the affected parts of the plant and improve air circulation around the plant by spacing out your Alocasia plants.
In addition to pest and disease management, it’s important to provide your Alocasia plant with proper care, including the right amount of light, water, and humidity. By keeping your plant healthy, you can prevent many common problems and ensure its long-term success.
Q&A:
How often should I water my Alocasia plant?
Alocasia plants prefer moist but not waterlogged soil. Water your plant whenever the top inch of soil feels dry, usually once a week during the growing season. Be careful not to overwater, as this can lead to root rot.
What kind of light does an Alocasia plant need?
Alocasia plants thrive in bright, indirect light. They do not like direct sunlight, as it can scorch their leaves. Place your plant near a window with filtered light or in a spot where it can receive bright, indirect light throughout the day.
How do I fertilize my Alocasia plant?
Fertilize your Alocasia plant once a month during the growing season, which is typically spring and summer. Use a balanced, water-soluble fertilizer diluted to half strength. Be careful not to over-fertilize, as this can damage the plant’s roots.
Why are the leaves on my Alocasia turning yellow?
Yellow leaves on an Alocasia plant can indicate several issues. It could be a sign of overwatering, underwatering, too much direct sunlight, or nutrient deficiencies. Assess your plant’s watering schedule, light conditions, and fertilization routine to determine the cause and make adjustments accordingly.
Can I propagate my Alocasia plant?
Yes, you can propagate an Alocasia plant through division or by taking stem cuttings. To divide the plant, carefully remove it from its pot and separate the rhizomes, ensuring each section has roots attached. To propagate from cuttings, simply take a stem with a few leaves and place it in water or moist soil until it develops roots.
How do I prevent pests from infesting my Alocasia plant?
To prevent pests such as spider mites or mealybugs from infesting your Alocasia plant, regularly inspect the leaves for any signs of pests or damage. Keep the plant’s environment clean and free from debris, as pests tend to hide in these areas. If you do notice pests, treat the plant with neem oil or a mild insecticidal soap.
What should I do if my Alocasia plant’s leaves are drooping?
Drooping leaves on an Alocasia plant can be a sign of underwatering or overwatering. First, check the moisture level of the soil by inserting your finger into it. If the soil feels dry, water the plant thoroughly. If it feels excessively wet, allow the soil to dry out before watering again. Adjusting the watering schedule should help the plant recover.
Video:
Alocasia Plant Complete Care Guide | Elephant Ear Plant Care Tips
