- Tips for Growing Astrantia from Seed
- Choose the Right Seeds
- 1. Purchase from a reputable source
- 2. Consider the variety
- 3. Check the seed quality
- 4. Pay attention to the expiration date
- 5. Consider the sowing requirements
- Prepare the Soil
- 1. Choose the Right Location
- 2. Clear the Area
- 3. Amend the Soil
- 4. Level the Soil
- 5. Create Furrows
- 6. Sow the Seeds
- 7. Water the Area
- Sow the Seeds
- Provide Adequate Watering
- 1. Watering Frequency
- 2. Watering Technique
- 3. Mulching
- 4. Rainwater
- 5. Avoid Overwatering
- Apply Fertilizer
- 1. Timing
- 2. Type of Fertilizer
- 3. Method of Application
- 4. Watering
- 5. Frequency
- Protect from Pests and Diseases
- Transplanting Seedlings
- Enjoy Your Beautiful Astrantia Plants
- 1. Regular Care and Maintenance
- 2. Creating Beautiful Displays
- 3. Overwintering Tips
- Types and Varieties of Astrantia
- Questions and Answers:
- Can I grow astrantia from seed?
- What are the best growing conditions for astrantia?
- Videos: 6 perennial flowers that bloom all summer – plus a bonus plant
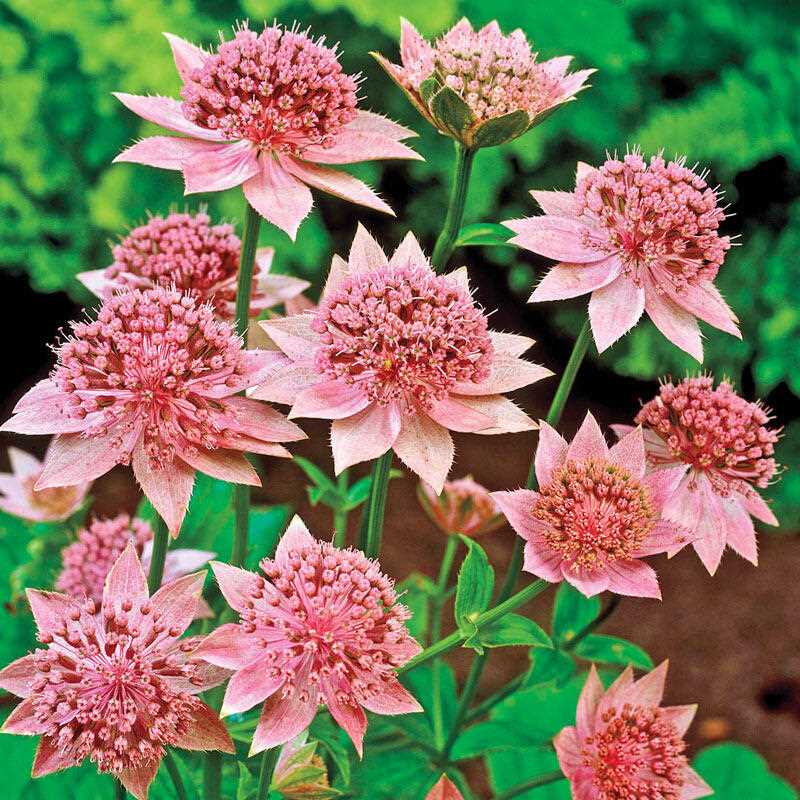
Astrantia is a beautiful flowering plant that belongs to the family Apiaceae. It is native to Europe and is known for its unique and intricate flowers. Astrantia is commonly referred to as ‘Masterwort’ due to its strong medicinal properties. It has been used for centuries in traditional medicine to treat various ailments.
One of the best ways to grow astrantia is from seed. It is relatively easy to grow from seed and can be a rewarding experience. Before planting astrantia seeds, it is important to prepare the soil properly. The soil should be well-drained and rich in organic matter. It is also recommended to add compost or well-rotted manure to the soil to improve its fertility.
Astrantia seeds can be sown directly in the garden in early spring or started indoors in late winter. If starting indoors, it is important to use a seed starting mix and provide the seeds with a temperature of around 65 to 70 degrees Fahrenheit. The seeds should be covered lightly with soil and kept moist until they germinate. Once the seedlings have developed several sets of leaves, they can be transplanted into the garden.
There are several types and varieties of astrantia to choose from. Some popular varieties include Astrantia major ‘Shaggy’, which has large, shaggy-looking flowers, and Astrantia major ‘Roma’, which has deep pink flowers. There are also dwarf varieties available, such as Astrantia major ‘Abbey Road’, which is perfect for small gardens or containers.
In conclusion, growing astrantia from seed can be a rewarding experience for any gardener. By following the tips mentioned above and choosing the right variety, you can enjoy the unique beauty of astrantia in your garden.
Tips for Growing Astrantia from Seed
- Choose a sunny or partially shaded location for growing astrantia. It prefers well-drained soil.
- Prepare the soil by removing any weeds and loosening it with a garden fork or tiller.
- Sow the astrantia seeds directly in the garden in early spring or late fall. Alternatively, you can start them indoors in pots and transplant them outside once they have established roots.
- Plant the seeds at a depth of 1/4 inch and space them about 12 inches apart.
- Water the seeds thoroughly after planting and keep the soil moist but not waterlogged throughout the growing season.
- Thin out the seedlings if they become overcrowded, leaving only the strongest ones to grow.
- Apply a balanced fertilizer once a month during the growing season to promote healthy growth.
- Watch out for pests such as aphids and slugs, which can damage astrantia. Use organic pest control methods if necessary.
- Support the tall varieties of astrantia with stakes or plant them near other plants that can provide support.
- Deadhead the flowers after they fade to promote continuous blooming.
Choose the Right Seeds
When it comes to growing Astrantia from seed, it’s important to choose the right seeds to ensure successful germination and healthy plant growth. Here are some tips for selecting the right seeds:
1. Purchase from a reputable source

Make sure to buy your Astrantia seeds from a reliable supplier or nursery. This will ensure that you are getting high-quality seeds that have been properly stored and are more likely to germinate successfully.
2. Consider the variety
Astrantia comes in various types and varieties, each with its own unique characteristics and growing requirements. Before purchasing seeds, do some research to determine which variety will best suit your garden and climate.
Some popular varieties include:
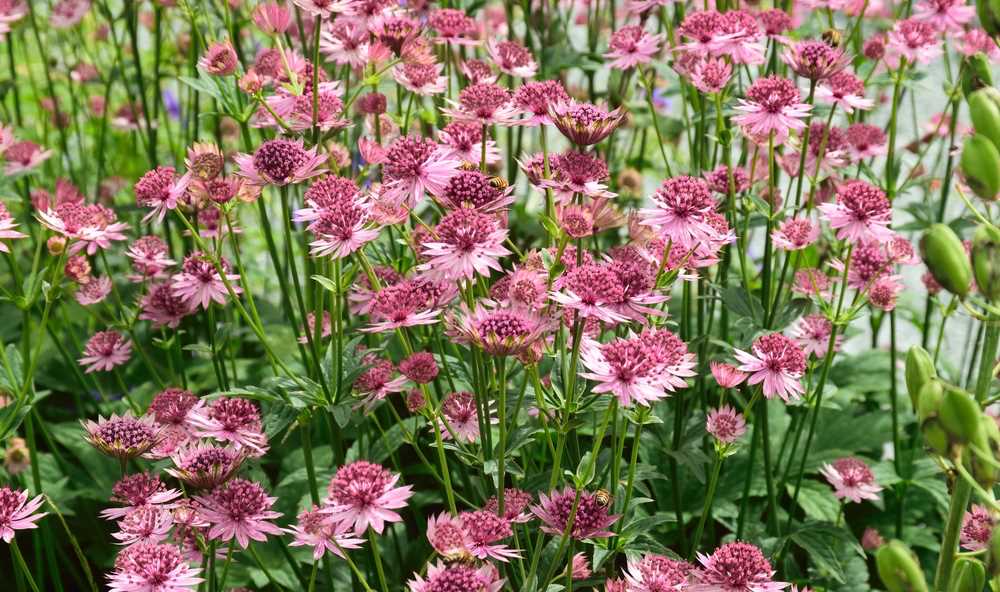
- Astrantia major – The most widely grown species, with pink or white flowerheads.
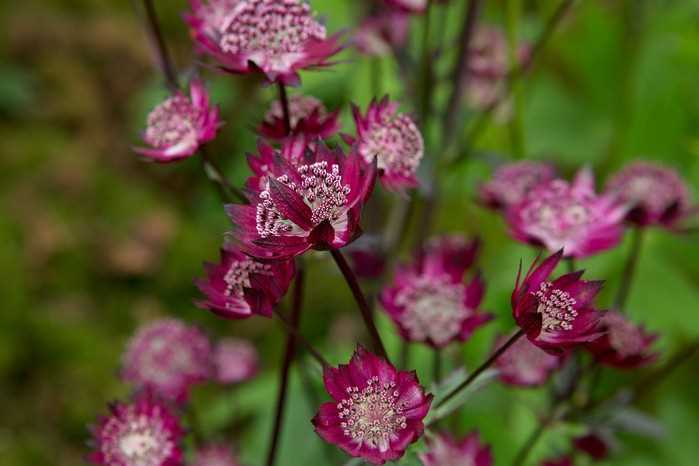
- Astrantia maxima – Known for its large, deep pink flowerheads.
- Astrantia carniolica – Features purple-red flowerheads and dark green foliage.
3. Check the seed quality
Inspect the seeds for signs of damage or degradation before purchasing. Look for plump, well-formed seeds without any visible signs of mold or discoloration. Avoid seeds that appear shriveled or overly dry, as they may have a lower chance of germination.
4. Pay attention to the expiration date

Seeds naturally have a limited lifespan, and their viability decreases over time. Check the expiration date on the seed packet to ensure that the seeds are still fresh. Using outdated seeds may result in poor germination rates.
5. Consider the sowing requirements

Take into account the sowing requirements of the Astrantia seeds you intend to purchase. Some varieties may require pre-treatment, such as stratification (exposure to cold temperatures) or scarification (breaking or weakening the seed coat) to improve germination rates. Make sure you are willing and able to meet the specific sowing requirements of the seeds you choose.
By carefully selecting the right seeds for your Astrantia garden, you can increase the likelihood of successful germination and enjoy healthy, vibrant plants in your landscape.
Prepare the Soil
Before planting astrantia seeds, it’s important to prepare the soil to create the ideal growing conditions for the plants. Follow these steps to properly prepare the soil for astrantia:
1. Choose the Right Location
Astrantias thrive in locations that receive partial shade to full sun. Choose a spot in your garden that gets at least 4 to 6 hours of direct sunlight per day. Avoid areas that are heavily shaded or in full sun all day, as this can cause the plants to wither or burn.
2. Clear the Area
Remove any weeds, grass, or debris from the planting area. Use a garden rake or hoe to loosen the top layer of soil and break up any clumps.
3. Amend the Soil
Astrantias prefer moist, well-draining soil with a neutral to slightly alkaline pH level. Test the soil to determine its pH level, and if necessary, amend the soil with organic matter to improve its composition.
Add compost, well-rotted manure, or peat moss to the soil and mix it in thoroughly. This will help improve the soil’s drainage and fertility, providing a better growing environment for the astrantia plants.
4. Level the Soil
After amending the soil, use a rake to level the area and create a smooth surface for planting. This will ensure that the seeds are sown at a consistent depth.
5. Create Furrows
Using a garden trowel or your fingers, create furrows in the soil. These should be about ¼ inch deep and spaced at least 12 inches apart. The furrows will provide a guide for sowing the astrantia seeds.
6. Sow the Seeds
Place the astrantia seeds in the furrows, spacing them about 1 inch apart. Cover the seeds with a thin layer of soil, then gently pat the soil down to ensure good seed-to-soil contact.
7. Water the Area
After sowing the seeds, water the area thoroughly to help settle the soil and provide moisture for germination. Keep the soil evenly moist during the germination period, which typically takes about 2 to 3 weeks.
By following these steps to prepare the soil, you can create an optimal growing environment for astrantia seeds, ensuring successful germination and healthy plant growth.
Sow the Seeds
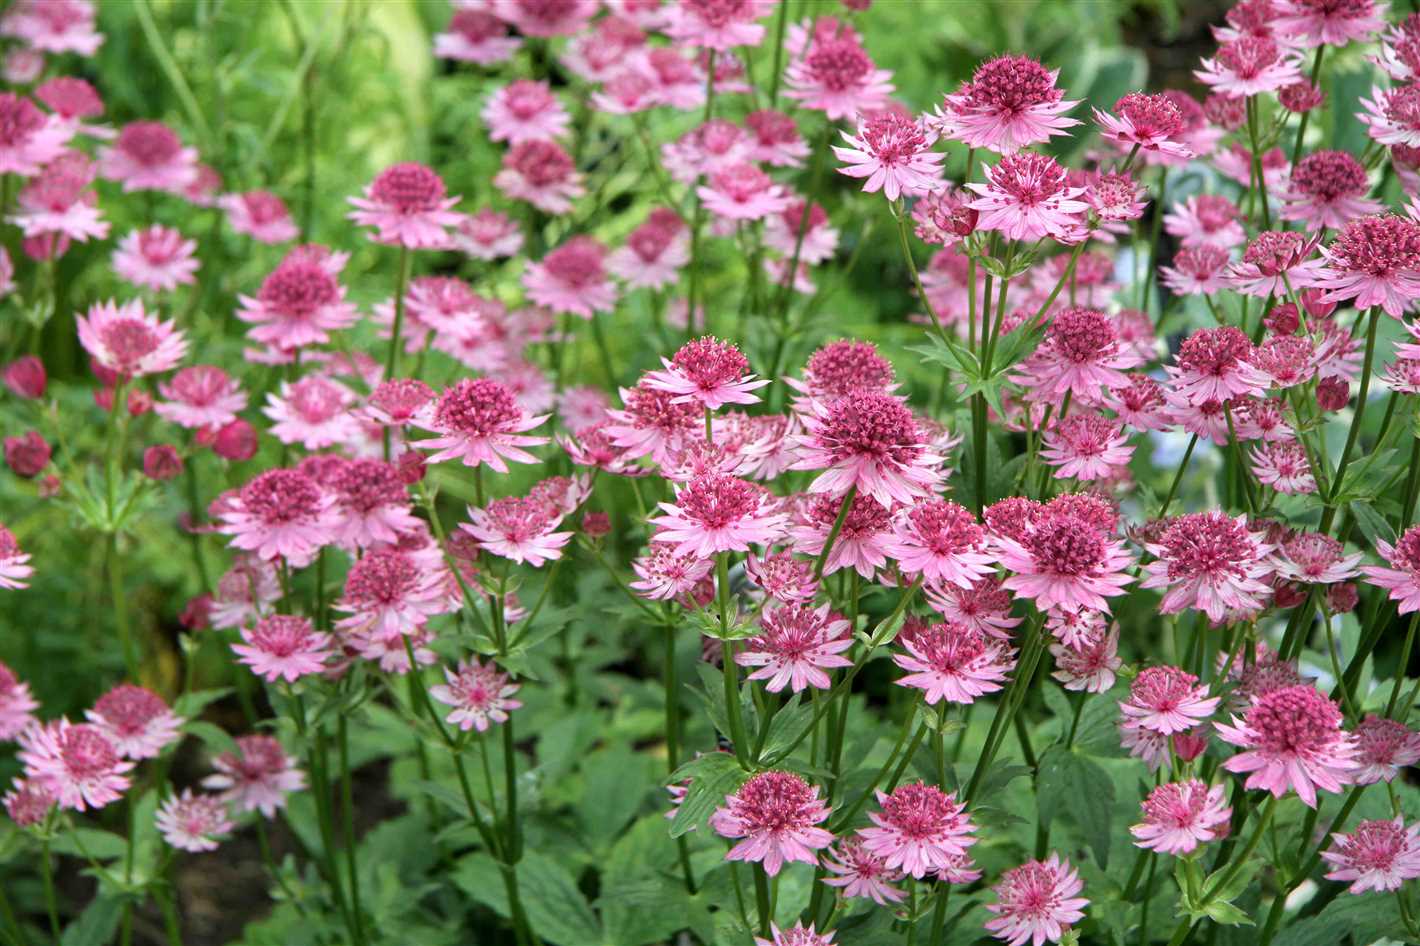

When it comes to sowing astrantia seeds, there are a few key steps to follow to ensure success:
- Prepare the soil: Choose a well-draining location in your garden with fertile soil. Remove any weeds or debris and loosen the soil to a depth of about 6 inches.
- Sow the seeds: Astrantia seeds are tiny, so take care when handling them. Sprinkle the seeds over the prepared soil surface, spacing them about 12 inches apart. Lightly press the seeds into the soil to ensure good contact.
- Water: Once the seeds are sown, gently water the area using a fine spray or mist to avoid disturbing the seeds. Keep the soil consistently moist, but not waterlogged, throughout the germination process.
- Provide shade: Astrantia seeds prefer a partially shaded location for germination. Covering the sown area with a light fabric or shade cloth can help protect the seeds from direct sunlight and create a more optimal environment for germination.
- Germination: Astrantia seeds typically take 2 to 4 weeks to germinate. Keep an eye on the sown area and ensure the soil remains moist during this time. Once the seedlings have emerged, gradually remove the shade cloth and provide them with more sunlight.
It’s important to note that not all astrantia seeds will germinate, and germination rates can vary. You may want to sow more seeds than you actually need to account for this.
Astrantia seeds can also be started indoors in seed trays or pots, about 6 to 8 weeks before the last expected frost. Follow the same steps for sowing and provide appropriate light and temperature conditions for germination.
By following these steps, you can successfully sow astrantia seeds and enjoy the beauty of these unique and charming flowers in your garden.
Provide Adequate Watering
Proper watering is crucial for the healthy growth and development of Astrantia plants. It is important to provide adequate water to ensure that the plants receive the necessary moisture for their survival.
1. Watering Frequency
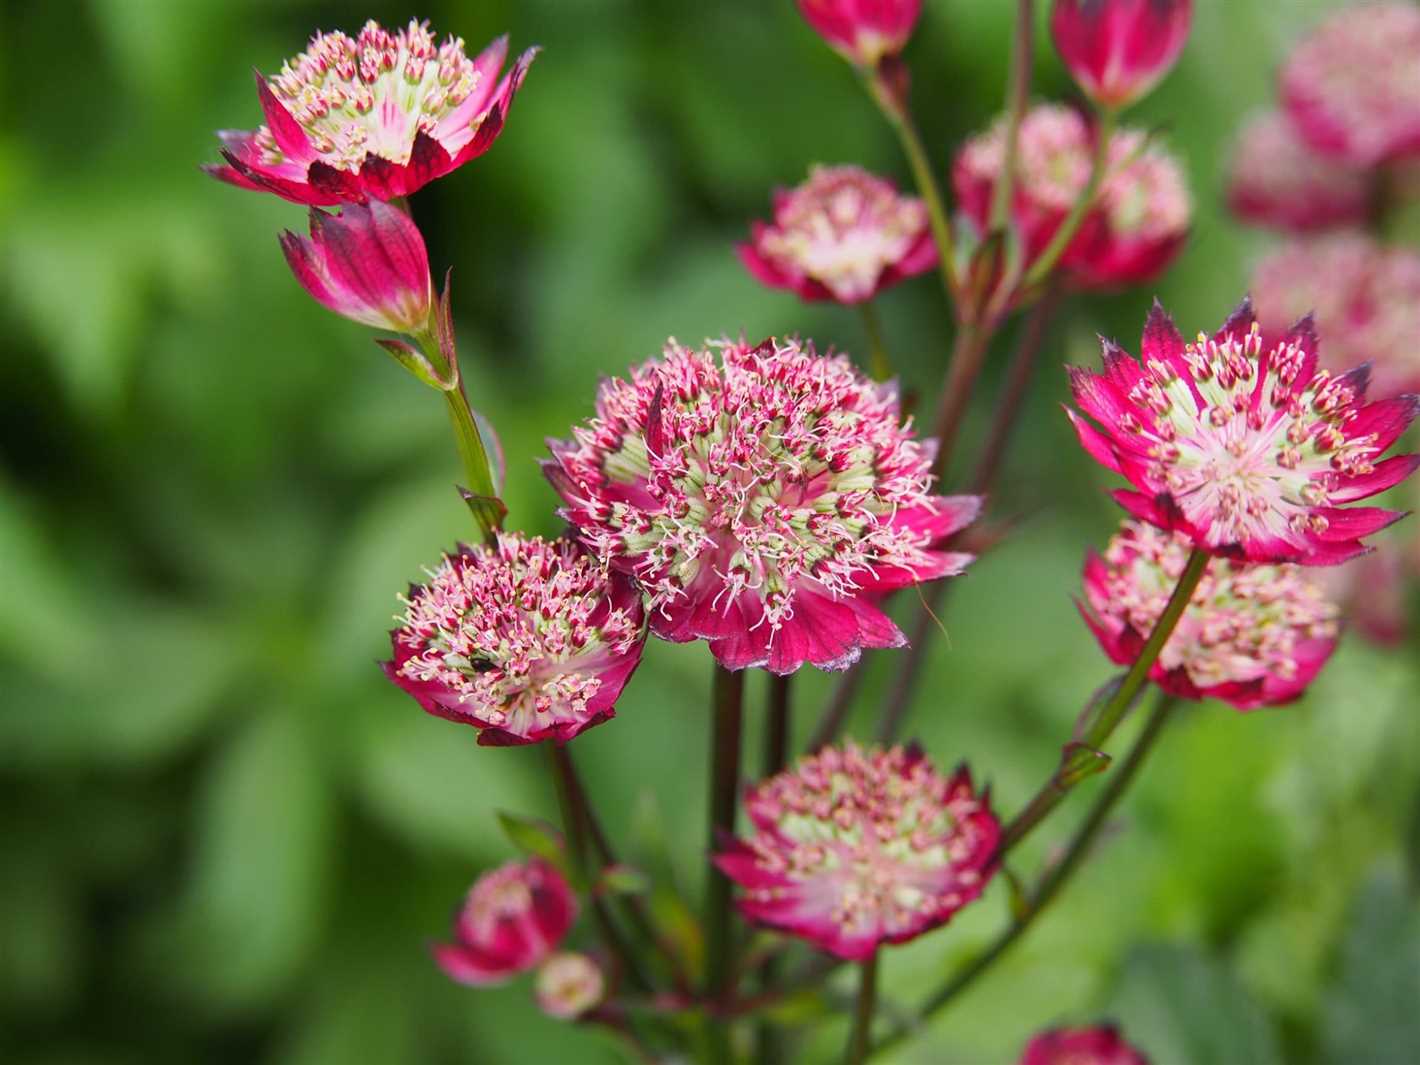

Astrantia plants prefer consistently moist soil, especially during hot and dry periods. Watering frequency will depend on the climate and weather conditions in your area. Generally, it is recommended to water the plants deeply and allow the soil to dry slightly before the next watering.
2. Watering Technique
When watering Astrantia plants, it is best to water directly at the base of the plants, aiming for the soil rather than wetting the foliage. This helps to prevent the development of fungal diseases and allows the plants to absorb water efficiently.
3. Mulching
Applying a layer of organic mulch around the base of the Astrantia plants can help retain moisture in the soil, reduce weed growth, and regulate soil temperature. Mulching also helps to prevent the soil from drying out too quickly, particularly during hot and dry periods.
4. Rainwater
If possible, try to use rainwater for watering Astrantia plants. Rainwater is free of chemicals such as chlorine and is naturally soft, which makes it more beneficial for the plants. Collect rainwater in a barrel or container and use it to water your plants.
5. Avoid Overwatering
While it is essential to provide adequate water, it is equally important not to overwater Astrantia plants. Overwatering can lead to root rot and other diseases. Make sure to check the moisture level of the soil before watering and adjust accordingly.
By following these watering tips, you can ensure that your Astrantia plants receive the right amount of water they need to thrive and produce beautiful blooms.
Apply Fertilizer
Astrantia plants benefit from regular fertilization to promote healthy growth and abundant flowers. Fertilizers provide essential nutrients that the plants need to thrive. Here are some tips for applying fertilizer to your Astrantia plants:
1. Timing
Apply fertilizer to your Astrantia plants in early spring, just as new growth begins to emerge. This will give the plants a boost of nutrients as they enter their active growth phase.
2. Type of Fertilizer

Choose a balanced, slow-release fertilizer specifically formulated for flowering plants. Look for a fertilizer with equal amounts of nitrogen, phosphorus, and potassium (N-P-K ratio). This will provide the necessary nutrients for healthy foliage and vibrant flowers.
3. Method of Application
Spread the fertilizer evenly around the base of the Astrantia plants, avoiding direct contact with the leaves or stems. You can use a handheld garden spreader or simply sprinkle the granules by hand. Be sure not to apply too much fertilizer, as this can burn the plants.
4. Watering
After applying the fertilizer, water the Astrantia plants thoroughly to help activate the nutrients and ensure they reach the plant’s root system. Watering also helps prevent the fertilizer from sitting on the leaves, which can cause leaf burn.
5. Frequency
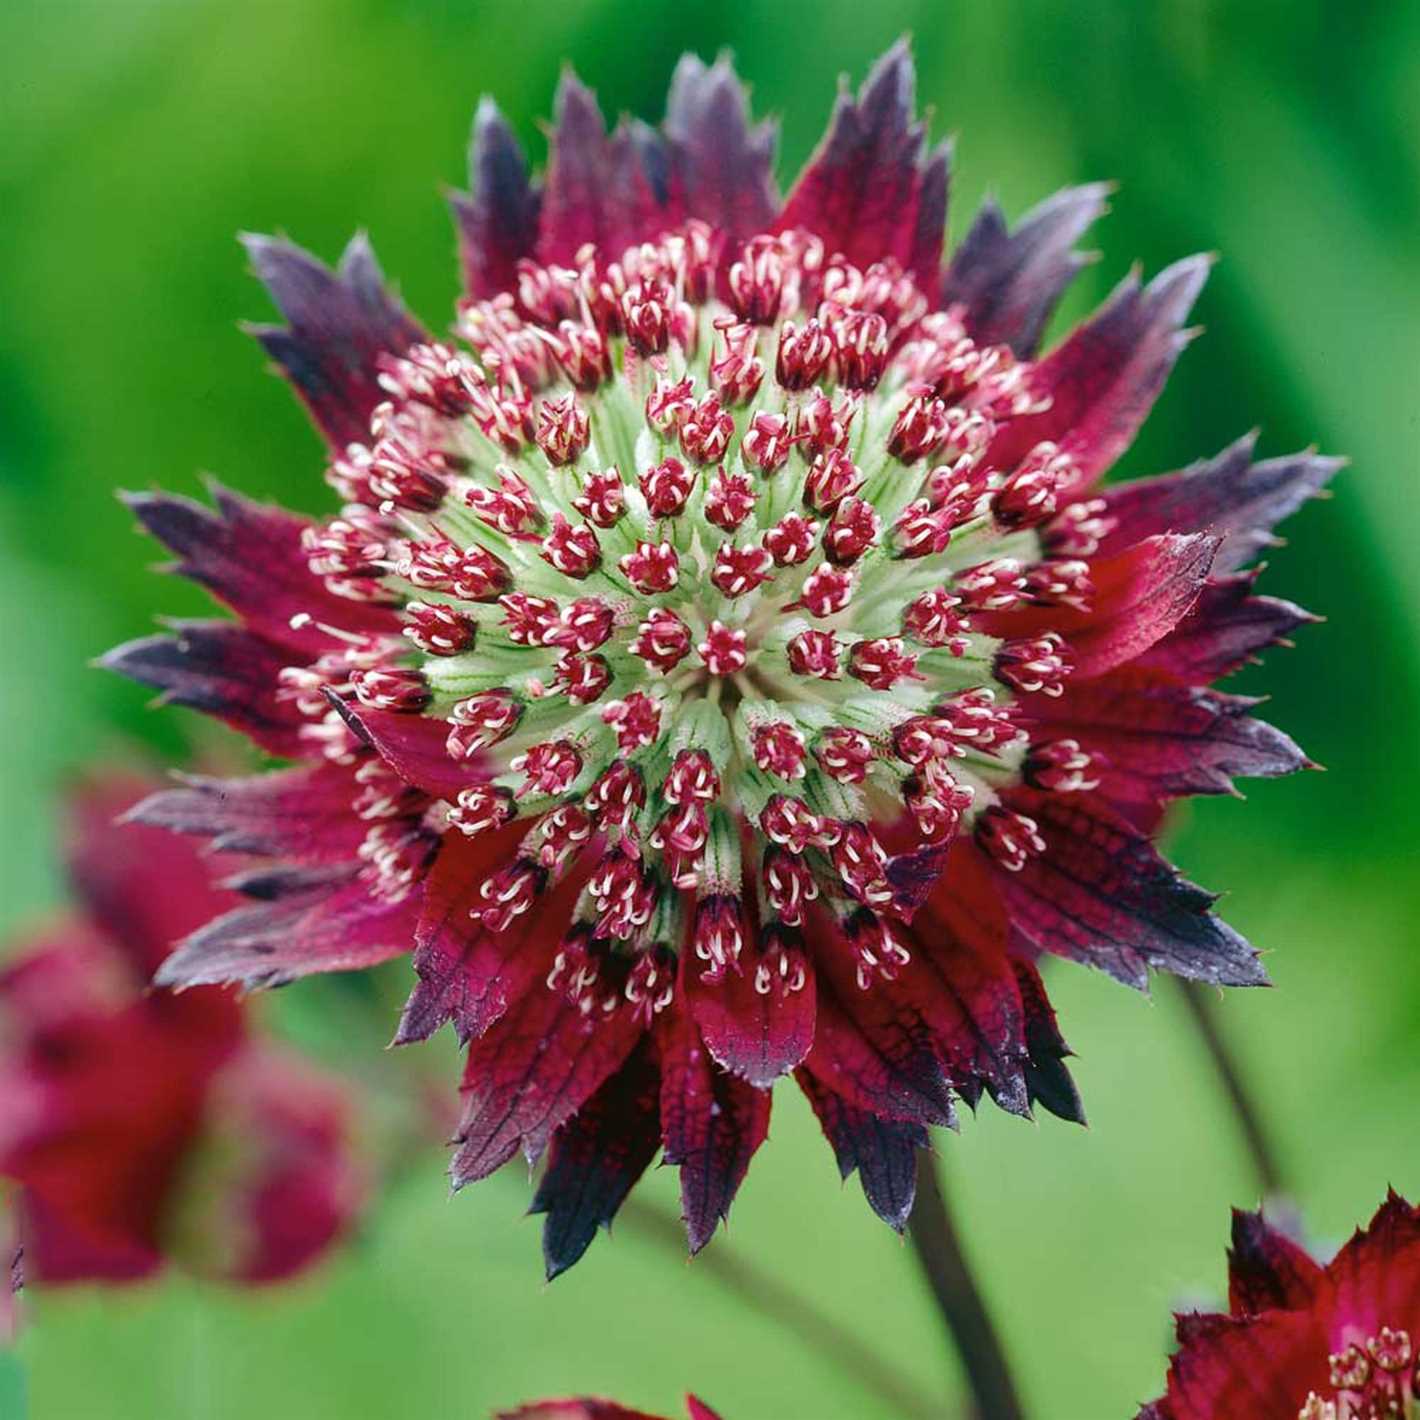

For optimal growth and flowering, fertilize your Astrantia plants every four to six weeks throughout the growing season. This will provide a continuous supply of nutrients to support their growth and flowering.
Following these fertilizer application tips will help ensure that your Astrantia plants receive the nutrients they need to thrive and produce beautiful flowers all season long.
Protect from Pests and Diseases
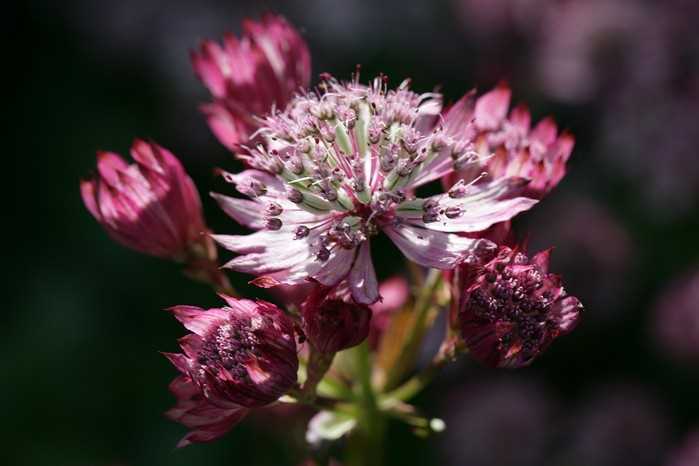

When growing Astrantia from seed, it’s important to take steps to protect the plants from pests and diseases. Here are some tips to help you keep your Astrantia healthy:
- Monitor for pests: Regularly check your plants for any signs of pests such as aphids or slugs. These pests can cause damage to the leaves and flowers of Astrantia. If you notice any pests, take appropriate measures to control them, such as using insecticidal soap or handpicking the pests off.
- Avoid overcrowding: Make sure to space your Astrantia plants properly to avoid overcrowding. Crowded plants are more susceptible to diseases as they have poor air circulation and are more likely to retain moisture. This can lead to fungal diseases such as powdery mildew. Give each plant enough space to grow and thrive.
- Water properly: Overwatering can also contribute to the development of diseases in Astrantia. Make sure to water your plants at the base and avoid wetting the foliage. Watering in the morning allows the leaves to dry quickly, reducing the risk of fungal diseases.
- Implement good garden hygiene: Keep your garden clean by removing any dead leaves or plant debris around your Astrantia plants. This helps reduce the likelihood of diseases spreading or pests finding a home in the garden. Dispose of any infected or infested plant materials properly.
- Consider organic pest control: If you prefer to use organic methods to control pests and diseases, there are several options available. For example, you can introduce beneficial insects like ladybugs or lacewings to help control aphids. Organic fungicides made from ingredients like sulfur or neem oil can be used to prevent or treat fungal diseases.
By taking these precautions and regularly monitoring your Astrantia plants, you can help protect them from pests and diseases and ensure their healthy growth.
Transplanting Seedlings
Transplanting astrantia seedlings is an important step in their growth process. This process involves carefully moving the young plants from their initial container to a larger pot or directly into the garden. Proper transplanting techniques help ensure that the seedlings continue to thrive and develop into healthy plants.
Timing: Astrantia seedlings should be transplanted when they have developed their first set of true leaves. This usually occurs about 4 to 6 weeks after germination. Transplanting at this stage allows the seedlings to establish well in their new environment.
Preparing the transplant site: Choose a location in your garden that receives partial shade or dappled sunlight. The soil should be well-draining and rich in organic matter. Clear any weeds and loosen the soil to provide a good planting environment for the seedlings.
Transplanting technique:
- Water the seedlings a few hours before transplanting to ensure that the soil is moist.
- Carefully remove the seedlings from their original container, holding them by their leaves and avoiding touching the fragile stem.
- Make a hole in the prepared soil that is large enough to accommodate the root ball of the seedling.
- Place the seedling in the hole, making sure that the top of the root ball is level with or slightly above the soil surface.
- Gently fill in the hole with soil, firming it around the roots to eliminate any air pockets.
- Water the transplanted seedlings thoroughly.
Aftercare: After transplanting, it is important to provide proper care to the seedlings to help them adjust to their new environment. Here are some tips:
- Keep the soil consistently moist, but not waterlogged.
- Apply a layer of organic mulch around the seedlings to help conserve moisture and suppress weed growth.
- Protect the seedlings from extreme temperatures, strong winds, and heavy rainfall.
- Monitor the plants for any signs of pests or diseases and take appropriate action if necessary.
By following these transplanting tips, you can ensure that your astrantia seedlings have the best chance of thriving and growing into beautiful plants in your garden or containers.
Enjoy Your Beautiful Astrantia Plants
1. Regular Care and Maintenance
To ensure that your Astrantia plants continue to thrive and look beautiful, it’s important to provide them with regular care and maintenance.
- Water your plants regularly, especially during dry periods, to keep the soil moist but not waterlogged.
- Remove any dead or fading flowers to encourage new growth and prolong the blooming period.
- Keep an eye out for any signs of pest or disease and take appropriate action if necessary.
- Apply a slow-release fertilizer in early spring to provide nutrients for healthy growth.
- Divide overcrowded plants every few years to maintain their vigor and ensure optimal performance.
2. Creating Beautiful Displays
Astrantias are beautiful flowers that can enhance the look of any garden or floral arrangement. Here are a few ideas for creating stunning displays with your Astrantia plants:
- Combine Astrantias with other perennials like roses, lavender, or geraniums for a vibrant and colorful flower border.
- Create a charming cottage garden by planting Astrantias alongside other traditional cottage garden favorites such as delphiniums, hollyhocks, and foxgloves.
- Use Astrantias in cut flower arrangements to add a touch of elegance and charm.
- Combine different varieties and colors of Astrantias to create a dynamic and visually interesting display.
3. Overwintering Tips
To ensure that your Astrantia plants survive the winter and come back stronger in the spring, consider the following tips:
- Apply a layer of mulch around the base of the plants in late fall to provide insulation and protect the roots from freezing temperatures.
- Cut back the foliage of the plants to about 2-3 inches above the ground after the first frost.
- Consider covering the plants with a layer of burlap or a frost blanket if you live in an area with particularly harsh winters.
- In early spring, remove the mulch and any protective coverings to allow the new growth to emerge.
| Planting | Care | Overwintering |
|---|---|---|
| Plant in well-drained soil in a partially shaded area. | Water regularly, deadhead flowers, provide fertilizer, and divide every few years. | Apply mulch, cut back foliage, consider protective coverings, and remove mulch in spring. |
By following these care and maintenance tips, and using your creativity to create stunning displays, you can fully enjoy the beauty of your Astrantia plants throughout the growing season. Happy gardening!
Types and Varieties of Astrantia
Astrantia, also known as masterwort, is a perennial flowering plant native to Europe. There are several different types and varieties of astrantia, each with their own unique characteristics and attributes. Here are some popular types and varieties of astrantia:
- Astrantia major: This is the most common type of astrantia, often referred to as the “Great Masterwort.” It features large, showy blooms in shades of pink, white, and purple.
- Astrantia maxima: Also known as the “Giant Masterwort,” this variety produces exceptionally large flowers and can reach heights of up to 3 feet. The blooms are typically white or pale pink.
- Astrantia ‘ Venice’: This cultivated variety is known for its vibrant red flowers. It adds a splash of color to any garden or floral arrangement.
- Astrantia ‘Buckland’: With its delicate, pale pink flowers, this variety is a favorite among gardeners. It is often used in cut flower arrangements.
- Astrantia ‘Ruby Wedding’: This sought-after variety features deep red flowers that are reminiscent of ruby gemstones. It adds a touch of elegance and sophistication to any garden.
In addition to these specific types and varieties, there are also hybrid astrantia plants available that combine the best features of different species. These hybrids often feature unique color combinations and larger, more robust blooms.
When choosing an astrantia variety for your garden, consider factors like flower color, plant height, and flower size. This will help you select the perfect astrantia variety to complement your existing garden design and personal preferences.
Questions and Answers:
Can I grow astrantia from seed?
Yes, you can grow astrantia from seed. It is an easy and cost-effective way to propagate these beautiful plants.
What are the best growing conditions for astrantia?
Astrantia grows best in a partially shaded area with moist, well-draining soil. It prefers a soil pH of 6.0 to 7.0. Overly dry or wet conditions can cause the plant to suffer. It is also important to provide regular watering during dry periods and to mulch around the base of the plant to help retain moisture.


