- What is eustoma?
- Why sow eustoma?
- Method 1: Direct Sowing
- Step 1: Prepare the soil
- Step 2: Sow the seeds
- Step 3: Water and care for the seeds
- Step 4: Transplant or thin the seedlings
- Step 5: Continued care
- Preparing the soil
- Planting the seeds
- Method 2: Starting Indoors
- Materials Needed:
- Steps:
- Using seed trays
- Transplanting the seedlings
- Questions and Answers:
- What is eustoma?
- Are eustoma seeds easy to sow?
- What are the two simple ways to sow eustoma?
- How do I direct sow eustoma seeds?
- How do I start eustoma seeds indoors?
- When is the best time to sow eustoma seeds?
- What are some tips for growing eustoma?
- Videos: Seed Starting Snapdragons: The Ultimate Guide To Growing Thriving Blooms! | PepperHarrowFarm.com
Eustoma (also known as Lisianthus) is a beautiful flowering plant that is commonly grown for its elegant and delicate blooms. It is a favorite among gardeners due to its vibrant colors and long-lasting flowers. If you are a beginner gardener and wondering how to grow eustoma, you’re in luck!
In this article, we will explore two simple methods to sow eustoma seeds, which are perfect for beginners:
Method 1: Direct sowing in the garden
If you have a sunny garden with well-draining soil, direct sowing is a straightforward method to grow eustoma. Start by preparing the soil by removing any weeds or large stones. Loosen the soil with a garden fork or a tiller, ensuring it is crumbly and not compacted.
Next, sprinkle the eustoma seeds directly onto the soil. Gently press the seeds into the soil, ensuring they have good contact with the earth. It’s important not to bury the seeds too deep, as they need light to germinate. Water the area lightly to settle the seeds.
Method 2: Germinating seeds indoors
If you don’t have a suitable garden space or want to ensure optimal conditions for germination, starting eustoma seeds indoors is a great option. Begin by filling small pots or seed trays with a well-draining potting mix. Moisten the soil but make sure it’s not overly wet.
Sow the eustoma seeds on the soil surface, gently pressing them down. Sprinkle a thin layer of potting mix over the seeds to cover them. Place the pots or trays in a warm and bright location, preferably near a sunny window. Maintain a consistent temperature between 70-80°F (21-27°C).
Remember to keep the soil moist but not soggy. Check the pots regularly for germination, which usually occurs within 2-3 weeks. Once the seedlings have developed a few sets of true leaves, you can transplant them into larger containers or the garden.
Both methods described above are easy and beginner-friendly ways to sow eustoma seeds. Whether you choose to sow them directly in the garden or germinate them indoors, with proper care and attention, you’ll soon be rewarded with stunning eustoma blooms!
What is eustoma?
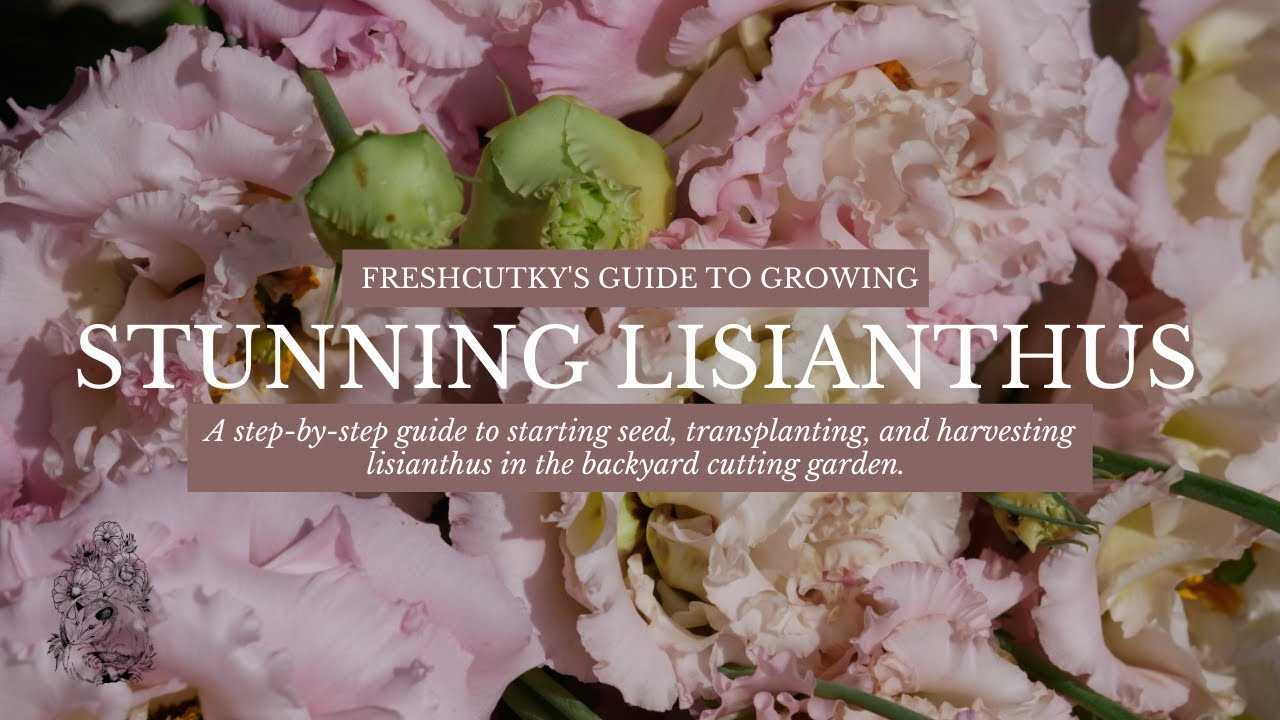
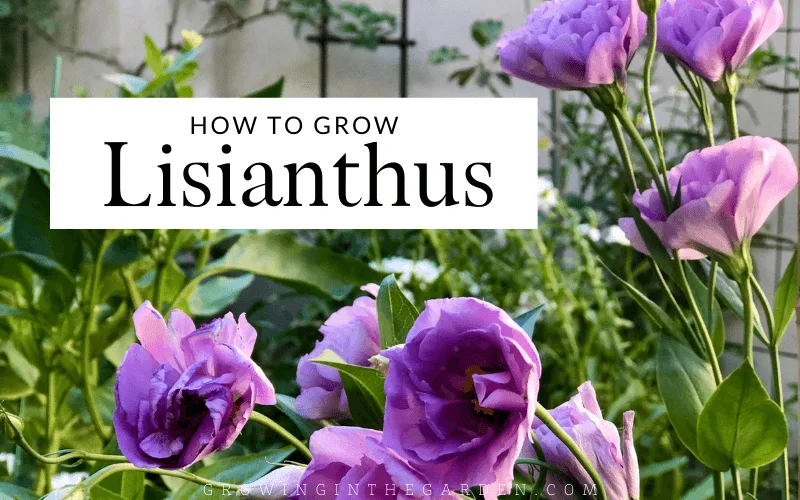
Eustoma, also known as Lisianthus or Texas Bluebell, is a beautiful flowering plant native to North and South America. It belongs to the family Gentianaceae and is highly admired for its exquisite flowers, which are often used in floral arrangements and bouquets. Eustoma is available in various colors, including shades of pink, purple, blue, and white, making it a popular choice for decorating gardens and indoor spaces.
Eustoma plants have long stems with oval-shaped leaves that grow in pairs. The flowers of the eustoma plant have unique trumpet-shaped petals that give them a graceful and elegant appearance. These flowers can be single-flowered or double-flowered, with the double-flowered varieties having more layers of petals.
Eustoma is a perennial plant, meaning it can live for several years with proper care and maintenance. It thrives in full sun or partial shade and prefers well-draining soil. Eustoma is known for its ability to withstand heat and drought conditions, making it a resilient and hardy plant.
In addition to its beauty, eustoma flowers also have a pleasant fragrance, which adds to their appeal. These flowers attract bees and butterflies, making them an excellent choice for pollinator gardens.
Overall, eustoma is a versatile and delightful plant that can bring beauty and charm to any garden or floral arrangement. Its vibrant colors, graceful flowers, and pleasing fragrance make it a favorite among gardeners and flower enthusiasts worldwide.
Why sow eustoma?
Eustoma, also known as Lisianthus, is a popular and beautiful flower that can be grown from seeds. There are several reasons why sowing eustoma can be a great gardening activity:
- Easy to grow: Eustoma is a beginner-friendly flower that is easy to grow from seeds. Even if you are new to gardening, you can successfully sow eustoma and enjoy its beautiful blooms.
- Variety: Eustoma comes in a variety of colors, including shades of pink, purple, blue, and white. You can choose from different varieties and create a stunning flower bed or bouquet.
- Long blooming period: Eustoma produces flowers that can bloom for a long period of time, usually from summer to fall. This means you can enjoy the beauty of eustoma in your garden for several months.
- Attracts pollinators: Eustoma flowers are attractive to pollinators like bees and butterflies. By sowing eustoma in your garden, you can help support the local ecosystem by providing a food source for these beneficial insects.
- Indoor and outdoor cultivation: Eustoma can be grown both indoors and outdoors. You can sow eustoma seeds in pots or containers and enjoy their beautiful blooms as indoor plants, or you can plant them in your garden and create a colorful flower bed.
- Cut flower: Eustoma flowers make excellent cut flowers. They have long stems and last long in bouquets, making them a popular choice for floral arrangements or gifts.
Sowing eustoma can be a rewarding and enjoyable gardening activity. Whether you are a beginner or an experienced gardener, you can benefit from sowing eustoma and witnessing the beauty of these stunning flowers.
Method 1: Direct Sowing
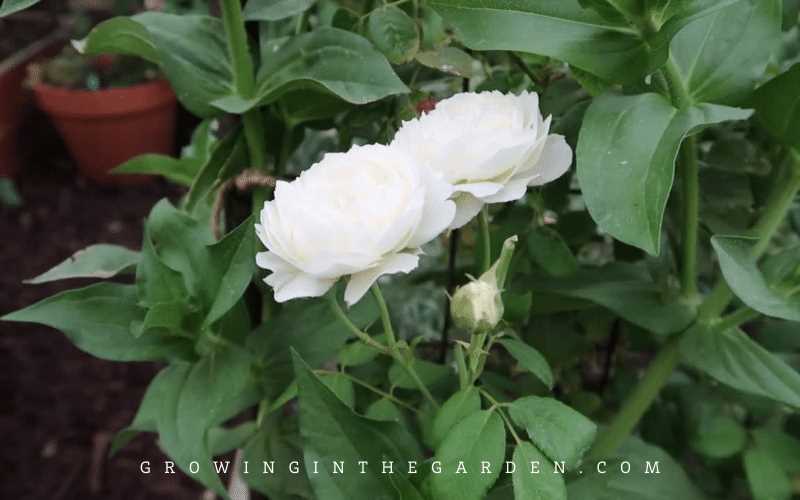
Direct sowing is a simple and beginner-friendly method of sowing eustoma seeds directly into the ground. This method is suitable for areas with mild climates, where the soil temperature remains consistently above 65°F (18°C).
Step 1: Prepare the soil

Choose a planting location that receives full sun or partial shade. Loosen the soil with a garden fork or tiller to a depth of about 6 inches (15 cm). Remove any rocks, weeds, or other debris from the area.
Step 2: Sow the seeds
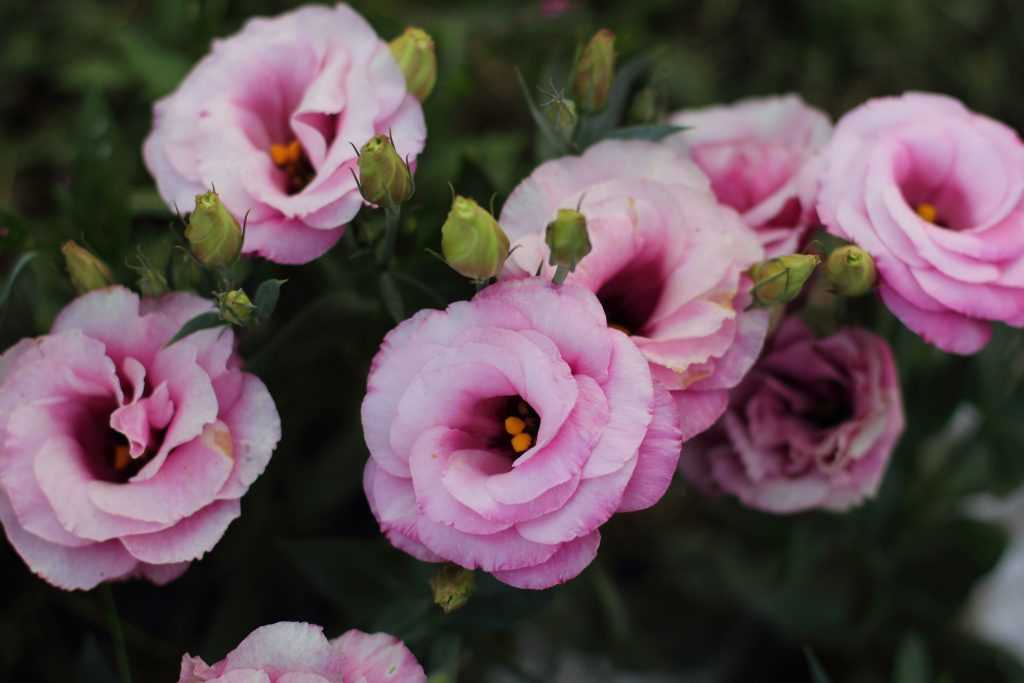
- Moisten the soil slightly before sowing the seeds. This will help the seeds germinate more easily.
- Scatter the eustoma seeds evenly over the prepared soil. Aim for a spacing of about 6 to 8 inches (15 to 20 cm) between seeds.
- Lightly press the seeds into the soil using the back of a rake or your hand. Be careful not to bury the seeds too deeply, as eustoma seeds require light to germinate.
Step 3: Water and care for the seeds
- Water the area gently immediately after sowing the seeds. Keep the soil consistently moist but not waterlogged throughout the germination period.
- Provide shade during hot afternoons to protect the newly sown seeds from intense sunlight and heat.
- Keep the soil weed-free by regularly removing any competing vegetation.
- Monitor the growth of the seedlings and thin them if necessary, leaving only the strongest plants to grow.
Step 4: Transplant or thin the seedlings
Once the seedlings have developed several sets of true leaves and are large enough to handle, you can either transplant them to their final growing location or thin them out.
Step 5: Continued care
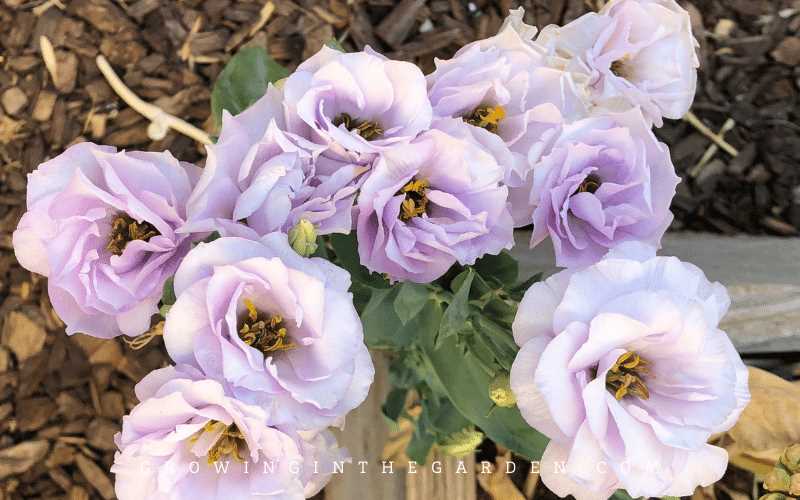
Continue to provide adequate water and regular care to the eustoma plants as they grow. Fertilize them with a balanced liquid fertilizer according to the manufacturer’s instructions. Monitor for any pests or diseases and take appropriate measures to control them.
By following these simple steps, you can successfully sow eustoma seeds directly into the ground and enjoy the beautiful blooms of these lovely flowers!
Preparing the soil
Before sowing eustoma, it is important to prepare the soil properly to create a favorable environment for the seeds to germinate and grow. Follow these steps to prepare the soil:
- Choose a sunny location: Eustoma plants require full sun to thrive. Select a spot in your garden that receives at least 6-8 hours of direct sunlight each day.
- Clear the area: Remove any weeds, rocks, or debris from the planting area. This will help ensure that the eustoma plants have access to water and nutrients without competition from other vegetation.
- Loosen the soil: Use a garden fork or a tiller to loosen the soil to a depth of about 6-8 inches. This will improve drainage and aeration, allowing the eustoma roots to penetrate easily and develop.
- Add organic matter: Mix in a generous amount of organic matter, such as compost or well-rotted manure, into the soil. This will enrich the soil and improve its overall structure, making it more suitable for eustoma cultivation.
- Test the soil pH: Eustoma plants prefer slightly acidic to neutral soil with a pH range of 5.5 to 7.0. Use a soil testing kit to check the pH level of your soil and make adjustments if necessary.
- Ensure good drainage: Eustoma plants do not tolerate waterlogged conditions. If your soil has poor drainage, consider incorporating organic matter or sand to improve it.
By following these steps to prepare the soil properly, you will provide the eustoma seeds with the best possible conditions for germination and growth. This will increase the chances of success and result in healthier and more vigorous plants.
Planting the seeds

Once you have acquired the eustoma seeds, it is time to plant them. Follow these simple steps:
- Prepare the soil: Eustoma prefers well-drained soil rich in organic matter. Loosen the soil and remove any weeds or debris.
- Sow the seeds: Scatter the eustoma seeds evenly over the prepared soil. You can either sprinkle them directly or sow them in rows with a spacing of about 12 inches between each row.
- Cover the seeds: Gently press the seeds into the soil to ensure good contact. Lightly cover the seeds with a thin layer of soil or vermiculite.
- Water the seeds: After sowing, water the seeds thoroughly to provide moisture for germination. Avoid overwatering, as it can lead to fungal diseases or rotting of the seeds.
It is important to keep the soil consistently moist during the germination process, which usually takes around 2-3 weeks. Ensure the container or area where you have planted the seeds receives ample sunlight, preferably 6-8 hours a day.
Pro tip: You can also consider using a seed starting mix instead of regular potting soil for better germination rates.
Once the seedlings have emerged and developed their first set of true leaves, you can transplant them into individual pots or directly into the garden, depending on your preference. Eustoma plants typically take around 16-18 weeks to reach maturity and start blooming.
Method 2: Starting Indoors
Another beginner-friendly method for sowing eustoma is to start them indoors. This method allows for better control over the growing conditions and helps to prevent potential issues, such as pest damage or extreme weather conditions. Follow the steps below to sow eustoma seeds indoors:
Materials Needed:
- Seed tray or pots
- Seed compost or potting soil
- Eustoma seeds
- Watering can or spray bottle
- Transparent plastic cover or plastic wrap
Steps:
- Fill the seed tray or pots with seed compost or potting soil, leaving about 1 to 2 cm space at the top.
- Moisten the soil with water until it is just damp.
- Place the eustoma seeds on top of the soil, spacing them evenly apart.
- Lightly press the seeds into the soil, making sure they are in good contact with the soil.
- Cover the tray or pots with a transparent plastic cover or plastic wrap to create a greenhouse-like environment.
- Place the tray or pots in a warm location with indirect sunlight or under a grow light.
- Check the soil moisture regularly and water gently if needed, ensuring that the soil remains damp but not waterlogged.
- After germination, which usually takes about 2 to 3 weeks, remove the plastic cover or wrap.
- Continue to provide the eustoma plants with ample sunlight and water as needed.
- When the seedlings develop their second or third set of true leaves, transplant them into separate pots or containers.
Starting eustoma seeds indoors gives them a headstart and allows for better control over their early growth stages. As they grow and develop, make sure to provide them with adequate sunlight, water, and nutrients to ensure healthy and beautiful plants.
Using seed trays
If you prefer using seed trays to sow eustoma seeds, here is a step-by-step guide to help you get started:
- Prepare the seed trays: Fill the seed trays with a well-draining seed starting mix. Make sure that the trays have drainage holes at the bottom to prevent waterlogging.
- Sow the seeds: Scatter the eustoma seeds evenly over the surface of the seed starting mix. Lightly press the seeds into the soil, but do not cover them with additional soil as eustoma seeds require light to germinate.
- Water the trays: Use a gentle misting spray nozzle or a watering can with a fine rose to water the trays. Keep the soil evenly moist, but avoid overwatering as it can lead to rotting of the seeds.
- Provide warmth: Place the seed trays in a warm location where the temperature remains constant between 70-75°F (21-24°C). You can use a seedling heat mat to provide the optimal temperature for germination.
- Provide light: Eustoma seeds require bright light to germinate. Place the trays in a location with bright, indirect sunlight or use artificial grow lights if natural light is limited.
- Monitor and care for the seedlings: Keep an eye on the trays and mist them with water whenever the top layer of soil feels dry. As the seedlings grow, thin them out to ensure that each plant has enough space to develop.
- Transplant the seedlings: Once the seedlings have developed 2-3 true leaves, they are ready to be transplanted into individual pots or containers. Handle the seedlings carefully to avoid damaging the delicate roots.
Using seed trays can be a convenient method for sowing eustoma seeds, especially if you have limited space or want to easily manage and monitor the germination process. Make sure to follow the steps carefully and provide the necessary conditions for successful germination and seedling growth.
Transplanting the seedlings
Once your eustoma seedlings have grown to a height of about 2-3 inches and have developed their second set of true leaves, they are ready to be transplanted into larger pots or containers.
Here is a step-by-step guide on how to transplant your eustoma seedlings:
- Prepare the new pots or containers: Choose containers that are at least 4-6 inches deep and have drainage holes at the bottom. Fill the containers with a well-draining potting mix.
- Gently remove the seedlings from their current container: Carefully loosen the soil around the seedlings with a small trowel or your fingers. Hold the seedlings by their leaves, not the delicate stems, and gently lift them out of the container.
- Transplant the seedlings into the new pots: Dig a small hole in the center of each new pot and place one seedling into each hole. Make sure to plant them at the same depth they were in the previous container. Cover the roots with soil and press gently to secure the seedlings in place.
- Water the newly transplanted seedlings: Water the pots thoroughly, ensuring that the soil is evenly moist. Watering from the bottom is recommended to avoid disturbing the newly transplanted seedlings.
- Place the pots in a suitable location: Eustoma plants thrive in full sun, so choose a spot that receives at least 6-8 hours of direct sunlight per day. Make sure to protect them from strong winds.
- Maintain proper care for the transplanted seedlings: Continue to water the seedlings regularly, keeping the soil evenly moist. Monitor the plants for any signs of pests or diseases and take appropriate action if needed.
By following these steps, you can successfully transplant your eustoma seedlings and ensure their healthy growth and development.
Questions and Answers:
What is eustoma?
Eustoma, also known as lisianthus, is a flowering plant native to the southern United States, Mexico, and northern South America. It is popular for its beautiful, rose-like flowers that come in a variety of colors.
Are eustoma seeds easy to sow?
Yes, eustoma seeds are relatively easy to sow and can be grown by beginners. They require some care and attention, but with the right method, you can have success in growing them.
What are the two simple ways to sow eustoma?
The two simple ways to sow eustoma are direct sowing and starting seeds indoors. Direct sowing involves planting the seeds directly into the ground, while starting seeds indoors involves sowing the seeds in trays or pots indoors and then transplanting them outdoors.
How do I direct sow eustoma seeds?
To direct sow eustoma seeds, prepare a sunny spot in your garden by loosening the soil and removing any weeds or debris. Sow the seeds about 1/8 inch deep and water them gently. Keep the soil consistently moist until the seeds germinate, which usually takes around 14-21 days.
How do I start eustoma seeds indoors?
To start eustoma seeds indoors, fill seed trays or pots with a well-draining seed-starting mix. Sow the seeds on the surface of the soil and lightly press them down. Cover the tray or pots with plastic wrap to create a greenhouse effect. Place them in a warm and bright location and keep the soil moist. Once the seedlings have grown a few inches tall, they can be transplanted outdoors.
When is the best time to sow eustoma seeds?
The best time to sow eustoma seeds depends on your climate. In general, it is best to sow the seeds indoors 8-10 weeks before the last expected frost date in your area. Transplant the seedlings outdoors after all danger of frost has passed.
What are some tips for growing eustoma?
Some tips for growing eustoma include providing them with full sun, well-draining soil, and regular watering. Deadhead the flowers to encourage continuous blooming and remove any yellowing or dead leaves. Protect the plants from strong winds and pests. Applying a balanced fertilizer every few weeks can also promote healthy growth.


