- Planting Blackcurrant: A Step-by-Step Guide
- 1. Choose the Right Location
- 2. Prepare the Soil
- 3. Add Organic Matter
- 4. Planting Blackcurrant Bush
- 5. Mulch the Surrounding Area
- 6. Watering and Maintenance
- 7. Harvesting
- 8. Propagation
- 9. Pests and Diseases
- Choosing the Right Location for Your Blackcurrant Bush
- Preparing the Soil for Blackcurrant Planting
- 1. Choose a Suitable Location
- 2. Clear the Area
- 3. Test and Adjust the Soil pH
- 4. Improve Drainage
- 5. Dig a Planting Hole
- 6. Add Fertilizer
- 7. Plant the Blackcurrant Bush
- 8. Fill and Firm the Soil
- 9. Water Thoroughly
- Propagating Blackcurrant: Methods and Tips
- 1. Seed Propagation
- 2. Softwood Cuttings
- 3. Division
- Caring for Your Blackcurrant Bush: Watering and Fertilizing
- Watering
- Fertilizing
- Mulching
- Monitoring
- Blackcurrant Pruning: Best Practices for a Healthy Bush
- 1. Timing
- 2. Cleaning
- 3. Thinning
- 4. Renewal
- 5. Height
- 6. Pruning Young Bushes
- 7. Training
- 8. Aftercare
- 9. Disease Control
- 10. Maintenance
- Protecting Your Blackcurrant Plant from Pests and Diseases
- Common Pests
- Common Diseases
- Preventive Measures
- Conclusion
- Harvesting and Storing Blackcurrant Berries
- 1. Timing:
- 2. Harvesting:
- 3. Storing:
- 4. Freezing:
- 5. Enjoying:
- Blackcurrant Uses and Recipes: From Jams to Desserts
- Jams and Preserves
- Desserts
- Drinks and Beverages
- Savory Dishes
- Health Benefits of Blackcurrants
- Conclusion
- Question-answer:
- When is the best time to plant blackcurrant bushes?
- How much sun do blackcurrant bushes need?
- What is the recommended spacing between blackcurrant bushes?
- Do blackcurrant bushes require regular pruning?
- How can I propagate blackcurrant bushes?
- What are some common pests and diseases that affect blackcurrant bushes?
- Video: How to prune an apple tree: ultimate beginners guide!
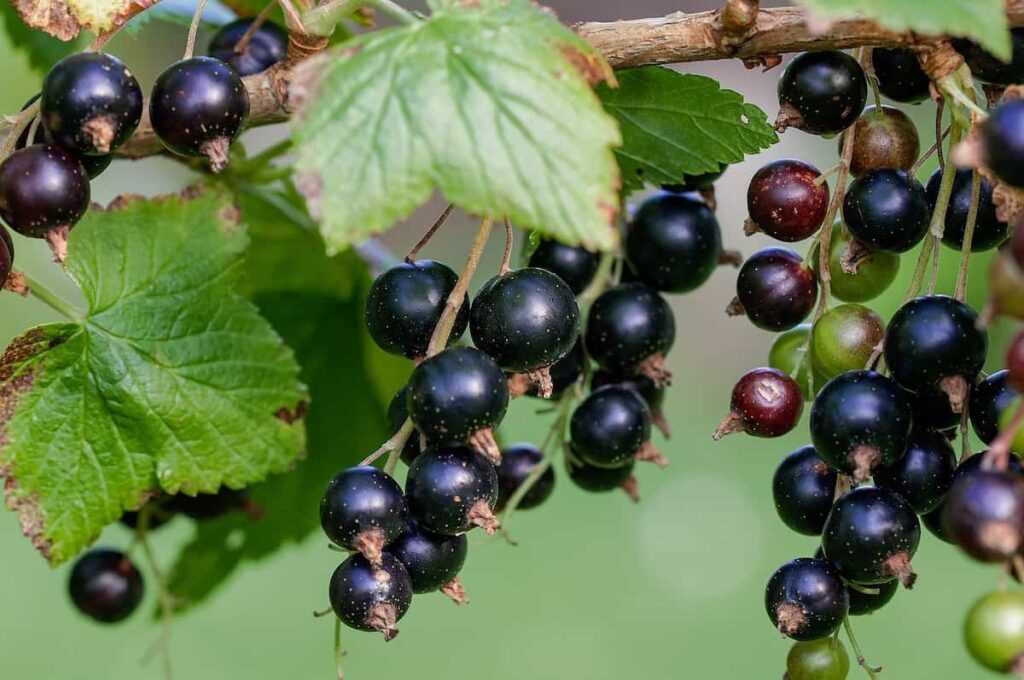
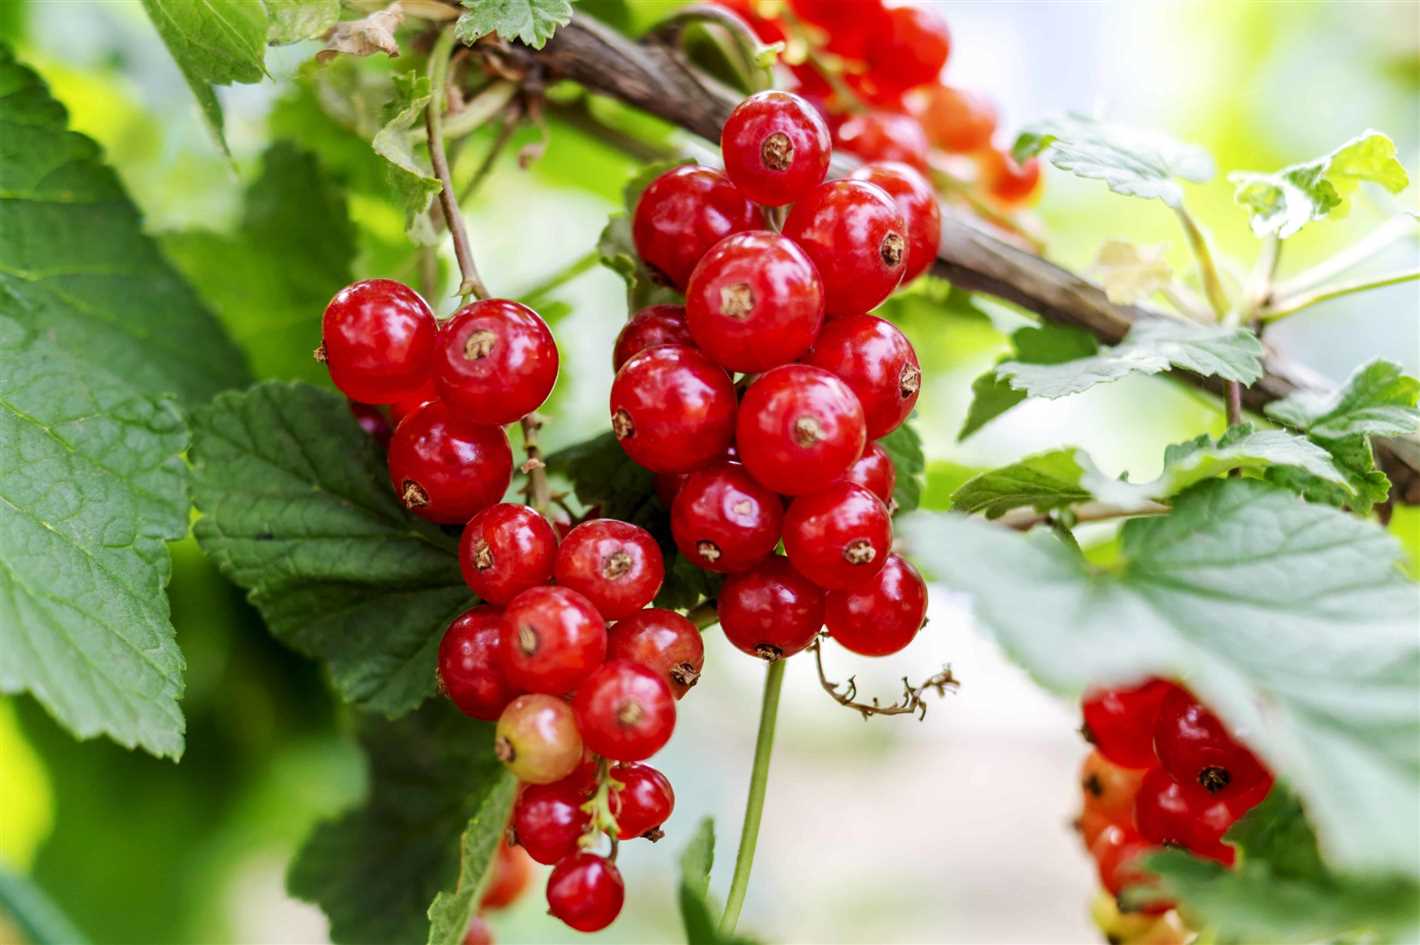
Blackcurrants, scientifically known as Ribes nigrum, are small, dark berries that grow on deciduous shrubs. They are highly prized for their intense flavor, nutritional value, and versatility in culinary applications. Whether you are an experienced gardener or a beginner, growing blackcurrants in your garden can be a rewarding and enjoyable experience. In this article, we will provide you with essential tips for successfully growing, pruning, and propagating blackcurrants.
Growing Blackcurrants: Blackcurrants thrive in temperate climates and prefer a well-drained soil that is rich in organic matter. They require a sunny or partially shaded location that receives at least six to eight hours of sunlight per day. Before planting, prepare the soil by removing any weeds and incorporating organic matter, such as compost or well-rotted manure. Blackcurrant plants are available in both bare-root and container-grown forms. When planting, make sure to space the plants at least 1.5 to 2 meters apart to allow for proper air circulation and growth. Water the plants regularly, especially during dry periods, and mulch the base of the shrubs to conserve moisture and suppress weeds.
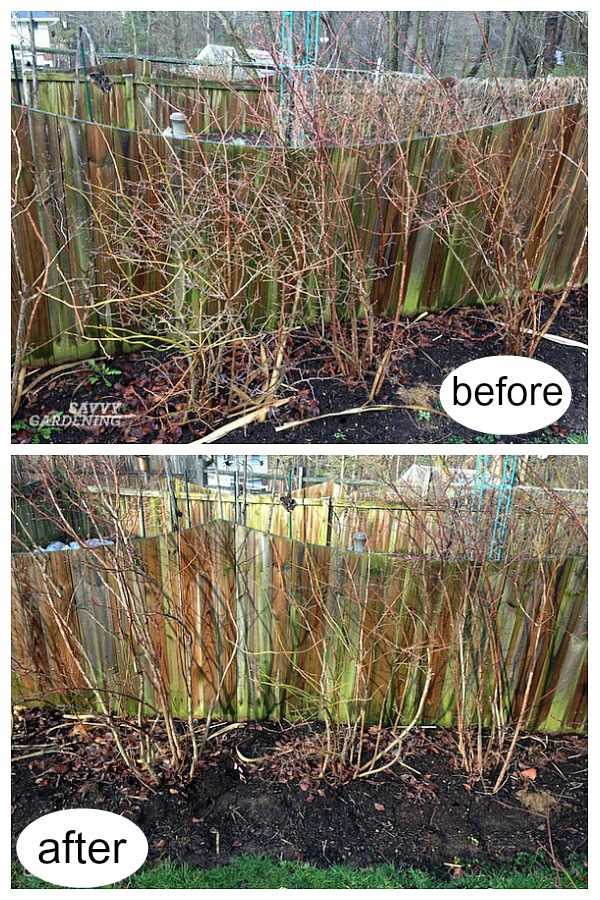
Pruning Blackcurrants: Pruning is an important aspect of blackcurrant cultivation as it promotes healthy growth, improves airflow, and increases fruit production. Prune blackcurrant bushes in late winter or early spring before new growth begins. Start by removing any dead or diseased branches. Next, thin out crowded branches, removing those that are crossing or rubbing against each other. Aim to maintain an open, vase-like shape with a central leader. Additionally, cut back one-third of the oldest stems to the ground each year to encourage new growth and prevent the accumulation of old, unproductive wood.
Propagation of Blackcurrants: Blackcurrants can be propagated through hardwood cuttings or by layering. In the winter, take 20-25 cm long hardwood cuttings from healthy, vigorous branches. Remove the bottom leaves and dip the bottom end of the cutting in rooting hormone powder before planting it in a well-drained potting mix. Keep the cuttings in a sheltered, shaded area and water them regularly until they develop roots. Alternatively, you can propagate blackcurrants by layering. Select a low-hanging branch and create a small wound where it touches the ground. Secure the branch to the ground using a garden staple or a U-shaped piece of wire. Cover the wounded area with soil and mulch. The branch will develop roots, and once established, it can be cut from the parent plant and transplanted elsewhere.
In conclusion, growing blackcurrants requires careful consideration of their growing requirements, proper pruning techniques, and effective propagation methods. By following the tips outlined in this article, you can enjoy a bountiful harvest of delicious blackcurrants and enhance the beauty of your garden.
Planting Blackcurrant: A Step-by-Step Guide
1. Choose the Right Location
Blackcurrant bushes thrive in sunny or partially shaded areas with well-draining soil. Make sure the location receives at least six hours of sunlight daily.
2. Prepare the Soil
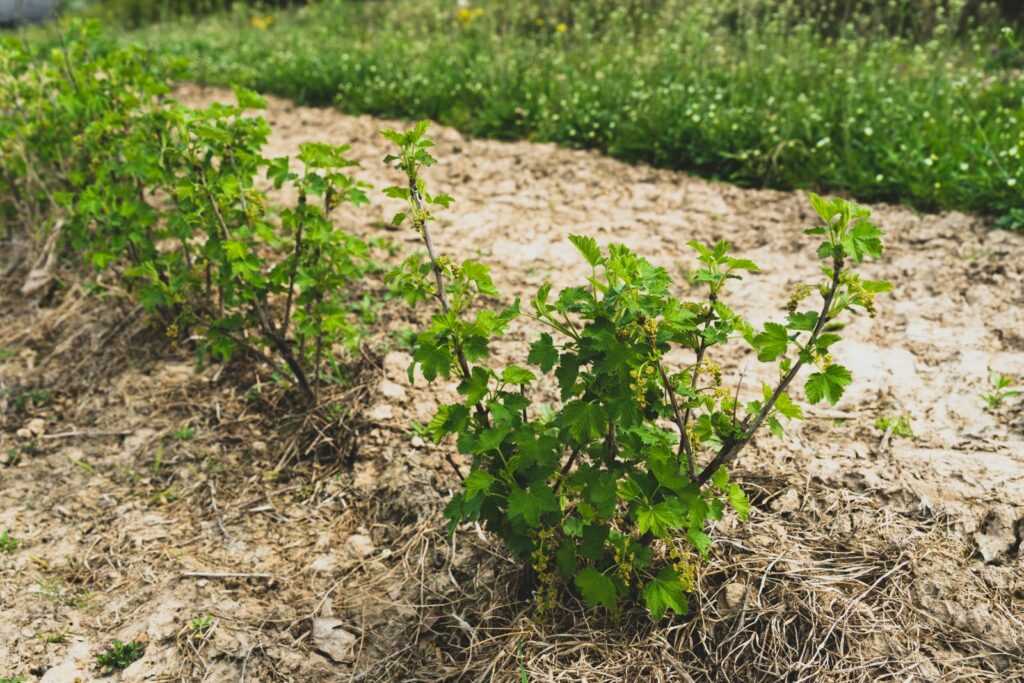

Before planting, prepare the soil by removing any weeds, rocks, or debris. Dig a hole that is twice as wide and deep as the blackcurrant bush’s root ball.
3. Add Organic Matter
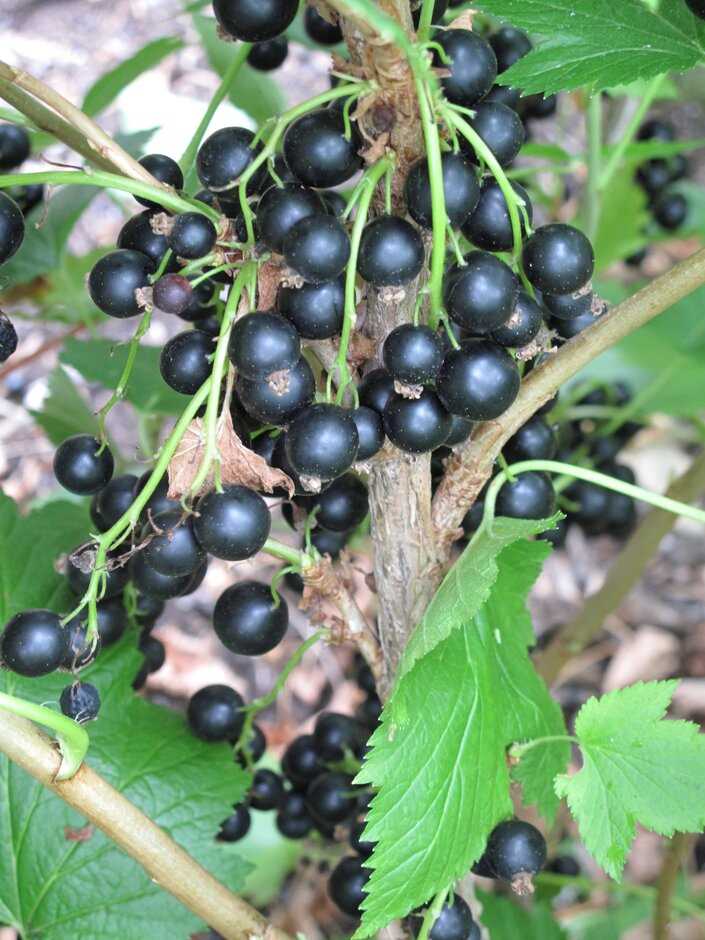

Incorporate well-rotted compost or organic matter into the soil to improve its fertility and drainage. This will provide essential nutrients for the blackcurrant bush’s growth.
4. Planting Blackcurrant Bush
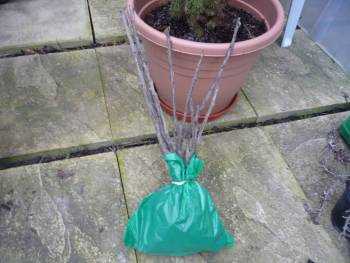
- Gently remove the blackcurrant bush from its container, being careful not to damage the roots.
- Place the blackcurrant bush in the center of the hole, making sure it is at the same depth as it was in the container.
- Backfill the hole with soil, firming it gently around the roots.
- Water the blackcurrant bush thoroughly after planting.
5. Mulch the Surrounding Area
Apply a layer of organic mulch, such as wood chips or straw, around the blackcurrant bush. This will help to retain moisture, suppress weed growth, and regulate soil temperature.
6. Watering and Maintenance
Water the blackcurrant bush regularly, especially during dry spells. Prune the bush in late winter or early spring to remove any dead or damaged wood and to encourage new growth.
7. Harvesting
The blackcurrant berries are ready for harvest when they are plump, shiny, and black. Gently pick them off the bush, being careful not to damage the branches.
8. Propagation
Blackcurrant bushes can be propagated through hardwood cuttings taken in late autumn or early winter. Prepare the cuttings by removing the bottom leaves and dipping them in rooting hormone before planting in a pot filled with well-draining soil.
9. Pests and Diseases
| Pests | Diseases |
|---|---|
| Blackcurrant Gall Mite | Rust |
| Blackcurrant Bud Mite | Aphids |
| Blackcurrant Sawfly | Leaf Spot |
Regularly check the blackcurrant bushes for signs of pests or diseases and take appropriate measures to control and prevent their spread.
By following these steps, you can successfully plant and grow blackcurrant bushes in your garden, enjoying their delicious and nutritious berries for years to come.
Choosing the Right Location for Your Blackcurrant Bush
Growing blackcurrant bushes requires careful consideration of the location in order to provide them with the optimal conditions for healthy growth. Here are some factors to keep in mind when choosing the right location for your blackcurrant bush:
- Sunlight: Blackcurrant bushes thrive in full sun, so choose a location that receives at least six to eight hours of direct sunlight each day. Avoid planting them in areas with excessive shade as this can adversely affect their fruiting.
- Soil: Blackcurrant bushes prefer well-drained soil that is rich in organic matter. They can tolerate a wide range of soil types, but they thrive in loamy soil with a pH level between 6.0 and 6.5. Conduct a soil test to determine the pH level and make necessary amendments if needed.
- Spacing: Ensure that you have enough space to plant your blackcurrant bushes. They generally need about 4-5 feet of space between each bush to allow for air circulation and proper growth. Additionally, make sure there is adequate space for you to move around and harvest the fruit.
- Protection from Wind: Blackcurrant bushes can be vulnerable to wind damage, so it is advisable to choose a location that offers some protection from strong winds. Planting them near a wall, fence, or hedge can provide the necessary shelter.
- Avoid Frost Pockets: Blackcurrant bushes are susceptible to frost damage, so it is important to avoid planting them in low-lying areas or frost pockets where cold air can accumulate. Choose a location that is elevated or has good air drainage to minimize the risk of frost damage.
By taking these factors into account, you can choose the right location for your blackcurrant bush and provide it with the best possible conditions for healthy growth and abundant fruiting.
Preparing the Soil for Blackcurrant Planting
Before planting blackcurrant bushes, it is important to prepare the soil to provide the optimal growing conditions for the plants. Follow these steps to ensure a healthy and productive blackcurrant crop:
1. Choose a Suitable Location
Blackcurrants prefer a sunny location with well-drained soil. Select a spot in your garden that receives at least six hours of direct sunlight per day. Additionally, ensure that the soil is not waterlogged to prevent root rot.
2. Clear the Area
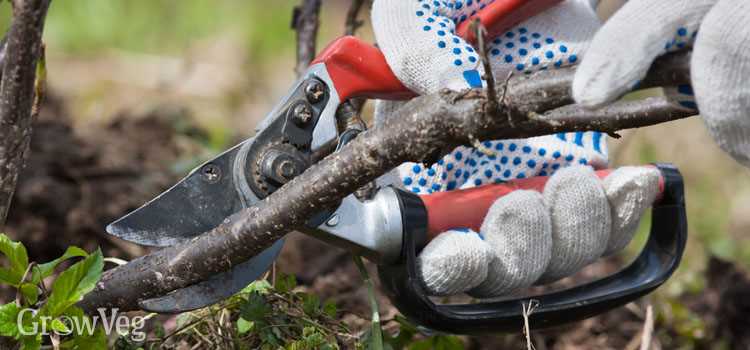

Before preparing the soil, clear the area of any weeds or grass. Use a hand tool or a garden hoe to remove any unwanted vegetation.
3. Test and Adjust the Soil pH
Blackcurrants prefer slightly acidic soil with a pH between 6 and 6.5. Use a soil testing kit to determine the pH level of your soil. If the pH is too high or too low, make the necessary adjustments by adding lime to raise the pH or sulfur to lower the pH.
4. Improve Drainage
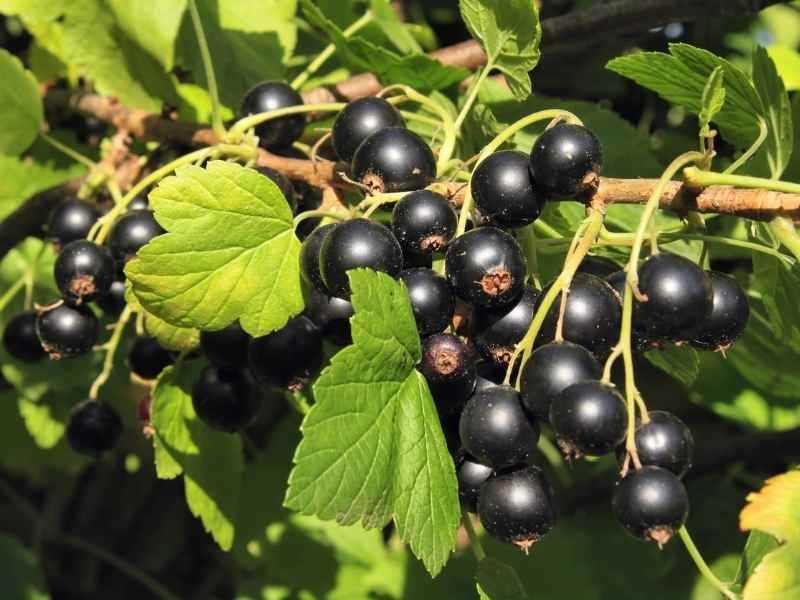

If your soil is heavy or clay-like, it is important to improve drainage to prevent waterlogging. Add organic matter such as compost or well-rotted manure to the soil. This will help loosen the soil and improve its drainage capabilities.
5. Dig a Planting Hole
Dig a planting hole that is wide and deep enough to accommodate the blackcurrant bush’s roots. The hole should be approximately twice as wide and deep as the root ball of the plant.
6. Add Fertilizer
Prior to planting, incorporate a slow-release fertilizer into the soil. This will provide the blackcurrant plants with the necessary nutrients for growth. Follow the manufacturer’s instructions for application rates.
7. Plant the Blackcurrant Bush
Place the blackcurrant bush in the planting hole, ensuring that the roots are spread out and not twisted. The bud union, which is the swollen area where the plant was grafted onto the rootstock, should be positioned slightly above the soil level.
8. Fill and Firm the Soil
Backfill the hole with the soil, ensuring that it is firmly packed around the roots. Gently firm the soil to remove any air pockets.
9. Water Thoroughly
After planting, water the blackcurrant bush thoroughly to ensure that the soil is evenly moist. Continue to water regularly, especially during dry periods, to maintain adequate moisture levels.
By following these steps, you can prepare the soil effectively for blackcurrant planting, giving your plants the best chance for healthy growth and robust fruit production.
Propagating Blackcurrant: Methods and Tips
Blackcurrants can be propagated through various methods depending on the desired outcome. Here are some common methods and tips for propagating blackcurrant plants:
1. Seed Propagation
- Collect ripe blackcurrant berries and remove the seeds.
- Clean the seeds by rinsing them in water to remove any pulp or debris.
- Place the cleaned seeds in a damp paper towel and store it in a plastic bag in the refrigerator for 4-6 weeks. This process, known as stratification, helps simulate winter conditions and improves germination rates.
- After stratification, sow the seeds in a seed tray or small pots filled with well-draining seed compost.
- Keep the soil consistently moist and maintain a temperature of around 15-20°C (59-68°F).
- Germination should occur within 2-4 weeks. Once the seedlings have developed a few sets of leaves, transplant them into larger pots or directly into the garden.
2. Softwood Cuttings
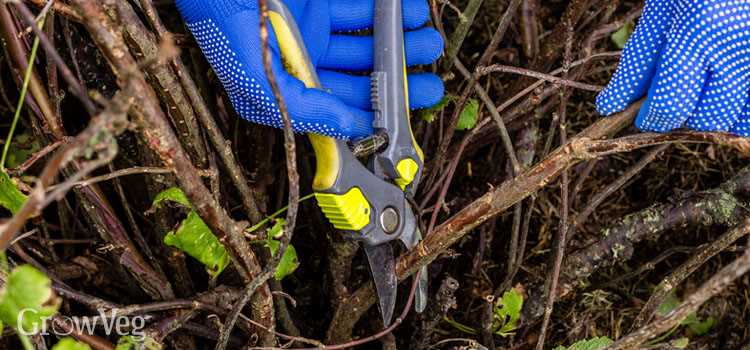

- Take softwood cuttings from young, healthy blackcurrant plants in early summer.
- Select a stem that is green and flexible, approximately 10-15 cm (4-6 inches) in length.
- Remove the lower leaves, leaving only a few at the top.
- Dip the cut end of the stem in rooting hormone powder.
- Insert the cutting into a pot filled with a well-draining rooting medium, such as perlite or vermiculite.
- Place the pot in a warm, well-lit area, but out of direct sunlight.
- Keep the soil consistently moist and mist the cutting regularly to maintain high humidity.
- Roots should begin to form within 4-6 weeks. Once the cutting has developed a strong root system, it can be potted up or transplanted into the garden.
3. Division
- Divide established blackcurrant plants during their dormant period in late winter or early spring.
- Start by digging up the entire plant, being careful not to damage the roots.
- Divide the plant into smaller sections, ensuring that each section has a good portion of roots and several vigorous shoots.
- Replant the divided sections in their desired locations, ensuring they are planted at the same depth as they were previously.
- Water thoroughly after planting and continue to provide regular care.
By using these propagation methods, you can easily increase your blackcurrant plant collection or share them with fellow gardeners. Remember to provide the appropriate care and maintenance for the newly propagated plants to ensure their successful growth and fruit production.
Caring for Your Blackcurrant Bush: Watering and Fertilizing
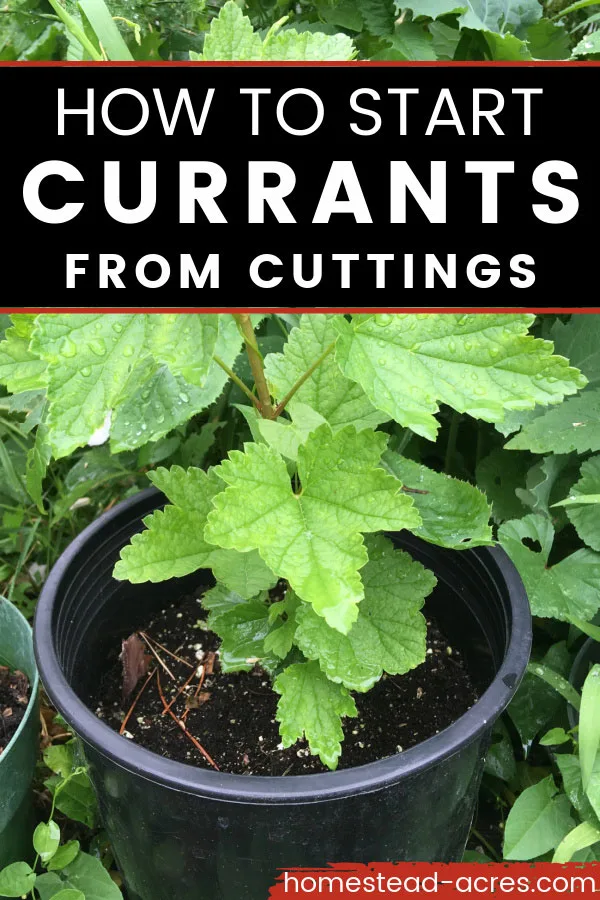

Proper watering and fertilizing are essential for the health and productivity of your blackcurrant bush. Here are some tips to ensure your plant thrives:
Watering
- Establishment phase: During the first year after planting, it is crucial to provide adequate water to help the blackcurrant bush establish its root system. Water deeply once or twice a week, ensuring the soil is evenly moist but not waterlogged.
- Mature plants: Once the blackcurrant bush is established, it still requires regular watering to maintain optimal growth. Water deeply once a week, especially during dry periods. Use a soaker hose or drip irrigation system to ensure the water reaches the roots.
Fertilizing
Blackcurrant bushes are heavy feeders and benefit from regular fertilization. Here’s how to fertilize your bush:
- Organic matter: Before planting, incorporate well-rotted compost or manure into the soil. This will provide the blackcurrant bush with essential nutrients and improve soil fertility.
- Spring fertilization: In early spring, before the growing season begins, apply a balanced slow-release fertilizer according to the manufacturer’s instructions. This will provide the necessary nutrients for healthy growth and fruit development.
- Midsummer fertilization: After the fruit has set, apply a potassium-rich fertilizer to support the development and ripening of the berries.
- Autumn fertilization: In late autumn, after harvesting, apply a nitrogen-rich fertilizer to promote strong growth and prepare the plant for the following year.
Mulching
Applying a layer of organic mulch around the base of the blackcurrant bush helps conserve moisture, suppress weeds, and provide additional nutrients. Use well-rotted compost, straw, or wood chips as mulch.
Monitoring
Regularly monitor the moisture levels of your blackcurrant bush by checking the soil. Keep an eye out for signs of overwatering or underwatering, such as yellowing leaves or wilting. Adjust your watering schedule accordingly.
Additionally, observe the overall health of the plant to identify any nutrient deficiencies or pest infestations. Promptly address any issues to prevent them from affecting the productivity of your blackcurrant bush.
Blackcurrant Pruning: Best Practices for a Healthy Bush
Pruning blackcurrant bushes is an essential task to maintain their health and productivity. By removing old wood, improving airflow, and controlling disease and pests, you can ensure a bountiful harvest. Here are some best practices for pruning blackcurrant bushes:
1. Timing
Prune blackcurrant bushes in late winter or early spring while they are dormant. It is easier to see the structure of the bush during this time, and the wounds heal quickly as new growth begins.
2. Cleaning
Start by removing any dead, damaged, or diseased wood. Cut these branches back to healthy, live wood, making clean cuts at a slight angle just above a bud.
3. Thinning
Thin out the bush by removing any weak or crossing branches. Aim for an open, vase-shaped structure that allows sunlight and air to reach all parts of the bush.
4. Renewal
To maintain the vigor of the bush, remove some of the older wood. This encourages new growth and helps prevent the bush from becoming overcrowded. Remove about one-third of the oldest wood, cutting it back to the base of the plant.
5. Height
Blackcurrant bushes can grow quite tall, but it is generally recommended to keep them pruned to a height of around 4-6 feet (1.2-1.8 meters) for easier maintenance and harvesting.
6. Pruning Young Bushes
For newly planted blackcurrant bushes, prune them to about one-third of their height at planting time. This helps establish a strong framework for future growth.
7. Training
As the bush grows, train the new shoots to grow outwards and away from the center. This helps maintain good airflow and reduces the risk of disease.
8. Aftercare
After pruning, apply a balanced fertilizer around the base of the bush and water it well. Mulching with organic matter can help retain moisture and suppress weed growth.
9. Disease Control
Inspect the bush regularly for signs of pests or diseases, such as aphids, powdery mildew, or currant blister aphid. Prune and destroy any affected branches to prevent the spread of infection.
10. Maintenance
Pruning blackcurrant bushes is an ongoing task. Each year, remove any dead or damaged wood and thin out the branches as necessary to maintain an open structure.
Following these best practices for blackcurrant pruning will help ensure a healthy and productive bush. Remember to always use clean, sharp tools and dispose of pruning debris properly to prevent the spread of disease.
Protecting Your Blackcurrant Plant from Pests and Diseases
Blackcurrant plants can be susceptible to a variety of pests and diseases. By taking proactive measures and implementing proper control methods, you can ensure the health and productivity of your blackcurrant plants.
Common Pests
- Aphids: These small insects can cause damage by sucking sap from the leaves and shoots. Regularly inspect your plants and control aphid populations by spraying with insecticidal soap.
- Currant fruit fly: This pest lays eggs in the berries, causing them to rot. Hang yellow sticky traps in the vicinity of your blackcurrant plants to catch and monitor adult flies.
- Sawfly larvae: These caterpillar-like insects can defoliate blackcurrant plants. Handpick and destroy larvae or use insecticides labeled for sawfly control.
Common Diseases
- Ribes leaf spot: This fungal disease causes black spots on the leaves, leading to defoliation. Remove and destroy infected leaves and ensure good air circulation around the plants.
- Ribes blister rust: This serious disease affects both blackcurrant and white pine trees. Plant resistant varieties and monitor for symptoms such as orange spore-filled blisters on leaves and stems.
- Botrytis fruit rot: This fungus can cause berries to rot and develop a gray mold. Remove infected fruit and ensure good air circulation to prevent the disease from spreading.
Preventive Measures
To protect your blackcurrant plants from pests and diseases, it is important to follow these preventive measures:
- Site selection: Choose a well-drained location with full sun for your blackcurrant plants. Avoid areas with heavy clay or poor air circulation.
- Cleanliness: Remove fallen leaves and debris from around your plants to reduce the risk of disease spores overwintering.
- Pruning: Prune your blackcurrant plants to improve air circulation and remove any diseased or dead wood.
- Fertilization: Keep your plants healthy and resistant to pests and diseases by providing adequate nutrition through regular fertilization.
Conclusion
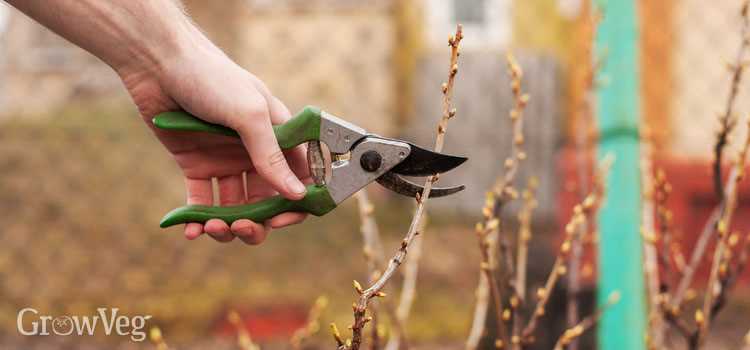

By implementing these measures and monitoring your blackcurrant plants regularly, you can minimize the impact of pests and diseases. Remember to use proper control methods and consult with a local gardening expert if you encounter severe infestations or diseases.
Harvesting and Storing Blackcurrant Berries
Harvesting blackcurrant berries is an exciting and rewarding part of growing this fruit. When the berries are ripe, they have a rich and intense flavor that is perfect for eating fresh, making jams, or baking into delicious desserts. Here are some tips on how to harvest and store blackcurrant berries:
1. Timing:
Blackcurrant berries are ready for harvest in the summer, usually around July. They should be plump, shiny, and fully colored. Taste a few berries to make sure they have reached their peak flavor before harvesting.
2. Harvesting:
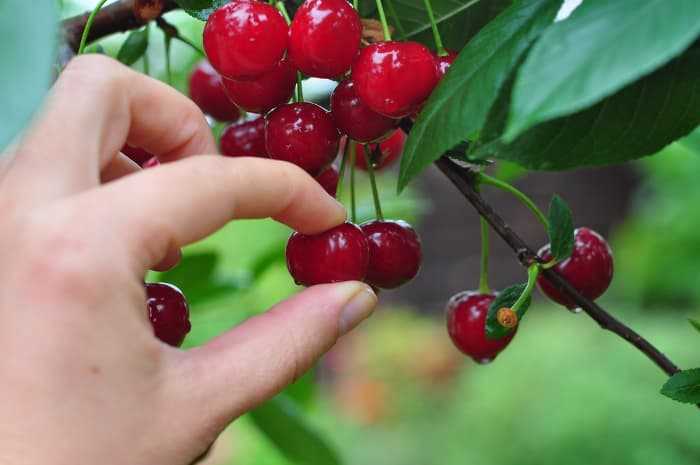
To harvest blackcurrant berries, simply grasp the berry between your thumb and forefinger and gently pull it from the stem. Be careful not to squeeze or crush the berries, as this can cause them to spoil faster.
It is best to harvest blackcurrant berries in dry weather to avoid any potential moisture damage. If the berries are wet, allow them to dry before storing.
3. Storing:
Blackcurrant berries are delicate and have a short shelf life, so it is important to handle them carefully and store them properly to maximize their freshness.
After harvesting, remove any damaged or rotten berries and place the good berries in a single layer on a tray or plate. Avoid stacking the berries, as this can cause bruising.
Store the berries in a cool and dark place, such as the refrigerator, to slow down the ripening process. They can last for up to a week in the refrigerator if stored properly.
4. Freezing:
If you have a large harvest of blackcurrant berries, freezing can be a great way to preserve their freshness for longer periods of time.
To freeze blackcurrant berries, spread them out on a baking sheet in a single layer and place them in the freezer. Once frozen, transfer them to a freezer bag or airtight container. Frozen blackcurrant berries can last for up to a year.
5. Enjoying:
Blackcurrant berries can be enjoyed in a variety of ways. They are delicious when eaten fresh or used in jams, jellies, pies, and other desserts. They can also be added to smoothies or used to make homemade blackcurrant liqueur.
Remember to wash the berries thoroughly before consuming or using them in recipes.
With proper harvesting and storage techniques, you can enjoy the abundance of blackcurrant berries well beyond the summer season.
Blackcurrant Uses and Recipes: From Jams to Desserts
Blackcurrants are delicious berries that can be used in a variety of ways. They have a unique tart flavor that pairs well with both sweet and savory dishes. Here are some ideas for using blackcurrants in your recipes:
Jams and Preserves
One of the most popular uses for blackcurrants is making homemade jam or preserves. The tartness of the fruit is balanced with sugar, resulting in a rich and flavorful spread. Blackcurrant jam can be enjoyed on toast, scones, or used as a filling for cakes and pastries.
Desserts
Blackcurrants can also be used in a variety of desserts. They are a perfect addition to pies, tarts, and crumbles. The tartness of the fruit complements the sweetness of the pastry or crumble topping. You can also add blackcurrants to fruit salads, parfait, or use them as a topping for ice cream or yogurt.
Drinks and Beverages
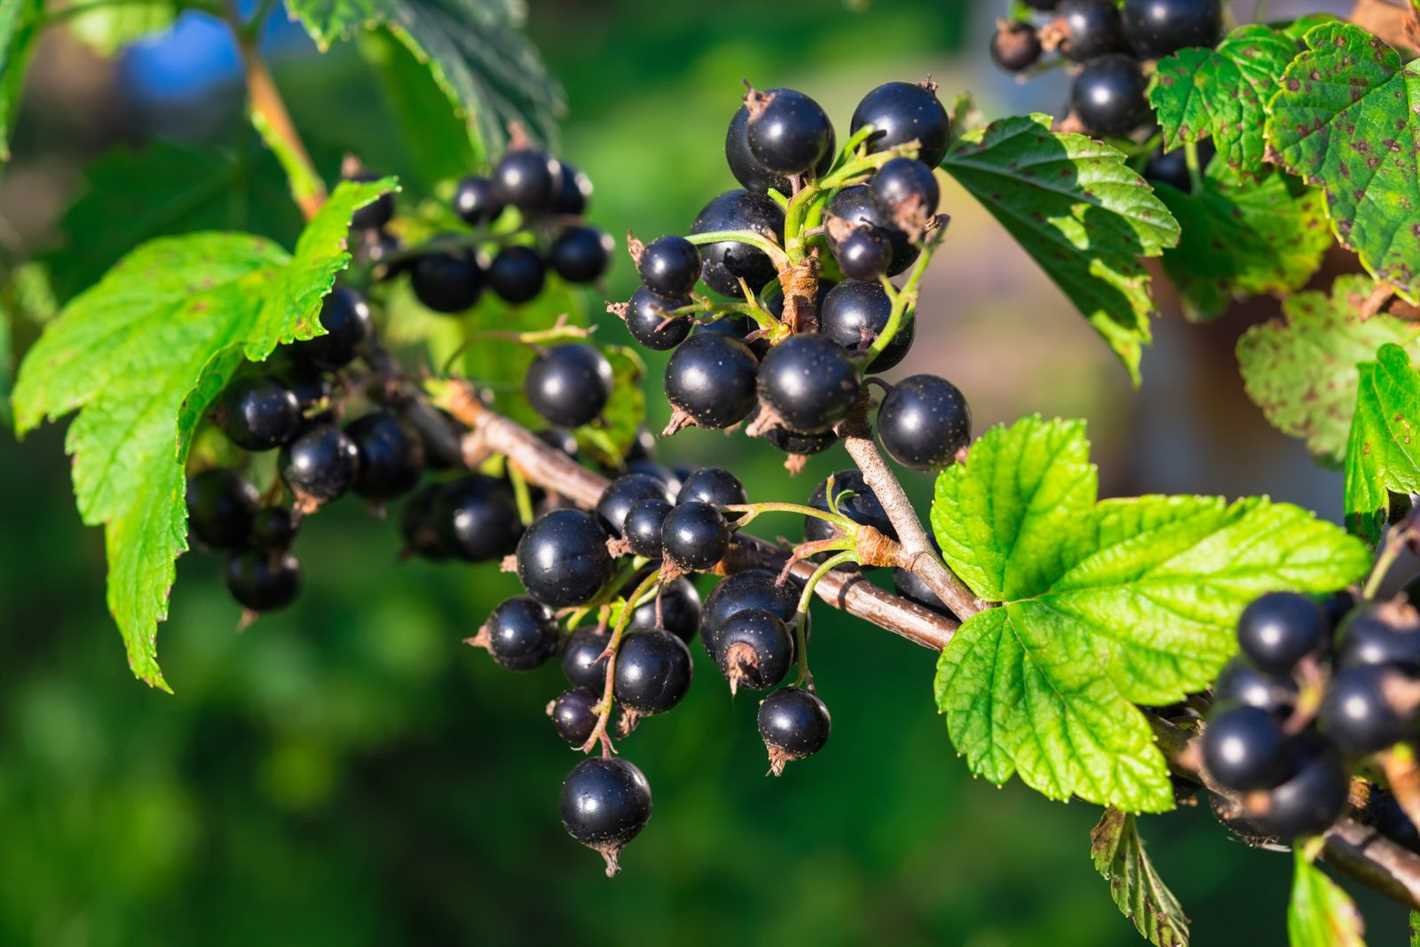

Blackcurrants can be used to make refreshing summer drinks. They can be added to lemonade, sparkling water, or cocktails for a burst of flavor. You can also use blackcurrants to make syrup or cordial, which can be added to drinks or used as a base for cocktails.
Savory Dishes
While blackcurrants are often used in sweet dishes, they can also be used in savory recipes. They can be cooked down into a sauce or glaze to pair with meat dishes, such as roast duck or venison. Blackcurrants can also be used to make a tangy salad dressing or added to a salsa for a burst of fruity flavor.
Health Benefits of Blackcurrants
Blackcurrants are not only delicious but also packed with nutrients. They are high in vitamin C, antioxidants, and anthocyanins, which have been linked to numerous health benefits. Consuming blackcurrants can help boost your immune system, improve heart health, and promote healthy skin.
Conclusion
Whether you’re making jams, desserts, or incorporating them into savory dishes, blackcurrants are a versatile fruit that adds a burst of flavor to any recipe. So why not try using blackcurrants in your next culinary creation?
Question-answer:
When is the best time to plant blackcurrant bushes?
The best time to plant blackcurrant bushes is in late autumn or early spring, when the soil is moist and workable.
How much sun do blackcurrant bushes need?
Blackcurrant bushes prefer full sun, although they can tolerate partial shade.
What is the recommended spacing between blackcurrant bushes?
It is recommended to space blackcurrant bushes about 4 to 6 feet apart to allow enough room for growth and airflow.
Do blackcurrant bushes require regular pruning?
Yes, blackcurrant bushes benefit from annual pruning to remove old wood, improve airflow, and shape the plant.
How can I propagate blackcurrant bushes?
Blackcurrant bushes can be propagated through hardwood cuttings or by dividing the plants during the dormant season.
What are some common pests and diseases that affect blackcurrant bushes?
Some common pests and diseases that affect blackcurrant bushes include aphids, currant blister aphids, powdery mildew, and gooseberry sawfly.
