- Pruning Currant Plants: Key Steps to Promote Healthy Growth
- 1. Choose the Right Time
- 2. Remove Dead and Diseased Branches
- 3. Thin Out Overcrowded Branches
- 4. Prune for Fruit Production
- 5. Consider Rejuvenation Pruning
- 6. Clean Up Pruned Branches
- Fertilizing Currant Plants: Essential Nutrients for Optimal Productivity
- 1. Nitrogen
- 2. Phosphorus
- 3. Potassium
- 4. Organic Matter
- 5. Timing
- 6. Application Rates
- 7. Mulching
- 8. Regular Monitoring
- Conclusion
- Watering Currant Plants: Proper Techniques to Ensure Sufficient Moisture
- Disease Prevention: Protecting Your Currant Plants from Common Infections
- 1. Regular Inspection
- 2. Proper Pruning
- 3. Cleanliness
- 4. Good Watering Practices
- 5. Proper Spacing
- 6. Mulching
- 7. Disease-Resistant Varieties
- 8. Disease Management
- 9. Crop Rotation
- Pests Control: Managing Unwanted Visitors and Minimizing Damage
- 1. Regular Inspection
- 2. Remove Infected Plant Material
- 3. Use Natural Predators
- 4. Organic Pest Control
- 5. Crop Rotation
- 6. Physical Barriers
- Winter Care for Currant Plants: Preparing Your Garden for the Cold Season
- 1. Pruning
- 2. Mulching
- 3. Watering
- 4. Weed Control
- 5. Protection from Wildlife
- 6. Winter Harvesting
- 7. Monitoring
- Mulching Currant Plants: Benefits and Methods for Improved Soil Health
- Benefits of Mulching
- Methods for Mulching Currant Plants
- Conclusion
- Harvesting Practices: Tips for Optimum Yield and Quality of Currants
- 1. Timing is crucial
- 2. Handle with care
- 3. Use the “twist and pull” technique
- 4. Harvest in small batches
- 5. Choose cooler parts of the day
- 6. Remove any damaged or diseased berries
- 7. Wash and dry gently
- 8. Store properly
- Question-answer:
- How should I care for my currant plants after harvesting?
- When is the best time to prune currant plants?
- Can I use compost to fertilize my currant plants?
- How often should I water my currant plants?
- How can I protect my currant plants from pests and diseases?
- Video: Prune your Blackcurrants in No Time with the 3-Step Method!
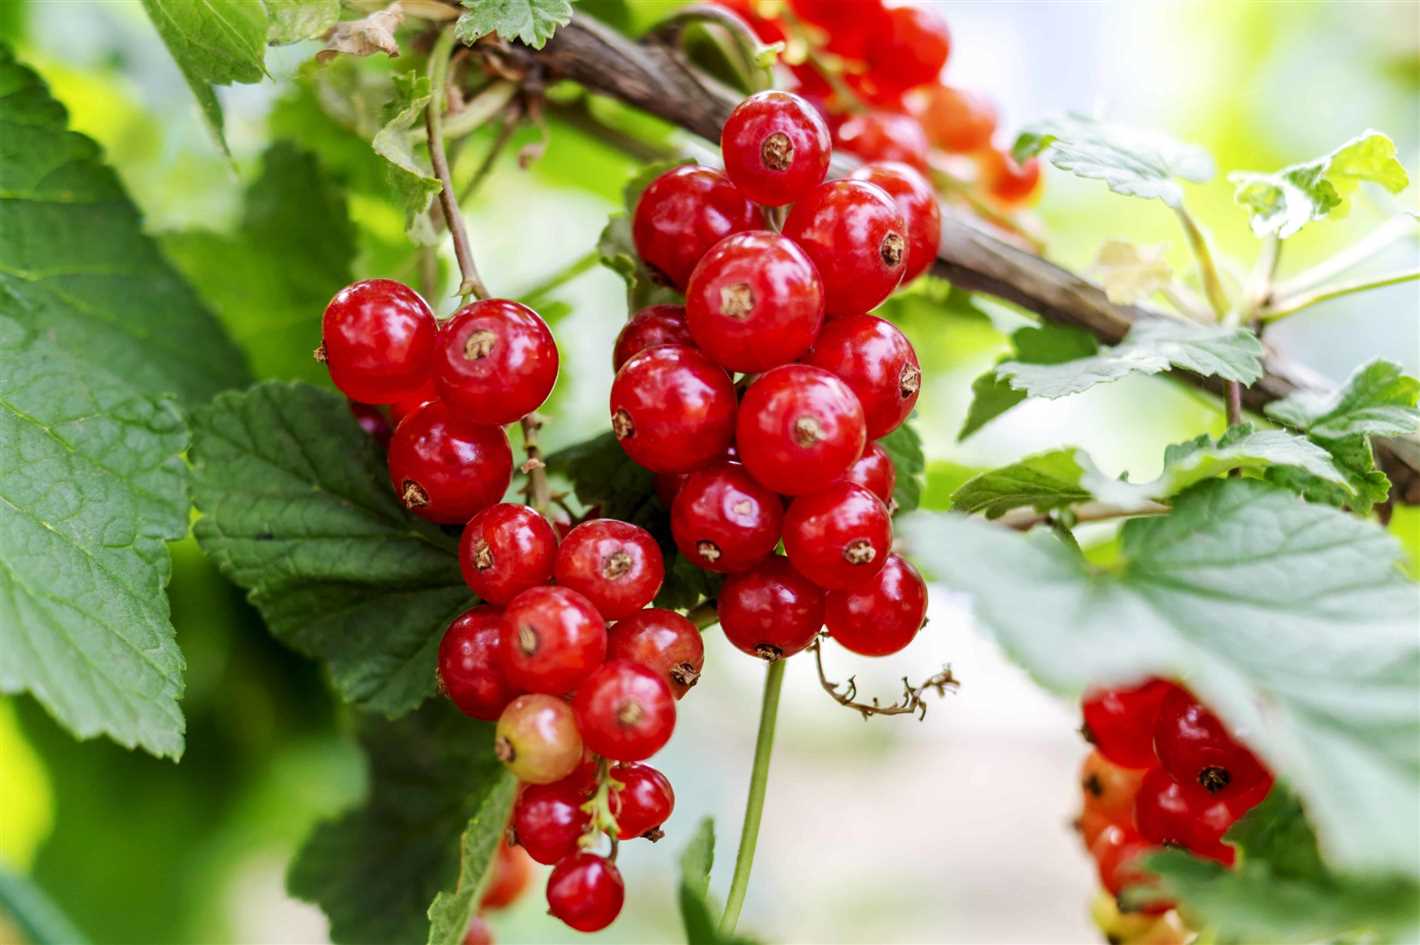
Now that you have successfully harvested your currants, it’s time to shift your focus to maintaining the health and productivity of your currant plants. Proper care after harvesting is essential to ensure strong growth and a bountiful harvest in the following seasons. In this article, we will provide you with some best practices for caring for your currant plants after harvesting.
1. Pruning: After harvesting, it’s important to prune your currant plants to remove any dead or diseased branches and to shape the plant for optimal growth. Prune back one-third of the oldest branches to encourage new growth and remove any crossing or crowded branches. This will promote airflow and reduce the risk of disease.
2. Fertilizing: Currant plants benefit from regular fertilization to ensure they have the nutrients they need to grow and produce fruit. Apply a balanced fertilizer, such as a 10-10-10, in early spring and again in late summer. Be sure to follow the instructions on the fertilizer packaging for the appropriate amount to use.
3. Watering: Adequate watering is crucial for the health of your currant plants. Water deeply but infrequently, ensuring the soil is evenly moist. Avoid overwatering, as this can lead to root rot and other fungal diseases. Mulching around the base of the plants can help retain moisture and reduce weed competition.
Remember to always check the moisture level of the soil before watering to avoid waterlogging the plants.
4. Pest and Disease Control: Keep an eye out for common currant pests, such as aphids, currant worms, and spider mites. Regularly inspect your plants for any signs of pest infestations, and take appropriate action, such as using insecticidal soap or applying organic pest control methods. Additionally, monitor your plants for signs of disease, such as powdery mildew or currant blister aphid, and promptly treat any issues to prevent further spread.
By following these care tips after harvesting your currants, you can ensure the continued health and productivity of your currant plants for years to come. With proper pruning, fertilizing, watering, and pest and disease control, you’ll be able to enjoy a thriving currant garden season after season.
Pruning Currant Plants: Key Steps to Promote Healthy Growth
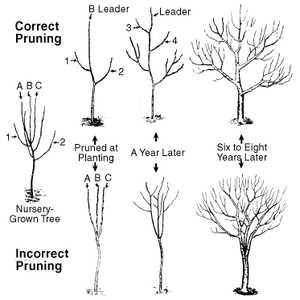
Pruning currant plants is an essential task for maintaining their health and promoting vigorous growth. By removing old and diseased branches, you can improve air circulation and sunlight penetration, resulting in better fruit production. Here are key steps to follow when pruning your currant plants:
1. Choose the Right Time
Pruning currant plants should be done during the plant’s dormant season, typically in late winter or early spring before new growth begins. This ensures that the plant has enough time to heal and recover before the onset of the growing season.
2. Remove Dead and Diseased Branches
Start by inspecting the plants and identifying any dead or diseased branches. These branches can harbor pests or diseases that can spread to the rest of the plant. Use sharp pruning shears or loppers to cut these branches back to the base or to a healthy lateral branch.
3. Thin Out Overcrowded Branches
Next, thin out any overcrowded branches to promote better air circulation and light penetration. Remove branches that are crossing or rubbing against each other, as this can cause damage and create entry points for diseases. Aim to create an open center or vase shape, allowing sunlight to reach the inner parts of the plant.
4. Prune for Fruit Production
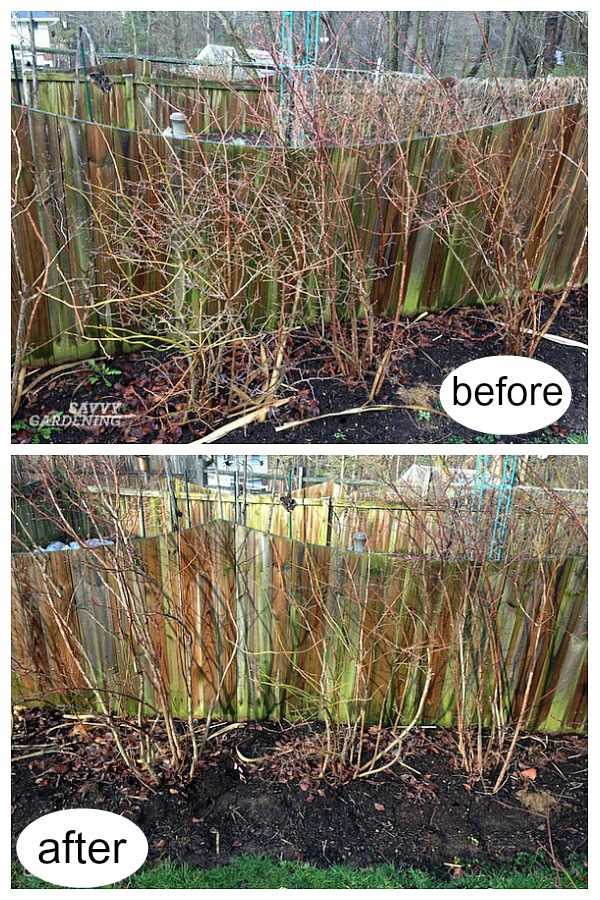
If your goal is to maximize fruit production, focus on pruning for this purpose. Remove older branches that have already produced fruit, as they tend to be less productive in subsequent years. Instead, encourage new growth by pruning back to one or two-year-old branches.
5. Consider Rejuvenation Pruning
If your currant plants have become overgrown or neglected, you may need to consider rejuvenation pruning. This involves cutting the entire plant back to within a few inches of the ground to stimulate new growth. While this may result in a year without fruit, it can revitalize an old or unproductive currant plant.
6. Clean Up Pruned Branches
After pruning, make sure to clean up and remove any pruned branches from around the plant. This reduces the risk of pests or diseases overwintering in the debris and helps maintain a tidy and healthy growing environment.
By following these key steps to prune your currant plants, you can promote healthy growth, increase fruit production, and maintain the overall vitality of your plants.
Fertilizing Currant Plants: Essential Nutrients for Optimal Productivity
Fertilizing your currant plants is essential for ensuring their optimal productivity. Currant plants require certain nutrients to support their growth and fruit production. By providing the necessary nutrients, you can help your plants thrive and produce a bountiful harvest. Here are some important nutrients and fertilization tips to keep in mind:
1. Nitrogen
Nitrogen is a crucial nutrient for currant plants as it helps promote healthy leaf and stem growth. When fertilizing your currant plants, choose a fertilizer that has a higher nitrogen content. Apply the fertilizer in early spring before new growth begins.
2. Phosphorus
Phosphorus is vital for promoting strong root development, flower formation, and fruit production in currant plants. Look for a fertilizer with a balanced ratio of nitrogen, phosphorus, and potassium (N-P-K) and apply it during the planting stage and in early spring.
3. Potassium
Potassium plays a crucial role in overall plant health and helps enhance the flavor and quality of the currant fruits. A potassium-rich fertilizer should be applied in early spring and again in summer to support fruit development and ripening.
4. Organic Matter
In addition to chemical fertilizers, incorporating organic matter into the soil can also provide essential nutrients to currant plants. Compost, well-rotted manure, or organic fertilizers can improve soil fertility and provide a slow-release source of nutrients for the plants.
5. Timing
Timing is crucial when fertilizing currant plants. Apply fertilizers in early spring before new growth starts and again in early summer to support fruit development. Avoid fertilizing in late summer or fall, as it may stimulate new growth that is vulnerable to winter damage.
6. Application Rates
Follow the instructions on the fertilizer packaging for the appropriate application rates. Be cautious not to over-fertilize, as excessive amounts of nutrients can harm the plants and may lead to environmental pollution.
7. Mulching
Applying a layer of organic mulch around your currant plants can help conserve moisture, suppress weed growth, and provide a slow-release source of nutrients as the mulch decomposes. Organic mulches, such as straw or wood chips, can also improve soil fertility over time.
8. Regular Monitoring
Monitor the growth and health of your currant plants regularly. Look for signs of nutrient deficiencies, such as yellowing leaves or stunted growth. Adjust your fertilization practices accordingly to address any deficiencies and promote healthy plant growth.
Conclusion
Fertilizing currant plants with the essential nutrients they need is crucial for optimal productivity. By understanding the nutrient requirements and following proper fertilization practices, you can help your currant plants thrive and enjoy a bountiful harvest.
Watering Currant Plants: Proper Techniques to Ensure Sufficient Moisture
Watering your currant plants correctly is essential for their growth and overall health. Adequate moisture levels are crucial for the plants to thrive and produce high-quality fruit. Here are some proper techniques to ensure sufficient moisture for your currant plants:
- Monitor soil moisture: Regularly check the soil moisture levels around your currant plants. Insert your finger into the soil about an inch deep to determine if it is dry or moist. Currants prefer consistent moisture, so it’s important to avoid both underwatering and overwatering.
- Water deeply: When watering your currant plants, make sure to provide a thorough and deep watering. This helps the water reach the roots, encouraging the plants to develop a deep and robust root system. Shallow watering may lead to shallow root growth, making the plants more susceptible to drought stress.
- Water at the base: Direct the water at the base of the plants to ensure that it reaches the root zone. Avoid watering overhead, as this can increase the risk of fungal diseases and can also lead to water wastage. Using a drip irrigation system or a soaker hose can deliver water directly to the roots while minimizing water loss.
- Water consistently: Currant plants require consistent moisture, especially during the fruiting season. Water the plants regularly, keeping the soil evenly moist. However, be mindful not to overwater, as excessive moisture can cause root rot and other diseases.
- Mulch the soil: Apply a layer of organic mulch around the base of your currant plants. Mulch helps retain soil moisture, suppresses weed growth, and moderates soil temperature. Apply the mulch to a depth of 2 to 4 inches, making sure to keep it a few inches away from the plant’s stem to prevent moisture-related issues.
- Adjust watering schedule: The frequency of watering may vary depending on the weather conditions, soil type, and the stage of plant growth. During dry spells or hot weather, you may need to water more frequently to prevent the soil from drying out. Conversely, reduce watering when there is adequate rainfall or during cooler months.
By following these proper watering techniques, you can ensure that your currant plants receive sufficient moisture for healthy growth and fruit production.
Disease Prevention: Protecting Your Currant Plants from Common Infections
1. Regular Inspection
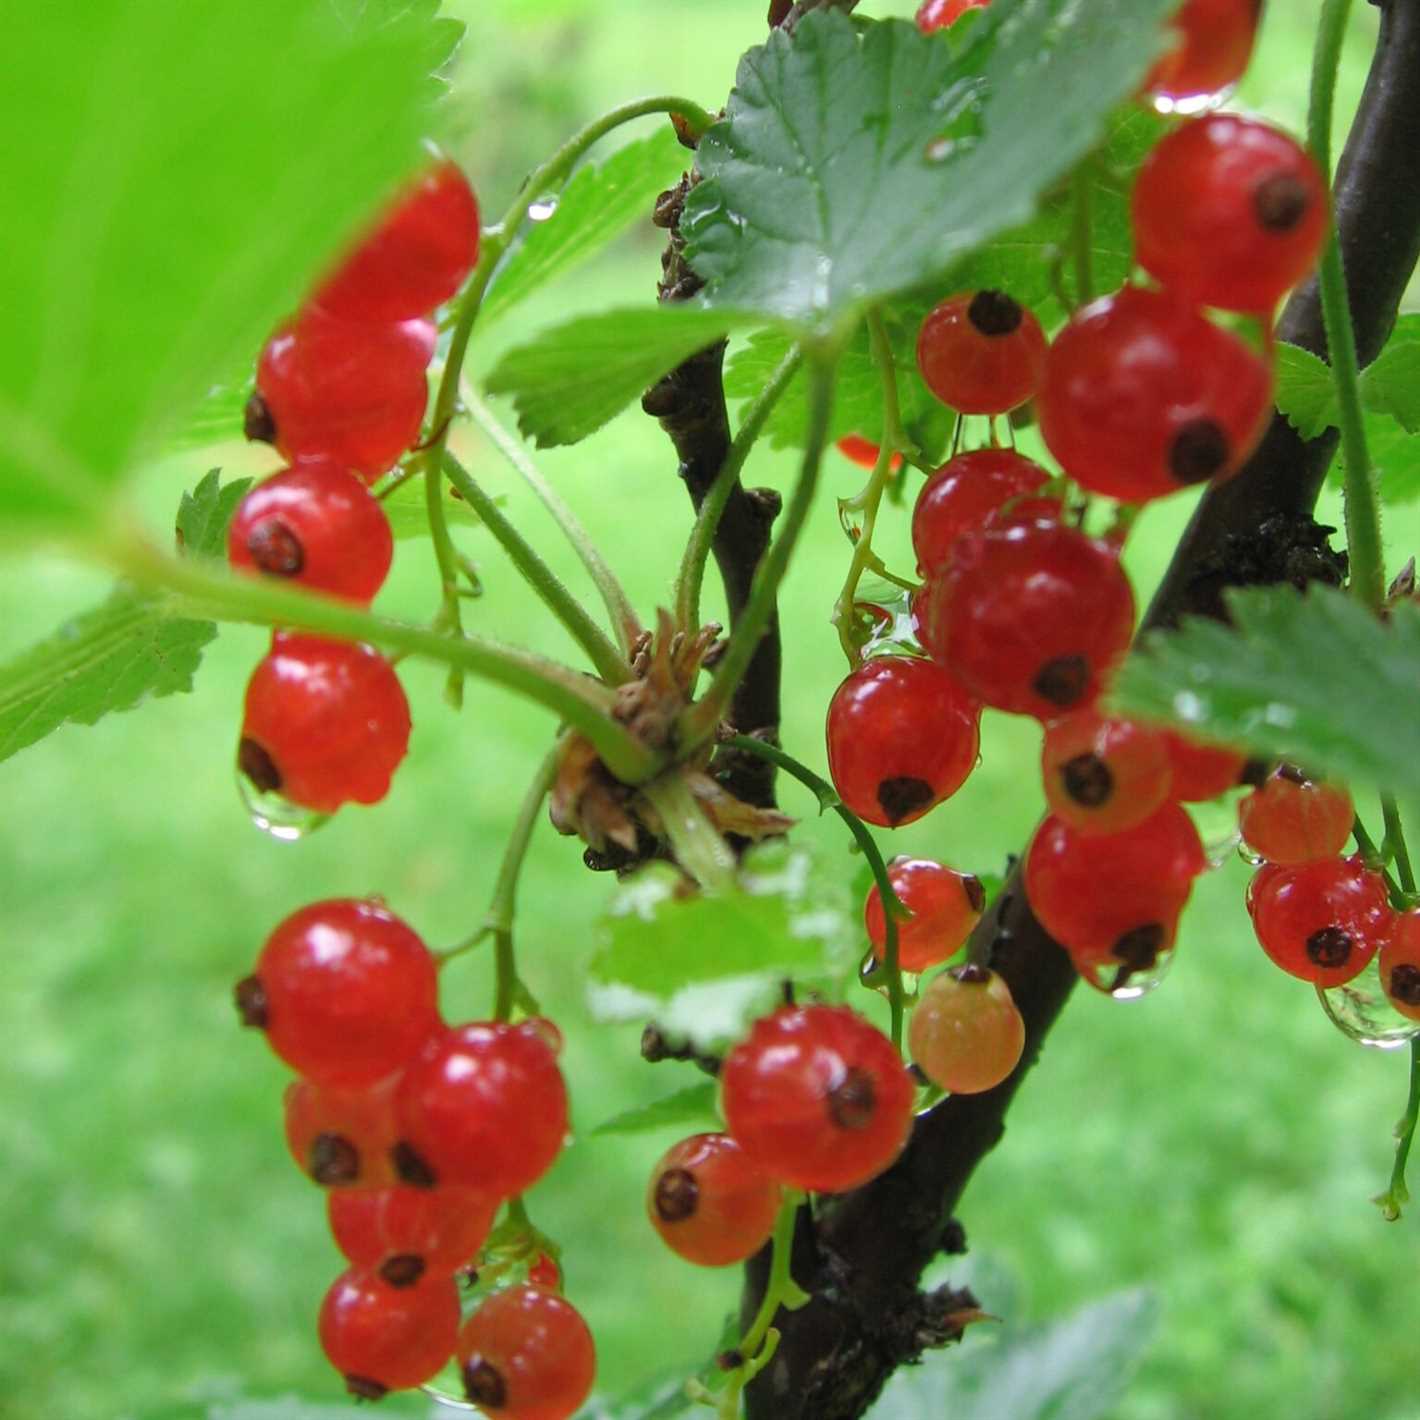
Perform regular inspections of your currant plants to spot any signs of infections or diseases early on. Look for visible symptoms such as discoloration, wilting leaves, spots, or unusual growth patterns. Swift identification can help you take immediate action to prevent the spread of the infection.
2. Proper Pruning
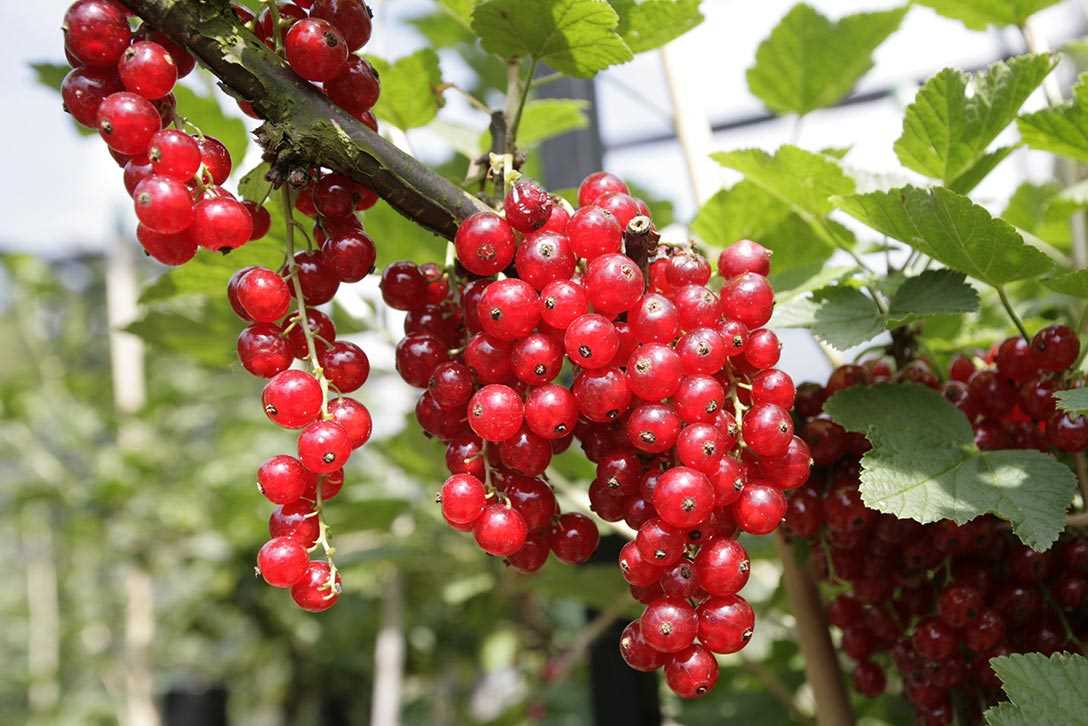
Prune your currant plants correctly to enhance air circulation and reduce the risk of diseases. Remove any dead, damaged, or infected branches with clean and sharp pruning tools. Dispose of the pruned material away from the plants to avoid contamination.
3. Cleanliness
Maintain cleanliness in your garden to prevent the buildup of fungi and bacteria. Regularly remove fallen leaves, debris, and weeds around your currant plants. Keep the growing area free from clutter to minimize the possibility of infections.
4. Good Watering Practices
Water your currant plants at the base to prevent wetting the foliage excessively. Excessive moisture on the leaves can create a conducive environment for fungal infections. Water the plants in the morning to allow sufficient time for the foliage to dry before nighttime.
5. Proper Spacing
Ensure that you provide adequate spacing between your currant plants. Proper spacing allows for better air circulation, reducing the risk of diseases caused by stagnant air and increased humidity. Avoid overcrowding the plants, as it can lead to higher vulnerability to infections.
6. Mulching
Apply a layer of organic mulch around the base of your currant plants. Mulching helps to maintain even soil moisture levels and prevents the growth of weeds. However, make sure not to place the mulch directly against the plant stems to avoid creating a damp environment that can harbor diseases.
7. Disease-Resistant Varieties
Consider planting disease-resistant varieties of currant plants. These varieties have been specially bred to be more resilient against common infections. Research and choose varieties that have a proven track record of resistance to diseases prevalent in your region.
8. Disease Management
If you notice any signs of infection, take immediate action to manage the disease. Remove and destroy the infected parts, and consider using organic disease control methods such as neem oil or copper fungicides. Consult with local gardening experts or extension services for specific recommendations for disease management.
9. Crop Rotation
Practice crop rotation to minimize the risk of diseases that persist in the soil. Avoid planting currant plants in the same location for consecutive years. Rotate your crops to different areas of your garden to disrupt the life cycle of pathogens and reduce the risk of reinfection.
By following these disease prevention practices, you can protect your currant plants from common infections and ensure their health and productivity.
Pests Control: Managing Unwanted Visitors and Minimizing Damage
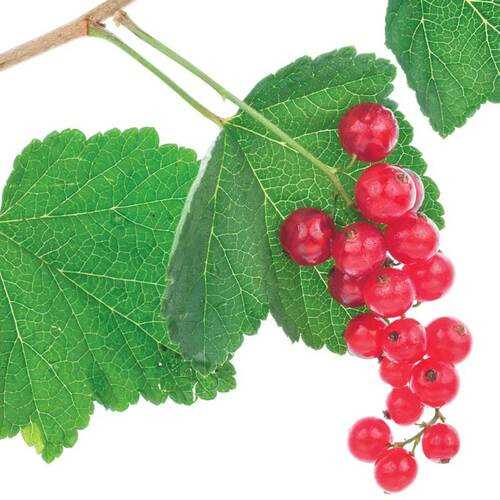
When it comes to caring for your currant plants after harvest, one of the challenges you may face is dealing with pests. Unwanted visitors can cause significant damage to your plants if left unchecked. Here are some tips on how to manage pests and minimize their impact:
1. Regular Inspection
Regularly inspect your currant plants for signs of pest infestation. Look for chewed leaves, wilting foliage, or any unusual markings on the stems. Early detection is key to preventing pests from spreading and causing extensive damage.
2. Remove Infected Plant Material
If you notice any signs of pest activity, remove the infected plant material immediately. This includes removing any damaged leaves, branches, or fruits. Dispose of the infected material away from your garden to prevent the pests from reinfesting your plants.
3. Use Natural Predators
Encourage natural predators such as ladybugs, lacewings, and birds to visit your garden. These insects and birds feed on common pests that attack currant plants, such as aphids and caterpillars. Attracting these beneficial insects and birds can help control pest populations naturally.
4. Organic Pest Control
If natural predators alone are not sufficient to control pests, consider using organic pest control methods. These methods involve using natural, non-toxic substances such as insecticidal soaps, neem oil, or garlic spray. Follow the package instructions carefully and apply the organic pest control products as needed.
5. Crop Rotation
Implement crop rotation practices to reduce the risk of recurring pest problems. Avoid planting currants or other susceptible plants in the same location year after year. This can help break the pest life cycle and reduce the chances of pests becoming established in your garden.
6. Physical Barriers
Use physical barriers such as row covers or netting to protect your currant plants from pests. These barriers can prevent insects and birds from reaching your plants and causing damage. Be sure to secure the barriers tightly to prevent pests from finding their way in.
By implementing these pest control practices, you can effectively manage unwanted visitors and minimize the damage they can cause to your currant plants after harvesting. Consistent monitoring and proactive measures are key to maintaining healthy and productive plants.
Winter Care for Currant Plants: Preparing Your Garden for the Cold Season
Proper winter care for currant plants is essential in ensuring their health and productivity. Here are some best practices to follow when preparing your garden for the cold season:
1. Pruning
In late fall or early winter, prune your currant plants to remove any dead or damaged branches. This will help promote healthy growth in the following season and prevent the spread of diseases.
2. Mulching
Apply a layer of mulch around the base of your currant plants to insulate the soil and protect the roots from freezing temperatures. Use organic materials such as straw, leaves, or compost to provide additional nutrients to the plants.
3. Watering
Ensure that your currant plants are adequately watered before the ground freezes. This will help them withstand the dry winter conditions and prevent dehydration. However, be cautious not to overwater, as excessive moisture can lead to root rot.
4. Weed Control
Remove any weeds from the vicinity of your currant plants before winter sets in. Weeds can compete for nutrients and water, affecting the overall health and productivity of your currant plants.
5. Protection from Wildlife
Take measures to protect your currant plants from nibbling wildlife during the winter. Use fencing or netting to deter animals like rabbits or deer from feeding on the plant stems and buds.
6. Winter Harvesting
If you live in a region with milder winters, you can continue to harvest currants during the winter months. Be sure to check for ripeness and pick the fruits before they freeze. This will provide you with fresh currants and also help to prune the plants naturally.
7. Monitoring
Regularly check on your currant plants throughout the winter to ensure they are not suffering from any cold-related damage. Look out for signs of frostbite or disease, and take appropriate measures to address any issues.
By following these winter care practices, you can help your currant plants survive the harsh weather conditions and thrive in the coming growing season.
Mulching Currant Plants: Benefits and Methods for Improved Soil Health
In order to maintain the health and productivity of your currant plants, it’s important to prioritize soil health. One effective method for improving soil health is through mulching. Mulching involves placing a layer of organic material on top of the soil around the base of your currant plants. This article will discuss the benefits of mulching and various methods for implementing it.
Benefits of Mulching
Mulching provides a range of benefits for your currant plants and the overall health of your garden soil:
- Moisture Retention: Mulch acts as a natural barrier, helping to retain soil moisture by reducing evaporation. This can be especially beneficial during dry periods or for plants that require consistent moisture.
- Weed Suppression: By creating a barrier between the soil and sunlight, mulch helps to suppress the growth of weeds. This reduces competition for nutrients and water, allowing your currant plants to thrive.
- Temperature Regulation: Mulch provides insulation for the soil, helping to regulate temperatures. This can protect your currant plants from extreme heat or cold, providing a more stable environment for growth.
- Soil Enrichment: As organic materials break down, they release valuable nutrients into the soil. Mulch can help improve soil fertility and nutrient availability, promoting healthier currant plants.
- Erosion Prevention: Mulch helps to prevent soil erosion by reducing the impact of heavy rains or strong winds. This protects the delicate root systems of your currant plants and helps maintain soil structure.
Methods for Mulching Currant Plants
There are several methods for mulching your currant plants. The choice of method depends on personal preference, availability of materials, and the specific needs of your currant plants:
- Organic Mulch: This is the most common type of mulch and consists of organic materials such as straw, wood chips, bark, or compost. Apply a layer of organic mulch around the base of your currant plants, ensuring it is evenly spread and at a depth of 2-4 inches.
- Plastic Mulch: Plastic mulch can be used to create a barrier between the soil and the environment. It helps retain moisture and control weed growth. Lay sheets of black plastic mulch around the base of your currant plants and secure the edges with rocks or stakes.
- Living Mulch: This method involves planting low-growing ground cover plants, such as clover or creeping thyme, around the base of your currant plants. These plants act as natural mulch, providing similar benefits to organic mulch.
- Newspaper Mulch: Newspaper can be an effective mulching material, especially for controlling weeds. Soak newspaper sheets in water and lay them around the base of your currant plants, ensuring they overlap to prevent sunlight from reaching the soil.
Conclusion
Mulching your currant plants is a simple and effective way to improve soil health and provide optimal growing conditions. It offers numerous benefits, including moisture retention, weed suppression, temperature regulation, soil enrichment, and erosion prevention. Experiment with different mulching methods to find the one that works best for your currant plants and gardening needs.
Harvesting Practices: Tips for Optimum Yield and Quality of Currants
Harvesting currants at the right time and using proper techniques can greatly impact the yield and quality of your harvest. Here are some essential tips to ensure you obtain the best results:
1. Timing is crucial
Knowing when to harvest your currants is essential for achieving optimum yield and quality. Wait until the berries are fully ripe and have reached their desired color. This will vary depending on the variety, so refer to the specific guidelines for your currant plants.
2. Handle with care
Currants are delicate fruits that can easily bruise or become damaged when handled roughly. To preserve their quality, always handle them with care. Use soft, clean harvesting containers that won’t cause unnecessary harm to the berries.
3. Use the “twist and pull” technique
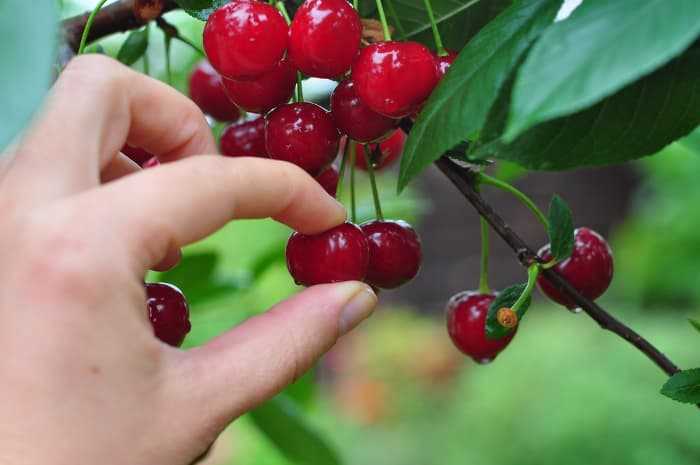
When harvesting currant clusters, use the “twist and pull” technique. Gently twist the cluster while pulling it away from the stem. Avoid forcefully yanking or tugging on the clusters, as this can lead to damage.
4. Harvest in small batches
Instead of harvesting all your currants at once, pick them in small batches. This allows you to maintain the freshness and quality of the fruit. It also ensures a more manageable workload during the harvesting process.
5. Choose cooler parts of the day
Harvesting currants in the early morning or late evening, when temperatures are cooler, can help preserve the quality of the fruit. Currants are prone to heat stress, and picking them during the hottest parts of the day can lead to reduced quality and shorter shelf life.
6. Remove any damaged or diseased berries
Before storing or using the harvested currants, take the time to inspect them closely. Remove any berries that are damaged, diseased, or overripe. These fruits can spoil quickly and affect the overall quality of your harvest.
7. Wash and dry gently
If you need to wash your currants before storage or consumption, do so gently. Rinse them under cold water, being careful not to crush or bruise the berries. Allow them to dry completely before storing to prevent mold or rot.
8. Store properly
To maintain the quality and freshness of your harvested currants, store them in a cool and dark place. Avoid storing them near ethylene-producing fruits, as this may accelerate ripening and spoilage. Use breathable containers or bags to allow proper air circulation.
By following these harvesting practices, you can maximize the yield and quality of your currants, ensuring a bountiful and delicious harvest.
Question-answer:
How should I care for my currant plants after harvesting?
After harvesting, it is important to prune your currant plants to remove any dead or damaged branches. You can also thin out the plants by removing any weak or overcrowded branches. This will promote better air circulation and prevent the spread of diseases.
When is the best time to prune currant plants?
The best time to prune currant plants is during the dormant season, which is usually in late winter or early spring. Pruning during this time allows the plants to heal quickly and encourages healthy growth in the coming season.
Can I use compost to fertilize my currant plants?
Yes, compost can be a great source of nutrients for currant plants. You can apply a layer of compost around the base of the plants in early spring or late fall. This will provide slow-release nutrients and improve the soil quality over time.
How often should I water my currant plants?
Currant plants generally need about 1-2 inches of water per week, especially during the summer months when rainfall may be less frequent. It is important to water deeply and evenly, making sure that the soil is moist but not waterlogged.
How can I protect my currant plants from pests and diseases?
There are several steps you can take to protect your currant plants from pests and diseases. You can start by keeping the area around the plants clean and free from debris, as this can harbor pests and diseases. Additionally, you can use organic insecticides or insecticidal soaps to control pests, and fungicides to prevent diseases. Regularly inspecting your plants for any signs of pests or diseases and taking prompt action can also help in preventing any major infestations or infections.
