- Understanding Orchids’ Watering Needs
- Determine the Right Watering Schedule
- Test the Moisture Level
- Use the Soak-and-Dry Method
- Consider Climate and Seasonal Changes
- Monitor Plant Health
- Choosing the Right Watering Schedule
- 1. Observe the Orchid
- 2. Consider the Environment
- 3. Check the Potting Mix Moisture Level
- 4. Water Thoroughly
- 5. Use a Well-Draining Pot and Potting Mix
- 6. Adjust Watering Frequency as Needed
- Signs of Overwatering or Underwatering
- Signs of Overwatering
- Signs of Underwatering
- Watering Techniques for Young Orchids
- 1. Watering Frequency:
- 2. Watering Methods:
- 3. Drainage:
- 4. Water Quality:
- 5. Observation:
- 6. Humidity:
- Choosing the Best Fertilizer for Young Orchids
- Understanding the Nutritional Needs of Young Orchids
- Types of Fertilizers for Young Orchids
- Application and Frequency
- Other Factors to Consider
- Applying Fertilizer to Promote Growth
- Choosing the Right Fertilizer
- Timing and Frequency
- Applying Fertilizer
- Additional Tips
- Common Mistakes to Avoid in Orchid Care
- 1. Overwatering
- 2. Using the wrong type of potting medium
- 3. Ignoring air circulation
- 4. Exposing orchids to direct sunlight
- 5. Neglecting temperature and humidity requirements
- 6. Overfertilizing
- 7. Repotting too frequently
- 8. Neglecting pest control
- 9. Lack of patience
- 10. Not seeking advice or information
- Summary and Best Practices for Caring for Young Orchids
- Watering Tips:
- Fertilizer Recommendations:
- General Care Tips:
- Conclusion:
- Q&A:
- How often should I water a young orchid?
- What is the best way to water a young orchid?
- Can I use tap water to water my young orchid?
- What type of fertilizer should I use for a young orchid?
- How often should I fertilize my young orchid?
- Video: 8 POWERFUL HOMEMADE ROOTING HORMONES| Natural Rooting Stimulants for Gardening
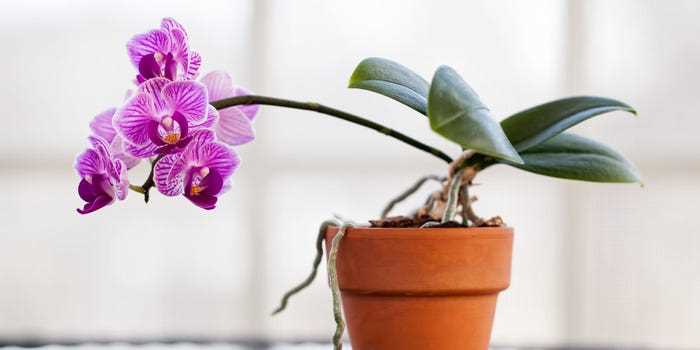
Orchids are delicate and mesmerizing flowers that require special care, especially when they are young and fragile. Proper watering and fertilization are crucial for their growth and overall health. In this article, we will provide you with useful tips on how to care for a young orchid, including watering techniques and recommendations for the best fertilizer.
Watering an orchid can be a tricky task, as these plants have unique water requirements. Overwatering can cause root rot, while under-watering can lead to dehydration. The key is to find the right balance. It is important to let the orchid’s potting media dry out between waterings. You can check the moisture level by sticking your finger about an inch into the potting media. If it feels dry, it’s time to water your orchid.
When watering your young orchid, it’s best to use room temperature or lukewarm water. Avoid using cold water, as it can shock the plant’s roots. It is also recommended to water your orchid in the morning, allowing the excess water to evaporate during the day. Avoid misting the leaves, as this can promote the growth of bacteria and fungi. Instead, concentrate on watering the roots directly.
In addition to proper watering, fertilization is essential for the healthy development of a young orchid. Orchids have specific nutritional requirements that can be met with specialized orchid fertilizers. These fertilizers are formulated to provide the necessary nutrients, such as nitrogen, phosphorus, and potassium, in the right proportions. It is important to follow the instructions on the fertilizer packaging and dilute it properly before applying it to your orchid.
Remember, caring for a young orchid requires patience and attention to detail. By following these watering tips and using the best fertilizer for your orchid, you can ensure its proper growth and vibrant blooms. With the right care, your young orchid will thrive and become a stunning addition to your home or garden.
Understanding Orchids’ Watering Needs
Watering orchids can be a bit tricky, as they have specific moisture requirements. It’s important to understand their watering needs in order to avoid overwatering or underwatering.
Determine the Right Watering Schedule
Orchids generally need to be watered once a week, but it’s important to consider factors like the type of orchid, its potting medium, and the growing environment.
Some orchids, like phalaenopsis, prefer to dry out slightly between waterings, while others, like dendrobiums, need to be kept more consistently moist. Research the specific watering needs of your orchid to determine the best schedule.
Test the Moisture Level
Before watering your orchid, it’s a good idea to test the moisture level of the potting medium. Stick your finger about an inch into the medium, and if it feels dry, it’s time to water. If it still feels slightly damp, wait a few more days before watering.
Use the Soak-and-Dry Method
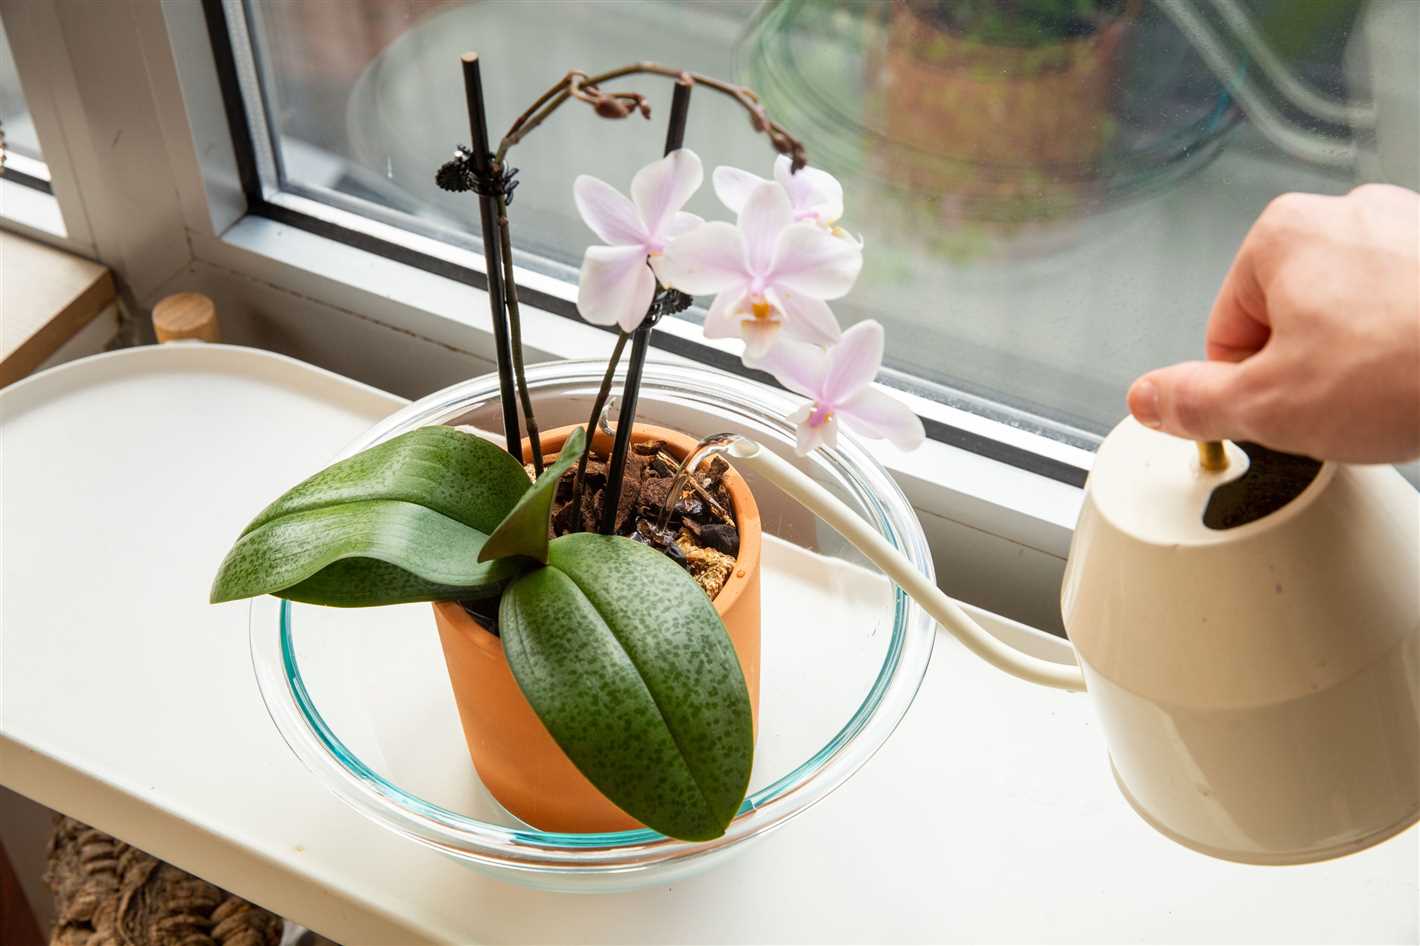
The soak-and-dry method is a popular technique for watering orchids. Fill a container with water and place the orchid pot in it, allowing the water to soak up from the drainage holes. Once the pot feels heavy and the top inch of the potting medium is moist, remove it from the water and allow it to drain completely.
Avoid leaving the orchid sitting in standing water, as this can lead to root rot. Ensure any excess water has dripped out of the pot before placing it back in its growing location.
Consider Climate and Seasonal Changes

As the climate and seasons change, so do the watering needs of your orchid. During hotter, drier months, you may need to increase the frequency of watering or provide extra humidity to the plant. In cooler, less humid months, you may need to decrease watering slightly.
Monitor Plant Health
Pay attention to the health of your orchid to determine if you’re meeting its watering needs. Signs of overwatering include yellowing or wilting leaves, rotten or mushy roots, and a foul odor. Signs of underwatering include shriveled or wrinkled leaves and dry, brittle roots.
Adjust your watering schedule accordingly if you notice any of these signs, and make note of what works best for your specific orchid. Remember, every orchid is unique and may require slight adjustments to their watering regimen.
Choosing the Right Watering Schedule
Your orchid’s watering schedule is crucial to its overall health and well-being. Proper watering is essential to prevent under-watering or over-watering, both of which can be harmful to the plant. Follow these tips to ensure you choose the right watering schedule for your young orchid:
1. Observe the Orchid
Take some time to observe your orchid’s behavior and growth patterns. This will help you understand its watering needs better. Look for signs of dehydration such as wilted leaves, dry potting mix, or wrinkled pseudobulbs. On the other hand, over-watering may cause root rot, yellowing leaves, or a foul smell coming from the potting mix.
2. Consider the Environment
Take into account the environmental factors such as humidity, temperature, and air circulation. These factors can affect how quickly the potting mix dries out and how often your orchid needs watering. In general, orchids in hot and dry climates will require more frequent watering compared to those in cooler and more humid environments.
3. Check the Potting Mix Moisture Level
Before watering your orchid, always check the moisture level of the potting mix. Stick your finger about an inch into the mix, and if it feels dry, it’s time to water. If it still feels damp, wait for a few more days before watering. Orchids prefer to dry out slightly between waterings to prevent waterlogged roots.
4. Water Thoroughly
When watering your orchid, make sure to thoroughly saturate the potting mix. This means watering until water drains out from the bottom of the pot. This ensures that the entire root system receives adequate moisture and helps flush out any built-up salts or impurities in the potting mix.
5. Use a Well-Draining Pot and Potting Mix
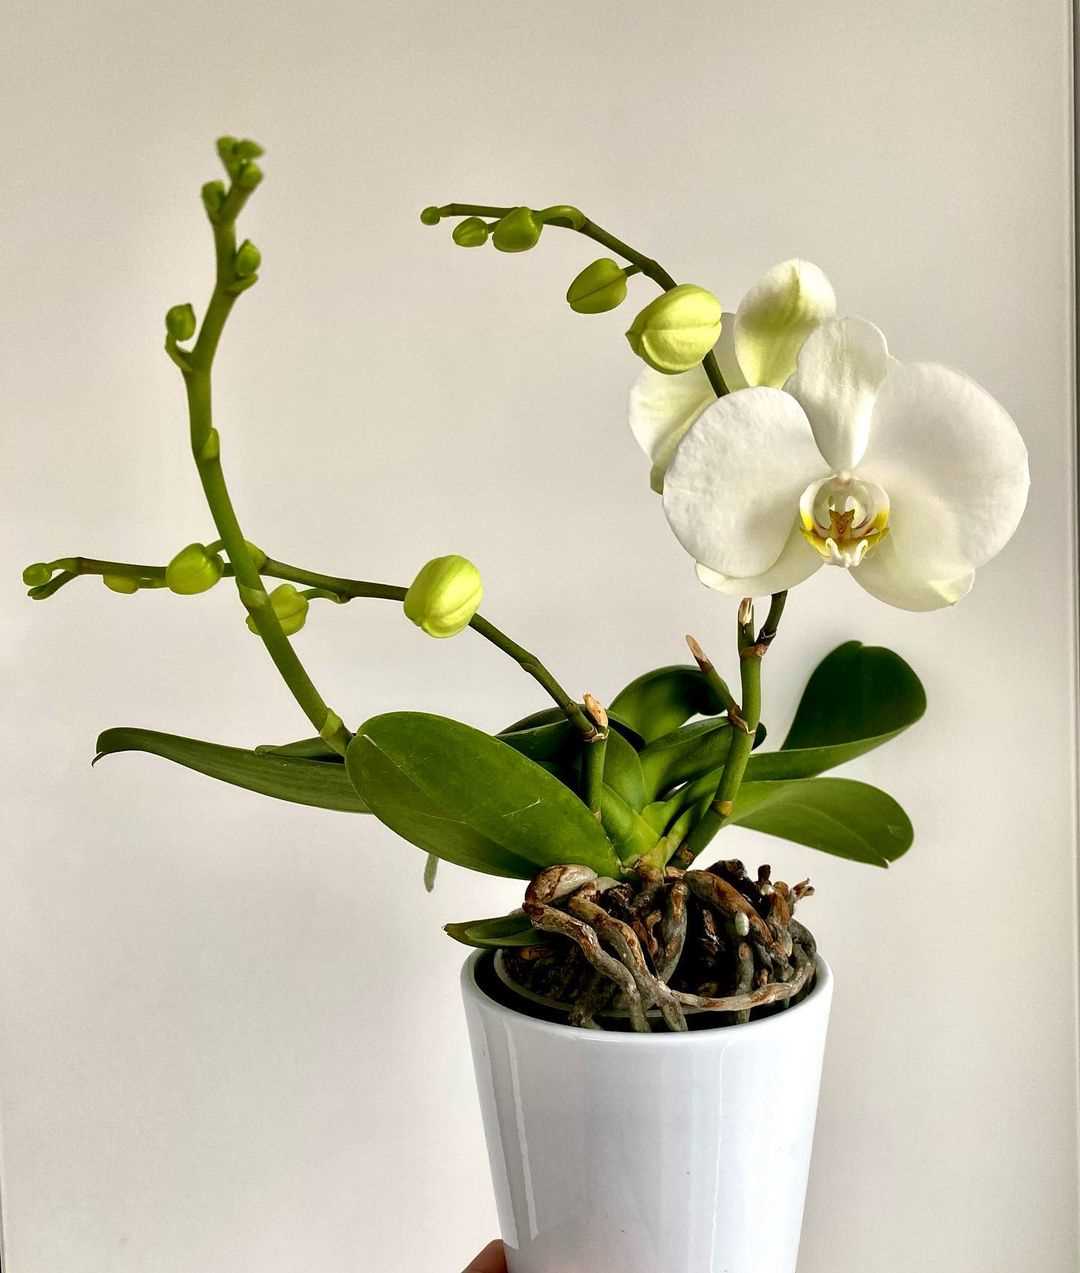

Ensure that your orchid is planted in a pot with drainage holes and a well-draining potting mix specifically formulated for orchids. This allows excess water to drain out easily and prevents water from sitting around the roots, which can lead to root rot. Avoid using regular potting soil, as it retains too much moisture for orchids.
6. Adjust Watering Frequency as Needed
As your orchid grows and matures, its watering needs may change. Pay attention to its overall health and growth rate. If you notice signs of over-watering or underwatering, adjust your watering schedule accordingly. It’s always better to slightly under-water than over-water an orchid.
By carefully observing your young orchid, considering the environment, checking the potting mix moisture level, watering thoroughly, using a well-draining pot and potting mix, and adjusting the watering frequency as needed, you can create the perfect watering schedule for your orchid’s specific needs.
Signs of Overwatering or Underwatering
Proper watering is crucial for the health of your orchid. Both overwatering and underwatering can have negative effects on the plant. Here are some signs to look out for to determine if your orchid is being overwatered or underwatered:
Signs of Overwatering
- The roots of the orchid are mushy or soft to the touch.
- The leaves of the orchid are yellow and droopy.
- There is fungus or mold growth on the potting media.
- There is a foul smell coming from the potting media.
- The orchid has stopped producing new growth.
Signs of Underwatering
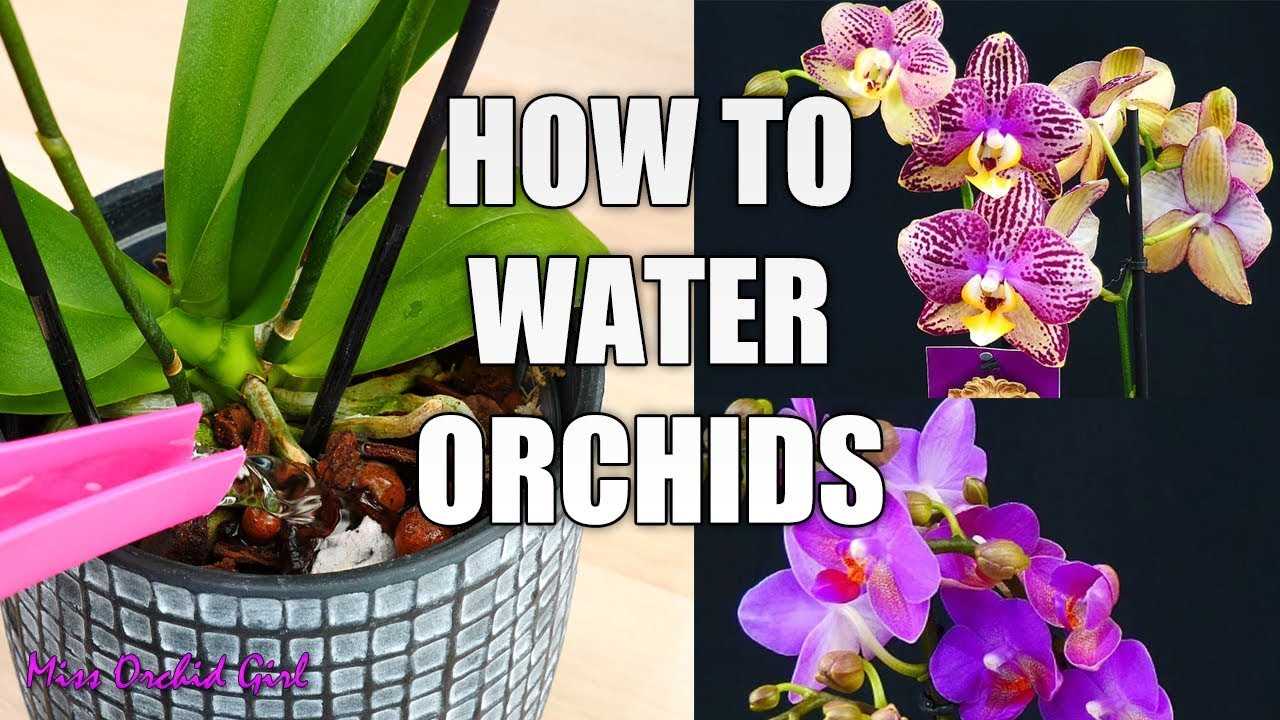

- The leaves of the orchid are wrinkled or shriveled.
- The potting media is completely dried out.
- The orchid is not producing new buds or flowers.
- The roots of the orchid are dry and brittle.
- The orchid is wilting and looks dehydrated.
If you notice any of these signs, it’s important to adjust your watering routine accordingly. Overwatering can lead to root rot and other fungal diseases, while underwatering can cause the orchid to become dehydrated and eventually die. Finding the right balance of water is key to keeping your orchid healthy and thriving.
Watering Techniques for Young Orchids
Proper watering is essential for the health and development of young orchids. Here are some watering techniques that will help you keep your orchid thriving:
1. Watering Frequency:
The frequency of watering will depend on factors such as the type of orchid, the growing medium, and the environmental conditions. As a general rule, young orchids should be watered about once a week.
2. Watering Methods:
There are two common methods for watering orchids:
- Soaking: Fill a container with water and place the orchid pot in it for about 15 minutes. This allows the growing medium to absorb water through the drainage holes.
- Misting: Spray water lightly over the orchid roots and leaves. This is particularly useful in dry environments to increase humidity around the plant.
3. Drainage:
Proper drainage is crucial to prevent waterlogging, which can rot the orchid roots. Make sure your orchid pots have drainage holes at the bottom. After watering, ensure that excess water drains out completely.
4. Water Quality:
Use filtered or distilled water to avoid the build-up of mineral deposits in the growing medium. Tap water can contain chemicals and minerals that may harm the orchid.
5. Observation:
Observe your orchid’s growing medium regularly. If it appears dry or if the orchid leaves start to wrinkle, it may be an indication that the plant needs water. On the other hand, if the growing medium feels wet and looks waterlogged, it’s a sign that you should reduce watering frequency.
6. Humidity:
Young orchids prefer higher humidity levels. You can increase humidity around the orchid by placing a tray of water near the plant, using a humidifier, or grouping your orchids together.
| Signs of Overwatering: | Signs of Underwatering: |
|---|---|
|
|
By following these watering techniques, you can ensure that your young orchid receives the right amount of water to thrive and produce beautiful flowers.
Choosing the Best Fertilizer for Young Orchids
Choosing the right fertilizer is crucial for the healthy growth and development of young orchids. Orchids have specific nutritional requirements, and using the correct fertilizer can provide them with the essential nutrients they need to thrive.
Understanding the Nutritional Needs of Young Orchids
Young orchids require a balanced and specific blend of nutrients in order to grow and bloom properly. The primary macronutrients that orchids need are nitrogen (N), phosphorus (P), and potassium (K). These macronutrients are essential for promoting healthy leaf growth, root development, and the production of vibrant flowers.
In addition to macronutrients, orchids also require micronutrients such as iron, magnesium, and calcium, in smaller quantities. These micronutrients play a vital role in supporting overall plant health and ensuring proper nutrition.
Types of Fertilizers for Young Orchids
When selecting a fertilizer for young orchids, it is important to choose one that is specifically formulated for orchids. Orchid fertilizers are available in various forms, including soluble powders, liquid concentrates, and slow-release granules.
One popular option is a balanced orchid fertilizer with an equal or near-equal ratio of NPK, such as 20-20-20 or 15-15-15. These balanced fertilizers provide a well-rounded mix of essential nutrients for young orchids.
Alternatively, you can choose a specialized orchid fertilizer that is tailored to the specific needs of your orchid variety. These fertilizers may have different formulations that cater to the particular nutritional requirements of different orchid types.
Application and Frequency
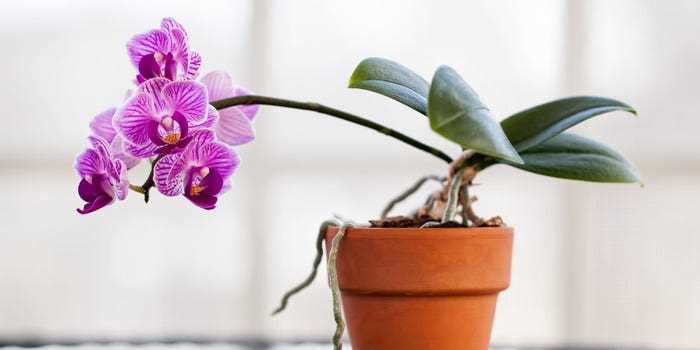

The application of fertilizer for young orchids should be done with care to avoid overfertilization. It is recommended to dilute the fertilizer according to the manufacturer’s instructions and apply it during regular watering sessions.
During the active growing season, orchids usually require fertilization every 2-4 weeks. However, it is important to monitor the plant’s overall health and growth rate to adjust the frequency and concentration of the fertilizer as needed.
Other Factors to Consider
In addition to selecting the right fertilizer, it is important to consider other factors when caring for your young orchids. These include providing adequate lighting, maintaining proper humidity levels, and ensuring good air circulation. Proper orchid care requires a harmonious balance of all these factors to promote optimal growth.
In conclusion, selecting the best fertilizer for young orchids is crucial for their overall health and growth. Understanding their nutritional needs and choosing a fertilizer with the right balance of macronutrients and micronutrients will help ensure that your orchids thrive and produce beautiful blooms.
Applying Fertilizer to Promote Growth


Fertilizing your young orchid is crucial to promoting healthy growth and development. Orchids have specific nutritional requirements that can differ from other plants, so it’s important to choose the right fertilizer and apply it correctly.
Choosing the Right Fertilizer
When it comes to fertilizing orchids, it’s important to use a balanced fertilizer specifically formulated for orchids. Look for a fertilizer with a ratio of 20-20-20 or 30-10-10, which represents the proportions of nitrogen (N), phosphorus (P), and potassium (K) in the fertilizer.
Additionally, orchids require micronutrients such as iron, magnesium, and calcium, so it’s a good idea to choose a fertilizer that contains these essential elements. You can also opt for a slow-release pellet or granular fertilizer, which gradually releases nutrients over time.
Timing and Frequency
It’s best to fertilize your young orchid during its active growth period, typically in spring and early summer. During this time, the orchid is actively producing new leaves and roots, and fertilizer can provide the necessary nutrients to support this growth.
As for frequency, it’s generally recommended to fertilize orchids every two to four weeks. However, it’s important to closely monitor your orchid’s growth and adjust the frequency accordingly. Overfertilizing orchids can lead to salt buildup, which can damage the roots and hinder growth.
Applying Fertilizer
When applying fertilizer to your young orchid, it’s important to follow the instructions provided on the fertilizer packaging. Generally, orchids can be fertilized by diluting the fertilizer in water and then applying it to the soil around the plant.
Make sure to water the orchid thoroughly before applying the fertilizer to help prevent any potential root burn. Avoid applying fertilizer directly to the foliage or flowers, as this can cause damage.
Additional Tips
- Always use lukewarm water when diluting the fertilizer, as hot or cold water can shock the plant’s roots.
- If using a slow-release fertilizer, apply it according to the manufacturer’s instructions and avoid overapplication.
- Regularly flush the orchid’s potting medium with plain water to prevent salt buildup.
- Consider using a fertilizer with a higher phosphorus content, such as a 10-30-20 ratio, during the blooming period to encourage the orchid to produce more flowers.
By choosing the right fertilizer, applying it at the correct timing and frequency, and following best practices, you can effectively promote the growth and overall health of your young orchid.
Common Mistakes to Avoid in Orchid Care
1. Overwatering
One of the most common mistakes in orchid care is overwatering. Orchids are susceptible to root rot, so it is crucial not to water them too frequently. Instead, allow the top inch of the potting medium to dry out before watering again. Ensure that the pot has drainage holes to prevent water from pooling at the bottom.
2. Using the wrong type of potting medium
Choosing the correct potting medium is essential for orchids. Avoid using regular potting soil, as it tends to retain too much moisture, leading to root rot. Instead, use a well-draining orchid mix, which typically consists of materials like bark, sphagnum moss, or perlite.
3. Ignoring air circulation
Orchids require good air circulation to prevent the growth of fungal diseases. Avoid placing them in a closed, stagnant environment, such as a bathroom without windows or a poorly vented room. Instead, place them in a well-ventilated area where air can flow around the leaves and roots.
4. Exposing orchids to direct sunlight
While orchids do need some sunlight, direct exposure to intense sunlight can scorch their leaves and cause damage. Instead, provide filtered sunlight or place them in a location where they receive gentle morning or evening sun. If growing indoors, consider using sheer curtains or blinds to diffuse sunlight.
5. Neglecting temperature and humidity requirements
Orchids have specific temperature and humidity requirements, depending on the variety. Ignoring these requirements can lead to stunted growth or an unhealthy plant. Research the specific needs of your orchid and make necessary adjustments to the temperature and humidity levels in its environment.
6. Overfertilizing
While fertilizing can promote healthy growth, overfertilizing can harm orchids. Use a balanced orchid fertilizer and follow the instructions on the packaging. The frequency and strength of fertilization depend on the orchid variety, so research and understand your specific orchid’s needs.
7. Repotting too frequently
Orchids generally prefer to be slightly root-bound, so repotting too frequently can disrupt their growth and potentially damage the roots. Instead, wait until the orchid has outgrown its current pot or when it shows signs of overcrowding, such as roots growing out of the pot’s drainage holes.
8. Neglecting pest control
Orchids can be susceptible to pests like aphids, mealybugs, and spider mites. Ignoring signs of infestation can lead to weakened plants and poor growth. Regularly inspect your orchids for any signs of pests and take immediate action with appropriate pest control measures, such as using insecticidal soap or neem oil.
9. Lack of patience
Orchids can sometimes take time to adjust to their new environments and may not flower immediately. It is important to be patient and provide consistent care to allow the orchid to acclimate and bloom in its own time. Avoid making drastic changes to the care routine unless necessary.
10. Not seeking advice or information
Lastly, one of the biggest mistakes in orchid care is failing to seek advice or gather information about the specific type of orchid you are caring for. Different orchid species have distinct needs, so it is essential to research and consult with experts or fellow orchid enthusiasts to ensure you are providing the best care possible.
Summary and Best Practices for Caring for Young Orchids
Watering Tips:
- Water young orchids once a week, allowing the potting mix to dry slightly between waterings.
- Use room temperature or tepid water.
- Avoid overwatering, as this can lead to root rot.
- Make sure the pot has drainage holes to prevent water from sitting in the bottom.
- Consider using a humidity tray to increase moisture levels around the orchid.
Fertilizer Recommendations:
- Choose a balanced orchid fertilizer with a ratio of 20-20-20 or a similar formulation.
- Dilute the fertilizer according to the manufacturer’s instructions and apply it every other week during the growing season.
- Avoid using fertilizer during the orchid’s dormant period.
- Consider using a slow-release fertilizer for convenience.
- Remember to flush the orchid’s potting mix with plain water periodically to prevent salt buildup from fertilizers.
General Care Tips:
- Place the young orchid in a location with bright, indirect light.
- Avoid exposing the orchid to direct sunlight, as this can burn the leaves.
- Maintain a temperature range of 65-75°F (18-24°C) during the day and slightly cooler at night.
- Provide proper air circulation to prevent fungal or bacterial growth.
- Repot the orchid every 1-2 years to refresh the potting mix and ensure adequate root health.
- Monitor the orchid regularly for signs of pests or diseases and take appropriate action if necessary.
Conclusion:
Caring for young orchids requires attention to their specific needs, such as proper watering, fertilizing, and light exposure. By following these best practices and regularly monitoring the orchid’s health, you can enjoy a thriving and beautiful orchid for years to come.
Q&A:
How often should I water a young orchid?
It is important to let the orchid’s roots dry out slightly between waterings. Generally, watering a young orchid once a week is sufficient, but this can vary depending on factors such as the type of orchid, the potting medium, and the environmental conditions.
What is the best way to water a young orchid?
The best way to water a young orchid is to immerse the entire pot in water for a few minutes and then allow it to drain thoroughly. Avoid getting water on the leaves or in the crown of the plant, as this can lead to rot and other issues.
Can I use tap water to water my young orchid?
Using tap water can be problematic for orchids, as it often contains high levels of minerals and chemicals that can harm the plant. It is best to use filtered or distilled water, or to collect rainwater for watering your orchid.
What type of fertilizer should I use for a young orchid?
A balanced orchid fertilizer with a ratio of 20-20-20 is generally suitable for young orchids. It is important to follow the instructions on the fertilizer packaging and to dilute it to half or quarter strength, as orchids are sensitive to excessive nutrients.
How often should I fertilize my young orchid?
Young orchids should be fertilized every two to four weeks during the growing season, which is typically spring and summer. In the dormant season, fertilizing can be reduced or stopped altogether, as the orchid’s growth slows down.
Video:
8 POWERFUL HOMEMADE ROOTING HORMONES| Natural Rooting Stimulants for Gardening

