- Common Mistakes: How to Avoid Them when Planting Gladiolus
- 1. Planting at the wrong depth
- 2. Overwatering
- 3. Planting in poor soil
- 4. Not providing support
- 5. Neglecting proper spacing
- 6. Skipping fertilization
- 7. Failing to remove faded blooms
- Choosing the Wrong Location for Planting Gladiolus
- Factors to Consider
- Location Preparation
- Planting Distance
- Planting at the Wrong Time of the Year
- Improper Soil Preparation and Fertilization
- Soil Preparation
- Fertilization
- Conclusion
- Improper Depth and Spacing of Gladiolus Bulbs
- Depth
- Spacing
- Summary
- Forgetting to Provide Adequate Support for Growing Plants
- Overwatering or Underwatering the Gladiolus Plants
- Overwatering
- Underwatering
- Neglecting the Importance of Weed Control
- Failing to Properly Store Gladiolus Bulbs after Blooming Season
- Cleaning and Drying
- Removing and Treating Bulb Offsets
- Storage Containers
- Storage Location
- Regular Check-ups
- Questions and Answers:
- How deep should I plant gladiolus bulbs?
- What are some common mistakes to avoid when planting gladiolus?
- Can gladiolus be grown in containers?
- When is the best time to plant gladiolus bulbs?
- How often should gladiolus bulbs be watered?
- Videos: 5 Deadly MISTAKES You Can’t Afford to Make When Growing Squash
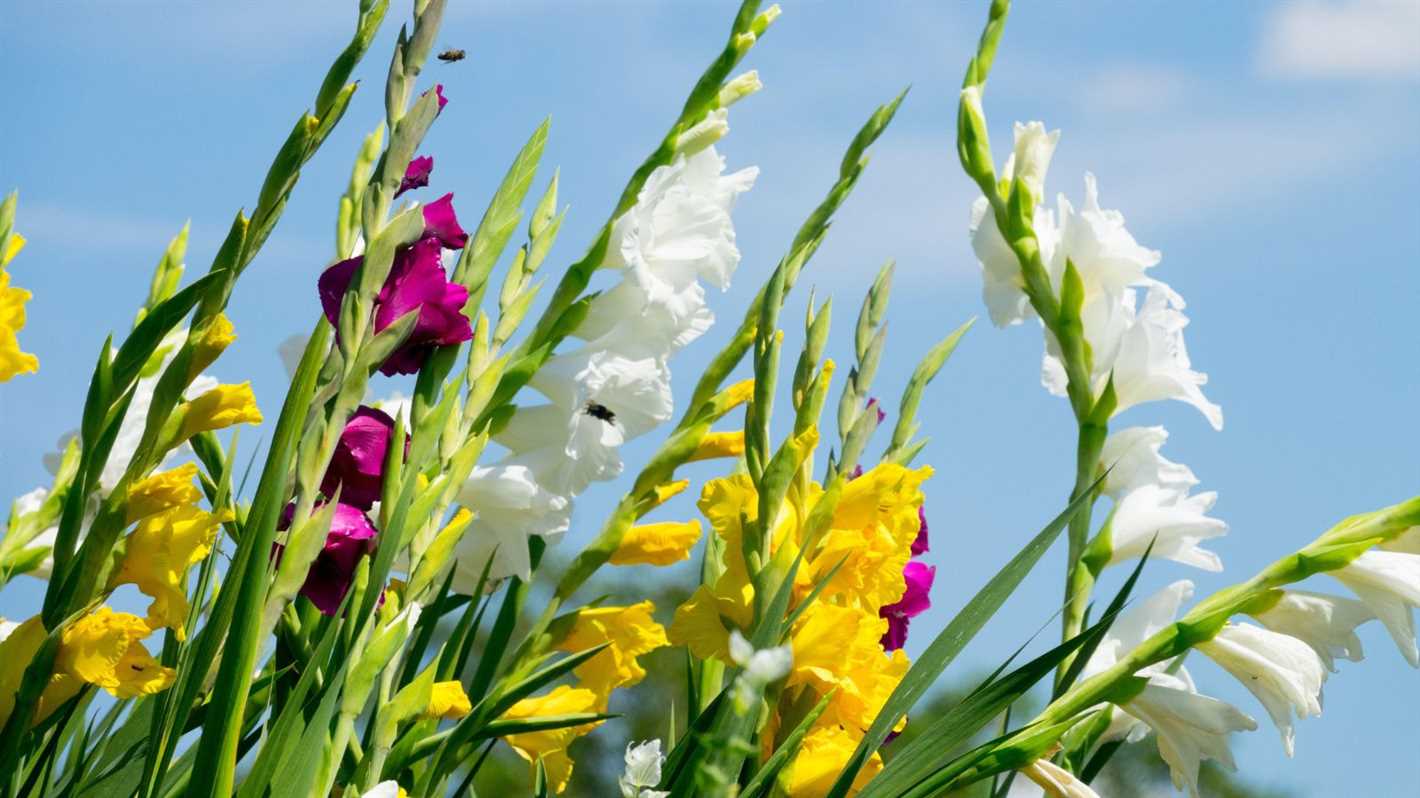
Gladiolus, also known as the sword lily, is a stunning flower that can add beauty and elegance to any garden. However, there are some common mistakes that many gardeners make when planting and caring for gladiolus. These mistakes can lead to disappointing results and may even cause the flowers to fail to bloom.
One of the most common mistakes is planting gladiolus bulbs too shallow or too deep. It’s important to follow the recommended planting depth, which is typically about 4-6 inches deep. Planting the bulbs too shallow can result in weak and short stems, while planting them too deep can prevent proper root development and inhibit flowering.
Another mistake gardeners make is not providing the gladiolus with enough sunlight. These flowers require at least 6-8 hours of direct sunlight a day to thrive. Planting them in a location with too much shade can result in weak and leggy growth, fewer blooms, and shorter bloom time.
Additionally, overwatering is a common mistake that can lead to rot and disease. Gladiolus bulbs prefer well-drained soil, so it’s important to water them sparingly and allow the soil to dry out between waterings. It’s also important to avoid planting gladiolus in areas prone to standing water or heavy rainfall.
By avoiding these common mistakes and following a few essential steps, you can ensure the successful planting and blooming of gladiolus in your garden. Providing the bulbs with proper planting depth, adequate sunlight, and appropriate watering will help them thrive and produce beautiful flowers that will enhance your garden and bring joy to your home.
Common Mistakes: How to Avoid Them when Planting Gladiolus
Planting gladiolus can be a rewarding experience, but it’s important to avoid common mistakes that can hinder their growth and development. Here are some essential tips to help you avoid these mistakes:
1. Planting at the wrong depth
One common mistake beginners make is planting gladiolus corms (bulbs) at the wrong depth. Planting them too shallow can result in weak and unstable stems, while planting them too deep can delay their emergence or cause them to rot. To avoid this, plant gladiolus corms at a depth of about 4 to 6 inches, with the pointed end facing upwards.
2. Overwatering

Another mistake is overwatering gladiolus bulbs. While these flowers require regular watering, excessive moisture can cause the bulbs to rot. To prevent this, ensure that the soil is well-drained and water the plants only when the top inch of soil feels dry. Additionally, avoid overhead watering as it can lead to fungal diseases.
3. Planting in poor soil
Gladiolus plants thrive in well-drained soil with a pH of around 6 to 6.7. Planting them in poor soil can lead to stunted growth and a lack of vibrant blooms. Before planting, amend the soil with organic matter, such as compost or peat moss, to improve its texture and fertility.
4. Not providing support
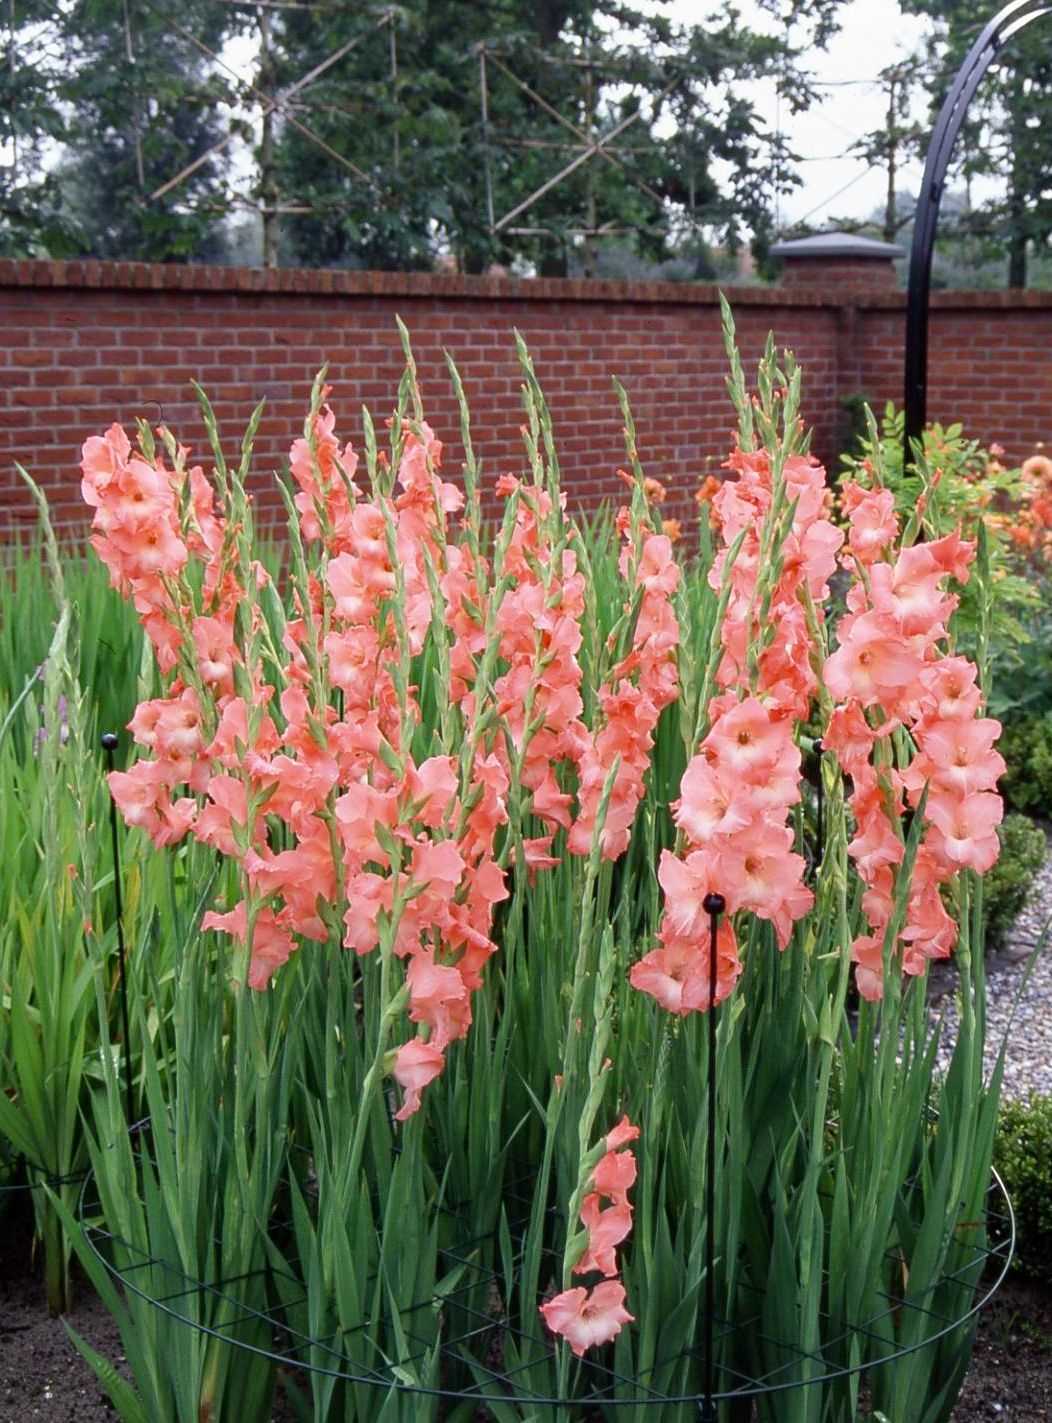
Many gardeners overlook the fact that gladiolus plants require support to prevent them from falling over. Due to their tall growth habit, strong winds or heavy rain can cause the stems to bend or snap. To avoid this, insert stakes or install a trellis system near the plants to provide support.
5. Neglecting proper spacing
Spacing gladiolus corms too closely can result in overcrowding, lack of air circulation, and competition for nutrients. To ensure healthy growth and abundant blooms, space gladiolus corms about 6 to 8 inches apart in the planting bed.
6. Skipping fertilization

Fertilization is crucial for the successful growth of gladiolus plants. Skipping this step can lead to weak growth and fewer blooms. Prior to planting, incorporate a slow-release fertilizer into the soil. Then, during the growing season, apply a balanced liquid fertilizer every two to three weeks to provide essential nutrients.
7. Failing to remove faded blooms
Removing faded blooms not only helps maintain the aesthetic appeal of your gladiolus plants but also directs energy towards new growth and development. Neglecting to deadhead the flowers can result in the production of seeds, which diverts resources away from the bulbs.
By being aware of these common mistakes and taking the necessary precautions, you can ensure successful planting and enjoy the beautiful blooms of gladiolus in your garden.
Choosing the Wrong Location for Planting Gladiolus

One common mistake to avoid when planting gladiolus is choosing the wrong location. Gladiolus thrive in areas with full sun exposure, so it’s important to select a spot that receives at least six to eight hours of sunlight each day.
Factors to Consider
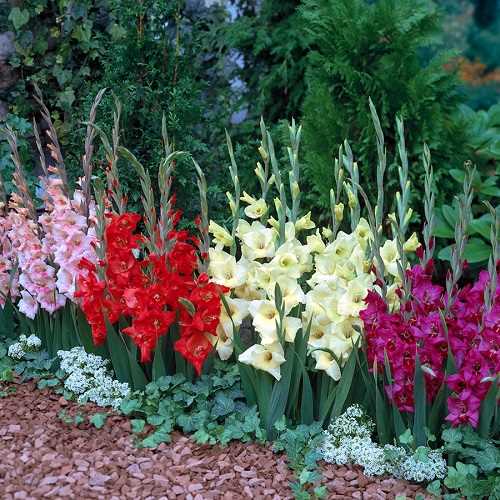

- Sunlight: Gladiolus require ample sunlight to grow and bloom. Choose a location with direct sunlight for the majority of the day.
- Soil Drainage: Gladiolus prefer well-draining soil to prevent waterlogging and root rot. Avoid areas with heavy clay soil or poor drainage.
- Wind Exposure: Gladiolus stems are tall and can easily be damaged by strong winds. Plant them in a location that is sheltered from strong gusts.
Location Preparation
Before planting gladiolus, it’s important to prepare the chosen location to ensure optimal growing conditions.
- Clear the area of any weeds, rocks, or debris.
- Loosen the soil using a garden fork or tiller to improve drainage and aeration.
- Amend the soil with organic matter, such as compost or well-rotted manure, to improve its fertility.
- Level the soil surface to create a flat planting area.
Planting Distance
| Planting Type | Distance Between Corms |
|---|---|
| Traditional Rows | 6 to 8 inches |
| Clusters or Groups | 3 to 4 inches |
| Pots or Containers | 2 to 3 inches |
When planting gladiolus corms, it’s important to space them appropriately to allow for proper growth and development. The distance between corms will depend on the planting type you choose. Traditional rows require a spacing of 6 to 8 inches, while clusters or groups should have a spacing of 3 to 4 inches. If planting in pots or containers, space the corms 2 to 3 inches apart.
By choosing the right location for planting gladiolus and following these essential steps, you will set the stage for successful growth and vibrant blooms.
Planting at the Wrong Time of the Year
One common mistake to avoid when planting gladiolus is choosing the wrong time of year. Gladiolus bulbs should be planted in the spring or early summer, when the soil temperature has reached at least 55°F (13°C). Planting them too early or too late can result in poor growth and even failure to bloom.
To determine the right time for planting, it is important to consider the climate and the frost dates in your region. Gladiolus bulbs are frost-sensitive and should not be planted until the risk of frost has passed. Frost can damage the bulbs and inhibit their growth.
It is recommended to consult a local gardening guide or contact your local agricultural extension office for information on the optimal planting time in your area. They can provide you with specific advice based on your region’s climate and local conditions.
When planting gladiolus, make sure to choose a location that receives full sun or at least 6-8 hours of direct sunlight per day. The soil should be well-draining and rich in organic matter. Prepare the soil by loosening it and removing any weeds or debris.
After planting the bulbs, water them thoroughly and keep the soil evenly moist throughout the growing season. Avoid overwatering, as it can lead to bulb rot. Applying a layer of mulch around the plants can help conserve moisture and suppress weed growth.
In conclusion, planting gladiolus at the wrong time of the year can hinder their growth and reduce their chances of blooming. Take into account the local climate and frost dates, and plant the bulbs when the soil temperature is suitable. With proper planting and care, you can enjoy a beautiful display of gladiolus flowers in your garden.
Improper Soil Preparation and Fertilization
One common mistake many people make when planting gladiolus is improper soil preparation and fertilization. In order for gladiolus plants to thrive and produce beautiful flowers, it is important to prepare the soil properly and provide the right nutrients.
Soil Preparation
The first step in preparing the soil for gladiolus is to choose a well-draining location with plenty of sunlight. Gladiolus plants prefer loamy soil that is rich in organic matter. Before planting, remove any weeds or grass from the area and loosen the soil to a depth of at least 8 inches.
Once the soil is loosened, incorporate organic matter such as compost or well-rotted manure to improve the soil structure and fertility. This will help the soil retain moisture and provide essential nutrients for the gladiolus plants.
Fertilization
Proper fertilization is crucial for the healthy growth and blooming of gladiolus plants. Before planting, it is recommended to perform a soil test to determine the nutrient levels in the soil. This will help you determine the appropriate type and amount of fertilizer to use.
Gladiolus plants require a balanced fertilizer that is high in phosphorus (P) to promote blooming. A fertilizer with an NPK ratio of 5-10-5 or 10-20-10 is generally suitable for gladiolus. Apply the fertilizer according to the instructions on the package, usually about 2-3 weeks before planting.
During the growing season, it is important to continue fertilizing the gladiolus plants. Apply a balanced fertilizer every 4-6 weeks to provide a steady supply of nutrients. Be careful not to over-fertilize, as this can lead to excessive foliage growth and fewer flowers.
Conclusion
Improper soil preparation and fertilization can hinder the growth and blooming of gladiolus plants. By taking the time to prepare the soil properly and provide the right nutrients, you can ensure healthy and beautiful gladiolus flowers. Remember to choose a well-draining location, incorporate organic matter into the soil, perform a soil test, and fertilize regularly according to the plant’s needs. With proper care, your gladiolus plants will reward you with stunning blooms!
Improper Depth and Spacing of Gladiolus Bulbs
One common mistake that gardeners make when planting gladiolus bulbs is improper depth and spacing. It is essential to understand the correct depth and spacing requirements for these bulbs in order to ensure their successful growth and blooming.
Depth
The depth at which gladiolus bulbs should be planted is crucial for their proper development. Planting the bulbs too shallow or too deep can lead to various issues, including stunted growth, poor flowering, or even bulb rot.
The general guideline for planting gladiolus bulbs is a depth of 4-6 inches (10-15 cm). This measurement is taken from the base of the bulb to the soil surface. Planting at this depth allows the bulbs to establish a strong root system and provides stability for the growing plant. Be sure to measure from the base of the bulb itself, rather than from the top where the foliage emerges.
Spacing
Proper spacing between gladiolus bulbs is also crucial for their healthy growth and optimal blooming. Inadequate spacing can result in crowded plants that compete for resources and air circulation, leading to weaker growth and increased susceptibility to diseases and pests.
The ideal spacing between gladiolus bulbs is approximately 6-8 inches (15-20 cm). This measurement should be taken from the center of one bulb to the center of the neighboring bulb. Spacing the bulbs at the right distance allows each plant to have enough room to grow and access sunlight, nutrients, and water without interference from neighboring plants.
Summary
To avoid the common mistake of improper depth and spacing of gladiolus bulbs, remember the following guidelines:
- Plant gladiolus bulbs at a depth of 4-6 inches (10-15 cm) from the base of the bulb to the soil surface.
- Ensure a spacing of approximately 6-8 inches (15-20 cm) between the center of one bulb and the center of the neighboring bulb.
- Proper depth and spacing allow for healthy root development, strong growth, and optimal blooming of gladiolus plants.
By following these essential steps, you can avoid the pitfalls of improper depth and spacing and enjoy beautiful and successful gladiolus blooms in your garden.
Forgetting to Provide Adequate Support for Growing Plants
One common mistake when growing gladiolus is forgetting to provide adequate support for the plants. Gladiolus plants are known for their tall and slender stems, which can easily become top-heavy and topple over if not properly supported.
To prevent this, it is important to provide support for the growing plants. This can be done in several ways:
- Staking: One of the most common methods is to use stakes to support the stems. Place a stake next to each gladiolus plant and gently tie the stem to the stake using soft twine or plant ties. The stake should be inserted into the ground deeply enough to provide stability.
- Cage: Another option is to use a gladiolus cage, which is similar to a tomato cage. These cages have vertical supports that help to keep the plants upright. Simply place the cage around the gladiolus plant and secure it in place using stakes or by burying the bottom of the cage in the soil.
- Trellis: For a more decorative option, you can use a trellis to provide support for gladiolus plants. Position the trellis near the plants and gently tie the stems to the trellis as they grow.
It is important to provide support for gladiolus plants from the beginning of their growth, as trying to support them after they have already fallen over can be more difficult and may damage the plants.
By providing adequate support for growing gladiolus plants, you can ensure that they remain upright and healthy throughout the growing season. This will not only make your garden look more aesthetically pleasing, but it will also prevent damage to the plants and improve their overall growth and development.
Overwatering or Underwatering the Gladiolus Plants
One of the common mistakes to avoid when growing gladiolus plants is overwatering or underwatering them. Both situations can lead to negative consequences for the health and growth of the plants.
Overwatering
Overwatering is a common mistake that many gardeners make when it comes to gladiolus plants. It occurs when the plants receive more water than they need, causing the soil to become waterlogged. This can lead to root rot and other fungal diseases, as well as stunted growth.
To avoid overwatering your gladiolus plants:
- Check the moisture level of the soil regularly. Stick your finger into the soil about an inch deep – if it feels wet, do not water the plants.
- Only water the plants when the top inch of soil feels dry to the touch.
- Avoid using sprinklers or overhead watering methods that can saturate the soil too much.
Underwatering
Underwatering is another mistake that can negatively affect the health of gladiolus plants. It occurs when the plants do not receive enough water to meet their needs, leading to wilting and drying out.
To prevent underwatering your gladiolus plants:
- Check the moisture level of the soil regularly. Stick your finger into the soil about an inch deep – if it feels dry, it’s time to water.
- Water the plants deeply, ensuring that the water reaches the root zone.
- Provide enough water to keep the soil evenly moist, but not soggy.
Proper watering is essential for the successful growth of gladiolus plants. By avoiding overwatering or underwatering, you can ensure that your plants thrive and produce beautiful blooms.
Neglecting the Importance of Weed Control
Weed control is a crucial step in ensuring the success of your gladiolus plants. Neglecting weed control can lead to various problems that can hinder the growth and development of your gladiolus flowers.
1. Competition for nutrients and resources: Weeds are notorious for their ability to compete with other plants for essential nutrients, water, and sunlight. When weeds grow near your gladiolus plants, they will compete for these resources, causing your gladiolus to suffer and potentially die.
2. Diseases and pests: Weeds can act as hosts for various diseases and pests that can easily spread to your gladiolus plants. Examples include aphids, spider mites, and fungal infections. By neglecting weed control, you expose your gladiolus to a higher risk of these problems.
3. Aesthetic appeal: Weeds can be an eyesore and detract from the beauty of your gladiolus garden. They can quickly multiply and take over the space, making it look messy and unkempt. Keeping weeds under control is essential for maintaining the visual appeal of your gladiolus flower beds.
4. Reduced air circulation: Dense weed growth can hinder air circulation around your gladiolus plants. This can lead to increased humidity levels, creating a favorable environment for diseases such as powdery mildew. Adequate air circulation is essential for plant health and prevents the development of fungal problems.
5. Frustration and inefficiency: Neglecting weed control means that you will spend more time dealing with these unwanted plants in the long run. Weeds can quickly multiply and take over your garden if not addressed promptly. By regularly practicing weed control, you save yourself the frustration and inefficiency of dealing with a full-blown weed problem.
To effectively control weeds in your gladiolus garden, consider the following steps:
- Regularly inspect your garden for weeds and promptly remove them by hand or using garden tools.
- Mulch the soil around your gladiolus plants to suppress weed germination and growth. Organic mulches such as straw or wood chips work well for this purpose.
- Avoid overwatering, as moist conditions can encourage weed growth. Water your gladiolus plants only when necessary.
- Consider using pre-emergent herbicides before planting your gladiolus bulbs to prevent weed seed germination.
- Use post-emergent herbicides selectively and carefully, following the instructions on the product label.
By prioritizing weed control and following these essential steps, you can ensure the healthy growth and development of your gladiolus plants, allowing them to thrive and produce stunning flowers.
Failing to Properly Store Gladiolus Bulbs after Blooming Season
One common mistake that many gardeners make with gladiolus bulbs is failing to properly store them after the blooming season. If you want to ensure the success of your gladiolus bulbs for the next growing season, it’s important to take the appropriate steps for storing them.
Cleaning and Drying
The first step in storing gladiolus bulbs is to properly clean and dry them. After the blooms have faded and the foliage has turned yellow, carefully dig up the bulbs using a garden fork or trowel. Gently remove any excess soil, taking care not to damage the bulbs.
Next, lay the bulbs out in a single layer in a well-ventilated area to dry. This process typically takes about two weeks. Make sure the bulbs are kept away from direct sunlight and any sources of excessive heat or moisture.
Removing and Treating Bulb Offsets
While cleaning the bulbs, you may come across small bulblets or offsets attached to the main bulb. These offsets can be removed and stored separately for future planting. Use a sharp knife or scissors to carefully separate the offsets from the main bulb, making sure to leave a small piece of the base attached to each offset.
Before storing the offsets, it’s important to treat them with a fungicide. This will help prevent the development of any diseases or rot during storage. Follow the instructions on the fungicide label for the proper application method and dosage.
Storage Containers
Once the bulbs and offsets are clean, dry, and treated, it’s time to store them properly. Choose a storage container that is well-ventilated and allows for good air circulation. Avoid using sealed plastic bags or containers, as they can trap moisture and lead to rot.
One effective method for storing gladiolus bulbs is to use paper bags or mesh bags. This allows for air circulation while still providing some protection from light and pests. Make sure to label the bags with the variety and color of the bulbs for easy identification later.
Storage Location
Find a cool, dry, and dark location for storing your gladiolus bulbs. Ideal storage temperatures range from 35 to 45 degrees Fahrenheit (2 to 7 degrees Celsius). A dry basement, garage, or root cellar can work well for this purpose.
Avoid storing the bulbs near fruits or vegetables, as they release ethylene gas which can cause premature sprouting or rotting. Additionally, keep the bulbs away from any sources of heat or moisture that could damage them.
Regular Check-ups
During the winter months, it’s important to periodically check on your stored gladiolus bulbs. Inspect them for any signs of rot, disease, or moisture. If you come across any bulbs that are soft, moldy, or showing signs of damage, remove them from storage immediately to prevent the spread of infection to other bulbs.
By following these essential steps for storing gladiolus bulbs after the blooming season, you can ensure their viability and success for the next growing season. Proper storage will help protect the bulbs from disease, pests, and unfavorable environmental conditions, ultimately leading to healthy and vibrant blooms.
Questions and Answers:
How deep should I plant gladiolus bulbs?
Gladiolus bulbs should be planted about 4 to 6 inches deep in the soil.
What are some common mistakes to avoid when planting gladiolus?
Some common mistakes to avoid when planting gladiolus include planting them too shallow, not providing enough sunlight, overwatering, and not staking the plants for support.
Can gladiolus be grown in containers?
Yes, gladiolus can be grown in containers. It’s important to choose a container that is deep enough to accommodate the long roots of the gladiolus bulbs and to provide proper drainage.
When is the best time to plant gladiolus bulbs?
The best time to plant gladiolus bulbs is in the spring, after the danger of frost has passed and the soil has warmed up.
How often should gladiolus bulbs be watered?
Gladiolus bulbs should be watered regularly, about once a week, or when the top inch of soil feels dry.


