- March Gardening Checklist: Sowing, Pruning, Rooting, Spraying, and Disposing!
- 1. Sowing
- 2. Pruning
- 3. Rooting
- 4. Spraying
- 5. Disposing
- Prepare Your Garden for Spring
- Start Sowing Seeds for Spring Plants
- 1. Choose the Right Seeds
- 2. Prepare the Soil
- 3. Sowing the Seeds
- 4. Watering
- 5. Providing Proper Care
- 6. Transplanting
- 7. Continued Maintenance
- Prune and Shape Trees and Shrubs
- Prepare and Improve Soil
- Start Rooting Cuttings for New Plants
- Select the Right Plants
- Take the Cuttings
- Prepare the Rooting Medium
- Root the Cuttings
- Care for the Cuttings
- Monitor and Transplant
- Check and Maintain Garden Tools and Equipment
- Inspect and clean your tools
- Sharpen blades and cutting surfaces
- Lubricate moving parts
- Replace worn-out parts
- Organize and store your tools properly
- Keep safety in mind
- Apply Pest Control Measures and Sprays
- 1. Identify the pests
- 2. Choose organic pest control methods
- 3. Use traps and barriers
- 4. Practice companion planting
- 5. Monitor your plants regularly
- 6. Follow application instructions
- 7. Practice proper disposal
- Properly Dispose of Yard Waste
- Composting
- Curbside Collection
- Mulching
- Donation or Exchange
- Municipal Drop-Off Sites
- Professional Removal Services
- Questions and Answers:
- How do I start my March gardening checklist?
- What types of seeds can I sow in March?
- How should I prune my plants in March?
- What is rooting and how do I do it?
- How can I dispose of garden debris and weeds?
- Videos: How to propagate roses with potatoes for fast rooting | Growing roses in potatoes

March is the perfect time to get your garden in full swing. As the days grow longer and the temperatures begin to rise, it’s important to tackle a variety of tasks to ensure your garden thrives throughout the summer season. From sowing new plants to pruning existing ones, rooting cuttings to spraying for pests and diseases, and disposing of any garden waste, this checklist will help you stay on top of your gardening game.
First, it’s time to sow new plants. Whether you’re starting from seeds or opting for young seedlings, March is the ideal month to get these little green gems in the ground. Make sure to choose plants that are suitable for your climate and soil conditions, and follow the instructions on the seed packet or plant label for optimal spacing and watering requirements.
Next, it’s time to prune any shrubs, trees, or flowering perennials that require it. Pruning helps to promote healthy growth, remove dead or diseased branches, and shape your plants to your desired aesthetic. Remember to use sharp and clean tools, and only prune when the plants are dormant to avoid excessive bleeding.
If you’re interested in propagating new plants, March is the perfect time to start rooting cuttings. Select healthy stems from your existing plants, make a clean cut just below a leaf node, and remove any lower leaves. Place the cuttings in a well-draining soil mix or rooting hormone, and keep them in a warm and humid environment. In a few weeks, you’ll have new plants ready to be transplanted into your garden!
March is also the time to start spraying for pests and diseases. As the weather warms up, insects and pathogens become more active, so it’s crucial to stay ahead of the game. Use organic or chemical sprays as necessary, and make sure to follow the instructions for safe and effective application. Prevention is key, so regular monitoring and early intervention are essential.
Finally, don’t forget to dispose of any garden waste. March is a great time to clean up your garden beds, remove any fallen leaves or debris, and compost or dispose of them appropriately. This will help prevent the spread of pests and diseases, and create a clean and tidy garden environment.
By completing this March gardening checklist, you’ll set yourself up for a successful growing season ahead. So grab your tools, put on your gardening gloves, and get ready to sow, prune, root, spray, and dispose to create the garden of your dreams!
March Gardening Checklist: Sowing, Pruning, Rooting, Spraying, and Disposing!
1. Sowing
In March, it’s time to start sowing seeds for your spring and summer garden. Here are some plants you can sow:
- Tomatoes
- Peppers
- Cucumbers
- Zucchini
- Herbs like basil, parsley, and dill
2. Pruning
March is a good time to prune your trees and shrubs to encourage healthy growth. Remember the following pruning tips:
- Remove any dead or damaged branches
- Thin out dense areas to improve air circulation
- Prune fruit trees to remove any crossing or competing branches
3. Rooting
If you have plants that can be propagated from stem cuttings, March is a great time to start rooting them. Follow these steps:
- Select healthy stems about 6 inches long
- Remove leaves from the lower half of the stem
- Dip the cut end in rooting hormone
- Plant the cutting in a well-draining potting mix
- Place the pot in a warm location with indirect sunlight
- Keep the soil moist and wait for roots to develop
4. Spraying
As pests and diseases become more active in March, it’s important to spray your plants to protect them. Consider the following:
| Pest/Disease | Spray Solution |
|---|---|
| Aphids | Mix 2 tablespoons of dish soap with 1 gallon of water |
| Fungal diseases | Mix 1 tablespoon of baking soda and 1 gallon of water |
| Slugs and snails | Use iron phosphate-based bait |
5. Disposing
Dispose of any plant debris and old potting soil properly to prevent the spread of diseases. Here are some disposal tips:
- Compost plant debris if disease-free
- Bag and discard diseased plant materials in sealed bags
- Use a separate garbage bin for disposal
- Recycle or repurpose old pots and containers
Prepare Your Garden for Spring
- Create a cleaning plan for your garden. Remove debris, fallen leaves, and dead plants from your garden beds.
- Inspect your gardening tools and equipment. Clean them and make any necessary repairs or replacements.
- Prepare the soil for planting by loosening it with a garden fork or tiller. Add organic matter such as compost or well-rotted manure to improve soil fertility.
- Prune deciduous trees and shrubs to remove dead or damaged branches and promote healthy growth.
- Plan your planting schedule. Determine which plants you want to grow and check their specific requirements for planting.
- Start sowing seeds indoors for plants that require an early start, such as tomatoes and peppers.
- Clean and sharpen your gardening tools. This will make gardening tasks easier and more efficient.
- Inspect your irrigation system and make any necessary repairs or adjustments. Ensure that your plants will receive adequate water during the growing season.
- Prepare a plan for weed control. Consider using organic weed control methods such as mulching or hand weeding.
- Check for pests and diseases in your garden. Identify any problems and research appropriate treatments.
- Consider adding flower beds or containers for spring flowers such as tulips and daffodils.
- Prepare your lawnmower and other lawn care equipment for the upcoming season.
- Consider installing a compost bin to recycle organic waste from your garden.
- Make a list of gardening tasks for each month to stay organized throughout the spring gardening season.
Start Sowing Seeds for Spring Plants
Spring is the perfect time to start sowing seeds for your garden. By sowing seeds early, you can give your plants a head start and ensure they have enough time to grow and flourish.
Here are some tips to help you get started:
1. Choose the Right Seeds
Before you start sowing seeds, make sure you choose the right ones for your garden. Consider your location, climate, and soil type to determine which seeds will thrive best in your garden.
2. Prepare the Soil
Prepare your garden bed by loosening the soil and removing any weeds or debris. Make sure the soil is well-drained and rich in nutrients. You can add organic matter, such as compost or aged manure, to improve the soil’s fertility.
3. Sowing the Seeds
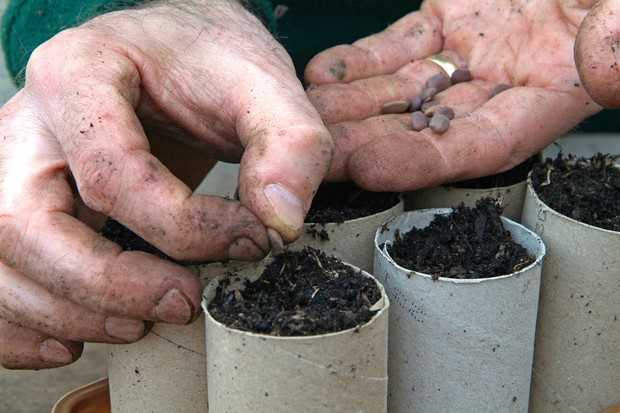
Follow the instructions on the seed packet for sowing depth and spacing. Use a small garden trowel or your fingers to create shallow furrows in the soil. Place the seeds in the furrows, making sure to leave enough space between them. Cover the seeds with soil and gently press down to ensure good seed-to-soil contact.
4. Watering
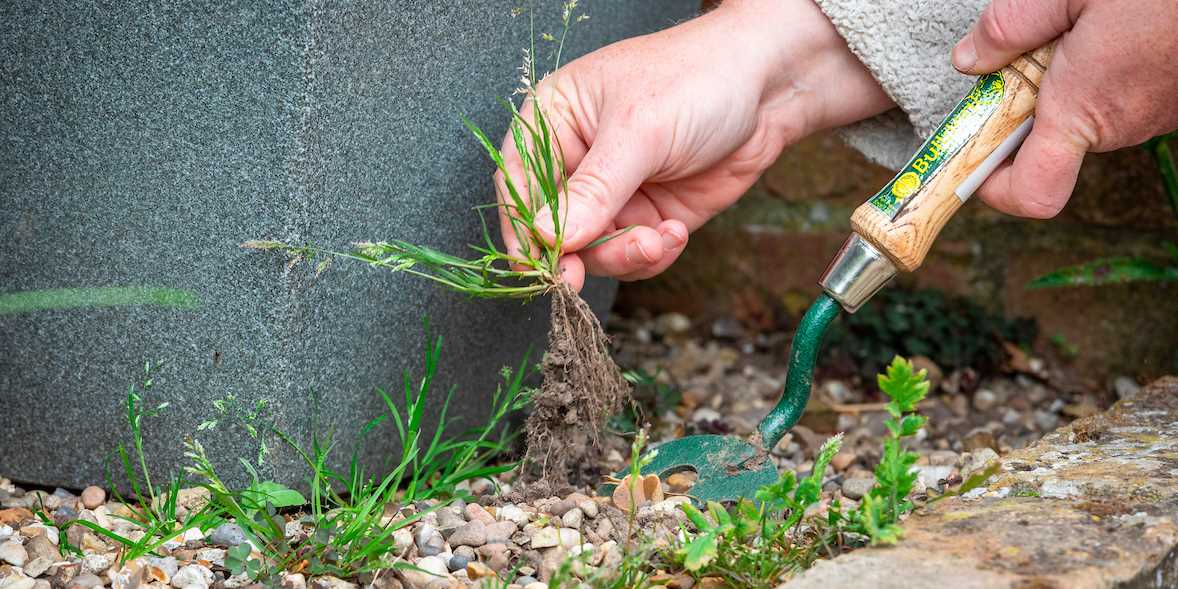
After sowing the seeds, water the garden bed gently. The soil should be moist but not saturated. Avoid overwatering, as this can lead to rot or fungal diseases.
5. Providing Proper Care
Once the seeds have germinated, make sure to provide them with proper care. Ensure they receive adequate sunlight, water, and nutrients. Protect them from pests and weeds by using organic methods or appropriate treatment.
6. Transplanting
When the seedlings have grown to a suitable size, you can transplant them into their permanent location in the garden. Dig a hole slightly larger than the root ball of the seedling and gently place it in the hole. Fill the hole with soil, firming it gently around the plant.
7. Continued Maintenance
Continue to provide proper care and maintenance to your spring plants. Monitor their growth, water them regularly, and protect them from pests and diseases. As they grow, you may need to provide support, such as stakes or trellises, for certain plants.
With these tips, you can start sowing seeds for your spring plants and look forward to a beautiful and bountiful garden in the coming months.
Prune and Shape Trees and Shrubs
Pruning and shaping trees and shrubs is an essential task in maintaining your garden’s health and aesthetics. It is best to prune and shape trees and shrubs during the late winter or early spring, before new growth starts. This allows the plants to heal and recover quickly.
Here are some guidelines for pruning and shaping trees and shrubs:
- Start by inspecting the tree or shrub and remove any dead, damaged, or diseased branches. These can be identified by their lack of foliage, discoloration, or signs of disease.
- Next, look for any crossing branches that are rubbing against each other. These can cause damage to the bark and create entry points for pests and diseases. Remove one of the crossing branches to prevent this issue.
- Thin out the branches to improve airflow and light penetration. This helps prevent fungal diseases and promotes healthy growth. Remove branches that are growing towards the center of the tree or shrub.
- Shape the tree or shrub by removing any branches that are growing in an undesirable direction or are disrupting the overall form of the plant. Use pruning shears or loppers for smaller branches and a pruning saw for larger branches.
- Make clean cuts just outside the branch collar, which is the swollen area where the branch meets the trunk or main stem. Avoid leaving stubs or cutting too close to the collar.
It is important to have the right tools when pruning and shaping trees and shrubs. These include pruning shears, loppers, pruning saws, and safety equipment like gloves and safety glasses. Proper technique and safety precautions are necessary to prevent injuries and ensure the health of your plants.
Prepare and Improve Soil

- Remove Weeds: Start by removing any weeds or unwanted plants from your garden. This will prevent them from competing with your desired plants for nutrients and sunlight.
- Loosen the Soil: Use a garden fork or tiller to loosen the soil. This will help improve drainage and allow plant roots to penetrate the soil more easily.
- Amend the Soil: Test your soil to determine its pH level and nutrient content. Based on the results, you can amend the soil by adding organic matter such as compost, manure, or peat moss to improve its fertility.
- Apply Fertilizer: Depending on the nutrient needs of your plants, apply a balanced fertilizer or a specific nutrient mix to provide essential nutrients for healthy plant growth.
- Consider Mulching: Mulching helps to retain moisture, suppress weeds, and regulate soil temperature. Apply a layer of organic mulch, such as straw, wood chips, or leaves, around your plants.
- Test for Soil Drainage: Determine if your soil has proper drainage by digging a hole and filling it with water. If the water drains slowly, you may need to amend the soil further to improve drainage.
- Adjust Soil pH: Some plants prefer acidic soil, while others thrive in alkaline conditions. Adjust the soil pH if needed by adding lime to raise the pH or sulfur to lower it.
- Consider Raised Beds: If your soil is of poor quality or drainage is a concern, consider creating raised beds. Raised beds allow for better soil control and can improve plant health.
Start Rooting Cuttings for New Plants
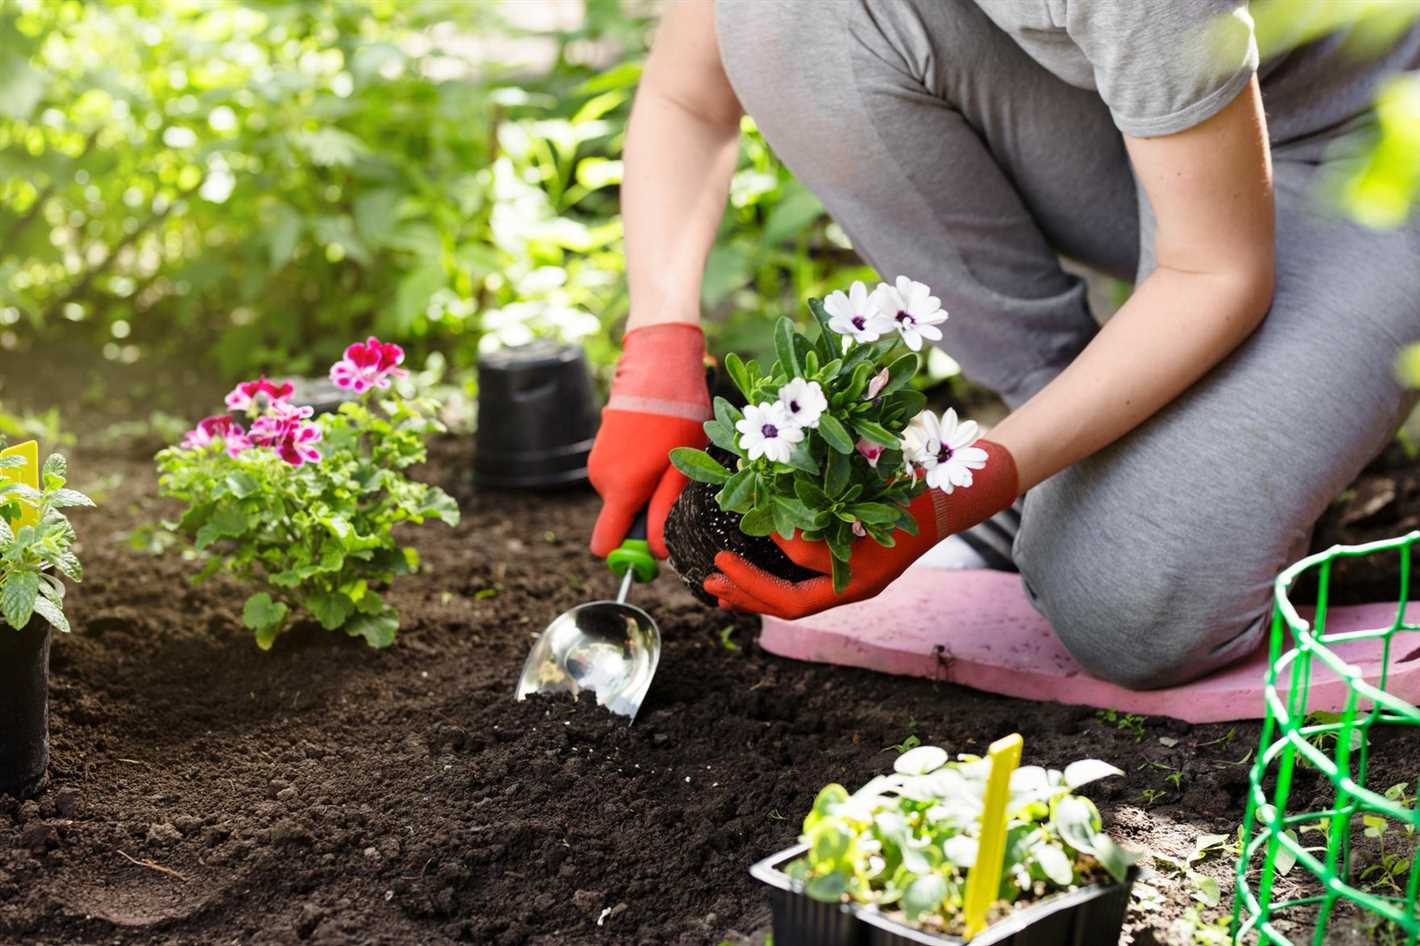
If you want to expand your garden and grow new plants without having to buy seeds or seedlings, rooting cuttings is a great way to go. Many plants can be propagated from cuttings, and it’s a fun and rewarding process to watch them grow and develop into new plants.
Select the Right Plants
Not all plants can be propagated from cuttings, so it’s essential to choose the right ones. Generally, plants with soft stems, like herbs and some flowering plants, are the easiest to root. Examples include rosemary, lavender, mint, hydrangeas, and geraniums.
Take the Cuttings
When taking cuttings, make sure to use sharp and clean pruning shears or scissors. Cut above a node, which is where a leaf is attached to the stem. The cutting should be around 4 to 6 inches long. Remove any leaves from the lower part of the cutting to prevent rotting.
Prepare the Rooting Medium
The rooting medium is where the cuttings will develop roots. Some common options include vermiculite, perlite, sand, or a mixture of these. Fill a container or tray with the rooting medium, making sure it’s moist but not overly wet.
Root the Cuttings
Dip the bottom inch of the cutting into rooting hormone powder or gel. This will help stimulate root growth. Make a small hole in the rooting medium and insert the cutting, gently firming the medium around it. Space the cuttings apart to ensure good air circulation.
Care for the Cuttings
Place the container with the cuttings in a warm and bright location, but out of direct sunlight. Mist the cuttings with water regularly to keep the humidity high. Monitor the moisture level of the rooting medium and water as necessary. It’s also helpful to cover the container with a plastic bag or dome to create a greenhouse effect.
Monitor and Transplant
After a few weeks, check the cuttings for root development. Gently tug on the cutting, and if you feel resistance, it means roots have formed. Once the roots are well established, carefully lift the cuttings from the rooting medium and transplant them into individual pots or directly into the garden.
Rooting cuttings can be a rewarding way to expand your garden and save money. With proper care and patience, you can enjoy growing new plants from your existing ones.
Check and Maintain Garden Tools and Equipment
As you prepare for the upcoming gardening season, it’s important to check the condition of your garden tools and equipment to ensure they are in good working order. Here are some essential steps to follow:
Inspect and clean your tools
Start by carefully inspecting all your gardening tools. Look for any signs of damage, such as rusted metal or broken handles. Clean each tool thoroughly using soapy water and a scrub brush or sponge. This will help remove dirt, debris, and any accumulated rust.
Sharpen blades and cutting surfaces
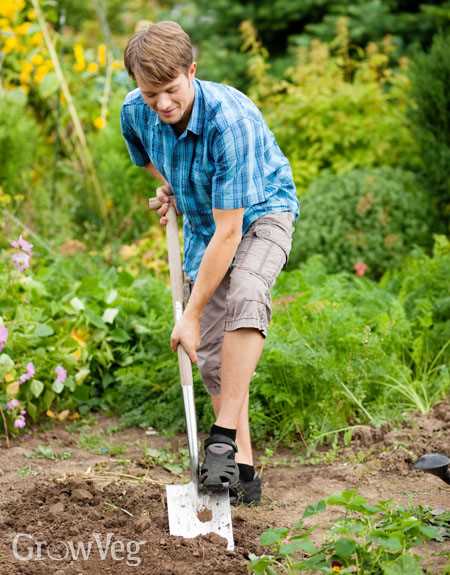
If your tools have blades or cutting surfaces, it’s crucial to keep them sharp. Dull blades can make gardening tasks more difficult and can also increase the risk of injury. Use a file or a sharpening tool to restore the sharpness of your tools.
Lubricate moving parts
To keep your tools functioning properly, lubricate any moving parts. Use a lubricating oil or silicone spray to ensure smooth operation. Pay particular attention to hinges, springs, and any other areas that require movement.
Replace worn-out parts
If you notice any severely worn-out or damaged parts, such as handles or blades, consider replacing them. It’s better to invest in new parts, rather than risk using tools that may cause harm or lead to poor results.
Organize and store your tools properly
Once you have inspected, cleaned, and maintained your tools, take the time to organize and store them properly. This will help prevent damage and make it easier to find the tools you need when the time comes. Consider using a pegboard, tool rack, or storage shed to keep everything organized.
Keep safety in mind
Remember to always prioritize safety when using garden tools. Wear appropriate protective gear, such as gloves and safety glasses, and follow proper handling procedures. Additionally, keep your tools out of reach of children and pets to prevent accidents.
By regularly checking and maintaining your garden tools and equipment, you can ensure they will serve you well throughout the gardening season. Taking the time to care for your tools will make your gardening tasks easier and more enjoyable.
Apply Pest Control Measures and Sprays
Pests can cause significant damage to your garden plants and crops. To protect your plants, it is essential to apply pest control measures and sprays regularly. Here are some steps you can take to control pests in your garden:
1. Identify the pests
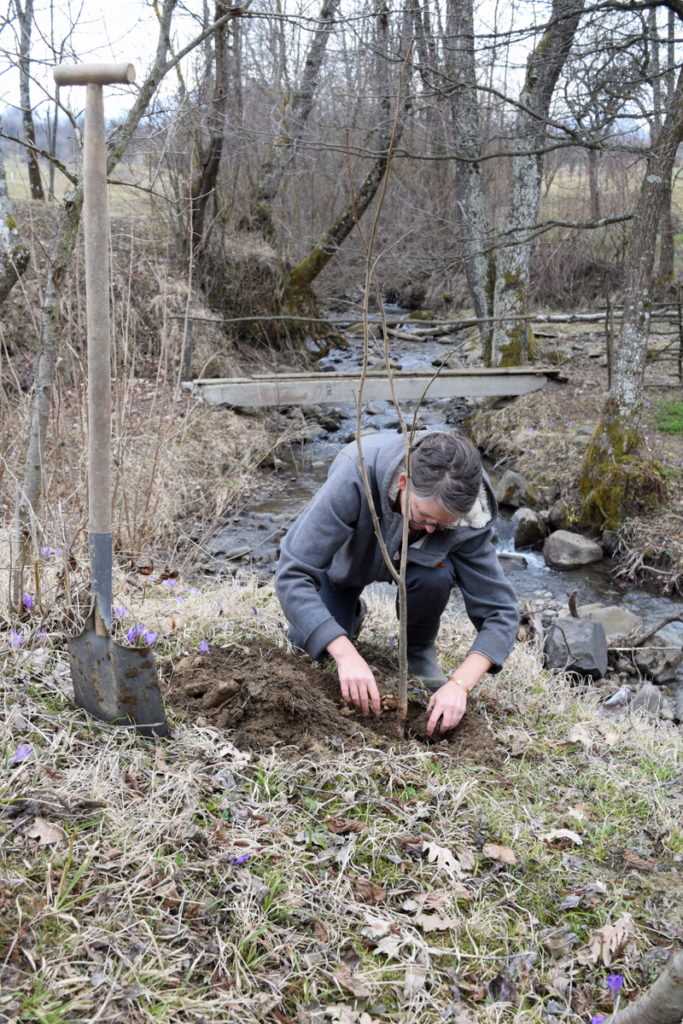
In order to effectively control pests, it is important to first identify the specific pests that are causing damage to your plants. Look for signs such as chewed leaves, holes in fruits, or insect infestations. Once you know which pests you are dealing with, you can choose the appropriate control methods.
2. Choose organic pest control methods
Using organic pest control methods is not only safer for the environment, but also for you and your plants. There are several organic options available, such as neem oil, insecticidal soaps, and diatomaceous earth. These products are effective at controlling pests without harmful chemicals.
3. Use traps and barriers
Traps and barriers can be an effective way to control pests without resorting to chemicals. For example, you can use sticky traps to catch flying insects like aphids and fruit flies. You can also place barriers, such as copper tape, around your plants to deter slugs and snails.
4. Practice companion planting
Companion planting is a technique where certain plants are grown together to benefit each other. Some plants repel pests, while others attract beneficial insects that prey on pests. For example, planting marigolds can help repel aphids, while attracting ladybugs, which feed on aphids.
5. Monitor your plants regularly
Regular monitoring is crucial for early pest detection. Inspect your plants regularly for signs of damage or infestation. By catching pest problems early, you can take action before they become a major issue. Remove any affected plant parts or infested plants to prevent the pests from spreading.
6. Follow application instructions
When using pest control sprays, always read and follow the instructions on the product label. Apply the sprays as directed, taking care to cover all the plant surfaces. It is important to apply the sprays at the appropriate time and frequency to ensure effectiveness.
7. Practice proper disposal
After applying pest control measures, dispose of any leftover sprays or containers properly. Follow local regulations for disposing of chemical products. Store any unused sprays in a safe place, away from children and pets.
By applying pest control measures and sprays, you can protect your garden plants from damage and ensure a healthy and productive garden.
Properly Dispose of Yard Waste
After completing your gardening tasks, it’s important to properly dispose of your yard waste to maintain a clean and eco-friendly outdoor space. Here are some guidelines on how to dispose of different types of yard waste:
Composting
Composting is an excellent way to recycle organic yard waste and turn it into nutrient-rich soil for your garden. You can compost grass clippings, leaves, small branches, and plant trimmings. Avoid adding weeds or diseased plants to your compost pile to prevent the spread of pests or diseases.
Curbside Collection
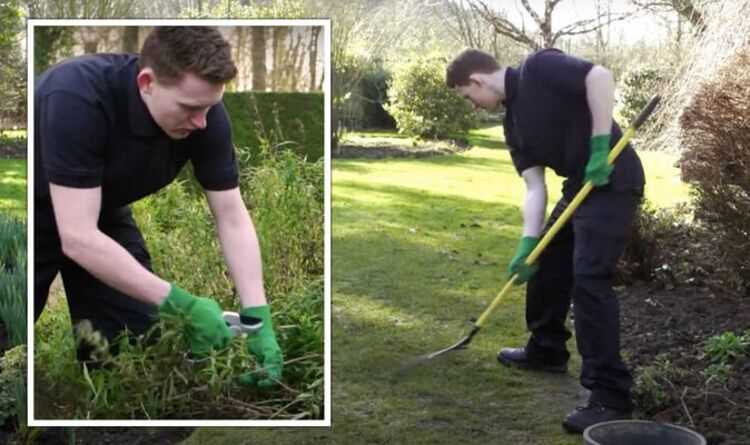
Check with your local waste management service to see if they offer curbside collection for yard waste. They may provide specific containers or bags for you to dispose of grass clippings, leaves, and branches. Follow their guidelines for collection days and any size or weight restrictions.
Mulching
Mulching is another option for disposing of yard waste, particularly branches. Use a garden shredder or chipper to turn larger branches into mulch that you can spread around your plants. This will help retain moisture, suppress weeds, and improve soil health.
Donation or Exchange

If you have excess plants, bulbs, or seeds, consider donating them to community gardens, schools, or local gardening groups. You can also exchange them with fellow gardeners who might be interested in trying new varieties or expanding their collection.
Municipal Drop-Off Sites
Many municipalities have designated drop-off sites where you can dispose of yard waste. These sites typically accept grass clippings, leaves, branches, and other organic materials. Check with your local government or waste management service to find the nearest drop-off location and any requirements for disposal.
Professional Removal Services
If you have a large amount of yard waste or need help removing bulky items like tree stumps or fallen trees, you might want to consider hiring professional removal services. They have the expertise and equipment to safely and efficiently handle and dispose of your yard waste.
Remember to always follow local regulations and guidelines when disposing of yard waste. By properly disposing of your yard waste, you can contribute to a cleaner environment and maintain the beauty of your outdoor space.
Questions and Answers:
How do I start my March gardening checklist?
To start your March gardening checklist, make sure to assess your garden and determine what tasks need to be done. This may include sowing seeds, pruning plants, rooting cuttings, spraying for pests, and disposing of any debris or weeds.
What types of seeds can I sow in March?
In March, you can sow a variety of seeds depending on your region and climate. Some common seeds to sow in March include vegetables like peas, lettuce, and radishes, as well as flowers like pansies and snapdragons.
How should I prune my plants in March?
When pruning plants in March, it’s important to first remove any dead or diseased branches. Then, you can shape the plant by cutting back any overly long or unruly branches. Be careful not to prune too much, as this can harm the plant’s overall health.
What is rooting and how do I do it?
Rooting refers to the process of propagating new plants from cuttings. To root a cutting, you will need to trim off a section of a plant’s stem and place it in water or a rooting hormone. Over time, roots will form and you can then plant the rooted cutting in soil.
How can I dispose of garden debris and weeds?
To dispose of garden debris and weeds, you can compost them if they are not diseased. If they are diseased or you do not have a compost pile, you can bag them up and put them in your regular trash or take them to a local green waste facility.


