- Choosing the Right Seeds for Your Glasses
- Consider Your Growing Conditions
- Consider the Flower’s Characteristics
- Understanding Seed Packets
- Experiment and Have Fun
- Preparing the Glasses for Planting
- Step 1: Choose the Right Glasses
- Step 2: Clean the Glasses
- Step 3: Sterilize the Glasses
- Step 4: Provide Drainage
- Step 5: Prepare Potting Mix
- Step 6: Fill the Glasses
- Step 7: Moisten the Soil
- Step 8: Label the Glasses
- Step 9: Place the Glasses
- Planting the Seeds in Glasses
- 1. Choose the right type of glasses
- 2. Prepare the soil
- 3. Select the appropriate flower seeds
- 4. Plant the seeds
- 5. Water the seeds
- 6. Provide appropriate light and temperature
- 7. Monitor and care for the seedlings
- 8. Transplant the seedlings
- Providing the Right Conditions for Growth
- 1. Light
- 2. Temperature
- 3. Watering
- 4. Humidity
- 5. Ventilation
- 6. Fertilizer
- 7. Transplanting
- Watering and Fertilizing the Seedlings
- Types of Fertilizers
- Fertilizing Schedule
- Transferring the Seedlings to Larger Containers
- Protecting the Seedlings from Pests and Diseases
- 1. Monitor for pests
- 2. Remove pests manually
- 3. Use organic insecticides
- 4. Provide good air circulation
- 5. Water properly
- 6. Quarantine new plants
- 7. Keep the growing area clean
- Gradually Acclimating the Seedlings to the Outdoor Environment
- Follow these steps to successfully harden off your seedlings:
- Q&A:
- What types of flowers can be grown from seedlings in glasses?
- What is the best time to start growing flower seedlings in glasses?
- What kind of soil should I use for growing flower seedlings in glasses?
- How often should I water my flower seedlings in glasses?
- Do flower seedlings in glasses need any special care?
- Can I reuse the glasses for growing seedlings in the future?
- Video: How to start seeds indoors with step by step instructions and demonstrations// Northlawn Flower Farm
If you’re new to gardening or simply looking for a fun and easy project to try out, cultivating flower seedlings in glasses is a great option. This beginner’s guide will walk you through the steps to successfully grow your own beautiful flowers from seeds in glasses.
Step 1: Choose Your Seeds
First and foremost, you’ll want to choose the right type of flower seeds for your project. Consider factors such as your climate, available sunlight, and personal preference. Some popular options for beginners include marigolds, pansies, and sunflowers. These seeds are resilient and easy to grow.
Step 2: Prepare the Glasses
Next, you’ll need to prepare your glasses for planting. Start by thoroughly cleaning them to ensure no leftover residue or bacteria will interfere with the seed germination process. You can use warm soapy water, a mild bleach solution, or a natural vinegar and water mixture for this purpose. Rinse the glasses well and let them dry completely.
Step 3: Plant the Seeds
Once your glasses are ready, it’s time to plant the seeds. Fill each glass with a high-quality potting soil, leaving about 1 inch of space at the top. Make a small hole in the soil, about twice the depth of the seed, and place one seed in each hole. Cover the seeds with soil and gently pat it down.
Step 4: Provide Adequate Care
After planting the seeds, it’s important to provide them with the proper care. Place the glasses in a sunny spot, ideally near a window or under a grow light. Water the seedlings regularly, keeping the soil moist but not overly saturated. Be sure to also monitor the temperature and humidity levels to create an ideal growing environment.
Step 5: Transplanting the Seedlings
As the seedlings start to grow, they will eventually outgrow the glasses. This is when it’s time to transplant them into larger pots or directly into your garden. Gently remove the seedlings from the glasses, taking care not to damage the roots. Plant them in the new location, ensuring they have enough space to grow and flourish.
Note: Some flower seedlings may require additional care or specific conditions for optimal growth. Be sure to research the specific needs of the flowers you choose to ensure their success.
By following these simple steps and giving your flower seedlings the care and attention they need, you can enjoy a beautiful garden full of vibrant and colorful blooms. Cultivating flower seedlings in glasses is a rewarding and enjoyable experience for beginners and experienced gardeners alike.
Choosing the Right Seeds for Your Glasses
When it comes to cultivating flower seedlings in glasses, choosing the right seeds is crucial for success. Different flowers have different requirements and characteristics, so it’s important to select seeds that are suitable for your growing conditions and desired results.
Consider Your Growing Conditions
Before you choose the seeds for your glasses, consider the growing conditions you have. This includes factors such as:
- Light: Some flowers require full sun, while others can tolerate shade.
- Temperature: Certain flowers prefer cooler temperatures, while others thrive in warmer conditions.
- Moisture: Some plants need consistently moist soil, while others prefer drier conditions.
By understanding your growing conditions, you can choose seeds that are more likely to flourish in your glasses.
Consider the Flower’s Characteristics
Each flower species has its own characteristics, including its growth habit, size, color, and scent. Consider the following factors when choosing seeds:
- Growth habit: Some flowers are upright, while others are trailing or bushy. Choose seeds that match the desired growth habit for your glasses.
- Size: Consider the final size of the flower. Some species produce smaller blooms, while others are known for their large, showy flowers.
- Color: Think about the color scheme you want to achieve in your glasses. Select seeds that will contribute to that palette.
- Scent: Some flowers have a strong fragrance, while others are scentless. Decide if you want scented or unscented flowers in your glasses.
Understanding Seed Packets
The information on the seed packets can provide valuable insight into the specific requirements of each type of flower. Look for details such as preferred growing conditions, expected germination time, and ideal planting depth.
Additionally, pay attention to the expiration date on the seed packets. Fresh seeds generally have a higher germination rate and are more likely to produce healthy seedlings.
Experiment and Have Fun
Don’t be afraid to experiment with different types of flowers in your glasses. Gardening is a learning process, and trying out new seeds can be a fun and educational experience.
Remember to keep track of your planting dates, watering schedule, and any observations you make during the growing process. This will help you refine your techniques and achieve better results in the future.
Preparing the Glasses for Planting
Before you begin planting your flower seedlings in glasses, it is important to prepare the glasses properly to ensure optimal growth and development. Here are some steps to follow:
Step 1: Choose the Right Glasses
When selecting glasses for planting, opt for clear glasses that are wide enough to accommodate the growing roots of the seedlings. Use glasses that do not have any cracks or chips.
Step 2: Clean the Glasses
Prior to planting, thoroughly clean the glasses to remove any dirt or residue that may hinder the growth of the seedlings. Wash the glasses with warm soapy water and rinse them well to ensure cleanliness.
Step 3: Sterilize the Glasses
To prevent any potential diseases or pests from affecting your seedlings, it is essential to sterilize the glasses. One method of sterilization is to soak the glasses in a mixture of water and bleach (1 part bleach to 9 parts water) for 10-15 minutes. Rinse the glasses thoroughly with clean water to remove any traces of bleach.
Step 4: Provide Drainage
Ensure that there is adequate drainage in the glasses to prevent water from accumulating and causing root rot. You can achieve this by creating small drainage holes at the bottom of each glass using a nail or a small drill.
Step 5: Prepare Potting Mix
Prepare a suitable potting mix for your seedlings. It should be well-draining and rich in nutrients. A recommended mix is a combination of peat moss, perlite, and compost in equal parts.
Step 6: Fill the Glasses
Fill the glasses with the prepared potting mix, leaving about 1 inch of space from the rim. Gently pat down the soil to ensure it is evenly distributed and firm.
Step 7: Moisten the Soil
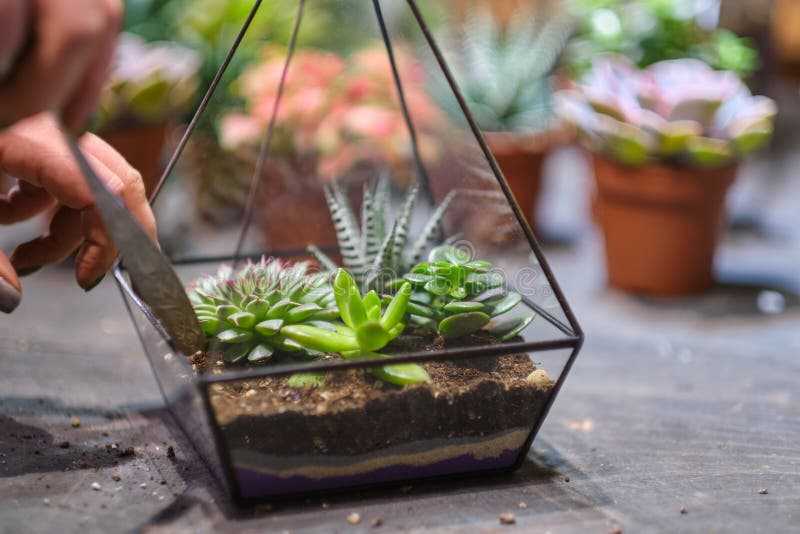
Before planting the seedlings, moisten the soil in the glasses. Avoid overwatering as it can lead to waterlogged conditions.
Step 8: Label the Glasses
It is a good idea to label each glass with the name of the flower variety or plant species. This will help you keep track of your seedlings and identify them easily.
Step 9: Place the Glasses
Find a suitable location for your glasses, ideally near a window that receives adequate sunlight. Ensure that the glasses are not exposed to excessive heat or cold drafts.
By properly preparing the glasses before planting, you can create a favorable environment for your flower seedlings to thrive and grow into healthy plants. Remember to monitor their progress and provide them with the necessary care and attention as they mature.
Planting the Seeds in Glasses
Planting flower seeds in glasses is a simple and effective way to start cultivating seedlings. Here is a step-by-step guide to help you get started:
1. Choose the right type of glasses
When selecting glasses for planting seeds, it’s important to choose transparent and clean glasses. This will allow you to monitor the growth of the seedlings and ensure they receive sufficient sunlight.
2. Prepare the soil
Fill each glass with a well-draining soil mix. The soil should be loose and fertile to provide the necessary nutrients for the seeds to germinate and grow.
3. Select the appropriate flower seeds
Consider the growing conditions and requirements of different flower seeds before choosing which ones to plant. Some flowers prefer full sun, while others thrive in partial shade. Read the seed packet instructions for specific details.
4. Plant the seeds
Make a small hole in the soil of each glass, about 1/4 to 1/2 inch deep. Place one or two seeds in each hole, then cover them gently with soil. Be sure to label each glass with the type of flower seeds planted.
5. Water the seeds
After planting, water the seeds gently using a spray bottle or a watering can with a fine spout. Avoid overwatering, as excessive moisture can lead to rotting. The soil should be moist but not soggy.
6. Provide appropriate light and temperature
Place the glasses in a bright location with indirect sunlight. Ensure the temperature is suitable for seed germination, which is usually between 65-75°F (18-24°C). Avoid placing the glasses in extreme temperatures or drafts.
7. Monitor and care for the seedlings
Regularly check the glasses for germination. Once the seedlings emerge, thin them out if necessary, leaving only the strongest and healthiest ones. Continue to water the seedlings as needed and provide them with adequate light and temperature.
8. Transplant the seedlings
When the seedlings have grown several inches tall and have developed a strong root system, they can be transplanted into larger pots or directly into the garden. Follow the specific guidelines for each type of flower seedling.
By following these steps, you can successfully plant flower seeds in glasses and nurture healthy seedlings for your garden or indoor space. Happy gardening!
Providing the Right Conditions for Growth
Growing flower seedlings in glasses can be a rewarding and enjoyable experience. However, it is important to provide the right conditions for proper growth. Here are some key factors to consider:
1. Light
Light is crucial for the growth of seedlings. Place your glasses near a bright window where they can receive at least 6-8 hours of sunlight each day. If natural light is insufficient, you can supplement with artificial grow lights.
2. Temperature
Seedlings prefer temperatures between 60-75°F (15-24°C). Avoid placing the glasses near cold drafts or heating vents, as extreme temperature fluctuations can hinder growth.
3. Watering
Proper watering is essential for seedling development. Keep the soil moist, but not soggy. Water the glasses from the bottom by placing them in a tray of water so that the soil can absorb moisture gradually.
4. Humidity
Seedlings thrive in high humidity environments. You can create a mini greenhouse effect by covering the glasses with a plastic wrap or using a humidity dome. This helps retain moisture and promote healthy growth.
5. Ventilation
Adequate air circulation is important to prevent diseases and mold growth. Remove the plastic wrap or humidity dome for a few hours each day to allow fresh air to circulate.
6. Fertilizer
Seedlings require nutrients for healthy growth. Start fertilizing them with a diluted liquid fertilizer once they develop their first true leaves. Follow the manufacturer’s instructions for application rates.
7. Transplanting
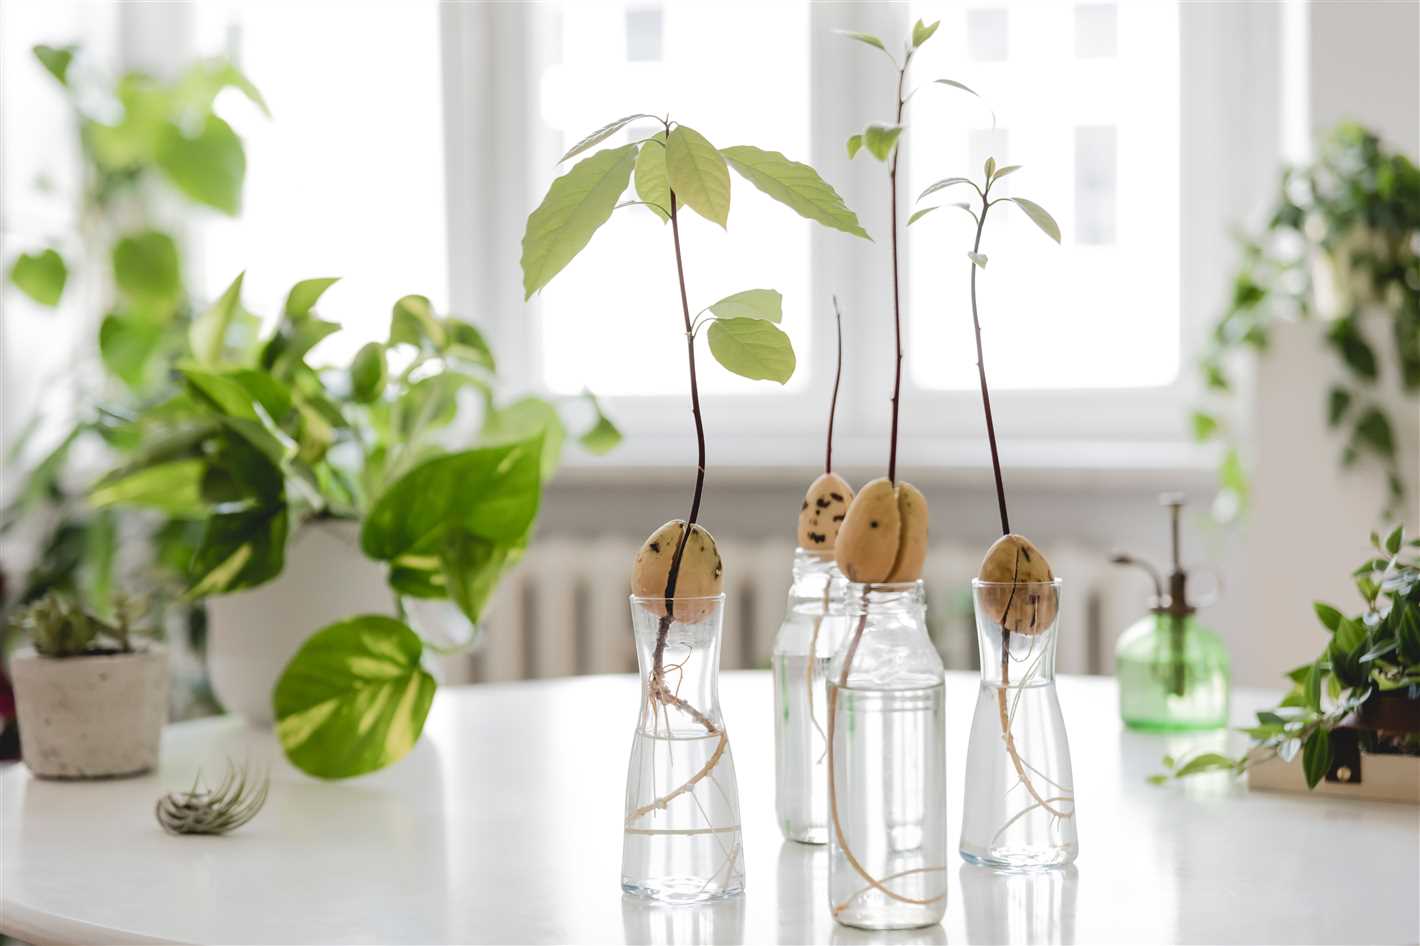
When the seedlings have grown their second set of true leaves, they are ready to be transplanted into larger containers or the garden. Gently lift them from the glasses, being careful not to damage the delicate roots.
By providing the right conditions for growth, you can ensure that your flower seedlings thrive and develop into strong and healthy plants.
Watering and Fertilizing the Seedlings
Proper watering and fertilizing are essential for the healthy growth of flower seedlings cultivated in glasses. Here are some guidelines to ensure that your seedlings receive the right amount of water and nutrients:
- Watering: Water the seedlings consistently to keep the soil moist, but not waterlogged. Use a watering can with a fine nozzle or a spray bottle to avoid disturbing the delicate seedlings.
- Checking soil moisture: Regularly check the moisture level of the soil by inserting your finger into the soil up to the first knuckle. If it feels dry at that depth, it’s time to water the seedlings.
- Water quality: Use room temperature water that has been allowed to stand for at least 24 hours to allow any chlorine to dissipate. Avoid using cold water, as it can shock the seedlings’ roots.
Types of Fertilizers

When it comes to fertilizing seedlings, there are two main types of fertilizers to consider:
- Organic fertilizers: These fertilizers are derived from natural sources and provide a slow release of nutrients. They include organic materials like compost, manure, and bone meal.
- Inorganic fertilizers: Also known as synthetic fertilizers, these are chemically formulated to provide specific nutrients. They are usually available as granules or water-soluble powders.
Fertilizing Schedule
Here is a general guideline for fertilizing your seedlings:
| Weeks After Germination | Fertilizing Frequency | Type of Fertilizer |
|---|---|---|
| 2-3 | Once every two weeks | Organic fertilizer |
| 4-5 | Once a week | Organic or inorganic fertilizer |
| 6 and onwards | Once every two weeks | Inorganic fertilizer |
Always follow the manufacturer’s instructions when applying fertilizers, as the dosage may vary depending on the brand and type of fertilizer. Additionally, make sure to water the seedlings thoroughly after fertilizing to prevent any potential burn from the concentrated nutrients.
By following these watering and fertilizing practices, you can ensure that your flower seedlings cultivated in glasses have a strong and healthy start, setting them up for successful growth and bloom.
Transferring the Seedlings to Larger Containers
Once your flower seedlings have grown a few inches tall and have developed a strong root system, it’s time to transfer them to larger containers. This process is known as transplanting and is essential for healthy plant growth.
Here are the steps you need to follow to successfully transfer your seedlings:
- Prepare the larger containers: Choose containers that are at least 4-6 inches deep and have drainage holes at the bottom. Fill them with a well-draining potting mix, leaving about an inch of space at the top.
- Water the seedlings: Before transplanting, water the seedlings thoroughly to ensure their roots are hydrated and easier to handle.
- Loosen the soil: Gently loosen the soil around the seedlings using a small trowel or spoon. Be careful not to damage the delicate roots.
- Remove the seedlings: Carefully lift each seedling from its current container, gently gripping it by the leaves or using a spoon to lift it from the bottom, taking care not to disrupt its roots.
- Planting in the larger containers: Dig a hole in the new container that is deep enough to accommodate the seedling’s root ball. Place the seedling into the hole and gently press the soil around it to secure it in place. Leave about an inch of space between the top of the soil and the rim of the container.
- Water the transplanted seedlings: After transplanting, water the seedlings thoroughly to settle the soil and eliminate any air pockets that may have formed during the transplanting process.
- Provide the right care: Place the newly transplanted seedlings in a location with the appropriate sunlight and temperature requirements for the specific flower species. Continue to water them regularly, allowing the top inch of soil to dry out between waterings.
Remember, transplanting can be a delicate process, so handle the seedlings with care. With proper transplanting and care, your seedlings will continue to grow and thrive in their new containers, eventually producing beautiful flowers.
Protecting the Seedlings from Pests and Diseases
When growing flower seedlings in glasses, it is important to protect them from pests and diseases that can damage or kill the young plants. Here are some tips to help you keep your seedlings healthy and pest-free:
1. Monitor for pests
Regularly inspect your seedlings for any signs of pests. Look for chewed leaves, webs, or tiny insects crawling on the plants. Catching pest infestations early can prevent them from spreading and causing severe damage.
2. Remove pests manually
If you spot any pests on your seedlings, remove them manually. Use a pair of tweezers or your fingers to pick off the pests and dispose of them away from your seedlings.
3. Use organic insecticides
If the pest infestation is severe, you may need to resort to using organic insecticides. These can help control pests without harming the seedlings or the environment. Follow the instructions on the insecticide label carefully and apply it sparingly.
4. Provide good air circulation
Poor air circulation can create a favorable environment for diseases to thrive. Make sure there is enough space between your seedlings for air to circulate freely. This can help prevent the spread of fungal or bacterial diseases.
5. Water properly
Overwatering can lead to root rot and other diseases. Water your seedlings only when the top inch of soil feels dry. Avoid getting the leaves wet as this can create a humid environment ideal for diseases.
6. Quarantine new plants
If you are introducing new plants to your seedling area, quarantine them for a few days to ensure they are not carrying any pests or diseases. This can prevent the spread of infestations to your healthy seedlings.
7. Keep the growing area clean
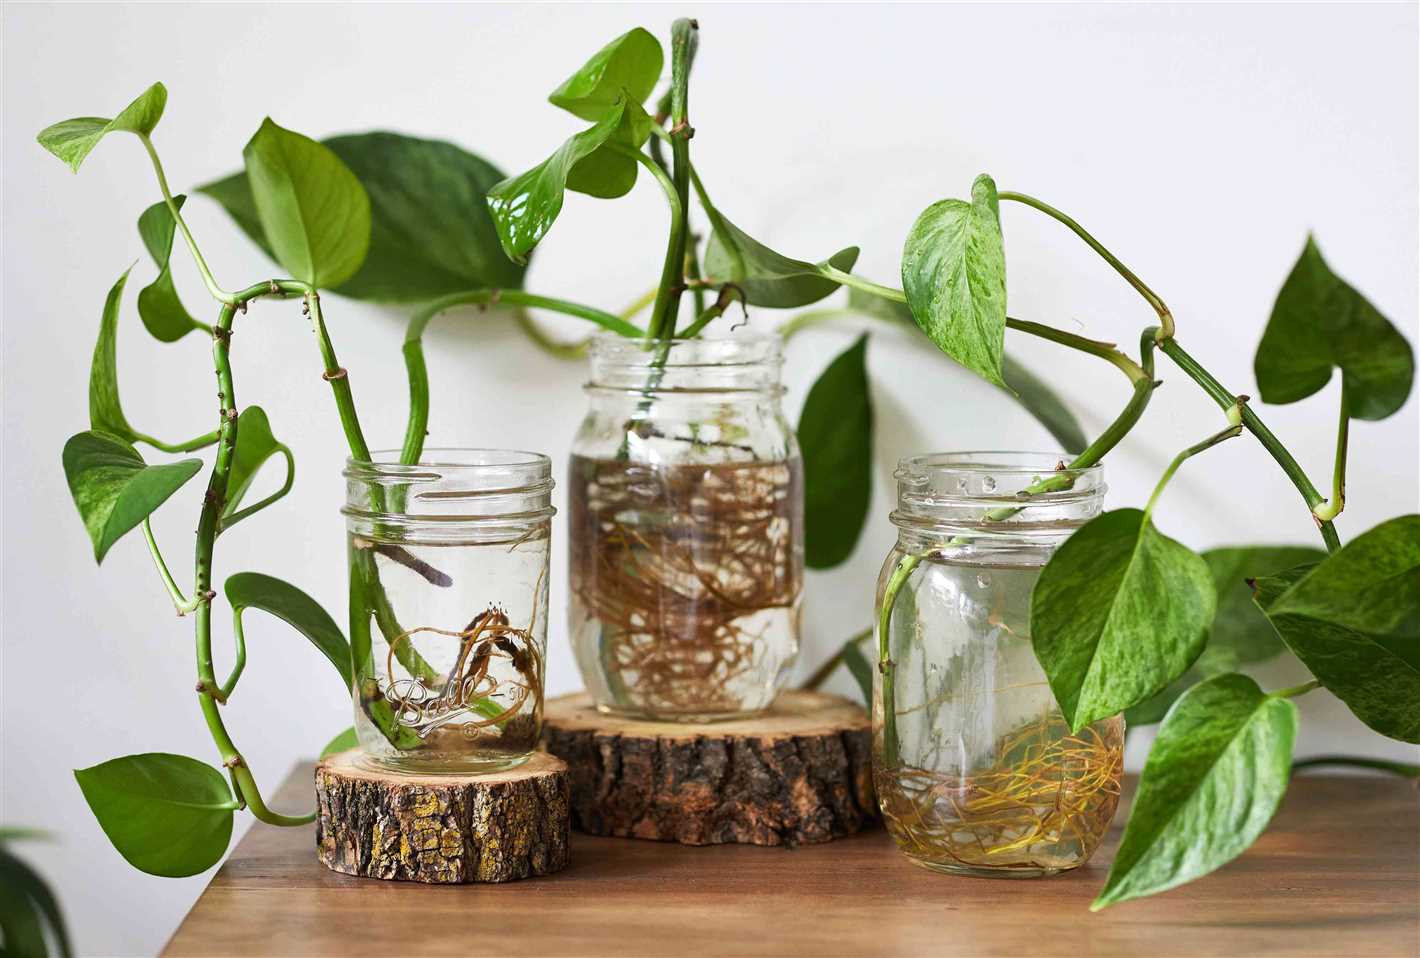
Remove any fallen leaves or dead plant material from the growing area. These can attract pests and serve as a breeding ground for diseases. Regularly clean and sanitize your glasses, pots, and planting tools to prevent the spread of pests and diseases.
By following these tips, you can help protect your delicate flower seedlings from pests and diseases, ensuring healthy and vibrant plants for your garden.
Gradually Acclimating the Seedlings to the Outdoor Environment
Once your flower seedlings have reached a certain stage of growth, it’s important to gradually acclimate them to the outdoor environment before transplanting them into the garden. This process, known as hardening off, helps the seedlings adjust to the differences in light, temperature, and wind that they will encounter outside.
Follow these steps to successfully harden off your seedlings:
- Start the hardening-off process about a week before you plan to transplant the seedlings. Choose a period of relatively mild weather with temperatures above freezing during the day and night.
- Begin by placing the seedlings outdoors in a shaded and protected area, such as a covered porch or under a tree. This will shield them from direct sunlight and harsh winds.
- Leave the seedlings outside for a few hours on the first day, gradually increasing the amount of time each day. Aim to expose them to sunlight for a total of 6-8 hours by the end of the week.
- Pay attention to the weather forecast and bring the seedlings indoors if there is a risk of frost or extreme temperature fluctuations.
- After a few days of being outside, begin exposing the seedlings to longer periods of direct sunlight. Start with just 15-30 minutes and gradually increase the duration each day.
- If possible, gradually increase the amount of airflow around the seedlings by exposing them to gentle breezes. This will help strengthen their stems and prepare them for wind exposure in the garden.
- By the end of the week, the seedlings should be ready to withstand the full outdoor conditions. Make sure the soil in the garden is adequately prepared and transplant them into their final positions.
Hardening off seedlings is an important step in the gardening process and ensures that they have a better chance of surviving and thriving in the outdoor environment. By gradually exposing them to the elements, you are helping them develop stronger stems, adjust to different light conditions, and become more resistant to wind and temperature changes.
Note: Some seedlings may require longer or shorter periods of hardening off, depending on their individual needs. Pay attention to the specific requirements of the flower varieties you are growing and adjust the hardening-off period accordingly.
Q&A:
What types of flowers can be grown from seedlings in glasses?
There are many types of flowers that can be grown from seedlings in glasses, including petunias, marigolds, pansies, snapdragons, and sunflowers, among others. It depends on your personal preference and the growing conditions available to you.
What is the best time to start growing flower seedlings in glasses?
The best time to start growing flower seedlings in glasses depends on the specific flower variety and your local climate. In general, it is recommended to start seedlings indoors 6-8 weeks before the last frost date in your area. This will give the seedlings enough time to grow strong and healthy before being transplanted outdoors.
What kind of soil should I use for growing flower seedlings in glasses?
For growing flower seedlings in glasses, it is important to use a well-draining potting mix that is specifically formulated for seed starting. This type of soil is lighter and less compact than regular garden soil, allowing for better root development and preventing waterlogged roots. You can find seed starting mixes at most garden centers or make your own mix using a combination of peat moss, vermiculite, and perlite.
How often should I water my flower seedlings in glasses?
The frequency of watering your flower seedlings in glasses will depend on the specific flower variety and the moisture level of the soil. In general, it is important to keep the soil evenly moist, but not waterlogged. Check the soil moisture regularly by sticking your finger about an inch into the soil. If it feels dry at that depth, it’s time to water. Avoid overwatering, as it can lead to root rot and other problems.
Do flower seedlings in glasses need any special care?
Yes, flower seedlings in glasses require some special care to ensure their healthy growth. Besides providing them with appropriate lighting, temperature, and watering, you may need to thin out the seedlings if they become too crowded. This will allow the remaining seedlings to have enough space and resources to grow strong. Additionally, it is important to gradually acclimate the seedlings to outdoor conditions before transplanting them into the garden.
Can I reuse the glasses for growing seedlings in the future?
Yes, you can reuse the glasses for growing seedlings in the future. It is important to wash them thoroughly with warm soapy water before using them again to prevent the spread of diseases or pests. Additionally, you may consider sterilizing the glasses with a diluted bleach solution to ensure they are clean and free from any potentially harmful pathogens.
Video:
How to start seeds indoors with step by step instructions and demonstrations// Northlawn Flower Farm

