- What are Delphiniums?
- Why Grow Delphiniums from Seeds?
- 1. Variety of Options
- 2. Cost-Effective
- 3. Fulfilling and Rewarding
- 4. Control Over the Growing Process
- 5. Resilience and Adaptability
- 6. Learning Opportunity
- Preparing the Soil
- Choosing the Right Location
- Sun Exposure
- Soil Type
- Wind Protection
- Spacing and Air Circulation
- Selecting the Right Location
- Soil Preparation Tips
- 1. Choose a sunny location
- 2. Improve drainage
- 3. Test the pH level
- 4. Remove weeds
- 5. Loosen the soil
- 6. Add organic fertilizer
- 7. Water the soil
- Sowing and Growing Delphinium Seeds
- 1. Choosing the Right Time
- 2. Preparing the Soil
- 3. Sowing the Seeds
- 4. Providing the Right Conditions
- 5. Transplanting and Growing
- 6. Supporting the Plants
- 7. Watering and Fertilizing
- 8. Pruning and Deadheading
- When to Sow Delphinium Seeds
- Tips for Successful Germination
- Caring for Delphinium Seedlings
- Light and Temperature
- Watering
- Fertilizing
- Thinning
- Staking
- Pests and Diseases
- Supporting Delphiniums
- Staking
- Caging
- Other Support Options
- Questions and Answers:
- Can delphiniums be grown from seeds?
- What is the best time to sow delphinium seeds?
- What is the ideal temperature for germinating delphinium seeds?
- How should delphinium seeds be sown?
- How long does it take for delphinium seeds to germinate?
- What type of soil is best for growing delphiniums?
- When should delphinium seedlings be transplanted?
- Videos: How to Grow Delphinium or Larkspur from Seed
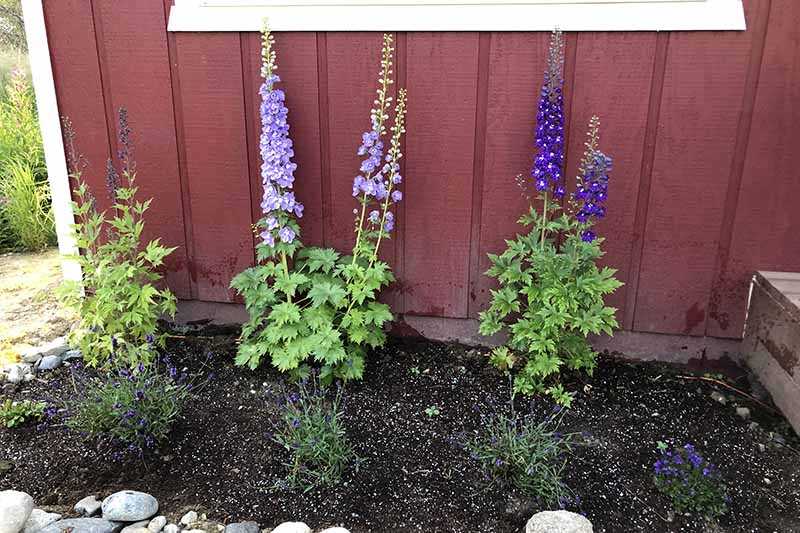
Welcome to our comprehensive guide on growing delphiniums from seeds in your garden. Delphiniums are stunning, tall flowers with spiky blooms in various shades of blue, purple, and white. They add a touch of elegance and beauty to any garden and are a favorite among many gardeners.
Growing delphiniums from seeds can be a rewarding and satisfying experience. It allows you to cultivate these beautiful flowers from the very beginning and watch them grow and thrive in your garden. However, it does require patience, knowledge, and careful attention to detail.
In this article, we will provide you with expert tips and techniques that will help you successfully grow delphiniums from seeds in your garden. We will discuss the ideal conditions for germination, the importance of proper soil preparation, and the best practices for transplanting and caring for your delphinium seedlings. By following our advice, you will be well on your way to enjoying a stunning display of delphiniums in your garden.
So, if you’re ready to take on the challenge of growing delphiniums from seeds, read on for our expert tips and techniques that will guide you through the process. Get ready to transform your garden into a sea of beautiful, vibrant delphinium blooms!
What are Delphiniums?
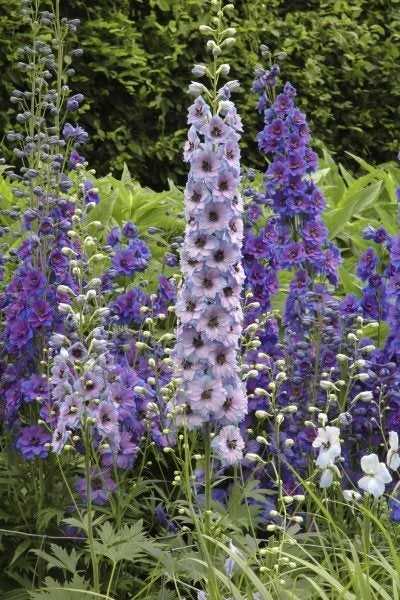
Delphiniums are perennial flowering plants that belong to the Ranunculaceae family. They are known for their tall spikes of vibrant flowers, which come in a variety of colors ranging from blue and purple to pink and white.
Delphiniums are native to the temperate regions of the Northern Hemisphere, including Europe, Asia, and North America. They are commonly found growing wild in meadows, woodlands, and mountain areas.
These stunning plants are popular in garden landscaping due to their impressive height, attractive blooms, and ability to attract bees and butterflies. They add a touch of elegance and vertical interest to any garden bed or border.
Delphiniums are commonly grown from seeds, although they can also be propagated through division or stem cuttings. They prefer full sun or partial shade and well-drained soil. With proper care, they can live for many years and provide beautiful displays of flowers each summer.
There are several different species and cultivars of delphiniums available, offering a wide range of flower colors and forms. Some popular varieties include Delphinium elatum, Delphinium grandiflorum, and Delphinium x cultorum.
Delphiniums are considered toxic if ingested, so caution should be taken when growing them in gardens with children or pets. However, they are generally not a problem if handled with care.
Why Grow Delphiniums from Seeds?
Delphiniums are beautiful and majestic flowers that are known for their tall spikes of blue, purple, pink, and white blossoms. While you can purchase delphinium plants from a nursery, growing them from seeds offers a variety of benefits.
1. Variety of Options
When you grow delphiniums from seeds, you have access to a wide variety of cultivars and hybrids. This allows you to choose the exact color, size, and shape of delphiniums that you prefer. Whether you want vibrant blue blooms or delicate white flowers, there is a delphinium seed variety that will meet your preferences.
2. Cost-Effective
Growing delphiniums from seeds is a cost-effective way to add these stunning flowers to your garden. Delphinium plants can be expensive to purchase, especially if you want to create a large display. By planting seeds, you can grow a greater number of plants for a fraction of the cost.
3. Fulfilling and Rewarding
Watching delphinium seeds germinate and grow into tall, vibrant blooms is a fulfilling and rewarding experience. Seeing the results of your efforts from the very beginning, as the seeds sprout and develop into mature plants, can bring a great sense of satisfaction and accomplishment.
4. Control Over the Growing Process
When you start delphiniums from seeds, you have complete control over the growing process. From selecting the seeds to nurturing the seedlings, you can ensure that your delphiniums receive the ideal growing conditions and care. This level of control allows you to have healthier plants and increases the likelihood of successful blooming.
5. Resilience and Adaptability
Delphiniums grown from seeds tend to be more resilient and adaptable to their environment compared to nursery-grown plants. Starting from seeds helps the plants develop stronger root systems, making them more able to withstand environmental stresses and diseases. This resilience often translates into better overall plant health and a greater chance of survival.
6. Learning Opportunity
Growing delphiniums from seeds provides an excellent learning opportunity. You can learn about the different stages of plant growth, from germination to flowering. It also allows you to experiment with different techniques and methods, such as stratification or scarification, to enhance germination rates and plant success.
In conclusion, growing delphiniums from seeds is a rewarding and cost-effective way to add these striking flowers to your garden. With a wide variety of options, control over the growing process, and the opportunity to learn and experiment, starting delphiniums from seeds offers many benefits that will enhance your gardening experience.
Preparing the Soil
Before planting delphinium seeds in the garden, it is important to prepare the soil properly to ensure optimal growth and development of the plants. Here are some expert tips and techniques for preparing the soil:
- Choose a well-draining location: Delphiniums prefer well-drained soil, so it is important to select a location in your garden that does not have standing water after heavy rainfall. Avoid areas with heavy clay soil or low-lying areas where water tends to collect.
- Clear the area: Remove any weeds, rocks, or debris from the planting area to create a clean and clear space for the delphinium seeds to grow.
- Loosen the soil: Use a garden fork or a tiller to loosen the soil in the planting area. This will help improve aeration and drainage, allowing the delphinium roots to grow more easily.
- Amend the soil: If your soil is heavy clay or has poor fertility, you may need to amend it with organic matter such as compost or well-rotted manure. This will help improve the texture and nutrient content of the soil, creating a more favorable environment for delphinium growth.
- Test the soil pH: Delphiniums prefer slightly acidic to neutral soil with a pH level between 6.0 and 7.0. Use a soil testing kit to determine the pH level of your soil, and adjust it if necessary by adding lime to raise the pH or sulfur to lower it.
- Provide supplemental nutrients: Delphiniums are heavy feeders, so it is important to provide them with adequate nutrients for optimal growth. Before planting, mix in a slow-release fertilizer or incorporate a balanced granular fertilizer into the soil to provide essential nutrients.
- Level the soil: After adding amendments and nutrients, level the soil surface using a rake or a garden hoe. This will create a smooth and even surface for planting the delphinium seeds.
By following these tips and techniques for preparing the soil, you can create an ideal growing environment for delphiniums and increase your chances of success in growing them from seeds in your garden.
Choosing the Right Location
When it comes to growing delphiniums from seeds in your garden, choosing the right location is crucial for their success. Here are some factors to consider:
Sun Exposure
Delphiniums prefer full sun or partial shade for optimal growth. Choose a location that receives at least 6-8 hours of direct sunlight daily. If your garden gets very hot during the summer, it would be best to provide some afternoon shade to protect the plants from scorching.
Soil Type
Delphiniums thrive in well-draining soil with a pH level between 6.0 and 7.0. Avoid planting them in heavy clay soil, as it retains too much moisture and can lead to root rot. If your soil is clayey, consider improving it by adding organic matter such as compost or well-rotted manure.
Wind Protection
Delphiniums are tall and slender plants that can be easily damaged by strong winds. Choose a location that offers some natural wind protection, such as being near a fence, wall, or other larger plants. You can also stake the plants to provide additional support.
Spacing and Air Circulation
Ensure that you have enough space between delphinium plants to allow for proper air circulation. This helps prevent the occurrence of fungal diseases, such as powdery mildew. The recommended spacing is usually around 18-24 inches apart.
Selecting the Right Location
Overall, selecting the right location for your delphiniums is essential for their growth and longevity. Take into consideration the sun exposure, soil type, wind protection, and the spacing required. Providing the ideal conditions will help your delphiniums thrive and produce beautiful blooms.
Soil Preparation Tips
Before planting delphinium seeds, it’s important to prepare the soil properly to create the ideal growing conditions for these beautiful flowers. Here are some tips to ensure that your delphiniums thrive:
1. Choose a sunny location
Delphiniums grow best in full sun, so choose a location in your garden that receives at least 6-8 hours of direct sunlight every day. Avoid planting them in shady areas or under trees.
2. Improve drainage
Delphiniums prefer well-draining soil, so it’s important to improve the drainage if your soil tends to be heavy or clayey. Add organic matter such as compost or well-rotted manure to the soil to improve its texture and drainage.
3. Test the pH level
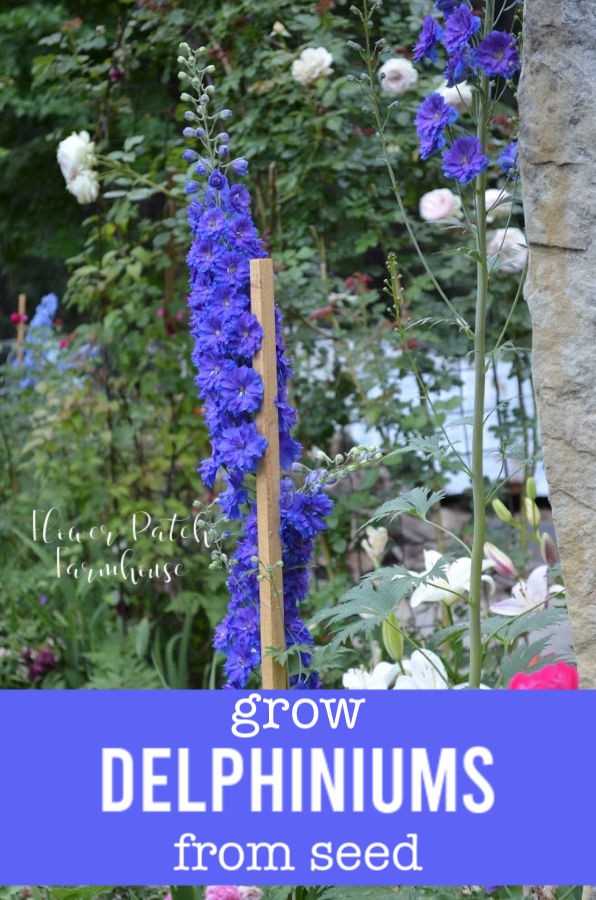
Delphiniums thrive in slightly acidic to neutral soil with a pH level between 6.0 and 7.0. Use a soil testing kit to determine the pH level of your soil and make any necessary adjustments by adding soil amendments such as lime to raise the pH or sulfur to lower it.
4. Remove weeds
Prior to planting your delphinium seeds, remove any weeds or unwanted plants from the area. Weeds can compete with the delphiniums for nutrients and moisture, so it’s important to keep the planting area weed-free.
5. Loosen the soil
Loosen the top few inches of soil using a garden fork or tiller. This will help the delphinium roots to penetrate the soil easily and establish themselves more effectively.
6. Add organic fertilizer
Delphiniums benefit from regular feeding, especially during their active growth periods. Prior to planting, incorporate a balanced organic fertilizer into the soil to provide the plants with the nutrients they need to thrive.
7. Water the soil
Ensure the soil is evenly moist before planting the delphinium seeds. This will help to promote good seed germination and establish the plants in their new location.
By following these soil preparation tips, you can create the ideal growing conditions for your delphiniums and ensure that they thrive in your garden.
Sowing and Growing Delphinium Seeds
Delphinium plants can be grown from seeds for those who enjoy the process of starting plants from scratch. Here are some tips and techniques for sowing and growing delphinium seeds in your garden.
1. Choosing the Right Time
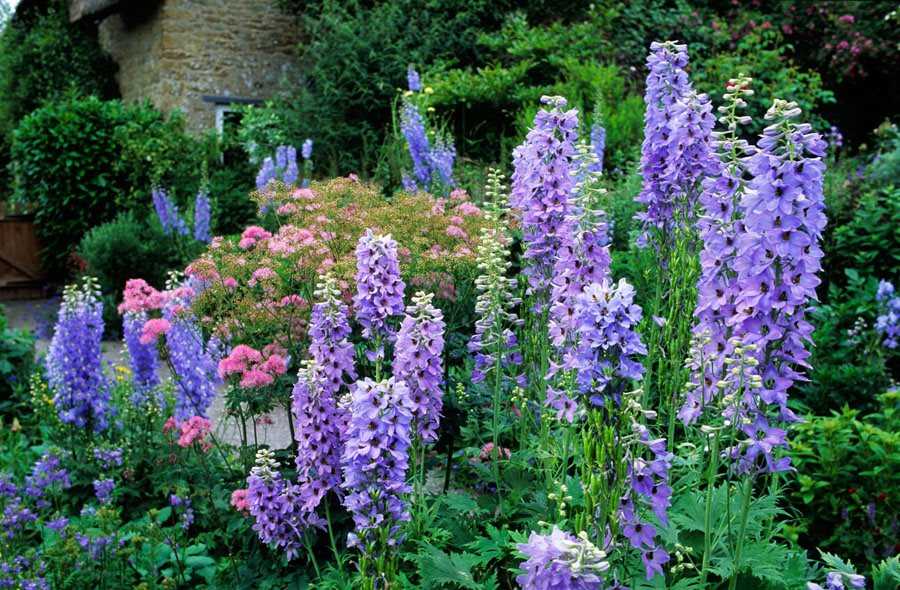
Delphinium seeds are best sown in late winter or early spring, after the danger of frost has passed. This will give the seeds enough time to germinate and establish before the growing season.
2. Preparing the Soil
Delphiniums prefer rich, well-draining soil. Before sowing the seeds, prepare the soil by removing any weeds or debris and loosening it with a garden fork. You can also add organic matter, such as compost or well-rotted manure, to improve drainage and fertility.
3. Sowing the Seeds
Delphinium seeds can be sown directly in the garden or started indoors. If sowing indoors, use seed trays or small pots filled with a seed-starting mix. Sow the seeds on the surface and lightly press them into the soil. Keep the soil moist but not waterlogged.
4. Providing the Right Conditions
Delphinium seeds require light to germinate, so do not cover them with soil. Place the seed trays or pots in a warm and bright location, such as a sunny windowsill or a greenhouse. Keep the temperature around 60-70°F (15-21°C) for optimal germination.
5. Transplanting and Growing
Once the seedlings have developed a few true leaves, they can be transplanted into individual pots or directly into the garden. Choose a location with full sun and well-draining soil. Space the plants about 12-18 inches apart to allow for proper air circulation.
6. Supporting the Plants
Delphiniums can grow tall and may require support to prevent them from falling over. Use stakes or plant supports to keep the plants upright. Tie the stems gently to the supports as they grow.
7. Watering and Fertilizing
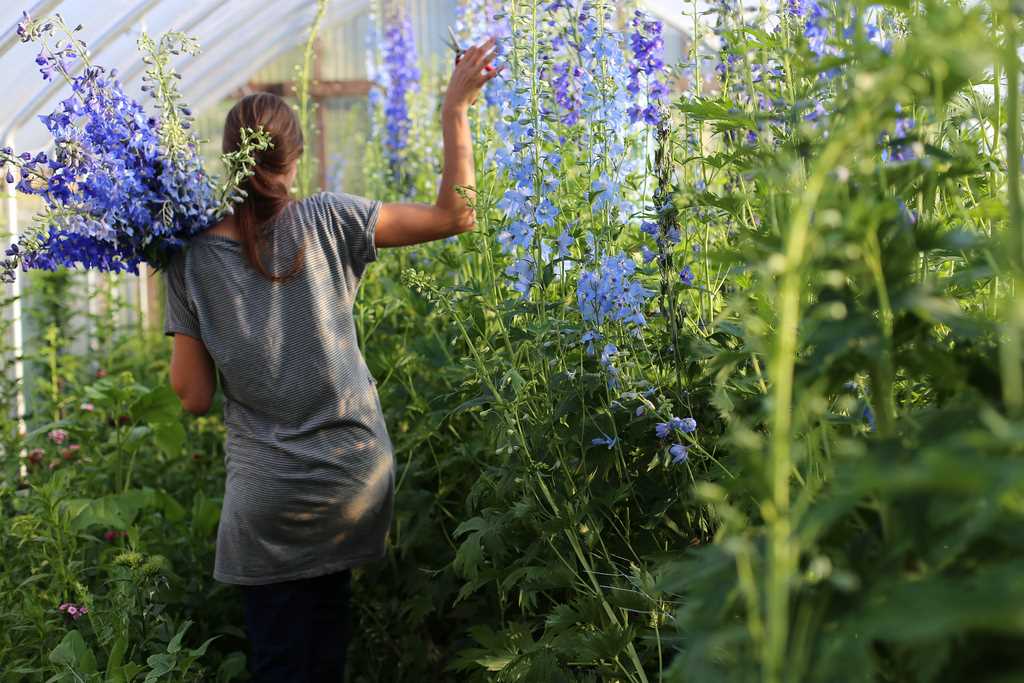
Keep the soil evenly moist throughout the growing season, especially during hot and dry periods. Water at the base of the plants to avoid wetting the foliage, as this can lead to diseases. Fertilize the plants with a balanced fertilizer every 4-6 weeks during the growing season.
8. Pruning and Deadheading
To promote bushier growth and prolong blooming, pinch back the growing tips of the delphinium plants when they reach about 6 inches in height. Deadhead the spent flowers regularly to encourage new blooms.
By following these tips and techniques, you can successfully sow and grow delphinium seeds in your garden and enjoy the beautiful, colorful blooms they produce.
When to Sow Delphinium Seeds
Sowing delphinium seeds at the right time is crucial for their successful germination and growth. The ideal time to sow delphinium seeds depends on your climate and the specific variety of delphinium you are growing. However, in general, the following guidelines can help you determine when to sow delphinium seeds:
- Spring Sowing: Most delphinium seeds are sown in spring, typically between March and May. This allows the seeds to benefit from the warmth and longer daylight hours of spring, which are important for their germination and initial growth. It is best to sow the seeds indoors or in a greenhouse and then transplant the seedlings outdoors once the risk of frost has passed.
- Fall/Winter Sowing: Some delphinium varieties, such as the New Zealand delphiniums (Delphinium elatum), can also be sown in fall or winter. These varieties have a longer germination period and a cold stratification requirement, meaning they need a period of cold temperatures to break their dormancy. By sowing the seeds in fall or winter, they will naturally go through this cold stratification process and germinate in spring.
Before sowing delphinium seeds, it is important to prepare the soil by loosening it and removing any weeds or debris. You can also mix in some organic matter, such as compost, to improve the soil’s fertility and drainage.
Additionally, delphinium seeds require light for germination, so they should be sown on the soil surface and lightly pressed in. Avoid covering the seeds with too much soil, as this can prevent them from receiving enough light.
By sowing delphinium seeds at the right time and providing them with the necessary growing conditions, you can increase the chances of successful germination and enjoy beautiful delphinium blooms in your garden.
Tips for Successful Germination
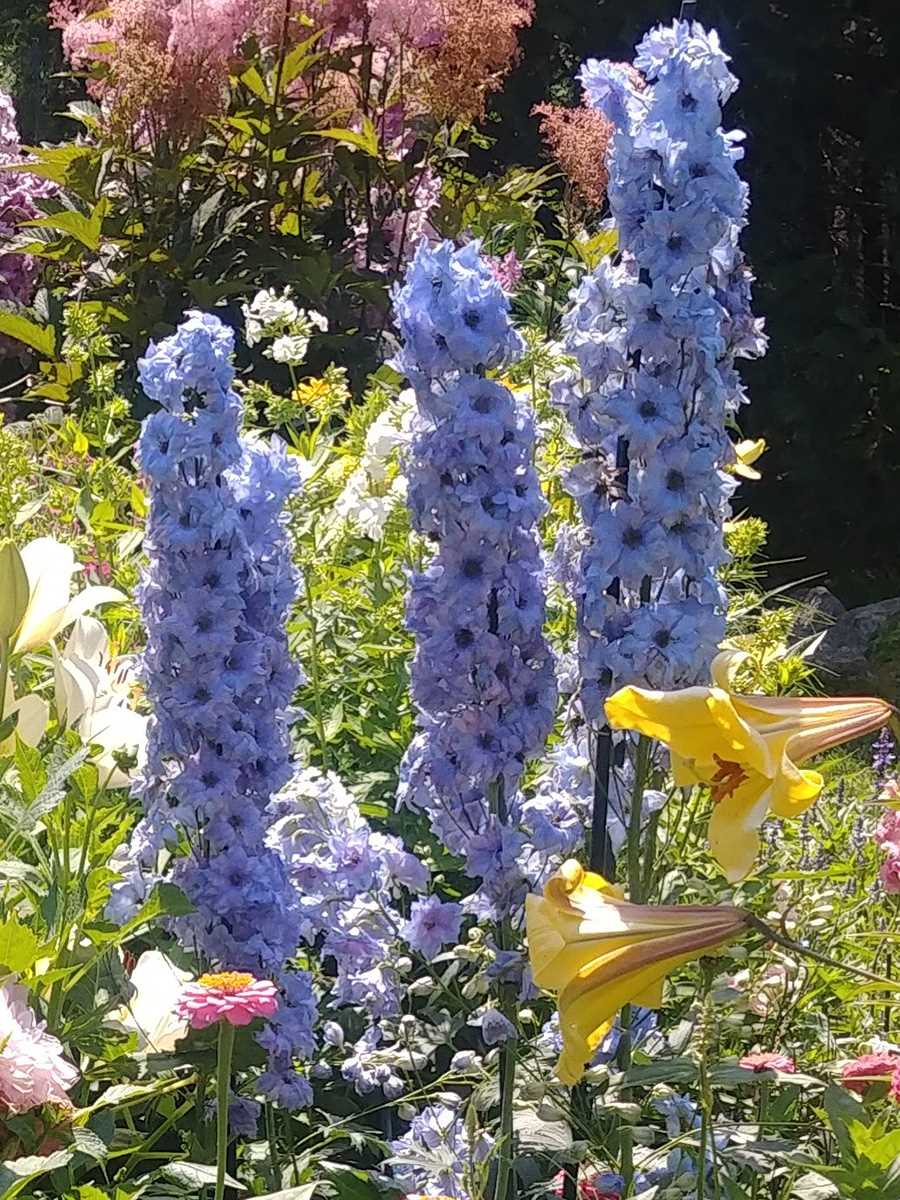
Germinating delphinium seeds can be a bit challenging, but with the right techniques, you can increase your chances of success. Here are some tips to help you achieve successful germination:
- Start with fresh seeds: It’s essential to use fresh delphinium seeds for germination. Older seeds may not have a high germination rate, so it’s best to obtain seeds from a reputable supplier or collect them from healthy plants.
- Cold stratification: Delphinium seeds require a period of cold stratification to break their dormancy and stimulate germination. Place the seeds in a moistened paper towel or a zipper bag with some damp peat moss, and refrigerate them for 4-6 weeks. This mimics the natural winter conditions and prepares the seeds for germination.
- Sowing depth: Delphinium seeds should be sown on the surface of the soil or lightly covered with a thin layer of soil. They need some light to germinate, so avoid burying them too deep.
- Moisture and temperature: Delphinium seeds need consistent moisture and temperature for successful germination. Keep the soil evenly moist but not waterlogged. A temperature of around 60-68°F (15-20°C) is ideal for germination.
- Provide light: Delphinium seeds require light for germination. You can either place the seed tray in a bright location or use artificial grow lights to provide the necessary light intensity.
- Transplant carefully: Once the seedlings have developed their first true leaves, they can be transplanted into individual pots or the garden. Be gentle when handling the delicate seedlings to avoid damaging their roots.
- Protect from pests: Delphinium seedlings are susceptible to damage from slugs, snails, and other garden pests. Take measures to protect your young plants, such as using organic slug control methods or physical barriers.
- Provide support: Delphiniums are known for their tall, slender stems, and they may require support as they grow. Use stakes or cages to provide support and prevent the plants from toppling over.
- Regular care: Once your delphinium seedlings are established, provide them with regular care, including watering, fertilizing, and removing weeds. Delphiniums appreciate a well-drained soil and a sunny location.
By following these tips, you can increase your chances of achieving successful germination and growing beautiful delphiniums in your garden.
Caring for Delphinium Seedlings
Once your delphinium seeds have germinated and sprouted into seedlings, it’s important to provide proper care to ensure their healthy growth and development.
Light and Temperature
- Place the seedlings in a well-lit location where they can receive at least 6-8 hours of direct sunlight each day.
- Ensure the temperature around the seedlings remains between 60-70°F (15-21°C) during the day and not below 50°F (10°C) at night.
Watering
- Keep the soil around the seedlings moist, but not waterlogged. Overwatering can lead to root rot.
- Water the seedlings from below using a tray or saucer to prevent wetting the foliage, which can lead to disease.
- Water the seedlings whenever the top inch of soil feels dry to the touch.
Fertilizing

- Start feeding the seedlings with a balanced liquid fertilizer once they have developed their second set of true leaves.
- Follow the instructions on the fertilizer package for proper dilution and application rates.
- Fertilize the seedlings every 2-3 weeks to promote healthy growth.
Thinning
- Once the seedlings have grown to a height of 2-3 inches, thin them out by gently removing the weaker plants, leaving the strongest ones with enough space to grow.
- Thinning will help prevent overcrowding and competition for resources, resulting in healthier plants.
Staking
- Delphiniums are tall and can be prone to falling over, especially when they are in bloom. Consider staking the seedlings to provide support.
- Install stakes or plant supports near the seedlings and gently tie the stems to the stakes using soft garden twine as they grow.
Pests and Diseases
- Keep an eye out for common garden pests such as aphids, slugs, and snails. Handpick or use organic pest control methods to keep them at bay.
- Inspect the seedlings regularly for signs of diseases like powdery mildew or crown rot. Remove and destroy any infected plants to prevent the spread.
- Ensure good air circulation around the seedlings by providing adequate spacing between them.
By following these care tips, you can ensure that your delphinium seedlings grow into strong, healthy plants that will add beauty to your garden.
Supporting Delphiniums
Delphiniums are tall, stately plants that can reach heights of up to six feet. As they grow, these plants can become top-heavy and may require additional support to prevent them from falling over or breaking. Providing proper support for your delphiniums is essential to help them thrive in your garden.
Staking
Staking is a common method used to support delphiniums. To stake your delphiniums, follow these steps:
- Choose sturdy stakes that are approximately four to six feet tall.
- Place the stakes around the delphiniums, leaving a few inches of space between the plant and the stake.
- Secure the stakes firmly into the ground, using a hammer if necessary.
- Gently tie the delphiniums to the stakes using soft string or plant ties. Make sure the ties are not too tight, as they can damage the delicate stems.
Caging
Another method you can use to support delphiniums is caging. This method involves placing a cage around the plant to provide support from all sides. Here’s how to cage your delphiniums:
- Choose a cage with a diameter that is slightly larger than the mature size of the plant.
- Place the cage around the delphinium, making sure it is centered and secure.
- As the plant grows, gently guide the stems through the openings in the cage to help them stay upright.
Other Support Options
If staking or caging is not your preferred method, there are other options for supporting delphiniums:
- Using decorative supports, such as trellises or obelisks, can add an aesthetic element to your garden while providing support for the plants.
- Planting delphiniums near a wall or fence can offer natural support for the plants as they grow.
- Grouping delphiniums together can help them support each other as they grow.
Regardless of the support method you choose, it’s important to regularly check on your delphiniums and adjust the support as needed. The plants can grow quickly, and their needs for support may change throughout the growing season.
| Support Method | Pros | Cons |
|---|---|---|
| Staking | Relatively easy to set up and adjust | Stakes may be visible and less aesthetically pleasing |
| Caging | Provides support from all sides | Cages may be expensive and difficult to store |
| Decorative supports | Adds visual interest to the garden | May be more expensive than other methods |
| Natural support from walls or fences | Blends seamlessly into the garden | Dependent on the presence of walls or fences |
| Grouping plants together | Plants can support each other | May lead to overcrowding and increased risk of disease |
By providing proper support for your delphiniums, you can help ensure their successful growth and enjoy their beautiful blooms throughout the season.
Questions and Answers:
Can delphiniums be grown from seeds?
Yes, delphiniums can be grown from seeds.
What is the best time to sow delphinium seeds?
The best time to sow delphinium seeds is in late winter or early spring.
What is the ideal temperature for germinating delphinium seeds?
The ideal temperature for germinating delphinium seeds is around 60°F (15°C).
How should delphinium seeds be sown?
Delphinium seeds should be sown on the surface of moist seed compost and covered with a thin layer of vermiculite.
How long does it take for delphinium seeds to germinate?
Delphinium seeds usually take about 14 to 21 days to germinate.
What type of soil is best for growing delphiniums?
Delphiniums prefer well-drained, fertile soil with a pH level of around 6.5 to 7.0.
When should delphinium seedlings be transplanted?
Delphinium seedlings can be transplanted when they have developed at least two true leaves.


