- Choosing the Right Location
- Soil Requirements
- Watering and Humidity
- Fertilizing and Pruning
- Fertilizing
- Pruning
- Pests and Diseases
- Propagation Techniques
- Q&A:
- What is Dipladenia or Mandevilla?
- How often should I water my Dipladenia?
- Can Dipladenia be grown indoors?
- What kind of soil is best for Dipladenia?
- What are the common pests and diseases that affect Dipladenia?
- How do I propagate Dipladenia?
- Video: SHOULD YOU DEAD-HEAD A MANDEVILLA (DIPLADENIA) VINE?
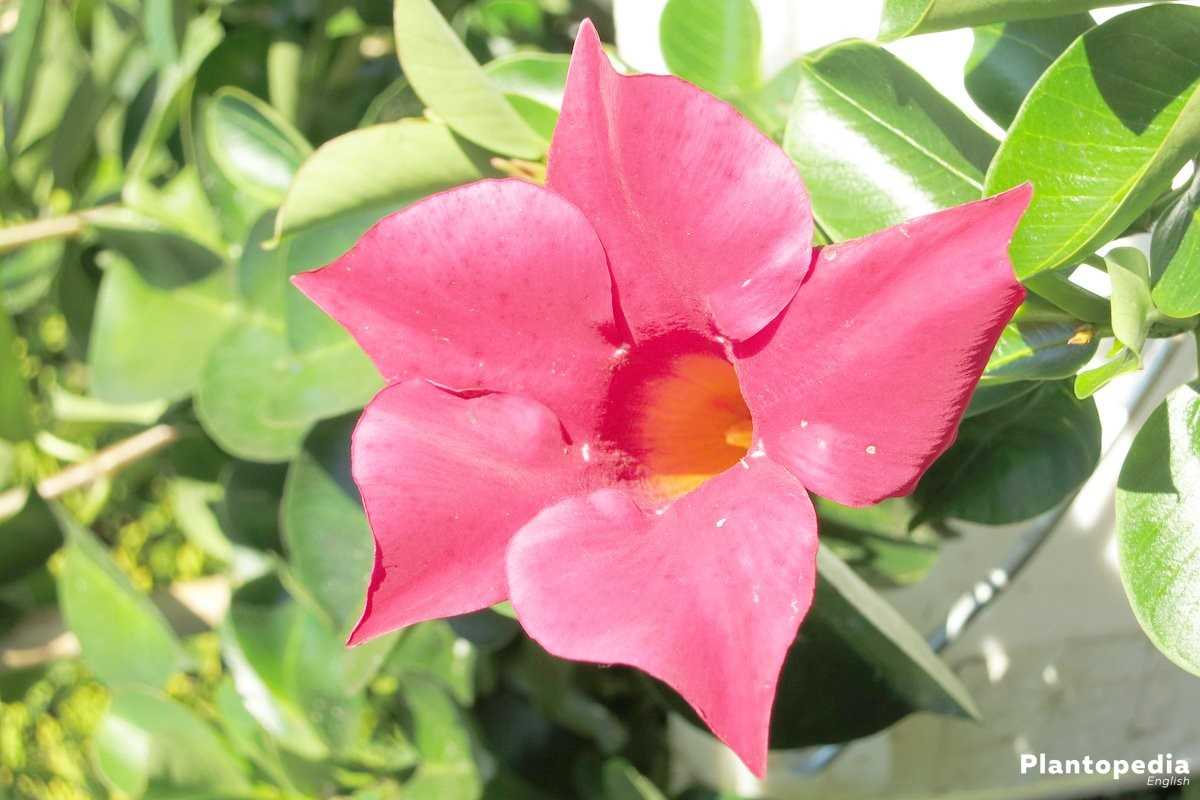
If you are looking for a beautiful and vibrant plant to enhance your home or garden, then Dipladenia, also known as Mandevilla, is a fantastic choice. With its stunning flowers and glossy foliage, Dipladenia adds a touch of elegance and tropical beauty to any space. In this article, we will provide you with essential care tips and conditions for successful home gardening with Dipladenia.
The first thing to consider when growing Dipladenia is the right location. These tropical plants thrive in warm, sunny areas and require at least six hours of direct sunlight each day. Choose a spot in your home or garden that receives plenty of sunlight, such as a south-facing window or a sunny patio. If you live in a colder climate, you can still enjoy Dipladenia by growing it in a pot and moving it indoors during the winter months.
In addition to sunlight, Dipladenia also needs well-draining soil. It is crucial to ensure that the pot or planting area has good drainage to prevent waterlogging. You can achieve this by adding sand or perlite to the soil mixture, which will help improve drainage. A well-draining soil will also prevent the roots from rotting and promote healthy growth.
One of the key aspects of Dipladenia care is watering. It is essential to water your plant regularly but not excessively. Overwatering can lead to root rot, while underwatering can cause the plant to wilt and become stressed. To determine if your Dipladenia needs watering, simply touch the top inch of soil. If it feels dry, it is time to water. Water thoroughly until the excess drains out of the bottom of the pot. During the winter months, reduce watering to once every two weeks.
Another aspect of Dipladenia care is fertilizing. These plants appreciate regular feeding to promote healthy growth and vibrant blooms. Use a balanced, water-soluble fertilizer every two weeks during the growing season. Dilute the fertilizer according to the instructions on the package and apply it to the soil. Fertilizing regularly will provide your Dipladenia with the necessary nutrients for strong roots and abundant flowering.
In conclusion, Dipladenia (Mandevilla) is a stunning plant that can bring a tropical flair to your home or garden. By providing it with the right conditions, such as ample sunlight, well-draining soil, and proper watering and fertilizing, you can enjoy the beauty of Dipladenia year-round. So why not add this exotic plant to your gardening collection and watch as it adds a touch of elegance and vibrancy to your space.
Choosing the Right Location
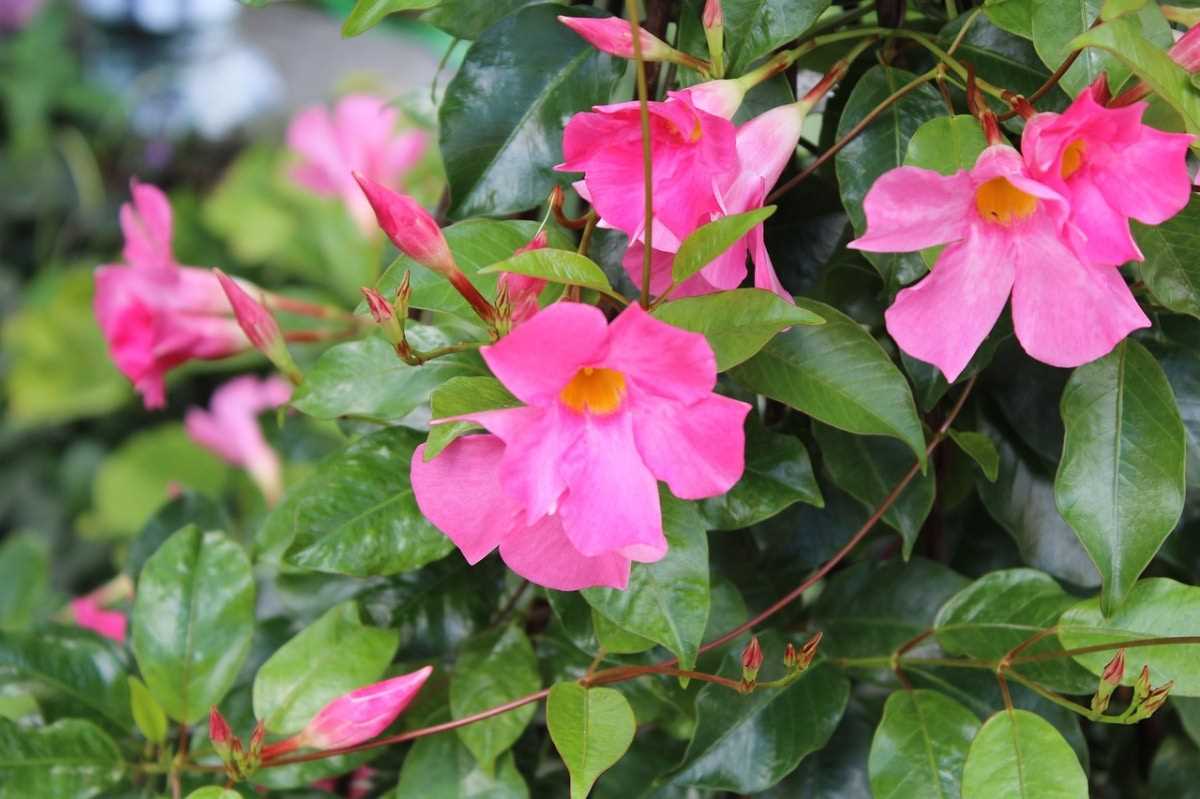
When growing Dipladenia (Mandevilla) plants, selecting the right location is crucial for their overall health and growth. Consider the following factors when choosing the ideal spot for your Dipladenia:
- Sunlight: Dipladenia plants thrive in full sunlight, so it is essential to find a spot that receives at least six hours of direct sunlight each day.
- Temperature: Dipladenia plants prefer warm temperatures between 65°F and 80°F (18°C – 27°C). They are sensitive to cold temperatures, so it is crucial to avoid exposing them to frost or extreme cold.
- Protection from strong winds: Dipladenia plants can be vulnerable to strong winds, which can damage their delicate vines and flowers. Choose a location that provides some wind protection, such as near a wall or fence.
- Indoor vs. outdoor: Dipladenia can be grown both indoors and outdoors. If growing indoors, ensure the plant receives ample sunlight by placing it near a sunny window. If growing outdoors, choose a location that meets the sunlight and temperature requirements mentioned above.
- Spacing: Dipladenia plants can grow vigorously, so it is important to give them enough space to spread out. Plant them at least 2-3 feet apart from each other to allow for proper air circulation and prevent overcrowding.
By considering these factors, you can choose the perfect location for your Dipladenia plant, ensuring it receives the optimal conditions for healthy growth and vibrant blooms.
Soil Requirements
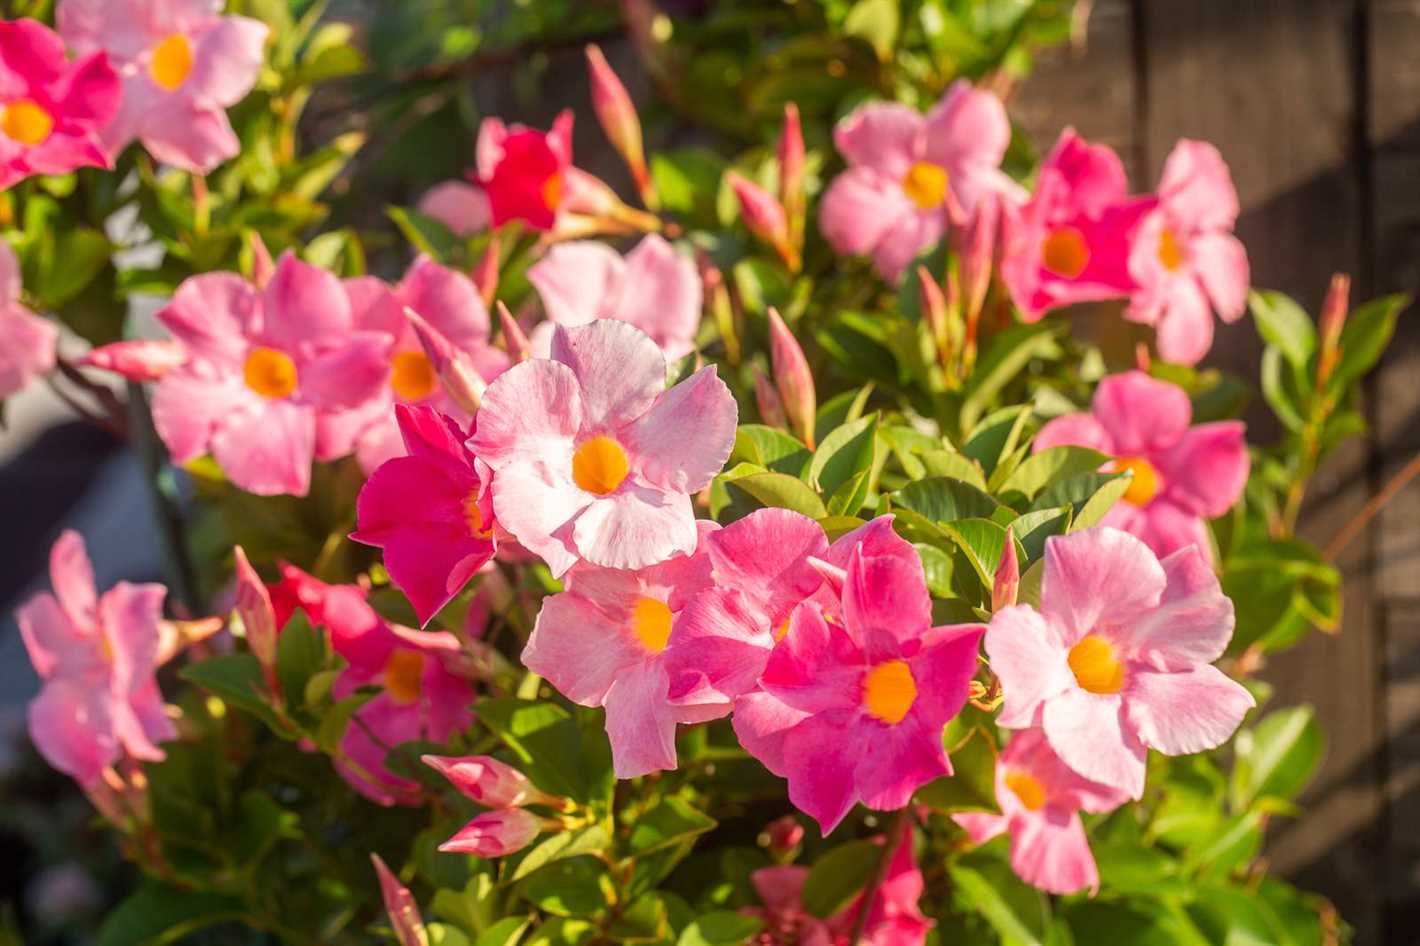
Mandevilla plants require well-draining soil that is rich in organic matter. The soil should be loamy and slightly acidic, with a pH level between 6.0 and 6.5. This helps to ensure optimal growth and blooming.
It is important to avoid heavy clay soils, as they tend to hold onto water and can lead to root rot. Sandy soils, on the other hand, drain too quickly and may not retain enough moisture for the plant.
To improve drainage and ensure proper soil composition, you can amend the soil by adding organic matter such as compost, peat moss, or well-rotted manure. This improves the soil’s structure, increases its water-holding capacity, and provides essential nutrients for the plant.
Before planting your Mandevilla, it is also recommended to perform a soil test to determine the pH level and make any necessary adjustments. You can use a home testing kit or consult with a local nursery or cooperative extension service for professional testing.
In addition to proper soil composition, it is important to provide good drainage for the plant. This can be achieved by planting in containers with drainage holes or by creating a raised bed with well-drained soil.
Remember to water your Mandevilla plants deeply and regularly, ensuring the soil stays moist but not waterlogged. Proper soil conditions will help promote healthy root development and overall plant growth.
Overall, by providing the right soil environment, you can ensure that your Mandevilla plants thrive and produce beautiful flowers throughout the growing season.
Watering and Humidity
Proper watering is essential for the healthy growth of Dipladenias. These plants prefer consistently moist soil, but not soggy conditions. It’s important to strike a balance and avoid overwatering, as it can lead to root rot and other issues.
One way to check if your Dipladenia needs watering is by feeling the top inch of the soil. If it feels dry to the touch, it’s time to water. During the summer months, when the plant is actively growing, you may need to water more frequently.
When watering, pour water slowly and evenly over the soil until it starts to drain out from the bottom of the pot. This ensures that the roots receive an adequate amount of water. Avoid letting the plant sit in standing water, as this can also cause root rot.
In terms of humidity, Dipladenias prefer moderate to high levels of humidity. If you live in a dry climate or during the winter when indoor heating can dry out the air, you can increase humidity around the plant by grouping it with other plants or placing a tray of water near the plant. Misting the leaves with water can also help increase humidity.
Another way to maintain humidity is by placing the pot on a tray filled with water and pebbles, ensuring that the bottom of the pot does not touch the water. As the water evaporates, it increases the surrounding humidity. This method is especially useful during hot summer months when humidity levels tend to drop.
It’s important to monitor the soil moisture and humidity levels regularly to ensure the plant receives the right amount of water and humidity for optimal growth. With proper watering and humidity, your Dipladenia will thrive and reward you with beautiful, vibrant flowers.
Fertilizing and Pruning
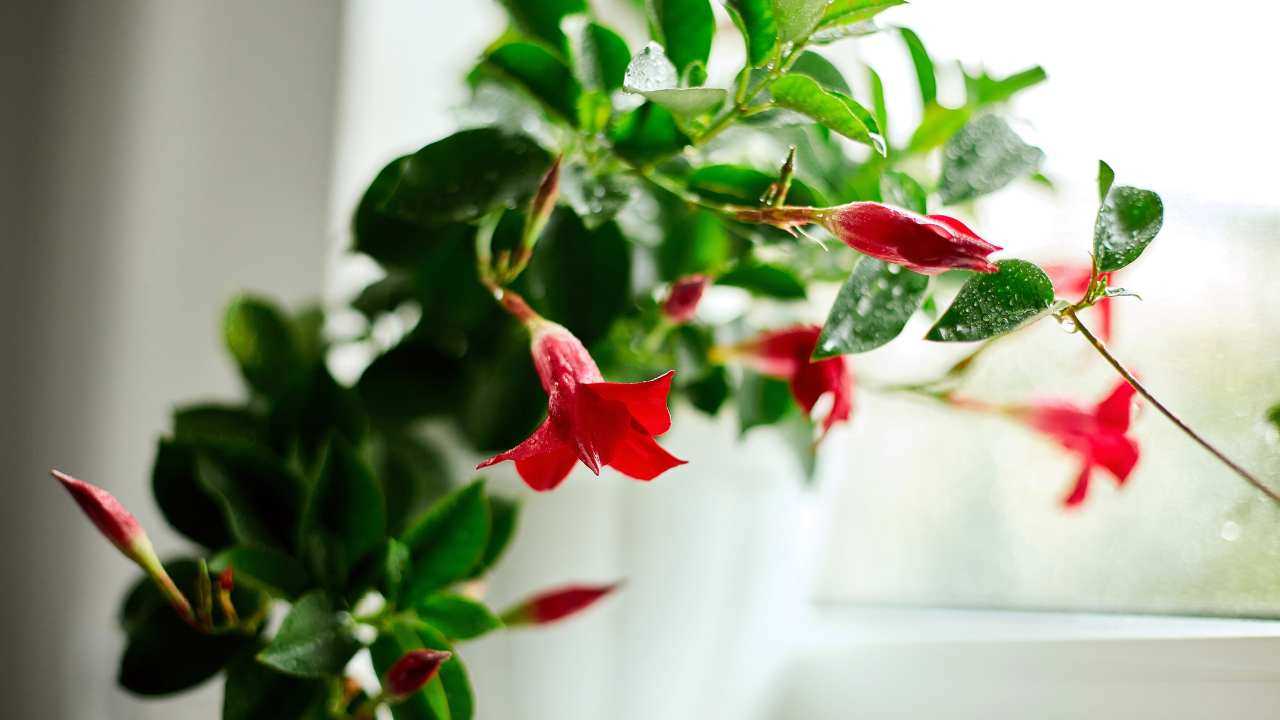
Fertilizing and pruning are important aspects of caring for your Dipladenia plant. By providing the right nutrients and maintaining its shape, you can ensure the health and beauty of your plant.
Fertilizing
1. Slow-release fertilizer: Use a slow-release fertilizer specifically formulated for flowering plants. Follow the instructions on the package for application rates and frequency. Slow-release fertilizers release nutrients over an extended period, providing a steady supply of nutrients to your Dipladenia.
2. Liquid fertilizers: You can also use liquid fertilizers to supplement the nutrient levels in your plant. Dilute the liquid fertilizer according to the package instructions and apply it every two to three weeks during the growing season. Avoid over-fertilizing, as it can lead to excessive foliage growth with fewer flowers.
3. Balanced NPK ratio: Look for a fertilizer with a balanced NPK ratio, such as 10-10-10 or 20-20-20. This ensures that your Dipladenia plant receives a good balance of nitrogen (N), phosphorus (P), and potassium (K), which are essential for healthy growth and flowering.
Pruning
1. Remove dead and damaged branches: Regularly inspect your Dipladenia plant and remove any dead or damaged branches. This helps improve air circulation and prevents the spread of diseases.
2. Shape and control growth: Dipladenia can be trained to grow in a bushy or vining manner. If you prefer a bushy shape, pinch back the tips of the stems to encourage branching. If you prefer a vining form, you can provide support for the plant to climb or trail.
3. Prune after blooming: It is best to prune your Dipladenia plant after the blooming period. This promotes better flower production for the next season. Cut back the long stems to a desired length and remove any leggy growth.
4. Sterilize pruning tools: Before and after pruning, make sure to sterilize your pruning tools to prevent the spread of diseases. You can use rubbing alcohol or a mixture of bleach and water to sterilize the tools.
By fertilizing and pruning your Dipladenia plant regularly, you can ensure its overall health and enhance its beauty. These maintenance practices contribute to the longevity and vibrancy of your plant.
Pests and Diseases
Dipladenia plants are generally resistant to most pests and diseases, but they can still be affected by a few common issues. Here are some of the pests and diseases that can affect your Dipladenia:
- Aphids: These small insects can be a problem for Dipladenia plants, especially in warmer climates. They feed on the plant sap and can cause leaf distortion, yellowing, and stunted growth. To control aphids, you can use insecticidal soap or a strong stream of water to wash them off the plant.
- Scale insects: These pests look like small bumps or scales on the leaves and stems of the plant. They can cause yellowing, leaf drop, and stunted growth. Use insecticidal soap or horticultural oil to control scale insects.
- Whiteflies: These tiny white insects can often be found on the underside of the leaves. They suck the sap from the plant and can cause yellowing, wilting, and leaf drop. You can control whiteflies by using insecticidal soap or a homemade spray made from neem oil.
- Root rot: Overwatering can lead to root rot in Dipladenia plants. This can cause the plant’s roots to become soggy and lead to yellowing leaves and plant wilting. To prevent root rot, make sure to allow the soil to dry out between waterings and provide proper drainage for the plant.
If you notice any signs of pests or diseases on your Dipladenia plant, it’s important to take action as soon as possible. Regularly inspect the plant for any signs of infestation and treat accordingly to keep your plant healthy and thriving.
Propagation Techniques
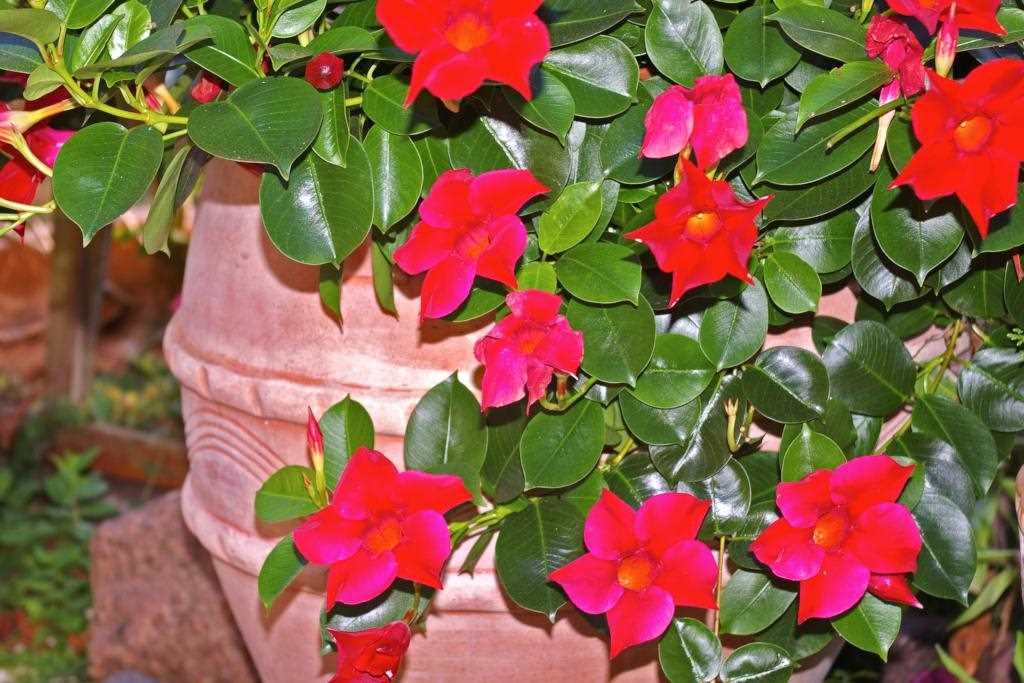
There are several ways to propagate Dipladenia plants:
- Seeds: Dipladenia can be grown from seeds. The seeds need to be harvested from ripe fruits and sown in a well-draining potting mix. Keep the soil moist until germination, which usually takes 2-3 weeks.
- Cuttings: Propagation through cuttings is the most common method for Dipladenia. Take a 4-6 inch long cutting from a healthy parent plant, making sure it has at least two sets of leaves. Remove the lower leaves and dip the cut end in a rooting hormone. Plant the cutting in a pot filled with a well-draining potting mix and keep it in a warm and humid environment. Roots should develop in about 4-6 weeks.
- Air Layering: Air layering can also be used to propagate Dipladenia. Select a healthy branch and make a small wound on it. Apply rooting hormone to the wounded area, and then wrap it with moist sphagnum moss. Cover the moss with plastic wrap to create a humid environment. Roots should develop in about 6-8 weeks. Once the roots are well-developed, the branch can be cut off and planted in a separate pot.
Regardless of the propagation method you choose, it’s important to provide the young plants with the right growing conditions, including bright but indirect sunlight, well-draining soil, and regular watering. In a couple of months, you’ll have new Dipladenia plants ready to be enjoyed in your garden or home.
Q&A:
What is Dipladenia or Mandevilla?
Dipladenia, also known as Mandevilla, is a flowering plant native to Central and South America.
How often should I water my Dipladenia?
You should water your Dipladenia when the top inch of soil feels dry. Avoid overwatering, as it can lead to root rot.
Can Dipladenia be grown indoors?
Yes, Dipladenia can be grown indoors, as long as it receives sufficient sunlight and proper care.
What kind of soil is best for Dipladenia?
Dipladenia prefers well-draining soil. You can use a mix of potting soil, perlite, and peat moss.
What are the common pests and diseases that affect Dipladenia?
Common pests that affect Dipladenia include aphids, spider mites, and whiteflies. The plant can also be susceptible to fungal diseases like powdery mildew and root rot.
How do I propagate Dipladenia?
You can propagate Dipladenia through stem cuttings. Take a 4-6 inch cutting from a healthy plant, remove the lower leaves, and place it in a pot with moist soil. Keep the cutting in a warm, humid environment and water it regularly. Roots should start to develop in a few weeks.
Video:
SHOULD YOU DEAD-HEAD A MANDEVILLA (DIPLADENIA) VINE?

