- Why Rooting Currants is an Essential Step
- Advantages of Rooting Currants
- Steps for Rooting Currants
- Understanding the Effective Method for Rooting Currants
- 1. Collecting the Cutting
- 2. Trimming and Preparing the Cutting
- 3. Planting the Cutting
- 4. Providing the Right Conditions
- 5. Patience and Care
- Choosing the Right Time for Rooting Currants
- 1. Dormant Season
- 2. Soil Temperature
- 3. Weather Conditions
- 4. Plant Health
- 5. Personal Schedule
- Preparing the Soil for Successful Rooting
- 1. Choose the Right Location
- 2. Test the Soil
- 3. Remove Weeds and Debris
- 4. Amend the Soil
- 5. Create Raised Beds
- 6. Mulch the Planting Area
- 7. Water the Soil
- Providing Adequate Moisture and Nutrients
- Protecting Rooted Currants from Pests and Diseases
- 1. Pruning and Sanitation
- 2. Mulching
- 3. Proper Watering
- 4. Beneficial Insects
- 5. Regular Inspections
- 6. Organic Pest Control
- 7. Disease-resistant Varieties
- 8. Crop Rotation
- Monitoring the Progress of Rooting
- 1. Check for New Growth
- 2. Gently Tug on the Cuttings
- 3. Inspect the Base of the Cuttings
- 4. Measure the Height of New Growth
- 5. Monitor Soil Moisture
- Enjoying the Fruits of Your Labor: How Soon Will Roots Appear?
- Factors Influencing Rooting Time
- Observing Root Growth
- Question-answer:
- What is the best method for rooting currants?
- How fast can I expect roots to appear when rooting currants?
- What should I do if roots don’t appear within the expected timeframe?
- Can I root currants from hardwood cuttings?
- Should I use a rooting hormone when rooting currants?
- How long should I wait before transplanting rooted currant cuttings?
- Can I root currant cuttings directly in the ground?
- Video: How To Take Currant Bush Cuttings | Propagating Blackcurrants In Autumn & Winter
Rooting currants is a popular method used by gardeners to propagate these fruit-bearing shrubs. Whether you are looking to expand your currant garden or share the plant with a friend, learning how to root currants is a valuable skill to have. In this article, we will discuss an effective method for rooting currants and explore how soon roots can be expected to appear.
When it comes to propagating currants, one of the most successful methods is called hardwood cuttings. This technique involves taking a cutting from the woody stems of the current plant during the dormant season, usually in late winter or early spring. The cutting is then prepared and planted in a suitable growing medium, where it will develop roots and eventually grow into a new plant.
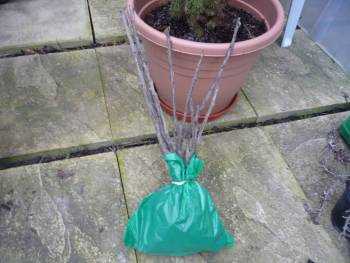
To root currants using hardwood cuttings, begin by selecting a healthy, disease-free stem from the current plant. Choose a stem that is about pencil-thick and make a clean, slanted cut at the base of the stem. Remove any buds or leaves from the lower half of the cutting, leaving a few at the top to encourage growth.
Tip: It’s essential to use a rooting hormone when preparing the cutting, as it will help stimulate root development and increase the chances of success.
Why Rooting Currants is an Essential Step
Rooting currants is an essential step in the propagation process, whether you are a professional grower or a home gardener. This method allows you to produce new plants from cuttings, without the need for expensive or time-consuming techniques like grafting or seed propagation.
Advantages of Rooting Currants
- Fast and reliable: Rooting currants is a relatively quick and reliable method of propagation. With the right conditions and care, roots can appear within just a few weeks, allowing you to establish new plants in a shorter time frame compared to other methods.
- Preservation of desirable traits: By rooting currants from cuttings taken from established plants, you can preserve the desirable traits of the parent plant. This allows you to propagate plants with characteristics such as high yield, disease resistance, or specific flavor profiles.
- Cloning potential: Rooting currants allows for exact cloning of the parent plant, as the new plants will have the same genetic makeup. This can be particularly useful for commercial growers looking to maintain consistency across their crops.
- Cost-effective: Rooting currants is a cost-effective method of propagation that requires minimal equipment or materials. It is a great option for home gardeners looking to expand their currant collection without breaking the bank.
Steps for Rooting Currants
The process of rooting currants involves the following steps:
- Choose healthy cuttings: Select healthy, disease-free currant cuttings from the desired parent plant. The cuttings should be about 6-8 inches long and taken from the current year’s growth.
- Prepare the cuttings: Remove the lower leaves from the cuttings, leaving only a few pairs of leaves at the tip. This will help reduce transpiration and promote root development.
- Apply rooting hormone: Dip the bottom end of the cutting in a rooting hormone powder or gel to encourage root growth.
- Plant the cuttings: Plant the cuttings in a well-draining potting mix or directly in the garden bed. Make sure to provide adequate moisture and avoid direct sunlight to prevent the cuttings from drying out.
- Monitor and care for the cuttings: Keep a close eye on the cuttings and ensure they receive sufficient water and humidity. You can cover them with a plastic bag or place them in a greenhouse to create a favorable environment for root development.
- Wait for root development: Within a few weeks, you should start to see roots develop from the cuttings. Once the roots are well-established, you can transplant the new plants to their permanent location.
Rooting currants provides a simple and effective way to propagate these delicious and nutritious berries. By following the steps outlined above, you can successfully produce new currant plants and enjoy a bountiful harvest in no time.
Understanding the Effective Method for Rooting Currants
If you are interested in growing currant plants in your garden, it’s important to understand the effective method for rooting currants. By using the right techniques, you can increase your success rate and ensure healthy root development for your currant plants.
1. Collecting the Cutting
The first step in rooting currants is to collect a cutting from an established currant plant. Choose a healthy branch that is about 6-8 inches long and has several leaf nodes. Make a clean cut just below a leaf node using sharp pruning shears or a knife.
2. Trimming and Preparing the Cutting
Once you have collected the cutting, remove the leaves from the lower half of the stem. This will allow the cutting to focus its energy on root development rather than sustaining the leaves. Next, dip the bottom inch of the cutting into a rooting hormone powder to encourage root growth.
3. Planting the Cutting
Prepare a small pot or container with a well-draining soil mix. Use your finger or a pencil to create a planting hole in the soil. Insert the cutting into the hole, making sure that at least two leaf nodes are buried below the soil surface. Gently firm the soil around the cutting to provide stability.
4. Providing the Right Conditions
Place the potted cutting in a warm and bright location, but away from direct sunlight. The ideal temperature for root development is around 65-75°F (18-24°C). Keep the soil consistently moist, but not waterlogged, as excess moisture can promote rotting.
5. Patience and Care
Rooting currants can take several weeks to several months, depending on the specific variety and growing conditions. Be patient and monitor the cutting regularly for signs of root development. Once roots have become established, you can transplant the rooted cutting into a larger container or into the ground.
Remember to provide regular care to your newly rooted currant plant by watering appropriately, fertilizing as needed, and protecting it from harsh weather conditions.
By following these steps and providing the right conditions, you can increase your chances of successfully rooting currants and growing healthy plants for a bountiful harvest in the future.
Choosing the Right Time for Rooting Currants
When it comes to rooting currants, timing is crucial. Choosing the right time to root currants can significantly increase the chances of success. Here are some important factors to consider when deciding the perfect time for rooting:
1. Dormant Season
The dormant season, typically in late winter or early spring, is the ideal time for rooting currants. During this period, the plant is in a state of rest, which makes it more receptive to root development. Rooting currants during this time ensures that the plant will have sufficient time to establish a strong root system before the growing season begins.
2. Soil Temperature
The soil temperature is another critical factor to consider when determining the right time for rooting currants. The soil temperature should be around 50°F (10°C) for optimal root growth. If the soil temperature is too cold, the roots may not develop properly. On the other hand, if the soil temperature is too warm, it can lead to excessive root growth, causing the plant to struggle later on.
3. Weather Conditions
The weather conditions also play a role in determining the right time for rooting currants. Mild and consistent weather with moderate rainfall is ideal for root development. Extreme heat or cold, drought, or heavy rains can negatively impact the success rate of rooting currants. Therefore, it is important to choose a time when the weather is favorable and stable.
4. Plant Health
The overall health of the currant plant is an important consideration when deciding the right time for rooting. Make sure the plant is free from any diseases or pests and is in good vigor. Rooting currants during periods of stress or when the plant is weakened can reduce the chances of successful root development.
5. Personal Schedule
The right time for rooting currants should also align with your personal schedule. Make sure you have enough time to dedicate to the process, as rooting currants requires regular care and monitoring. It is essential to provide the newly rooted plants with the right conditions and care during the early stages of growth.
By considering these factors and choosing the right time for rooting currants, you can increase the chances of successful root development and ensure the healthy growth of your currant plants.
Preparing the Soil for Successful Rooting
Before you start rooting currants, it is crucial to properly prepare the soil to provide the best conditions for successful root development. Here are some steps you should follow:
1. Choose the Right Location
Currant bushes prefer well-draining soil with a pH level between 5.5 and 7.0. Find a location in your garden that receives partial shade, as full sun can scorch the delicate roots. Make sure the area is free from weeds and other competing plants.
2. Test the Soil
Test the soil’s pH level to ensure it falls within the recommended range for currants. You can purchase a soil testing kit or send a sample to a local agricultural extension office for analysis. If the pH is too high or too low, you may need to adjust it by adding lime to raise the pH or sulfur to lower it.
3. Remove Weeds and Debris
Clear the area of weeds, rocks, and other debris that may hinder root growth. Use a garden rake or hoe to remove any existing vegetation and create a clean planting bed.
4. Amend the Soil
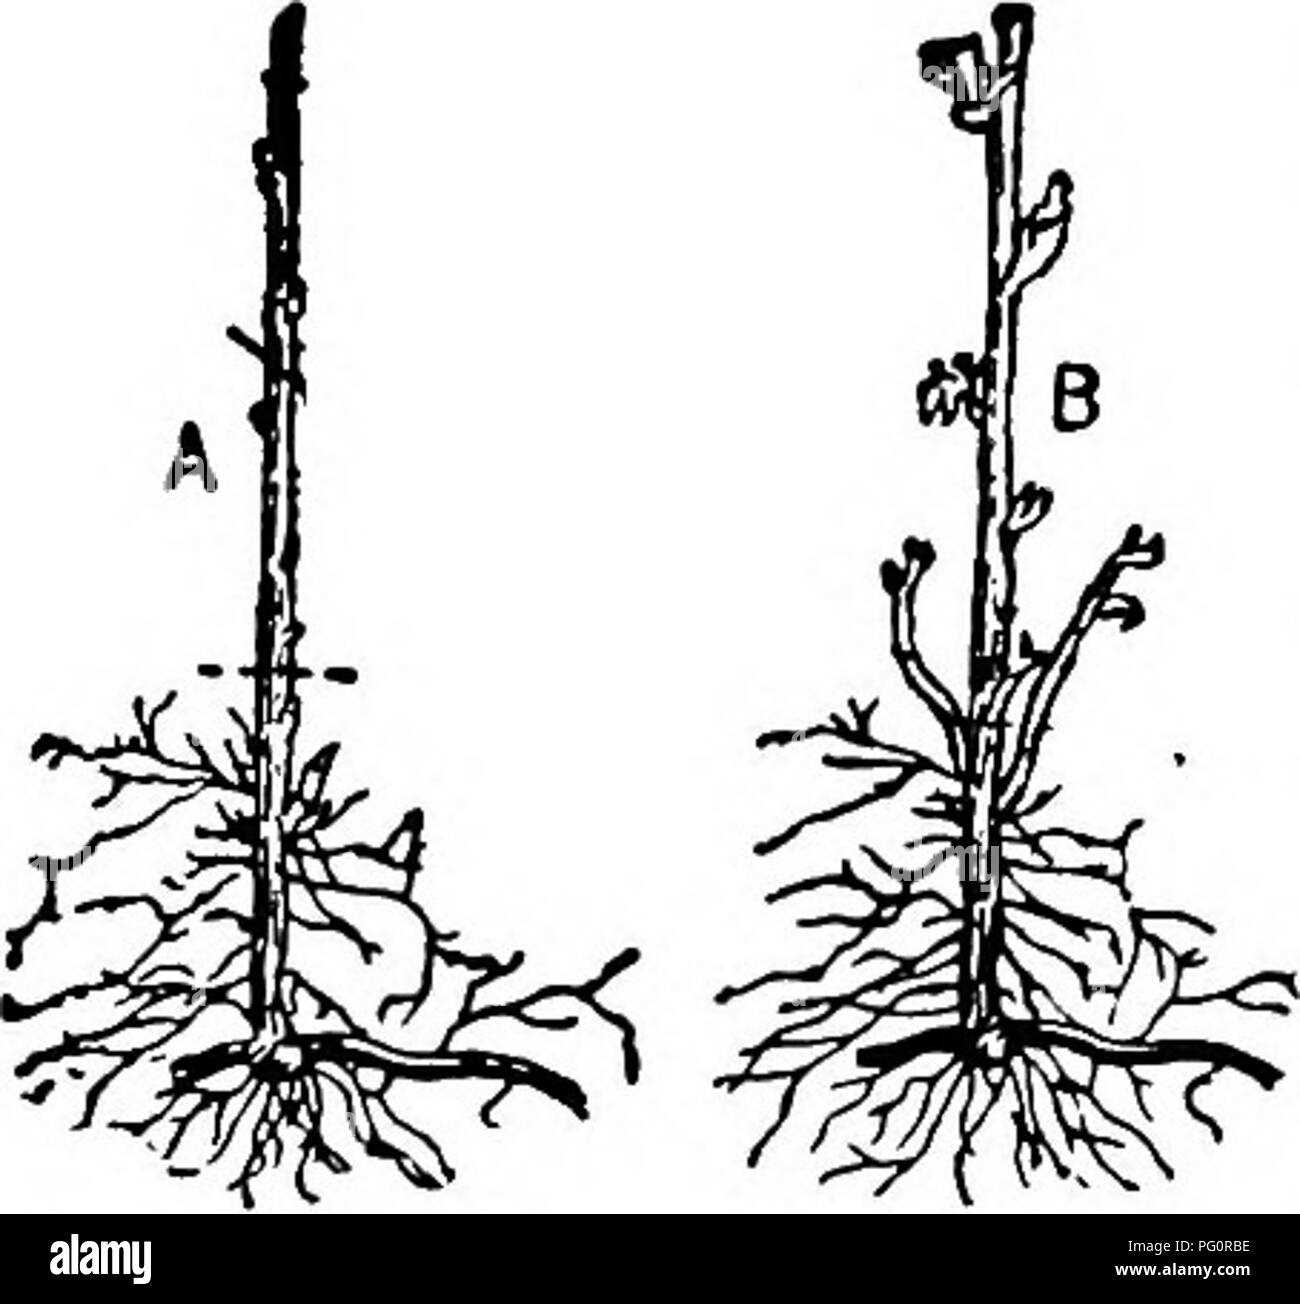
Enrich the soil by adding organic matter such as compost, well-rotted manure, or peat moss. Work the organic matter into the top 6-8 inches of soil using a garden fork or tiller. This will improve the soil’s structure, drainage, and fertility.
5. Create Raised Beds
If your soil has poor drainage, consider creating raised beds for better water flow. Build raised beds that are around 8-12 inches tall, using untreated wood or bricks. Fill the beds with a mixture of garden soil and compost.
6. Mulch the Planting Area
Apply a layer of organic mulch, such as wood chips or straw, around the base of the currant bushes. Mulching helps retain soil moisture, suppresses weed growth, and maintains a more consistent soil temperature.
7. Water the Soil
Prior to planting the currant cuttings, thoroughly water the soil to ensure it is evenly moist. Adequate moisture is crucial for promoting root growth.
By following these steps and properly preparing the soil, you will create the optimal conditions for successful rooting of your currant cuttings. This will give your new plants the best chance to establish healthy root systems and thrive.
Providing Adequate Moisture and Nutrients
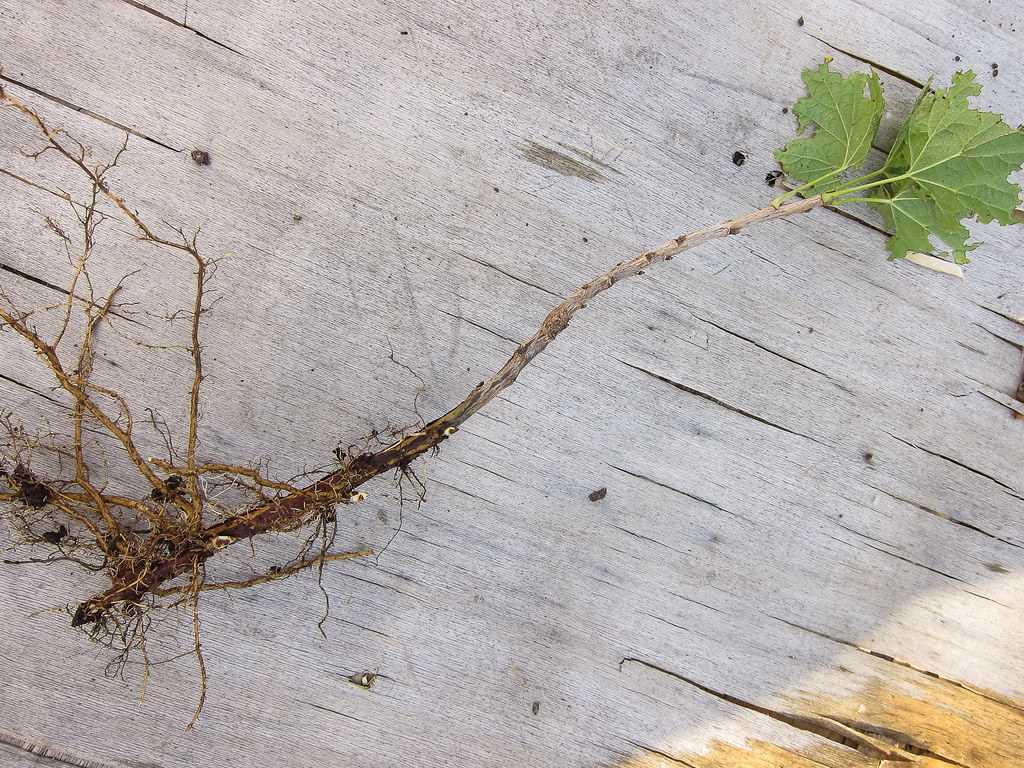
Rooting currants requires the right balance of moisture and nutrients to ensure successful growth. Here are some tips on how to provide adequate moisture and nutrients for your rooted currant cuttings:
- Watering: Water your rooted currant cuttings regularly to keep the soil consistently moist. However, be careful not to overwater as this can lead to root rot. Check the soil moisture levels by sticking your finger about an inch deep into the soil – if it feels dry, it’s time to water.
- Drip Irrigation: Consider using a drip irrigation system to provide a slow and consistent water supply to the rooted currant cuttings. This method helps to keep the soil evenly moist without saturating it.
- Mulching: Apply a layer of organic mulch, such as straw or wood chips, around the base of the rooted currant cuttings. Mulch helps to retain moisture in the soil and prevents weed growth, which can compete for nutrients.
- Fertilizing: Provide nutrients to the rooted currant cuttings by applying a balanced fertilizer. Use a slow-release fertilizer or organic compost to avoid burning the roots. Follow the manufacturer’s instructions for application rates and frequency.
- Soil Testing: Conduct a soil test to determine the nutrient levels in your soil. This will help you determine if any specific nutrients are lacking and need to be supplemented.
- Additional Amendments: If the soil test reveals any nutrient deficiencies, consider adding specific amendments, such as bone meal for phosphorus or compost for overall soil health.
- Monitoring: Regularly monitor the overall health of your rooted currant cuttings. Look out for signs of nutrient deficiencies, such as yellowing leaves or stunted growth, and adjust your watering and fertilizing practices accordingly.
By providing adequate moisture and nutrients to your rooted currant cuttings, you can ensure their healthy growth and increase the chances of root development.
Protecting Rooted Currants from Pests and Diseases
After successfully rooting currants, it is important to protect them from pests and diseases. Pests and diseases can significantly affect the health and productivity of currant plants. Here are some effective measures to safeguard rooted currants:
1. Pruning and Sanitation

- Regularly inspect the currant plants for any signs of pest infestation or disease.
- Remove and destroy any infected or infested parts of the plant.
- Prune the currant bushes to ensure good air circulation and prevent the build-up of pests and diseases.
2. Mulching
- Apply a layer of organic mulch, such as straw or wood chips, around the base of the currant plants.
- Mulching helps retain moisture in the soil, suppresses weeds, and provides a barrier against pests.
3. Proper Watering
- Water the currant plants at the base, avoiding wetting the leaves.
- Overwatering can lead to root rot and other fungal diseases, so water the plants only when the top few inches of soil are dry.
4. Beneficial Insects
- Encourage beneficial insects, such as ladybugs and lacewings, by planting flowers that attract them near the currant plants.
- Beneficial insects help control pests naturally.
5. Regular Inspections
- Regularly inspect the currant plants for any signs of pests, diseases, or nutrient deficiencies.
- Early detection allows for immediate action, preventing the spread of pests and diseases.
6. Organic Pest Control
- Use organic pest control methods, such as neem oil or insecticidal soaps, to deal with pest infestations.
- Avoid using synthetic pesticides, as they can harm beneficial insects and contaminate the environment.
7. Disease-resistant Varieties
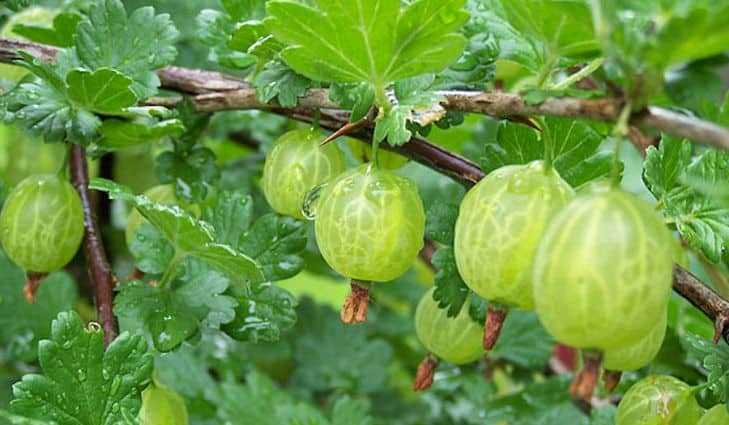
- Choose disease-resistant varieties of currants, as they are less susceptible to common diseases.
- Consult with local nurseries or gardening experts to determine the best disease-resistant cultivars for your region.
8. Crop Rotation
- Practice crop rotation to prevent the build-up of pests and diseases in the soil.
- Do not plant currants or other related crops in the same spot for consecutive years.
By implementing these measures, you can protect your rooted currants from pests and diseases, ensuring healthy and productive plants.
Monitoring the Progress of Rooting
Once you have successfully planted your currant cuttings and provided them with the necessary care, it’s important to monitor the progress of rooting to ensure their success. Here are some ways to monitor the progress of rooting:
1. Check for New Growth
One of the first signs that your currant cuttings are rooting is the appearance of new growth. Look for tiny leaves or buds emerging from the stems of the cuttings. This is a positive indication that the cuttings have formed roots and are starting to establish themselves.
2. Gently Tug on the Cuttings
After a few weeks, you can gently tug on the cuttings to check if they are rooted. If you feel resistance and the cuttings don’t easily come out of the soil, it means that they have developed a good root system. However, if the cuttings easily come out, it may indicate that they have not rooted yet or have weak roots.
3. Inspect the Base of the Cuttings
Another way to monitor the progress of rooting is by inspecting the base of the cuttings. If you see tiny white or light-colored roots emerging from the bottom of the stem, it’s a positive sign that rooting has occurred. On the other hand, if there are no roots or only a few brown or black roots, it may indicate a lack of rooting or poor root development.
4. Measure the Height of New Growth
As the cuttings continue to root and grow, you can measure the height of the new growth periodically. This will give you a good idea of how quickly the cuttings are establishing themselves. If you notice a steady increase in height over time, it indicates successful rooting and growth.
5. Monitor Soil Moisture
Consistently monitoring the soil moisture is crucial for the success of rooting. Make sure the soil is moist but not waterlogged, as excessive moisture can hinder root development. Regularly check the moisture levels by gently inserting your finger into the soil to a depth of about an inch. If it feels slightly moist, it indicates the right moisture level for rooting.
Enjoying the Fruits of Your Labor: How Soon Will Roots Appear?
Starting from scratch and cultivating your own plants can be a rewarding and fulfilling experience. If you have chosen to grow currants, one important step in the process is rooting the cuttings to establish strong and healthy plants.
When it comes to rooting currants, patience is key. It typically takes around 4-6 weeks for roots to appear, although this can vary depending on several factors such as the variety of currant, environmental conditions, and the rooting method used.
Factors Influencing Rooting Time
The time it takes for roots to appear in your currant cuttings can be influenced by various factors:
- Variety: Different currant varieties have varying levels of rooting ability. Some may root more quickly than others, so it’s important to consider the specific variety you are working with.
- Environmental Conditions: The temperature and humidity in your rooting environment play a crucial role in the speed of root development. Ideally, the temperature should be around 70-75°F (21-24°C) and the humidity should be relatively high, around 80-90%.
- Rooting Method: There are different methods for rooting currant cuttings, such as water rooting, soil rooting, or using a rooting hormone. Each method has its own timeline for root development.
Observing Root Growth
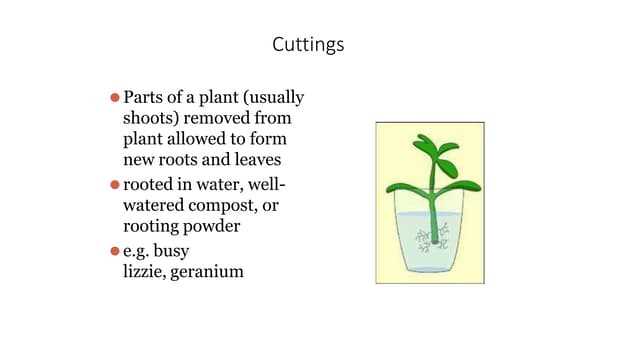
While waiting for roots to develop, it’s important to monitor your cuttings for signs of progress:
- Visible Root Growth: After a few weeks, you may start to see small white roots emerging from the cut end of your currant cuttings. This is a promising sign that the rooting process is underway.
- Leaf Bud Swelling: Another clue that roots are forming is the swelling of leaf buds. This indicates that the cutting is starting to take up water and nutrients through the newly formed roots.
- Tug Test: After several weeks, you can gently tug on the cuttings to check for resistance. If there is resistance, it’s a sign that roots have formed and the cuttings are becoming established.
Remember, rooting currants requires patience and careful attention to the needs of the cuttings. By providing the right conditions and observing the signs of root growth, you can enjoy the fruits of your labor in no time.
Question-answer:
What is the best method for rooting currants?
The best method for rooting currants is through softwood cuttings. This involves taking cuttings from the new growth of the plant in the early summer and placing them in a potting mix or a rooting hormone before planting them in a pot or the ground.
How fast can I expect roots to appear when rooting currants?
The time it takes for roots to appear when rooting currants can vary, but generally, you can expect to see roots forming within 2-4 weeks. It’s important to keep the cuttings in a humid environment and provide them with adequate moisture and light to promote root development.
What should I do if roots don’t appear within the expected timeframe?
If roots don’t appear within the expected timeframe, there are a few things you can try. First, make sure the cuttings are in a humid environment and receiving enough moisture and light. You can also try dipping the cuttings in a rooting hormone to encourage root growth. If all else fails, you may need to take new cuttings and try again.
Can I root currants from hardwood cuttings?
While softwood cuttings are the most effective method for rooting currants, it is possible to root them from hardwood cuttings as well. Hardwood cuttings are taken from mature wood in the winter, and they generally take longer to root compared to softwood cuttings.
Should I use a rooting hormone when rooting currants?
Using a rooting hormone when rooting currants can increase the chances of successful root development. Rooting hormones contain growth-promoting substances that help stimulate root growth. While it’s not necessary, it can be beneficial, especially if you’re experiencing difficulties with rooting.
How long should I wait before transplanting rooted currant cuttings?
You should wait until the rooted currant cuttings have developed a strong root system before transplanting them. This typically takes around 6-8 weeks, but it can vary depending on the conditions and the health of the cuttings. Once the roots are well established, you can safely transplant the cuttings to their permanent location.
Can I root currant cuttings directly in the ground?
Yes, you can root currant cuttings directly in the ground. However, it’s usually easier and more successful to root them in pots or containers first. This allows you to control the growing conditions, such as moisture and light, more effectively. Once the cuttings have rooted and established a strong root system, you can then transplant them to the ground.
