- Growing Elderberry: Tips for a Successful Harvest
- Choose the Right Location
- Prepare the Soil
- Select the Right Variety
- Planting
- Care and Maintenance
- Pollination
- Harvesting
- Storage
- Choosing the Right Variety
- Growth Habit
- Plant Size
- Flowering Time
- Fruit Quality
- Hardiness
- Pest and Disease Resistance
- Other Considerations
- Understanding Elderberry Planting Requirements
- 1. Climate:
- 2. Sunlight:
- 3. Soil:
- 4. Water:
- 5. Spacing:
- 6. Fertilizer:
- 7. Pruning:
- 8. Pollination:
- 9. Pest and Disease Control:
- Preparing the Soil for Elderberry Cultivation
- Soil Requirements
- Soil Preparation Steps
- Soil Maintenance
- Pruning Elderberry: Techniques for Proper Maintenance
- 1. Why Prune Elderberry
- 2. When to Prune
- 3. Tools Needed
- 4. Pruning Techniques
- 5. Disinfecting Tools
- 6. Pruning Young Plants
- 7. Pruning Established Plants
- 8. Pruning for Harvest
- 9. Conclusion
- Fertilizing Elderberry: Nourishing Your Plants
- Choosing the Right Fertilizer
- When to Fertilize
- How to Fertilize
- Additional Tips
- Dealing with Elderberry Pests and Diseases
- Pests
- Diseases
- Propagating Elderberry: How to Multiply Your Plants
- 1. Propagating by Cuttings
- 2. Propagating by Division
- 3. Propagating by Seed
- Harvesting and Using Elderberries: Enjoying the Fruits of Your Labor
- Harvesting Elderberries:
- Methods of Harvesting:
- Using Elderberries:
- Question-answer:
- Where can I buy elderberry plants?
- How do you prune elderberry bushes?
- Do elderberry plants require a lot of sunlight?
- How often should elderberry plants be watered?
- Can elderberry plants be grown in pots?
- Video: BIGGEST CHICKEN SECRET?!?! ELDERBERRY PROPAGATION AND PLANTING
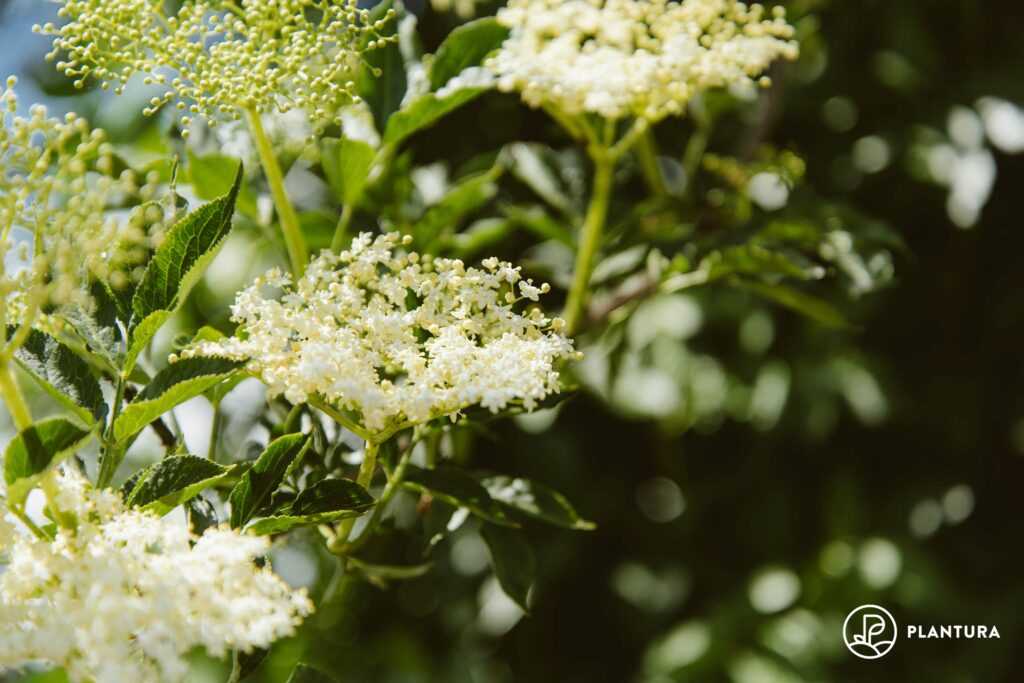
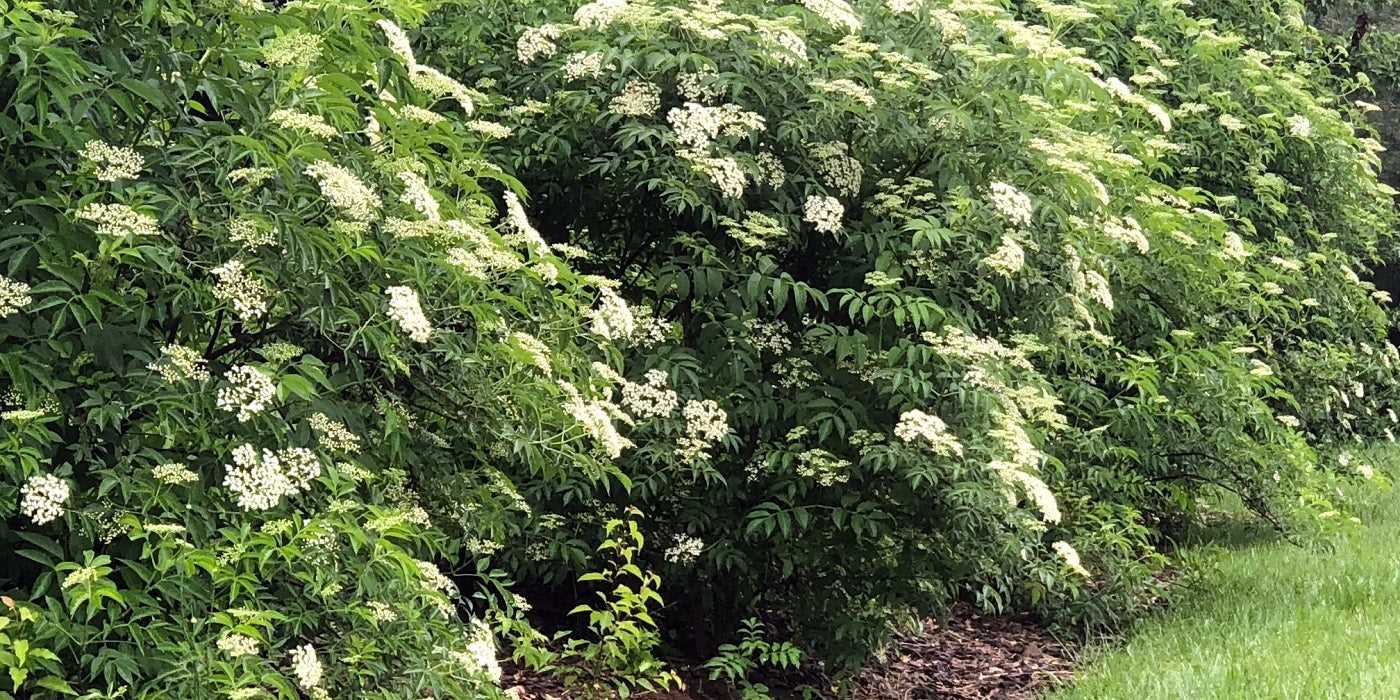
Elderberry, scientifically known as Sambucus, is a versatile and hardy plant that is gaining popularity among home gardeners. With its beautiful clusters of tiny white flowers followed by dark purple or black berries, elderberry brings both aesthetic appeal and nutritional value to any garden.
One of the main reasons for the increasing interest in elderberry is its health benefits. Elderberries are packed with antioxidants and have been used for centuries in traditional medicine to boost the immune system and alleviate cold and flu symptoms. Additionally, elderberries are rich in vitamins A and C, as well as fiber.
When it comes to growing elderberries, they are relatively easy to cultivate. They can adapt to a wide range of soil conditions and tolerate both full sun and partial shade. However, elderberries prefer moist, well-drained soil and will benefit from regular watering during dry periods.
Pruning is an essential aspect of elderberry care, as it helps promote healthy growth and increase fruit production. Pruning should be done in late winter or early spring, before new growth begins. Thin out any dead or weak branches, and remove any suckers that emerge from the base of the plant.
Propagation of elderberries can be done through various methods, including rooting cuttings, layering, and seed propagation. Rooting cuttings is the most common and effective method. Cuttings should be taken in late winter or early spring from one-year-old wood. They should be around 12 inches long and have several buds. Dip the cuttings in rooting hormone and place them in a well-draining potting mix.
In conclusion, elderberries are a valuable addition to any garden, providing both beauty and functionality. With proper care and maintenance, you can enjoy a bountiful harvest of nutritious and delicious berries, as well as reap the health benefits they offer. Whether you are a seasoned gardener or a beginner, growing, pruning, and propagating elderberries can be a rewarding and enjoyable experience.
Growing Elderberry: Tips for a Successful Harvest
Choose the Right Location
Elderberry plants thrive in full sun, so choose a location in your garden that receives at least six hours of direct sunlight every day. The soil should be well-draining and rich in organic matter. Avoid areas with standing water or heavy clay soil.
Prepare the Soil
- Clear the area of any weeds or grass and remove any large rocks or debris.
- Loosen the soil with a garden fork or tiller to a depth of 12-18 inches.
- Amend the soil with organic matter such as compost or well-rotted manure to improve moisture retention and fertility.
Select the Right Variety
There are several different varieties of elderberry plants available, so choose one that is well-suited to your climate and growing conditions. Some popular varieties include ‘Adams’, ‘York’, and ‘Johns’.
Planting

Dig a hole that is twice the size of the root ball of the elderberry plant. Place the plant in the hole and backfill with soil, gently firming it around the roots. Water thoroughly after planting.
Care and Maintenance
- Water the plants regularly, especially during dry periods. Elderberry plants need consistent moisture, but be careful not to overwater as they can be prone to root rot.
- Apply a layer of mulch around the base of the plants to help conserve moisture and suppress weeds.
- Prune elderberry plants in late winter or early spring to remove any dead or damaged branches and to encourage new growth.
- Fertilize the plants in early spring with a balanced organic fertilizer to promote healthy growth.
Pollination
Most elderberry varieties are self-fertile, but planting multiple plants can increase fruit production. Bees are the main pollinators of elderberry plants, so planting flowers that attract pollinators nearby can help improve fruit set.
Harvesting
- Elderberries are typically ready for harvest in late summer or early fall when the berries turn dark purple or black.
- Gently harvest the berries by hand, being careful not to damage the delicate fruit clusters.
- Remove any stems or leaves from the berries before using or preserving.
Storage
Fresh elderberries can be stored in the refrigerator for up to a week. They can also be frozen or dried for longer-term storage. To freeze, place the berries in a single layer on a baking sheet and freeze until firm, then transfer to a freezer-safe container. To dry, spread the berries out on a clean, dry surface and allow them to air dry until they are no longer soft and pliable.
| Tip | Description |
|---|---|
| 1 | Prune elderberry plants regularly to maintain their shape and encourage new growth. |
| 2 | Protect the plants from strong winds by planting them near a fence or other windbreak. |
| 3 | Monitor the plants for signs of pests or diseases, such as aphids or powdery mildew, and take appropriate action. |
| 4 | Harvest the elderberries promptly to prevent them from overripening and falling to the ground. |
| 5 | Enjoy the health benefits of elderberries by using them in recipes for jams, pies, syrups, or wines. |
Choosing the Right Variety
When it comes to growing elderberries, choosing the right variety is crucial to your success. There are several different varieties of elderberries available, each with its own unique characteristics and requirements. Here are some factors to consider when selecting a variety:
Growth Habit
Elderberries come in two main growth habits: shrubs and trees. Shrubs tend to have a more compact growth habit and are generally easier to maintain and harvest. Trees, on the other hand, can grow quite tall and require more space.
Plant Size
Consider the size of the mature plant when choosing a variety. Some elderberry varieties can grow up to 6 feet tall and wide, while others stay smaller, around 3-4 feet. Make sure you have enough space in your garden for the chosen variety.
Flowering Time
Elderberries produce beautiful clusters of white flowers in the spring, which later develop into berries. Different varieties can have slightly different flowering times, so consider this when selecting a variety. This is especially important if you are looking to attract pollinators to your garden.
Fruit Quality
Elderberries are primarily grown for their fruit, which is rich in antioxidants and can be used for various culinary purposes. Some varieties produce larger berries, while others may have a higher sugar content or better flavor. Consider your needs and preferences when assessing the fruit quality of a variety.
Hardiness
Check the hardiness zone of the variety to ensure it can thrive in your climate. Elderberries are generally hardy plants, but some varieties may have specific temperature requirements or may not tolerate extreme cold or heat. Make sure the chosen variety is suitable for your growing region.
Pest and Disease Resistance
Consider the pest and disease resistance of a variety when making your choice. Some elderberry varieties may be more resistant to common pests and diseases, reducing the need for chemical interventions and making maintenance easier.
Other Considerations
Finally, consider any other specific requirements or considerations that are important to you, such as the suitability for container gardening, ease of propagation, or availability of the variety in your area.
By considering these factors and selecting the right variety for your specific needs and growing conditions, you can ensure a successful and rewarding elderberry growing experience.
Understanding Elderberry Planting Requirements
When it comes to growing elderberries, understanding their planting requirements is essential for ensuring their proper growth and productivity. Here are some important factors to consider:
1. Climate:
Elderberries are typically hardy in USDA zones 3-9, but specific varieties may have slightly different requirements. They prefer cool to mild climates and are more tolerant of colder temperatures than warmer ones.
2. Sunlight:
Elderberries thrive in full sun, meaning they need at least 6-8 hours of direct sunlight each day. Plant them in a location that receives ample sunlight to promote healthy growth and fruit production.
3. Soil:

The ideal soil for elderberries is well-draining and rich in organic matter. They prefer slightly acidic to neutral soil with a pH level between 5.5 and 6.5. Avoid heavy clay soils that can retain too much moisture and cause root rot.
4. Water:
Elderberries require regular watering, especially during the first year of growth. Provide them with 1-2 inches of water per week, either through rainfall or irrigation. Be careful not to overwater, as it can lead to root rot.
5. Spacing:
When planting elderberries, allow enough space between each plant to ensure proper air circulation and minimize the risk of disease. Space them at least 6 feet apart in rows, with 12-14 feet between each row for ease of harvest.
6. Fertilizer:
Elderberries do not require heavy fertilization, but adding compost or well-rotted manure during the planting process can improve soil fertility. Refrain from using nitrogen-rich fertilizers as they can promote excessive vegetative growth at the expense of fruit production.
7. Pruning:
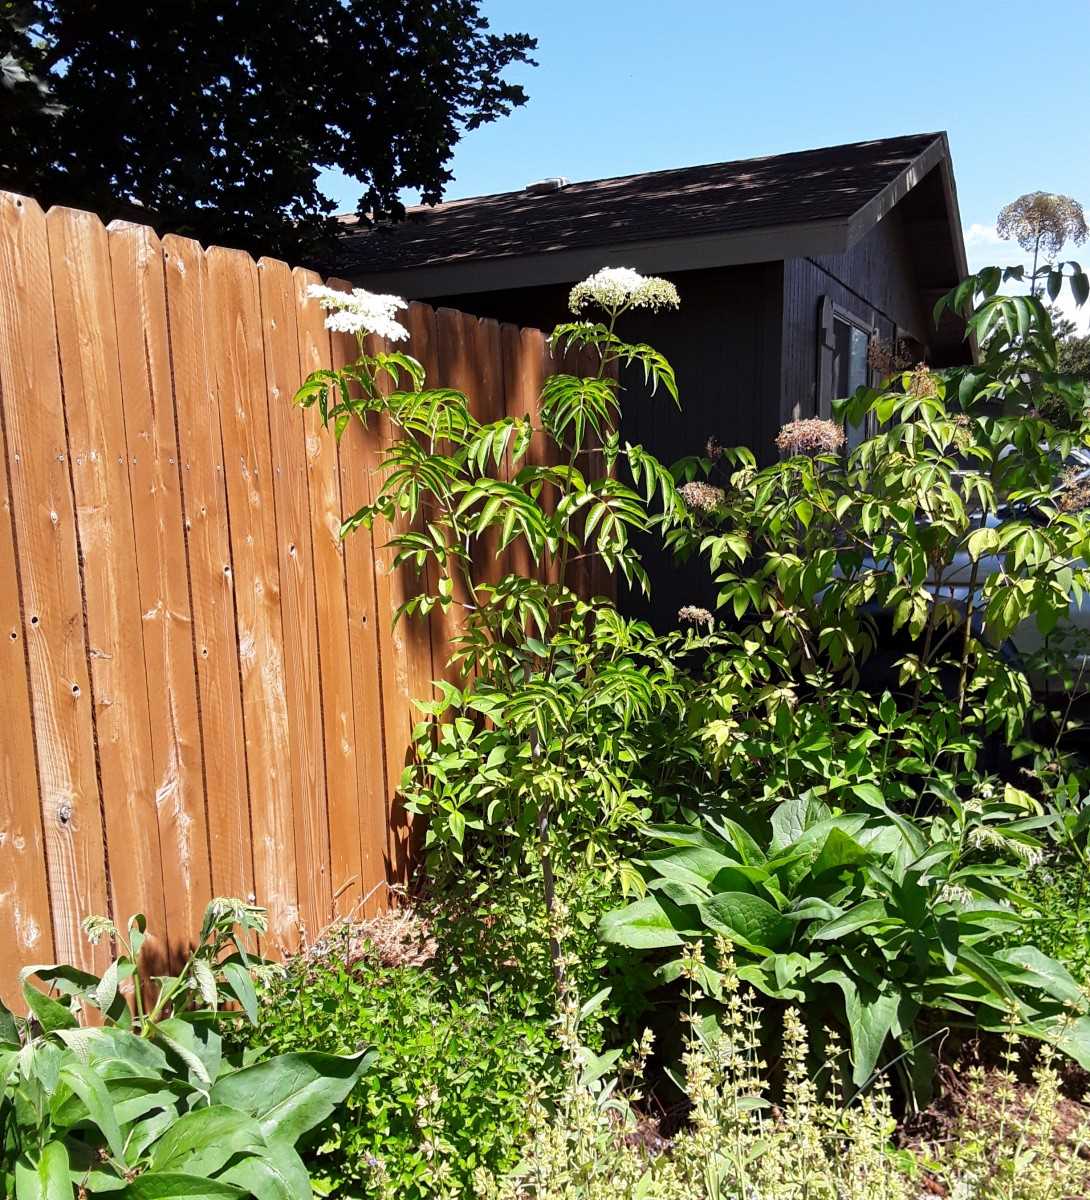
Regular pruning is essential for maintaining the health and productivity of elderberry plants. Prune them during the dormant season to remove dead or diseased branches and promote new growth. Additionally, prune them each year to maintain a manageable size and encourage optimal fruit production.
8. Pollination:
Most elderberry varieties are self-fertile, meaning they can produce fruit without cross-pollination from other plants. However, having multiple elderberry plants in the vicinity can increase the yield and improve the overall health of the plants.
9. Pest and Disease Control:
Elderberries are relatively resistant to pests and diseases, but they can still be affected by aphids, spider mites, and powdery mildew. Regular inspection and the use of organic pest control methods can help prevent and manage issues before they become severe.
By understanding the planting requirements of elderberries, you can ensure a successful and bountiful harvest. Follow these guidelines, and your elderberry plants will thrive and provide you with delicious fruits for years to come.
Preparing the Soil for Elderberry Cultivation
Soil Requirements
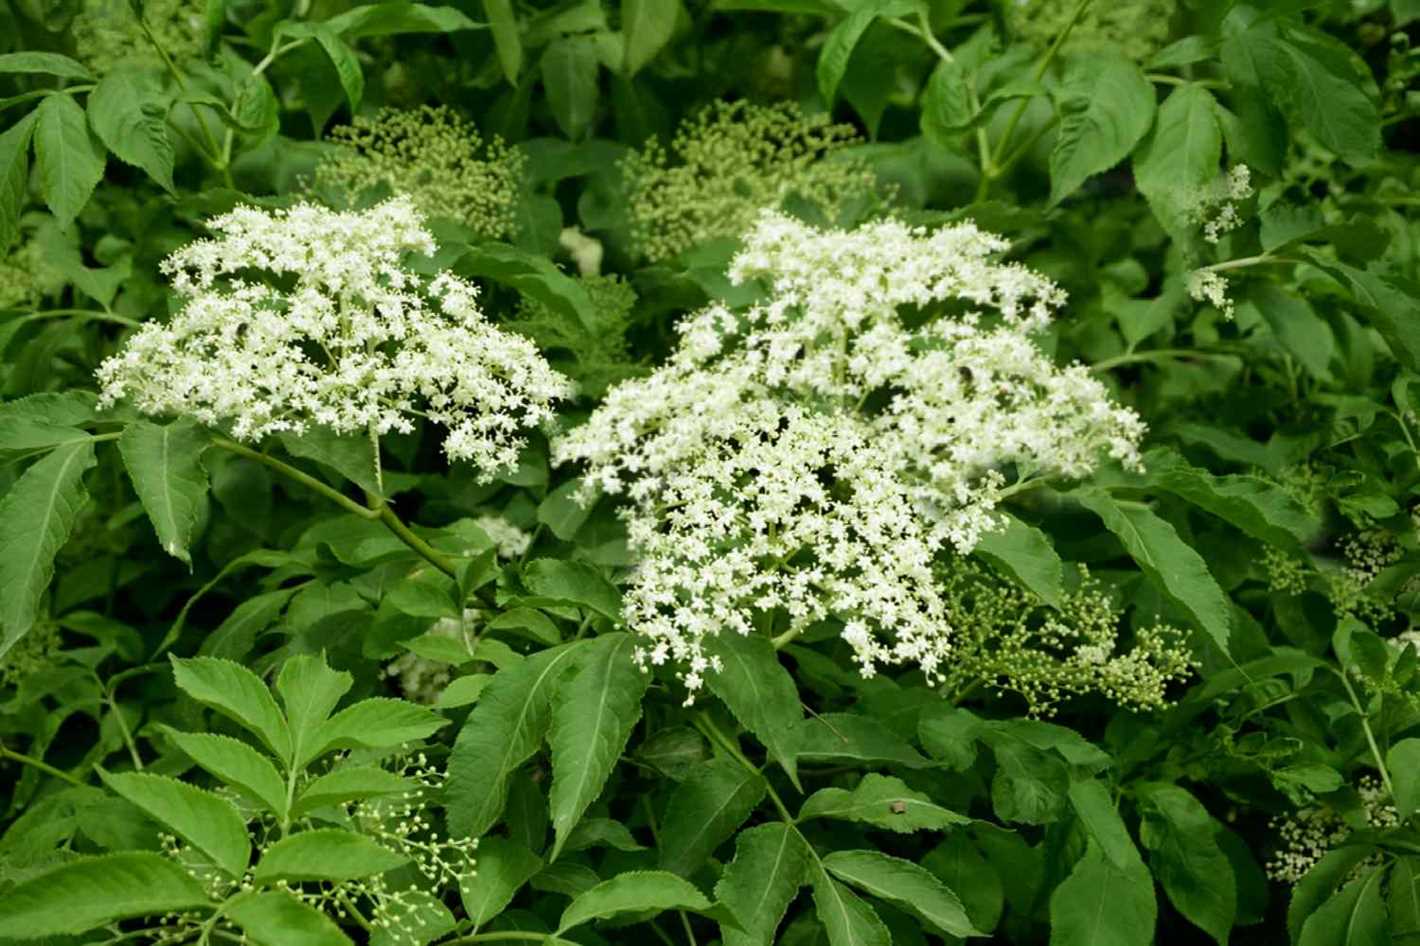
Before planting elderberry bushes, it is important to prepare the soil properly to ensure optimal growth and productivity. Elderberries prefer well-drained soil with a pH range of 5.5 to 6.5. They can tolerate a wide range of soil types, including clay, loam, and sandy soils, but they thrive in rich, fertile soil.
Soil Preparation Steps
Follow these steps to prepare the soil for elderberry cultivation:
- Choose the right location: Select a sunny spot for planting elderberries, as they require at least 6 to 8 hours of direct sunlight per day. Additionally, ensure that the location has good air circulation to prevent the development of fungal diseases.
- Clear the area: Remove any weeds, grass, or debris from the planting area. This will prevent competition for nutrients and ensure that the elderberry bushes have access to sufficient resources.
- Loosen the soil: Use a garden fork or tiller to loosen the soil to a depth of 12 to 18 inches. This will help improve the drainage and aeration of the soil, promoting healthy root development.
- Amend the soil: Test the soil to determine its nutrient content and pH level. Based on the results, you may need to amend the soil with organic matter, such as compost or well-rotted manure, to improve its fertility and pH balance.
- Spread mulch: Once the soil has been amended, spread a layer of organic mulch, such as wood chips or straw, around the base of the elderberry bushes. This will help conserve moisture, suppress weed growth, and improve the overall health of the plants.
Soil Maintenance
Proper soil maintenance is essential for the long-term health and productivity of elderberry bushes. Here are a few key tips:
- Regularly monitor soil moisture levels and water the plants as needed. Elderberries require consistent moisture, especially during the flowering and fruiting stages.
- Apply a balanced fertilizer, such as a 10-10-10 formulation, in early spring and again after harvest to provide the plants with the necessary nutrients.
- Monitor the pH level of the soil annually and adjust if necessary. If the pH level is too low or too high, it can affect the plants’ ability to absorb nutrients effectively.
- Control weeds around the elderberry bushes by mulching or hand weeding. Weeds can compete for nutrients and water, reducing the overall health and productivity of the plants.
By following these soil preparation and maintenance practices, you can create an ideal growing environment for elderberry bushes and enhance their overall growth and productivity.
Pruning Elderberry: Techniques for Proper Maintenance
1. Why Prune Elderberry
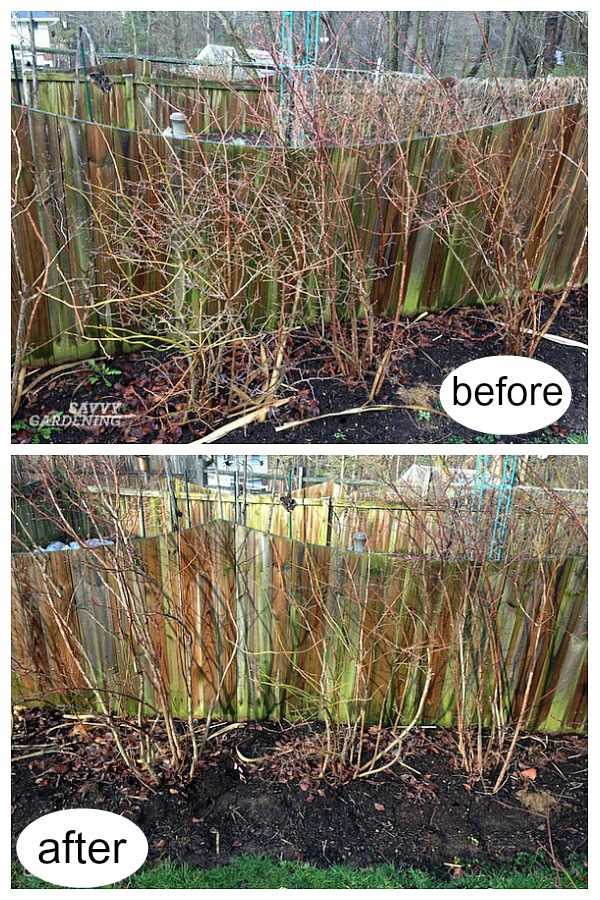
Elderberry plants benefit from regular pruning to improve their health, productivity, and overall appearance. Pruning helps remove dead or diseased wood, promotes new growth, and ensures proper air circulation and light penetration. It also helps manage the size of the plant and prevents overcrowding.
2. When to Prune
The best time to prune elderberry is in late winter or early spring, while the plant is still dormant. Avoid pruning in the fall or summer when the plant is actively growing, as this can stimulate new growth that may be damaged by cold weather.
3. Tools Needed
To prune elderberry, you will need the following tools:
- Pruning shears or loppers
- Hand saw or pruning saw (for thicker branches)
- Gloves (to protect your hands)
- Disinfectant spray or solution (to prevent the spread of diseases)
4. Pruning Techniques
When pruning elderberry, follow these techniques:
- Start by removing any dead, damaged, or diseased wood. Cut back to healthy tissue, making clean cuts just above a bud or branch junction.
- Next, thin out the plant by removing any weak or overcrowded branches. This will promote better air circulation and light penetration.
- Trim back any long or leggy branches to maintain a more compact shape. Cut just above a bud or branch junction.
- If your elderberry is starting to get too large, you can also cut it back more severely. This is best done in early spring before new growth starts.
5. Disinfecting Tools
After pruning, it’s important to disinfect your tools to prevent the spread of diseases. Use a disinfectant spray or solution, such as bleach diluted in water, and clean the blades of your pruning shears, saw, and loppers. This will help prevent the transmission of any potential pathogens.
6. Pruning Young Plants
For young elderberry plants, it’s important to establish a strong framework of branches. Remove any competing or crossing branches and encourage the growth of a central leader. This will help shape the plant and ensure a more balanced structure.
7. Pruning Established Plants
Once elderberry plants are established, they should be pruned annually. Remove any dead or diseased wood, trim back leggy branches, and thin out the plant to maintain good airflow. Proper maintenance pruning will help prolong the life of the plant and ensure a bountiful harvest.
8. Pruning for Harvest
If you are growing elderberry for fruit production, you may need to adjust your pruning techniques. Some varieties produce fruit on the current season’s growth, while others bear fruit on older wood. Understand the fruiting habits of your specific variety and adjust your pruning accordingly to maximize fruit production.
9. Conclusion
Pruning elderberry is an essential part of proper maintenance and care. By pruning at the right time and using correct techniques, you can ensure the health and productivity of your elderberry plants for years to come.
Fertilizing Elderberry: Nourishing Your Plants
Elderberries are hardy plants that thrive in a variety of soil conditions, but like any other plant, they benefit from regular fertilization to encourage healthy growth and abundant fruit production.
Choosing the Right Fertilizer
When it comes to fertilizing elderberries, choosing the right fertilizer is crucial. Elderberries typically prefer a balanced fertilizer with equal amounts of nitrogen (N), phosphorus (P), and potassium (K). Look for a fertilizer with an NPK ratio of 10-10-10 or similar.
In addition to the NPK ratio, it’s important to consider other nutrients that elderberries need, including magnesium and calcium. Look for a fertilizer that contains these nutrients as well.
When to Fertilize
Elderberries should be fertilized in early spring, just as new growth begins to emerge. This will provide the plants with the nutrients they need to support healthy growth throughout the growing season.
If you notice that your elderberry plants are struggling or not producing as much fruit as usual, you can also give them a second application of fertilizer in mid-summer.
How to Fertilize
When fertilizing elderberries, it’s important to apply the fertilizer evenly around the base of the plants, taking care not to let it touch the stems or leaves. This will prevent burning and ensure that the roots can access the nutrients.
Start by applying a handful of fertilizer around each plant, then gently work it into the top inch of soil. Water the plants well after fertilizing to help the nutrients penetrate the root zone.
Additional Tips
- Always follow the specific instructions on the fertilizer packaging for application rates and frequency.
- Avoid using excessive amounts of fertilizer, as this can lead to nutrient imbalances and damage to the plants.
- Consider using organic fertilizers, such as compost or well-rotted manure, to provide a slow-release source of nutrients.
- Regularly monitor your plants for signs of nutrient deficiencies or excesses, such as yellowing leaves or stunted growth.
- Adjust your fertilization practices based on the specific needs of your elderberry plants and the conditions of your soil.
By providing your elderberry plants with the proper nutrition through regular fertilization, you can ensure that they stay healthy and productive for years to come.
Dealing with Elderberry Pests and Diseases
Elderberries are generally resilient plants that are resistant to most pests and diseases. However, there are still some common issues that can affect elderberries. Here are some pests and diseases you may encounter when growing elderberries and how to deal with them.
Pests
- Aphids: Aphids are small insects that suck sap from elderberry leaves and stems. To control aphids, you can spray the plant with a strong stream of water to wash them off. You can also introduce natural predators, such as ladybugs, to feed on the aphids.
- Japanese Beetles: Japanese beetles can skeletonize elderberry leaves by eating the tissue between the veins. You can handpick the beetles off the plants or use traps to catch and kill them. Insecticidal soap or neem oil can also be used as a spray to control Japanese beetles.
- Caterpillars: Caterpillars, such as the elderberry borer, can chew on the stems of elderberry plants. You can manually remove the caterpillars or prune out any infested stems. If the infestation is severe, an insecticide labeled for caterpillar control may be necessary.
Diseases
- Powdery Mildew: Powdery mildew is a fungal disease that causes a white, powdery coating on leaves and stems. To control powdery mildew, make sure the plants have good air circulation and avoid overhead watering. If powdery mildew is present, you can use a fungicide labeled for powdery mildew control.
- Leaf Spot: Leaf spot is a fungal disease that causes dark spots on elderberry leaves. To prevent leaf spot, avoid overhead watering and remove any fallen leaves from around the plants. If leaf spot occurs, you can apply a fungicide labeled for leaf spot control.
- Root Rot: Root rot is a fungal disease that can affect elderberry plants in poorly drained soil. To prevent root rot, ensure the plants are grown in well-draining soil and avoid overwatering. If root rot is suspected, you can try improving drainage or replanting in a new location.
By following these tips and addressing any pest or disease issues promptly, you can help ensure that your elderberries stay healthy and productive.
Propagating Elderberry: How to Multiply Your Plants
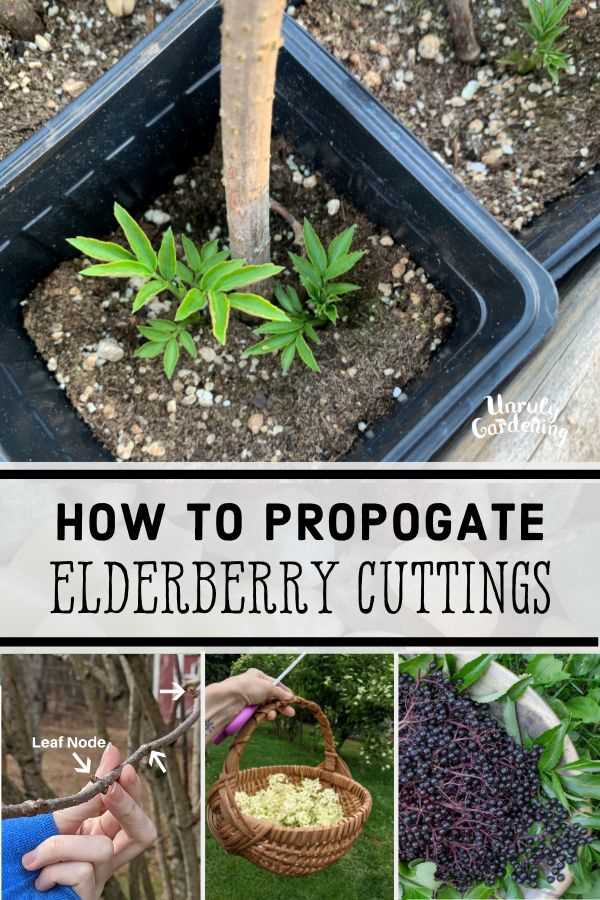
Propagating elderberry plants is a great way to multiply your existing stock and ensure a more abundant harvest of the delicious berries. There are a few different methods you can use to propagate elderberry, all of which are relatively easy and can be done by even novice gardeners.
1. Propagating by Cuttings
One of the most common ways to propagate elderberry is through cuttings. Here’s how you can do it:
- Select a healthy elderberry stem and cut a 6-8 inch long piece.
- Strip the leaves from the bottom half of the cutting.
- Prepare a pot filled with a well-draining soil mix.
- Dip the bottom end of the cutting in a rooting hormone powder.
- Insert the cutting into the soil, with the bottom half buried.
- Water the cutting thoroughly and place it in a warm, bright location.
- Keep the soil moist and watch for new growth, which indicates rooting.
- After a few weeks, the cutting can be transplanted into a larger pot or directly into the garden.
2. Propagating by Division
Another method to propagate elderberry plants is through division. This is best done in early spring before new growth begins. Follow these steps:
- Dig up the mature elderberry plant, trying to keep the root ball intact.
- Using a sharp, clean knife, divide the root ball into smaller sections.
- Each section should have at least a few healthy roots and stems.
- Replant the divided sections in separate pots or directly in the garden.
- Water the newly planted sections and provide proper care until they establish.
3. Propagating by Seed
Propagating elderberry plants from seeds is also an option, but it takes longer and may result in variations in berry quality. However, if you want to give it a try, here’s what you need to do:
- Collect ripe elderberry berries and remove the seeds.
- Rinse the seeds to remove any pulp.
- Place the seeds in a plastic bag with a damp paper towel and refrigerate for 90-120 days (stratification).
- After stratification, sow the seeds in pots or directly in the garden, covering them with a thin layer of soil.
- Keep the soil consistently moist, and germination should occur within a few weeks to a couple of months.
- Transplant the seedlings into larger pots or the garden once they are big enough to handle.
By using one or a combination of these propagation methods, you can quickly expand your elderberry patch and enjoy a bountiful harvest in the years to come.
Harvesting and Using Elderberries: Enjoying the Fruits of Your Labor
Elderberries are a versatile and nutritious fruit that can be enjoyed in a variety of ways. Whether you grow elderberries in your backyard or forage for them in the wild, knowing how to properly harvest and use these berries will ensure that you can enjoy the fruits of your labor.
Harvesting Elderberries:
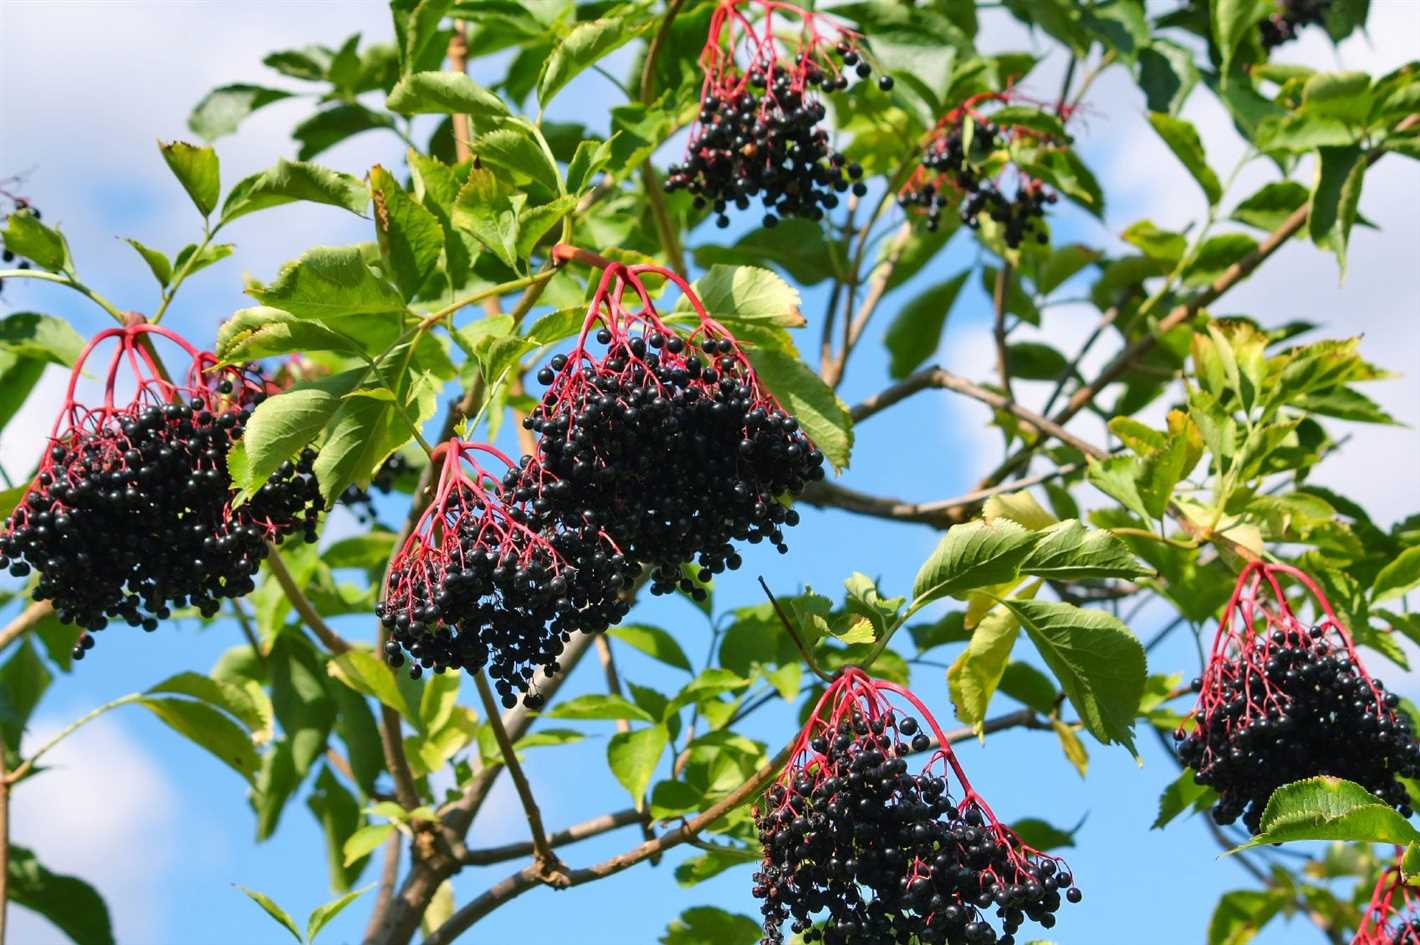
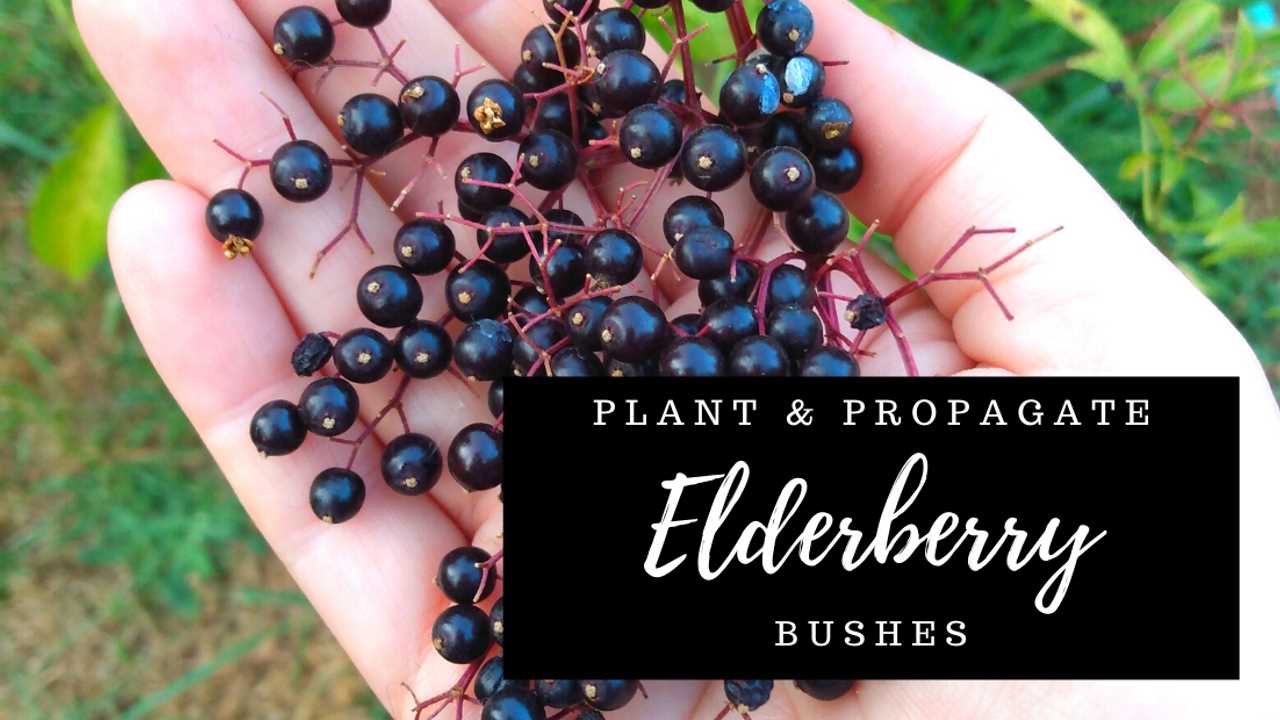
When it comes to harvesting elderberries, timing is crucial. The berries should be fully ripe before being picked. This usually occurs in late summer or early fall, depending on your location. Look for berries that are dark purple or black, plump, and easily detach from the cluster.
It’s important to note that elderberry stems, leaves, and unripe berries are toxic and should not be consumed. Make sure to remove any green or unripe berries from your harvest.
Methods of Harvesting:
There are a few different methods you can use to harvest elderberries:
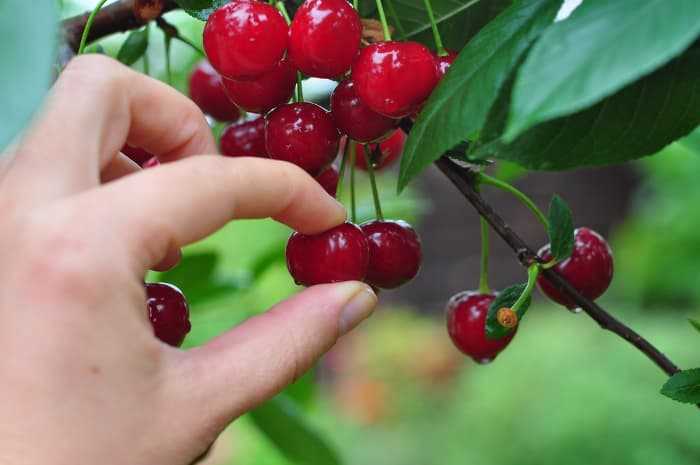
- Handpicking: This method involves picking the berries individually from the cluster. Simply grasp the berry between your fingers and gently pull it away from the stem.
- Stripping: Another method is to strip the entire cluster of berries from the stem. Hold the cluster in one hand and use your other hand to run your fingers along the stem, removing the berries in one motion.
- Using a comb: You can also use a wide-toothed comb to gently comb the berries off the cluster. This method can be faster than handpicking or stripping, but be careful not to damage the berries in the process.
Using Elderberries:
Elderberries can be used in a variety of culinary creations:
- Preserves and syrups: Elderberries make delicious jams, jellies, and syrups that can be used on pancakes, waffles, or as an ingredient in other recipes.
- Baked goods: Add elderberries to muffins, cakes, or scones for a burst of flavor.
- Smoothies and juices: Blend elderberries into smoothies or juice them for a refreshing and nutritious drink.
- Wines and liqueurs: Elderberries are often used to make homemade wines and liqueurs. They can also be infused into spirits like vodka or brandy.
- Health remedies: Elderberries have long been used for their immune-boosting properties and can be made into syrups or teas to help fight off colds and flu.
Before using elderberries, it’s important to note that they contain small seeds that can be mildly toxic if consumed in large quantities. It’s best to cook or heat the berries before consuming to remove any potential toxins.
With their rich flavor and numerous culinary uses, harvesting elderberries can be a rewarding experience. Whether you enjoy them fresh or use them in various recipes, these versatile berries are sure to delight your taste buds.
Question-answer:
Where can I buy elderberry plants?
You can buy elderberry plants at local nurseries, garden centers, or online gardening stores.
How do you prune elderberry bushes?
To prune elderberry bushes, start by removing any dead or damaged branches. Then, trim back the branches by about one-third to encourage new growth. Make sure to prune in late winter or early spring before the new growth starts.
Do elderberry plants require a lot of sunlight?
Yes, elderberry plants require full sun for optimal growth and fruit production. They should be planted in a location that receives at least 6-8 hours of direct sunlight per day.
How often should elderberry plants be watered?
Elderberry plants should be watered regularly, especially during dry periods. They require about 1-2 inches of water per week. Make sure to water deeply to encourage deep root growth.
Can elderberry plants be grown in pots?
Yes, elderberry plants can be grown in large pots or containers. It is important to choose a large enough container with good drainage. Make sure to provide adequate water and nutrients for the plants.
