- Choosing the Right Orchid for Your Home
- 1. Consider the Lighting Conditions
- 2. Assess the Temperature and Humidity Levels
- 3. Understand the Watering and Fertilizing Needs
- 4. Evaluate Your Skill Level and Commitment
- 5. Research the Orchid Species
- Conclusion
- Providing the Ideal Lighting Conditions
- 1. Place your orchid near a window:
- 2. Avoid direct sunlight:
- 3. Provide enough light:
- 4. Rotate your orchid:
- 5. Observe your orchid:
- Watering and Humidity: Finding the Balance
- Factors to Consider
- Watering Guidelines
- Humidity Levels
- Fertilizing Your Orchid: Dos and Don’ts
- Do:
- Don’t:
- Repotting Your Orchid: When and How
- When to Repot
- How to Repot
- After Repotting
- Pruning and Trimming: Keeping Your Orchid in Shape
- 1. Identify the dead or damaged parts
- 2. Use sharp and clean tools
- 3. Cut at an angle
- 4. Apply cinnamon or charcoal
- 5. Prune after flowering
- 6. Monitor your orchid regularly
- Preventing and Treating Common Orchid Diseases
- Introduction
- 1. Fungal Infections
- 2. Bacterial Infections
- 3. Viral Infections
- 4. Root Rot
- 5. Pest Infestations
- Conclusion
- Creating the Perfect Environment for Your Orchid
- Q&A:
- How often should I water my orchid?
- What kind of light does my orchid need?
- How should I fertilize my orchid?
- What temperature is ideal for orchids?
- How do I repot my orchid?
- What are common pests that affect orchids?
- Video: How do I take care of my orchid when I bring it home?
Orchids are beautiful and exotic flowers that can add a touch of elegance to any home. However, caring for orchids can be a bit tricky, as they have specific needs that must be met in order for them to thrive. In this article, we will provide you with some essential tips for caring for your home orchid, so that you can enjoy their beauty for years to come.
1. Proper watering: Orchids are sensitive to overwatering, so it is important to water them properly. It is best to water orchids thoroughly, allowing the water to drain completely before watering again. It is also important to water orchids in the morning, as this allows any excess moisture to dry throughout the day.
2. Adequate light: Orchids require bright but indirect light. Placing them near a window that receives filtered sunlight is ideal. However, be careful not to expose them to direct sunlight, as this can burn their leaves. If your orchid leaves start to turn yellow, it may be an indication that they are receiving too much light.
3. Proper humidity: Orchids thrive in environments with high humidity. To increase humidity around your orchid, you can place a tray with water near it or use a humidifier. You can also mist them with water daily. However, be careful not to mist them too much, as this can lead to fungal issues.
4. Proper air circulation: Orchids need good air circulation to prevent fungal and bacterial diseases. Make sure to keep them in a well-ventilated area, away from drafts or stagnant air. You can also use a fan to provide some air movement.
5. Proper fertilization: Orchids require regular fertilization to promote healthy growth and blooming. It is best to use a specialized orchid fertilizer, diluted according to the instructions. Fertilize your orchid once a month during the growing season, and reduce frequency during the dormant period.
By following these essential tips, you can ensure that your home orchid stays healthy and beautiful. Remember to be patient with your orchid, as they may take some time to adjust to their new environment. With proper care and attention, your orchid will reward you with stunning blooms.
Choosing the Right Orchid for Your Home
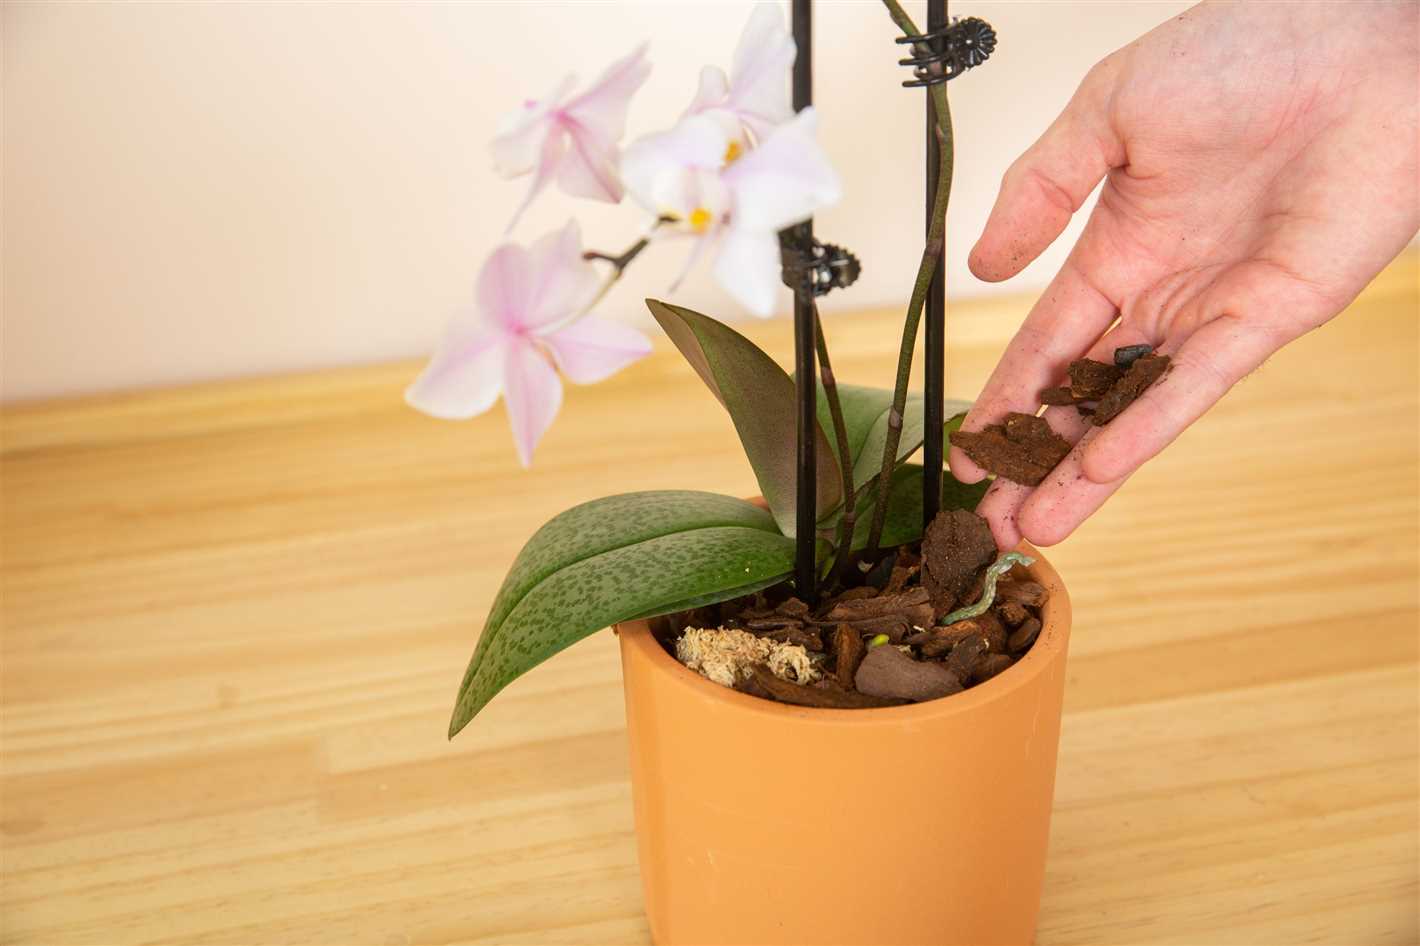
When it comes to choosing an orchid for your home, there are a few important factors to consider. Orchids come in a wide variety of species, each with their own unique care requirements and preferred growing conditions. Here are some essential tips to help you in choosing the right orchid for your home:
1. Consider the Lighting Conditions
Orchids thrive in bright but indirect light. Some species can tolerate more shade, while others require more sunlight. Assess the lighting conditions in your home to determine which orchid species will thrive best. If you have a bright south-facing window, orchids that require higher light levels may be suitable. Alternatively, if your home has limited natural light, consider orchids that can tolerate lower light levels.
2. Assess the Temperature and Humidity Levels
Orchids have specific temperature and humidity requirements. Different orchid species prefer different temperature ranges, so it’s important to choose one that matches the conditions in your home. Additionally, some orchids require higher humidity levels, which can be achieved through the use of humidifiers or by placing the orchid on a tray filled with water and pebbles.
3. Understand the Watering and Fertilizing Needs
Orchids have unique watering and fertilizing needs. Some orchids prefer to dry out between waterings, while others require more consistent moisture. It’s important to understand the specific watering requirements of the orchid species you choose to ensure proper care. Additionally, consider the type of fertilizer needed for your orchid and how often it should be applied.
4. Evaluate Your Skill Level and Commitment
Some orchid species are more challenging to care for than others. If you’re new to orchid care, start with a beginner-friendly variety that is known for being hardy and forgiving. On the other hand, if you’re an experienced orchid enthusiast with a green thumb, you may be interested in more rare or delicate species that require specific care and attention.
5. Research the Orchid Species
Before making a decision, take the time to research different orchid species. Look for information on their growth habits, care requirements, and any specific challenges they may present. This will help you make an informed decision and choose an orchid that best suits your home and care abilities.
Conclusion
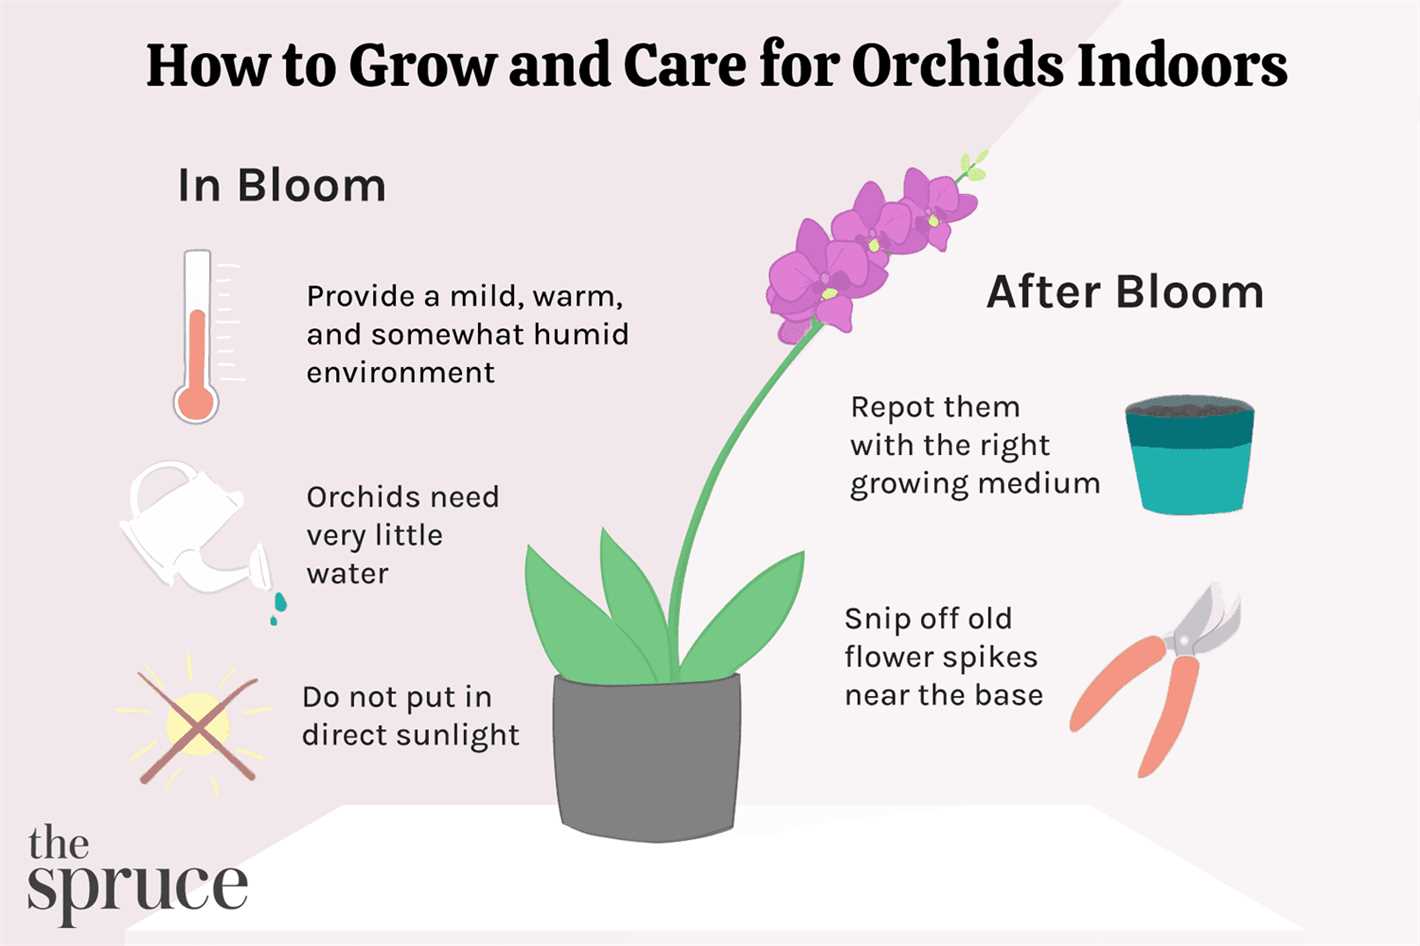
Choosing the right orchid for your home is an important step in ensuring its optimal health and growth. By considering the lighting conditions, temperature and humidity levels, watering and fertilizing needs, as well as your own skill level and commitment, you can find the perfect orchid species for your home. Remember to research each species thoroughly to provide the best care possible and enjoy the beauty of your orchid for years to come.
Providing the Ideal Lighting Conditions
To ensure the health and proper growth of your home orchid, it is crucial to provide it with the ideal lighting conditions. Orchids are tropical plants that need bright but filtered light to thrive. Here are some essential tips to help you provide the ideal lighting conditions for your orchid:
1. Place your orchid near a window:
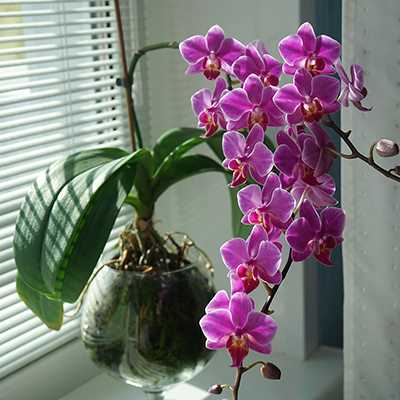
Orchids require bright, indirect light to flourish. Find a spot near a window where your orchid can receive adequate light without being exposed to direct sunlight. South or east-facing windows are usually the best options.
2. Avoid direct sunlight:
Direct sunlight can scorch the leaves of your orchid and cause damage. To protect your plant from the intense rays of the sun, use sheer curtains, blinds, or window films to filter the light and provide a more suitable environment for your orchid.
3. Provide enough light:
Orchids need about 12-14 hours of light each day to thrive. If you don’t have access to natural light or if the light in your home is insufficient, you can use artificial lights specifically designed for growing plants, such as fluorescent or LED lights. Position the lights about 12-18 inches above your orchid to provide adequate brightness.
4. Rotate your orchid:
Rotating your orchid regularly will ensure that all sides of the plant receive equal amounts of light. This will help prevent the development of lopsided growth or uneven blooms. Rotate the plant every week or two, making sure to do so gently to avoid damaging the roots or stems.
5. Observe your orchid:
Pay close attention to how your orchid responds to the lighting conditions. If you notice that the leaves become yellow or develop brown spots, it may be an indication of too much light. Conversely, if the leaves are dark green or elongated, it may be a sign of insufficient light. Adjust the location or intensity of the light accordingly to provide the optimal conditions.
By providing the ideal lighting conditions for your home orchid, you will help ensure its overall health and promote beautiful blooms. Remember to adjust the lighting as needed and observe your orchid’s response to maintain its vitality.
Watering and Humidity: Finding the Balance
Proper watering and humidity levels are crucial for the health and well-being of your home orchid. Orchids have unique watering needs that differ from other houseplants, and finding the right balance is essential for their survival.
Factors to Consider
When it comes to watering your orchid, several factors come into play:
- Orchid species: Different orchid species have different water requirements. Understanding the specific needs of your orchid will help you provide the right amount of water.
- Potting material: The potting material used for your orchid can affect how often it needs watering. For example, orchids potted in bark require less frequent watering compared to those in moss.
- Climate: The climate in which you live will also impact how often you need to water your orchids. In hot and dry climates, orchids may require more frequent watering.
Watering Guidelines
Follow these guidelines to ensure your orchid receives the proper amount of water:
- Do not overwater: Orchids dislike stagnant water around their roots. It’s better to underwater than overwater. Consistently wet roots can lead to root rot and other issues.
- Water thoroughly: When you do water your orchid, make sure to thoroughly soak the potting material. This allows the roots to absorb water and nutrients effectively.
- Let it dry out: After watering, allow the potting material to dry out partially before watering again. Orchids generally prefer a drying period between waterings.
Humidity Levels
In their natural habitats, orchids thrive in humid environments. Replicating these conditions in your home can be challenging, but it’s important to provide adequate humidity for your orchid’s health. Here are some tips:
- Mist your orchid: Use a spray bottle to mist your orchid’s leaves and roots regularly. This helps to increase humidity levels around the plant.
- Use a humidity tray: Place your orchid on a tray filled with pebbles and water. As the water evaporates, it creates humidity around the plant.
- Group your orchids: Grouping your orchids together can help create a microclimate with higher humidity levels.
Finding the right balance between watering and humidity can take some trial and error. By observing your orchid’s response to different watering and humidity levels, you’ll be able to fine-tune your care routine and provide the ideal conditions for your plant to thrive.
Fertilizing Your Orchid: Dos and Don’ts
Proper fertilization is essential for maintaining the health and vitality of your orchid. Here are some dos and don’ts to keep in mind when fertilizing your orchid:
Do:
- Choose a high-quality orchid fertilizer that is specifically formulated for orchids.
- Follow the instructions on the fertilizer packaging for the correct dosage and frequency of application.
- Fertilize your orchid during its active growth period, typically from spring to early fall.
- Dilute the fertilizer with water before applying it to prevent root burn.
- Apply the fertilizer evenly to the roots and avoid getting it on the leaves or flowers.
- Use a balanced fertilizer with equal ratios of nitrogen (N), phosphorus (P), and potassium (K) to promote overall plant wellness.
- Monitor the response of your orchid to the fertilizer and adjust the dosage or frequency if necessary.
Don’t:
- Over-fertilize your orchid. Excessive fertilizer can lead to salt build-up in the potting medium and damage the roots.
- Fertilize your orchid when it is in a dormant phase or not actively growing.
- Use a fertilizer with a high nitrogen content, as it can promote excessive leaf growth at the expense of flowering.
- Apply fertilizer to dry potting medium. Water your orchid before fertilizing to ensure proper absorption of nutrients.
- Assume that all orchids have the same fertilization requirements. Different orchid species and hybrids may have specific nutrient needs, so it’s important to research and understand your orchid’s requirements.
- Forget to flush out excess salts from the potting medium occasionally by thoroughly watering the orchid.
By following these dos and don’ts, you can ensure that your orchid receives the right amount of nutrients for healthy growth and beautiful blooms.
Repotting Your Orchid: When and How
If you have been keeping your orchid for a while, you might eventually need to repot it. Repotting is the process of transferring your orchid to a new pot, usually with fresh potting mix. It is an important step in maintaining the health and growth of your orchid. Here are some essential tips for repotting your orchid:
When to Repot
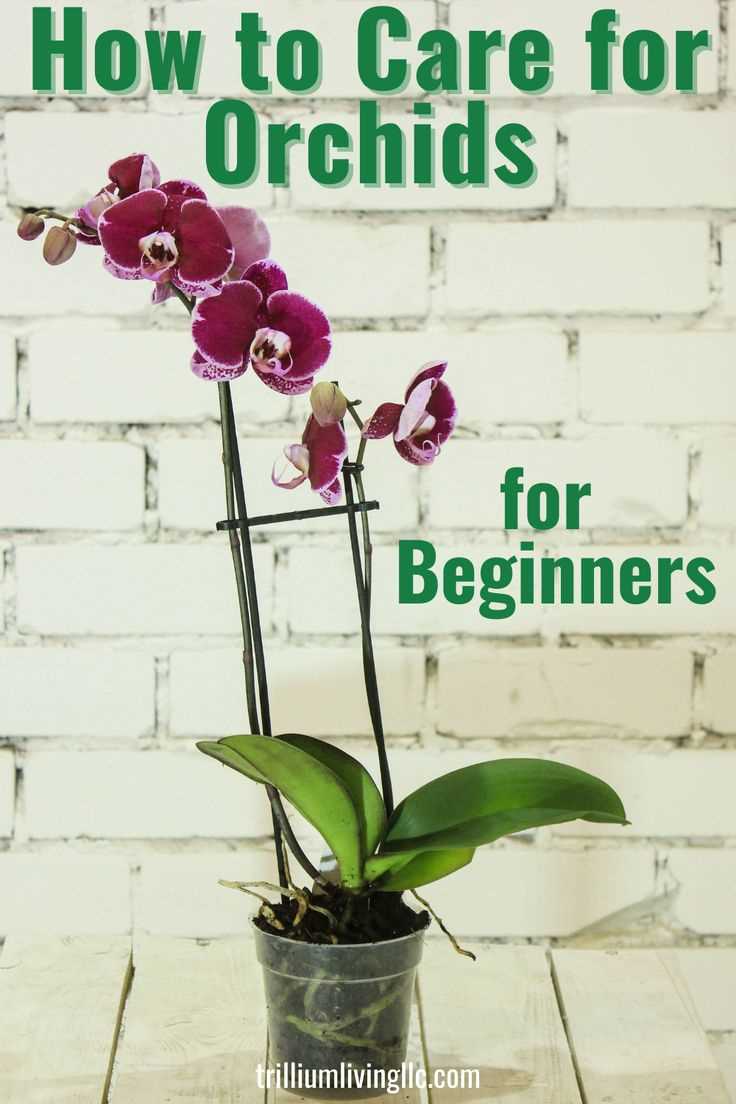
Knowing when to repot your orchid is crucial. Generally, orchids should be repotted every one to three years, depending on the type of orchid and its growth. Here are a few signs that indicate it’s time to repot your orchid:
- The potting mix has broken down and is holding too much water, causing root rot.
- The roots are growing out of the pot through the drainage holes.
- The orchid has become too large for its current pot.
- The orchid has stopped producing healthy blooms or growth.
How to Repot
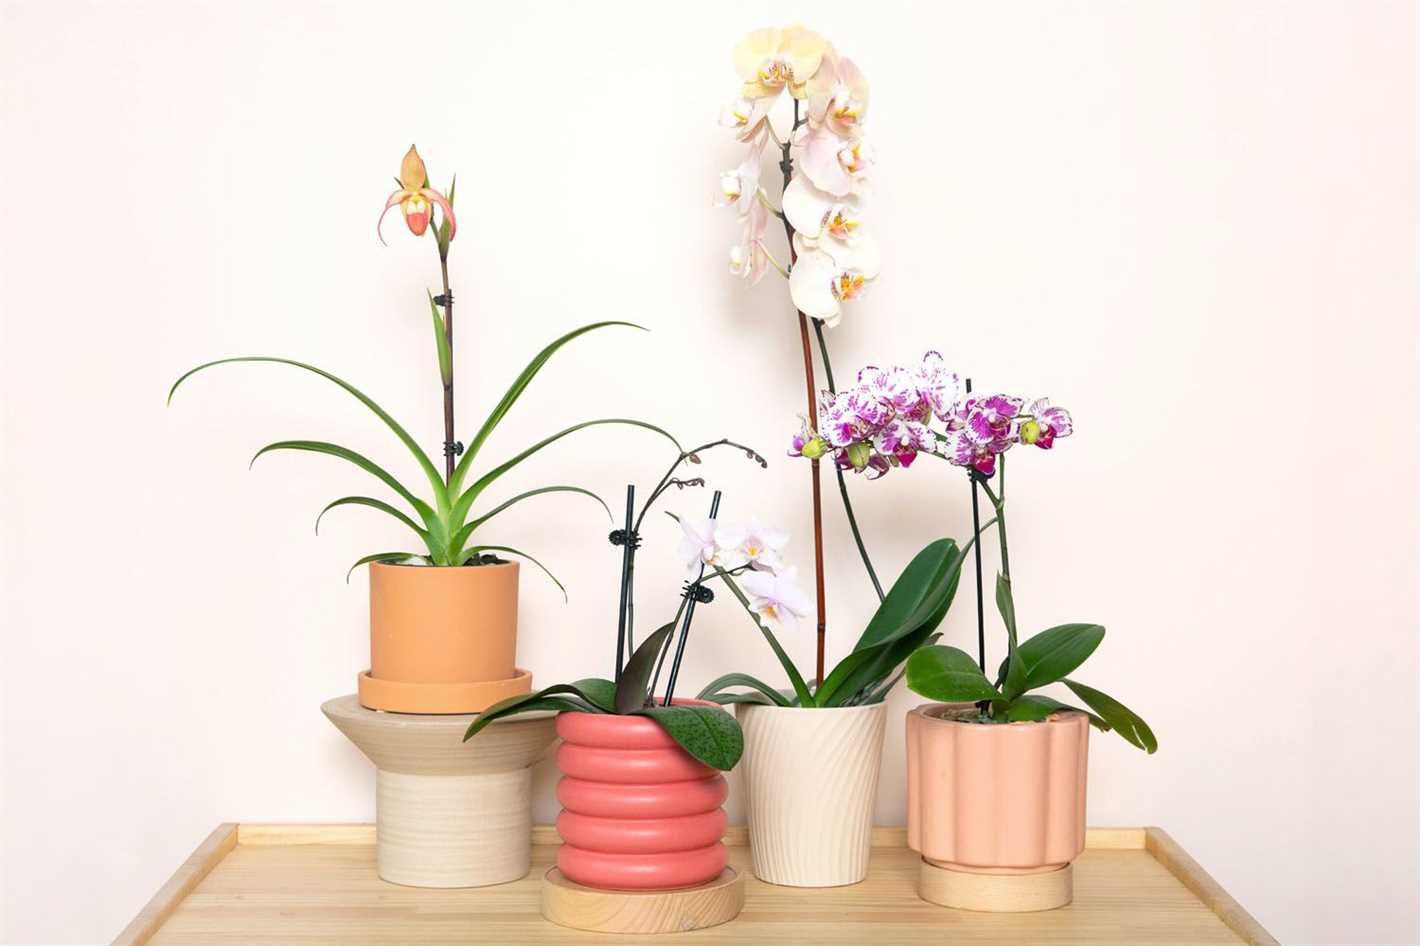
Repotting an orchid may seem intimidating, but it can be done with some simple steps. Here’s how to repot your orchid:
- Prepare a new pot that is one size larger than the current pot. Make sure the new pot has drainage holes.
- Remove the orchid from its current pot by gently loosening the potting mix and carefully pulling the plant out.
- Inspect the roots and trim any dead or damaged roots with clean sharp scissors or pruning shears.
- Fill the new pot with fresh orchid potting mix, ensuring it is well-draining and airy.
- Place the orchid in the center of the new pot and gently spread out the roots.
- Add more potting mix around the roots, making sure they are covered but not buried too deeply.
- Press the potting mix gently around the roots to secure the orchid in the pot.
- Water the orchid thoroughly until water drains out of the bottom of the pot, then allow the orchid to drain completely.
After Repotting
After repotting your orchid, it is important to provide it with proper care to help it adjust to its new pot. Here are a few things to keep in mind:
- Place the orchid in a suitable location with the right amount of light and temperature.
- Adjust your watering routine to prevent overwatering or underwatering.
- Avoid fertilizing for about four to six weeks to allow the plant to adjust and recover.
- Monitor the orchid closely for any signs of distress or problems and take appropriate action.
By following these tips, you can successfully repot your orchid and ensure its health and growth. Remember to consult specific care instructions for your specific type of orchid, as different orchids may have slightly different repotting requirements.
Pruning and Trimming: Keeping Your Orchid in Shape
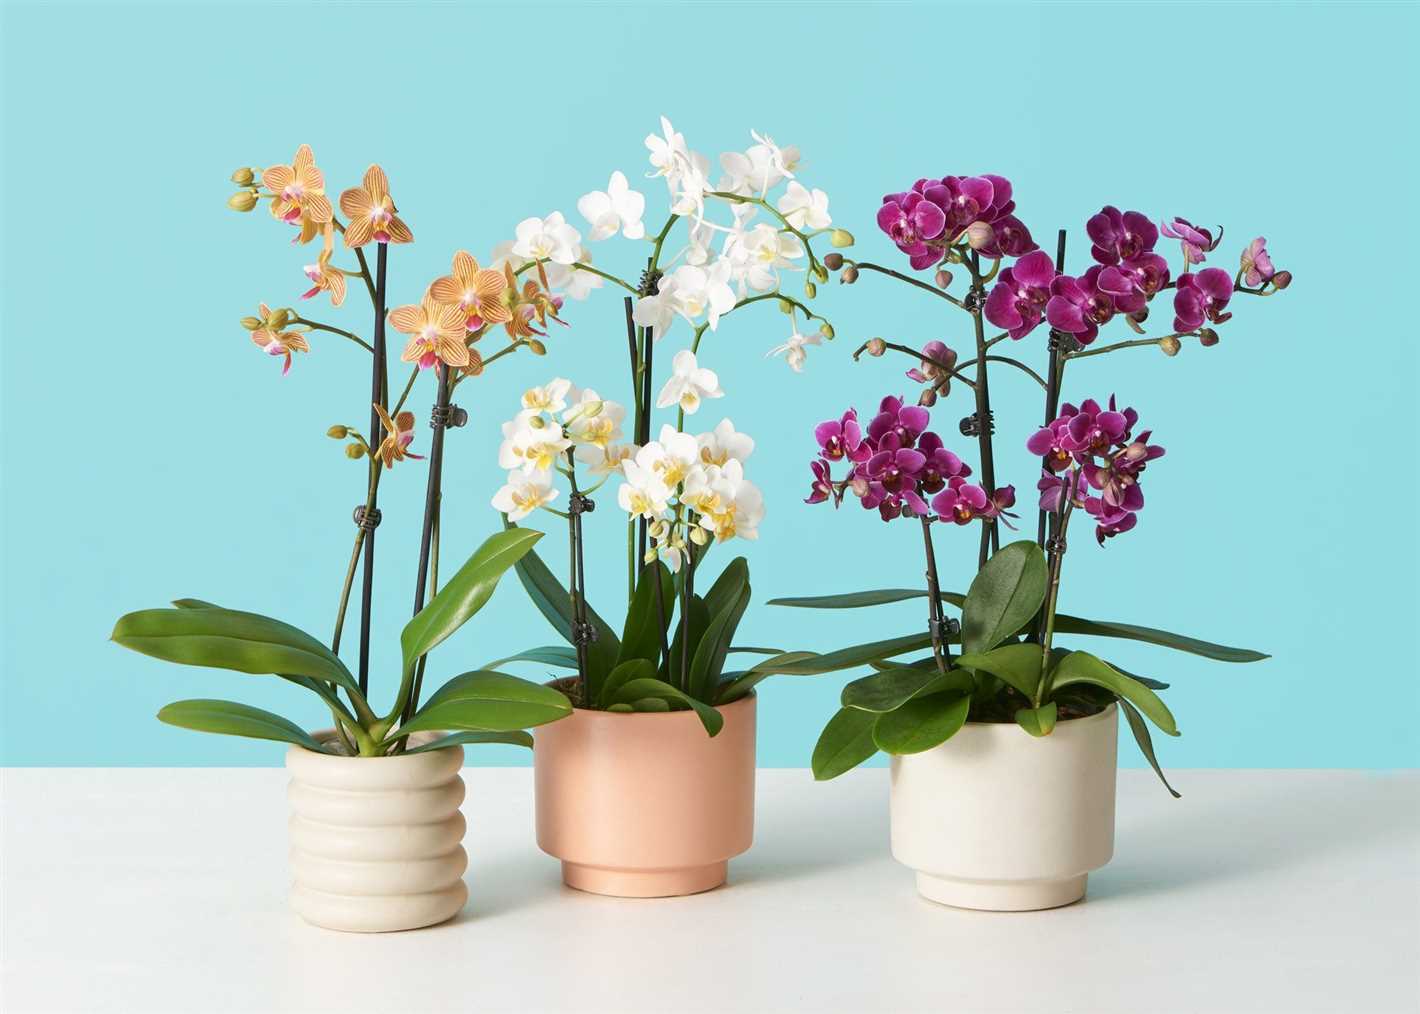
Pruning and trimming are essential tasks in maintaining the shape and health of your home orchid. By removing dead or dying parts, you can promote new growth and prevent the spread of diseases. Here are some tips to help you prune and trim your orchid effectively:
1. Identify the dead or damaged parts
Take a close look at your orchid and identify any dead or damaged leaves, stems, or flowers. These parts may turn brown, yellow, or withered. Removing them will improve the appearance of your orchid and prevent any further damage.
2. Use sharp and clean tools
When pruning or trimming your orchid, it’s important to use sharp and clean tools to prevent any infections or diseases. Sterilize your tools with rubbing alcohol or a solution of bleach and water before and after each use.
3. Cut at an angle
When removing dead or damaged parts, make sure to cut them at a 45-degree angle. This helps to prevent water from collecting on the cut surface and reduces the risk of infections or rotting.
4. Apply cinnamon or charcoal
After pruning, you can apply a small amount of cinnamon or charcoal to the cut surface. These natural substances have antifungal properties and can help to prevent any infections. However, make sure to use them sparingly and avoid covering the entire cut surface.
5. Prune after flowering
In general, it’s best to prune your orchid after it has finished flowering. This allows the plant to redirect its energy towards new growth. However, if you notice any dead or damaged parts during the flowering period, you can prune them immediately.
6. Monitor your orchid regularly
Regularly check your orchid for any signs of pests, diseases, or overgrowth. Prune and trim as needed to maintain the shape and health of your plant. Monitoring your orchid regularly will help you catch any issues early and prevent them from spreading.
By following these pruning and trimming tips, you can keep your home orchid in shape and ensure its long-term health and beauty.
Preventing and Treating Common Orchid Diseases
Introduction
Orchids are beautiful and delicate plants that require special care and attention. However, they are prone to various diseases that can affect their health and overall appearance. In this section, we will discuss some common orchid diseases and how to prevent and treat them.
1. Fungal Infections
One of the most common diseases that affect orchids are fungal infections. These can be caused by overwatering, poor air circulation, or using contaminated potting media. To prevent fungal infections, make sure to water your orchid only when the top inch of the potting mix is dry, provide good air circulation, and use sterile potting mix. If your orchid does develop a fungal infection, remove the affected parts and apply a fungicide according to the manufacturer’s instructions.
2. Bacterial Infections
Bacterial infections can manifest as black, water-soaked spots on the leaves or pseudobulbs of your orchid. They can be caused by poor hygiene practices, such as using dirty tools or reusing contaminated potting media. To prevent bacterial infections, always use clean tools and containers, and sterilize your potting media before use. If your orchid does develop a bacterial infection, remove the affected parts and apply a bactericide according to the manufacturer’s instructions.
3. Viral Infections
Viral infections are difficult to detect and treat in orchids. They can cause mottling, streaking, or distortion of the leaves, flowers, or pseudobulbs. Viral infections can be transmitted through contaminated tools, insects, or sap contact. The best way to prevent viral infections is to maintain good hygiene practices and avoid sharing tools or pots between plants. Unfortunately, there is no cure for viral infections in orchids, so infected plants should be isolated and disposed of to prevent spreading.
4. Root Rot
Root rot is a common problem in orchids and is usually caused by overwatering or using a potting mix that retains too much moisture. To prevent root rot, make sure your orchid’s pot has proper drainage holes, water only when the top inch of the potting mix is dry, and avoid letting water pool in the saucer. If your orchid does develop root rot, remove the affected roots and repot it in fresh, well-draining potting mix.
5. Pest Infestations
Orchids can also be susceptible to pest infestations, including aphids, mealybugs, scale insects, and spider mites. To prevent pests, regularly inspect your orchid for signs of infestation and maintain good hygiene practices. If you notice any pests, remove them manually, or use an appropriate insecticide or miticide according to the manufacturer’s instructions. It’s important to treat pest infestations promptly to prevent them from spreading to other plants.
Conclusion
By following proper care practices and taking preventive measures, you can minimize the risk of common orchid diseases. Regularly inspecting your orchid, maintaining good hygiene, providing proper watering and lighting conditions, and using sterile potting mix can go a long way in keeping your orchid healthy and disease-free. Remember to consult a professional or your local garden center if you are unsure about the specific needs of your orchid or if you need help diagnosing and treating any diseases.
Creating the Perfect Environment for Your Orchid
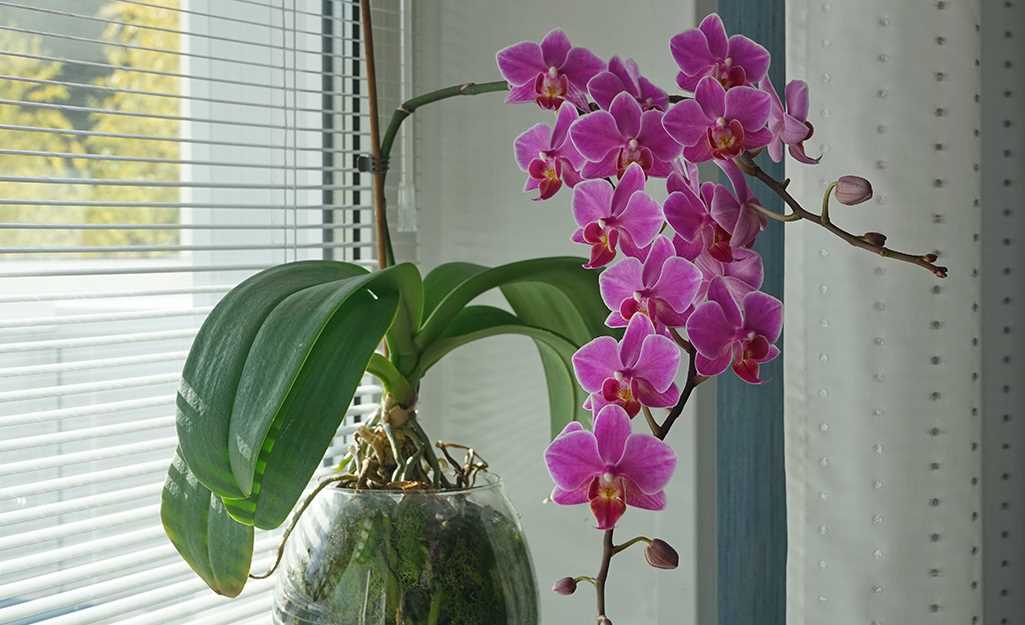
1. Temperature: Orchids thrive in a temperature-controlled environment, so it’s essential to keep the temperature within the ideal range for your orchid species. Most orchids prefer a temperature between 60°F (15°C) and 80°F (27°C).
2. Humidity: Orchids are tropical plants that require high humidity levels to thrive. Aim for a humidity level between 50% and 70% to create a perfect environment for your orchid. To increase humidity, you can use a humidifier or place a tray filled with water near the orchid.
3. Light: Orchids need bright but filtered light to grow properly. Place your orchid near a window with indirect sunlight, or you can use artificial grow lights if natural light is insufficient. Avoid placing the orchid in direct sunlight, as it can burn the leaves.
4. Air circulation: Proper air circulation is crucial for orchids to prevent the growth of fungal diseases. Ensure good airflow by placing a small fan near the orchid or by opening windows regularly. However, avoid placing the orchid near drafts or vents, as it can lead to temperature or humidity fluctuations.
5. Watering: Orchids have specific watering needs, and overwatering can be detrimental to their health. Water your orchid thoroughly and allow the excess water to drain out. The frequency of watering depends on the orchid species and the potting medium used. Use a well-draining potting mix to prevent waterlogging.
6. Fertilization: Orchids require regular fertilization to sustain healthy growth and vibrant blooms. Use a balanced orchid fertilizer and follow the instructions for application. It’s recommended to fertilize your orchid every two weeks during the growing season and reduce fertilization during the dormant period.
7. Pest control: Keep a close eye on your orchid for any signs of pests, such as aphids or spider mites. Regularly inspect the leaves and flowers and take immediate action if you spot any pests. Use organic insecticides or natural remedies to control pests, and avoid using harsh chemicals that can harm your orchid.
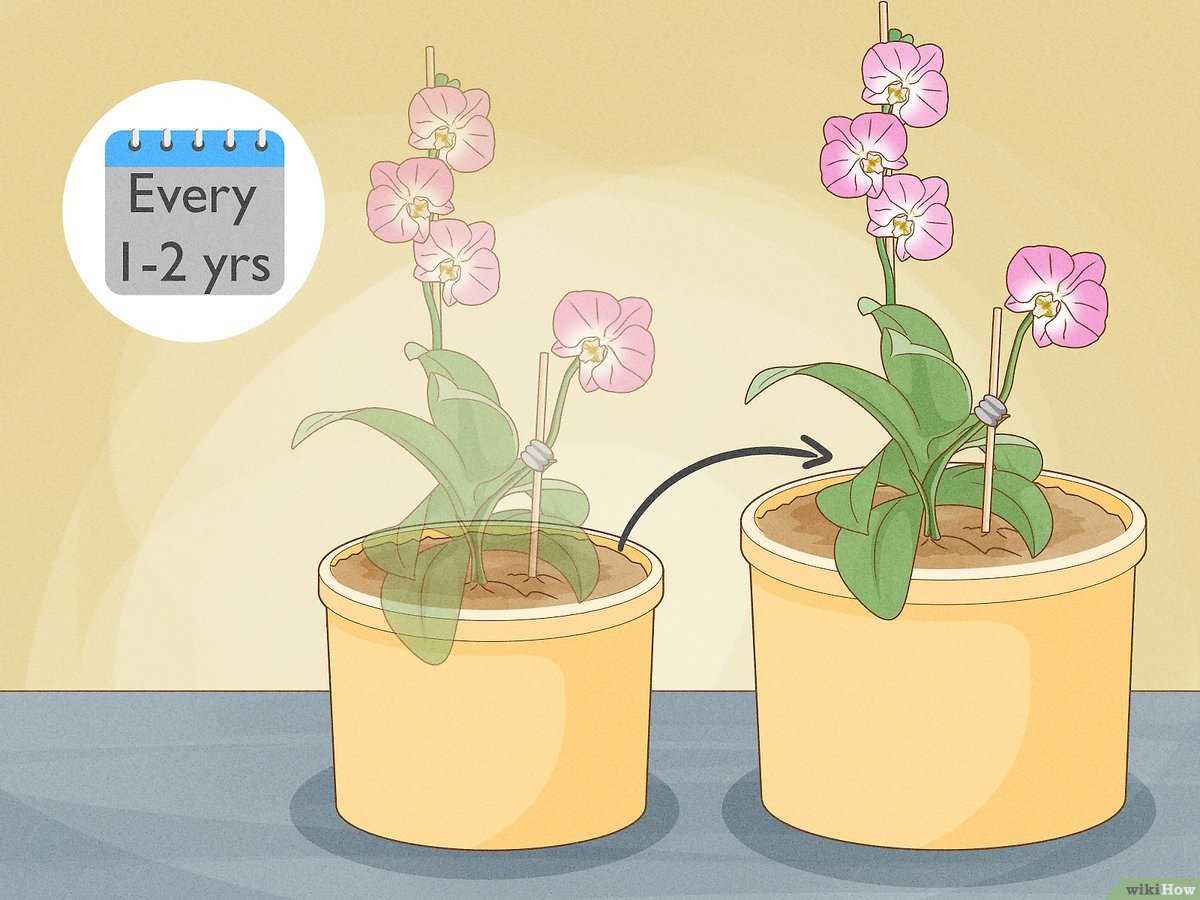
8. Repotting: Orchids generally need to be repotted every one to two years to provide fresh growing medium and prevent overcrowding. Repot your orchid using a suitable orchid potting mix and a pot that allows for proper drainage. Be gentle when handling the orchid’s roots during repotting.
9. Monitoring: Keep a record of your orchid’s growth, blooming patterns, and any changes in its health. Regularly monitor the temperature, humidity, and light levels in its environment. This will help you understand your orchid’s needs better and make adjustments accordingly.
10. Patience: Orchids are fascinating plants but can be a bit challenging to care for. Patience is key when growing orchids, as they may take some time to acclimate to their environment and bloom. Don’t be discouraged if your orchid doesn’t bloom immediately. With proper care and patience, you can enjoy beautiful blooms for years to come.
Q&A:
How often should I water my orchid?
Watering frequency for orchids depends on several factors, such as the type of orchid, the type of potting medium, and the environmental conditions. In general, orchids should be watered when the potting medium feels dry to the touch. Avoid overwatering, as it can lead to root rot.
What kind of light does my orchid need?
Orchids are typically categorized into three light categories: low light, medium light, and high light. Most orchids prefer bright, indirect light. It is important to provide the right amount of light for your specific type of orchid to ensure optimal growth and blooming.
How should I fertilize my orchid?
Fertilizing orchids is important for their overall health and blooming. It is recommended to use a balanced orchid fertilizer and dilute it to half its recommended strength. Apply the fertilizer every 2-3 weeks during the growing season, and reduce the frequency during the dormant period.
What temperature is ideal for orchids?
The ideal temperature for orchids depends on the specific type of orchid, but most orchids prefer daytime temperatures between 70-85°F (21-29°C) and nighttime temperatures between 60-65°F (15-18°C). Providing the right temperature conditions is crucial for the overall health and blooming of orchids.
How do I repot my orchid?
Repotting orchids should be done when the potting medium starts to break down or when the orchid outgrows its current container. Carefully remove the orchid from its pot, gently loosen the roots, and inspect for any signs of disease or rot. Place the orchid in a new pot with fresh potting medium, making sure to provide proper drainage.
What are common pests that affect orchids?
Some common pests that can affect orchids include mealybugs, scale insects, aphids, and spider mites. It is important to regularly inspect your orchids for any signs of pests, such as sticky residue, distorted leaves, or webbing. If pests are present, various treatments can be used, such as insecticidal soaps or oils.
Video:
How do I take care of my orchid when I bring it home?


