- Choosing the Right Location for Your Thuja Hedge
- Preparing the Soil for Successful Hedge Planting
- 1. Test the Soil
- 2. Remove Weeds and Grass
- 3. Loosen the Soil
- 4. Amend the Soil
- 5. Consider Drainage
- 6. Create a Planting Hole
- 7. Backfill the Hole
- 8. Water Thoroughly
- Planting Your Thuja Hedge: Step-by-Step Guide
- 1. Choose the Right Location
- 2. Prepare the Soil
- 3. Dig the Trench
- 4. Add Organic Matter
- 5. Planting the Thuja Plants
- 6. Watering
- 7. Mulching
- 8. Pruning and Maintenance
- 9. Feeding
- 10. Monitor and Enjoy
- Pruning Techniques for Maintaining a Healthy Thuja Hedge
- Watering Your Thuja Hedge: Best Practices and Common Mistakes to Avoid
- Best Practices:
- Common Mistakes to Avoid:
- Fertilizing Your Thuja Hedge: Essential Nutrients and Application Tips
- Essential Nutrients
- Application Tips
- Common Pests and Diseases of Thuja Hedges: Prevention and Treatment
- Pests
- Diseases
- Prevention and Treatment
- Tips for Green Thuja Hedges: How to Enhance Color and Density
- 1. Choose the Right Variety
- 2. Planting and Spacing
- 3. Pruning and Trimming
- 4. Watering
- 5. Feeding and Fertilizing
- Questions and Answers:
- When is the best time to plant a Thuja hedge?
- How often should I water my Thuja hedge?
- What should I do if my Thuja hedge is getting too tall?
- How often should I feed my Thuja hedge?
- Can I trim my Thuja hedge into different shapes?
- How far apart should I plant my Thuja hedge?
- What are some common pests that can affect Thuja hedges?
- Videos: All you need to know about Thuja occidentalis Arborvitae
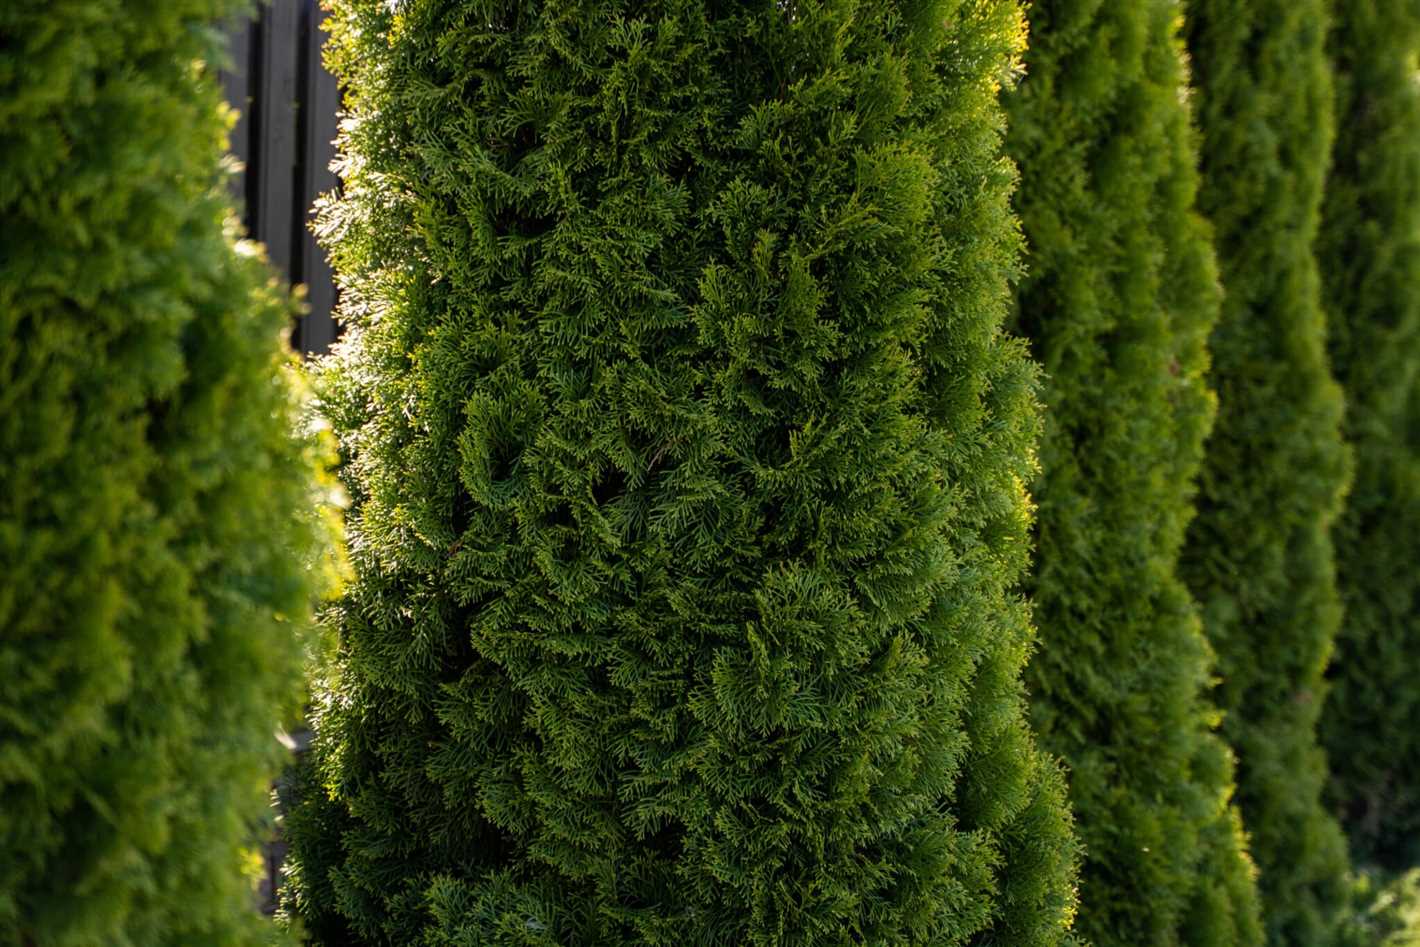
Creating a beautiful, lush hedge made of Thuja plants requires careful planning and maintenance. Whether you are starting from scratch or want to enhance an existing hedge, understanding the best techniques for planting, pruning, watering, and feeding is essential. With expert tips and guidance, you can ensure that your Thuja hedge thrives and remains attractive for years to come.
When it comes to planting a Thuja hedge, it is important to select the right location and prepare the soil properly. Thuja thrives in well-drained soil with a slightly acidic pH. Avoid planting in areas with standing water or heavy clay soil. Prepare the soil by removing any weeds, rocks, or roots and incorporating organic matter to improve fertility. Additionally, consider the desired height and width of the hedge when spacing the Thuja plants. Proper spacing will allow for air circulation and prevent disease.
Pruning is an essential part of maintaining a healthy, dense Thuja hedge. Regular pruning helps to promote growth and maintain the desired shape. Start by removing any dead, damaged, or diseased branches. Next, thin out the interior branches to improve air circulation and prevent the development of fungal diseases. When pruning, be sure to use sharp, clean tools and make cuts at a slight angle to promote healing and prevent water damage.
Watering is crucial for establishing a healthy Thuja hedge, especially during the first year. Newly planted hedges should be watered deeply and regularly, ensuring that the soil remains moist but not waterlogged. After the first year, water during dry spells as needed. It is important to water deeply, reaching the root zone, rather than shallowly, which promotes shallow root growth. Mulching around the base of the Thuja hedge can help retain moisture and regulate soil temperature.
Feeding your Thuja hedge with the appropriate nutrients is important for its overall health and vigor. Thuja responds well to slow-release fertilizers that are high in nitrogen. Avoid high-phosphorus fertilizers, as Thuja prefers slightly acidic soil. Apply fertilizer in early spring and again in early fall, following the manufacturer’s instructions. Regularly monitoring the pH of the soil and making adjustments as needed can also help ensure that your Thuja hedge receives the necessary nutrients.
In summary, properly caring for your Thuja hedge involves careful planning and maintenance. This includes selecting the right location, preparing the soil, pruning regularly, watering deeply and as needed, and providing the appropriate nutrients. By following these expert tips, you can create a beautiful, healthy hedge that will enhance your landscape for years to come.
Choosing the Right Location for Your Thuja Hedge
When planting a Thuja hedge, selecting the right location is crucial for its growth and overall health. Here are some tips to help you choose the perfect spot for your Thuja hedge:
- Sunlight: Thuja hedges thrive in full sun to partial shade. It is essential to choose a location that receives at least 4-6 hours of direct sunlight each day.
- Soil Type: Thuja hedges prefer well-drained soil. Before planting, test the soil pH and make any necessary amendments to ensure it is within the ideal range of 6.0-7.5.
- Moisture: Thuja hedges prefer moist soil, but they are also tolerant of dry conditions once established. Avoid planting in areas with poor drainage or where water tends to accumulate.
- Space: Thuja hedges can grow to be quite large, so it is important to consider their mature size when choosing a location. Plan for enough space to accommodate their height and width without overcrowding or restricting their growth.
- Wind Protection: While Thuja hedges are relatively resistant to wind, strong winds can still damage their foliage. Consider planting your hedge in a location that provides some wind protection, such as near buildings or other established windbreaks.
- Privacy and Noise: If your main goal is to create a privacy hedge, choose a location that provides the desired level of privacy and noise reduction. Keep in mind that Thuja hedges are dense and can effectively block out unwanted views and sounds.
By carefully selecting the right location for your Thuja hedge, you can ensure its successful growth and enjoy the many benefits it provides, such as privacy, noise reduction, and a beautiful green backdrop for your garden.
Preparing the Soil for Successful Hedge Planting
Properly preparing the soil is essential for successful hedge planting. By taking the time to prepare the soil before planting, you can create an optimal environment for your Thuja hedge to establish and thrive.
1. Test the Soil
Before you start preparing the soil, it’s a good idea to test its pH and nutrient levels. You can do this by using a soil testing kit or sending a sample to a professional laboratory. Testing the soil will help you determine whether any amendments are necessary.
2. Remove Weeds and Grass
Remove any existing weeds, grass, or other vegetation from the area where you plan to plant your hedge. Use a garden fork or spade to dig up the vegetation and roots, making sure to remove as much as possible. This will prevent competition for nutrients and water.
3. Loosen the Soil
Using a garden fork or tiller, loosen the soil to a depth of at least 12 inches. This will help improve drainage and create a loose, friable soil that roots can easily penetrate. Break up any large clumps of soil and remove rocks or other debris.
4. Amend the Soil
If your soil test results indicate any nutrient deficiencies or imbalances, you may need to amend the soil. This can involve adding organic matter such as compost, well-rotted manure, or peat moss to improve the soil’s fertility and structure.
5. Consider Drainage
Thuja hedges prefer well-drained soil. If your soil tends to become waterlogged or has poor drainage, consider improving it by adding sand or gravel to the planting area. This will help create a more suitable environment for your hedge.
6. Create a Planting Hole
Dig a planting hole that is twice as wide as the root ball of your Thuja plants and just as deep. This will allow for the roots to spread out easily and establish themselves. Place the soil you removed from the hole on a tarp or in a wheelbarrow to use for backfilling.
7. Backfill the Hole
Backfill the planting hole with the soil you removed, making sure the top of the root ball is level with the surrounding soil. Gently firm the soil around the roots to eliminate any air pockets and promote good root-to-soil contact.
8. Water Thoroughly
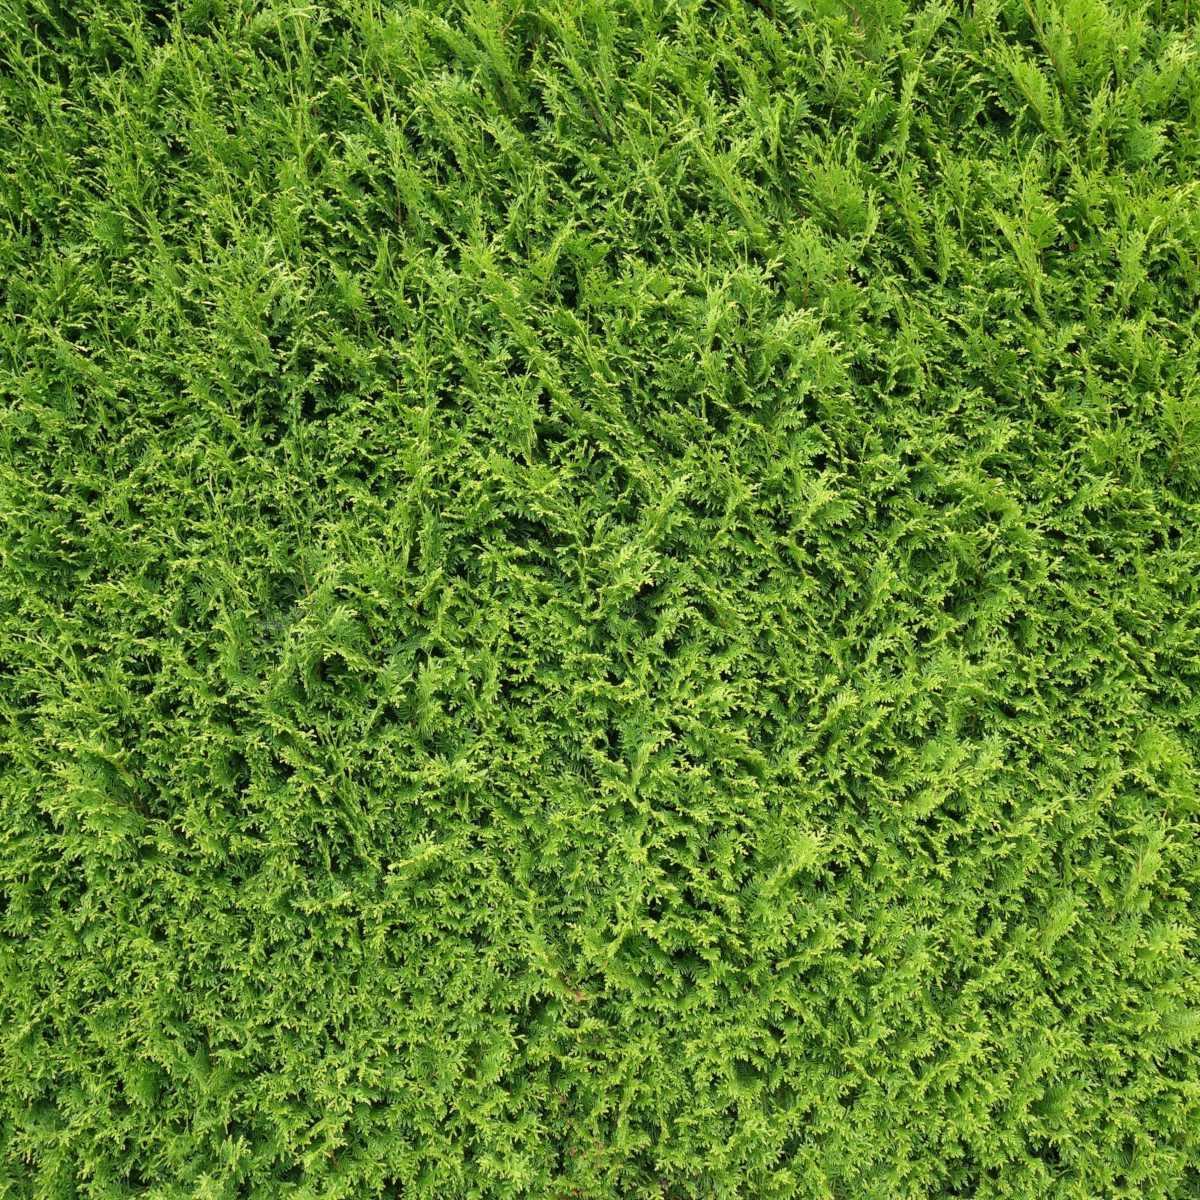

After planting, water the hedge thoroughly to settle the soil and ensure proper hydration. Give the hedge a deep watering, soaking the soil to a depth of at least 12 inches. This will help the roots establish and reduce stress on the plants.
By following these steps and properly preparing the soil, you can give your Thuja hedge the best chance of success. Remember to monitor the soil moisture levels regularly and provide additional water as needed, especially during dry periods.
Planting Your Thuja Hedge: Step-by-Step Guide
1. Choose the Right Location
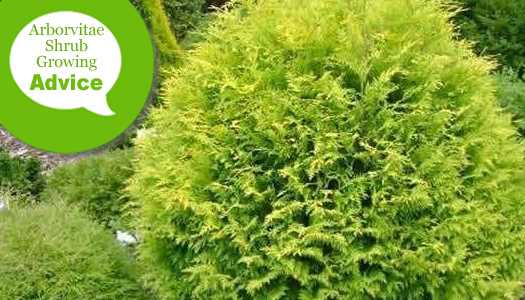

Before planting your Thuja hedge, it is crucial to select the right location. Thuja hedges thrive in full sun to partial shade and prefer well-draining soil. Ensure that the area has enough space to accommodate the desired size of your hedge when it reaches full maturity.
2. Prepare the Soil
Prepare the soil by removing any weeds, rocks, or debris from the planting area. Loosen the soil using a garden fork or tiller to improve drainage and allow the roots to penetrate easily.
3. Dig the Trench
Next, dig a trench that is approximately 2 feet wide and deep enough to accommodate the roots of your Thuja plants. The length of the trench should match the desired length of your hedge. Make sure the trench is straight and level.
4. Add Organic Matter
Once the trench is ready, enrich the soil with organic matter such as compost or well-rotted manure. This will improve the soil structure, enhance nutrient availability, and promote healthy growth of your Thuja hedge.
5. Planting the Thuja Plants
Remove the Thuja plants from their containers and place them in the trench, spacing them evenly. Make sure the roots are well spread out and not cramped. Backfill the trench with the soil mixture, gently firming it around the plants to eliminate air pockets.
6. Watering
After planting, thoroughly water the hedge to settle the soil around the roots and provide adequate moisture. Water regularly, especially during dry periods, to ensure the plants remain hydrated. Avoid overwatering, which can lead to root rot.
7. Mulching
Apply a layer of organic mulch, such as wood chips or bark, around the base of the Thuja hedge. This will help conserve moisture, suppress weed growth, and regulate soil temperature.
8. Pruning and Maintenance
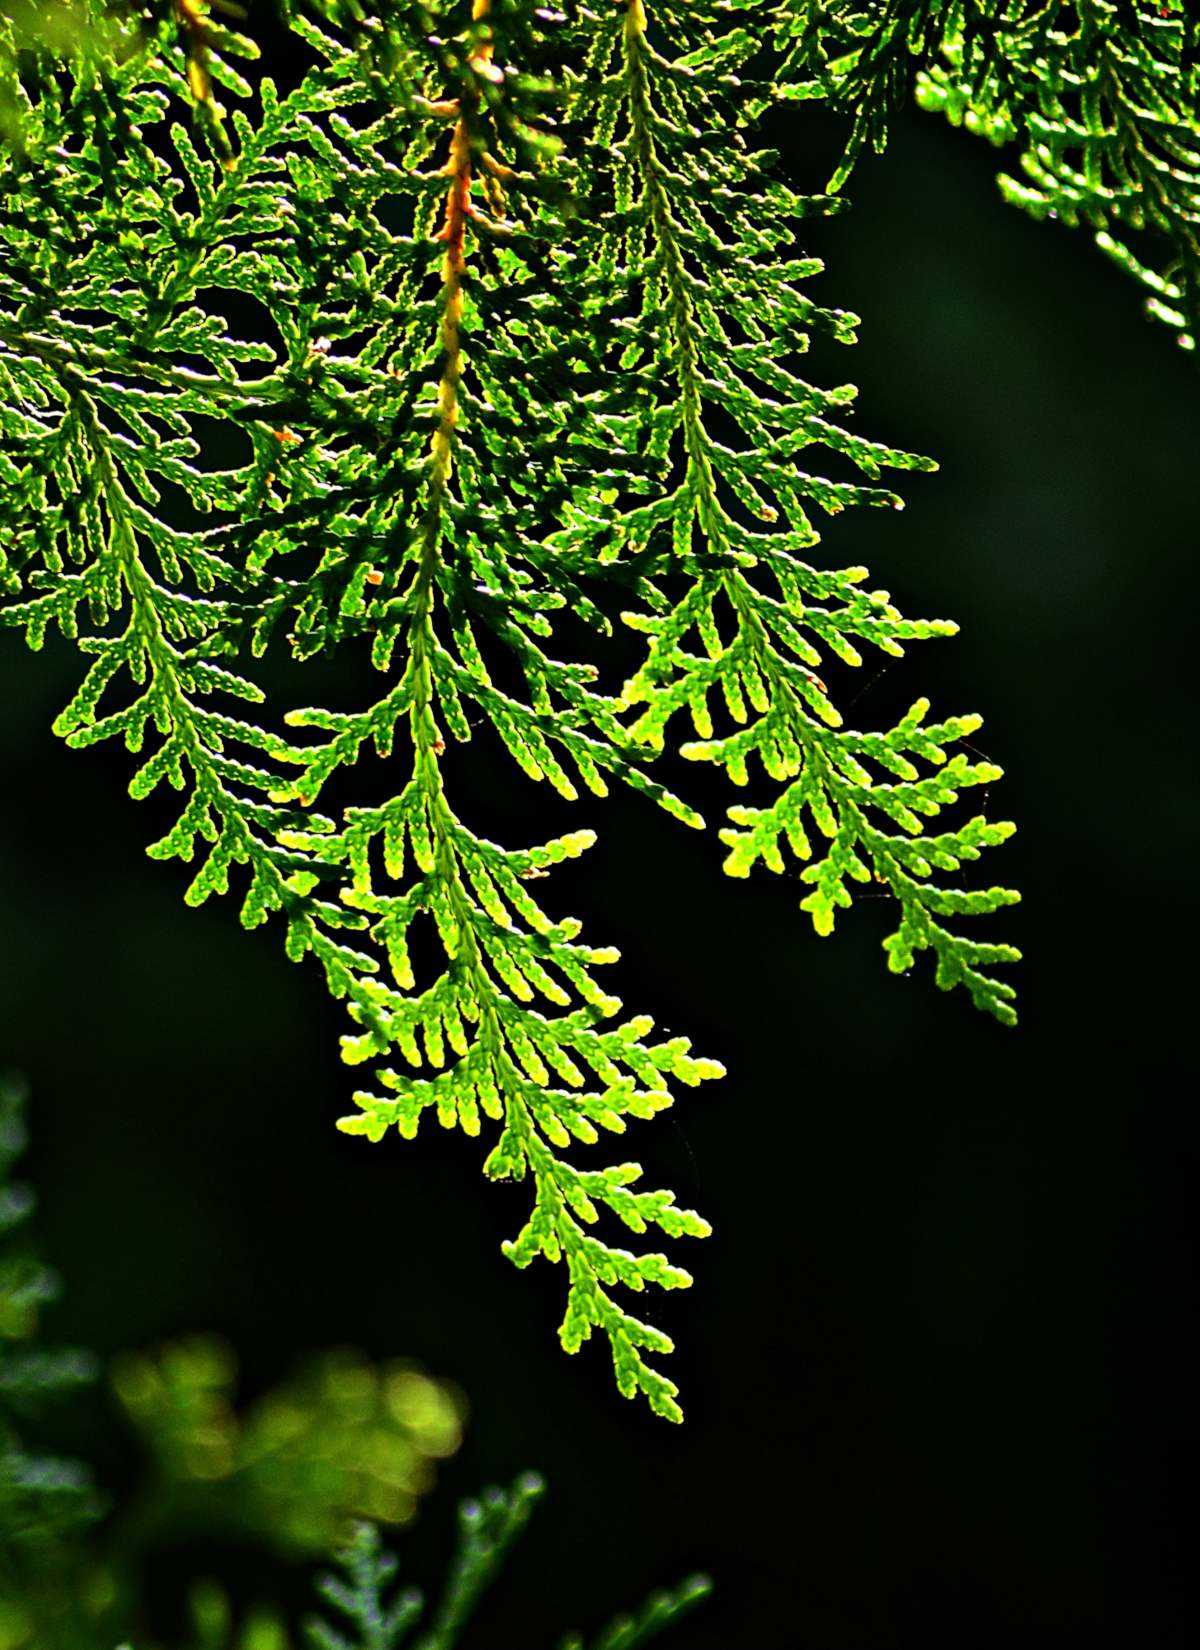

Once established, prune the Thuja hedge annually to maintain its desired shape and size. Pruning should be done during the dormant season. Regularly monitor the hedge for pests, diseases, and any signs of stress, and take appropriate measures to address them.
9. Feeding
Feed your Thuja hedge with a balanced slow-release fertilizer in early spring and mid-summer. This will provide the necessary nutrients for healthy growth and vibrant foliage.
10. Monitor and Enjoy
Regularly monitor your Thuja hedge for any signs of issues and resolve them promptly. Enjoy the lush green privacy and beauty that your well-maintained Thuja hedge brings to your landscape.
Pruning Techniques for Maintaining a Healthy Thuja Hedge
Proper pruning is essential for maintaining a healthy and attractive thuja hedge. Pruning helps to promote new growth, control the size and shape of the hedge, and remove any dead or diseased branches. Here are some pruning techniques to keep your thuja hedge looking its best:
- Timing: It is best to prune your thuja hedge in late winter or early spring before new growth begins. This will minimize stress on the plant and allow it to heal quickly.
- Tools: Use sharp pruning shears or hedge trimmers to make clean cuts. Dull tools can damage the branches and make them more susceptible to disease.
- Remove Dead or Diseased Branches: Start by inspecting the hedge for any dead or diseased branches. These should be pruned back to healthy wood or removed entirely. This will prevent the spread of disease and improve the overall health of the hedge.
- Trimming: To maintain the desired size and shape of the hedge, carefully trim the outermost branches. Start from the bottom and work your way up, making sure to keep the top narrower than the base to allow sunlight to reach all parts of the hedge.
- Thinning: If the thuja hedge becomes too dense, thinning can help improve air circulation and reduce the risk of disease. To thin the hedge, selectively remove some of the inner branches, focusing on areas that are overcrowded or crossing over each other.
- Prune Gently: Avoid aggressive pruning, as this can cause stress and lead to an unsightly and unhealthy hedge. Instead, make small, controlled cuts to maintain the natural shape and structure of the thuja hedge.
- Clean Up: After pruning, be sure to clean up any debris, including fallen branches and clippings. This will help prevent the spread of disease and maintain the overall cleanliness of the hedge.
- Regular Maintenance: Pruning is an ongoing process, so it is important to regularly inspect and maintain your thuja hedge. Regular trimming and pruning will help keep the hedge healthy, vibrant, and well-shaped.
By following these pruning techniques, you can ensure that your thuja hedge remains healthy, beautiful, and a source of pride for your garden or landscape.
Watering Your Thuja Hedge: Best Practices and Common Mistakes to Avoid


Proper watering is essential for the health and growth of your Thuja hedge. By following some best practices and avoiding common mistakes, you can ensure that your hedge thrives and looks its best.
Best Practices:
- Frequency: Water your Thuja hedge deeply once or twice a week, depending on weather conditions. Younger hedges may require more frequent watering than established ones.
- Timing: Water your hedge early in the morning or late in the evening to reduce water evaporation. Avoid watering during the hottest part of the day to minimize stress on the plants.
- Amount: Provide enough water to thoroughly saturate the root zone of your Thuja hedge. Allow the water to penetrate the soil to a depth of at least 6 inches.
- Soil Moisture: Check the moisture level of the soil around your hedge before watering. Stick your finger into the soil near the base of the hedge – if it feels dry to the touch, it’s time to water.
- Mulching: Apply a layer of organic mulch around your Thuja hedge to help retain moisture in the soil. This will also help prevent weed growth and improve the overall health of your hedge.
Common Mistakes to Avoid:
- Overwatering: Be careful not to overwater your Thuja hedge, as this can lead to root rot and other moisture-related issues. Maintaining proper soil moisture is key.
- Shallow Watering: Ensure that water reaches the deeper root zone of your hedge. Shallow watering can encourage shallow root growth and make your hedge more susceptible to drought stress.
- Watering at the Wrong Time: Avoid watering your Thuja hedge during the middle of the day when the sun is hottest. This can cause water to evaporate quickly and increase the risk of leaf scorch.
- Neglecting Established Hedges: Even established hedges require regular watering, especially during dry spells. Don’t assume that mature plants can survive without proper moisture.
- Using Sprinklers: Sprinklers may not adequately water the root zone of your Thuja hedge. Instead, consider using a soaker hose or drip irrigation system for more targeted and efficient watering.
By following these best practices and avoiding common mistakes, you can ensure that your Thuja hedge receives the proper amount of water it needs to thrive. Remember to monitor soil moisture regularly and adjust your watering schedule as needed.
Fertilizing Your Thuja Hedge: Essential Nutrients and Application Tips
Proper fertilization is key to maintaining the health and vigor of your thuja hedge. Providing your hedge with the right nutrients will help promote growth, prevent nutrient deficiencies, and enhance its overall appearance. Here are some essential nutrients and application tips to keep in mind when fertilizing your thuja hedge:
Essential Nutrients
- Nitrogen (N): Nitrogen is crucial for promoting healthy leaf and stem growth. Apply a fertilizer with a higher nitrogen content during the spring and summer months to encourage lush green foliage.
- Phosphorus (P): Phosphorus aids in root development and overall plant vigor. Look for a fertilizer with a balanced phosphorus content to support healthy root growth.
- Potassium (K): Potassium helps strengthen the plant’s immune system and enhances its ability to deal with environmental stressors. Choose a fertilizer with a higher potassium content to improve the hedge’s resilience.
- Micronutrients: Micronutrients like iron, manganese, and zinc are also important for the proper functioning of the hedge. Consider using a balanced fertilizer that includes these essential micronutrients.
Application Tips
When applying fertilizer to your thuja hedge, follow these tips:
- Timing: Apply fertilizer in early spring before new growth begins. This will give the hedge a nutrient boost as it enters the growing season.
- Rate: Use the recommended amount of fertilizer according to the instructions on the label. Avoid over-fertilizing, as it can harm the hedge.
- Application Methods: There are two common methods for applying fertilizer to a thuja hedge:
- Top-Dressing: Spread the fertilizer evenly over the soil surface around the base of the hedge. Avoid piling the fertilizer directly against the trunk.
- Deep Root Feeding: Use a fertilizer spike or stake to insert the nutrients directly into the soil beneath the hedge’s root zone. This method allows for more targeted nutrient delivery.
- Watering: After applying fertilizer, water the hedge thoroughly. This will help the nutrients penetrate the soil and reach the roots.
- Frequency: Fertilize your thuja hedge once a year, ideally in the spring. However, if the hedge shows signs of nutrient deficiency, you can apply another round of fertilizer during the growing season.
By providing your thuja hedge with the essential nutrients it needs and following proper fertilization practices, you can ensure its health, vitality, and long-term beauty.
Common Pests and Diseases of Thuja Hedges: Prevention and Treatment
Thuja hedges are generally sturdy and resistant to many pests and diseases. However, there are a few common issues that can affect their health. By being aware of these problems and taking preventive measures, you can keep your Thuja hedge in top condition.
Pests

- Spider Mites: These tiny insects can cause discoloration and webbing on the foliage of your Thuja hedge. Regularly inspect your hedge for any signs of infestation and use insecticidal soap or neem oil to control them.
- Bagworms: Bagworms are caterpillars that build protective bags around themselves using foliage from the Thuja hedge. These pests can defoliate your hedge if left untreated. Remove and destroy the bags by hand or use an insecticide specifically formulated for bagworm control.
- Aphids: Aphids are small, soft-bodied insects that suck the sap from plant tissues. They can cause stunted growth and leave behind a sticky residue called honeydew. Use insecticidal soap or neem oil to control aphids on your Thuja hedge.
Diseases
- Cedar Apple Rust: This fungal disease affects not only Thuja hedges but also apple and cedar trees. It causes orange, gelatinous galls to form on the foliage. To prevent cedar apple rust, remove any nearby infected plants and ensure good air circulation and sunlight exposure for your Thuja hedge.
- Leaf Spot Diseases: Several fungal diseases, such as Kabatina twig blight and Phomopsis blight, can cause leaf spotting and discoloration on Thuja hedges. Prune affected branches and improve air circulation to prevent the spread of these diseases. Fungicides may also be necessary in severe cases.
- Root Rot: Excessive moisture and poorly drained soil can lead to root rot in Thuja hedges. This fungal disease causes wilting, yellowing leaves, and root decay. Improve drainage and avoid overwatering to prevent root rot. If the disease is already present, prune affected roots and provide proper care to promote healthy root growth.
Prevention and Treatment
To prevent pest and disease problems in your Thuja hedge, follow these tips:
- Regularly inspect your hedge for signs of pests or diseases.
- Keep the area around your hedge free of debris and weeds, as they can harbor pests and diseases.
- Ensure proper spacing between plants to promote good air circulation.
- Water your Thuja hedge at the base to avoid wetting the foliage, which can promote disease development.
- Apply a balanced fertilizer in early spring to promote healthy growth and improve resistance to diseases.
- If necessary, use insecticides or fungicides labeled for Thuja hedges according to the instructions provided.
By taking these preventive measures and promptly addressing any pest or disease issues, you can keep your Thuja hedge looking lush and healthy for years to come.
Tips for Green Thuja Hedges: How to Enhance Color and Density
Planting and maintaining a green Thuja hedge requires proper care to enhance its color and density. By following these expert tips, you can ensure that your Thuja hedge remains vibrant and lush throughout the year:
1. Choose the Right Variety
There are several varieties of green Thuja available, such as Thuja occidentalis ‘Emerald Green’ or Thuja occidentalis ‘Green Giant’. Each variety has its unique characteristics, including growth rate, height, and color. Be sure to select a variety that suits your specific requirements, considering factors such as desired height and maintenance needs.
2. Planting and Spacing
When planting your Thuja hedge, ensure proper spacing between each plant. This will allow the hedges to grow and develop without overcrowding, resulting in better air circulation and sunlight exposure. Proper spacing also helps to maintain the hedge’s density and promote overall health. The recommended spacing for Thuja hedges is typically between 3 to 5 feet, depending on the variety.
3. Pruning and Trimming
Regular pruning and trimming are essential for maintaining the color and density of your Thuja hedge. Start pruning when the hedge is still young to encourage bushier growth and maintain the desired shape. Trim any dead or damaged branches to promote new growth and maintain a healthy appearance. Avoid over-pruning, as it can lead to thinning and reduce the hedge’s density.
4. Watering
Proper watering is crucial for keeping your Thuja hedge healthy and vibrant. When establishing a new hedge, provide sufficient water to promote root development, typically one inch of water per week. For mature hedges, watering deeply once a week during dry periods is usually sufficient. Avoid overwatering, as Thuja hedges prefer well-drained soil.
5. Feeding and Fertilizing
To enhance the color and density of your Thuja hedge, consider feeding it with a balanced slow-release fertilizer. Apply the fertilizer according to the manufacturer’s instructions and be sure to avoid direct contact with the foliage. Regular feeding can help promote healthy growth and maintain a vibrant green color.
By following these tips for enhancing color and density, you can enjoy a beautiful and thriving green Thuja hedge in your landscape. Remember to monitor the health of your hedge regularly and address any issues promptly to ensure its longevity.
Questions and Answers:
When is the best time to plant a Thuja hedge?
The best time to plant a Thuja hedge is in the early spring or late fall when the weather is cool and the soil is moist.
How often should I water my Thuja hedge?
You should water your Thuja hedge deeply once or twice a week, especially during dry periods. However, be careful not to overwater, as Thuja hedges prefer well-draining soil.
What should I do if my Thuja hedge is getting too tall?
If your Thuja hedge is getting too tall, you can prune it back in the late winter or early spring. However, make sure not to prune it too severely, as this can cause stress to the plants.
How often should I feed my Thuja hedge?
You should fertilize your Thuja hedge once a year in the early spring. Use a slow-release granular fertilizer that is specifically formulated for evergreen shrubs.
Can I trim my Thuja hedge into different shapes?
Yes, you can trim your Thuja hedge into different shapes, such as a pyramid or a box. However, make sure to prune it carefully and gradually, as Thuja hedges can take some time to recover from heavy pruning.
How far apart should I plant my Thuja hedge?
You should plant Thuja hedges about 2-3 feet apart to allow them enough space to grow and fill in. If you want a denser hedge, you can plant them closer together, but be aware that this may require more frequent pruning to maintain its shape.
What are some common pests that can affect Thuja hedges?
Some common pests that can affect Thuja hedges include aphids, spider mites, and bagworms. If you notice any signs of infestation, such as yellowing or browning foliage, webbing, or small larvae hanging from the branches, you should take appropriate measures to control the pests.


