- Soil Preparation
- Conclusion
- Pre-Planting Fertilising
- Testing the Soil
- Choosing the Right Fertiliser
- Applying the Fertiliser
- Post-Planting Fertilising
- 1. Timing Matters
- 2. Choosing the Right Fertiliser
- 3. Application Method
- Flowering Stage Nutrition
- Fruit Set and Development
- 1. Hormonal Changes
- 2. Nutrient Requirements
- 3. Watering and Mulching
- Nutrient Deficiency Signs
- Nitrogen Deficiency
- Phosphorus Deficiency
- Potassium Deficiency
- Calcium Deficiency
- Iron Deficiency
- Mid-Season Fertilising
- Winter Fertilising and Preparations
- 1. Soil Analysis
- 2. Fertiliser Selection
- 3. Applying Fertiliser
- Question-answer:
- What are the three crucial stages of fertilising strawberries?
- Why is pre-planting fertilisation important for strawberries?
- What should be included in the pre-planting fertilisation of strawberries?
- When should early-season fertilisation of strawberries be done?
- What nutrients should be provided during mid-season fertilisation of strawberries?
- Video: Growing Strawberries At Home Is Easy! Complete Growing Guide!

When it comes to growing strawberries, many experienced gardeners focus primarily on planting and watering. However, the key to a successful strawberry harvest lies in proper fertilisation. By providing the right nutrients at the right time, you can maximize your yield and ensure healthy and vibrant plants.
There are three crucial stages of fertilisation that are often overlooked by even the most experienced gardeners. The first stage is pre-planting fertilisation. This involves preparing the soil and adding organic matter or compost to improve its fertility. By providing a nutrient-rich environment for your strawberries to grow in, you are setting them up for success from the very beginning.
The second stage of fertilisation occurs during the vegetative growth phase. As your strawberry plants start to grow, they will benefit from a nitrogen-rich fertiliser to encourage leaf and stem development. However, it is important not to overdo it, as excess nitrogen can lead to weak plants and susceptibility to disease. A balanced fertiliser with a higher nitrogen content is recommended during this stage.
Finally, the third stage of fertilisation occurs during the fruiting phase. This is when your strawberry plants will need a boost of phosphorus and potassium to support flower and fruit production. Phosphorus plays a crucial role in root development, while potassium helps with the overall health and strength of the plant. By providing the right balance of nutrients during this stage, you can ensure plump and juicy strawberries.
Overall, fertilising strawberries is an essential part of successful growth and fruit production. By paying attention to these three crucial stages of fertilisation, even experienced gardeners can improve their strawberry harvest and enjoy the sweet rewards of their labor.
Soil Preparation
Before planting strawberries, it is crucial to prepare the soil properly. This will ensure that the plants have a healthy environment to grow in and will result in better yields.
1. Clearing the site:
The first step in soil preparation is to clear the planting site of any weeds, rocks, or debris. Weeds can compete with the strawberries for nutrients and water, so it is important to remove them before planting. Rocks and debris can hinder root growth and make it difficult for the plants to establish themselves.
2. Testing the soil:
Before adding any fertilizers or amendments, it is recommended to test the soil to determine its pH and nutrient levels. Strawberries prefer slightly acidic soil, with a pH range of 5.5 to 6.5. Testing the soil will also provide information on any nutrient deficiencies or excesses that need to be addressed.
3. Amending the soil:
Based on the results of the soil test, amendments may need to be added to improve the soil’s fertility and pH levels. Organic matter, such as compost or well-rotted manure, can be added to improve soil structure and nutrient content. Lime or sulfur may also be needed to adjust the pH if it is too acidic or alkaline.
4. Loosening the soil:
It is important to loosen the soil before planting to ensure good drainage and root development. Using a garden fork or tiller, gently work the soil to a depth of at least 6 inches. This will help the strawberry roots penetrate the soil easily and efficiently absorb nutrients and water.
5. Mulching:
After planting the strawberries, it is beneficial to apply a layer of mulch around the plants. Mulch helps to suppress weeds, retain moisture, and regulate soil temperature. Organic mulch, such as straw or wood chips, is ideal for strawberries.
Conclusion
Proper soil preparation is essential for successful strawberry cultivation. Clearing the site, testing the soil, amending it if necessary, loosening the soil, and applying mulch are crucial steps that shouldn’t be overlooked. By following these steps, experienced gardeners can ensure that their strawberry plants have the best possible growing conditions, resulting in healthy plants and abundant harvests.
Pre-Planting Fertilising
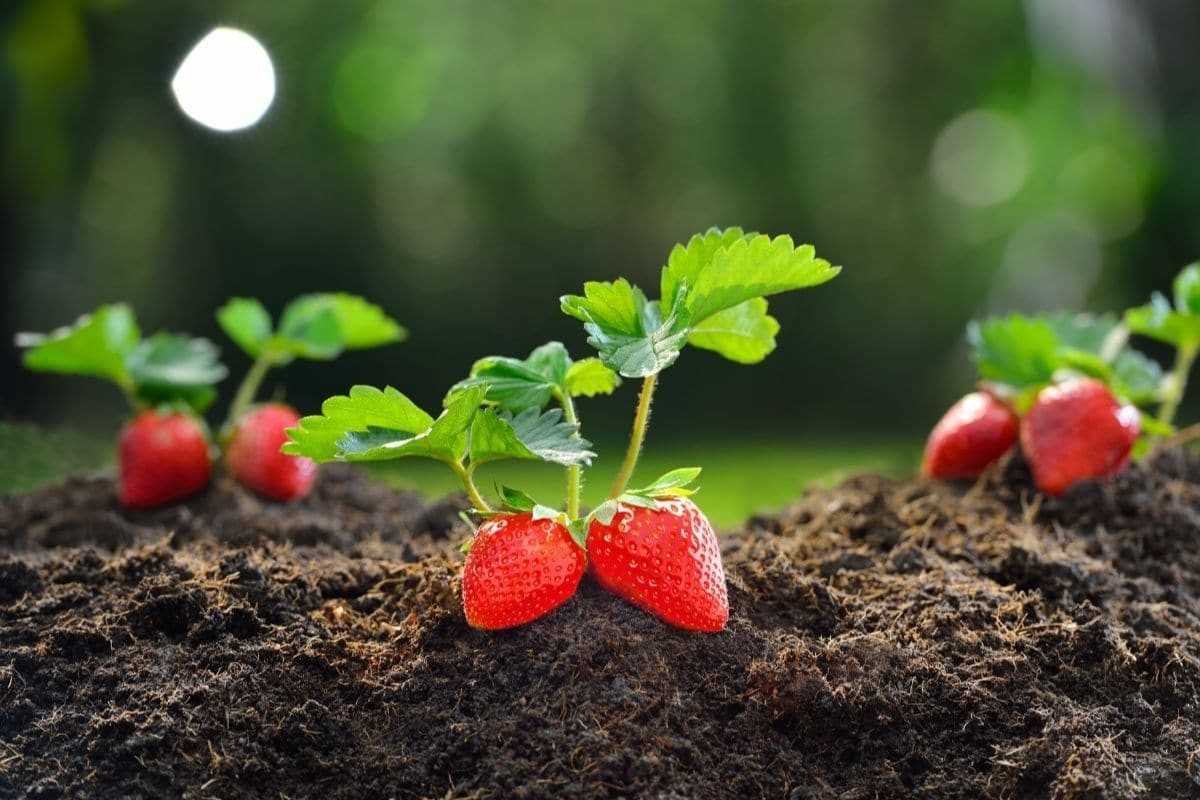

Pre-planting fertilising is a crucial stage in growing healthy and productive strawberries. By providing the right nutrients to the soil before planting, you can ensure that your strawberries have a strong foundation for growth.
Testing the Soil
Before applying any fertilisers, it is important to test the soil to determine its nutrient levels. This can be done by sending a sample of the soil to a laboratory or by using a home test kit. The results will provide valuable information about the soil’s pH level and the concentrations of essential nutrients like nitrogen, phosphorus, and potassium.
Choosing the Right Fertiliser
Based on the soil test results, you can choose the appropriate fertiliser for your strawberries. A balanced fertiliser with equal parts nitrogen (N), phosphorus (P), and potassium (K) is typically recommended. However, if the soil test reveals specific deficiencies, you may need to use a fertiliser formulated to address those deficiencies.
Applying the Fertiliser
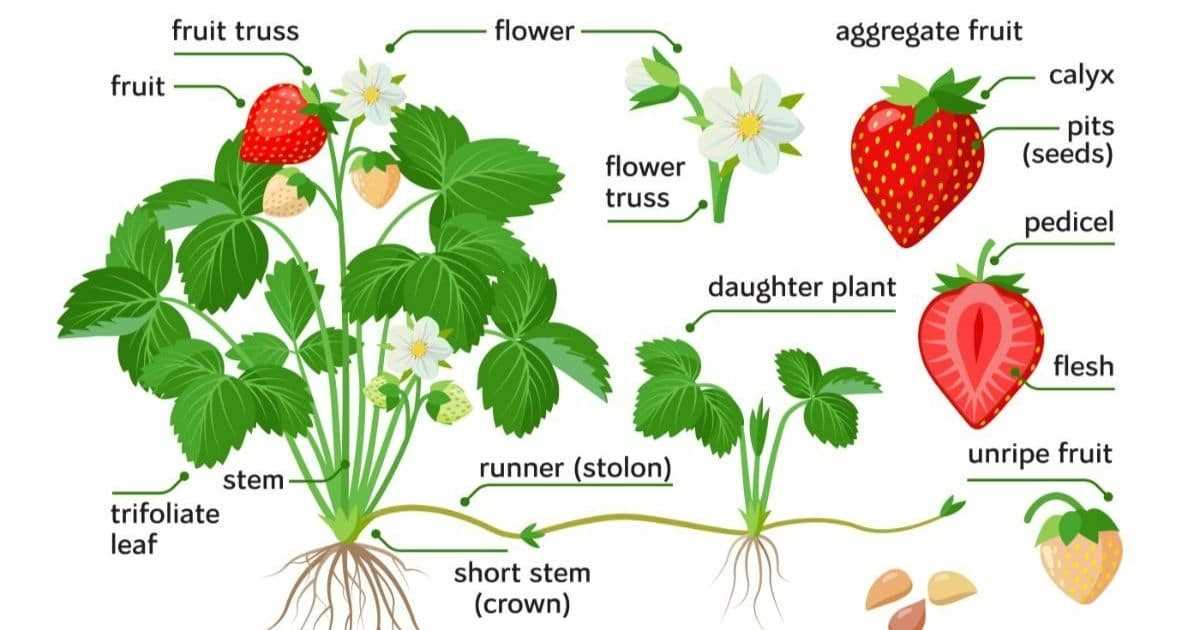

Once you have chosen the right fertiliser, it is time to apply it to the soil. Spread the fertiliser evenly over the planting area, taking care to avoid direct contact with the strawberry plants. Using a rake or garden fork, work the fertiliser into the top few inches of soil. This will help ensure that the nutrients are readily available to the roots of the strawberry plants.
Important: It is crucial to follow the manufacturer’s instructions regarding the application rate and frequency of fertiliser. Over-fertilising can lead to nutrient imbalances and can harm the strawberries.
By taking the time to pre-plant fertilise your strawberries, you are setting them up for success. Providing the right nutrients at this stage will give them a strong start and increase their chances of producing a bountiful harvest.
Post-Planting Fertilising


After planting your strawberries, it is important to continue providing them with the nutrients they need to grow and produce a bountiful harvest. Fertilising your strawberry plants after planting is crucial to their overall health and productivity.
1. Timing Matters
Once your strawberry plants have been in the ground for about a month and have established their root systems, it is time to start fertilising. The timing of post-planting fertilisation is crucial as it allows the plants to settle in and develop a strong foundation before receiving additional nutrients.
2. Choosing the Right Fertiliser
When selecting a fertiliser for your strawberries, it is important to choose one specifically formulated for use on berry plants. Look for a balanced fertiliser with an NPK ratio of about 10-10-10 or similar. This will provide a good mix of nitrogen, phosphorus, and potassium, which are essential for healthy growth and fruit production.
Alternatively, you can opt for organic fertilisers such as compost or well-rotted manure. These natural fertilisers provide slow-release nutrients and also improve soil structure and fertility over time.
3. Application Method
When applying fertiliser to your strawberry plants, it is important to spread it evenly around the base of the plant, avoiding direct contact with the leaves and crowns. Excessive fertiliser application can burn the plants and cause damage.
Using a hand-held spreader or simply sprinkling the fertiliser by hand can ensure even distribution. After applying the fertiliser, lightly water the plants to help it dissolve and reach the roots.
It is recommended to fertilise your strawberry plants every 4-6 weeks throughout the growing season. This will provide them with a continuous supply of nutrients for optimal growth and fruit development.
Remember to follow the manufacturer’s instructions for the specific fertiliser you are using, as application rates and frequency may vary.
By following these crucial stages of post-planting fertilisation, you can ensure that your strawberry plants receive the necessary nutrients to thrive and produce a bountiful harvest year after year.
Flowering Stage Nutrition
During the flowering stage, strawberries require specific nutrients to ensure healthy growth and the development of high-quality fruits. Here are the essential nutrients that need to be provided during this stage:
- Nitrogen: While the nitrogen requirements decrease compared to the vegetative stage, it is still necessary for maintaining good flower and fruit development. It is recommended to use a balanced fertilizer with a lower nitrogen-to-potassium ratio.
- Phosphorus: Phosphorus plays a crucial role in flower formation and root development. A phosphorus-rich fertilizer should be applied to promote healthy flower and fruit formation.
- Potassium: Potassium is essential for strawberry plants during the flowering stage as it helps in fruit development and increases disease resistance. A fertilizer with a higher potassium content is recommended.
- Calcium: Adequate calcium supply is vital for preventing blossom end rot, a common disorder in strawberries. Calcium can be supplied through limestone or gypsum applications. It is important to maintain a proper balance between calcium and potassium levels.
- Magnesium: Magnesium is required for chlorophyll production and is crucial for healthy growth during the flowering stage. Proper magnesium levels can be maintained through the application of magnesium sulfate.
- Trace Elements: Additionally, providing trace elements such as iron, manganese, zinc, and copper is essential for overall plant health and fruit development. These can be supplied through organic fertilizers or foliar applications.
It is important to monitor the nutrient levels in the soil and adjust the fertilizer application accordingly. Excessive fertilizer application should be avoided, as it can lead to nutrient imbalances and environmental pollution. Always follow the product instructions and consult with a gardening expert for specific recommendations based on your soil conditions and strawberry varieties.
Fruit Set and Development
Once the strawberry plants have been successfully pollinated, the fruit set and development stage begins. This stage is crucial for the growth and maturation of the strawberries. Proper care and fertilisation during this stage can greatly affect the quality and size of the fruit.
1. Hormonal Changes


During fruit set and development, there are significant hormonal changes occurring within the plants. The levels of auxin, a hormone responsible for fruit growth, increase in the developing strawberries. This hormone is essential for the development of the fruit and the regulation of its size.
Proper fertilisation can promote these hormonal changes and ensure healthy fruit development. A balanced fertiliser with a higher potassium content can help stimulate the production of auxin and enhance fruit growth.
2. Nutrient Requirements
As the fruit begins to develop, the strawberry plants have increased nutrient requirements. They need a steady supply of essential nutrients, such as nitrogen, phosphorus, potassium, and micronutrients, to support fruit growth and development.
A slow-release fertiliser that provides a continuous supply of nutrients over a longer period can be beneficial during this stage. It is important to follow the recommended dosage and application method specified by the fertiliser manufacturer to avoid overfeeding or nutrient imbalances.
3. Watering and Mulching
Proper watering is crucial during the fruit set and development stage. The plants need a consistent moisture level in the soil to support fruit growth. Inadequate watering can lead to small or misshapen fruit.
Mulching the strawberry plants helps retain moisture, regulate soil temperature, and suppress weed growth, all of which are important for fruit development. Organic mulches, such as straw or wood chips, can be applied around the plants to provide these benefits.
Regularly monitoring the moisture level in the soil and adjusting the watering schedule accordingly is essential. Additionally, proper irrigation techniques, such as drip irrigation or soaker hoses, can help deliver water directly to the plant’s roots without wetting the foliage.
In conclusion, the fruit set and development stage is a critical phase in the life cycle of strawberries. Adequate fertilisation, nutrient supply, and proper watering techniques are key to ensuring healthy fruit growth, size, and quality.
Nutrient Deficiency Signs
In order to ensure healthy growth and abundant harvest, it’s crucial to monitor your strawberry plants for signs of nutrient deficiencies. Most nutrients are required in varying quantities and deficiencies can result in stunted growth, reduced fruit quality, and overall poor plant health.
Nitrogen Deficiency
Nitrogen is an essential nutrient for strawberry plants, as it promotes leaf and stem growth. Signs of nitrogen deficiency can include pale or yellow leaves, stunted growth, and reduced fruit production. To remedy this deficiency, you can incorporate nitrogen-rich fertilizers or organic matter such as compost into the soil.
Phosphorus Deficiency
Phosphorus plays a key role in root development and overall plant growth. Symptoms of phosphorus deficiency in strawberry plants include dark green leaves with a reddish-purple tint, reduced vigor, and delayed fruiting. To address this deficiency, you can apply phosphorus-rich fertilizers or bone meal to the soil.
Potassium Deficiency


Potassium is necessary for various physiological processes in plants and is especially important for fruit development. Signs of potassium deficiency in strawberries include yellowing or browning of leaf margins, weak stems, and reduced fruit size and quality. To combat this deficiency, you can apply potassium-rich fertilizers or incorporate potassium sulfate into the soil.
Calcium Deficiency
Calcium helps to strengthen cell walls in strawberry plants, reducing the risk of diseases and disorders. Symptoms of calcium deficiency include blossom end rot, where the base of the fruit turns black or brown, and stunted growth. Addressing this deficiency may involve applying calcium-rich fertilizers or adding gypsum to the soil.
Iron Deficiency
Iron is necessary for the production of chlorophyll, which is essential for photosynthesis. Iron deficiency in strawberry plants can cause yellowing between leaf veins, known as interveinal chlorosis. To correct this deficiency, you can apply iron chelate or iron sulfate to the soil.
Regularly monitoring your strawberry plants for these nutrient deficiency signs and taking appropriate corrective measures will help ensure their optimal growth and productivity.
Mid-Season Fertilising
Mid-season fertilising is a critical step in ensuring healthy and productive strawberry plants. This stage usually occurs around 4-6 weeks after planting, when the plants have established their roots and started producing runners.
During this period, the strawberry plants require an additional boost of nutrients to support their growth and fruit development. Here are some crucial steps to follow when fertilising your strawberries mid-season:
- Test the soil: Before applying any fertiliser, it’s important to test the soil pH and nutrient levels. This will help you determine the specific fertiliser requirements of your strawberry plants.
- Select the right fertiliser: Based on the soil test results, choose a balanced fertiliser that contains essential nutrients like nitrogen, phosphorus, and potassium. Look for a formulation with a higher potassium content to promote flower and fruit formation.
- Apply the fertiliser: Apply the selected fertiliser in a band or row along the strawberry plants, keeping it around 6-8 inches away from the crowns. Use a dosage recommended by the manufacturer, usually around 1-2 pounds per 100 square feet. Be careful not to over-fertilise, as it can burn the plants’ roots.
- Water thoroughly: After applying the fertiliser, make sure to water the plants thoroughly. This will help dissolve the nutrients and ensure proper absorption by the roots.
Additionally, mulching around the strawberry plants can help conserve moisture, suppress weed growth, and regulate soil temperature. Use organic mulch, such as straw or shredded leaves, and apply it in a 2-4 inch layer around the plants.
Regular monitoring and observation of your strawberry plants during the mid-season is crucial. Look out for any signs of nutrient deficiencies or pest infestations, and take appropriate action to address them. By following these mid-season fertilising steps, you can help ensure healthy, vigorous growth, and a bountiful harvest of delicious strawberries.
Winter Fertilising and Preparations
Winter is a crucial time for fertilising strawberries, as it helps to ensure a healthy crop in the coming season. By providing the necessary nutrients and preparing the soil, you can give your strawberry plants a strong start and improve their overall growth and productivity.
1. Soil Analysis
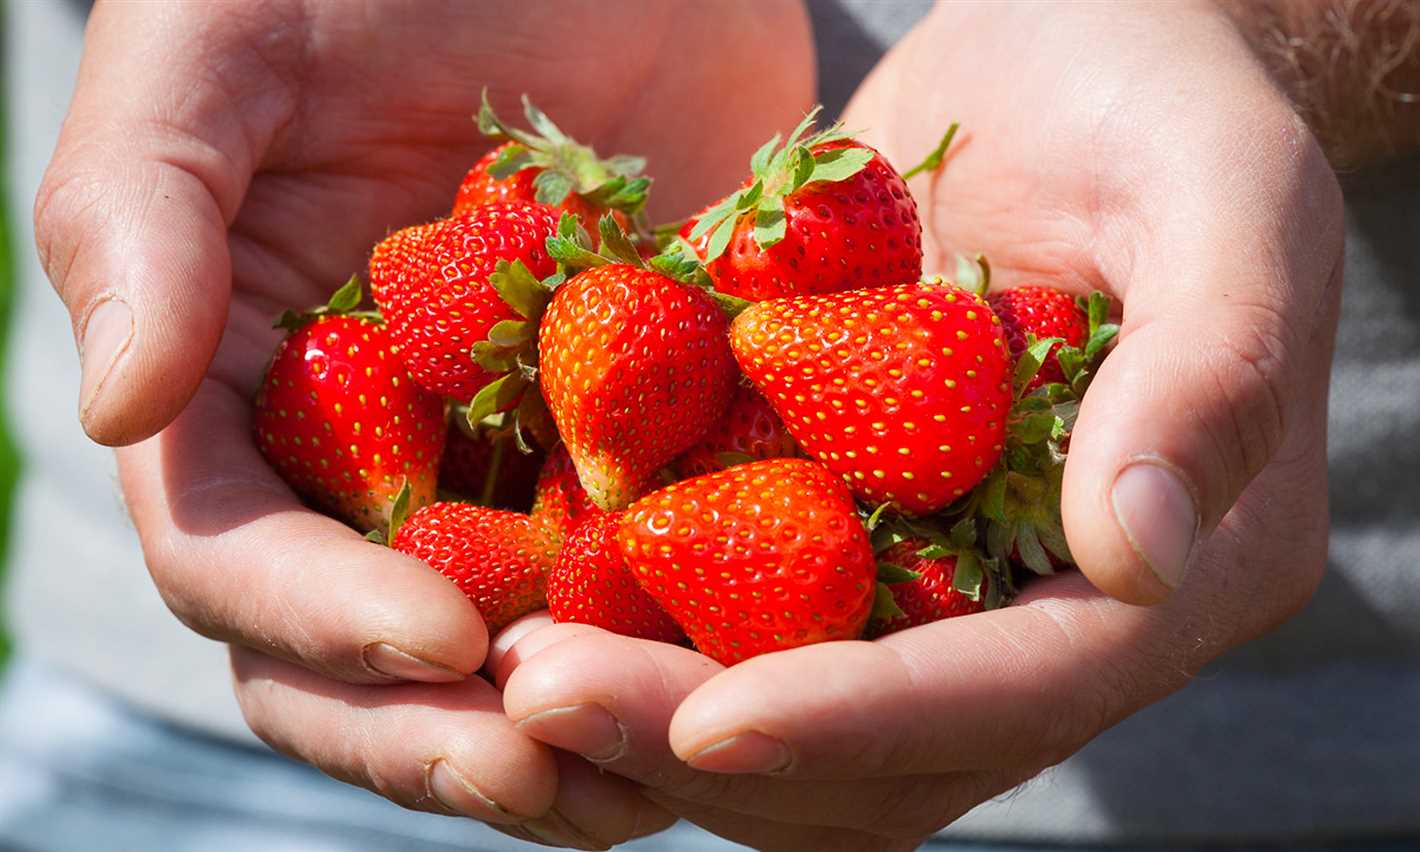

Before fertilising your strawberries in winter, it is important to conduct a soil analysis. This will help you understand the nutrient deficiencies and pH levels of your soil, allowing you to tailor your fertilising program accordingly. You can collect soil samples from different areas of your garden and send them to a professional laboratory for analysis, or use DIY soil testing kits available in gardening stores.
2. Fertiliser Selection


Based on the results of the soil analysis, choose a fertiliser that suits the specific needs of your strawberry plants. Generally, a balanced fertiliser with equal amounts of nitrogen, phosphorus, and potassium can be used. However, if the soil analysis indicates any deficiencies, you can select a fertiliser with higher levels of the deficient nutrient. For example, if phosphorus is lacking, a fertiliser with a higher phosphorus content can be beneficial.
3. Applying Fertiliser
The application of fertiliser should be done during the winter months, when the plants are dormant. Ensure that the fertiliser is evenly spread around the plants, avoiding direct contact with the leaves and crowns. It is recommended to apply the fertiliser in a circular band around the plants and then lightly incorporate it into the soil. This can be done by using a rake or hand tool to gently mix the fertiliser into the top layer of soil. Be sure to follow the manufacturer’s instructions for the specific fertiliser you are using, as rates of application may vary.
By following these crucial winter fertilising and preparation steps, you can provide your strawberry plants with the necessary nutrients they need to thrive and ensure a successful growing season.
Question-answer:
What are the three crucial stages of fertilising strawberries?
The three crucial stages of fertilising strawberries are pre-planting, early-season, and mid-season fertilisation.
Why is pre-planting fertilisation important for strawberries?
Pre-planting fertilisation is important for strawberries because it helps establish healthy roots and promotes strong growth.
What should be included in the pre-planting fertilisation of strawberries?
The pre-planting fertilisation of strawberries should include incorporating organic matter, such as compost, and applying a balanced fertilizer rich in phosphorus and potassium.
When should early-season fertilisation of strawberries be done?
Early-season fertilisation of strawberries should be done when new growth starts emerging, usually in spring.
What nutrients should be provided during mid-season fertilisation of strawberries?
During mid-season fertilisation, strawberries should be provided with nitrogen-rich fertilisers to promote strong leaf growth and fruit development.
