- Preparing Garden Beds
- 1. Clearing the Bed
- 2. Testing the Soil
- 3. Loosening the Soil
- 4. Adding Organic Matter
- 5. Mulching the Bed
- Starting Seeds Indoors
- Why Start Seeds Indoors
- What Seeds to Start Indoors
- When to Start Seeds Indoors
- How to Start Seeds Indoors
- Caring for Seedlings
- Pruning Fruit Trees
- 1. Identify and remove diseased or damaged branches:
- 2. Thin out crowded branches:
- 3. Maintain an open center or desired shape:
- 4. Prune for size control:
- 5. Prune at the right time:
- Dividing Perennials
- 1. Choose the Right Plants
- 2. Prepare the Soil
- 3. Dig up the Plant
- 4. Divide the Plant
- 5. Replant and Water
- Planting Cool-Weather Vegetables
- 1. Choose the Right Vegetables
- 2. Prepare the Soil
- 3. Plant the Seeds
- 4. Provide Adequate Water
- 5. Protect from Frost
- Transplanting Seedlings
- Removing Winter Mulch
- Cleaning Garden Tools
- 1. Remove dirt and debris
- 2. Disinfect the tools
- 3. Sharpen the blades
- 4. Oil moving parts
- 5. Store tools properly
- Questions and Answers:
- What are some essential tasks for early spring gardening?
- How should I prepare the soil for gardening in early spring?
- When should I start pruning dormant plants in early spring?
- Can I start seeds indoors in early spring?
- What should I do to clean garden beds in early spring?
- How can I plan my garden layout for early spring?
- What are some other tasks I can do in early spring to prepare for gardening?
- Videos: Top 5 Microgreens You Must Grow
As the winter months come to an end and the weather begins to warm up, March is the perfect time to start preparing your garden for the upcoming spring season. Whether you’re an experienced gardener or just starting out, there are a few essential tasks that should be on your to-do list for this time of year. These tasks will help ensure the health and vitality of your plants, as well as lay the groundwork for a successful growing season.
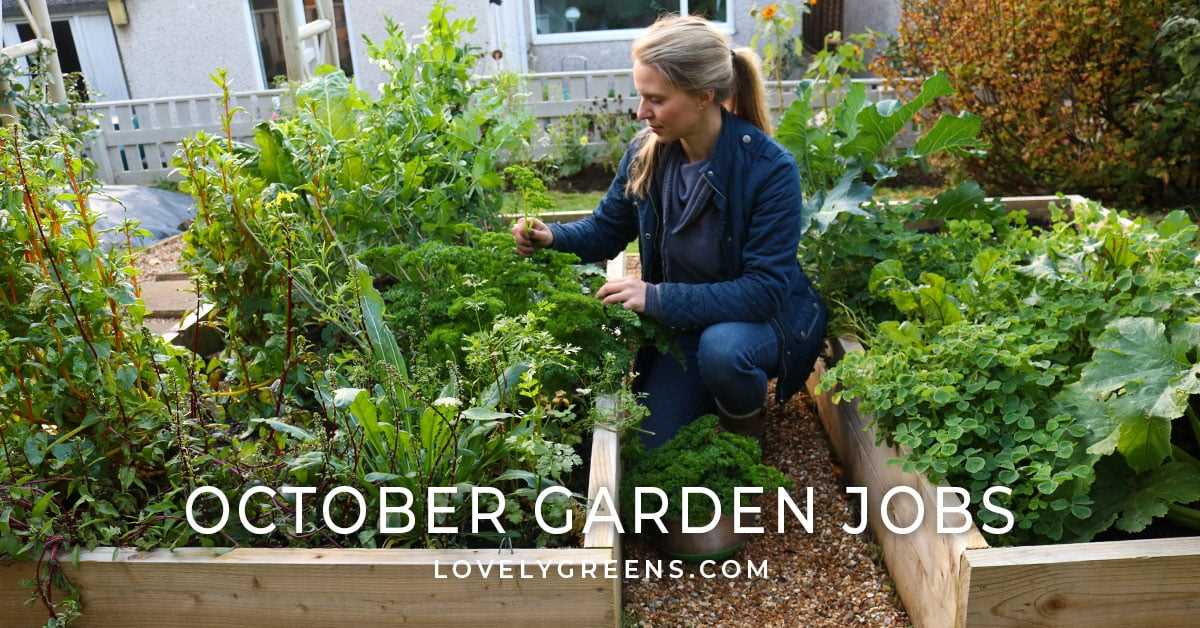
First and foremost, it’s important to clean up your garden after the long winter. Remove any debris, dead leaves, and leftover plant material that may be cluttering your beds and borders. This will not only make your garden look tidier, but it will also help prevent the spread of diseases and pests that may have overwintered in the debris.
Next, it’s time to prepare your soil for planting. March is a great time to add organic matter, such as compost or well-rotted manure, to your beds. This will help improve the structure and fertility of the soil, providing a nourishing environment for your plants. Apply a layer of organic matter and gently work it into the top few inches of soil using a garden fork or tiller.
March is also the perfect time to start planting cool season crops, such as lettuce, spinach, and peas. These plants thrive in cooler temperatures and will appreciate the early spring weather. Start seeds indoors or directly sow them in the garden, following the instructions on the seed packets for best results. Keep an eye on the weather forecast and protect young seedlings from late frosts with a frost cover or row cover.
Another important task for March is pruning. Take this time to prune fruit trees, roses, and other shrubs that require shaping and rejuvenation. Remove any dead or damaged branches, as well as any crossed or rubbing branches that may create a crowded canopy. Proper pruning will encourage healthy growth and improve the overall appearance of your plants.
Tip: When pruning, be sure to use clean, sharp tools to make clean cuts. Disinfect them between cuts and between plants to prevent the spread of diseases.
Lastly, don’t forget to give your garden a good watering. March can be a dry month in some areas, and plants may need a little extra moisture to get them through the last leg of winter. Water deeply and thoroughly, ensuring that the soil is evenly moist. Avoid watering during the hottest part of the day to reduce water loss through evaporation.
By tackling these five essential tasks for early spring, you’ll set the stage for a successful gardening season ahead. With a clean and tidy garden, enriched soil, well-pruned plants, and properly hydrated crops, you’ll be well on your way to enjoying a bountiful harvest and a beautiful outdoor space.
Preparing Garden Beds
1. Clearing the Bed
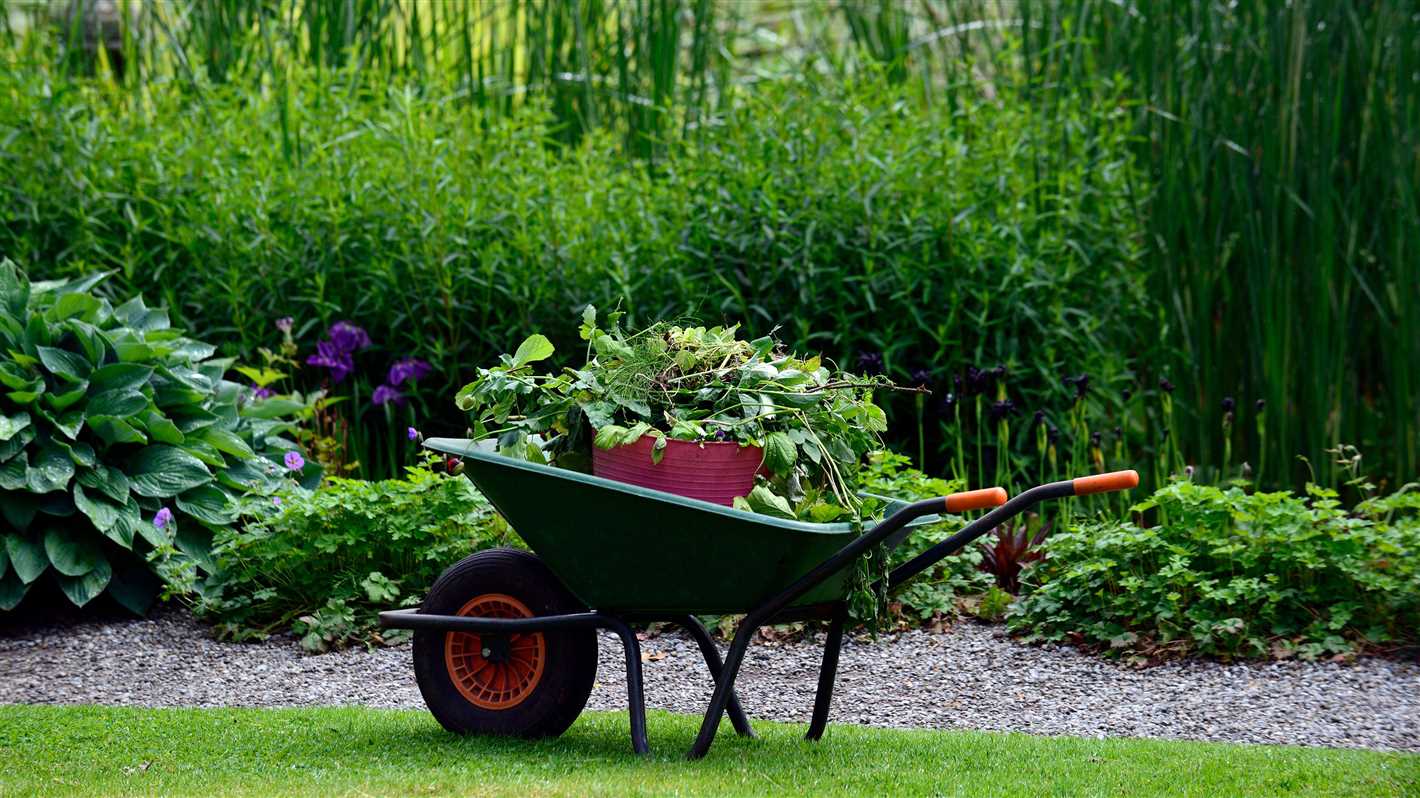
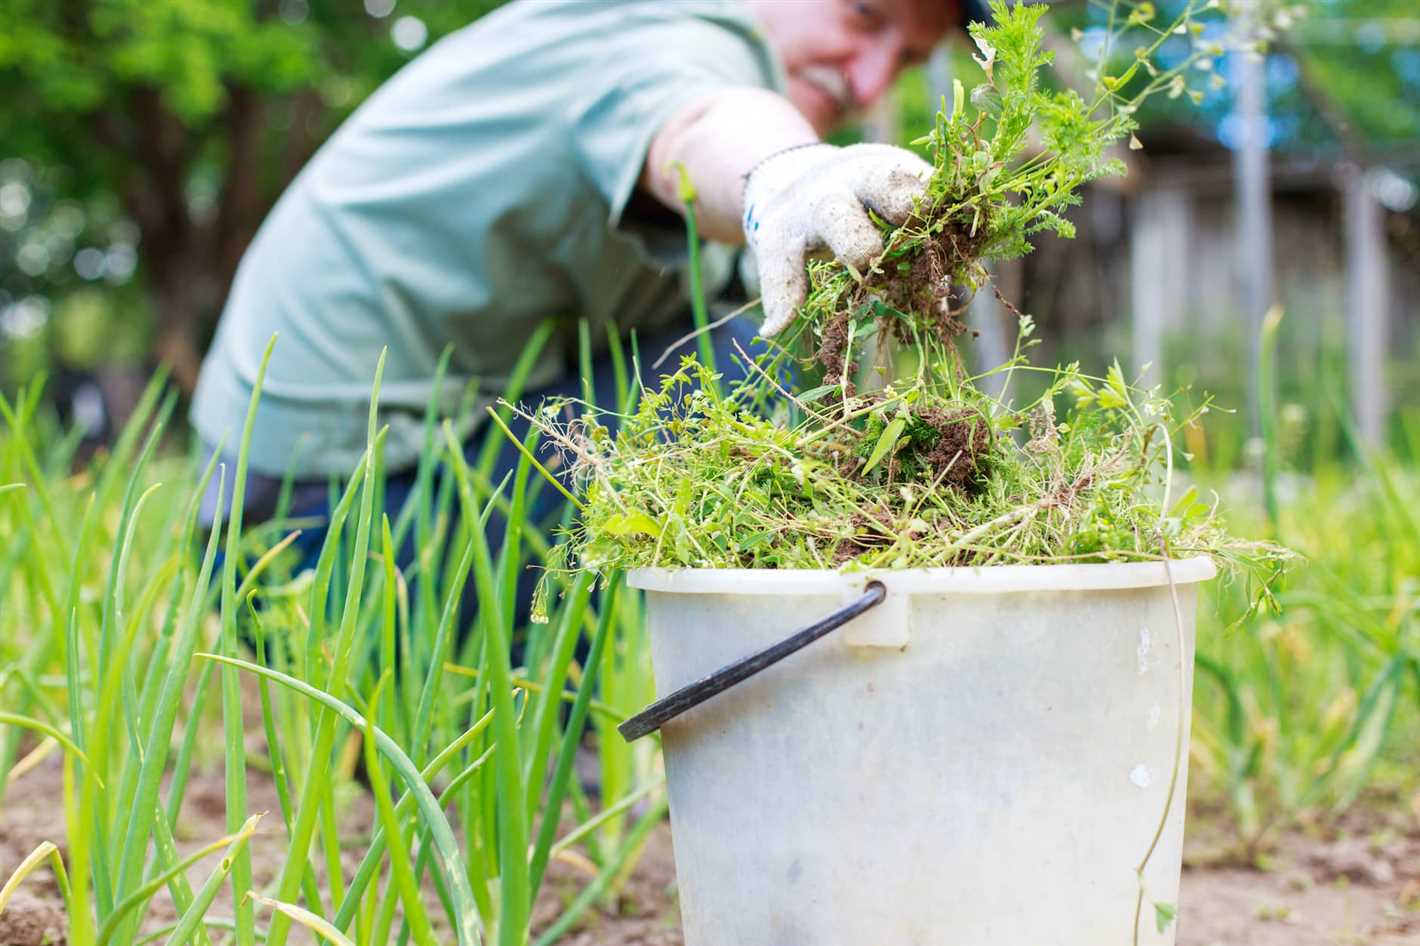
Before you can start planting in your garden beds, it’s important to clear them of any debris or weeds that may have accumulated over the winter. Use a rake or garden fork to remove leaves, twigs, and other organic matter from the surface of the bed. Pull out any weeds by hand or use a hoe to remove them.
2. Testing the Soil
Once the bed is cleared, it’s a good idea to test the pH and nutrient levels of the soil. This will help you determine if any amendments need to be made before planting. You can purchase a soil testing kit or send a sample to a local agricultural extension office for analysis. Based on the results, you may need to add organic matter, such as compost or manure, to improve the soil’s fertility.
3. Loosening the Soil
After testing the soil, it’s time to loosen it up. Use a garden fork or tiller to break up any compacted soil, which will allow plant roots to grow more easily. Avoid over-tilling, as this can damage the soil structure. Aim to loosen the soil to a depth of 6-8 inches.
4. Adding Organic Matter
As mentioned earlier, adding organic matter is often necessary to improve soil fertility. Spread a layer of compost or well-rotted manure over the bed and work it into the soil with a rake or garden fork. This will help enrich the soil and provide nutrients for your plants.
5. Mulching the Bed
Finally, apply a layer of mulch to the bed to help conserve moisture, suppress weeds, and regulate soil temperature. Use organic mulch, such as straw, wood chips, or shredded leaves, and spread it evenly over the soil surface. Aim for a thickness of 2-3 inches.
By following these steps, you’ll be well on your way to preparing your garden beds for a successful growing season. Remember to regularly water and care for your plants, and enjoy the fruits of your labor!
Starting Seeds Indoors
Why Start Seeds Indoors
Starting seeds indoors is a great way to get a jump-start on the growing season. By starting seeds indoors, you can extend the growing season and have your plants ready to transplant into the garden as soon as the weather warms up. This method also allows you to have more control over the growing conditions and can help you successfully grow plants that might not do well when directly sown outdoors.
What Seeds to Start Indoors
Not all seeds need to be started indoors. It’s best to start plants indoors that have a long growing season, such as tomatoes, peppers, and eggplants. These plants need a longer period of time to grow and produce fruit, so starting them indoors gives them a head start. Other plants, like lettuce, spinach, and radishes, can be directly sown in the garden as they have a shorter growing season.
When to Start Seeds Indoors
The timing for starting seeds indoors depends on the plant and your local climate. Generally, seeds should be started indoors 6-8 weeks before the last frost date in your area. This will give the plants enough time to grow and be ready for transplantation. It’s important to check the seed packet for specific instructions on when to start the seeds indoors.
How to Start Seeds Indoors
To start seeds indoors, you’ll need containers, seed starting mix, seeds, and a light source. Fill the containers with seed starting mix, moisten the mix, and plant the seeds according to the instructions on the seed packet. Place the containers in a warm and bright location, or use grow lights to provide adequate light for seed germination. Keep the soil moist but not waterlogged, and thin out the seedlings once they have grown a few inches tall.
Caring for Seedlings
As the seedlings grow, make sure to provide them with proper care. Ensure they receive enough light to prevent stretching and weak growth. Rotate the containers occasionally to encourage even growth. Water the seedlings when the soil feels dry, but be careful not to overwater. Once the seedlings have developed their first true leaves, you can start fertilizing them with a diluted fertilizer solution. Gradually acclimate the seedlings to outdoor conditions before transplanting them into the garden.
Starting seeds indoors can be a rewarding and cost-effective way to grow a wide variety of plants. With a little patience and care, you can have a successful seed starting experience and enjoy a bountiful garden.
Pruning Fruit Trees
Pruning fruit trees in early spring is an essential task to promote healthy growth, improve fruit production, and maintain an attractive shape. Here are some key tips for pruning fruit trees:
1. Identify and remove diseased or damaged branches:
Inspect the fruit tree for any branches that are diseased or damaged. These branches can hinder the overall health of the tree and affect fruit production. Use clean and sharp pruners to carefully remove these branches, cutting them back to healthy tissue.
2. Thin out crowded branches:
If the fruit tree has branches that are growing too close together or crossing each other, it’s important to thin them out. This allows better air circulation and sunlight penetration, reducing the risk of disease and promoting even fruit development. Remove the weaker or less productive branches, keeping the stronger ones for better fruit production.
3. Maintain an open center or desired shape:
Depending on the type of fruit tree, you may want to maintain an open center or a specific shape. Prune the tree accordingly to achieve the desired shape and to allow sunlight to reach all parts of the tree. This helps with fruit ripening and overall tree health.
4. Prune for size control:
If the fruit tree has grown too large, pruning can help control its size. Remove excessive branches and growth to keep the tree at a manageable height and width. Avoid drastic pruning, as this can stress the tree. Instead, opt for regular and moderate pruning to maintain size and shape.
5. Prune at the right time:
Pruning should ideally be done during late winter or early spring, before the tree starts to produce new growth. This timing allows the tree to heal and recover from pruning wounds before new growth begins. Avoid pruning during the late summer or fall, as it can stimulate new growth that may be susceptible to frost damage.
Remember, pruning is a skill that improves with practice. It is always a good idea to consult gardening resources or seek advice from experienced gardeners for specific pruning techniques for different fruit tree varieties.
Dividing Perennials
Dividing perennials is an important task to keep your garden healthy and thriving. March is a great time to divide many perennial plants as the ground begins to warm up and new growth starts to emerge. Here are some tips for dividing perennials in early spring:
1. Choose the Right Plants
Not all perennial plants can be divided successfully in early spring. Some plants are better divided in the fall or summer when they are not actively growing. Research the specific needs of your plants to determine the best time for division.
2. Prepare the Soil
Before dividing your perennials, prepare the soil by loosening it with a garden fork or tiller. This will make it easier to lift the plants and separate the roots.
3. Dig up the Plant
Using a shovel or garden fork, carefully dig up the entire plant, making sure to include as much of the root system as possible. Be gentle to avoid damaging the roots.
4. Divide the Plant
Once the plant is lifted from the ground, use a sharp knife, pruning shears, or your hands to divide the plant into multiple sections. Each section should have its own set of roots and shoots.
5. Replant and Water
After dividing the plant, replant each section in a new location, making sure to plant at the same depth as before. Water the newly divided plants thoroughly to help them establish in their new spots.
Dividing perennials not only helps control their size and spread, but it also rejuvenates the plants, promoting healthier growth and more blooms. By following these steps, you can ensure the successful division of your perennials and create a more vibrant and diverse garden.
Planting Cool-Weather Vegetables
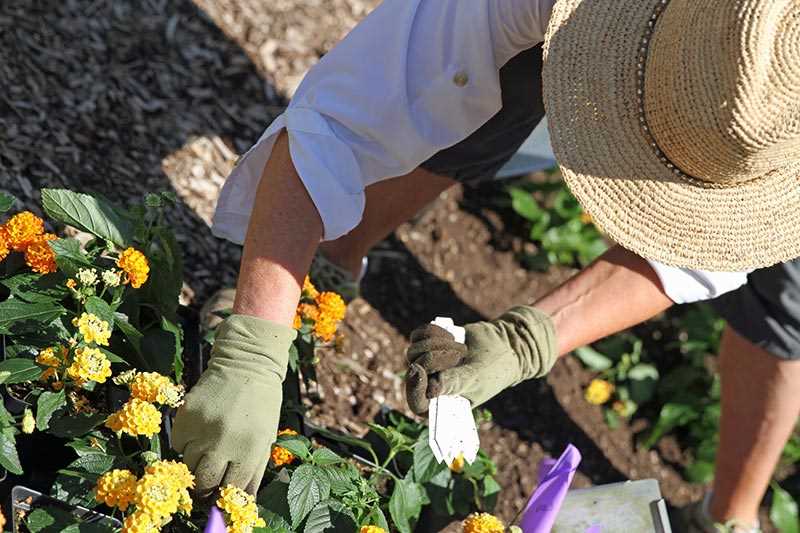
March is the perfect time to start planting cool-weather vegetables in your garden. These plants thrive in cooler temperatures and can withstand frost, making them ideal for early spring planting. Here are some essential tasks for planting cool-weather vegetables:
1. Choose the Right Vegetables
Before you start planting, make sure to choose the right vegetables for the cool weather. Some popular options include lettuce, spinach, kale, broccoli, cauliflower, and radishes. These vegetables can tolerate cooler temperatures and even prefer them for optimal growth.
2. Prepare the Soil
Prepare the soil by removing any weeds or debris and loosening it with a garden fork or tiller. Add compost or organic matter to improve the soil’s fertility and drainage. Cool-weather vegetables prefer well-drained soil, so make sure the soil is not compacted.
3. Plant the Seeds
Follow the instructions on the seed packets for proper spacing and depth. Most cool-weather vegetables should be planted about 1/4 to 1/2 inch deep and spaced according to the recommendations. Create rows or raised beds for easier maintenance and weed control.
4. Provide Adequate Water

Water the newly planted seeds gently and regularly to keep the soil moist. Avoid overwatering, as this can lead to root rot and other plant diseases. Use a watering can or a gentle spray nozzle on your hose to provide a light and even watering. Check the soil moisture regularly to ensure it stays damp but not soggy.
5. Protect from Frost
Although cool-weather vegetables can tolerate frost, it’s still important to protect them from extreme temperature drops. Cover your plants with row covers or cloths during cold nights or use a portable cold frame to provide extra insulation. Remove the covers during the day to allow sunlight and airflow.
By following these steps, you can successfully plant cool-weather vegetables in your garden and enjoy a bountiful harvest in the early spring. Remember to monitor your plants’ progress and make adjustments as needed, such as thinning seedlings or providing additional support for taller plants.
Transplanting Seedlings

Transplanting seedlings is an important task in early spring gardening. It involves moving young plants from their nursery containers to their final growing location in the garden. Here are some essential steps to follow when transplanting seedlings:
- Prepare the soil: Before transplanting, make sure the soil in the garden bed is well-prepared. Remove any weeds or debris and break up clumps of soil. Add compost or organic matter to improve soil fertility.
- Choose the right time: Transplant seedlings when they have developed a strong root system and a few sets of true leaves. Avoid transplanting during extreme weather conditions, such as very hot or cold temperatures.
- Water the seedlings: Water the seedlings thoroughly before transplanting to ensure they are well-hydrated. This will help minimize transplant shock and increase their chances of survival in the garden.
- Dig the planting holes: Dig holes in the garden bed that are slightly larger than the root ball of each seedling. Space the holes according to the recommended spacing for the specific plant.
- Transplant the seedlings: Carefully remove each seedling from its container and gently loosen the roots. Place the seedling in the prepared hole, making sure it is at the same depth as it was in the container. Backfill the hole with soil, firming it gently around the seedling.
After transplanting, it is important to water the seedlings again and provide them with proper care, such as regular watering and protection from pests and harsh weather conditions. Transplant shock is common after the transplanting process, but with proper care, the seedlings will soon adapt and start growing in their new location.
Removing Winter Mulch
As the weather starts to warm up in March, it is time to remove the winter mulch from your garden. Winter mulch, such as leaves or straw, is used to protect plants from the cold temperatures during the winter months. However, leaving the mulch in place for too long can be detrimental to plant health.
Here are some important steps to follow when removing winter mulch:
- Assess the weather: Before removing the mulch, make sure that the worst of the winter frost has passed. Check the weather forecast for any signs of freezing temperatures.
- Carefully rake away the mulch: Use a rake or a garden fork to gently remove the mulch from around your plants. Be careful not to damage any emerging shoots or buds.
- Avoid piling up mulch: As you remove the mulch, avoid piling it up in one area. Instead, spread it out evenly in the garden or use it as compost.
- Inspect the plants: Take this opportunity to inspect your plants for any signs of disease or pest infestation. Remove any dead or damaged foliage.
- Consider replacing the mulch: After removing the winter mulch, you may want to consider adding a new layer of mulch to help retain moisture and suppress weed growth throughout the growing season.
Removing the winter mulch is an important task to prepare your garden for the upcoming spring. By following these steps, you can ensure the health and vitality of your plants as they start to emerge from their winter dormancy.
Cleaning Garden Tools
Garden tools are essential for maintaining a healthy and thriving garden. However, without proper care, they can become dull, rusty, and ineffective. Cleaning your garden tools regularly not only extends their lifespan but also helps prevent the spread of diseases and pests. Here are some essential steps to clean your garden tools:
1. Remove dirt and debris
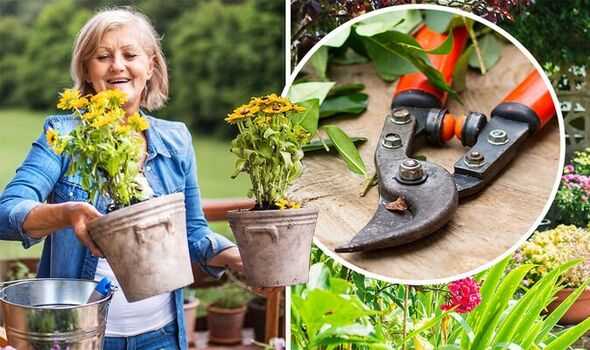
Before cleaning your garden tools, it’s important to remove any dirt, mud, or debris. Use a stiff brush or a wire brush to scrub off any soil or plant matter stuck on the tools. Make sure to clean both the blades and handles thoroughly.
2. Disinfect the tools
To prevent the spread of diseases in your garden, disinfecting your tools is crucial. Fill a bucket with a mixture of water and a disinfecting solution, such as bleach or hydrogen peroxide. Soak the blades of your tools in the solution for a few minutes to kill any pathogens. Rinse the tools with clean water and dry them thoroughly.
3. Sharpen the blades
Dull blades can make gardening tasks more difficult and less efficient. Take the time to sharpen the blades of your garden tools, such as pruners, shears, and hoes. You can use a sharpening stone or a file to restore their sharpness. Always follow the manufacturer’s instructions when sharpening your tools.
4. Oil moving parts
To prevent rust and keep your tools in good working condition, oil the moving parts. Apply a few drops of lubricating oil or machine oil to the hinges, screws, and other moving parts of your garden tools. Wipe off any excess oil with a clean cloth to avoid attracting dirt and dust.
5. Store tools properly
After cleaning and oiling your garden tools, store them properly to maintain their condition. Hanging them on a wall or storing them in a shed or garage can help prevent rust and damage. Consider using hooks, pegboards, or tool racks to keep your tools organized and easily accessible.
By following these steps, you can ensure that your garden tools are clean, sharp, and ready for the upcoming gardening season. Regularly cleaning and maintaining your tools will not only improve their performance but also make your gardening tasks more enjoyable.
Questions and Answers:
What are some essential tasks for early spring gardening?
Some essential tasks for early spring gardening include preparing the soil, pruning dormant plants, starting seeds indoors, cleaning garden beds, and planning the garden layout.
How should I prepare the soil for gardening in early spring?
To prepare the soil for gardening in early spring, you should remove any weeds or debris, loosen the soil with a garden fork or tiller, and add compost or organic matter to improve its fertility and structure.
When should I start pruning dormant plants in early spring?
It is best to start pruning dormant plants in early spring before new growth begins. Prune away dead or damaged branches, shape the plants, and remove any crossing or overcrowded branches.
Can I start seeds indoors in early spring?
Yes, you can start seeds indoors in early spring. This allows them to germinate and grow into healthy seedlings before being transplanted into the garden once the weather warms up.
What should I do to clean garden beds in early spring?
To clean garden beds in early spring, you should remove any dead plants or plant debris, pull out any weeds, and gently cultivate the soil to remove any remaining weeds or weeds seeds.
How can I plan my garden layout for early spring?
To plan your garden layout for early spring, consider factors such as sunlight exposure, soil conditions, and the mature size of plants. Sketch a design, choose the plants you want to grow, and decide where to plant them in your garden.
What are some other tasks I can do in early spring to prepare for gardening?
In addition to the essential tasks mentioned, you can also divide and transplant perennials, clean and sharpen garden tools, remove winter mulch, and take steps to prevent pests and diseases in your garden.


