- Importance of Chrysanthemum Seedlings
- Choosing the Right Seeds
- 1. Variety
- 2. Zone Compatibility
- 3. Growth Habit
- 4. Flowering Time
- 5. Disease Resistance
- Preparing the Soil
- Sowing Chrysanthemum Seeds
- 1. Prepare the Soil
- 2. Select the Seeds
- 3. Sow the Seeds
- 4. Provide Proper Care
- 5. Transplant the Seedlings
- Providing Proper Care
- 1. Watering
- 2. Fertilizing
- 3. Providing Support
- 4. Pruning
- 5. Protecting from Pests and Diseases
- Transplanting Seedlings
- When to transplant
- Preparing the seedlings
- Transplanting process
- Caring for transplanted seedlings
- Protecting Seedlings from Pests and Diseases
- 1. Keep the growing area clean
- 2. Water properly
- 3. Use organic pest control
- 4. Monitor for pests and diseases
- 5. Provide proper ventilation
- 6. Mulch the soil
- 7. Practice crop rotation
- Harvesting and Pickling Chrysanthemum Seedlings
- Harvesting Chrysanthemum Seedlings
- Pickling Chrysanthemum Seedlings
- Note:
- Questions and Answers:
- What is the optimal time to sow chrysanthemum seeds?
- Can I sow chrysanthemum seeds directly into the ground?
- What kind of soil should I use to sow chrysanthemum seeds?
- How deep should I sow the chrysanthemum seeds?
- How often should I water the chrysanthemum seedlings?
- When can I start picking the chrysanthemum seedlings?
- Videos: How To Grow Flower Seeds Fast (With Update)
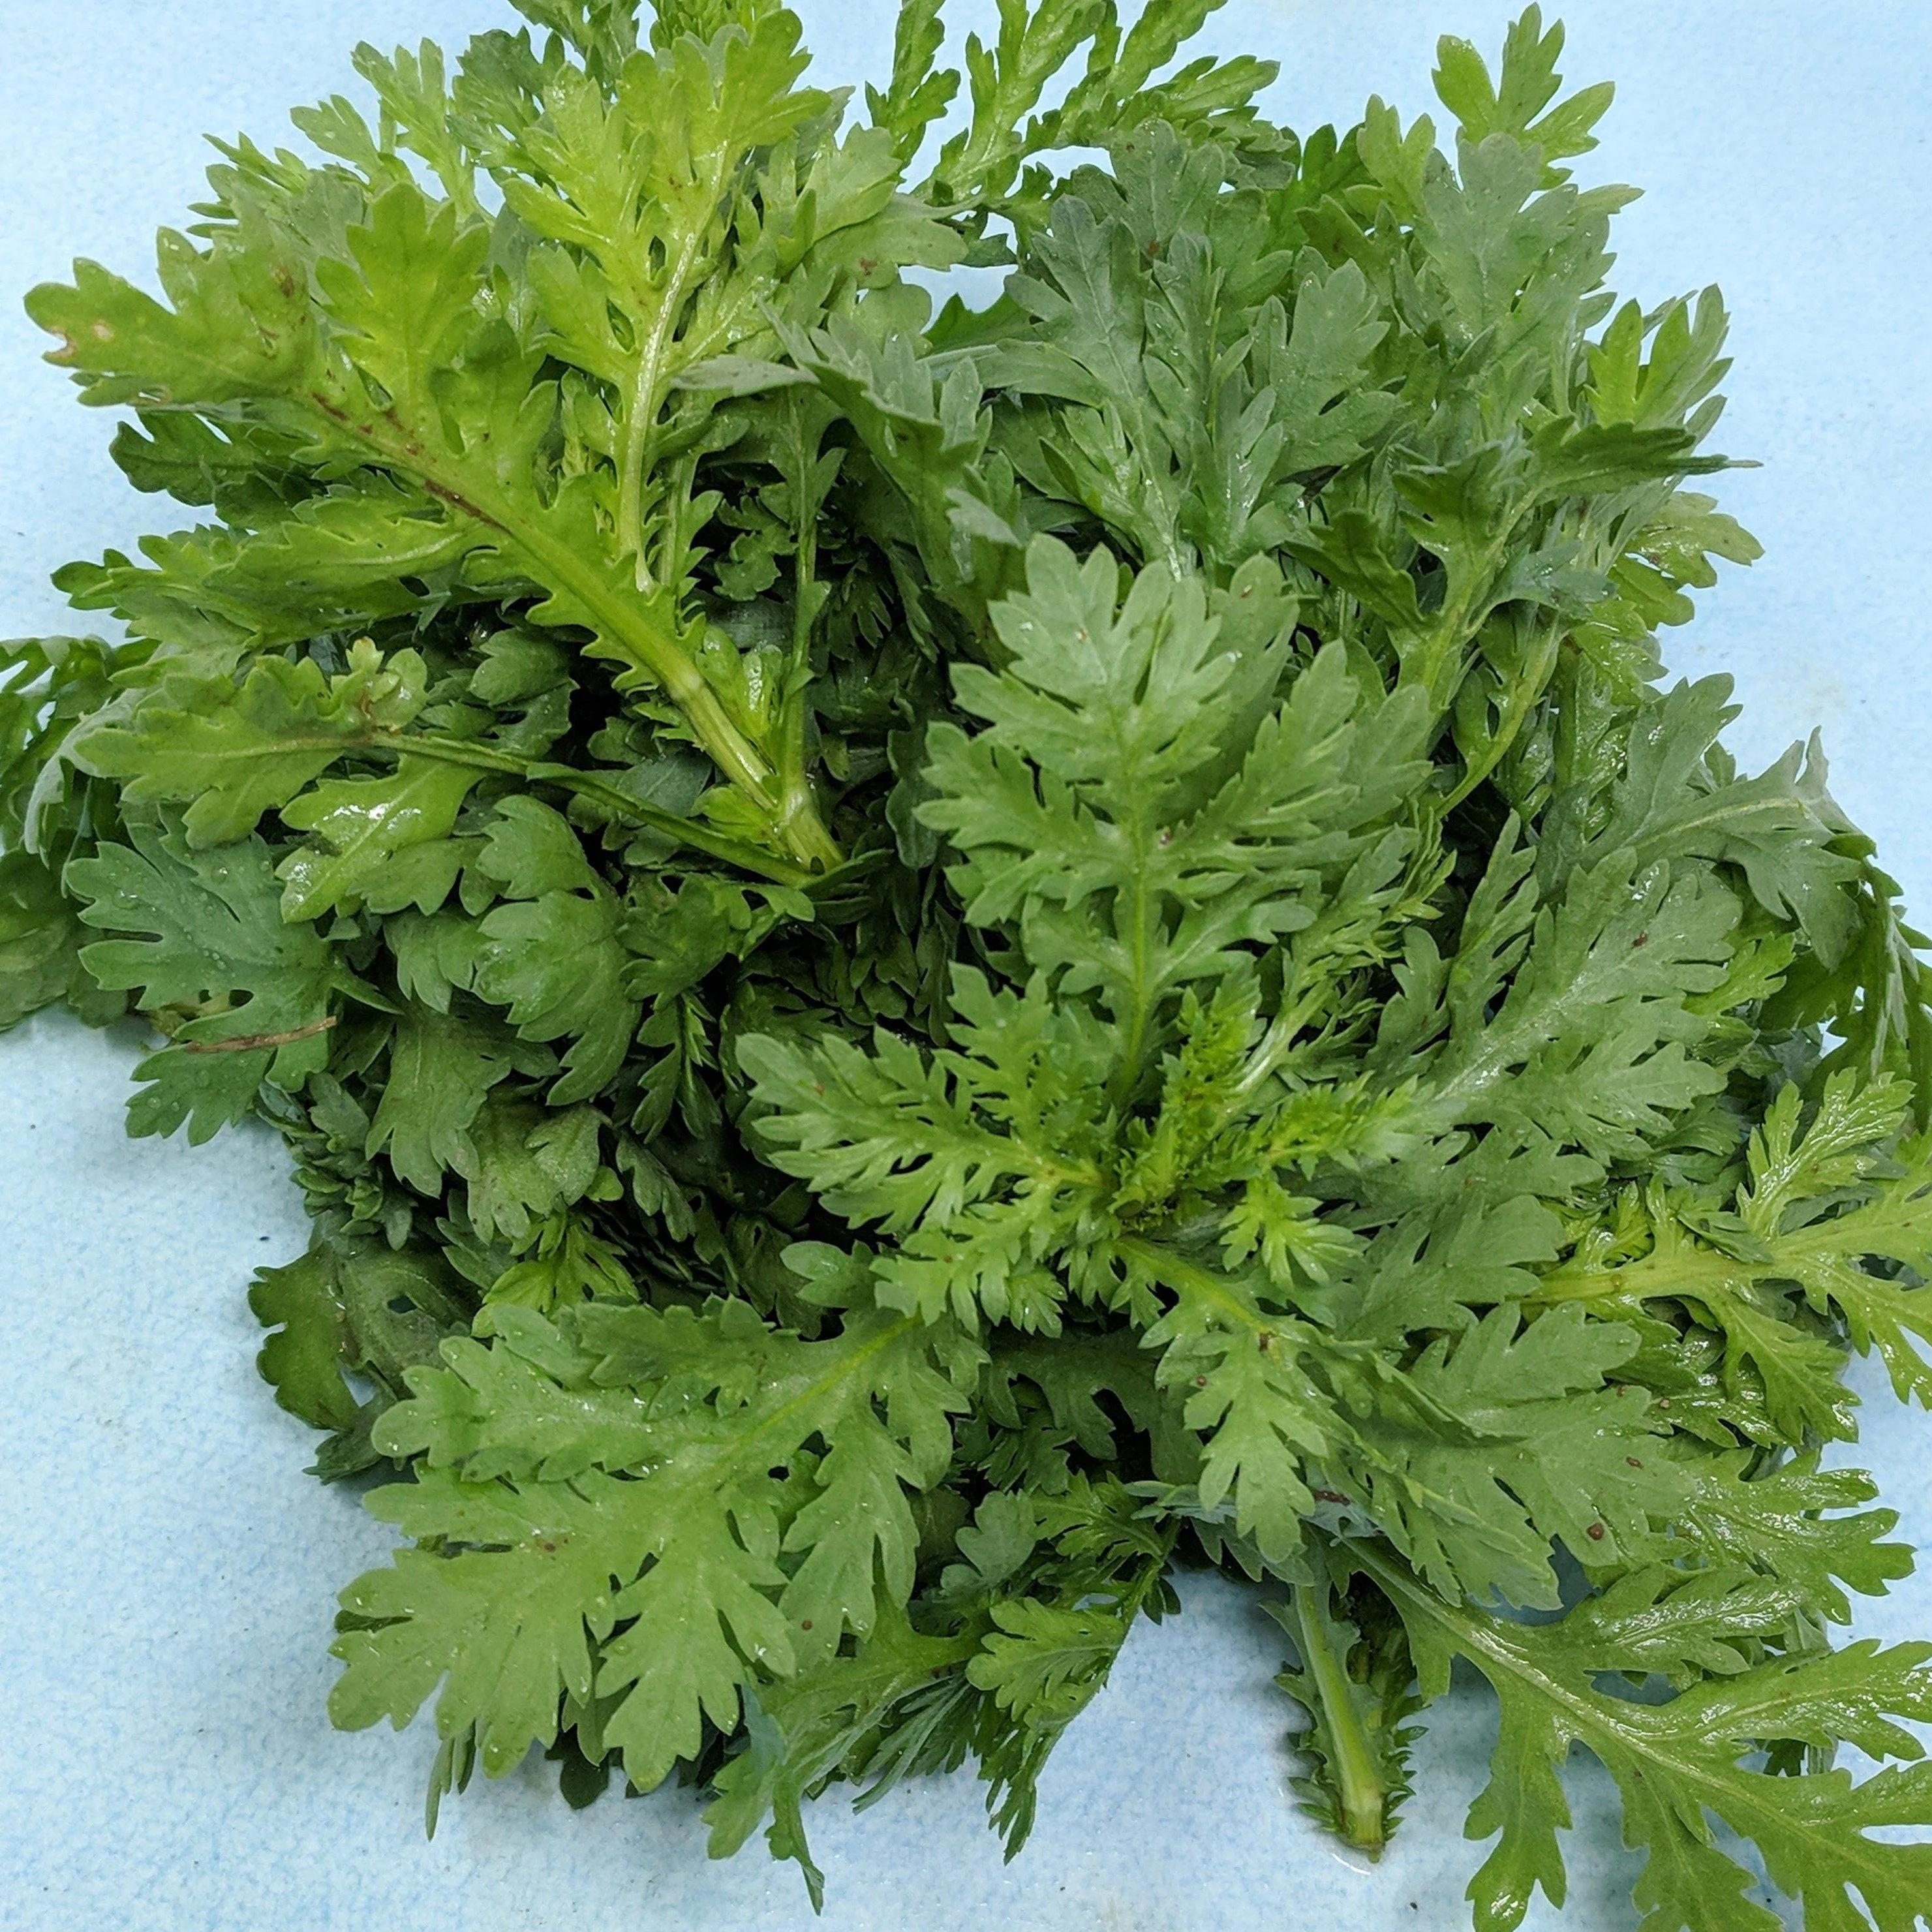
If you’ve ever wanted to grow your own chrysanthemum seedlings, this guide is for you. Chrysanthemums are beautiful flowers that come in a variety of colors and sizes, and they can be grown from seed with a little bit of patience and care. In this article, we’ll walk you through the process of sowing chrysanthemum seeds and providing them with the right conditions to sprout and thrive.
Sowing Chrysanthemum Seeds:
Navigate to a well-lit area in your home or garden and gather the necessary supplies to sow your chrysanthemum seeds. You’ll need seed trays or pots, seed starting mix, and chrysanthemum seeds. Fill your trays or pots with the seed starting mix, ensuring that it is loose and well-draining. Make sure to water the mix before sowing the seeds, as this will help them to settle into the soil more easily.
Tip: Chrysanthemum seeds are incredibly small, so take care when handling them. It may be helpful to sprinkle the seeds onto a white surface, such as a saucer or piece of paper, so that you can better see them.
Once your trays or pots are filled with the seed starting mix, use a pencil or small stick to create shallow holes in the soil. Sow one or two seeds per hole, then lightly cover them with soil and gently press down. Be sure to label your trays or pots so that you know which seeds you’ve sown.
Providing the Right Conditions:
Chrysanthemum seedlings require a warm and well-lit environment to thrive. Place your trays or pots in a location that receives bright but indirect sunlight. If you’re sowing seeds indoors, you may need to supplement with fluorescent lights or grow lights.
Keep the soil consistently moist but not overly wet. Water from the bottom of the tray or pot to avoid disturbing the seeds, and remove any excess water that may accumulate in the tray or saucer. Check the moisture level daily and adjust your watering as needed. Seedlings should begin to emerge within 7 to 14 days.
Transplanting and Pickling:
Once your chrysanthemum seedlings have developed their first set of true leaves, they are ready to be transplanted into larger pots or containers. Carefully lift the seedlings from the trays or pots using a spoon or small trowel, taking care not to damage the delicate roots. Gently place each seedling into its new container, ensuring that there is enough space for root growth.
Continue to provide your chrysanthemum seedlings with bright, indirect light and keep the soil moist. As the plants grow, you can begin to fertilize them with a balanced, water-soluble fertilizer according to the package instructions. In a few weeks, your chrysanthemum seedlings will be ready to be planted outdoors or potted up for a beautiful display of vibrant blooms.
By following these steps and providing the right conditions, you can successfully grow your own chrysanthemum seedlings from start to finish. Enjoy the process and the satisfaction of watching your seedlings develop into stunning flowers that will brighten up any garden or landscape.
Importance of Chrysanthemum Seedlings
Chrysanthemum seedlings play a crucial role in the successful cultivation of chrysanthemums. These seedlings are the starting point of growing healthy and beautiful chrysanthemum plants. Here are a few reasons why chrysanthemum seedlings are important:
- Variety Selection: Chrysanthemum seedlings allow growers to select from a wide variety of chrysanthemum plants. This variety selection is important as it helps in creating a diverse and visually appealing garden or landscape.
- Early Start: Starting with seedlings gives growers an early start in the cultivation process. By sowing chrysanthemum seeds indoors or in a greenhouse, growers can extend the growing season and have mature plants ready for transplantation when the weather conditions are right.
- Controlled Environment: Growing chrysanthemum seedlings in a controlled environment gives growers the ability to monitor and adjust the conditions to ensure optimal growth. This includes controlling factors such as temperature, humidity, and light, which can greatly affect the development of the seedlings.
- Quality Assurance: By growing chrysanthemum seedlings, growers can ensure the quality and health of the plants right from the beginning. This allows for early detection and prevention of any potential diseases or pests, ensuring that only the strongest and healthiest seedlings are selected for transplantation.
- Cost-Effective: Growing chrysanthemum seedlings from seeds is a cost-effective method compared to buying established plants. This is especially beneficial for large-scale growers or hobbyists who want to save money while enjoying the process of growing their own chrysanthemum plants.
In summary, chrysanthemum seedlings are of utmost importance in the cultivation of chrysanthemum plants. They offer a wide variety of choices, allow for an early start, provide a controlled environment, ensure quality assurance, and are cost-effective. Starting with healthy and robust seedlings sets the foundation for successful chrysanthemum cultivation and ensures the growth of beautiful and vibrant flowers.
Choosing the Right Seeds
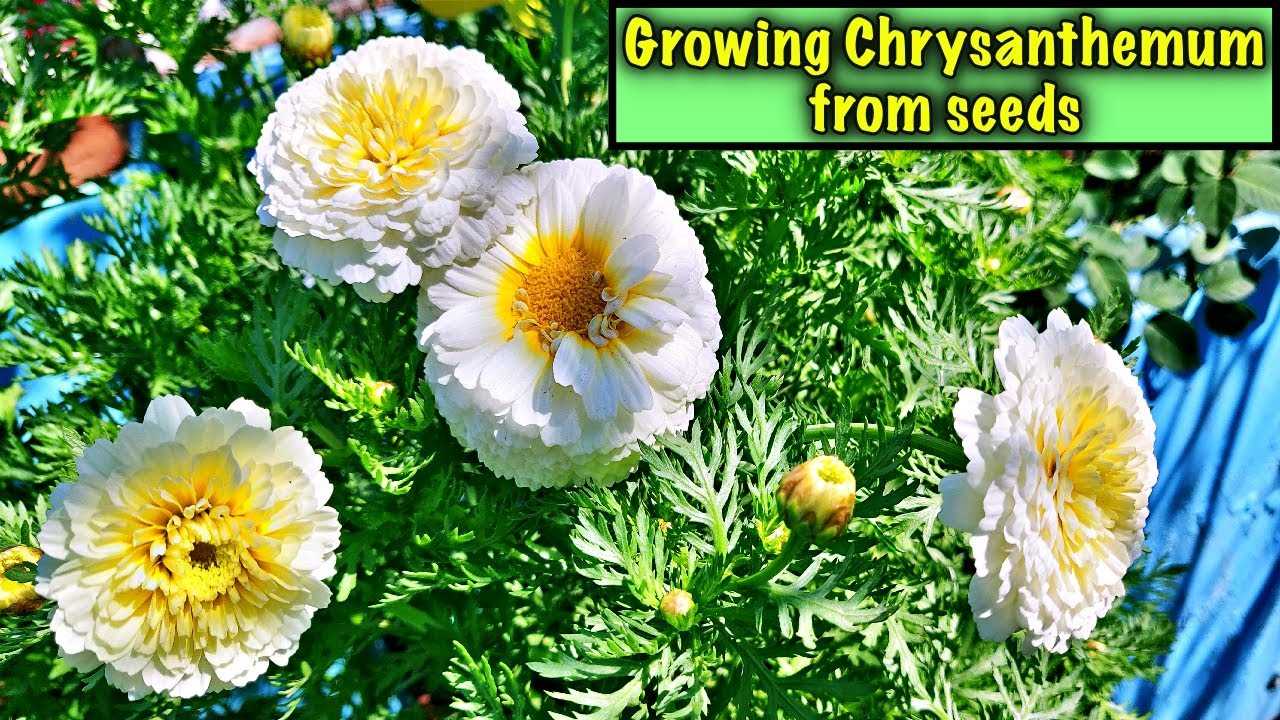
Chrysanthemums are beautiful flowering plants that come in a variety of colors and forms. When choosing the right seeds for your chrysanthemum seedlings, there are a few factors to consider:
1. Variety
Chrysanthemum varieties vary greatly in terms of flower shape, size, color, and growth habit. Some common varieties include daisy, spider, pompon, and decorative chrysanthemums. Consider the desired look and purpose of your chrysanthemum seedlings to select the appropriate variety.
2. Zone Compatibility
Chrysanthemums have different cold hardiness and heat tolerance levels, so it is important to choose seeds that are suitable for your specific planting zone. Check the seed packaging or consult a local gardening expert to determine which varieties are best suited for your climate.
3. Growth Habit
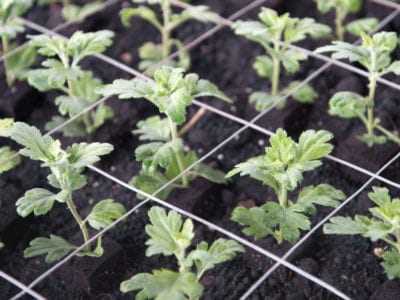
Chrysanthemums can have different growth habits, including compact, bushy, or trailing. The growth habit not only affects the overall appearance of the plant but also determines how well it fits in your garden or containers. Consider the available space and the desired arrangement to choose a seed variety with the appropriate growth habit.
4. Flowering Time
Chrysanthemums bloom at different times, depending on the variety. Some bloom in early summer, while others bloom in late summer or fall. Consider the desired flowering time to ensure a continuous display of blooms in your garden or to plan for specific events or occasions.
5. Disease Resistance
Chrysanthemums can be susceptible to certain diseases, such as powdery mildew or leaf spots. When choosing seeds, look for varieties that have resistance to common chrysanthemum diseases. This will help ensure that your seedlings stay healthy and produce vibrant flowers for a longer period.
Remember: Read the seed packaging or consult a reputable supplier to obtain specific information about the chrysanthemum seeds you are considering. Taking the time to choose the right seeds will increase the chances of success and produce beautiful chrysanthemum seedlings.
Preparing the Soil
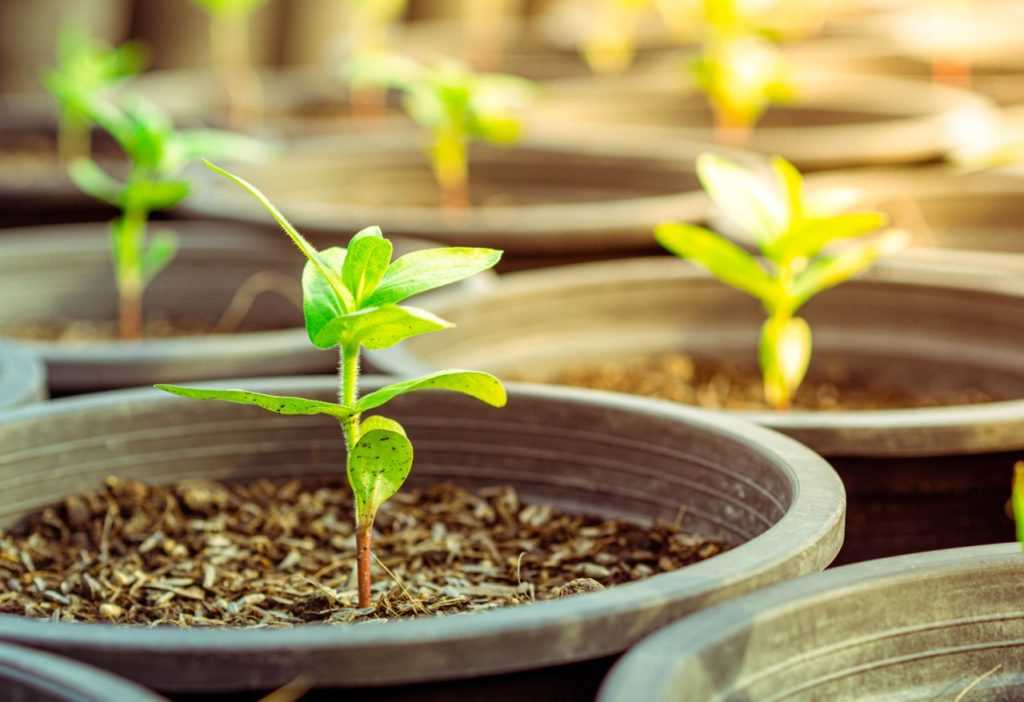
Proper soil preparation is essential for successful chrysanthemum seedling growth. Follow these steps to prepare the soil:
- Choose the right location: Select a site that receives at least six hours of direct sunlight each day. Chrysanthemums prefer well-draining soil, so avoid areas that tend to hold water.
- Remove any existing weeds: Clear the area of any weeds or grass, as they can compete with the chrysanthemum seedlings for nutrients and water.
- Loosen the soil: Use a garden fork or a tiller to loosen the soil to a depth of about 12 inches. This will improve aeration and drainage, allowing the roots to grow more easily.
- Amend the soil: Chrysanthemums prefer slightly acidic to neutral soil with a pH between 6.0 and 7.0. Test the soil and make any necessary adjustments by adding lime to raise the pH or sulfur to lower it.
- Add organic matter: Incorporate organic matter into the soil to improve its fertility and structure. Compost, well-rotted manure, or leaf mold can be added and mixed thoroughly.
- Apply slow-release fertilizer: Chrysanthemums benefit from a balanced fertilizer with a ratio of 10-10-10 or 14-14-14. Spread the fertilizer evenly over the soil surface and mix it in thoroughly.
Once the soil is prepared, it is ready for sowing the chrysanthemum seeds and transplanting the seedlings.
Sowing Chrysanthemum Seeds
When it comes to growing chrysanthemum seedlings, starting from seeds is a cost-effective and rewarding method. Here are some steps to help you successfully sow chrysanthemum seeds:
1. Prepare the Soil
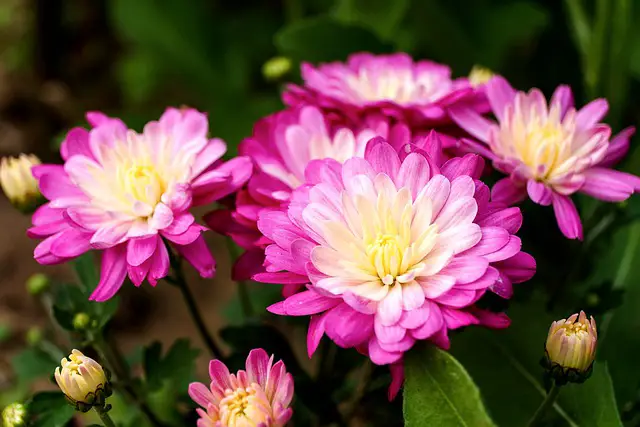
The first step is to prepare the soil for sowing chrysanthemum seeds. Make sure to choose a well-draining soil that is rich in organic matter. Loosen the soil and remove any weeds or debris that may hinder seed germination.
2. Select the Seeds
Choose high-quality chrysanthemum seeds for sowing. Look for seeds that are healthy and free from any signs of damage or disease. You can find a variety of chrysanthemum seeds in gardening stores or online.
3. Sow the Seeds
There are two methods for sowing chrysanthemum seeds: direct sowing and indoor sowing.
Direct Sowing: Sow the chrysanthemum seeds directly into the prepared soil outdoors. Make small holes in the soil, approximately 1/4 inch deep, and space them according to the seed packet instructions. Gently place the seeds in the holes and cover them with soil. Water the soil lightly to ensure proper moisture.
Indoor Sowing: If you prefer to start the seeds indoors, fill seed trays or pots with a seed-starting mix. Moisten the mix before sowing the seeds. Scatter the seeds on the moistened soil and lightly cover them with a thin layer of the mix. Place the trays or pots in a warm location with indirect sunlight.
4. Provide Proper Care
Regardless of the sowing method, chrysanthemum seeds require consistent moisture and warmth for germination to occur. Keep the soil moist but not waterlogged. Cover the seed trays or pots with a plastic wrap or use a seedling heat mat to provide the necessary warmth.
Note: Chrysanthemum seeds typically take around 7 to 14 days to germinate.
5. Transplant the Seedlings
Once the chrysanthemum seedlings have developed a few true leaves, they are ready to be transplanted into individual pots or the garden. Choose a sunny location with well-draining soil for transplantation.
Tips:
- Provide adequate spacing between the seedlings to promote proper air circulation.
- Fertilize the seedlings regularly with a balanced fertilizer to promote healthy growth.
- Protect the seedlings from pests and diseases by practicing good garden hygiene.
By following these steps and providing proper care, you can successfully sow chrysanthemum seeds and enjoy beautiful blooms in your garden.
Providing Proper Care
Providing proper care is essential for the healthy growth of chrysanthemum seedlings. Here are some guidelines to follow:
1. Watering
Regular watering is important to keep the soil evenly moist. Avoid overwatering as it can lead to root rot. It is advisable to water the plants in the morning to allow the foliage to dry before nightfall.
2. Fertilizing
Chrysanthemum seedlings require regular feeding to promote healthy growth. Use a balanced liquid fertilizer once every two weeks during the growing season. Make sure to follow the instructions on the fertilizer packaging for the appropriate dosage.
3. Providing Support
As the chrysanthemum seedlings grow taller, they may need support to prevent them from bending or breaking. Use bamboo stakes or other suitable supports to keep the plants upright. Tie the stems gently to the supports using soft twine or garden ties.
4. Pruning
To encourage bushier growth and more flower buds, pinch back the tips of the chrysanthemum seedlings when they reach a height of 6 inches. Pinching back can be done by using your thumb and forefinger to remove the top inch of each stem.
5. Protecting from Pests and Diseases
Monitor the chrysanthemum seedlings regularly for any signs of pests or diseases. Common pests that may affect chrysanthemums include aphids, snails, and slugs. If identified, take appropriate measures to control the pests, such as using insecticidal soap or organic pest control methods. Additionally, ensure proper air circulation by providing adequate spacing between the seedlings to reduce the risk of disease.
By following these guidelines and providing proper care, you can help your chrysanthemum seedlings grow into healthy and beautiful mature plants.
Transplanting Seedlings
Transplanting seedlings is an essential step in the process of growing chrysanthemums. It is important to carefully transplant your seedlings to ensure their proper development and growth.
When to transplant
The ideal time to transplant chrysanthemum seedlings is when they have developed their first set of true leaves. This usually occurs around 4-6 weeks after sowing the seeds. At this stage, the seedlings are strong enough to withstand the transplanting process.
Preparing the seedlings
Prior to transplanting, it is essential to prepare the seedlings for the move. Start by watering the seedlings thoroughly a day before transplanting. This will help loosen the soil and make it easier to remove the seedlings from their containers.
Carefully remove the seedlings from their containers by gently squeezing the sides of the container or using a small garden trowel to loosen the soil. Be careful not to damage the delicate roots.
Transplanting process
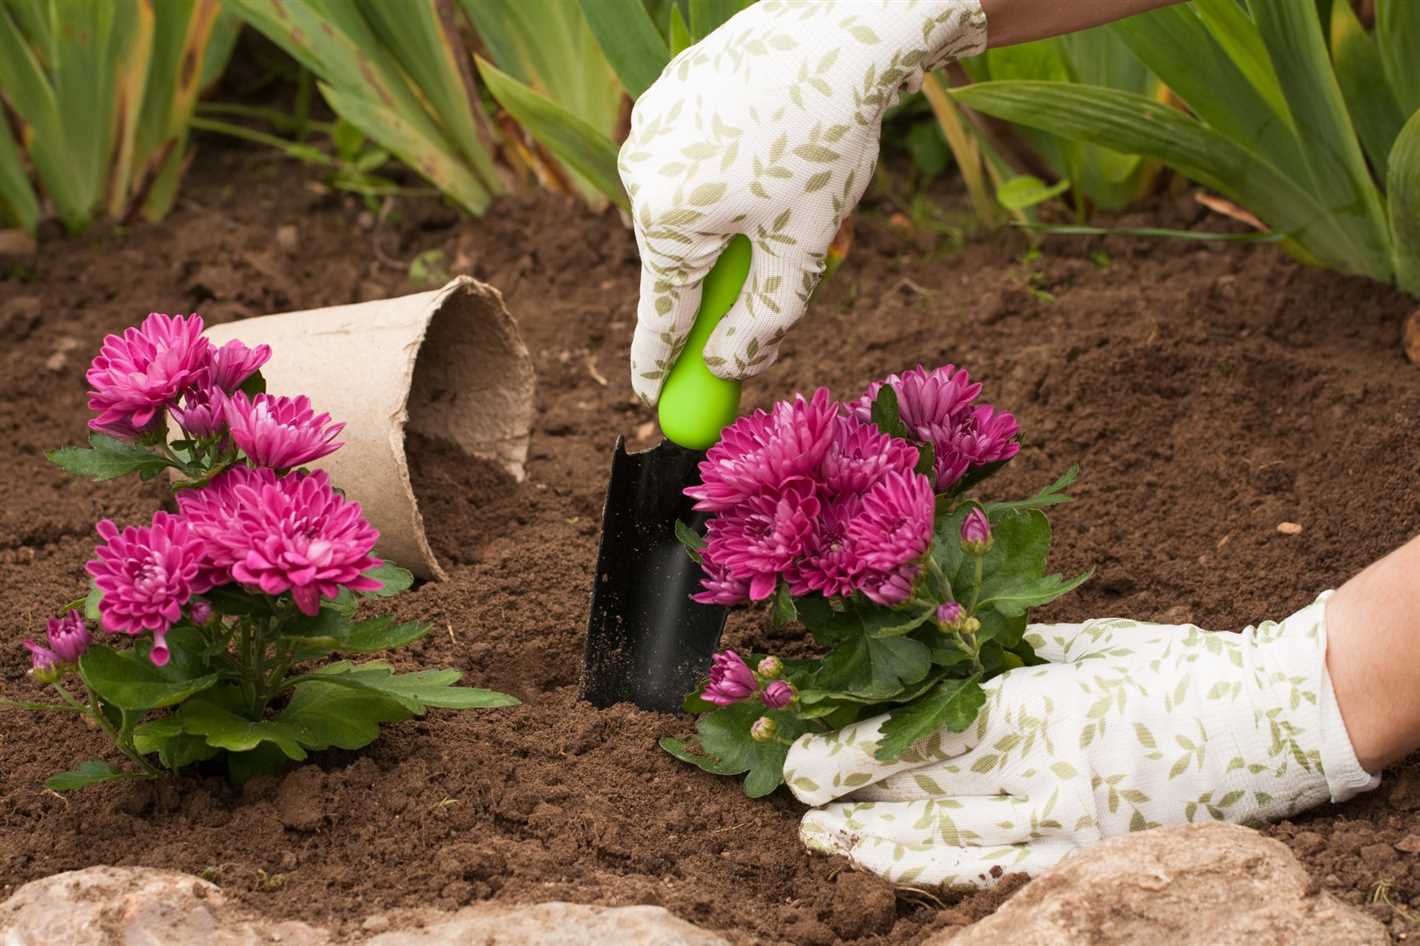
Choose a well-draining location in your garden to transplant the seedlings. Dig a hole that is slightly larger than the rootball of the seedling.
Place the seedling into the hole, making sure the top of the rootball is level with the ground. Gently press the soil around the seedling to secure it in place.
Water the transplanted seedlings thoroughly to help settle the soil and ensure that they receive enough moisture.
Caring for transplanted seedlings
After transplanting, it is important to provide proper care to help the seedlings establish themselves in their new location.
Regularly water the transplanted seedlings, keeping the soil moist but not waterlogged. Avoid overwatering as it can lead to root rot.
Protect the newly transplanted seedlings from excessive wind or harsh weather conditions. Consider using stakes or a protective covering to help shield them from strong winds.
If necessary, you can also apply a diluted liquid fertilizer to help promote healthy growth. Follow the instructions on the fertilizer package for proper dilution rates and application methods.
By following these transplanting guidelines, you can ensure the successful growth and development of your chrysanthemum seedlings.
Protecting Seedlings from Pests and Diseases
When growing chrysanthemum seedlings, it’s important to protect them from common pests and diseases that can hinder their growth or even cause death. Here are some steps you can take to ensure the health of your seedlings:
1. Keep the growing area clean
Remove any fallen plant debris or dead leaves from the growing area regularly. This will help minimize the chances of pests and diseases finding a home in the vicinity of your seedlings.
2. Water properly

Overwatering can create ideal conditions for fungal diseases to thrive. Avoid watering the foliage and focus on watering the soil instead. Use a watering can or a drip irrigation system to deliver water directly to the root zone.
3. Use organic pest control
Avoid using chemical pesticides on your seedlings, as they can be harmful to both the environment and beneficial insects. Instead, opt for organic pest control methods like introducing beneficial insects such as ladybugs or lacewings, or using natural pest repellents like neem oil or garlic spray.
4. Monitor for pests and diseases
Regularly inspect your seedlings for any signs of pest infestation or diseases. Look for chewed leaves, discolored spots, or wilting. If you notice any problems, take immediate action to prevent further spread. Remove any affected plants or leaves and treat the seedlings with an appropriate organic solution.
5. Provide proper ventilation
A well-ventilated growing area is less likely to suffer from fungal diseases. Ensure that there is good air circulation around your seedlings by providing adequate spacing between plants and using fans or open windows to promote air movement.
6. Mulch the soil
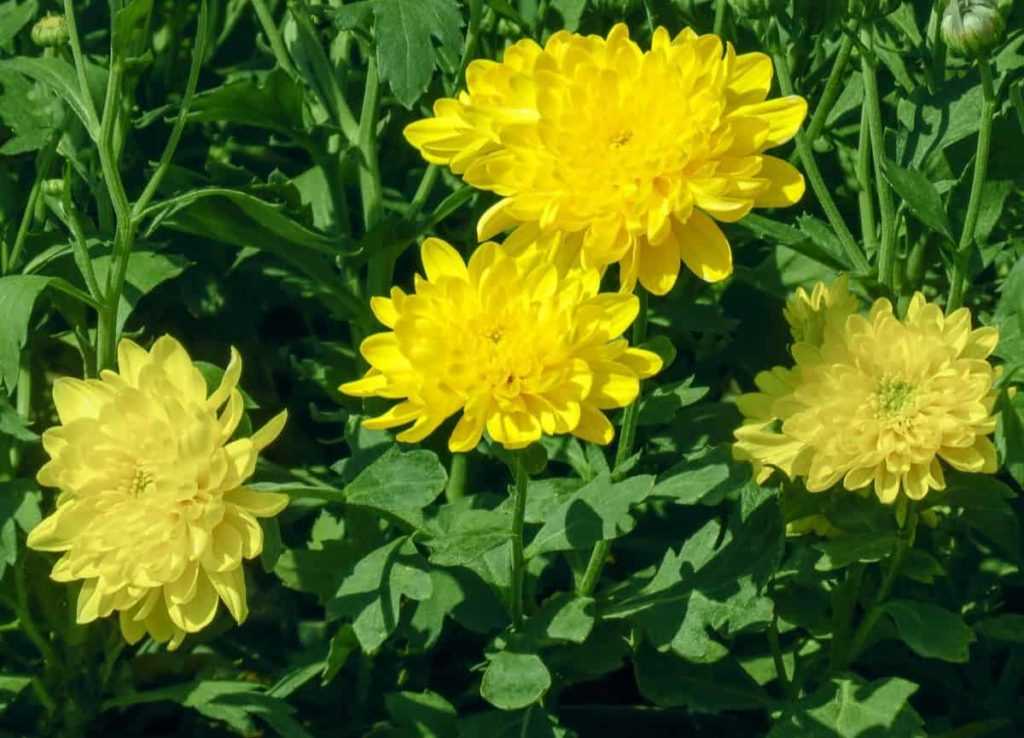
Applying a layer of organic mulch around your seedlings can help suppress weeds and retain moisture in the soil. It also acts as a barrier against soil-borne diseases and pests.
7. Practice crop rotation
After harvesting your chrysanthemums, avoid replanting them in the same location for several years. Crop rotation helps break the life cycle of pests and diseases that may have affected the previous crop.
By following these steps, you can significantly reduce the risk of pests and diseases affecting your chrysanthemum seedlings and promote their healthy growth.
Harvesting and Pickling Chrysanthemum Seedlings
After successfully growing chrysanthemum seedlings, it’s time to harvest and pickle them for future use. Harvesting and pickling chrysanthemum seedlings not only helps to preserve them but also enhances their flavor and texture.
Harvesting Chrysanthemum Seedlings
When the chrysanthemum seedlings have reached a desired size and are mature enough, it’s time to harvest them. Here are the steps to follow:
- Using a sharp pair of scissors or gardening shears, cut the chrysanthemum seedlings at the base of the stem.
- Ensure that the seedlings are free from any insects or diseases before harvesting.
- Place the harvested seedlings in a clean container or basket.
Pickling Chrysanthemum Seedlings
Pickling chrysanthemum seedlings is a simple process that helps to preserve their freshness and flavor. Here’s how to pickle them:
- Wash the harvested chrysanthemum seedlings thoroughly to remove any dirt or impurities.
- Trim the seedlings to uniform lengths, typically around 2-3 inches.
- Prepare a pickling solution by combining vinegar, salt, sugar, and any desired spices in a pot.
- Bring the pickling solution to a boil and simmer for a few minutes until the flavors are well combined.
- Place the trimmed chrysanthemum seedlings in clean glass jars or containers.
- Pour the hot pickling solution over the seedlings, ensuring they are fully submerged.
- Secure the jars with lids and let them cool to room temperature.
- Store the pickled chrysanthemum seedlings in the refrigerator for at least 24 hours before consuming for optimal flavor.
Pickled chrysanthemum seedlings can be enjoyed as a condiment, added to salads or sandwiches, or used as a garnish for various dishes. They add a unique tangy and slightly bitter flavor to any dish.
Note:
It’s important to ensure that the chrysanthemum seedlings are grown using organic and pesticide-free methods for the best taste and quality.
Questions and Answers:
What is the optimal time to sow chrysanthemum seeds?
The optimal time to sow chrysanthemum seeds is typically in late winter or early spring, around February or March.
Can I sow chrysanthemum seeds directly into the ground?
Yes, chrysanthemum seeds can be sown directly into the ground if the soil is well-drained and the climate is suitable. However, starting the seeds indoors and transplanting seedlings can result in stronger and healthier plants.
What kind of soil should I use to sow chrysanthemum seeds?
Chrysanthemum seeds should be sown in a well-draining soil mix that is rich in organic matter. You can use a commercial potting mix or make your own by combining equal parts of compost, peat moss, and perlite.
How deep should I sow the chrysanthemum seeds?
Chrysanthemum seeds should be sown at a depth of about 1/8 to 1/4 inch. Cover the seeds lightly with soil and gently press down to ensure good soil-to-seed contact.
How often should I water the chrysanthemum seedlings?
Chrysanthemum seedlings should be watered regularly to keep the soil moist but not waterlogged. Watering once a day or every other day is usually sufficient, but the frequency may vary depending on the weather and the moisture retention of the soil.
When can I start picking the chrysanthemum seedlings?
You can start picking the chrysanthemum seedlings when they have developed at least 2 to 3 true leaves. This usually occurs about 4 to 6 weeks after sowing the seeds. Carefully transplant the seedlings into individual containers or into the garden, spacing them about 12 to 18 inches apart.


