- Choosing the Right Kiwi Seeds
- Variety
- Freshness
- Quality
- Source
- Organic Seeds
- Preparing the Seeds for Planting
- Soaking the Seeds
- Preparing the Soil
- Planting the Kiwi Seeds
- Providing the Right Environment
- Temperature
- Light
- Humidity
- Soil
- Air Circulation
- Fertilizer
- Watering and Fertilizing the Kiwi Plant
- 1. Watering
- 2. Fertilizing
- 3. Mulching
- 4. Monitoring and Adjusting
- Transplanting the Kiwi Seedlings
- Materials Needed
- Steps to Transplant Kiwi Seedlings
- Q&A:
- Can I grow kiwi from seeds?
- What materials do I need to grow kiwi from seeds?
- Do I need to soak kiwi seeds before planting?
- How long does it take for kiwi seeds to germinate?
- Can I transplant the kiwi seedling into a larger pot?
- When can I expect my kiwi plant to start producing fruits?
- Video: Germinating Kiwi Seeds | Growing a kiwi vine
Growing kiwi from seeds can be a rewarding and enjoyable experience. Not only will you have the satisfaction of nurturing a plant from a tiny seed, but you’ll also get to enjoy delicious kiwi fruits in the future. While kiwi plants are typically grown in outdoor gardens, they can also thrive on a windowsill if given the proper care.
Before getting started with growing kiwi from seeds, it’s important to understand that it can take several years for a kiwi plant to start producing fruit. However, the process itself is relatively simple and can be done by anyone, regardless of their gardening experience.
To begin, procure some fresh kiwi fruits from your local grocery store. Look for fruits that are ripe but not overly soft. Scoop out the seeds from the fruits and rinse them thoroughly under running water to remove any remaining fruit pulp. It’s worth noting that kiwi seeds are tiny, so make sure to handle them carefully to avoid losing any.
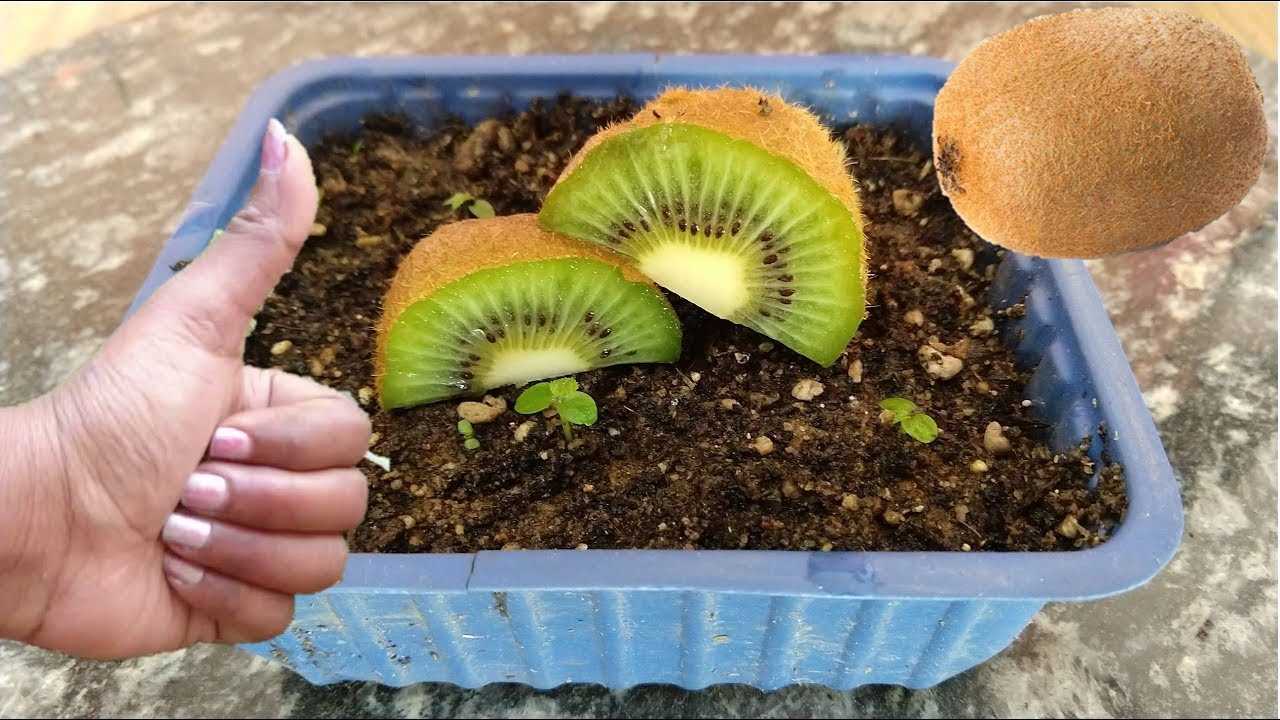
Next, fill a small container with a mixture of potting soil and sand. Moisten the soil slightly and evenly distribute the kiwi seeds over the surface. Cover the seeds with a thin layer of soil and lightly press down to ensure good seed-to-soil contact.
Place the container in a sunny spot on your windowsill. Kiwi plants require plenty of light to grow, so choose a location that receives at least 6 hours of direct sunlight each day. Keep the soil moist but not waterlogged, as excessive moisture can cause the seeds to rot. It may take several weeks for the seeds to germinate, so be patient and continue to provide them with care.
Once the seedlings have sprouted and are a few inches tall, transplant them into larger pots with well-draining soil. Maintain a regular watering schedule, ensuring that the soil remains slightly moist at all times. As the plants grow, provide them with support by using small trellises or stakes.
With proper care and patience, your kiwi plants will continue to grow and eventually produce fruits. As the plants mature, you may need to transfer them to larger containers or even plant them outdoors if you have the space. Remember to regularly fertilize your kiwi plants during the growing season to provide them with the necessary nutrients.
Growing kiwi from seeds on your windowsill can be a fun and educational experience. Not only will you get to witness the growth and development of a unique plant, but you’ll also be rewarded with delicious kiwi fruits in the future. So why not give it a try and embark on your own kiwi-growing adventure?
Choosing the Right Kiwi Seeds
When growing kiwi from seeds on your windowsill, it is important to choose the right kiwi seeds to ensure successful germination and growth. Here are some factors to consider when selecting kiwi seeds:
Variety
There are several kiwi varieties available, including traditional green kiwi (Actinidia deliciosa) and golden kiwi (Actinidia chinensis). Consider the specific variety you prefer and ensure you obtain seeds of that particular type.
Freshness
Freshness of seeds is crucial for successful germination. Look for kiwi seeds that are relatively new, as old seeds tend to have a lower germination rate. If you have harvested kiwi fruits, you can extract the seeds and use them for planting. Alternatively, you can purchase kiwi seeds from reputable sources.
Quality
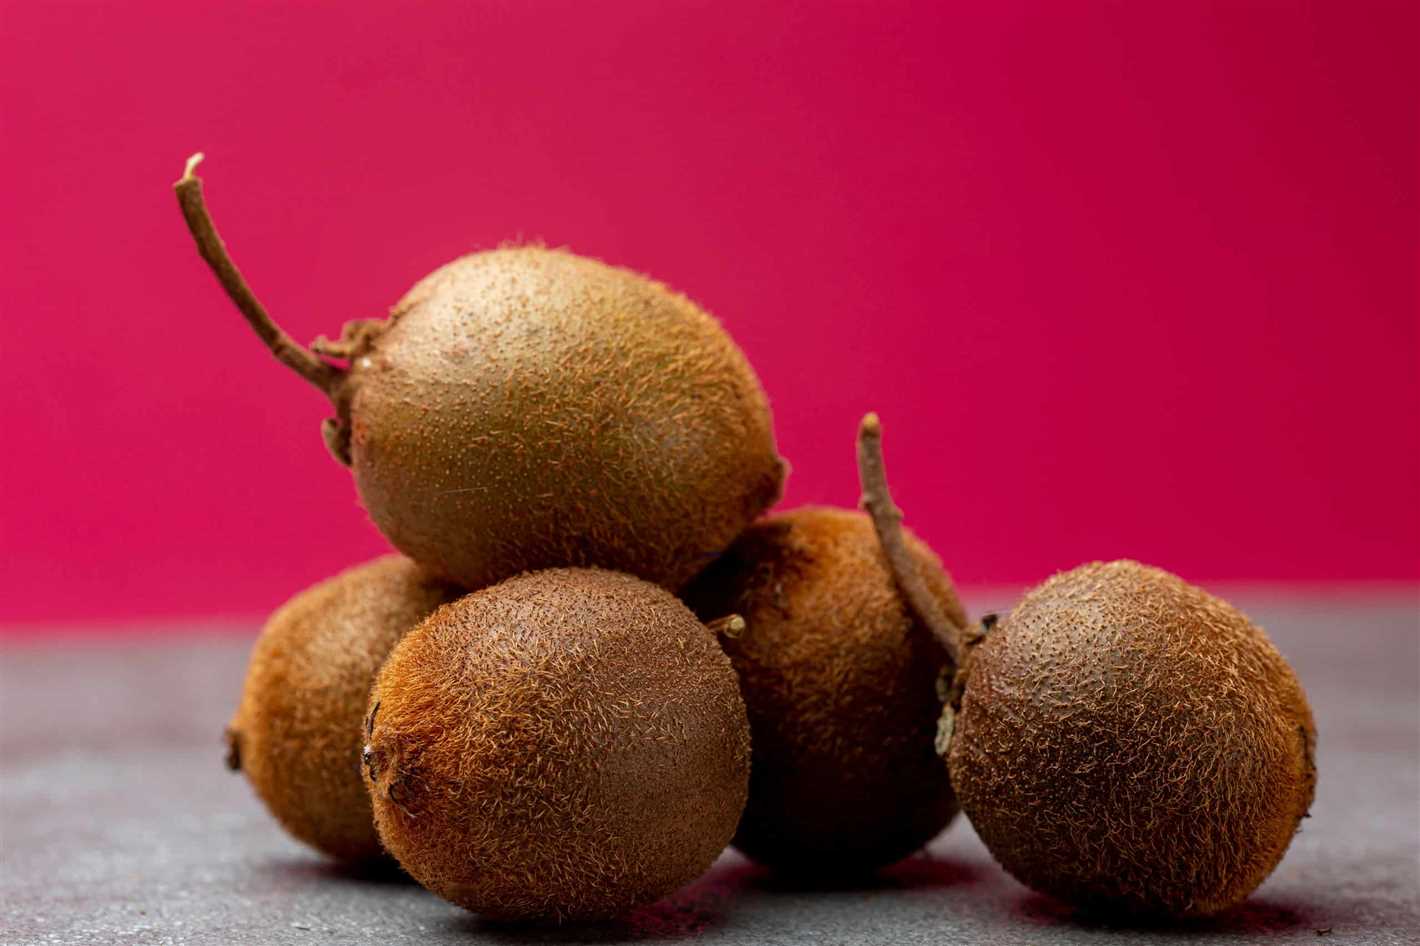
Choose kiwi seeds that are of good quality. Check for any signs of damage or discoloration, as these can indicate poor seed quality. Healthy seeds are more likely to germinate and produce healthy plants.
Source
When purchasing kiwi seeds, it is important to buy them from a reliable and reputable source. This ensures that the seeds are not contaminated or of poor quality. You can purchase seeds from garden centers, online retailers, or specialized seed suppliers.
Organic Seeds
Consider using organic kiwi seeds if you prefer to grow your plants using organic methods. Organic seeds are produced without the use of synthetic pesticides or fertilizers, making them a more environmentally friendly choice.
By considering these factors and choosing the right kiwi seeds, you can increase the chances of successful germination and enjoy growing your own kiwi plants on your windowsill.
Preparing the Seeds for Planting
Before you can start growing kiwi from seeds on your windowsill, you need to ensure that the seeds are properly prepared for planting. Follow these steps to prepare the kiwi seeds:
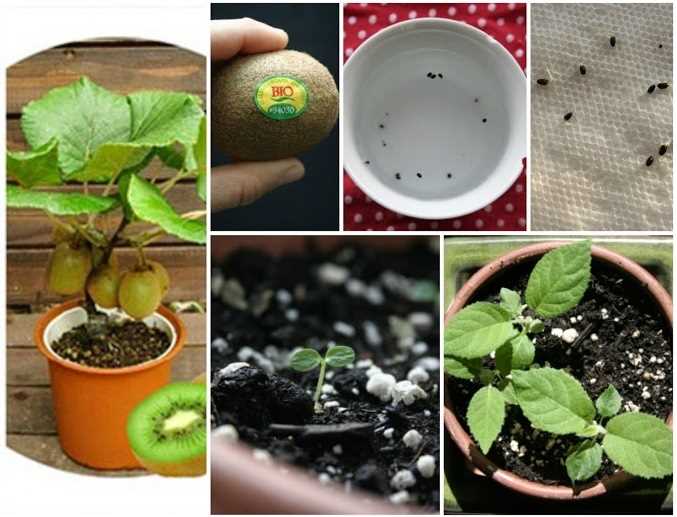
- Step 1: Obtain fresh kiwi fruit. Look for ripe kiwis with firm flesh and a good smell. Ideally, choose organic kiwis to avoid any potential contamination from pesticides.
- Step 2: Cut the kiwi fruit in half. Use a spoon to scoop out the flesh, leaving the seeds intact.
- Step 3: Place the kiwi seeds in a sieve or colander and rinse them under cold water. Gently rub the seeds to remove any remaining pulp or flesh.
- Step 4: Fill a glass or container with room temperature water. Place the kiwi seeds in the water and let them soak for 24 to 48 hours. This soaking process helps to soften the seed coat and improve germination.
- Step 5: After soaking, drain the water and spread the kiwi seeds on a paper towel or plate. Pat them dry with another paper towel.
- Step 6: Moisten a paper towel and fold it over the kiwi seeds. Place the moistened paper towel with the seeds in a plastic bag or container, ensuring that it stays moist but not dripping wet.
- Step 7: Seal the bag or container and place it in a warm location, such as near a windowsill or on top of a refrigerator. Keep the seeds in this location for about 2 to 4 weeks, checking regularly to make sure the paper towel remains moist. This process, called stratification, helps to break the seed dormancy and promotes germination.
Once the kiwi seeds have undergone the preparation process, they are ready for planting. Read on to find out how to plant them and care for the growing seedlings on your windowsill.
Soaking the Seeds
Before starting the process of growing kiwi from seeds on the windowsill, it is important to soak the seeds. Soaking the seeds helps to soften the hard outer shell, allowing water to penetrate and promote germination.
To soak the seeds, follow these steps:
- Gather the kiwi seeds: Obtain fresh kiwi fruits and carefully remove the seeds. Rinse the seeds under cold water to remove any pulp or residue.
- Prepare a soaking solution: Fill a bowl or container with lukewarm water. The water should be at room temperature to avoid shocking the seeds.
- Place the seeds in the soaking solution: Submerge the kiwi seeds in the water and gently swirl them around to ensure they are fully immersed. Allow the seeds to soak for 24 hours.
- Change the water (optional): If the water becomes discolored or cloudy, it is recommended to replace it with fresh lukewarm water. This helps to prevent the growth of bacteria.
Soaking the kiwi seeds before planting allows them to absorb water, which triggers the germination process. This step is crucial for successfully growing kiwi plants from seeds on the windowsill.
Preparing the Soil
Before you start growing kiwi from seeds on your windowsill, it is important to prepare the soil properly. The right soil conditions will provide the necessary nutrients for the seeds to germinate and grow into healthy plants. Here are the steps to prepare the soil:
- Choose a good potting mix: Select a high-quality potting mix that is well-draining and rich in organic matter. Avoid using garden soil, as it may contain pests, diseases, or weeds that can harm the seeds.
- Ensure proper drainage: Kiwi plants don’t like to be waterlogged, so it’s important to have good drainage in your container. You can add some small stones or gravel at the bottom of the pot to improve drainage.
- Measure the pH level: Kiwi plants prefer slightly acidic soil with a pH level between 5.5 and 6.5. Use a pH testing kit or soil tester to check the pH level of your potting mix. If the pH is too high, you can lower it by adding organic matter like peat moss or compost.
- Add organic matter: Mix some well-rotted compost or aged manure into the potting mix to enrich it with nutrients. Organic matter also helps improve the soil’s moisture retention capacity.
- Loosen the soil: Before planting the kiwi seeds, ensure that the soil is loose, friable, and free from large clumps. Break up any compacted soil and remove any stones or debris that may hinder seedling growth.
Once you have prepared the soil, it is ready for planting the kiwi seeds. The right soil conditions will provide a favorable environment for the seeds to germinate and grow into healthy plants.
Planting the Kiwi Seeds
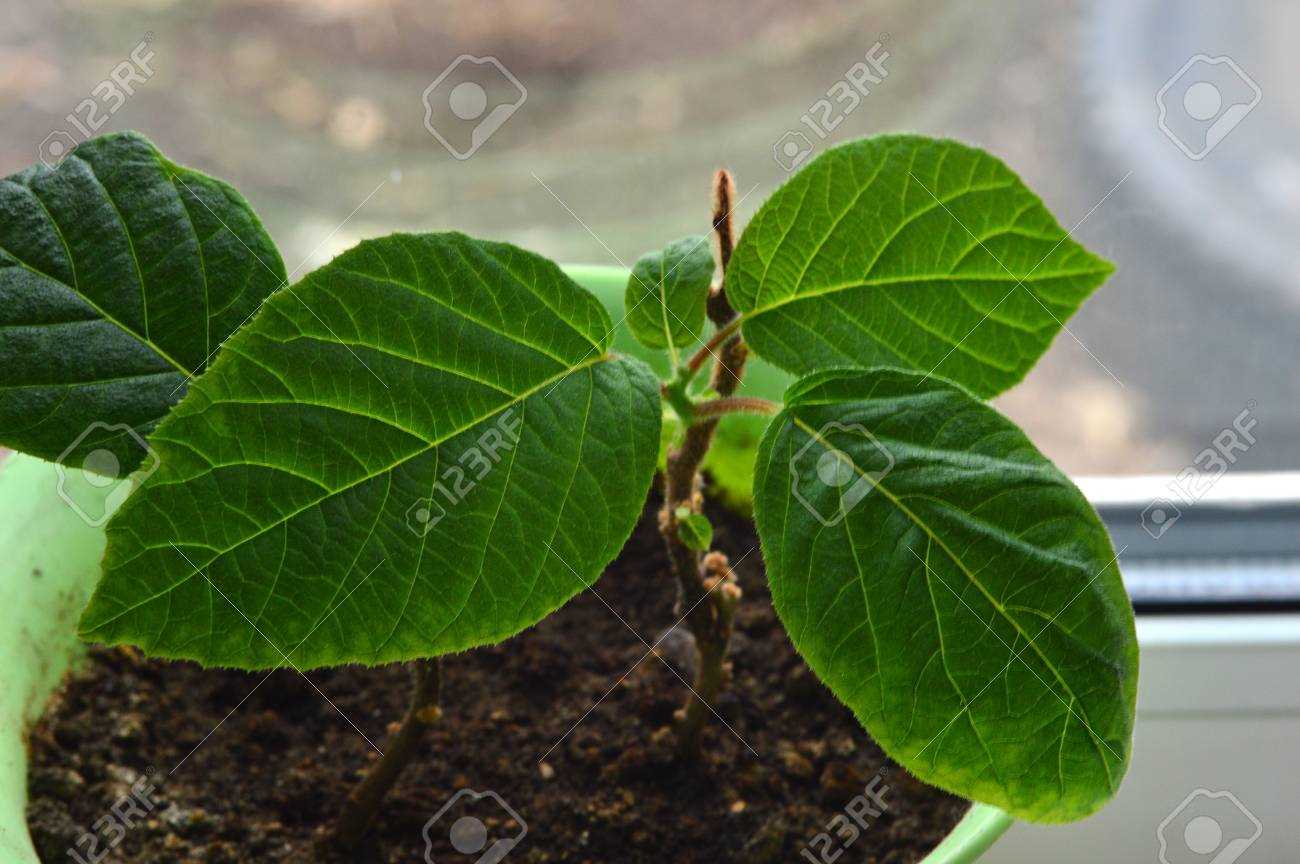
Once you have collected the kiwi seeds, it’s time to plant them and start the growing process. Follow these steps to plant the kiwi seeds:
- Prepare the pots: Choose pots or containers that have drainage holes at the bottom. This will help prevent waterlogging and allow excess water to drain out.
- Fill the pots: Fill the pots with a well-draining potting mix. Kiwi plants prefer slightly acidic soil, so you can add some peat moss or compost to the potting mix.
- Sow the seeds: Place the kiwi seeds on the surface of the soil in the pots, spacing them out evenly. Gently press them into the soil, but avoid burying them too deep.
- Water the seeds: Use a watering can or spray bottle to moisten the soil gently. Avoid overwatering, as excessive moisture can lead to fungal diseases.
- Cover the pots: Place a plastic wrap or a clear plastic lid over the pots to create a greenhouse-like environment. This will help retain moisture and heat, promoting germination.
- Provide warmth and light: Place the pots in a warm location, such as a sunny windowsill. Kiwi seeds require temperatures of around 70°F (21°C) for successful germination. Additionally, make sure the seeds receive sufficient indirect sunlight.
- Maintain moisture: Check the pots regularly and mist the soil with water when it starts to dry out. Be careful not to let the soil become too dry or too soggy.
- Wait for germination: Kiwi seeds can take anywhere from 2 to 8 weeks to germinate. Keep an eye on the pots and be patient as you wait for the seeds to sprout.
- Transplanting: Once the seedlings have grown a few sets of true leaves and are large enough to handle, they can be transplanted into individual pots or a larger container.
Following these steps will help give your kiwi seeds the best chance of germination and successful growth. With proper care and attention, you’ll soon have your own kiwi plants thriving on your windowsill.
Providing the Right Environment
In order to successfully grow kiwi from seeds on your windowsill, it is important to create the right environment for the seeds to germinate and thrive. Here are some key factors to consider:
Temperature
Kiwi seeds require a consistently warm environment to germinate. The ideal temperature range is between 70°F (21°C) and 75°F (24°C). Make sure to place the seeds in a location that maintains this temperature range throughout the germination period.
Light
Kiwi plants require bright, indirect light to grow properly. Place your seeds in a location where they will receive plenty of natural light, but avoid direct sunlight as it may cause the seeds to dry out or overheat.
Humidity
Kiwi seeds thrive in a humid environment. You can increase humidity levels by covering the seeds with a clear plastic dome or placing them in a humidity tray filled with water. This will help retain moisture and create a more suitable growing environment for the seeds.
Soil
Use a well-draining soil mixture for planting your kiwi seeds. A mixture of peat moss, perlite, and vermiculite works well. The soil should be moist but not waterlogged. Make sure to water the seeds regularly, keeping the soil evenly moist throughout the germination and growing process.
Air Circulation
Proper air circulation is important for kiwi seeds to grow successfully. Avoid placing the seeds in a stagnant or confined space. Instead, ensure that there is adequate air movement around the seeds, either through a fan or by placing them in an area with natural air flow.
Fertilizer
During the growing stage, kiwi plants require regular feeding with a balanced fertilizer. Once the seedlings have established and developed a few sets of true leaves, you can start applying a diluted fertilizer every two weeks. This will provide the necessary nutrients for healthy growth.
By providing the right environment, you can increase your chances of successfully growing kiwi from seeds on your windowsill. With patience and care, you’ll be able to enjoy homegrown kiwis in no time!
Watering and Fertilizing the Kiwi Plant
Proper watering and fertilizing are essential for the successful growth of kiwi plants.
1. Watering
Kiwi plants require regular and consistent watering to ensure healthy growth. Here are some watering tips:
- Water the kiwi plant deeply once a week, ensuring that the soil is evenly moist.
- Check the soil moisture regularly by inserting your finger into the soil. If the top inch of soil feels dry, it’s time to water.
- Avoid overwatering as it can cause root rot. Make sure the soil is well-drained.
- During hot summer months, the kiwi plant may require more frequent watering to prevent dehydration.
2. Fertilizing
Fertilizing provides the necessary nutrients for healthy kiwi plant growth. Follow these fertilizing guidelines:
- Apply a balanced, slow-release fertilizer specifically formulated for fruit-bearing plants in early spring.
- Follow the manufacturer’s instructions regarding the amount and frequency of fertilizer application.
- Avoid excessive fertilization, as it can lead to excessive vegetative growth and reduced fruit production.
- Consider using organic fertilizers, such as compost or well-rotted manure, for a more natural approach.
3. Mulching
Mulching around the base of the kiwi plant can help conserve moisture and suppress weed growth. Here’s how to mulch:
- Spread a layer of organic mulch, such as wood chips or straw, around the base of the kiwi plant.
- Make sure the mulch layer is around 2-3 inches thick.
- Avoid piling the mulch against the stem of the plant to prevent rotting.
- Top up the mulch as needed to maintain the desired thickness.
4. Monitoring and Adjusting
Regularly monitor the kiwi plant for signs of watering or nutrient deficiencies. Adjust the watering and fertilizing schedule as needed based on the plant’s needs.
| Signs of Overwatering | Signs of Underwatering | Signs of Nutrient Deficiencies |
|---|---|---|
| – Yellowing or wilting leaves – Waterlogged soil – Root rot | – Dry or brown leaves – Shriveling fruits – Stunted growth | – Yellow or pale leaves – Leaf curling or distortion – Reduced fruit production |
By following these watering and fertilizing guidelines and monitoring the kiwi plant’s health, you can ensure optimal growth and fruit production.
Transplanting the Kiwi Seedlings
Transplanting the kiwi seedlings is an important step in their growth process. Once the seedlings have developed a few true leaves, they can be moved to individual pots or containers to provide them with more space to grow.
Materials Needed
- Individual pots or containers
- Potting mix
- Watering can or spray bottle
- Transplanting tool or spoon
Steps to Transplant Kiwi Seedlings
- Prepare the individual pots or containers by filling them with potting mix. The pots should be large enough to accommodate the growing roots of the seedlings.
- Make a small hole in the center of each pot using a transplanting tool or spoon. The hole should be deep enough to cover the root system of the seedling.
- Gently remove the seedlings from their original container, being careful not to damage the roots.
- Place each seedling into a prepared pot, making sure the roots are well-covered with soil.
- Press down the soil around the seedling to secure it in place.
- Water the newly transplanted seedlings gently using a watering can or spray bottle. Avoid overwatering, as this can lead to root rot.
- Place the pots in a sunny location, such as a windowsill, where the seedlings can receive plenty of light.
- Continue to care for the seedlings by watering them regularly, making sure the soil is moist but not waterlogged.
- Monitor the growth of the seedlings and provide support, such as a trellis or stake, as they start to develop vines.
By following these steps, you can successfully transplant your kiwi seedlings and continue their growth journey. With proper care and attention, they will eventually grow into mature kiwi plants that can produce delicious fruits.
Q&A:
Can I grow kiwi from seeds?
Yes, you can grow kiwi from seeds. It is a simple and rewarding process that you can do on your windowsill.
What materials do I need to grow kiwi from seeds?
To grow kiwi from seeds, you will need kiwi fruit, a small pot, potting soil, a plastic bag, and a sunny windowsill.
Do I need to soak kiwi seeds before planting?
Yes, it is recommended to soak kiwi seeds in warm water for 24 hours before planting. This will help to speed up the germination process.
How long does it take for kiwi seeds to germinate?
Kiwi seeds usually take about 3-4 weeks to germinate. However, it can sometimes take longer, so be patient and keep the soil moist during this time.
Can I transplant the kiwi seedling into a larger pot?
Yes, once the kiwi seedling has grown to about 3 inches in height, you can transplant it into a larger pot with well-draining soil. This will provide more space for the plant to grow.
When can I expect my kiwi plant to start producing fruits?
Your kiwi plant will typically start producing fruits after 3-4 years. However, this can vary depending on the growing conditions and the variety of kiwi.
Video:
Germinating Kiwi Seeds | Growing a kiwi vine
