- Choose the Right Petunia Seeds
- 1. Variety
- 2. Growing Conditions
- 3. Seed Quality
- 4. Pelleted Seeds
- 5. Hybrid vs. Open-Pollinated
- Prepare the Seed Starting Mix
- Sow the Petunia Seeds
- Provide Proper Light and Temperature
- Light
- Temperature
- Water the Seedlings Carefully
- Fertilize the Seedlings Appropriately
- Thin and Transplant Petunia Seedlings
- Harden Off and Plant the Petunia Seedlings
- 1. Choose the Right Time
- 2. Begin with Short Outdoor Exposures
- 3. Gradually Increase Exposure Time
- 4. Protect from Extreme Conditions
- 5. Gradually Introduce Full Sunlight
- 6. Prepare the Garden Bed
- 7. Transplant the Seedlings
- 8. Space and Water the Seedlings
- 9. Provide Care and Maintenance
- Questions and Answers:
- What is the best time to sow petunia seeds?
- Can petunia seeds be sown directly into the ground?
- How deep should petunia seeds be sown?
- How often should I water petunia seedlings?
- Do petunia seedlings need fertilizer?
- When can I transplant petunia seedlings outdoors?
- How long does it take for petunia seeds to germinate?
- Videos: Growing Petunias: Seeding to Planting Out
Are you interested in growing beautiful and colorful petunia flowers from seeds? Petunias are popular annual flowers known for their vibrant blooms and ease of cultivation. Whether you’re a beginner or an experienced gardener, this step-by-step guide will help you grow petunia seedlings easily.
Step 1: Selecting the Seeds
Start by choosing the petunia seed varieties you want to grow. Petunias come in many colors, sizes, and growth habits, so pick the ones that appeal to you. Look for high-quality seeds from reputable suppliers to ensure successful germination and healthy seedlings.
Step 2: Preparing the Soil
Prepare a well-draining seed-starting mix by combining equal parts of sterilized seed-starting soil and vermiculite or perlite. Fill clean, shallow containers or seed trays with the soil mix, leaving about half an inch of space at the top for watering.
Step 3: Sowing the Seeds
Sow the petunia seeds on the surface of the prepared soil, spacing them about an inch apart. Lightly press the seeds into the soil with your fingertips, making sure they are in good contact with the soil. Cover the seeds with a thin layer of vermiculite or seed-starting mix.
Step 4: Watering and Care
Mist the soil surface with water to settle the seeds in place. Keep the soil slightly moist, but not overly wet, by misting or using a spray bottle. Avoid overwatering, as it can lead to fungal diseases. Place the containers in a warm and well-lit area, preferably near a window with indirect sunlight.
Note: Petunia seeds require light to germinate, so do not bury them too deep in the soil.
Step 5: Germination and Transplanting
Germination time can vary, but petunia seeds generally take 7 to 10 days to sprout. Once the seedlings have developed their second set of leaves, carefully transplant them into individual pots or larger containers. Handle the seedlings by the leaves, being careful not to damage the delicate roots.
By following these steps, you can easily grow petunia seedlings from seeds and enjoy their vibrant beauty in your garden or containers. Experiment with different varieties and colors to create stunning displays of these lovely flowers.
Choose the Right Petunia Seeds
When it comes to growing petunia seedlings, one of the most important steps is to choose the right seeds. Here are some factors to consider when selecting petunia seeds:
1. Variety
There are many different varieties of petunias available, each with its own unique characteristics. Consider the desired color, size, and pattern of the flowers when choosing a variety. Some popular petunia types include grandiflora, multiflora, and milliflora.
2. Growing Conditions
Before purchasing petunia seeds, consider the growing conditions of your garden or planting area. Some petunia varieties are more tolerant of heat or cold, while others thrive in specific climates. Check the seed packet or product description for information on the ideal growing conditions for each variety.
3. Seed Quality
High-quality seeds are essential for successful germination and healthy seedlings. Look for petunia seeds that are fresh, viable, and from a reputable supplier. Check the expiration date on the seed packet and look for any signs of damage or deterioration.
4. Pelleted Seeds
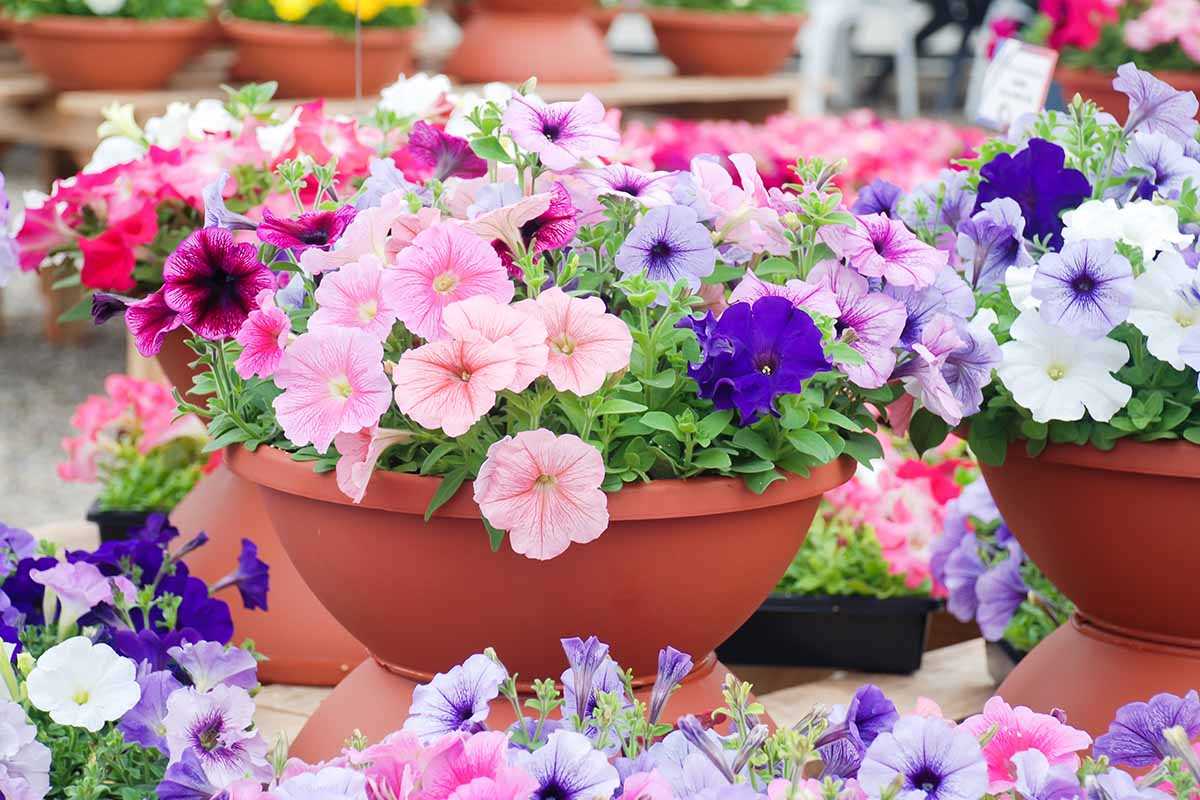
Pelleted petunia seeds are coated with a clay or other material to make them easier to handle and plant. If you’re new to seed starting or have difficulty handling tiny seeds, pelleted seeds can be a great option. However, keep in mind that they may be slightly more expensive than regular seeds.
5. Hybrid vs. Open-Pollinated
There are two main types of petunia seeds: hybrid and open-pollinated. Hybrid seeds are created by cross-breeding different petunia varieties to produce specific traits, such as disease resistance or unique colors. Open-pollinated seeds, on the other hand, are pollinated naturally and can produce plants with more variable traits. Consider your preferences and gardening goals when deciding between hybrid or open-pollinated petunia seeds.
By carefully considering these factors, you can choose the right petunia seeds for your garden and set yourself up for successful seedling growth. Happy planting!
Prepare the Seed Starting Mix
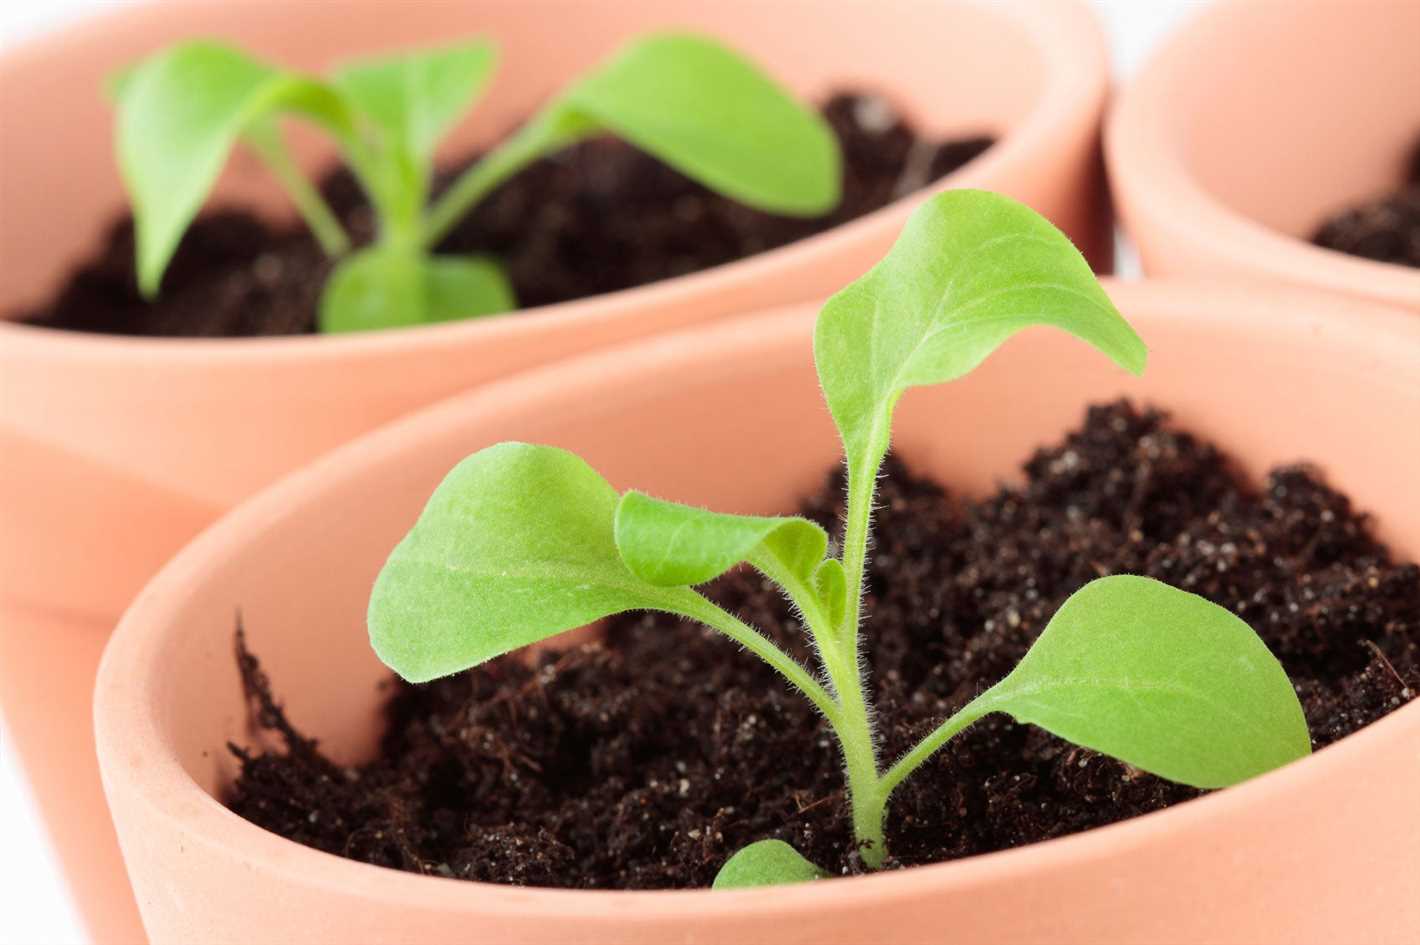
Before sowing petunia seeds, it is important to prepare a suitable seed starting mix. A high-quality seed starting mix provides the right balance of nutrients, moisture retention, and drainage for optimal seed germination and healthy seedling development.
Here are the steps to prepare the seed starting mix:
- Gather the materials: You will need a clean container or tray with drainage holes, a seed starting mix, and water.
- Select a suitable container: Choose a container that is deep enough to accommodate the growing roots of petunia seedlings. It should also have drainage holes to prevent waterlogging.
- Fill the container with seed starting mix: Pour the seed starting mix into the container, leaving about an inch of space at the top. Gently tap the container on a flat surface to ensure the mix settles evenly.
- Moisten the seed starting mix: Using a spray bottle or a watering can with a fine nozzle, moisten the seed starting mix with water until it is evenly damp. Avoid overwatering, as it can lead to fungal growth and rot.
- Level the surface: Use a flat surface, such as a piece of cardboard or a ruler, to level the surface of the seed starting mix. This will provide an even and stable surface for sowing the seeds.
By following these steps, you will have a properly prepared seed starting mix that is ready for sowing petunia seeds. Remember to check the specific instructions on the seed packet for any additional guidelines regarding the seed starting mix.
Sow the Petunia Seeds
Once you have prepared your trays or pots with the appropriate soil mixture and watered it thoroughly, it’s time to sow the petunia seeds. Here are the steps to sow the petunia seeds:
- Fill the seed tray or pots with the pre-moistened soil mixture, leaving around half an inch of space at the top.
- Make small indentations or holes in the soil using your finger or a dibber. These holes should be around 1/4 to 1/2 inch deep.
- Place one or two petunia seeds in each hole. If you are using a tray, you can sow multiple seeds in each cell, ensuring they are spaced out evenly.
- Gently cover the seeds with the soil mixture, making sure they are not exposed to light.
- Lightly press down on the soil to ensure good seed-to-soil contact.
Note: Petunia seeds are very small and can be difficult to handle individually. If you find it challenging to place one seed at a time, you can sprinkle the seeds evenly over the soil surface and lightly cover them with a thin layer of soil.
Once you have sown all the petunia seeds, give them a light misting of water using a spray bottle. This will help settle the seeds into the soil. Then, cover the tray or pots with a clear plastic dome or a plastic wrap to create a greenhouse-like environment that will help retain moisture.
Note: It’s important to provide consistent moisture for the petunia seeds during germination.
Provide Proper Light and Temperature
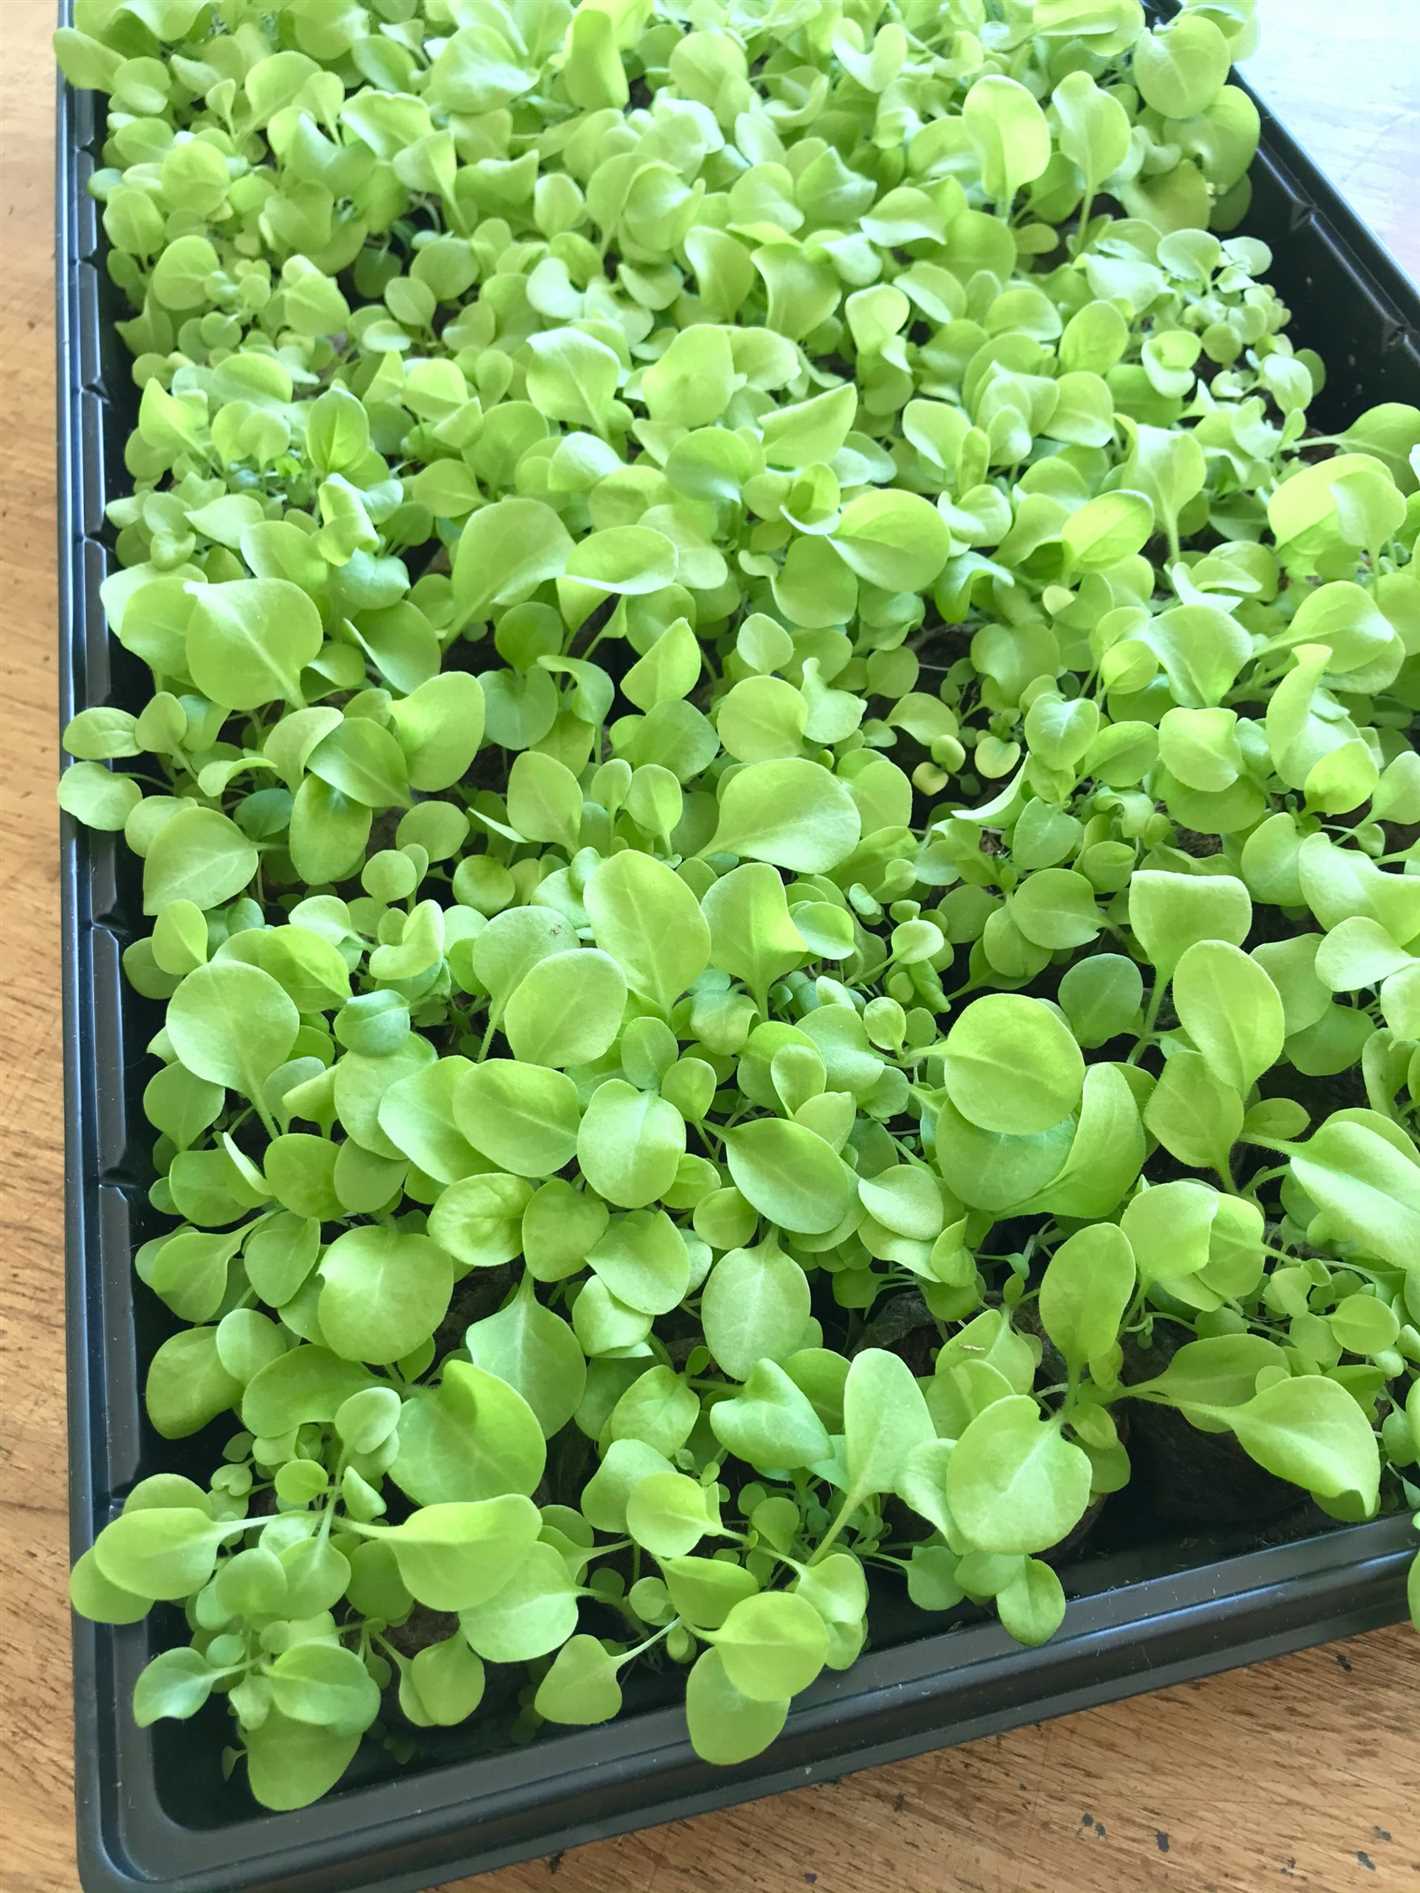
Light and temperature are crucial factors for the successful growth of petunia seedlings. Here are some guidelines to ensure that your seedlings receive the optimal conditions:
Light
- Full Sun: Petunias require at least 6-8 hours of direct sunlight every day. Place your seed trays or pots in a location where they can receive maximum sunlight.
- Artificial Light: If you don’t have access to sufficient natural sunlight, consider using a fluorescent grow light to provide the necessary light intensity. Position the lights 4-6 inches above the seedlings and keep them on for 12-14 hours a day.
Temperature
- Germination: Petunia seeds germinate best at temperatures between 70-75°F (21-24°C). Maintain a consistent temperature in this range to encourage germination. Using a seedling heat mat can help provide the ideal temperature.
- Growth: After germination, the temperature can be slightly lowered to around 60-65°F (15-18°C) during the day and 55-60°F (13-15°C) at night. This will promote healthy and sturdy growth.
- Protection: Petunias are sensitive to cold temperatures, so make sure to protect them from frost and chilly winds. If necessary, move the seedlings indoors or cover them with a fabric row cover.
Providing the right amount of light and maintaining appropriate temperature levels will help your petunia seedlings to grow robustly and thrive. Monitor these conditions closely and make adjustments as needed for optimal results.
Water the Seedlings Carefully
Proper watering is essential for the healthy growth of petunia seedlings. Here are some tips to help you water your seedlings effectively:
- Pay attention to the moisture level: Check the moisture level of the soil regularly by inserting your finger into the soil at a depth of about an inch. If it feels dry, it’s time to water the seedlings.
- Water gently: Use a watering can or a spray bottle with a fine mist setting to water the seedlings. Be careful not to overwater, as this can lead to root rot and other fungal diseases.
- Water from the bottom: Fill a tray or a shallow container with water and place the pots or trays of seedlings in it. The seedlings will absorb the water from the bottom, which prevents overwatering and helps establish a strong root system.
- Water in the morning: Watering in the morning allows the foliage to dry throughout the day, reducing the risk of diseases caused by damp conditions.
- Keep the leaves dry: Avoid wetting the leaves during watering, as this can encourage the growth of fungal diseases. Aim the water at the base of the plants to ensure the water reaches the roots.
- Monitor the drainage: Make sure the pots or trays have good drainage to prevent water from accumulating at the bottom. Excess water can drown the roots and cause the seedlings to rot.
Remember to adjust your watering routine based on the specific needs of your petunia seedlings. Consistent and proper watering will help your seedlings grow into strong and healthy plants.
Fertilize the Seedlings Appropriately
Proper fertilization is essential for the healthy growth of petunia seedlings. Here are some guidelines to follow:
- Choose the right fertilizer: Use a balanced fertilizer with equal amounts of nitrogen, phosphorus, and potassium. Look for a fertilizer specifically formulated for seedlings.
- Timing: Start fertilizing the seedlings when they have developed their first true leaves. This is usually about 2-4 weeks after germination.
- Frequency: Fertilize the seedlings every two weeks or according to the instructions on the fertilizer package.
- Proportions: Dilute the fertilizer according to the package instructions. It’s better to apply a weaker solution rather than risk burning the young seedlings with too much fertilizer.
- Application method: Water the seedlings with the diluted fertilizer solution. You can use a watering can or a spray bottle to apply the fertilizer evenly.
- Over-fertilization precautions: Be careful not to over-fertilize the seedlings, as this can cause weak, leggy growth and increase the risk of disease. If you notice any signs of fertilizer burn, such as yellowing or wilting leaves, reduce the frequency or strength of the fertilizer.
Remember, proper fertilization is just one aspect of growing healthy petunia seedlings. Also, ensure that the seedlings receive adequate sunlight, water, and appropriate temperatures for optimal growth.
Thin and Transplant Petunia Seedlings
After your petunia seedlings have grown their second set of true leaves, it’s time to thin and transplant them to ensure proper growth and spacing. Here’s how:
- Prepare your workspace: Set up a clean and well-lit area where you can easily work with your seedlings. Make sure you have all the necessary tools, including a pot or container for transplanting, a small trowel or spoon for digging, and some potting soil or seed starting mix.
- Choose the strongest seedlings: Take a close look at your petunia seedlings and identify the healthiest and strongest ones. These are the ones you want to keep and transplant.
- Thinning the seedlings: Gently grasp a weaker seedling between your thumb and forefinger and carefully pull it out from the soil. Be cautious not to disturb the roots of the neighboring seedlings. Continue thinning the seedlings until you are left with the desired spacing between plants.
- Prepare the pots or containers: Fill your pots or containers with potting soil or seed starting mix, leaving some space at the top for watering. You can also use individual cell trays for transplanting if you prefer.
- Transplant the seedlings: Using a small trowel or spoon, dig a hole in the potting soil or cell tray for each seedling. Gently lift each seedling from the original tray, taking care not to damage its delicate roots. Place the seedling in the hole, making sure the roots are covered with soil. Press the soil gently around the base of the seedling to secure it in place.
- Water the transplanted seedlings: After transplanting, thoroughly water the newly transplanted seedlings to help settle the soil and reduce transplant shock. Be careful not to overwater, as this can lead to root rot.
- Provide proper care: Place the transplanted seedlings in a warm and well-lit area, away from direct sunlight, until they establish their roots. Continue to water them regularly, keeping the soil evenly moist but not waterlogged.
- Gradually acclimate seedlings to outdoor conditions: Once the seedlings have grown stronger and the risk of frost has passed, gradually expose them to outdoor conditions by placing them outside for a few hours each day. This will help them adjust to the outdoor environment and prevent transplant shock.
By following these simple steps, you can successfully thin and transplant your petunia seedlings, ensuring they have enough space to grow and thrive. With proper care, your petunias will soon reward you with a beautiful display of colorful blooms.
Harden Off and Plant the Petunia Seedlings
Once your petunia seedlings have developed their true leaves and grown to a height of about 2-3 inches, it’s time to start hardening them off. This process will gradually acclimate your seedlings to the outdoor conditions, preparing them for transplanting into the garden.
1. Choose the Right Time
Pick a day when the weather is mild and there is no frost predicted. Ideally, the temperature should be around 60-70°F (15-21°C) during the day and not drop below 50°F (10°C) at night.
2. Begin with Short Outdoor Exposures
Start by placing your petunia seedlings outdoors in a sheltered spot for 2-3 hours in the morning or late afternoon. Choose a location that receives indirect sunlight and is protected from strong winds.
3. Gradually Increase Exposure Time
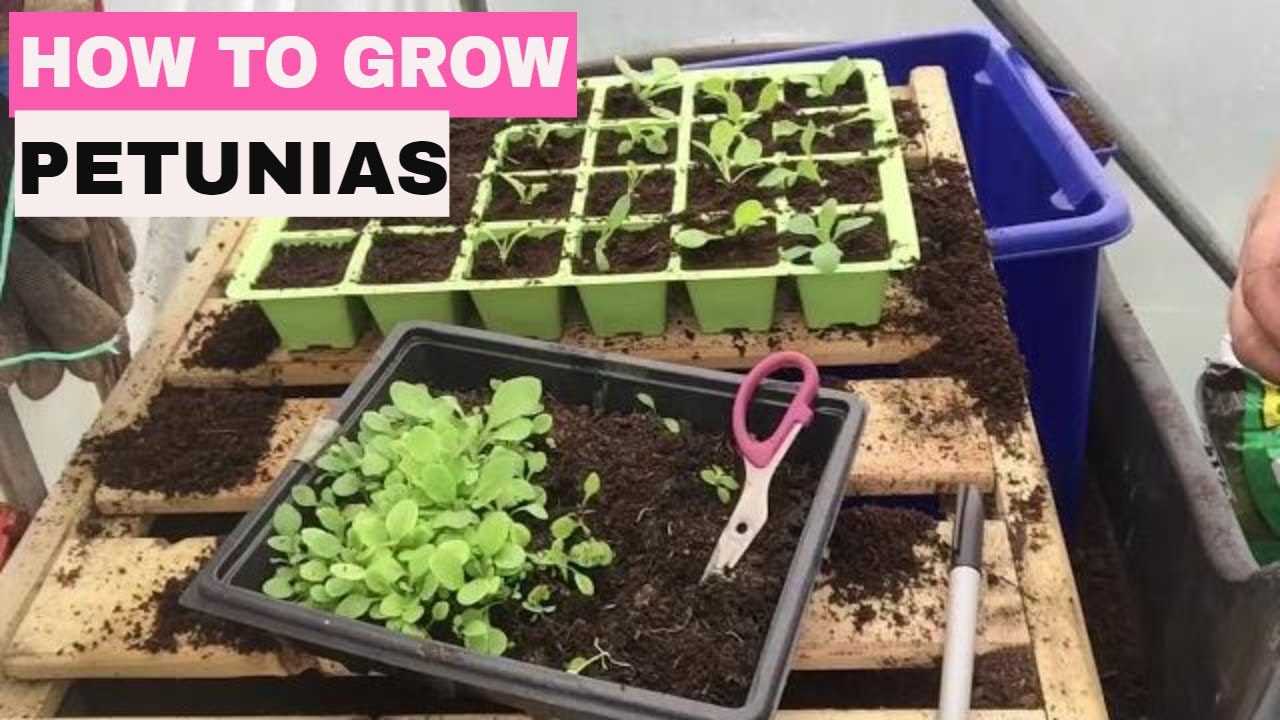
Every day, increase the amount of time your seedlings spend outdoors by 1-2 hours. This will help them adjust to the natural light and temperature fluctuations. Keep a close eye on the weather forecast to ensure there are no sudden drops in temperature or severe weather conditions.
4. Protect from Extreme Conditions
If the weather suddenly turns cold or there is a chance of frost, bring your seedlings indoors or cover them with a lightweight cloth or frost blanket. Cold temperatures can damage or even kill young petunia plants.
5. Gradually Introduce Full Sunlight
After about a week of gradually increasing exposure time, your petunia seedlings should be ready for full sunlight. Place them in a sunny spot for the recommended amount of hours per day, which typically ranges from 6-8 hours for most varieties.
6. Prepare the Garden Bed
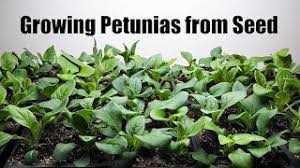
While your seedlings are hardening off, prepare the garden bed where you plan to plant them. Choose a well-draining location with fertile soil. Remove any weeds and loosen the soil with a garden fork or tiller. Add compost or organic matter to improve the soil’s fertility.
7. Transplant the Seedlings
When your petunia seedlings are fully hardened off and the garden bed is ready, it’s time to transplant them. Dig a hole slightly larger than the seedling’s root ball and gently place the seedling in the hole. Backfill the hole with soil, firm it gently around the seedling, and water thoroughly.
8. Space and Water the Seedlings
Space your petunia seedlings according to the instructions for your particular variety. Generally, they should be spaced about 6-12 inches apart, depending on their mature size. Water the seedlings immediately after transplanting to help them settle in and establish their roots.
9. Provide Care and Maintenance
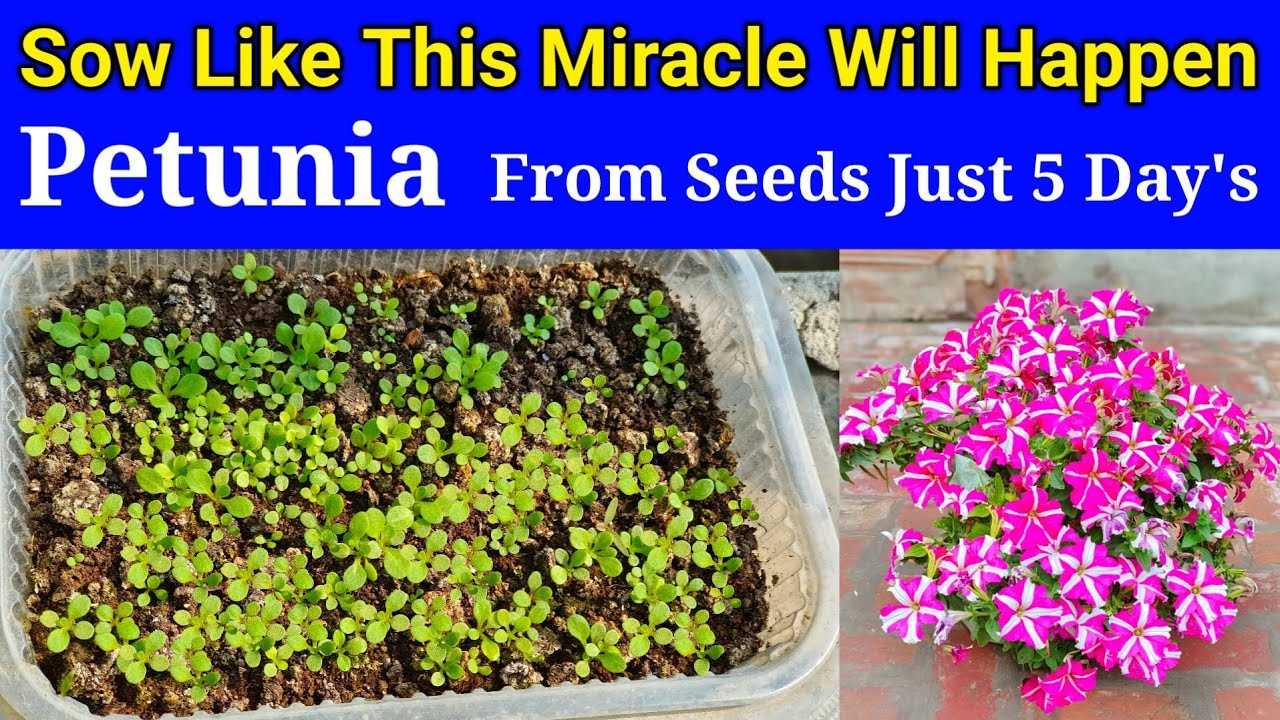
Continue to care for your petunia plants by watering them regularly, fertilizing every couple of weeks, and removing any weeds or dead flowers. Watch out for common pests such as aphids or snails and take appropriate measures to control them if necessary.
Follow these steps to successfully harden off and transplant your petunia seedlings, and soon you’ll be enjoying a beautiful, colorful garden full of blooming petunias!
Questions and Answers:
What is the best time to sow petunia seeds?
The best time to sow petunia seeds is in early spring, around 8 to 10 weeks before the last frost date in your area.
Can petunia seeds be sown directly into the ground?
Yes, petunia seeds can be sown directly into the ground if the soil is warm enough and there is no danger of frost. However, starting the seeds indoors and transplanting the seedlings later can give them a head start and increase their chances of survival.
How deep should petunia seeds be sown?
Petunia seeds should be sown on the surface of the soil, as they require light to germinate. Do not cover the seeds with soil, but gently press them into the soil to ensure good contact.
How often should I water petunia seedlings?
Petunia seedlings should be kept evenly moist, but not waterlogged. Water them whenever the top inch of soil feels dry, usually around once or twice a week.
Do petunia seedlings need fertilizer?
After the petunia seedlings develop their second set of leaves, you can start fertilizing them with a balanced liquid fertilizer diluted to half strength. Repeat this every two weeks throughout the growing season.
When can I transplant petunia seedlings outdoors?
Petunia seedlings can be transplanted outdoors after the last frost date in your area, when the weather is consistently warm and there is no danger of frost. It is usually safe to transplant them outside around 6 to 8 weeks after sowing the seeds.
How long does it take for petunia seeds to germinate?
Petunia seeds typically take around 10 to 14 days to germinate, although it can vary depending on the variety of petunia and the environmental conditions.


