- What are Currants?
- Benefits of Propagating Currants in Autumn
- Choosing the Right Equipment
- Essential Tools for Rooting Currant Cuttings
- 1. Pruning Shears
- 2. Rooting Hormone
- 3. Rooting Medium
- 4. Containers
- 5. Labels
- 6. Plastic Bags or Domes
- 7. Watering Can or Spray Bottle
- 8. Light Source
- Considerations for Container Size
- 1. Depth
- 2. Width
- 3. Number of cuttings
- 4. Drainage
- 5. Manageability
- 6. Future growth
- Preparing the Cuttings
- How to Select Healthy Currant Branches
- 1. Choose branches from a healthy, disease-free plant
- 2. Select mature branches
- 3. Look for branches with plump buds
- 4. Choose branches with a good balance of new growth and older wood
- 5. Avoid selecting branches with signs of damage or stress
- 6. Take cuttings from the middle of the plant
- Methods for Cutting and Preparing Currant Branches
- Creating the Optimal Rooting Environment
- Choosing the Right Soil Mix
- 1. Well-Draining Soil
- 2. Nutrient-Rich Soil
- 3. pH Level
- 4. Sterile Soil
- 5. Good Aeration
- Question-answer:
- Is autumn the best time to propagate currants?
- What is the process of propagating currants in autumn?
- Can I propagate currants from seeds?
- What is the best rooting medium for currant cuttings?
- How long does it take for currant cuttings to root?
- How should I care for newly rooted currant cuttings?
- Can I propagate currants if I don’t have access to rooting hormone?
- Video: How to Root Plants from Hardwood Cuttings in the Winter (Viburnum, Crape Myrtle, Plum, and Peach)
If you’re looking to expand your currant harvest and create new plants, autumn is the perfect time to propagate currants through cuttings. Rooting currant cuttings in the fall allows the plants to establish strong root systems over the winter months, ensuring their success in the following growing season.
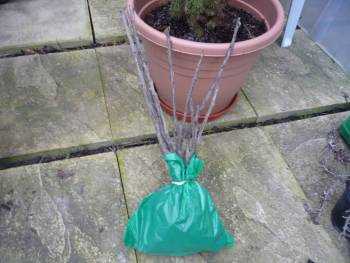
To successfully propagate currants, it’s important to follow expert tips and techniques. One key tip is to select healthy, disease-free cuttings from the mother plants. Look for young stems that have matured but are still flexible. The cuttings should be around 6 to 8 inches long and have at least 2 to 3 nodes.
Next, prepare the cuttings by removing all the leaves except for a few at the top. This helps reduce the amount of moisture loss during the rooting process. It’s also recommended to dip the bottom end of the cuttings in a rooting hormone to encourage faster root development.
Once the cuttings are prepared, it’s time to plant them. Choose a suitable location in your garden or raised bed that receives partial sunlight and has well-draining soil. Dig a small hole for each cutting and place them in the hole, making sure that at least two nodes are below the soil surface. Firmly press the soil around the cutting to eliminate any air pockets.
After planting, water the cuttings thoroughly to ensure that the soil is evenly moist. Then, cover the cuttings with a layer of mulch to conserve moisture and provide insulation during the winter months. Keep the cuttings well-watered throughout the fall and early winter, but avoid overwatering to prevent rot.
By following these expert tips for rooting currant cuttings in autumn, you can successfully propagate a large number of plants and enjoy a bountiful harvest in the upcoming growing season. Remember to be patient, as it may take several months for the cuttings to establish roots. With proper care and attention, you’ll be rewarded with healthy, productive currant plants in no time.
What are Currants?
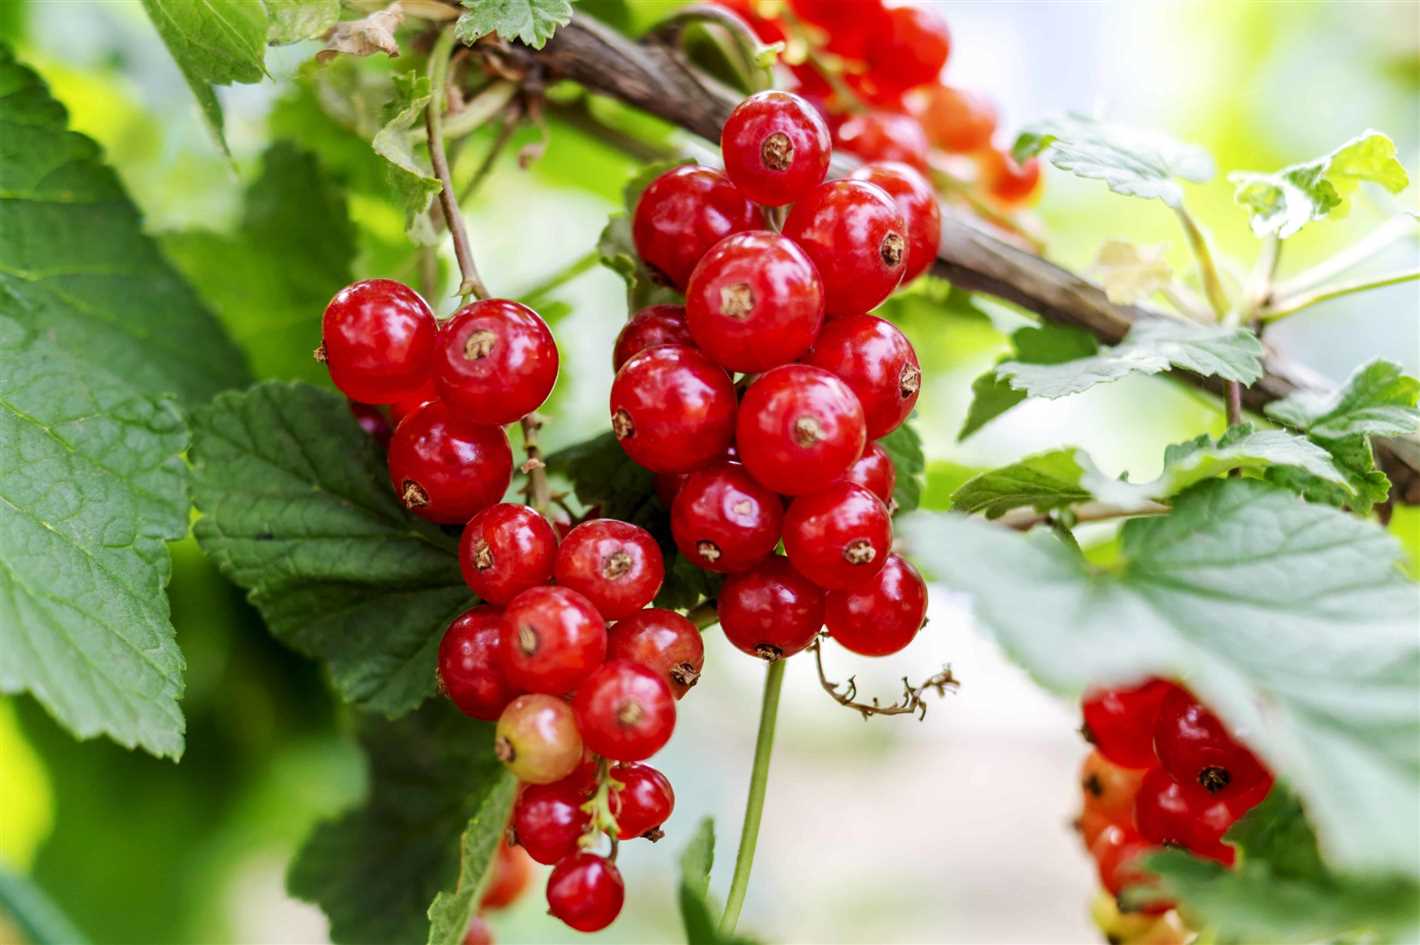
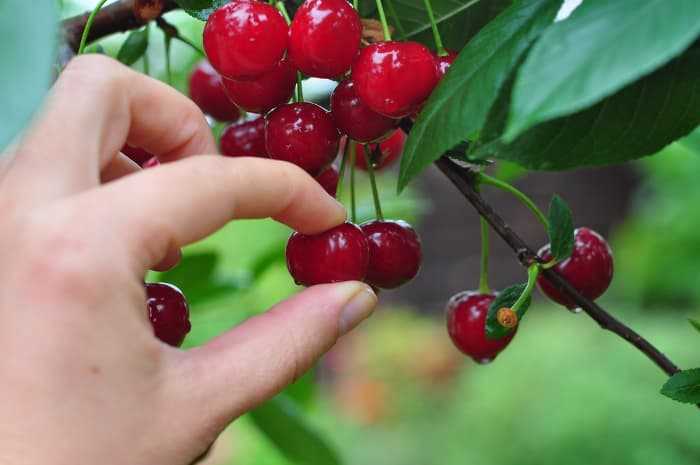
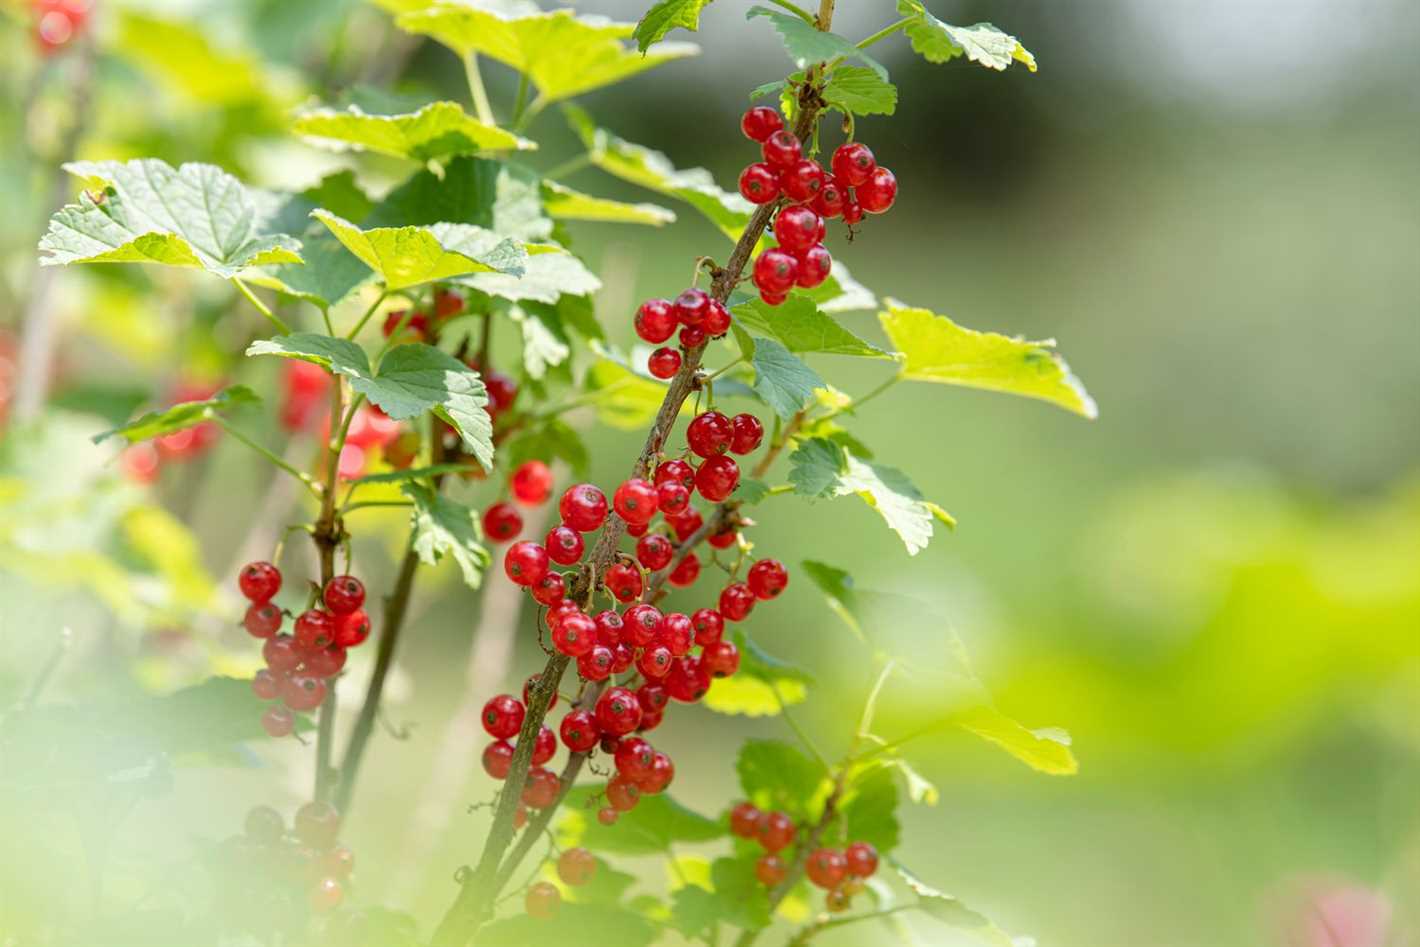
Currants are small berries that grow on deciduous shrubs that belong to the genus Ribes. They are native to Europe, Asia, and North America, and are widely cultivated for their fruit, which can range in color from red to black. Currants are known for their tart and tangy flavor, and are often used in jams, jellies, pies, and other desserts.
Currant bushes are typically small in size, reaching heights of 3 to 6 feet, and have deep green leaves that are lobed and serrated. The plants produce clusters of flowers in the spring, which develop into berries by late summer or early autumn.
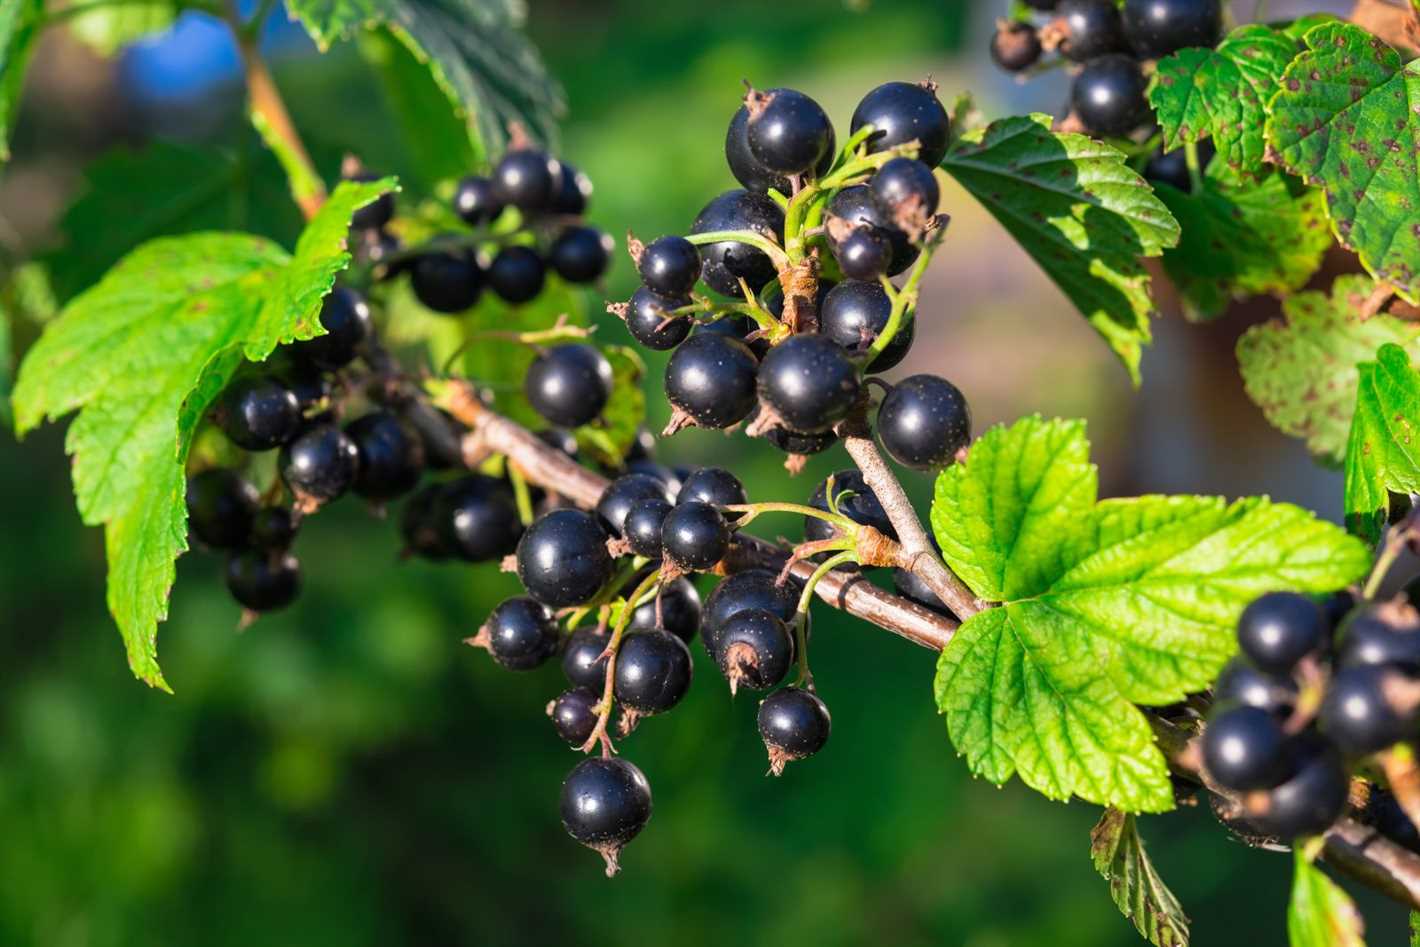
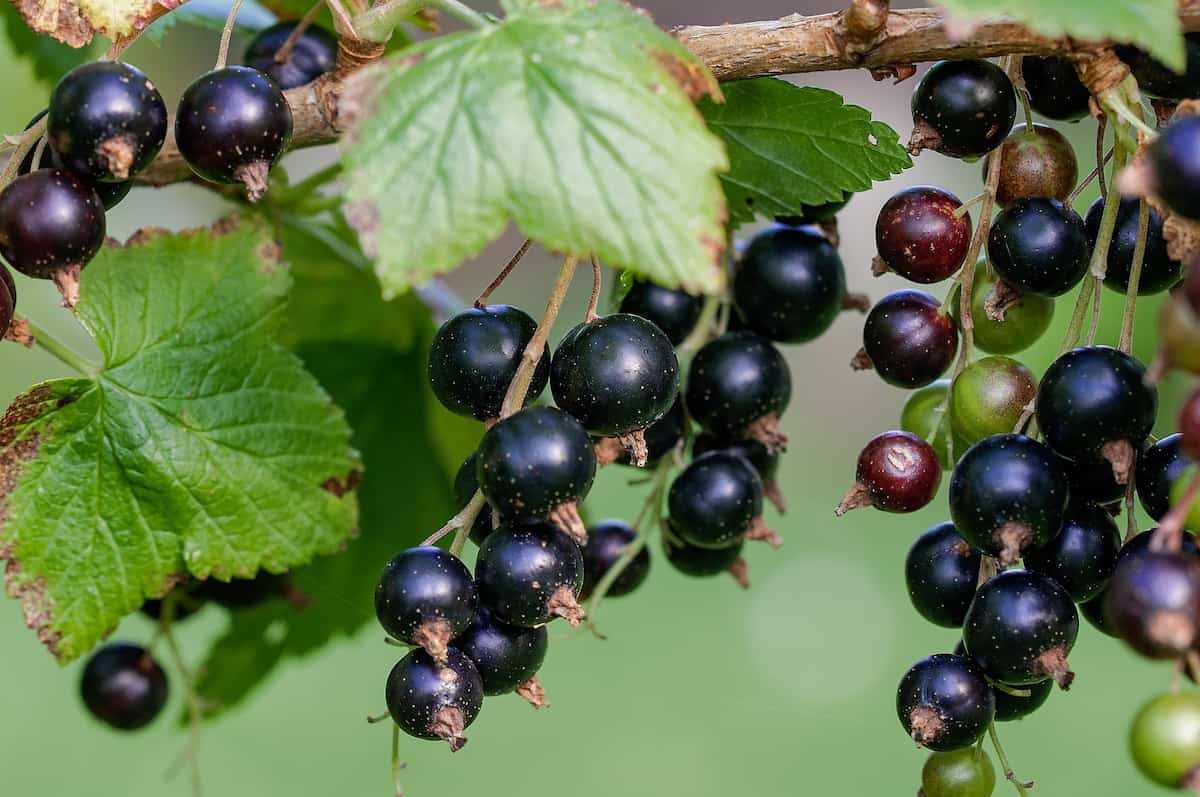
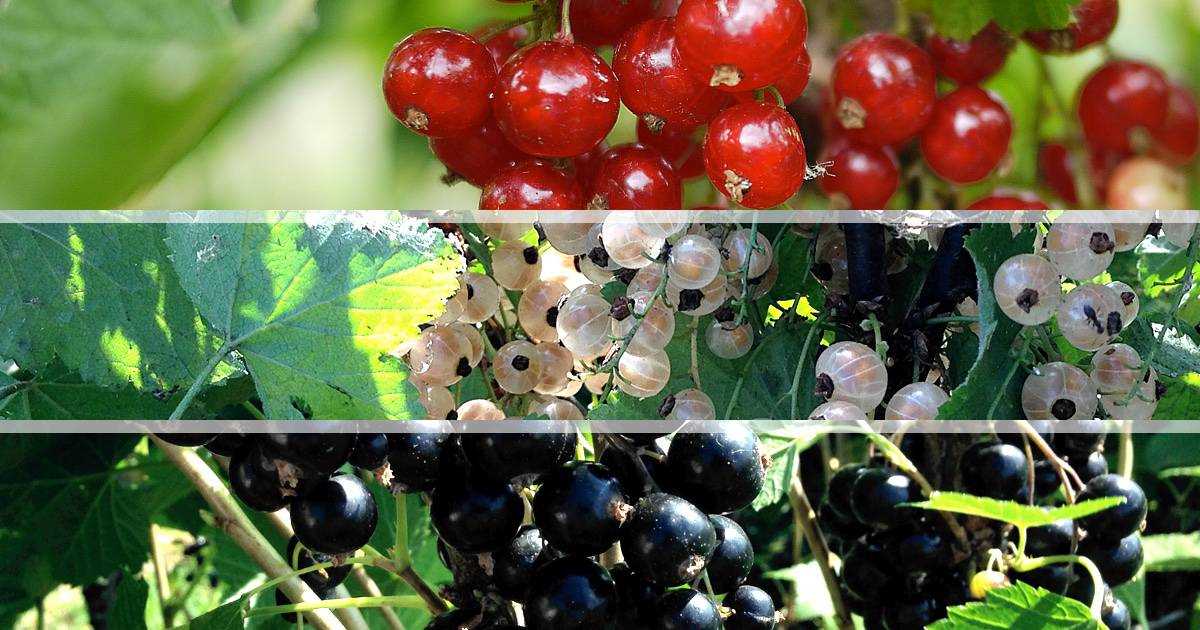
There are three main types of currants: red currants, black currants, and white currants. Red currants are the most commonly grown variety and have bright red berries that are slightly tart. Black currants have dark purple or black berries that are sweeter and more flavorful. White currants have translucent white or pale yellow berries that are the sweetest of the three varieties.
Currants are valued for their high vitamin C content and other antioxidants, as well as their beneficial effects on cardiovascular health. They are also rich in fiber, potassium, and various other vitamins and minerals.
In addition to their culinary uses, currants can also be grown for ornamental purposes. Their attractive foliage and colorful berries make them a popular choice for landscaping, and they can be grown in containers or as hedges.
Benefits of Propagating Currants in Autumn
- Increased Success Rate: Propagating currants in autumn has been found to have a higher success rate compared to other seasons. The cooler temperatures and higher moisture levels create optimal conditions for root development.
- Time-Saving: Autumn is a convenient time to propagate currants because the plants are dormant, meaning they are not actively growing or producing fruit. This allows gardeners to focus on the propagation process without the need to tend to growing plants.
- Cost-Effective: Propagating currants in autumn can save money as it eliminates the need to purchase new plants. By using cuttings from existing currant plants, gardeners can expand their collection without any additional cost.
- Ability to Expand Plant Collection: Autumn propagation provides an opportunity to expand your currant plant collection. By propagating from selected parent plants, you can ensure a wide variety of currants in your garden.
- Customization of Plant Characteristics: Propagating currants allows gardeners to select and propagate specific plants with desired characteristics, such as disease resistance, fruit size, or flavor. This enables the gardener to create a collection of currants that meets their preferences.
Choosing the Right Equipment
Garden Clippers: When propagating currants, it is important to have a good pair of garden clippers. These will be used to take cuttings from the parent plant. Make sure the clippers are sharp and clean to ensure a clean cut and reduce the risk of disease transmission.
Rooting Hormone: Using a rooting hormone can greatly increase the success rate of propagating currants. This hormone stimulates root growth and can be applied to the cut end of the stem before planting it in the rooting medium.
Rooting Medium: The right rooting medium is crucial for successful propagation. A mixture of perlite and peat moss or vermiculite can provide the right balance of moisture retention and drainage. Fill a propagation tray with the rooting medium to plant the cuttings.
Propagation Tray: A propagation tray will hold the rooting medium and allow for easy planting of the cuttings. Look for a tray that has good drainage holes to prevent waterlogging and promote healthy root development.
Labels: Keep the cuttings organized by labeling each variety or cultivar. This will help you keep track of which cuttings are which and make it easier to monitor their progress.
Misting Bottle: Maintaining the right level of humidity is important for successful rooting. Use a misting bottle to regularly spray the cuttings and keep them moist without overwatering them.
Plastic Bag: To create a mini greenhouse effect, cover the propagation tray with a clear plastic bag. This will help retain humidity around the cuttings and promote faster root development.
Essential Tools for Rooting Currant Cuttings
1. Pruning Shears
Pruning shears are essential for taking cuttings from currant plants. You will need a sharp pair of shears to cut through the woody stems cleanly. Look for bypass pruning shears, as they provide a cleaner cut and are less likely to damage the plant.
2. Rooting Hormone
Rooting hormone is a key tool for successful propagation of currant cuttings. It helps stimulate root growth and improves the chances of the cuttings taking root. Look for a rooting hormone powder or gel specifically formulated for semi-hardwood cuttings.
3. Rooting Medium
A good rooting medium is crucial for the successful rooting of currant cuttings. You can use a mixture of peat moss, perlite, and vermiculite to create a well-draining and moisture-retentive medium. Make sure the rooting medium is moist but not waterlogged.
4. Containers
You will need containers or pots to plant the currant cuttings in. Choose containers that are at least 4-6 inches deep to accommodate the growing roots. Make sure the containers have drainage holes to prevent waterlogged soil.
5. Labels
Labels are important for keeping track of different currant varieties and the date they were planted. Use plant labels or popsicle sticks to mark each container with the appropriate information. This will be helpful when it comes to identifying and transplanting the rooted cuttings later on.
6. Plastic Bags or Domes
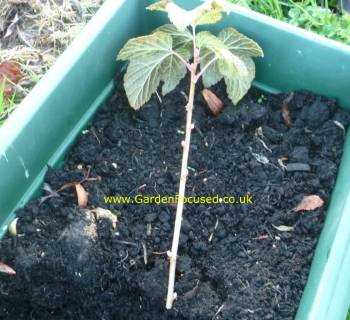
Covering the cuttings with plastic bags or domes creates a microclimate that helps retain moisture and increase humidity, which is beneficial for root development. Use clear plastic bags or domes and place them over the containers to create a greenhouse-like environment.
7. Watering Can or Spray Bottle
A watering can or spray bottle is necessary for moistening the rooting medium and keeping the cuttings hydrated. Water the cuttings gently to avoid dislodging them or damaging any new root growth.
8. Light Source
Provide sufficient light to the currant cuttings to encourage rooting and prevent leggy growth. You can place the containers near a bright window or use fluorescent grow lights to ensure they receive adequate light.
By having these essential tools on hand, you will be well-prepared to successfully root currant cuttings in autumn and propagate a large number of plants.
Considerations for Container Size
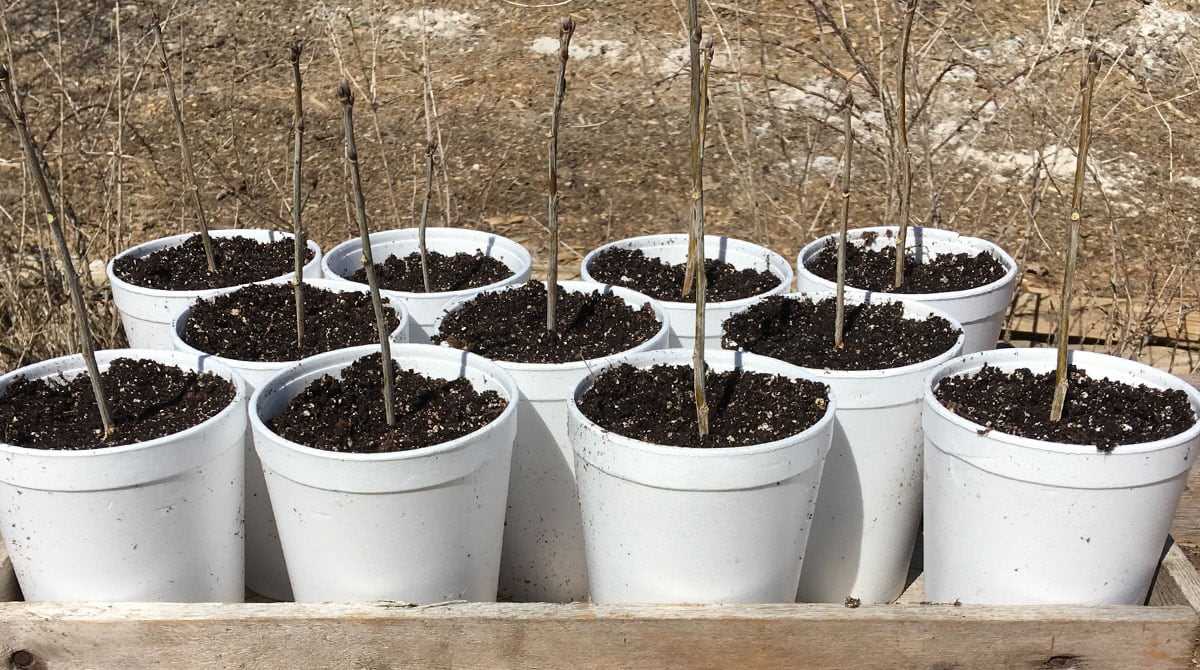
When propagating currants in containers, it is important to choose the right size of containers to ensure the success of rooting the cuttings. Consider the following factors when selecting the container size:
1. Depth
The depth of the container should be sufficient to accommodate the length of the cuttings’ stems. It is recommended to use containers that are at least 6-8 inches deep to allow for proper root development.
2. Width
The width of the container should provide enough space for the cuttings to be positioned without overcrowding. It is important to give each cutting enough room to grow and develop root systems without competing for resources.
3. Number of cuttings
The number of cuttings you plan to propagate will also determine the size of the container. If you are propagating a large number of cuttings, it may be more practical to use several smaller containers instead of one large container. This will allow each cutting to have adequate space for root development.
4. Drainage
Containers should have adequate drainage to prevent waterlogging, as excess moisture can lead to root rot. Make sure the containers have drainage holes at the bottom or use a layer of gravel or pebbles in the bottom to facilitate proper drainage.
5. Manageability
Consider the manageability of the containers when choosing their size. Smaller containers are easier to handle, move, and water, especially if you are propagating a large number of cuttings. Additionally, smaller containers are easier to fit on windowsills or in limited space.
6. Future growth
Keep in mind the future growth of the rooted cuttings when selecting the container size. Currants have vigorous growth, so it is important to choose a container that will accommodate their growth for several months before transplanting them into larger containers or the ground.
By considering these factors, you can choose the appropriate container size for propagating currant cuttings in autumn, providing them with the optimal conditions for successful rooting and future growth.
Preparing the Cuttings
Before rooting the currant cuttings, it is essential to properly prepare them to increase the chances of successful propagation. Here are the steps to follow:
- Choose healthy cuttings: Select cuttings from healthy, disease-free plants. Look for young branches that are about 6-8 inches long with several nodes.
- Take cuttings at the right time: Collect the cuttings in late autumn when the plants are dormant. This is the ideal time for root development.
- Remove lower leaves: Strip off the lower leaves from the bottom two-thirds of the cutting. This will prevent the leaves from rotting and promote root growth.
- Trim the cuttings: Use clean, sharp pruning shears to trim the cutting just below a node at the bottom and just above a node at the top. This will promote root and shoot development.
- Disinfect the tools: Before starting, make sure to disinfect the pruning shears with a solution of 70% rubbing alcohol or a mixture of 1 part bleach to 9 parts water. This will prevent the spread of any potential diseases.
- Organize the cuttings: Once the cuttings are prepared, keep them organized by labeling each cutting with the name of the variety. This will help you track their progress and identify the plants later on.
By following these steps, you will ensure that your currant cuttings are well-prepared for rooting and increase the chances of successful propagation.
How to Select Healthy Currant Branches
When propagating currants in autumn, it is important to select healthy branches for rooting. Here are some expert tips on how to select the best branches:
1. Choose branches from a healthy, disease-free plant
Look for a currant plant that is free from any signs of disease or pests. Selecting branches from a healthy plant will ensure higher success rates when rooting the cuttings.
2. Select mature branches
Mature branches are sturdier and more likely to root successfully. Look for branches that are at least one year old and have a diameter of about ¼ to ½ inch.
3. Look for branches with plump buds
Plump buds indicate that the branch is healthy and has the potential for vigorous growth. Avoid selecting branches with dried or shriveled buds as they may have less chance of rooting successfully.
4. Choose branches with a good balance of new growth and older wood
Branches with a good balance of new growth and older wood are more likely to root successfully. Look for branches that have a mixture of green, flexible stems and slightly woody sections.
5. Avoid selecting branches with signs of damage or stress
Avoid branches that have signs of damage, such as broken or split sections, as they may have a lower chance of rooting successfully. Additionally, avoid branches that show signs of stress, such as wilted or yellow leaves.
6. Take cuttings from the middle of the plant
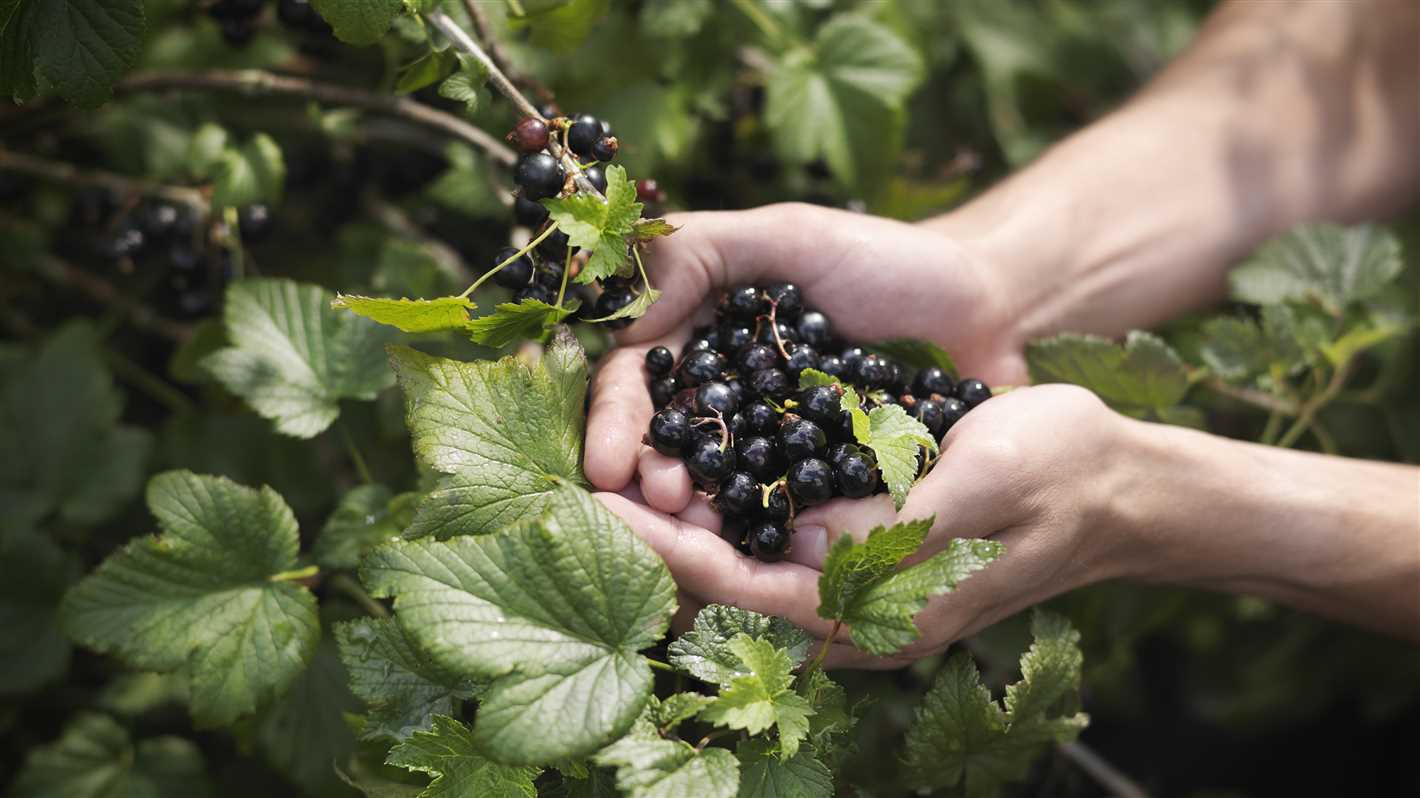
When selecting branches for propagation, it is best to take cuttings from the middle of the plant. This ensures that the plant will not be weakened from excessive pruning in one area.
By following these tips, you will be able to select healthy currant branches that have a higher chance of rooting successfully and growing into healthy plants.
Methods for Cutting and Preparing Currant Branches
- Selecting the right branches: Choose healthy, disease-free branches that are about one-year-old and have a diameter of around 1/4 to 1/2 inch. Avoid using excessively thin or thick branches.
- Cutting the branches: Use sharp, sterile pruning shears to take cuttings from the currant bush. Make clean cuts at a 45-degree angle, just below a bud. Each cutting should be about 6 to 8 inches long, with at least two or three healthy buds.
- Removing leaves: Strip off the lower leaves from the cutting, leaving only a few at the top intact. This will help reduce water loss and allow the cutting to focus its energy on root development.
- Treating the cuttings: Immediately after removing the leaves, dip the bottom end of each cutting in a rooting hormone powder or gel. This will promote the formation of roots and increase the chances of successful propagation.
- Preparing the cuttings for planting: Once treated with rooting hormone, place the cuttings in a labeled plastic bag with damp paper towels or peat moss to prevent them from drying out. Store the cuttings in a cool, dark place until you are ready to plant them.
Creating the Optimal Rooting Environment
Creating the right environment for currant cuttings to root is crucial for successful propagation. Here are some expert tips on how to create the optimal rooting environment for your cuttings:
- Choose the right soil: Use a well-draining soil mix that is rich in organic matter. A mixture of equal parts peat moss, perlite, and vermiculite is often recommended for rooting currant cuttings. This type of soil provides the right balance of moisture retention and aeration.
- Prepare the planting containers: Use clean and sterile containers to prevent the spread of diseases. You can use pots, trays, or seedling flats depending on the number of cuttings you have. Make sure the containers have drainage holes to avoid waterlogging.
- Take clean and healthy cuttings: Only take cuttings from healthy and disease-free plants. Select straight and healthy shoots that are about 6-8 inches long. Remove any flowers or fruit buds from the cuttings to redirect the plant’s energy towards root development.
- Apply rooting hormone: Dip the basal end of the cuttings in a rooting hormone powder or gel. This helps stimulate root growth and increase the chances of successful rooting. Make sure to follow the instructions on the packaging for proper application.
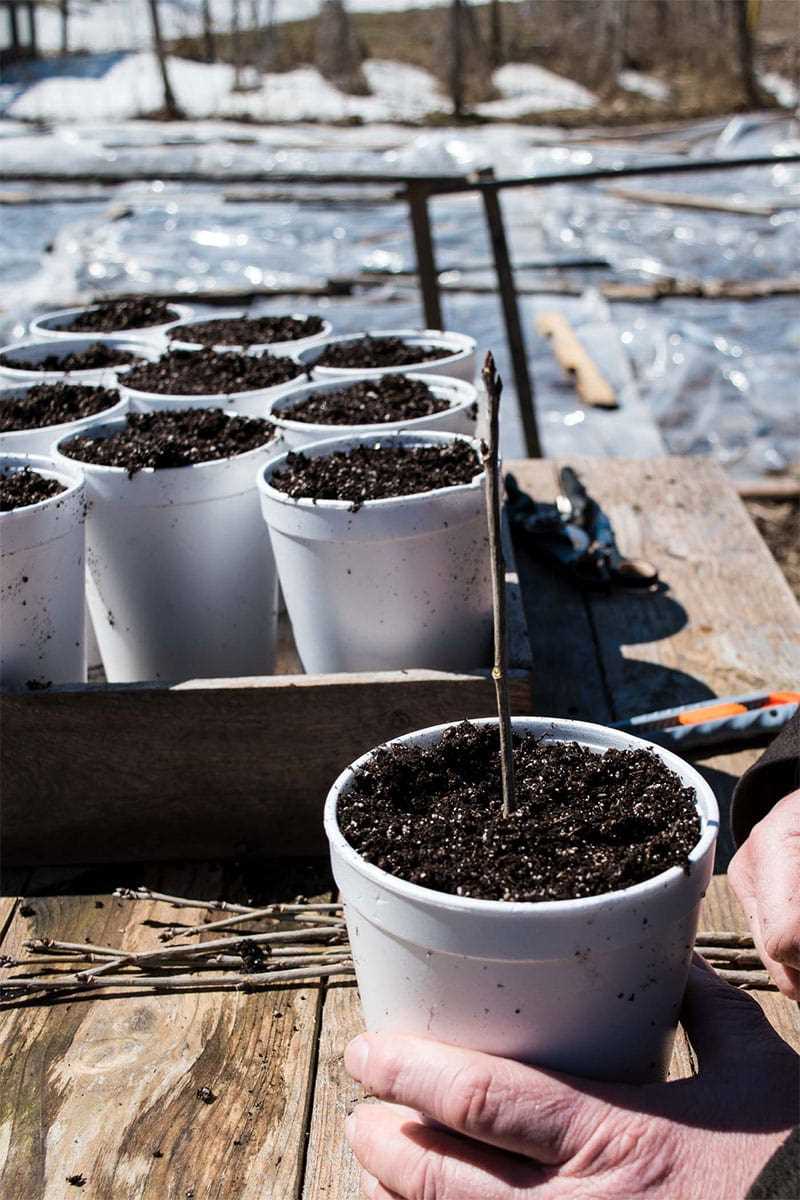
- Plant the cuttings: Make holes in the soil mix using a pencil or a dibber. Plant the cuttings about 2-3 inches deep, with at least 2 nodes buried in the soil. Gently firm the soil around the base of the cutting to ensure good contact.
- Create a humid environment: Cover the cuttings with a clear plastic bag or a propagator lid to create a greenhouse effect. This helps maintain high humidity levels around the cuttings, which promotes root development. Make sure to provide ventilation by opening the bag or lifting the lid periodically to prevent fungal diseases.
- Provide the right temperature: Place the cuttings in a warm location with temperatures ranging from 65-75°F (18-24°C). Avoid exposing them to direct sunlight or extreme temperature fluctuations, as this can hinder root development.
- Water regularly: Keep the soil consistently moist but not waterlogged. Use a spray bottle or a misting system to water the cuttings gently to prevent dislodging them from the soil. Avoid overwatering, as it can lead to rotting.
By following these tips and providing the optimal rooting environment, you can increase the chances of successful currant cutting propagation in autumn.
Choosing the Right Soil Mix
When it comes to propagating currants in autumn, one of the most crucial factors to consider is the soil mix. The right soil mix can greatly improve the success rate of rooting a large number of cuttings. Here are some expert tips to help you choose the right soil mix for your currant cuttings:
1. Well-Draining Soil
First and foremost, it’s important to choose a soil mix that is well-draining. Currants prefer soil that is moist but not waterlogged. A well-draining soil mix will help prevent waterlogged conditions, which can lead to root rot and stunted growth. Look for soil mixes that contain a high percentage of organic matter, such as compost or peat moss, as they can improve the drainage of the soil.
2. Nutrient-Rich Soil
Currants are heavy feeders and require a nutrient-rich soil mix to thrive. Look for soil mixes that are formulated specifically for fruiting plants or those that contain a balanced mix of organic matter and nutrients. Adding compost or well-rotted manure to the soil mix can also help improve its nutrient content.
3. pH Level
Currants prefer slightly acidic soil with a pH level ranging from 5.5 to 7.0. It’s important to choose a soil mix that is within this pH range. You can test the pH level of the soil mix using a pH testing kit or meter. If the pH level is too high, you can amend the soil mix by adding sulfur or peat moss to lower the pH.
4. Sterile Soil
Using sterile soil mix is essential to prevent the growth of harmful pathogens and pests. Make sure to choose a soil mix that is labeled as sterile or sterilize the soil mix yourself by baking it in the oven at 180°F (82°C) for at least 30 minutes.
5. Good Aeration
Air circulation is important for healthy root growth. Choose a soil mix that provides good aeration to the roots. Soil mixes that contain perlite or vermiculite can improve the aeration of the soil and prevent compaction.
By choosing the right soil mix for your currant cuttings, you can greatly increase the chances of successful propagation in autumn. Take the time to research and select a soil mix that meets the specific needs of your currant plants, and you’ll be rewarded with healthy and thriving cuttings.
Question-answer:
Is autumn the best time to propagate currants?
Yes, autumn is the ideal time to propagate currants. The plants are dormant during this time, and rooting cuttings in autumn gives them a head start to establish roots before the winter.
What is the process of propagating currants in autumn?
The process of propagating currants in autumn involves taking cuttings from healthy, disease-free plants, treating the cuttings with rooting hormone, planting them in a suitable medium, and providing the right conditions for rooting.
Can I propagate currants from seeds?
While it is possible to propagate currants from seeds, it is not the most reliable method. Growing currants from seeds can result in a wide variation in plant quality and characteristics. It is recommended to propagate currants using cuttings to ensure the new plants retain the desired traits of the parent plant.
What is the best rooting medium for currant cuttings?
A well-draining rooting medium, such as a mix of peat moss and perlite, is ideal for rooting currant cuttings. This provides the right balance of moisture and oxygen for root development.
How long does it take for currant cuttings to root?
It typically takes about 4-6 weeks for currant cuttings to root. However, this can vary depending on factors such as temperature, humidity, and the variety of currant.
How should I care for newly rooted currant cuttings?
After rooting, it is important to gradually acclimate the new plants to outdoor conditions. This can be done by gradually exposing them to longer periods of sunlight and lower humidity. Regular watering and protection from extreme weather conditions are also important for the successful establishment of the new plants.
Can I propagate currants if I don’t have access to rooting hormone?
While rooting hormone can increase the success rate of currant cuttings, it is not absolutely necessary. The use of rooting hormone can help stimulate root growth, but with proper care and attention, currant cuttings can still root without it.
