- Benefits of Growing Malva from Seeds
- 1. Cost-effective
- 2. Variety of Cultivars
- 3. Flexibility with Planting Time
- 4. Educational Experience
- 5. Greater Control over Plant Health
- 6. Rewarding Experience
- Conclusion
- Choosing the Right Seeds for Growing Malva
- 1. Variety
- 2. Quality
- 3. Organic vs. Non-organic
- 4. Germination Rate
- 5. Seed Viability
- 6. Growing Conditions
- Preparing the Soil for Malva Seed Planting
- 1. Choose a Suitable Location
- 2. Clear the Area
- 3. Break up the Soil
- 4. Amend the Soil
- 5. Test the Soil pH
- 6. Level the Soil
- 7. Water the Soil
- 8. Wait for the Soil to Settle
- Planting Malva Seeds: Step-by-Step Guide
- Step 1: Choose a Suitable Location
- Step 2: Prepare the Soil
- Step 3: Sow the Seeds
- Step 4: Water the Seeds
- Step 5: Provide Care and Maintenance
- Step 6: Enjoy the Blooms
- Caring for Malva Plants: Watering and Fertilizing
- Common Pests and Diseases of Malva Plants
- Pests
- Diseases
- Harvesting and Using Malva: Tips and Tricks
- Harvesting Malva Leaves
- Using Malva Leaves in Cooking
- Harvesting and Using Malva Flowers
- Storing and Preserving Malva
- Conclusion
- Questions and Answers:
- How long does it take for Malva seeds to germinate?
- What is the best time to sow Malva seeds?
- Can Malva be grown in containers?
- What type of soil is best for growing Malva?
- Does Malva require full sun?
- How often should Malva be watered?
- Are Malva plants susceptible to any diseases or pests?
- Videos: TIPS To Grow Hollyhocks From SEEDS In Pot [A-Z Details]

Growing Malva from seeds can be a rewarding experience for gardeners of all skill levels. Also known as mallow, Malva is a versatile and beautiful flowering plant that can add color and texture to any garden. Whether you’re a beginner or an experienced gardener, this ultimate guide will provide you with all the information you need to successfully grow Malva from seeds.
Why choose Malva?
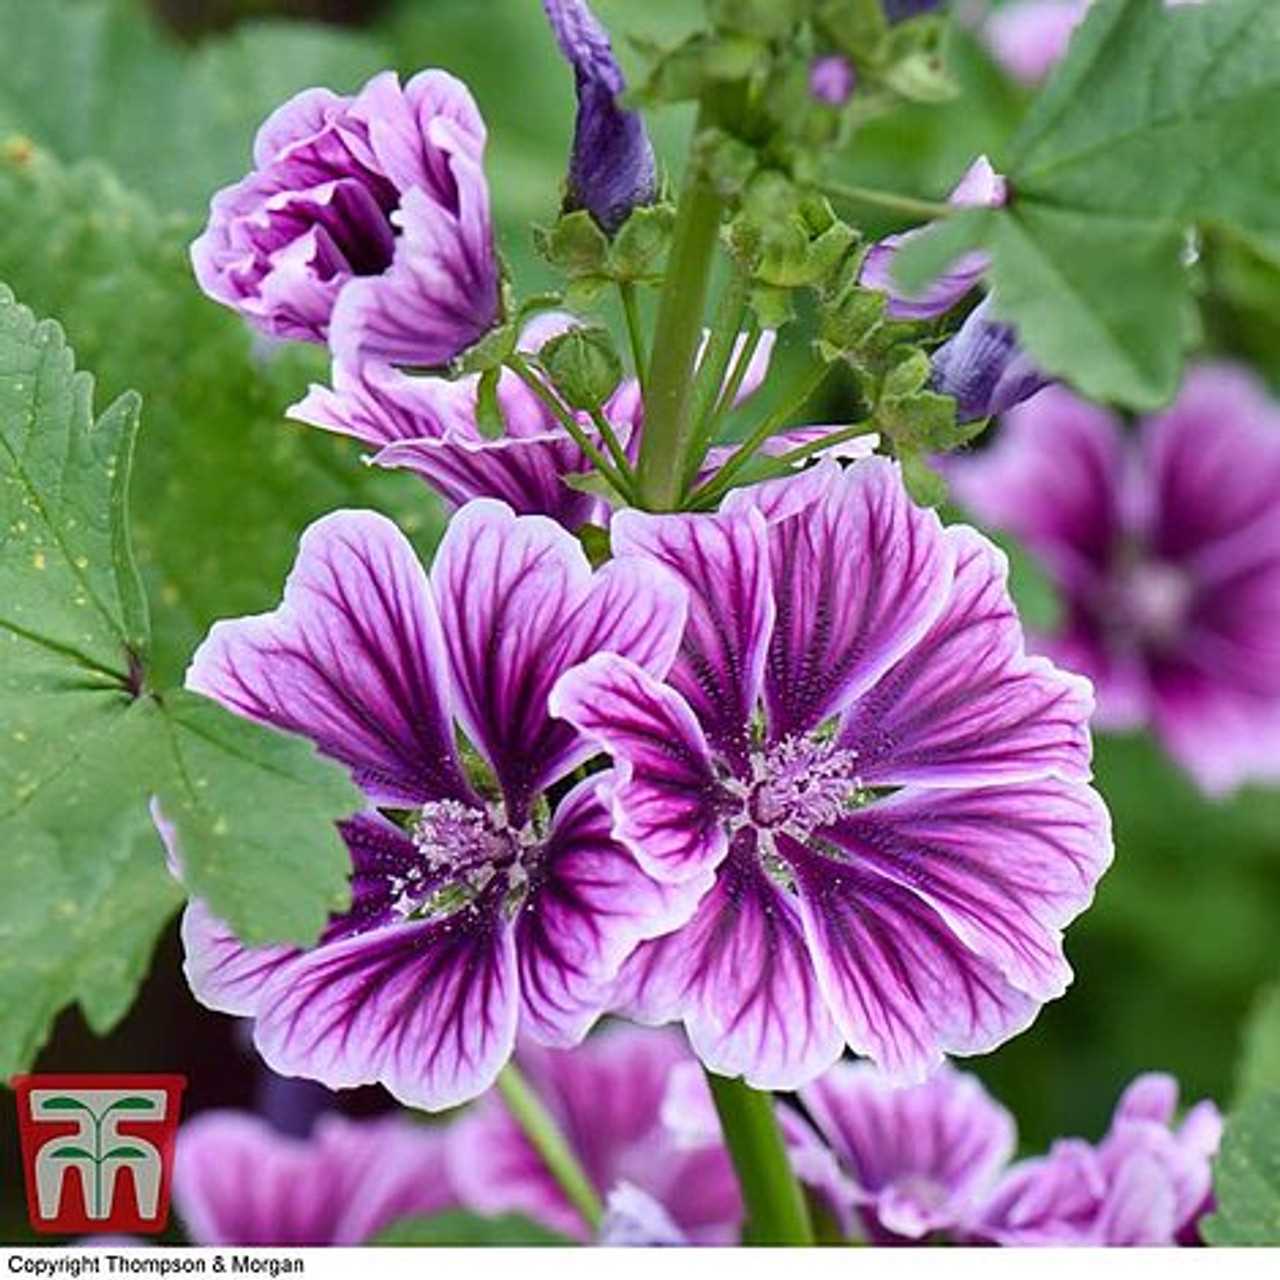
Malva is not only a stunning addition to your garden, but it also has many practical uses. With its delicate petals and vibrant colors, Malva can instantly brighten up any space. Additionally, Malva is known for its medicinal properties and is often used in herbal remedies. Whether you’re looking to enhance the aesthetics of your garden or explore the healing potential of plants, Malva is an excellent choice.
How to start growing Malva from seeds
Before you begin the process of growing Malva, it’s important to gather the necessary supplies. You’ll need high-quality Malva seeds, well-draining potting soil, a seed tray or pots, and a sunny spot in your garden. Once you have everything you need, follow these simple steps to start growing Malva from seeds:
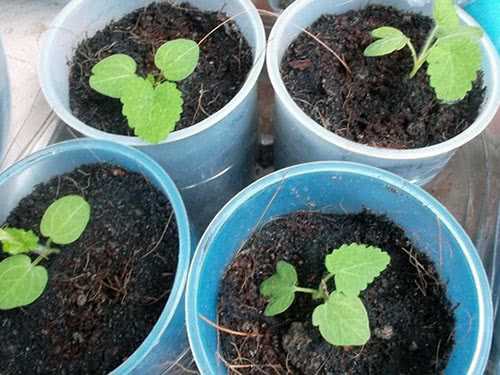
- Sow the seeds: Fill a seed tray or pots with well-draining potting soil. Sow the Malva seeds on the surface of the soil, gently pressing them down.
- Water: Water the seeds thoroughly but gently, ensuring that the soil is evenly moist. Avoid overwatering, as this can cause the seeds to rot.
- Provide sunlight: Place the seed tray or pots in a sunny spot in your garden or near a window that receives ample sunlight. Malva requires at least six hours of direct sunlight per day.
- Monitor growth: Keep an eye on the seedlings and water them regularly to keep the soil moist. As the plants grow, you may need to thin them out to prevent overcrowding.
- Transplant: Once the seedlings are about 2-3 inches tall, they can be transplanted into larger pots or directly into your garden. Ensure that the soil is well-draining and the plants have enough space to grow.
By following these steps, you’ll be on your way to growing beautiful Malva plants from seeds. Whether you’re a beginner or an experienced gardener, the joy of watching the seeds sprout and grow into vibrant flowers is truly rewarding. So, why wait? Start growing Malva from seeds today and enjoy the beauty and benefits it brings to your garden.
Benefits of Growing Malva from Seeds
Growing Malva from seeds offers a range of benefits and advantages for both experienced and novice gardeners alike. Here are some key benefits of starting your Malva plants from seeds:
1. Cost-effective
Growing Malva from seeds is a cost-effective way to add beauty to your garden. Unlike buying mature plants, seeds are typically much more affordable, allowing you to grow a greater quantity of Malva plants without breaking the bank.
2. Variety of Cultivars
When growing Malva from seeds, you have access to a wide variety of cultivars to choose from. This allows you to experiment with different colors, flower shapes, and foliage patterns, creating a unique and diverse garden.
3. Flexibility with Planting Time
Starting Malva from seeds gives you the flexibility to plant at the optimal time for your specific climate and growing conditions. You can control every aspect of the growing process, from planting to harvesting, ensuring the best possible results.
4. Educational Experience
Growing Malva from seeds can be a fun and educational experience for both children and adults. It provides an opportunity to learn about the life cycle of plants, the importance of soil, water, and sunlight, and the satisfaction of nurturing a plant from seed to maturity.
5. Greater Control over Plant Health
By growing Malva from seeds, you have greater control over the health and well-being of your plants. You can choose organic seeds, use natural fertilizers and pest control methods, and provide optimal growing conditions, ensuring that your Malva plants thrive.
6. Rewarding Experience
Watching your Malva seeds sprout, grow, and bloom into beautiful flowers is a rewarding experience. It brings a sense of accomplishment and joy, knowing that you played a part in creating a vibrant and flourishing garden.
Conclusion
Growing Malva from seeds offers numerous benefits, from cost-effectiveness to the opportunity for learning and experimentation. Whether you are a seasoned gardener or a beginner, starting Malva from seeds is a rewarding endeavor that can enhance the beauty and diversity of your garden.
Choosing the Right Seeds for Growing Malva
When it comes to growing malva, choosing the right seeds is crucial for a successful and healthy garden. Here are some factors to consider when selecting malva seeds:
1. Variety
There are different varieties of malva available, each with its own unique characteristics. Some common varieties include Malva sylvestris, Malva moschata, and Malva alcea. Research the different varieties and choose one that suits your needs and preferences.
2. Quality
High-quality seeds will have a better germination rate and produce healthier plants. Look for reputable seed suppliers and check customer reviews or ratings to ensure the seeds are of good quality.
3. Organic vs. Non-organic
Decide whether you want to grow malva from organic or non-organic seeds. Organic seeds are grown without the use of synthetic chemicals, pesticides, or genetically modified organisms (GMOs). Non-organic seeds may be treated with chemicals or come from plants that have been genetically modified.
4. Germination Rate
Check the germination rate of the seeds before purchasing. The germination rate indicates the percentage of seeds that are likely to sprout and grow into healthy plants. Choose seeds with a higher germination rate for better chances of success.
5. Seed Viability
Seeds have a limited lifespan, and their viability decreases over time. Check the seed packet or supplier for an expiration date or information on when the seeds were harvested. Fresher seeds tend to have higher viability and are more likely to germinate successfully.
6. Growing Conditions


Consider the growing conditions in your area and choose malva seeds that are suited for your climate and soil type. Some varieties may be more tolerant to heat, cold, or drought, while others may require specific soil conditions.
| Variety | Characteristics |
|---|---|
| Malva sylvestris | Lavender-pink flowers, tall growth habit |
| Malva moschata | White or pink flowers, shorter and bushier |
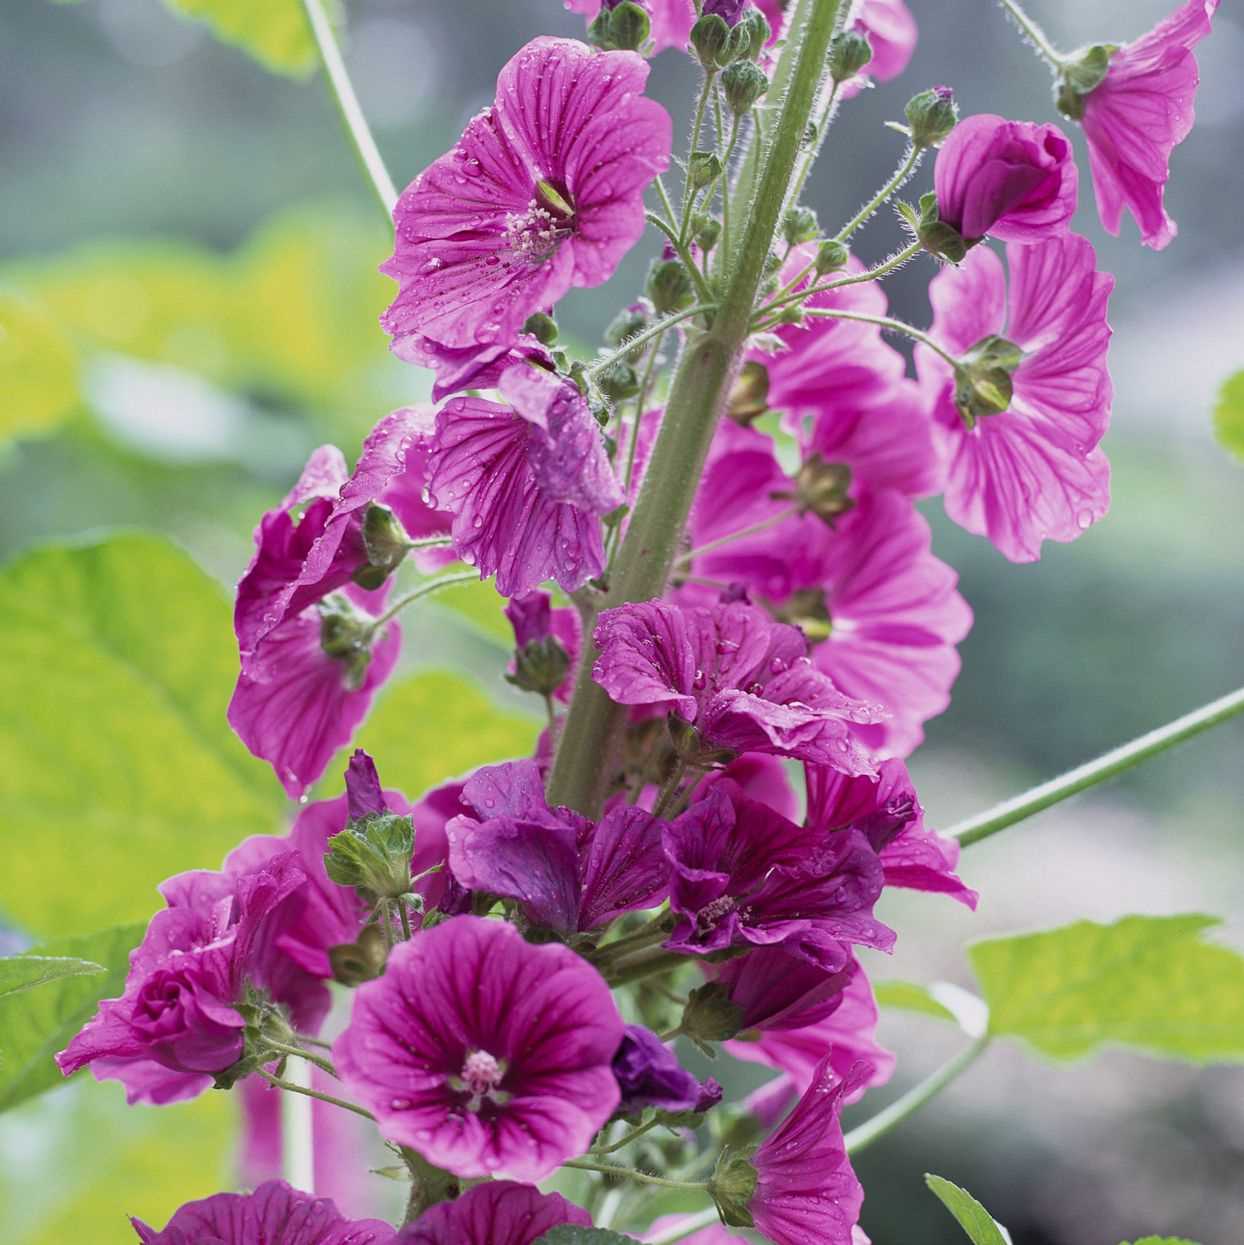
| Malva alcea | Deep pink or purple flowers, tall and erect |
By considering these factors and choosing the right seeds, you can ensure a successful and rewarding experience when growing malva in your garden.
Preparing the Soil for Malva Seed Planting
Before planting Malva seeds, it’s important to prepare the soil to create the optimal growing conditions for these beautiful flowers. Follow these steps to ensure the best possible start for your Malva seeds:
1. Choose a Suitable Location
Select a location that receives full sun for at least 6-8 hours a day. Malva plants thrive in direct sunlight and may not perform well in shady areas.
2. Clear the Area
Remove any weeds, grass, or debris from the planting area. Malva plants prefer clean, weed-free soil to minimize competition for nutrients and water.
3. Break up the Soil
Using a garden fork or shovel, loosen the soil to a depth of about 6-8 inches. This will help improve drainage and allow the roots of Malva plants to penetrate the soil easily.
4. Amend the Soil
If your soil is heavy and clay-like, adding organic matter like compost or well-rotted manure can help improve its structure and drainage. Mix the organic matter into the soil thoroughly.
5. Test the Soil pH
Malva plants prefer slightly acidic to neutral soil with a pH range of 6.0-7.0. Use a soil testing kit to determine the pH level of your soil. If the pH is too high or too low, adjust it by adding the appropriate amendments recommended by the kit.
6. Level the Soil
Smooth out the soil surface using a rake to create a level planting bed. This will provide a uniform surface for sowing the Malva seeds and ensure even water distribution.
7. Water the Soil
Thoroughly water the prepared soil before sowing the Malva seeds. This will help settle the soil and ensure good seed-to-soil contact for germination.
8. Wait for the Soil to Settle


Allow the watered soil to settle for a day or two before proceeding with sowing the Malva seeds. This will give you a better idea of the final level of the soil surface.
By following these steps to prepare the soil, you’ll create optimal growing conditions for your Malva seeds and increase the chances of successful germination and growth.
Planting Malva Seeds: Step-by-Step Guide
Planting malva seeds is a simple process that can lead to beautiful and vibrant flowers in your garden. Follow these step-by-step instructions to ensure successful germination and growth of your malva plants.
Step 1: Choose a Suitable Location
Select a location in your garden that receives full sun or partial shade. Malva plants thrive in well-draining soil, so make sure the area has good drainage. Avoid planting in areas with standing water.
Step 2: Prepare the Soil


Before planting your malva seeds, prepare the soil by removing any weeds or debris. Loosen the soil using a garden fork or tiller to improve aeration and drainage. If the soil is heavy or compacted, amend it with organic matter like compost or well-rotted manure.
Step 3: Sow the Seeds
Sow the malva seeds directly into the prepared soil. Space the seeds about 12 inches apart to allow sufficient room for the plants to grow. Plant the seeds at a depth of 1/4 inch and cover them lightly with soil.
Step 4: Water the Seeds
After sowing the seeds, water the area thoroughly to ensure the soil is evenly moist. Avoid overwatering, as this can lead to rotting of the seeds. Maintain moist soil throughout the germination and early growth stages.
Step 5: Provide Care and Maintenance
Once the seedlings emerge, thin them out to ensure proper spacing between the plants. Water the malva plants regularly, especially during dry spells. Apply a balanced fertilizer according to package instructions to promote healthy growth and blooming. Mulch around the plants to preserve soil moisture and suppress weed growth.
Step 6: Enjoy the Blooms
In about 8 to 12 weeks, your malva plants should start producing vibrant flowers. Enjoy the beautiful blooms and consider cutting some for flower arrangements. Deadhead the spent flowers to encourage continuous blooming.
By following these simple steps, you can successfully plant malva seeds and enjoy their colorful flowers in your garden. Keep an eye out for pests or diseases, and address any issues promptly to ensure the health of your malva plants.
Caring for Malva Plants: Watering and Fertilizing
Watering Malva Plants
Proper watering is essential for the health and growth of Malva plants. Here are some tips to keep in mind:
- Water your Malva plants regularly, especially during dry periods.
- Make sure the soil is well-drained to prevent waterlogged roots. Malva plants prefer moist but not soggy soil.
- Water at the base of the plant to avoid wetting the leaves, as this can lead to fungal diseases.
- Check the moisture level of the soil by inserting your finger about an inch deep. If the soil feels dry, it’s time to water.
- During hot summer months, Malva plants may require more frequent watering.
- Consider using a soaker hose or drip irrigation system to ensure deep watering without soaking the leaves.
Fertilizing Malva Plants
Malva plants generally do not require much fertilizer, but a little boost can promote healthier growth. Here are some guidelines for fertilizing Malva plants:
- Apply a balanced, slow-release fertilizer to the soil in early spring, following the package instructions for dosage.
- Alternatively, you can use a liquid fertilizer diluted to half the recommended strength every two to three weeks during the growing season.
- Avoid over-fertilizing, as this can lead to excessive foliage growth with fewer flowers.
- Monitor the overall health and growth of your Malva plants. If they appear healthy and are producing flowers, additional fertilization may not be necessary.
By following these watering and fertilizing tips, you can help ensure the successful growth and blooming of your Malva plants.
Common Pests and Diseases of Malva Plants
Malva plants are generally hardy and resistant to pests and diseases. However, there are a few common issues that can affect their growth and health. Being aware of these problems can help you take preventive measures and ensure the success of your Malva plants.
Pests
- Aphids: These tiny insects feed on the sap of the Malva plant, causing distortion and yellowing of the leaves. Regularly inspect the plants and use an insecticidal soap or neem oil solution to control aphids.
- Whiteflies: Similar to aphids, whiteflies suck the sap from Malva plants and can cause leaves to turn yellow and wilt. Use sticky traps or insecticidal soap to control whiteflies.
- Slugs and Snails: These pests feed on the leaves and stems of Malva plants, often leaving large holes. Use slug bait or create barriers, such as crushed eggshells or copper tape, to prevent slugs and snails from reaching the plants.
- Spider Mites: These tiny pests commonly infest the undersides of Malva leaves, causing yellow stippling and leaf drop. Regularly spray the plants with water to deter spider mites, and consider using insecticidal soap if the infestation is severe.
Diseases
- Powdery Mildew: This fungal disease appears as a white powdery coating on the leaves, stems, and flowers. Improve air circulation by spacing the plants properly and remove affected leaves to prevent the spread of powdery mildew. Treat severe cases with a fungicidal spray.
- Root Rot: Overwatering and poorly drained soil can lead to root rot in Malva plants. Ensure that the soil is well-draining and avoid overwatering. If root rot is detected, repot the plants in fresh soil and reduce watering frequency.
- Leaf Spot: Leaf spot is a fungal disease that causes dark spots on the leaves of Malva plants. Improve air circulation, remove affected leaves, and treat with a fungicidal spray to prevent the spread of leaf spot.
- Leaf Rust: This fungal disease appears as orange-brown spots on the leaves of Malva plants. Remove and destroy infected leaves and treat with a fungicidal spray to control leaf rust.
By taking preventive measures and regularly inspecting your Malva plants, you can effectively manage and control these pests and diseases, ensuring healthy growth and vibrant flowers.
Harvesting and Using Malva: Tips and Tricks
Once your malva plants have grown and matured, it’s time to harvest them and put them to good use. Here are some tips and tricks for harvesting and using malva in various ways:
Harvesting Malva Leaves
Malva leaves can be harvested throughout the growing season. It’s best to pick the leaves in the morning when the plant is well hydrated. To harvest the leaves, simply use a pair of clean scissors or pruning shears to cut the stems just above a leaf node.
Tip: Harvest only a few leaves at a time to allow the plant to continue growing and producing more foliage.
Using Malva Leaves in Cooking
Malva leaves have a slightly tangy and nutty flavor, making them a great addition to salads, soups, stews, and stir-fries. You can use them as a substitute for spinach or any other leafy greens in your favorite recipes.
Here are some ideas for using malva leaves in your cooking:
- Make a refreshing malva leaf salad with cherry tomatoes, cucumbers, and a light vinaigrette dressing.
- Add malva leaves to your favorite vegetable soup for an extra boost of nutrients.
- Sauté malva leaves with garlic and olive oil for a quick and healthy side dish.
- Blend malva leaves into a green smoothie along with other fruits and vegetables.
Harvesting and Using Malva Flowers
In addition to the leaves, malva flowers can also be harvested and used in various ways:
Harvesting Malva Flowers: When the flowers are fully open and vibrant in color, you can gently pluck them from the plant.
Using Malva Flowers:
- Decorate salads and desserts with fresh malva flowers for a beautiful and edible garnish.
- Dry the flowers and use them in herbal teas or potpourri.
- Create floral arrangements or wreaths with dried malva flowers for a decorative touch.
- Infuse malva flowers in oil to make homemade skincare products or herbal remedies.
Storing and Preserving Malva
To store harvested malva leaves, rinse them thoroughly with cold water, pat them dry with a clean towel, and place them in a plastic bag or airtight container. They can be stored in the refrigerator for up to a week.
If you want to preserve malva leaves for a longer period, you can also blanch and freeze them. Simply blanch the leaves in boiling water for a minute, transfer them to an ice bath to cool, drain them, and freeze them in airtight containers or freezer bags.
When it comes to storing malva flowers, you can dry them by hanging them upside down in a cool and dry place. Once dried, store them in airtight containers in a cool and dark location.
Conclusion
Harvesting and using malva is a rewarding experience that allows you to enjoy the culinary and decorative benefits of this versatile plant. Whether you’re using malva leaves in your cooking or adding a floral touch to your dishes and home, these tips and tricks will help you make the most out of your malva harvest.
Questions and Answers:
How long does it take for Malva seeds to germinate?
Malva seeds usually take about 10-14 days to germinate.
What is the best time to sow Malva seeds?
The best time to sow Malva seeds is in the spring, after the danger of frost has passed.
Can Malva be grown in containers?
Yes, Malva can be grown in containers, as long as they are large enough to accommodate the plant’s root system.
What type of soil is best for growing Malva?
Malva prefers well-draining soil that is rich in organic matter.
Does Malva require full sun?
Yes, Malva thrives in full sun and requires at least 6-8 hours of direct sunlight per day.
How often should Malva be watered?
Malva should be watered regularly, keeping the soil evenly moist but not waterlogged.
Are Malva plants susceptible to any diseases or pests?
Malva plants are relatively pest-resistant, but they can be susceptible to aphids, snails, and powdery mildew.


