- Understanding Orchid Propagation
- 1. Division
- 2. Seeding
- 3. Backbulb Propagation
- 4. Keiki Production
- 5. Tissue Culture
- Conclusion
- When to Separate Baby Orchids
- Preparing for Separation
- Materials Needed:
- Workspace Preparation:
- Preparing the Potting Mix:
- Labeling:
- Step-by-Step Guide to Separating Baby Orchids
- Transplanting Baby Orchids
- Caring for Newly Separated and Transplanted Orchids
- 1. Placing Orchids in the Right Environment
- 2. Watering Orchids
- 3. Humidity
- 4. Fertilizing Orchids
- 5. Monitoring and Adjusting
- Common Mistakes to Avoid
- Q&A:
- When is the best time to separate baby orchids?
- What tools do I need to separate baby orchids?
- How do I separate baby orchids?
- How do I transplant baby orchids?
- How often should I water the transplanted baby orchids?
- Video: Orchid keiki removing and potting
Orchids are beautiful and exotic flowers that many people strive to grow and care for in their homes. However, as orchids grow and mature, they often produce “baby” orchids, also known as keikis. These tiny versions of the parent plant can be separated from the main plant and transplanted into their own containers to create new orchid plants.
Separating and transplanting baby orchids is an important part of orchid propagation, allowing for the growth and expansion of your orchid collection. Proper care and attention are crucial during the separation and transplantation process to ensure the health and success of the baby orchids.
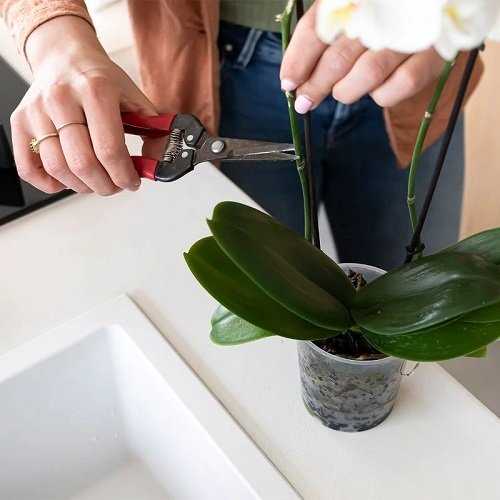
During the separation process, it is important to carefully remove the baby orchid from the parent plant without damaging the delicate roots. This can be achieved by using a clean and sharp knife or scissors to gently cut the connection between the baby orchid and the parent plant. It is important to make sure that each baby orchid has its own set of roots before proceeding with the transplantation.
Transplanting the baby orchids into their own containers is the next step in the propagation process. It is important to choose a suitable potting mix for orchids, as well as containers that provide adequate drainage. The baby orchids should be placed in their own containers and lightly packed with the potting mix, ensuring that the roots are secure and covered.
By following these steps and providing the proper care, attention, and environment, you can successfully separate and transplant baby orchids, allowing them to grow into beautiful and mature orchid plants. Remember to monitor the newly transplanted orchids closely, providing them with the necessary light, water, and nutrients to thrive. With time and patience, you can expand your orchid collection and enjoy the beauty of these stunning flowers.
Understanding Orchid Propagation
Orchid propagation refers to the process of reproducing orchids by creating new plants from existing ones. This can be done through various methods such as dividing, seeding, or backbulb propagation. Understanding the different methods of orchid propagation can help orchid enthusiasts expand their collection and ensure the health and vitality of their plants.
1. Division
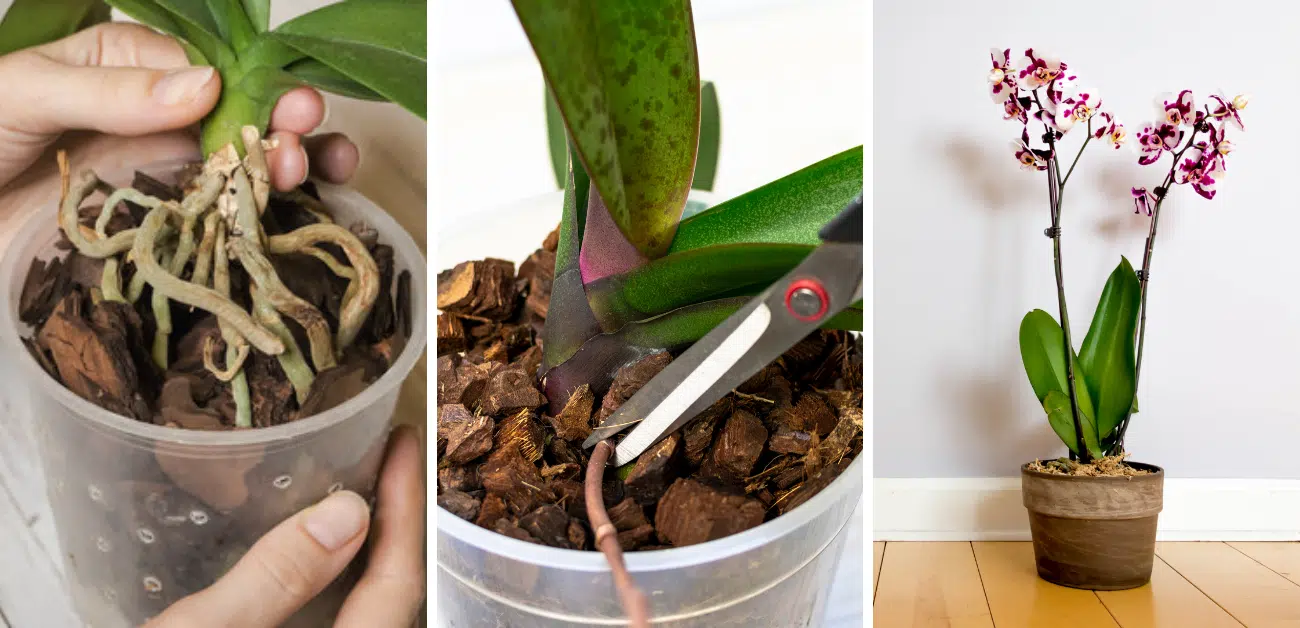
Division involves separating an orchid plant into two or more individual plants, each with its own roots and shoots. This can be done when the orchid has multiple pseudobulbs or when it has grown into a large clump. To divide an orchid, gently remove it from its pot and carefully separate the plants, making sure to keep the roots intact. Each division should have a sufficient number of healthy roots and at least one pseudobulb or growth point.
2. Seeding
Seeding is the process of growing orchids from seed. This method is more time-consuming and requires more skill and patience than other forms of orchid propagation. Orchid seeds are extremely small and do not contain stored nutrients, so they rely on a symbiotic relationship with fungi to germinate and grow. The seeds are sown on a sterile agar medium and placed in a controlled environment with proper humidity and temperature. It can take several months to years for the seeds to germinate and develop into mature plants.
3. Backbulb Propagation
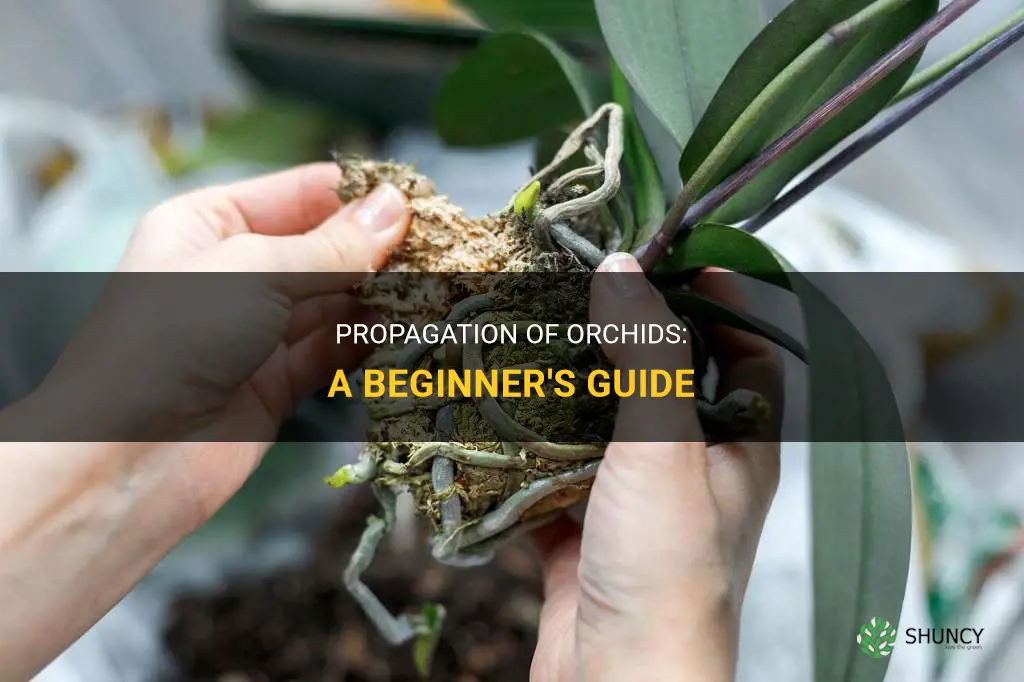
Backbulb propagation involves using the dormant or old pseudobulbs of an orchid to propagate new plants. These old pseudobulbs, often located at the base of the plant, may have lost their ability to produce flowers but can still grow new shoots and roots. To propagate using backbulbs, carefully remove the old pseudobulbs and pot them in a well-draining medium. Provide them with the necessary care and conditions, and new growth should emerge from the backbulbs.
4. Keiki Production
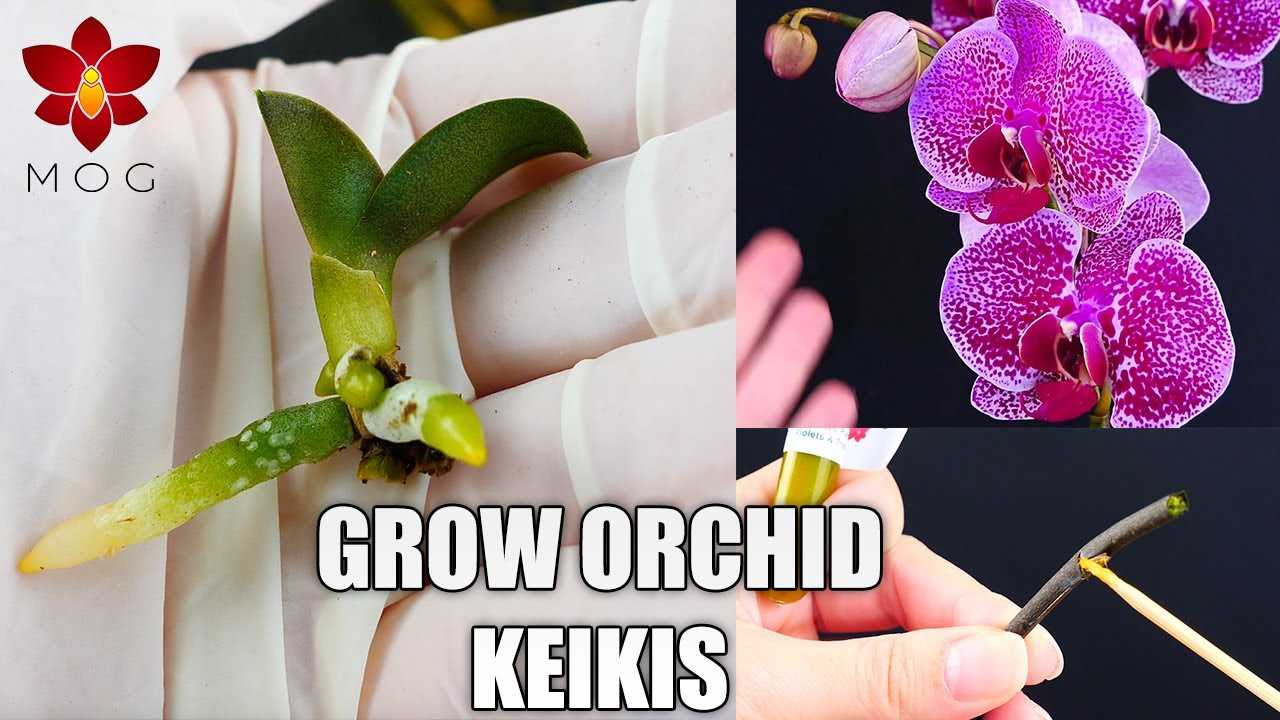
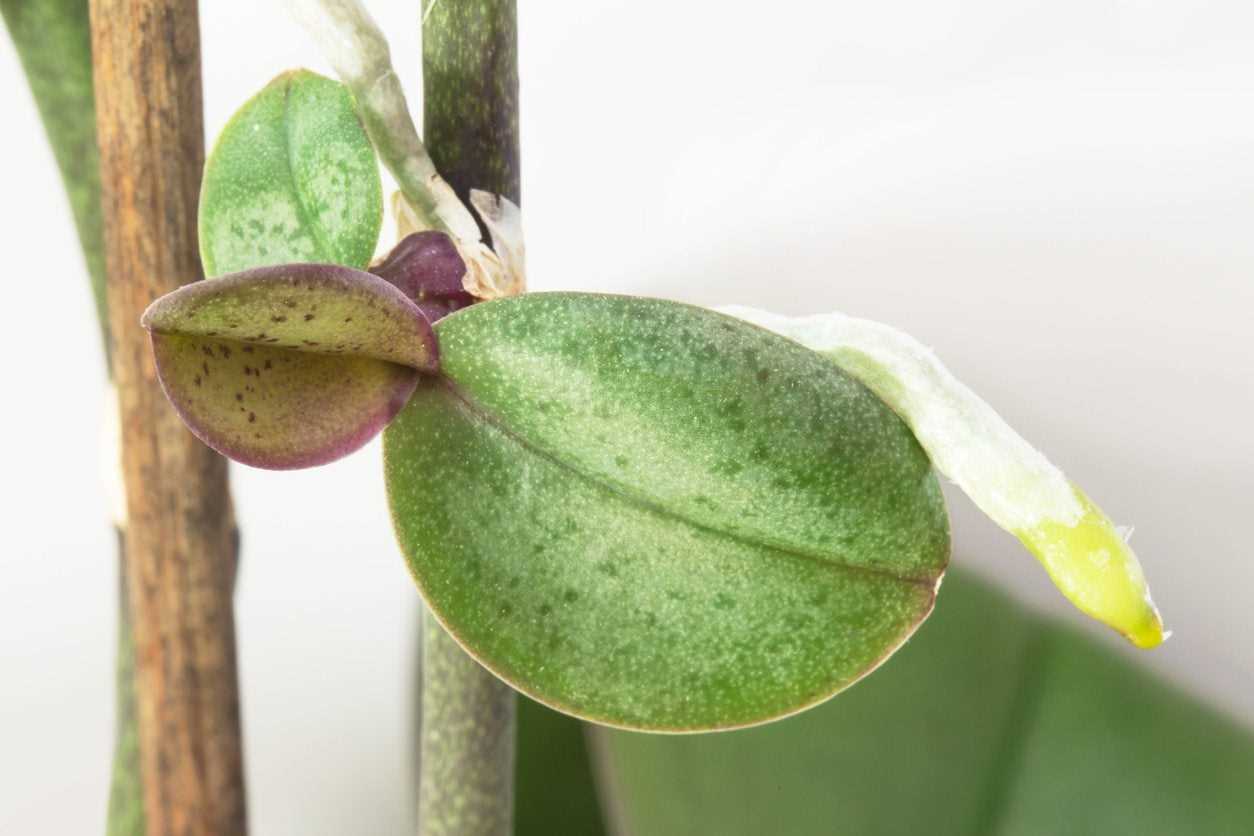
Keiki production is a natural method of orchid propagation where the parent plant produces offshoots or plantlets. These plantlets, often referred to as keikis, grow from nodes along the flower spike or from the base of the plant. Keikis can be left attached to the parent plant until they develop their own roots and shoots, or they can be carefully removed and potted separately. This method is commonly seen in Phalaenopsis orchids.
5. Tissue Culture
Tissue culture is a laboratory-based method of orchid propagation that involves taking small sections of orchid tissue and placing them in a nutrient-rich medium. This method allows for the rapid multiplication of orchids and is often used for commercial production. Tissue culture provides a way to propagate rare or endangered orchid species on a large scale and allows for the mass production of orchids with desirable traits.
Conclusion
Understanding the different methods of orchid propagation can help orchid enthusiasts successfully create new plants and expand their collection. Whether it’s through division, seeding, backbulb propagation, keiki production, or tissue culture, each method has its own advantages and challenges. By carefully considering the needs of the orchid species and providing the necessary care and conditions, orchid enthusiasts can propagate their orchids and enjoy the beauty of these stunning plants.
When to Separate Baby Orchids
Separating baby orchids, also known as offshoots or keikis, should be done at the right time to ensure their successful transplantation and growth. Here are a few factors to consider when deciding when to separate baby orchids:
- Size of the Offshoot: Baby orchids should have developed enough roots and leaves before they are separated from the mother plant. Typically, they should have at least three to four roots that are at least one inch long and one to two mature leaves.
- Growth Stage: It is essential to separate baby orchids when they are in an active growth phase. This is typically when new roots and leaves are actively emerging from the offshoot. Separating at this stage will help the baby orchid to establish more quickly after transplantation.
- Timing of the Mother Plant’s Bloom Cycle: It is generally best to wait until after the mother plant has finished flowering before separating the offshoots. This allows the mother plant to focus its energy on producing flowers and prevents any disruption to its blooming cycle.
- Climate and Temperature: The timing of separation can also depend on the climate and temperature conditions in your area. It is generally recommended to separate baby orchids during the warmer months when the chances of successful establishment and growth are higher.
- Health of the Mother Plant: The mother plant should be healthy and in a good growing condition before separating the offshoots. If the mother plant is weak or struggling, it may be better to wait until it recovers before separating the offshoots.
By considering these factors, you can ensure that you separate the baby orchids at the right time, providing them with the best chance for successful transplantation and future growth.
Preparing for Separation
Before you begin the process of separating and transplanting baby orchids, it is important to gather all the necessary materials and prepare the workspace:
Materials Needed:
- Sharp, sterile knife or scissors
- Clean pots or containers with drainage holes
- Orchid potting mix, such as bark or sphagnum moss
- Labels or markers to identify the orchids
- Rooting hormone (optional)
- Watering can or spray bottle
Workspace Preparation:
Clean and sanitize the workspace where you will be working with the orchids. This will help prevent the introduction of any pathogens or pests that could harm the baby orchids.
Ensure good lighting in the workspace, as it will help you to see the roots clearly and make precise cuts.
Organize the pots and containers, making sure they are clean and have proper drainage holes to prevent waterlogging. This will ensure the health of the orchids’ roots and prevent root rot.
Preparing the Potting Mix:
Prepare the orchid potting mix according to the specific needs of your orchid species. Most orchids prefer a well-draining mix made from bark or sphagnum moss.
You can add additional ingredients like charcoal or perlite to improve aeration and drainage. Some orchids may benefit from the addition of a slow-release fertilizer in the mix.
Mix the potting medium well and moisten it before use. It should be slightly damp but not wet, as excessive moisture can lead to root rot.
Labeling:
If you have multiple baby orchids to separate, it is essential to label or mark each pot or container. This will help you keep track of the orchids and ensure you provide them with the proper care once separated.
Labeling can be done using stick-on labels, permanent markers, or other methods that are easy to read and won’t fade over time.
By preparing all the necessary materials and setting up a clean and organized workspace, you will be ready to start the separation and transplantation process for your baby orchids.
Step-by-Step Guide to Separating Baby Orchids
Separating baby orchids from their parent plant is an important step in orchid propagation. Here is a step-by-step guide to help you successfully separate and transplant baby orchids:
- Prepare the necessary tools and materials:
- A clean and sterile knife or pair of scissors for cutting.
- Sterilized pots or containers for transplanting the baby orchids.
- Orchid potting mix or a suitable media for the new pots.
- Labels or markers to identify the orchid species or variety.
- Disinfectant solution for cleaning the tools.
- Select the suitable time for separation:
- Gently remove the baby orchids from the parent plant:
- Wet the parent plant’s root mass to make it easier to separate the baby orchids.
- Using a sterile knife or pair of scissors, carefully separate the baby orchids by cutting them from the parent plant. Make sure to cut close to the base of the plant to avoid damaging the roots.
- Place the separated baby orchids on a clean surface, away from direct sunlight.
- Prepare the new pots for transplanting:
- Clean and sterilize the new pots or containers to ensure they are free from any diseases or contaminants.
- Fill the pots with a suitable orchid potting mix or media. Make sure the media is well-draining, but retains enough moisture for the orchids.
- Transplant the baby orchids:
- Place each baby orchid in a separate pot, ensuring that the roots are properly positioned in the potting mix.
- Gently press the mix around the roots to provide stability and support.
- Label and care for the newly transplanted baby orchids:
- Label each pot with the orchid species or variety, as well as the date of transplantation.
- Place the newly transplanted baby orchids in a warm and well-lit area, but away from direct sunlight.
- Keep the orchids well-watered and monitor their growth and health closely.
- Provide regular fertilization and maintain appropriate humidity levels to promote healthy growth.
The best time to separate baby orchids is when they have developed their own set of roots and have a few leaves. This ensures that they have a better chance of survival when transplanted.
By following these steps, you can successfully separate and transplant baby orchids, giving them the best chance at thriving and developing into beautiful mature orchid plants.
Transplanting Baby Orchids
Transplanting baby orchids is an essential step in their growth and development. It allows them to establish roots in their own containers, providing them with the space and nutrients they need to thrive. Here are the steps to successfully transplant baby orchids:
- Prepare the new container: Select a clean, appropriately sized container for the baby orchid. Make sure it has drainage holes to prevent water accumulation.
- Prep the medium: Choose a suitable orchid potting mix or a mix of bark, charcoal, sphagnum moss, and perlite. Soak the medium in water for a few hours before use.
- Remove the baby orchid: Gently wiggle the baby orchid out of its current container, being careful not to damage the roots.
- Inspect the roots: Check the roots for any signs of rot or disease. Trim off any damaged or dead roots using sterilized pruning shears.
- Place in the new container: Position the baby orchid in the new container, ensuring that the roots are spread out and facing downwards. Add the prepared potting medium around the roots, leaving some space at the top.
- Firm the medium: Gently tap the container to settle the potting medium around the roots. Avoid packing it too tightly, as this can deprive the roots of oxygen.
- Water the orchid: Give the transplanted baby orchid a thorough watering, allowing the excess water to drain out. Ensure the medium is evenly moist but not waterlogged.
- Provide optimal conditions: Place the transplanted baby orchid in a well-lit area with indirect sunlight. Maintain a temperature range of 60-80°F (15-27°C) and a humidity level of 50-70%.
- Monitor and care for the orchid: Keep a close eye on the orchid after transplanting, ensuring it receives adequate light, water, and necessary nutrients. Give it time to adjust and watch for signs of healthy root growth.
Transplanting baby orchids may seem daunting, but with the right preparation and care, it can significantly contribute to their overall health and growth. Follow these steps to successfully transplant your baby orchids and enjoy watching them thrive in their new containers.
Caring for Newly Separated and Transplanted Orchids
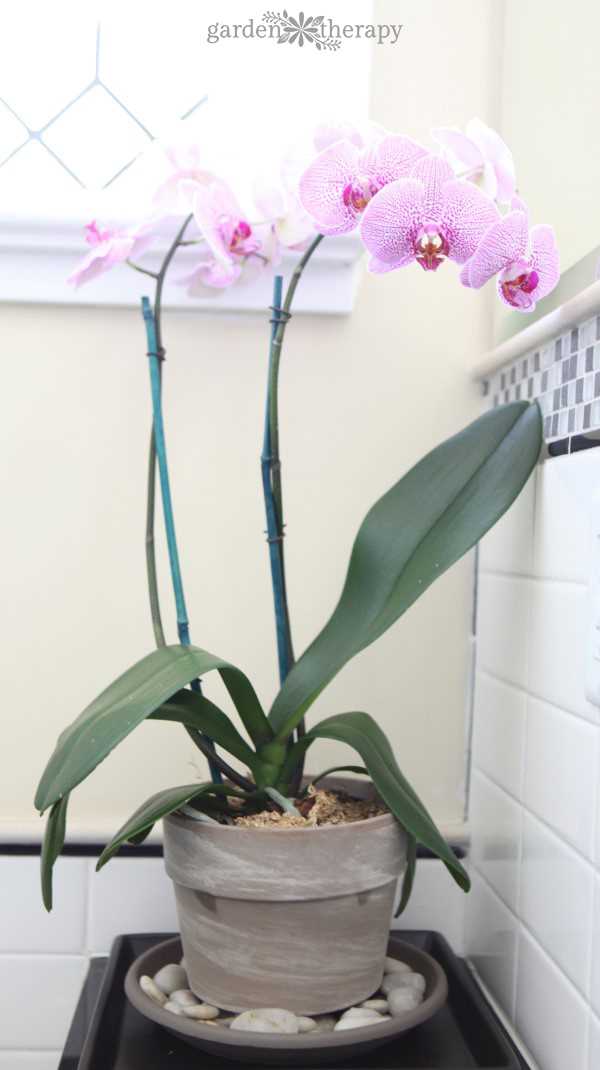
Once you have successfully separated and transplanted your baby orchids, it is important to provide proper care to ensure their healthy growth and development. Here are some steps to follow:
1. Placing Orchids in the Right Environment
Choose a location for your newly separated orchids that provides the right amount of light and temperature. Most orchids prefer bright, indirect light, so a spot near a window with filtered sunlight is ideal. Avoid placing them in direct sunlight, as this can burn their delicate leaves.
Temperature is also important. Orchids generally prefer temperatures between 60 and 80 degrees Fahrenheit (15 to 27 degrees Celsius). Avoid exposing them to extreme temperature fluctuations or drafts.
2. Watering Orchids
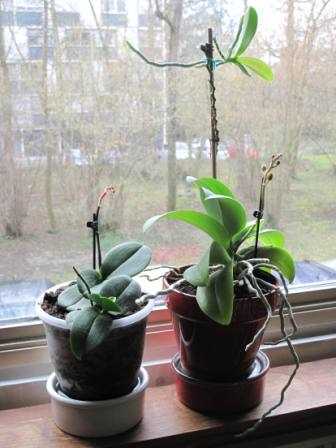
Proper watering is crucial for the health of your orchids. Water them regularly, but be careful not to overwater. Orchids prefer to dry out slightly between waterings, so allow the top layer of their potting mix to dry out before watering again.
When watering, make sure to thoroughly wet the potting mix and let any excess water drain away. Orchids are susceptible to root rot, so it is important to avoid waterlogged conditions.
3. Humidity
Orchids thrive in a humid environment, as they come from tropical regions. If the air in your home is dry, you can increase humidity around your orchids by using a humidifier, placing a tray filled with water near them, or misting them with water regularly.
4. Fertilizing Orchids
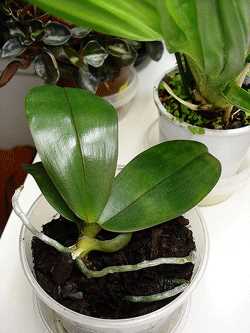
Orchids need regular fertilization to ensure proper growth and blooming. Use a balanced orchid fertilizer and follow the instructions on the packaging for application rates and frequency. It is generally recommended to fertilize orchids every two weeks during the growing season and reduce frequency during the winter months.
5. Monitoring and Adjusting
Regularly inspect your newly separated and transplanted orchids for any signs of pests, diseases, or other problems. Look for yellowing leaves, wilting, or any unusual growth. If you notice any issues, take necessary steps to address them promptly.
As your orchids grow, you may need to adjust their environment or repot them into larger containers. Monitor their growth and make adjustments as needed to ensure their ongoing health and well-being.
By following these care guidelines, you can help your newly separated and transplanted orchids thrive and flourish. Enjoy the beauty and rewards of growing these stunning plants!
Common Mistakes to Avoid
- Overwatering: One of the most common mistakes in orchid propagation is overwatering. Orchids need a well-draining medium, and overwatering can lead to root rot and other problems. It is important to let the medium dry out between waterings and only water when the top inch of the medium is dry.
- Using the Wrong Medium: Another common mistake is using the wrong medium for orchid propagation. Orchids require a specific type of medium that allows for good drainage while also providing the necessary support. It is important to use orchid-specific mix, which usually consists of materials like bark, sphagnum moss, and perlite.
- Incorrect Lighting: Orchids need proper lighting in order to thrive. Insufficient lighting can cause weak growth and poor flower development. On the other hand, excessive direct sunlight can lead to leaf burn. It is important to provide orchids with bright but indirect light, preferably filtered through a curtain or blinds.
- Improper Temperature and Humidity: Orchids are sensitive to temperature and humidity levels. Extreme temperatures, whether too hot or too cold, can negatively affect orchid growth. Additionally, low humidity can cause problems such as leaf desiccation. It is important to provide orchids with the appropriate temperature range and humidity levels for their specific species.
- Not Providing Proper Air Circulation: Orchids need good air circulation to thrive. Poor air circulation can lead to high humidity levels and stagnant air, which can promote the growth of fungal and bacterial diseases. It is important to place orchids in an area with good air circulation, such as near a fan or open window.
- Skipping the Resting Period: Some orchid species require a resting period after flowering. This resting period is essential for the plant to recover and prepare for the next blooming cycle. Skipping the resting period can decrease the plant’s overall health and reduce the likelihood of future blooms. It is important to research the specific resting period requirements for your orchid species and provide the necessary conditions.
Avoiding these common mistakes can help ensure successful orchid propagation and healthy plants. Proper care and attention to the specific needs of orchids will lead to beautiful blooms and thriving plants.
Q&A:
When is the best time to separate baby orchids?
The best time to separate baby orchids is when they have at least three to four healthy roots and are about two inches tall.
What tools do I need to separate baby orchids?
You will need a clean, sharp knife or scissors to separate baby orchids. It is important to use clean tools to prevent the spread of diseases.
How do I separate baby orchids?
To separate baby orchids, gently remove them from the pot and carefully separate the roots. Use a clean knife or scissors to cut the rhizome, making sure each division has at least three to four healthy roots.
How do I transplant baby orchids?
To transplant baby orchids, prepare a new pot with orchid potting mix. Place the separated orchid divisions into the new pot and lightly press the mix around the roots. Water the plants lightly and place them in a shaded area.
How often should I water the transplanted baby orchids?
After transplanting, water the baby orchids lightly once a week. Allow the potting mix to dry out slightly between waterings to prevent root rot.
Video:
Orchid keiki removing and potting
