- Preparing the Soil for Petunia Seeds
- Choosing the Right Container for Sowing Petunia Seeds
- Soaking and Scarifying the Petunia Dragee Seeds
- Soaking the Seeds
- Scarifying the Seeds
- Cleaning the Seeds
- Sowing the Petunia Dragee Seeds
- Materials:
- Steps:
- Providing the Optimal Temperature and Light for Germination
- Temperature
- Lighting
- Watering and Fertilizing Petunia Seedlings
- Watering
- Fertilizing
- Transplanting Petunia Seedlings into Individual Pots
- Materials Needed:
- Procedure:
- Tips:
- Hardening Off and Transplanting Petunia Seedlings into the Garden
- 1. Choosing the Right Time
- 2. Gradual Exposure to Outdoor Conditions
- 3. Transplanting into the Garden
- 4. Caring for Transplanted Seedlings
- Questions and Answers:
- Why is it necessary to sow dragee seeds for seedlings?
- When is the best time to sow dragee seeds for seedlings?
- How long does it take for dragee seeds to germinate?
- What should I do after the dragee seeds have germinated?
- Videos: Seed Germination Paper Towel – How to Start Seeds Fast!
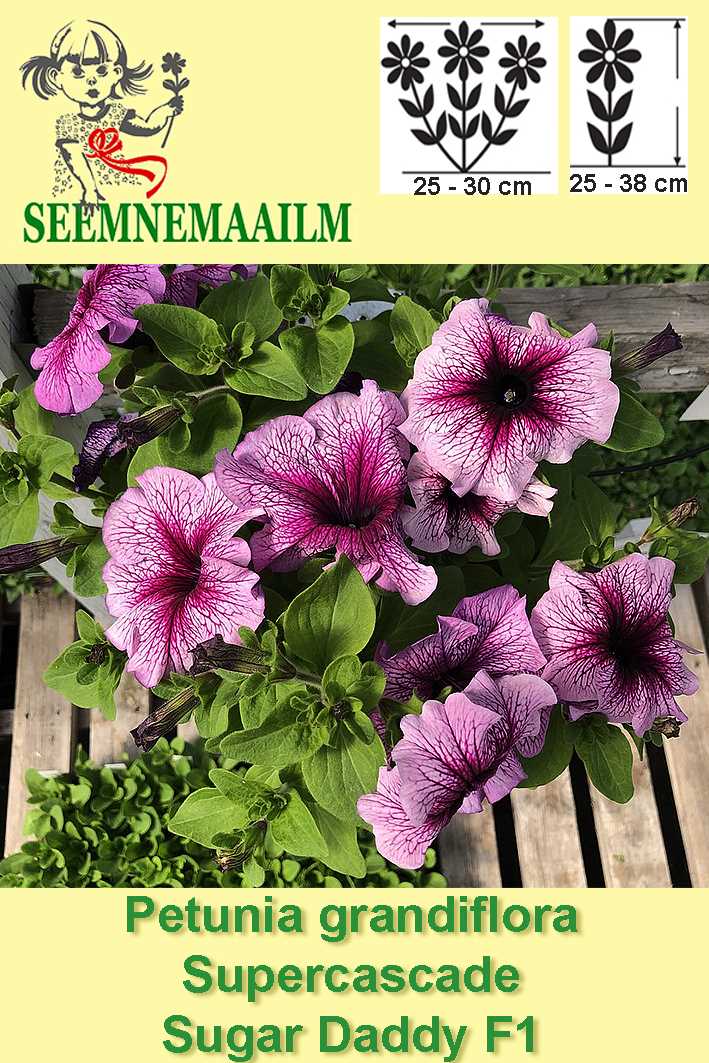
Petunias are popular flowering plants known for their vibrant colors and beautiful blooms. One of the most effective ways to start growing petunias is by sowing dragee seeds for seedlings. Dragee seeds, also known as pelleted seeds, are coated with a special material that makes them easier to handle and sow. This coating also helps to regulate moisture levels, improve germination rates, and protect the seeds from diseases and pests.
Before sowing dragee seeds, it’s important to prepare the growing medium. Use a well-draining soil mix specifically formulated for seed starting. Fill seed trays or pots with this mix and lightly tamp it down to create a firm surface. Make sure the soil is moist but not waterlogged.
Next, scatter the dragee seeds evenly on the surface of the soil. It’s best to sow them sparingly, as overcrowding can lead to poor germination and weak seedlings. Gently press the seeds into the soil using the back of a spoon or your fingertips. Cover the seeds with a thin layer of vermiculite or fine soil to maintain moisture levels and protect the seeds.
After sowing, mist the soil surface with water to ensure good seed-to-soil contact. Place the trays or pots in a warm location with bright, indirect light. Maintain a consistent temperature of around 70°F (21°C) for optimal germination. Keep the soil moist but not soaked to prevent rotting or fungal diseases.
Preparing the Soil for Petunia Seeds
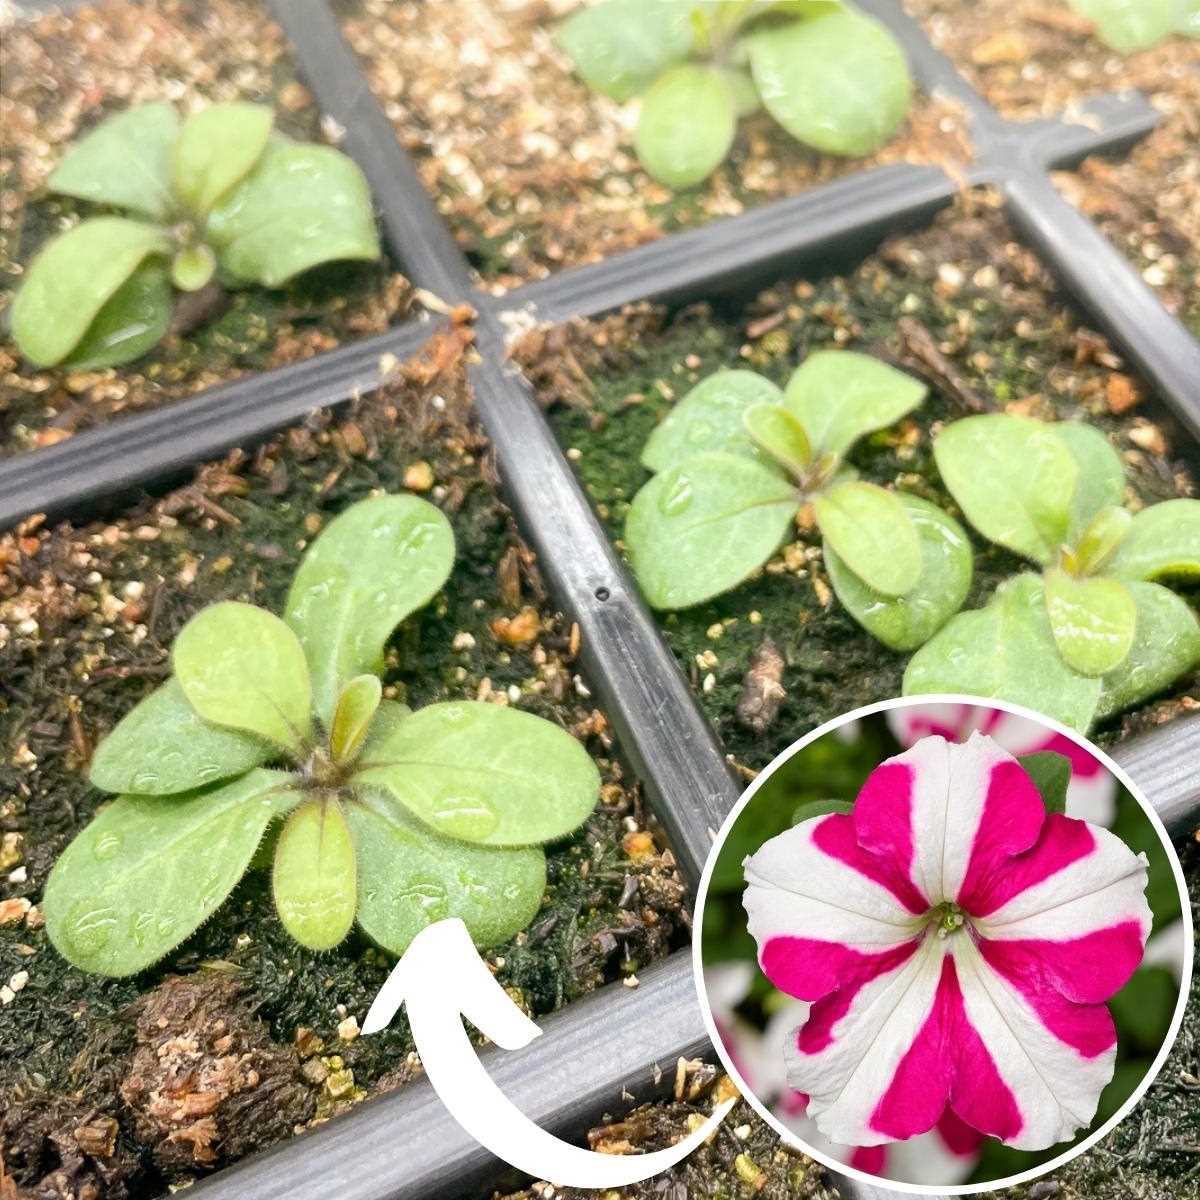

Properly preparing the soil before sowing petunia seeds is crucial for ensuring healthy growth and successful germination. Here are some steps to follow:
- Choose a well-draining soil: Petunias prefer a light, sandy soil that drains well. Avoid heavy clay soils, as they can retain too much moisture and cause root rot.
- Amend the soil: If your soil is heavy or lacks nutrients, you can improve it by incorporating organic matter such as compost or well-rotted manure. This will help improve drainage and provide essential nutrients for the plants.
- Remove any weeds: Before sowing the petunia seeds, make sure to remove any weeds or unwanted vegetation from the planting area. Weeds can compete with the young petunia seedlings for nutrients and sunlight.
- Loosen the soil: Use a garden fork or a tiller to loosen the soil to a depth of about 8-10 inches. This will help create a loose and aerated planting bed, allowing the roots to penetrate easily and encouraging healthy growth.
- Level the soil: Use a rake to level the soil surface, removing any large clumps or stones that might hinder the germination process or cause uneven growth.
- Water the soil: Before sowing the petunia seeds, water the soil thoroughly to ensure it is evenly moist. This will help the seeds settle into the soil and promote germination.
- Sow the seeds: Follow the instructions on the seed packet for proper sowing depth, spacing, and timing. In general, petunia seeds should be sown at a depth of about 1/8 inch and spaced about 6 to 12 inches apart, depending on the variety.
- Label the planting area: To keep track of the different varieties of petunias, it’s a good idea to label the planting area with the name or code of each variety. This will help you identify and differentiate them as they start to grow.
- Protect the seeds: After sowing the petunia seeds, cover them with a thin layer of soil or vermiculite to protect them from birds or wind. This will also help retain moisture around the seeds for better germination.
- Water regularly: Once the seeds are sown, water the planting area gently but consistently to keep the soil evenly moist. Avoid overwatering, as it can lead to rot or fungal diseases.
By following these steps, you will create the ideal environment for petunia seed germination and ensure healthy growth of your petunia seedlings. Remember to provide adequate sunlight, warmth, and care as the seedlings develop into mature plants.
Choosing the Right Container for Sowing Petunia Seeds
When sowing petunia seeds for seedlings, it is important to choose the right container. Here are some factors to consider when selecting a container:
- Size: The container should be large enough to allow the petunia seeds to germinate and grow. A container that is too small may restrict root development and affect the overall growth of the seedlings.
- Drainage: Ensure that the container has adequate drainage holes to prevent waterlogging. Petunias prefer well-draining soil, and excess moisture can lead to root rot or other fungal diseases.
- Material: Choose a container made of a durable material that can withstand regular watering and handling. Common options include plastic, terracotta, or peat pots.
- Transplanting: Consider using individual pots or cell trays that can easily be separated for transplanting the seedlings. This will minimize root disturbance and make the transplanting process smoother.
Here are some container options that work well for sowing petunia seeds:
- Seed trays: Seed trays with individual cells are ideal for sowing petunia seeds. Each cell provides enough space for a single seed or seedling, and the trays can be easily moved or stacked.
- Peat pots: Peat pots are biodegradable containers that can be directly planted into the ground. They provide a natural environment for the petunia seeds to germinate and grow, and the pot can break down over time, reducing transplant shock.
- Plastic pots or trays: Plastic containers are lightweight, durable, and commonly used for sowing petunia seeds. They come in various sizes and can be reused multiple times.
Regardless of the container you choose, make sure to fill it with a well-draining seed-starting mix and keep the soil evenly moist until the petunia seeds germinate. Following these guidelines will help ensure successful seed germination and healthy growth of your petunia seedlings.
Soaking and Scarifying the Petunia Dragee Seeds
Before sowing petunia dragee seeds for seedlings, it is recommended to soak and scarify the seeds to improve germination rates. This process helps to break down the hard seed coat and provides optimal conditions for the seeds to sprout.
Soaking the Seeds
To start, place the petunia dragee seeds in a container filled with warm water. Let them soak for 24 to 48 hours. This soaking process softens the seed coat and allows water to penetrate the seeds.
Note: It is important to change the water every 12 hours to prevent the growth of bacteria or mold.
Scarifying the Seeds
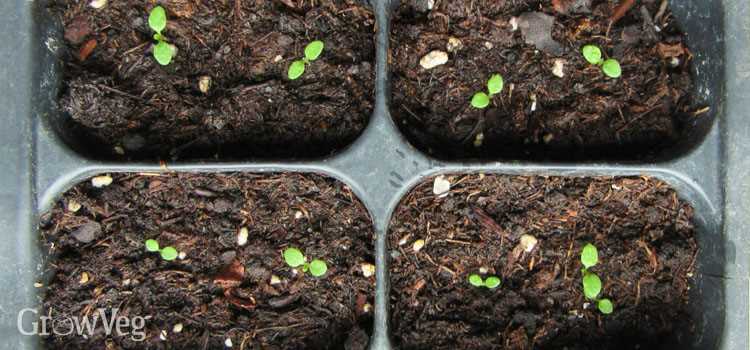

After the soaking period, the seeds need to be scarified. Scarification is the process of mechanically breaking or thinning the seed coat to enhance germination.
- Use a small piece of sandpaper or a nail file to carefully rub the surface of the seeds. This will create small scratches that will allow water and air to reach the embryo inside the seed.
- Another method is to nick the seed coat with a sharp knife or scissors. Make a small cut or notch on one side of the seed. Be careful not to damage the inner part of the seed.
Note: Scarifying the seeds is an optional step, but it can significantly increase germination rates, especially for hard-coated seeds like petunia dragee.
Cleaning the Seeds
Once the seeds have been soaked and scarified, rinse them thoroughly with clean water to remove any debris or dust. Place the seeds on a paper towel or in a sieve to dry for a few minutes before sowing.
Note: It is important to handle the seeds with care during the scarification and cleaning process to avoid damaging the embryo inside.
Now, you are ready to sow the soaked and scarified petunia dragee seeds and start the seedling growing process. Follow the instructions for sowing and caring for petunia dragee seedlings to ensure successful growth and development.
Sowing the Petunia Dragee Seeds
Sowing petunia dragee seeds is a simple and rewarding process. By following a few easy steps, you can have beautiful petunia seedlings that will eventually bloom into vibrant flowers.
Materials:
- Petunia dragee seeds
- Seed tray or small pots
- Seed starting mix
- Watering can or spray bottle
- Clear plastic dome or plastic wrap
Steps:
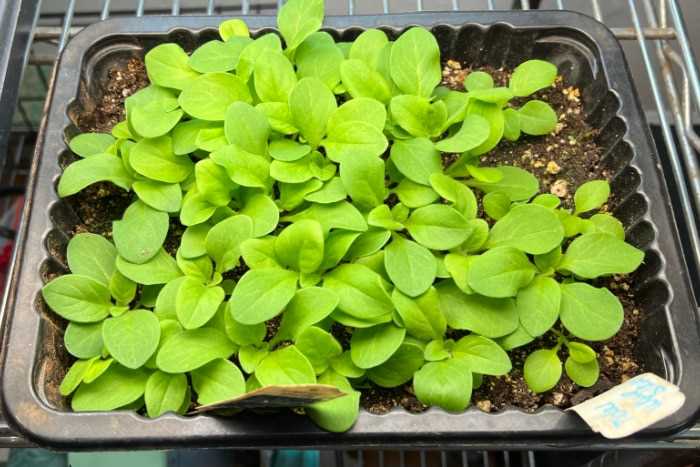

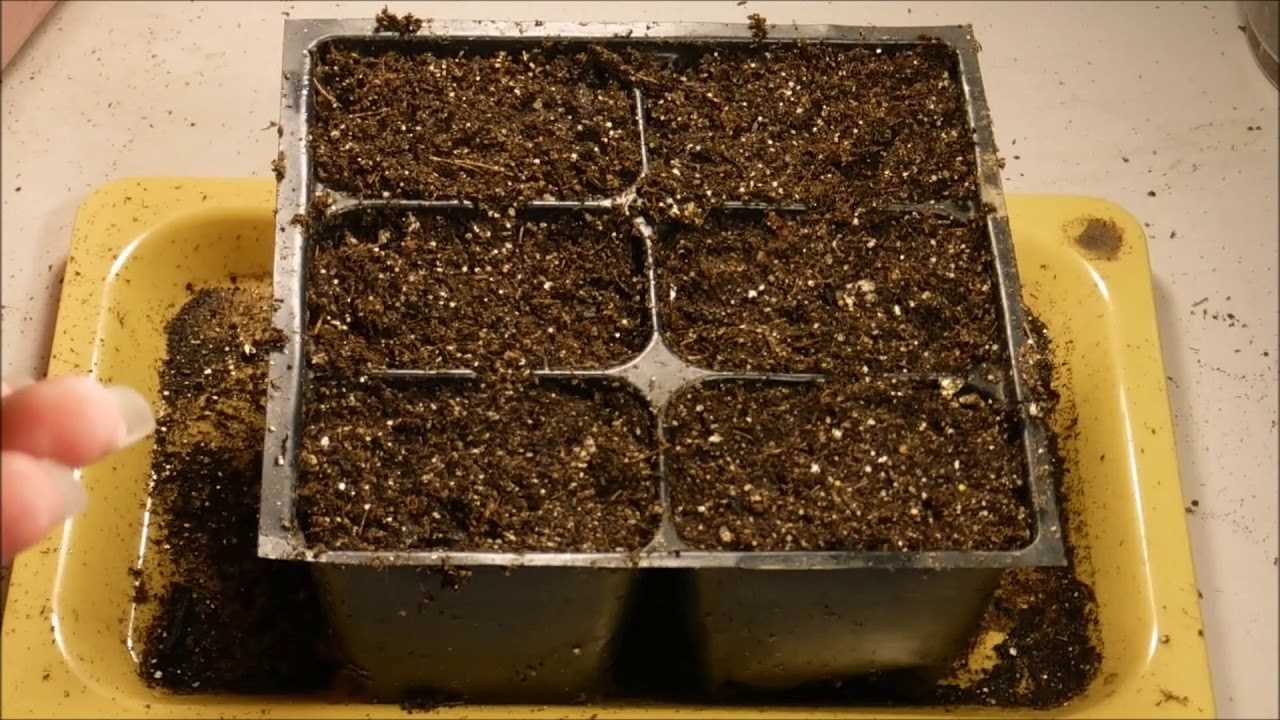
- Start by filling the seed tray or small pots with a seed starting mix. Make sure the mix is moistened before sowing the seeds.
- Using your finger or a small spoon, create small indentations in the soil for the seeds. The indentations should be about 1/4 inch deep.
- Place one petunia dragee seed in each indentation. If using a seed tray, space the seeds about 1 inch apart.
- Cover the seeds lightly with the seed starting mix. Just a thin layer of soil is enough to cover the seeds.
- Gently water the tray or pots using a watering can or spray bottle. Be careful not to wash away the seeds or disturb the soil.
- Place a clear plastic dome or plastic wrap over the tray or pots to create a mini greenhouse effect. This will help retain moisture and create a warm environment for germination.
- Put the tray or pots in a warm location, preferably with indirect sunlight. Petunias require temperatures between 70-75°F (21-24°C) for germination.
- Check the tray or pots daily and mist the soil with water if it feels dry. Do not overwater as this can lead to fungal growth.
- Once the seeds have germinated and the seedlings have grown a few inches tall, remove the plastic dome or wrap. This will reduce the humidity and prevent mold or diseases.
By following these steps, you will be able to successfully sow petunia dragee seeds and see them grow into healthy seedlings. Remember to provide proper care and transplant the seedlings to larger containers or your garden once they have developed a good root system.
Providing the Optimal Temperature and Light for Germination
Germinating dragee seeds require specific temperature and lighting conditions for successful growth. By providing the optimal environment, you can ensure the healthy development of your petunia seedlings.
Temperature
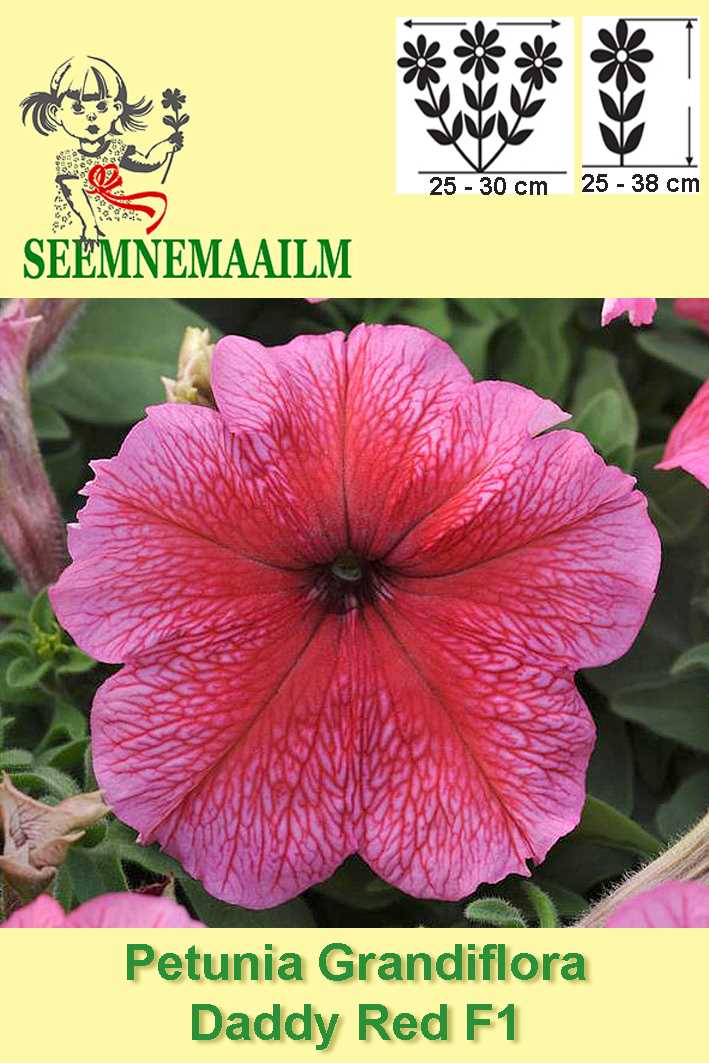

The ideal temperature range for germinating petunia dragee seeds is between 70°F and 75°F (21°C and 24°C). This temperature range creates the optimal conditions for seed germination and encourages root development. It is important to maintain this temperature consistently throughout the germination process.
Lighting
Light is crucial for the germination of petunia dragee seeds. While some seeds require darkness to germinate, petunia seeds need light. Place the seed trays or pots in a bright location, but avoid direct sunlight as it can dry out the soil and lead to poor germination. A bright, indirect light source, such as a fluorescent grow light, is ideal for providing the necessary light for germination.
It is recommended to provide 12-16 hours of light per day for petunia seedlings. This can be achieved by using a timer for the grow light or by placing the seedlings near a window that receives ample sunlight.
Proper temperature and lighting conditions are essential for successful germination of petunia dragee seeds. By providing the right environment, you are giving your seedlings the best chance to grow and thrive.
Watering and Fertilizing Petunia Seedlings
Proper watering and fertilizing are essential for the healthy growth of petunia seedlings. Here are some tips to help you provide the right amount of water and nutrients for your plants:
Watering
- Water the petunia seedlings regularly to keep the soil evenly moist. Dry soil can cause the plants to wilt, while overly wet soil can lead to root rot.
- Avoid overhead watering, as this can promote the development of fungal diseases. Instead, water the plants at the base to keep the leaves dry.
- Use a watering can or hose with a fine spray nozzle to deliver a gentle stream of water to the seedlings.
- Check the moisture level of the soil by sticking your finger about an inch into the soil. If it feels dry at this depth, it’s time to water the plants.
- When watering, aim to provide enough water to thoroughly saturate the root zone. This will encourage the roots to grow deeply and establish a strong system.
Fertilizing
- Start fertilizing the petunia seedlings about two weeks after they have germinated. Use a balanced, water-soluble fertilizer that is specifically formulated for seedlings.
- Follow the instructions on the fertilizer packaging for the correct dilution ratio and frequency of application.
- Apply the fertilizer to the soil around the seedlings, taking care not to get any on the foliage. Water the plants after fertilizing to help the nutrients penetrate the soil.
- Monitor the growth of the seedlings closely and adjust the amount and frequency of fertilization as needed. Over-fertilization can lead to excessive leaf growth at the expense of flower production.
- Consider using organic fertilizers, such as compost or fish emulsion, for a more natural and environmentally friendly option.
By providing adequate water and nutrients, you can ensure the vibrant growth and development of your petunia seedlings, setting them up for success in the garden.
Transplanting Petunia Seedlings into Individual Pots
Once your petunia seeds have germinated and developed into seedlings, it’s time to transplant them into individual pots. Transplanting is an important step in the growth process as it allows the seedlings to establish stronger root systems and develop into healthy plants.
Materials Needed:
- Individual pots or containers
- High-quality potting soil
- Trowel or small shovel
- Watering can or spray bottle
Procedure:
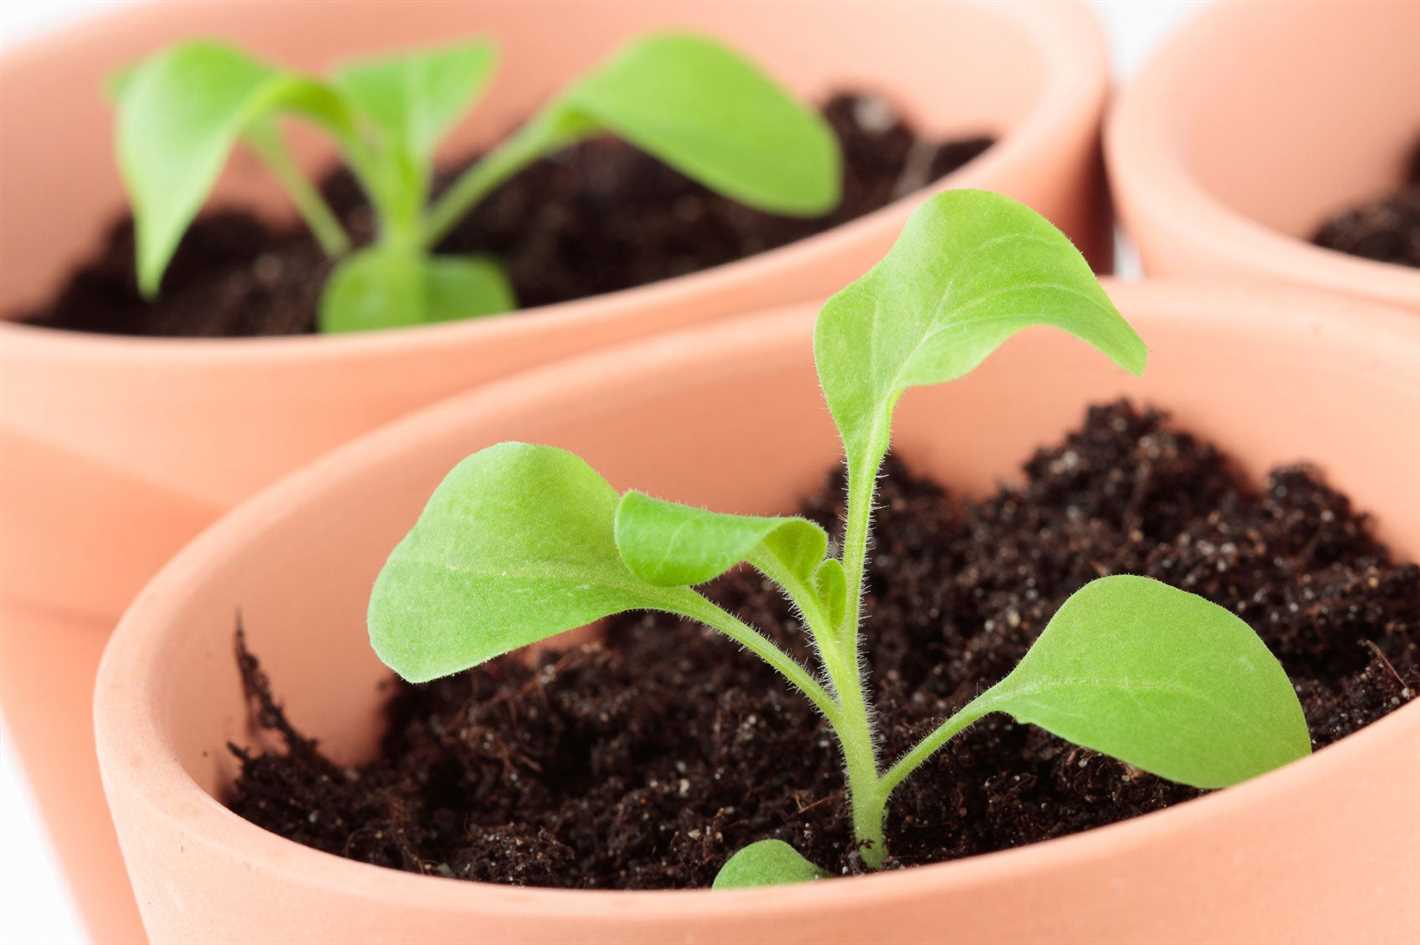

- Choose individual pots or containers that are at least 2-3 inches in diameter. Make sure the pots have drainage holes at the bottom to prevent waterlogging.
- Fill each pot with high-quality potting soil, leaving about an inch of space at the top.
- Using a trowel or small shovel, carefully remove the petunia seedlings from their original container. Gently loosen the soil around the seedlings’ roots to prevent damage.
- Place each seedling into an individual pot, ensuring that the roots are covered with soil and the stem is positioned upright.
- Press the soil gently around the base of each seedling to secure it in place.
- Water the newly transplanted seedlings thoroughly until the excess water drains out of the bottom of the pots. Avoid overwatering, as this can lead to root rot.
- Place the pots in a location that receives ample sunlight or under grow lights if necessary. Petunias require at least 6 hours of direct sunlight per day.
- Monitor the newly transplanted seedlings for the next few days, ensuring that they are receiving adequate sunlight, water, and moisture.
Tips:
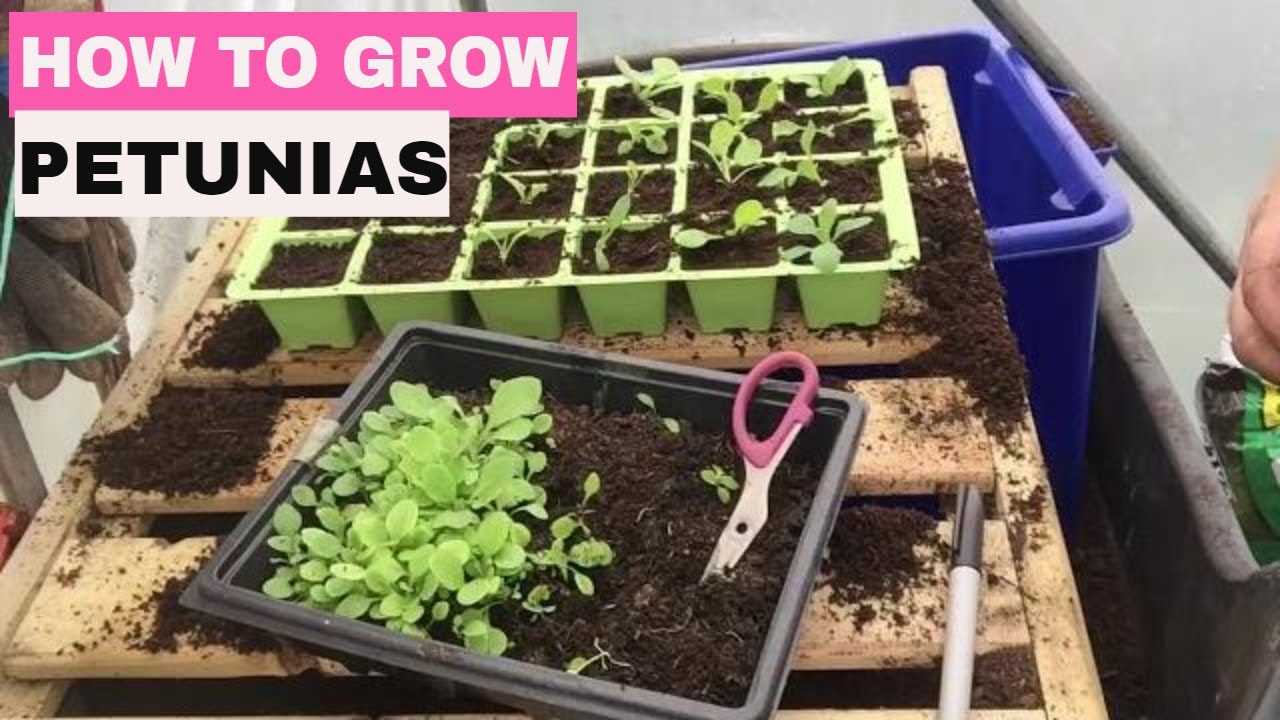

- Label each pot with the date of transplantation and the variety of petunia to keep track of their growth.
- Transplant the seedlings when they have developed their first true leaves, usually after 3-4 weeks of growth.
- Handle the seedlings carefully to avoid damaging the delicate stems and roots.
- Provide a gentle breeze using a fan to promote stronger stem growth and prevent seedlings from becoming leggy.
By following these steps and providing proper care, your petunia seedlings will thrive in their individual pots and be ready for transplantation into the garden once they reach the desired size.
Hardening Off and Transplanting Petunia Seedlings into the Garden
Once your petunia seedlings have grown strong and healthy indoors, it’s time to prepare them for transplanting into the garden. This process, known as hardening off, helps the seedlings adjust to the outdoor conditions and reduces the risk of transplant shock.
1. Choosing the Right Time

Petunias are sensitive to frost, so it’s crucial to wait until all danger of frost has passed before transplanting the seedlings into the garden. Check your local weather forecast and ensure the overnight temperatures are consistently above 50°F (10°C).
2. Gradual Exposure to Outdoor Conditions
Before transplanting, it’s essential to gradually expose your seedlings to outdoor conditions. Start by placing them outside in a sheltered area for a few hours each day, gradually increasing the time over a period of a week or two. This helps the seedlings adjust to sunlight, wind, and temperature fluctuations.
While hardening off, make sure to protect your seedlings from strong winds, heavy rain, and direct sunlight during the hottest part of the day. This can be done by placing them in a shaded area or using a shade cloth.
3. Transplanting into the Garden
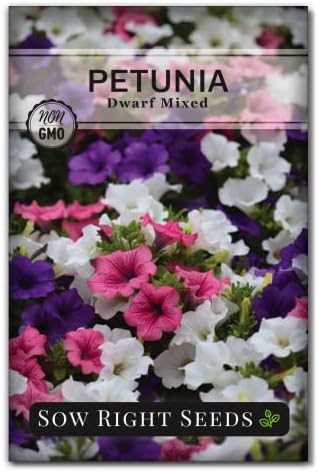

When your seedlings have been adequately hardened off, they are ready for transplanting into the garden. Here are the steps to follow:
- Choose a location in your garden that receives full sun or partial shade.
- Prepare the soil by removing any weeds and loosening it with a garden fork or tiller.
- Dig a hole slightly larger than the size of the seedling’s root ball.
- Gently remove the seedling from its container, being careful not to damage the roots.
- Place the seedling in the hole and backfill with soil, gently firming it around the base of the plant.
- Water the newly transplanted seedling thoroughly.
- Space the seedlings according to the recommended spacing for petunias, usually 6-12 inches apart.
4. Caring for Transplanted Seedlings
After transplanting, it’s essential to provide proper care to help the seedlings establish in their new environment. Here are some tips:
- Water the seedlings regularly, keeping the soil evenly moist but not waterlogged.
- Mulch around the plants to help retain moisture and suppress weeds.
- Apply a balanced fertilizer according to the package instructions to promote healthy growth.
- Monitor the seedlings for signs of pests or diseases and take appropriate action if needed.
By following these steps, you can successfully harden off and transplant your petunia seedlings into the garden, ensuring they have the best chance of thriving and blooming beautifully.
Questions and Answers:
Why is it necessary to sow dragee seeds for seedlings?
It is necessary to sow dragee seeds for seedlings because dragee seeds have a special coating that helps to protect the seedlings from diseases and pests.
When is the best time to sow dragee seeds for seedlings?
The best time to sow dragee seeds for seedlings is generally in late winter or early spring, depending on the specific plant and the climate in your area.
How long does it take for dragee seeds to germinate?
The time it takes for dragee seeds to germinate can vary depending on the specific plant, but it generally takes around 7 to 14 days. Some seeds may germinate faster, while others may take longer.
What should I do after the dragee seeds have germinated?
After the dragee seeds have germinated, you should remove the plastic cover from the trays or pots to allow for air circulation. Continue to provide the seedlings with adequate light, water, and temperature conditions. Once the seedlings have developed true leaves, they can be transplanted into individual pots or containers.


