- Choosing the Right Location
- Preparing the Soil
- 1. Choose a well-draining location
- 2. Test the soil pH
- 3. Improve soil structure
- 4. Clear the area of weeds and debris
- 5. Consider adding fertilizer
- Planting Pincushion Seeds or Seedlings
- Planting Pincushion Seeds
- Planting Pincushion Seedlings
- Providing Adequate Watering
- 1. Watering frequency
- 2. Deep watering
- 3. Watering technique
- 4. Mulching
- 5. Monitor soil moisture
- 6. Rainwater collection
- Applying Fertilizer
- 1. Choose the Right Fertilizer
- 2. Know When to Apply
- 3. Follow Application Instructions
- 4. Apply Fertilizer Properly
- 5. Water after Application
- Pruning and Deadheading
- Pruning
- Deadheading
- Dealing with Pests and Diseases
- Pests:
- Diseases:
- Harvesting and Enjoying Pincushion Flowers
- Harvesting:
- Enjoying Indoors:
- Enjoying Outdoors:
- Questions and Answers:
- What is a pincushion flower?
- When is the best time to plant pincushion flowers?
- What type of soil do pincushion flowers prefer?
- How often should pincushion flowers be watered?
- Do pincushion flowers require any special care?
- Videos: How To Sow Scabious / Sowing Pincushion Flowers
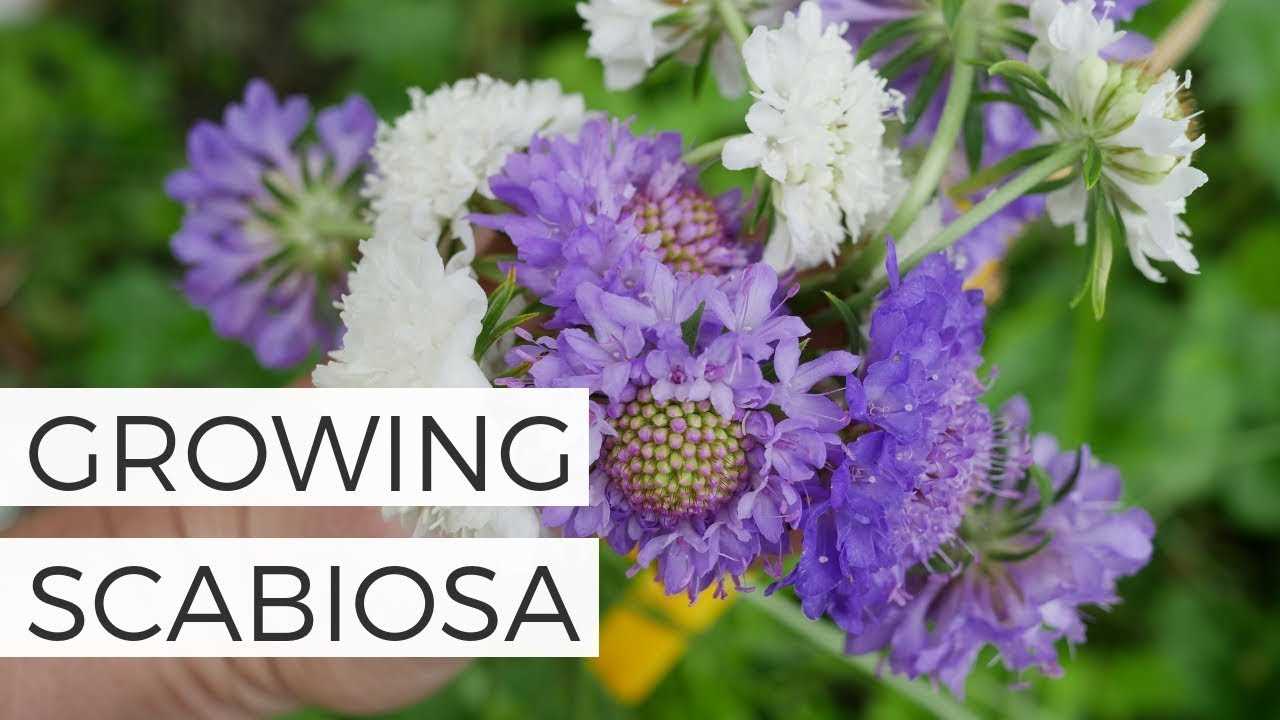
Pincushion flowers, also known as Scabiosa, are a stunning addition to any garden or flower arrangement. With their vibrant colors and unique shapes, these flowers are sure to catch the eye and add a touch of elegance to any space. Whether you’re a seasoned gardener or just starting out, here are some tips and tricks for successfully cultivating, planting, and caring for pincushion flowers.
Cultivating: Pincushion flowers thrive in well-drained soil and prefer full sun to partial shade. It’s important to prepare the soil before planting by adding organic matter like compost or aged manure to improve its texture and fertility. These flowers also benefit from regular deadheading, which promotes continuous blooming and prevents them from going to seed too quickly.
Planting: When planting pincushion flowers, make sure to space them adequately to allow for good air circulation. This will help prevent the development of diseases and keep the plants healthy. It’s best to plant them in the spring, after the last frost has passed, to give them plenty of time to establish themselves before the heat of summer.
“Pincushion flowers are known for attracting pollinators, so consider planting them near other flowers and plants that will also attract bees, butterflies, and other beneficial insects,” advises gardening expert Jane Doe.
Caring: Pincushion flowers require regular watering, especially during dry spells, to keep the soil moist but not waterlogged. Mulching around the base of the plants can help retain moisture and suppress weeds. In terms of fertilizing, a balanced, slow-release fertilizer once a month during the growing season will provide the necessary nutrients.
By following these tips, you’ll be well on your way to successfully cultivating, planting, and caring for pincushion flowers. Whether you’re looking to beautify your garden or create stunning floral arrangements, these vibrant and elegant flowers are sure to bring joy and beauty to any space.
Choosing the Right Location
When it comes to growing pincushions, choosing the right location is crucial for their success. Pincushions thrive in full sun and well-drained soil, so selecting a spot that meets these requirements is essential. Here are some tips for finding the perfect location for your pincushion plants:
- Sun Exposure: Pincushions need at least six hours of direct sunlight each day to flower and grow properly. Choose a location that receives ample sunlight, preferably in the morning or afternoon when the sun is not too intense.
- Soil Drainage: Pincushions don’t tolerate wet or waterlogged soil, as it can cause their roots to rot. Make sure the location you choose has well-drained soil. Avoid areas with heavy clay soil or spots that tend to accumulate water after rainfall.
- Soil pH: Pincushions prefer slightly acidic to neutral soil with a pH level between 6.0 and 7.0. Test the soil in your chosen location to ensure it falls within this range. If the soil pH is too low or high, you may need to amend it before planting.
- Protection from Wind: Pincushions have delicate stems that can easily break in strong winds. To protect them, choose a location that offers some natural wind protection, such as a spot near a building, fence, or other tall plants.
- Proximity to Other Plants: Pincushions can be susceptible to fungal diseases, so it’s best to give them some space. Avoid planting them too close to other plants, especially those that are prone to powdery mildew or other fungal issues.
By taking these factors into consideration and choosing the right location, you’ll give your pincushions the best chance to thrive and produce beautiful flowers. Remember to monitor their growth and make any necessary adjustments to ensure their health and longevity.
Preparing the Soil
Before planting pincushions, it is important to prepare the soil to create an ideal environment for these beautiful flowers to thrive. Here are some tips to help you prepare the soil:
1. Choose a well-draining location
Pincushions prefer soil that is well-draining, as they are sensitive to excessive moisture. Choose a location in your garden that has good drainage to prevent waterlogged soil.
2. Test the soil pH
Pincushions prefer slightly acidic to neutral soil. Use a soil testing kit to determine the pH level of your soil. If the pH is outside the preferred range, you can amend the soil accordingly to adjust the pH to the desired level.
3. Improve soil structure
If your soil is heavy and compacted, it is beneficial to improve its structure by adding organic matter. Incorporate well-rotted compost or aged manure into the soil to improve its texture and drainage.
4. Clear the area of weeds and debris
Before planting, clear the area of any weeds, rocks, or other debris that may hinder the growth of pincushions. Weeds can compete with pincushions for nutrients and water, so it is important to remove them before planting.
5. Consider adding fertilizer
Pincushions can benefit from a balanced fertilizer application before planting. Use a slow-release fertilizer or organic fertilizer according to the manufacturer’s instructions to provide the necessary nutrients for healthy growth.
By following these steps, you can ensure that the soil is well-prepared for planting pincushions. This will create an optimal growing environment for these beautiful flowers and increase the chances of their successful cultivation and care.
Planting Pincushion Seeds or Seedlings
When it comes to planting pincushion flowers, you have two options: starting from seeds or using seedlings. Here are some tips for successfully planting pincushion seeds or seedlings.
Planting Pincushion Seeds
If you choose to start pincushion flowers from seeds, here’s what you need to do:
- Choose a suitable location: Pincushion flowers prefer well-drained soil and full sun. Choose a location in your garden that meets these requirements.
- Prepare the soil: Before sowing the seeds, prepare the soil by removing any weeds and loosening it with a garden fork or tiller. Work in some organic matter like compost to improve the soil’s fertility.
- Sow the seeds: Scatter the pincushion seeds over the prepared soil and gently press them into the soil’s surface. Avoid burying the seeds too deep as they need light to germinate.
- Water: After sowing the seeds, water the soil gently but thoroughly to ensure good seed-to-soil contact.
- Maintain moisture: Keep the soil consistently moist until the seeds germinate, which usually takes around 14 to 21 days. Water regularly, but avoid over-watering as it can lead to root rot.
- Thin the seedlings: Once the seedlings have grown a few inches tall, thin them out by removing the weaker seedlings, leaving only the healthiest and strongest ones.
Planting Pincushion Seedlings
If you prefer to start with pincushion seedlings, follow these steps:
- Choose healthy seedlings: Purchase or obtain pincushion seedlings from a reputable source. Look for healthy, disease-free seedlings with strong stems and green leaves.
- Prepare the planting holes: Dig holes in the prepared garden bed that are deep and wide enough to accommodate the root ball of each seedling.
- Plant the seedlings: Place each pincushion seedling in a planting hole and backfill with soil. Gently firm the soil around the seedlings to secure them in place.
- Water: After planting the seedlings, water the soil thoroughly to help them establish their root system.
- Maintain moisture: Keep the soil consistently moist for the first few weeks until the seedlings become established. Water regularly, but avoid over-watering.
Whether you choose to start pincushion flowers from seeds or use seedlings, make sure to provide them with proper care and maintenance to ensure their healthy growth and beautiful blooms.
Providing Adequate Watering
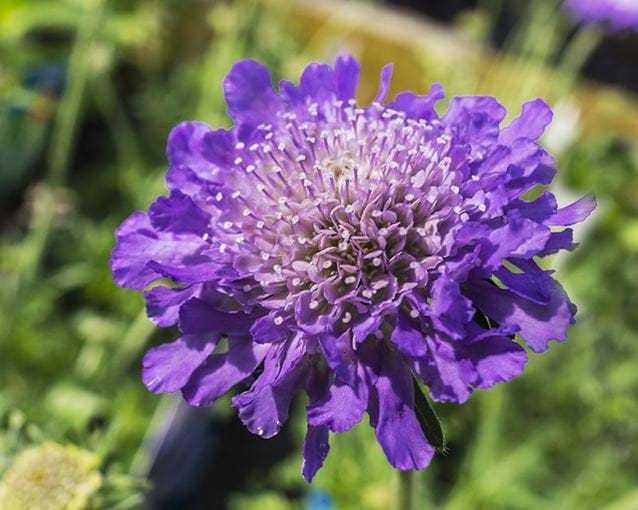
Proper watering is essential for the successful cultivation and growth of pincushion flowers. These beautiful flowers require a consistent supply of water to thrive and maintain their vibrant colors.
Here are some tips to ensure you provide adequate watering for your pincushion flowers:
1. Watering frequency
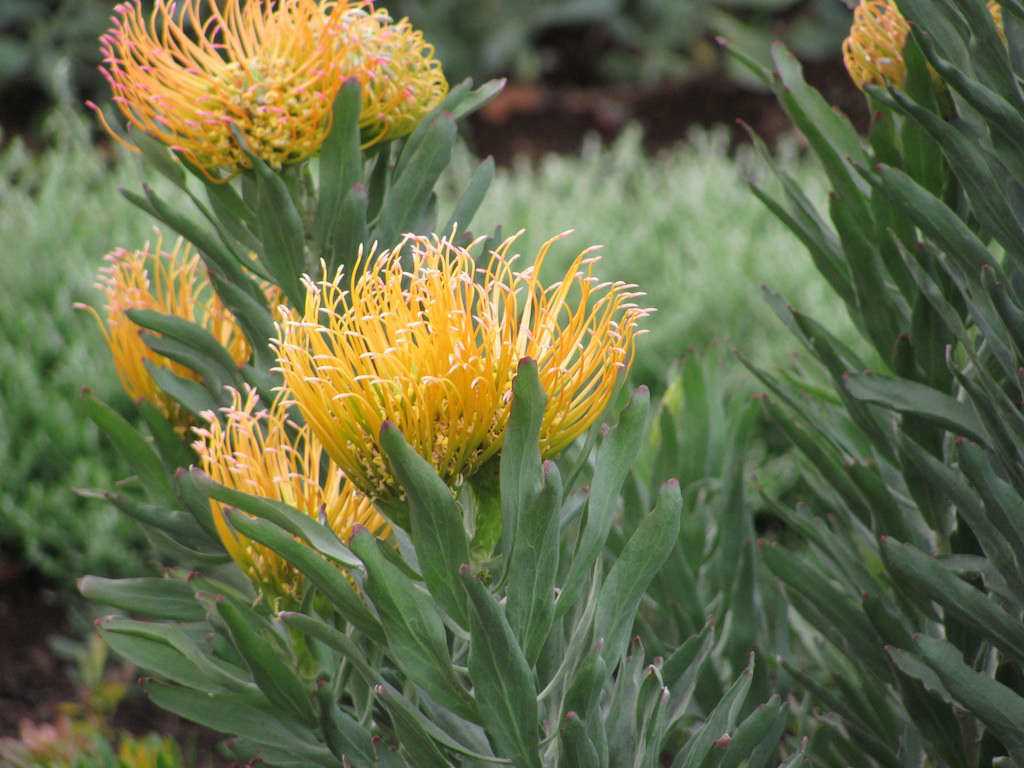
It is important to water your pincushion flowers regularly. Aim to water them at least once a week, or more frequently during hot, dry weather. Regular watering helps to keep the soil moist and prevents the flowers from drying out.
2. Deep watering
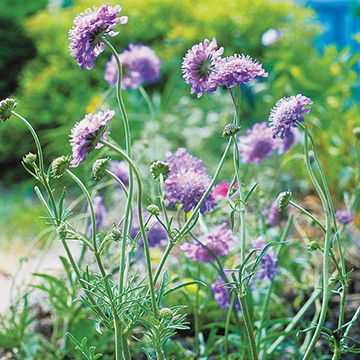
When watering your pincushion flowers, make sure to water deeply. This means watering until the soil is moistened to a depth of at least 6 inches. Shallow watering may not reach the roots, leading to poor growth and development.
3. Watering technique
It is best to water pincushion flowers at the base of the plant, avoiding wetting the leaves and flowers. Watering from above can lead to fungal diseases and damage the delicate blossoms. Use a watering can or a soaker hose to deliver water directly to the soil.
4. Mulching
Applying a layer of organic mulch around the base of your pincushion flowers can help retain moisture in the soil. Mulch also helps to suppress weeds and regulate soil temperature. Apply a 2-3 inch layer of mulch, making sure to keep it a few inches away from the stems to avoid rotting.
5. Monitor soil moisture
Regularly check the moisture level in the soil to ensure you are providing adequate watering. Insert your finger into the soil up to the second knuckle – if it feels dry, it’s time to water. If it feels moist, you can wait a little longer before watering again.
6. Rainwater collection
Consider collecting rainwater to use for watering your pincushion flowers. Rainwater is free of chemicals, making it an ideal option for plants. Use a rain barrel or a similar container to collect rainwater, and use it to supplement your regular watering routine.
By following these tips and providing adequate watering, you can ensure the health and beauty of your pincushion flowers. Remember to also consider the specific water needs of different pincushion varieties, as some may require slightly different watering techniques.
Applying Fertilizer
One of the key factors in successfully growing and caring for pincushion flowers is applying the right fertilizer. Fertilizer helps provide the necessary nutrients for the plant’s growth and ensures vibrant and healthy blooms. Here are some tips and guidelines for applying fertilizer to your pincushion flowers:
1. Choose the Right Fertilizer
There are various types of fertilizers available on the market, but it’s important to select one that is specifically formulated for flowering plants. Look for a balanced fertilizer with a ratio of nitrogen (N), phosphorus (P), and potassium (K) such as a 10-10-10 or 14-14-14.
2. Know When to Apply
Apply fertilizer to your pincushion flowers in early spring, just as new growth begins to emerge. This will provide a boost of nutrients to support healthy growth throughout the growing season. Additionally, you can apply a second round of fertilizer in midsummer to promote continuous blooming.
3. Follow Application Instructions
Read and follow the instructions provided on the fertilizer packaging carefully. Different fertilizers may have different application rates and methods, so it’s crucial to apply the correct amount. Over-fertilizing can harm the plants, so it’s better to err on the side of caution and apply less if you’re uncertain.
4. Apply Fertilizer Properly
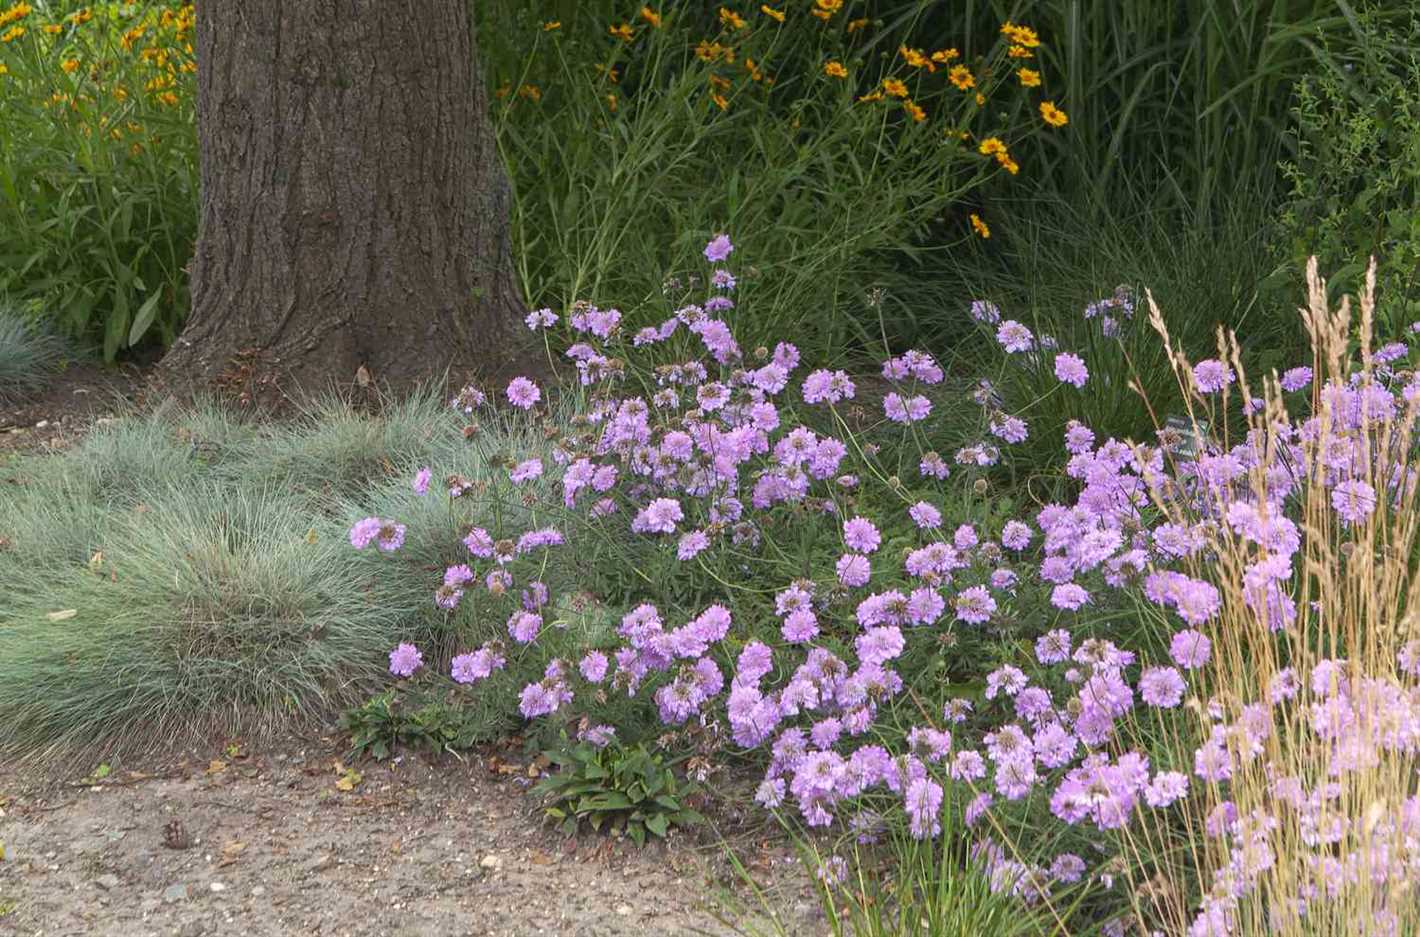
One way to apply fertilizer to pincushion flowers is to sprinkle it evenly around the base of the plant. Avoid getting the fertilizer directly on the leaves, as it can cause burns. Gently rake or lightly till the soil after application to ensure the fertilizer is incorporated into the top layer.
5. Water after Application
After applying fertilizer, it’s essential to water the pincushion flowers thoroughly. Watering helps to distribute the nutrients and prevents the roots from getting burned by the concentrated fertilizer. Provide enough water to moisten the soil to a depth of at least 6 inches.
By following these guidelines and applying fertilizer correctly, you can provide your pincushion flowers with the necessary nutrients for healthy growth and beautiful blooms.
Pruning and Deadheading
Pruning and deadheading are important tasks for maintaining the health and appearance of your pincushion plants. Here are some tips to help you properly prune and deadhead your pincushions:
Pruning
- Prune your pincushion plants in the early spring, before new growth begins.
- Use clean and sharp pruning shears to make clean cuts and prevent the spread of diseases.
- Remove any dead, damaged, or diseased stems and foliage.
- Trim back any overgrown or leggy stems to promote a bushier growth habit.
- Prune lightly after the first bloom to encourage a second flush of flowers.
Deadheading
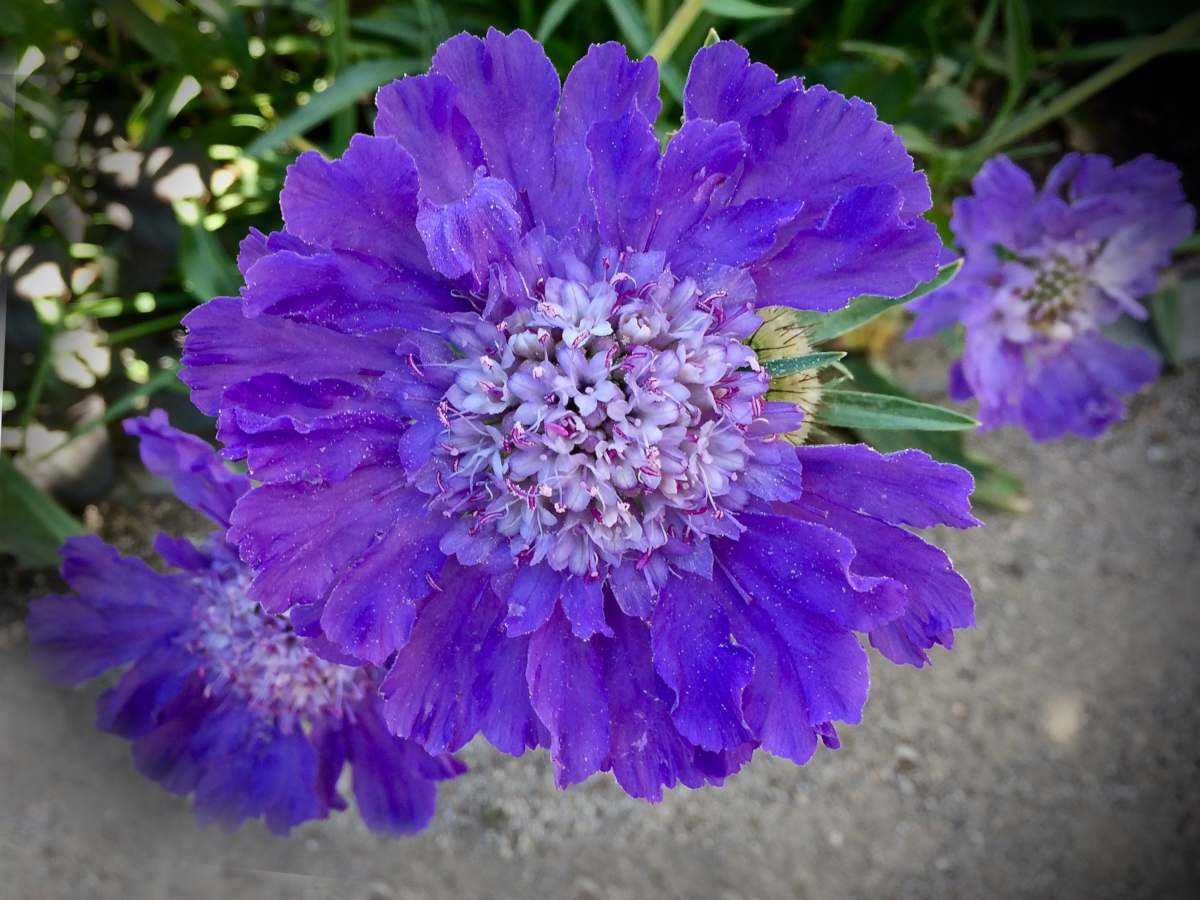
- Deadhead your pincushion plants regularly to promote prolonged blooming.
- Remove faded or spent flowers by snipping them off at the base of the stem.
- Deadheading will redirect the plant’s energy towards producing new flowers instead of seed production.
- Be sure to collect the deadheaded flowers and dispose of them properly to prevent the spread of diseases or pests.
Pruning and deadheading are simple yet effective techniques that can help you maintain the health and beauty of your pincushion plants throughout the growing season. By following these tips, you can enjoy a longer blooming period and a more attractive garden. Happy pruning!
Dealing with Pests and Diseases
Pests and diseases can be a common problem when cultivating and caring for pincushion flowers. It is important to be aware of these potential issues and take proactive measures to prevent and address them. Here are some common pests and diseases that can affect pincushion flowers and how to deal with them:
Pests:
- Aphids: These small, soft-bodied insects can cluster on the stems and buds of pincushion flowers, sucking the sap and causing damage. To control aphids, you can spray the plants with a strong jet of water or use insecticidal soap.
- Snails and slugs: These slimy pests can chew holes in the leaves and flowers of pincushion plants. To deter snails and slugs, you can create barriers around the plants using copper tape or diatomaceous earth. Handpicking them off the plants can also be effective.
- Spider mites: These tiny pests can infest pincushion flowers, causing yellowing and stippling of the leaves. To control spider mites, you can spray the plants with a mixture of water and neem oil or use insecticidal soap.
Diseases:
- Powdery mildew: This fungal disease appears as a white powdery coating on the leaves and flowers of pincushion plants. To prevent powdery mildew, make sure to provide good air circulation around the plants and avoid overhead watering. If powdery mildew does occur, you can treat it with a fungicidal spray.
- Root rot: Root rot can occur in pincushion plants if the soil remains consistently wet and poorly drained. To prevent root rot, make sure to plant pincushion flowers in well-draining soil and avoid overwatering. If root rot does occur, you may need to remove the affected plants and improve the drainage of the soil.
- Leaf spot: Leaf spot is a fungal disease that causes dark, circular spots on the leaves of pincushion flowers. To prevent leaf spot, avoid overhead watering and remove and destroy any infected leaves. Fungicidal sprays can also be used to control leaf spot.
By being vigilant and taking appropriate measures, you can effectively deal with pests and diseases that may affect your pincushion flowers. Regularly inspecting your plants and maintaining good garden hygiene can go a long way in preventing these issues and ensuring the health and beauty of your pincushion flowers.
Harvesting and Enjoying Pincushion Flowers
Once your pincushion flowers have fully bloomed, it’s time to harvest them and enjoy their beauty both indoors and outdoors. Here are some tips on how to harvest and enjoy pincushion flowers:
Harvesting:
- Choose a dry and sunny day to harvest your pincushion flowers.
- Wear gloves to protect your hands from any thorns.
- Bring a clean pair of pruning shears or sharp scissors.
- Look for flowers that are fully open and vibrant in color.
- Cut the flowers with a long stem, about 6-8 inches below the bloom.
- Avoid cutting more than one-third of the blooms from each plant to ensure continued growth and blooming throughout the season.
- Place the harvested flowers in a bucket or vase filled with clean water immediately.
Enjoying Indoors:
Pincushion flowers make beautiful and long-lasting cut flowers. Here’s how you can enjoy them indoors:
- Prepare a clean vase or container by washing it with warm soapy water to remove any bacteria.
- Trim the stems at a 45-degree angle using sharp scissors or floral shears.
- Remove any foliage that will be submerged in the water.
- Fill the vase with fresh, cool water.
- Add floral preservative or a mixture of 1 teaspoon of sugar and a few drops of bleach to the water to extend the longevity of the flowers.
- Place the pincushion flowers in the vase, arranging them to your liking.
- Display the vase in a cool location away from direct sunlight, drafts, and ripening fruits.
- Change the water every 2-3 days and trim the stems a little each time to ensure optimal water uptake.
Enjoying Outdoors:
Pincushion flowers can also be enjoyed in your outdoor garden. Here’s how you can make the most of them:
- Plant pincushion flowers in a sunny location with well-draining soil.
- Space the plants according to the instructions on the plant label or seed packet.
- Water the plants regularly, keeping the soil moist but not waterlogged.
- Deadhead the spent flowers regularly to encourage continuous blooming.
- Remove any yellow or diseased foliage to maintain the overall health of the plant.
- Enjoy the vibrant colors and unique shapes of the pincushion flowers as they attract bees, butterflies, and other pollinators to your garden.
Whether you choose to harvest pincushion flowers for indoor arrangements or enjoy them outside in the garden, these lovely flowers are sure to bring beauty and charm to any space.
Questions and Answers:
What is a pincushion flower?
A pincushion flower, also known as scabiosa, is a beautiful flowering plant that belongs to the Dipsacaceae family. Its unique shape and vibrant colors make it a popular choice among gardeners and florists.
When is the best time to plant pincushion flowers?
The best time to plant pincushion flowers is in the spring or early summer, preferably after the last frost. This will give the plants enough time to establish their roots before the heat of summer arrives.
What type of soil do pincushion flowers prefer?
Pincushion flowers prefer well-draining soil that is rich in organic matter. They thrive in soil with a pH level between 6.0 and 7.0. If your soil is heavy or clay-like, you can amend it with compost or other organic materials to improve drainage.
How often should pincushion flowers be watered?
Pincushion flowers should be watered regularly, but not excessively. It is important to keep the soil evenly moist, but not waterlogged. A good rule of thumb is to water when the top inch of soil feels dry to the touch.
Do pincushion flowers require any special care?
Pincushion flowers are relatively low-maintenance, but there are a few things you can do to ensure their success. Deadheading spent flowers will prolong the blooming period, and applying a balanced fertilizer once a month can help promote healthy growth. It is also important to monitor for pests and diseases, and take appropriate action if necessary.


