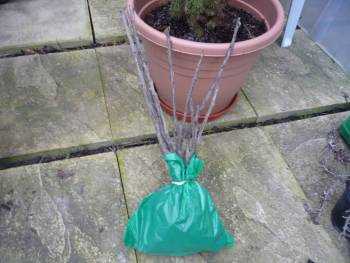
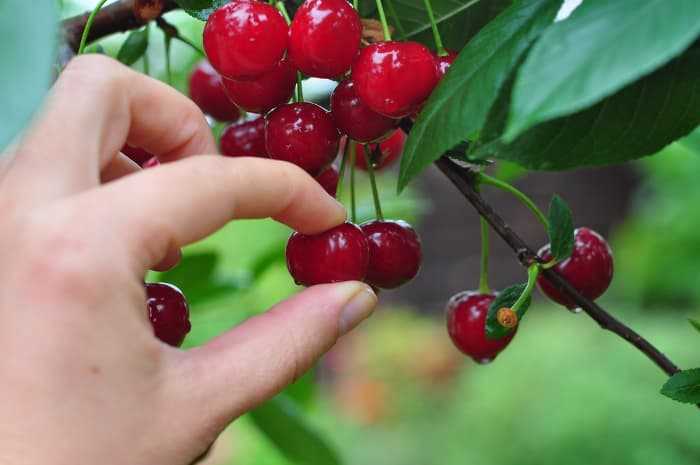
- Preparing Soil for Raspberry Planting
- Choosing the Right Raspberry Varieties
- Climate Adaptability
- Harvest Time
- Flavor and Texture
- Disease Resistance
- Growth Habit
- Yield
- Proper Planting and Spacing
- 1. Choosing the right site
- 2. Preparing the soil
- 3. Planting raspberries
- 4. Spacing
- Providing Adequate Water and Drainage
- 1. Watering Frequency
- 2. Watering Methods
- 3. Mulching
- 4. Drainage
- Controlling Weeds and Managing Pest Infestation
- Weed Control:
- Pest Management:
- Integrated Pest Management (IPM):
- Conclusion:
- Fertilizing Raspberries for Healthy Growth
- 1. Soil Testing
- 2. Types of Fertilizers
- 3. Timing
- 4. Application Rates
- 5. Application Method
- 6. Mulching
- 7. Regular Monitoring
- Pruning and Training Raspberry Canes
- 1. Pruning
- 2. Training
- Protecting Raspberries from Frost and Winter Damage
- 1. Mulching
- 2. Pruning
- 3. Windbreaks
- 4. Covering
- 5. Watering
- 6. Removing Snow
- Question-answer:
- When is the best time to start caring for raspberries in spring?
- What should I do to prepare the soil for raspberries in spring?
- How should I prune raspberry plants in spring?
- Should I fertilize raspberries in spring?
- How often should I water raspberries in spring?
- Can I mulch raspberry plants in spring?
- Video: Summer Rasberry Pruning
Raspberries are a delicious and nutritious fruit that can be enjoyed fresh or used in a variety of recipes. To ensure a bountiful crop of raspberries, proper spring care is essential. By following a few simple steps, you can increase the yield of your raspberry plants and enjoy a plentiful harvest.
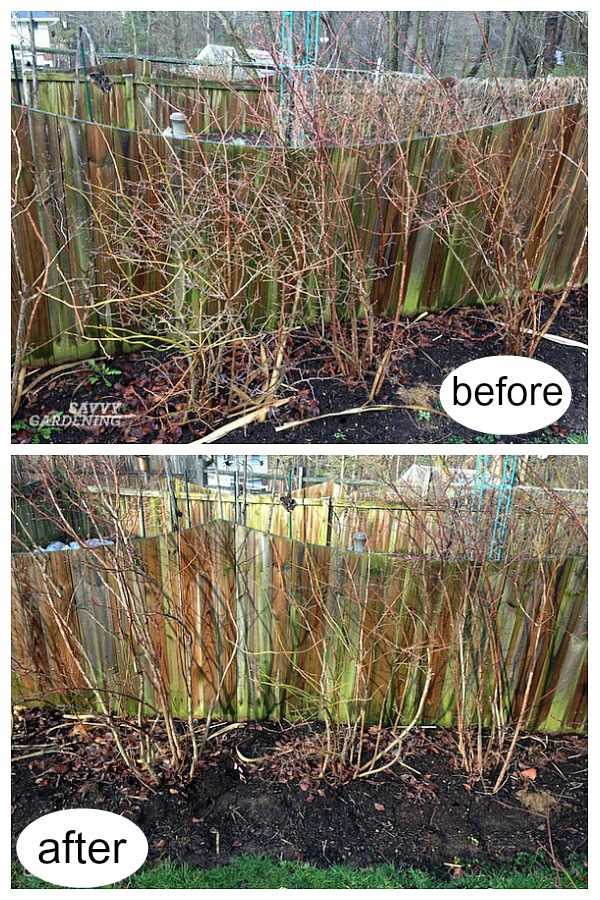
Firstly, it’s important to prune your raspberry plants in the spring. This helps to remove any dead or damaged canes, allowing for new growth and improved airflow. Use sharp pruning shears to cut back the canes to about 6-8 inches above ground level. This will encourage the plants to produce new canes and will result in larger, healthier berries.
After pruning, it’s time to fertilize your raspberry plants. Raspberries are heavy feeders and require a nutrient-rich soil to thrive. Apply a balanced fertilizer, such as a 10-10-10 blend, around the base of the plants. Be sure to follow the manufacturer’s instructions for application rates, as over-fertilizing can cause harm to the plants.
In addition to pruning and fertilizing, it’s important to provide proper support for your raspberry plants. Raspberries can grow tall and can become heavy with fruit, so providing a support system will help to prevent the canes from breaking or bending. Use stakes or a trellis system to support the canes and secure them in place with garden twine or Velcro ties.
By following these steps, you can ensure that your raspberry plants are well cared for in the spring, which will lead to an increased yield of delicious berries. Remember to prune, fertilize, and provide support for your plants, and you’ll be rewarded with a bountiful crop of juicy raspberries to enjoy throughout the summer months.
Preparing Soil for Raspberry Planting

Before planting raspberries, it is important to prepare the soil to ensure optimal growth and yield. Here are the steps to follow:
- Choose the right location: Raspberries thrive in full sun and well-drained soil. Select a spot in your garden that receives at least 6-8 hours of direct sunlight per day.
- Clear the area: Remove any weeds or existing vegetation from the planting area. Raspberries do not compete well with other plants, so it’s important to have a clean and weed-free space.
- Test the soil: Conduct a soil test to determine the pH level and nutrient content of the soil. Raspberries prefer slightly acidic soil with a pH range of 5.5-6.5. Based on the test results, you may need to amend the soil with organic matter or adjust the pH level.
- Improve drainage: If your soil is heavy and tends to retain water, you may need to improve the drainage. Add organic matter such as compost or well-rotted manure to the soil to improve its structure and drainage capabilities.
- Loosen the soil: Use a garden fork or tiller to loosen the soil to a depth of at least 12 inches. This will help the raspberries establish a strong root system and access nutrients more easily.
- Remove stones and debris: Clear the soil of any stones, roots, or debris that may impede root growth or cause uneven soil conditions.
- Add fertilizer: Before planting, apply a balanced fertilizer according to the manufacturer’s instructions. This will provide the necessary nutrients for the young raspberry plants.
- Prepare the planting holes: Dig individual planting holes that are deep and wide enough to accommodate the root system of the raspberry plants. Space the holes at least 2-3 feet apart to allow for proper air circulation and future growth.
- Plant the raspberries: Place the raspberry plants in the prepared holes, making sure the roots are spread out and not cramped. Backfill the holes with soil and gently firm it around the plants.
- Water thoroughly: After planting, water the raspberries thoroughly to settle the soil and promote root establishment. Keep the soil evenly moist, but not waterlogged, throughout the growing season.
- Mulch: Finally, apply a layer of organic mulch around the raspberry plants to suppress weeds, conserve soil moisture, and regulate soil temperature.
By following these steps, you can ensure that your soil is prepared for successful raspberry planting. With proper soil preparation, your raspberry plants will thrive and yield bountiful harvests for years to come.
Choosing the Right Raspberry Varieties
When it comes to growing raspberries, choosing the right variety is essential for a successful harvest. There are several factors to consider when selecting raspberry varieties:
Climate Adaptability
Raspberries grow best in temperate climates, but there are varieties available that can tolerate colder or warmer conditions. It is important to choose a variety that is well-suited to your specific climate to ensure optimal growth and fruit production.
Harvest Time
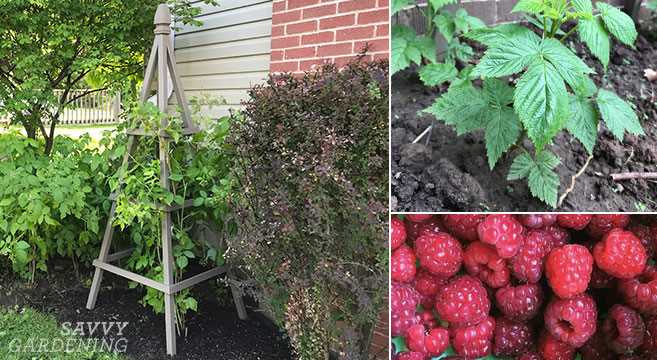
Raspberry varieties can be categorized into early, mid, and late-season varieties, based on the time of year they produce fruit. Choosing a mix of varieties that ripen at different times can extend your harvest season and provide a continuous supply of fresh raspberries.
Flavor and Texture
Raspberry varieties can vary in flavor and texture. Some varieties are sweet and have a delicate, melt-in-your-mouth texture, while others are tangy and have a firmer texture. Consider your personal preferences and intended use for the raspberries when selecting varieties.
Disease Resistance
Raspberries can be susceptible to various diseases, such as powdery mildew and root rot. Choosing disease-resistant varieties can help minimize the risk of these problems and ensure healthier plants.
Growth Habit
Raspberry varieties can have different growth habits, such as erect, semi-erect, or trailing. Erect varieties are more compact and upright, making them easier to manage and harvest. Trailing varieties, on the other hand, spread and require support structures for optimal growth.
Yield
Some raspberry varieties are known for higher yields, meaning they produce more fruit per plant. If maximizing your raspberry harvest is a priority, look for varieties that are renowned for their high yield.
| Variety | Climate Adaptability | Harvest Time | Flavor and Texture | Disease Resistance | Growth Habit | Yield |
|---|---|---|---|---|---|---|
| Tulameen | Temperate | Mid-Season | Sweet, Melt-in-your-mouth | Resistant to Root Rot | Semi-Erect | High |
| Heritage | Temperate | Late-Season | Tangy, Firm | Resistant to Powdery Mildew | Erect | Medium-High |
Remember that it is always a good idea to consult with local gardening experts or nurseries to determine which raspberry varieties are best suited for your specific growing conditions and preferences.
Proper Planting and Spacing
Proper planting and spacing are crucial for the healthy growth and high yield of raspberries. Here are some guidelines to follow:
1. Choosing the right site
- Select a location with well-drained soil that receives full sunlight for at least 6-8 hours a day.
- Avoid areas with waterlogged soil or heavy shade, as these conditions can lead to poor growth and disease susceptibility.
- Ensure there is enough space for the raspberry plants to spread without overcrowding.
2. Preparing the soil
- Remove any weeds or grass from the planting area to reduce competition for nutrients and water.
- Loosen the soil to a depth of about 12 inches using a garden fork or tiller.
- Amend the soil with organic matter, such as compost or well-rotted manure, to improve its fertility and drainage.
- Conduct a soil test to determine the pH level and make any necessary adjustments to achieve a slightly acidic pH of 6.0-6.5.
3. Planting raspberries
- Dig a hole that is wide and deep enough to accommodate the roots of the raspberry plant.
- Place the plant in the hole, making sure that the crown is level with the soil surface.
- Backfill the hole with soil, gently tamping it down to remove air pockets.
- Water the newly planted raspberry thoroughly to settle the soil around the roots.
4. Spacing
- Provide enough space between raspberry plants to allow air circulation and prevent the spread of diseases.
- For traditional rows, space plants about 2-3 feet apart, with 8-10 feet between rows.
- For a hedgerow system, space plants about 1-2 feet apart in a staggered pattern.
- Consider using trellis or support systems to keep the raspberry canes upright and easier to manage.
Following these planting and spacing recommendations will ensure that your raspberry plants have the best conditions for growth and yield. Remember to monitor the plants regularly and provide proper care throughout the growing season.
Providing Adequate Water and Drainage
Water is essential for the growth and development of raspberry plants. Providing adequate water and ensuring proper drainage are crucial for maintaining their health and increasing the yield. Here are some tips for watering and drainage in raspberry care:
1. Watering Frequency
- Water raspberry plants regularly, especially during the hot and dry summer months.
- Check the soil moisture level before watering. Stick your finger into the soil about an inch deep. If it feels dry, it’s time to water.
- Avoid overwatering, as it can lead to root rot and other diseases.
- Provide deep irrigation rather than light sprinkling to encourage deep root growth.
2. Watering Methods
- Use a soaker hose or a drip irrigation system to deliver water directly to the roots.
- Avoid overhead watering as it may promote the spread of diseases.
- Water early in the morning to allow foliage to dry off during the day.
3. Mulching
- Apply a layer of organic mulch around raspberry plants to help retain moisture in the soil.
- Mulching also helps to suppress weed growth and maintain a more even soil temperature.
- Use materials like straw, wood chips, or shredded leaves for mulching.
4. Drainage
- Ensure proper drainage by planting raspberries in well-draining soil.
- If the soil is heavy or clayey, consider improving drainage by adding organic matter like compost or peat moss.
- Avoid planting raspberries in low-lying areas or places prone to waterlogging.
- If necessary, create raised beds or mounds to improve drainage.
By providing adequate water and ensuring proper drainage, you can help your raspberry plants thrive, resulting in a bountiful harvest of delicious berries!
Controlling Weeds and Managing Pest Infestation
One of the key steps in maintaining the health and productivity of raspberry plants is controlling weeds and managing pest infestation. Weeds compete with the plants for nutrients and water, while pests can cause damage and reduce the yield. Here are some effective strategies for weed control and pest management:
Weed Control:
- Mulching: Apply a layer of organic mulch, such as straw or wood chips, around the base of raspberry plants. This helps to suppress weed growth by blocking sunlight and preventing weed seeds from germinating.
- Hand weeding: Regularly inspect the raspberry bed and manually remove any visible weeds. Be careful not to disturb the shallow root system of the raspberry plants.
- Use of herbicides: In some cases, herbicides may be necessary to control stubborn or extensive weed growth. However, be cautious when using herbicides, as they can also harm the raspberry plants if not applied correctly. Follow the instructions provided by the manufacturer.
Pest Management:
Identify and monitor: Regularly inspect the raspberry plants for signs of pest infestation, such as holes in leaves, discolored foliage, or presence of insects. Identifying the specific pests will help in selecting the appropriate control methods.
- Biological control: Introduce natural predators or parasites that feed on the pests. For example, ladybugs can help control aphid populations.
- Handpicking: If the infestation is limited, manually remove pests, such as beetles or caterpillars, by hand.
- Organic insecticides: Use organic insecticides, such as neem oil or insecticidal soap, to control pest populations. These are less harmful to beneficial insects and have minimal impact on the environment.
- Netting: Covering the raspberry plants with netting can prevent birds and other animals from causing damage or feeding on the fruits.
Integrated Pest Management (IPM):
Implementing an integrated pest management approach involves combining different strategies for weed control and pest management. This approach aims to minimize the use of chemical pesticides by using preventive measures, biological controls, and targeted treatments. Regular monitoring and adaptation of control methods are key components of IPM.
Conclusion:
Controlling weeds and managing pest infestation are essential for maintaining the health and productivity of raspberry plants. By implementing effective weed control strategies and managing pests through various methods, you can increase the yield and quality of your raspberry harvest.
Fertilizing Raspberries for Healthy Growth
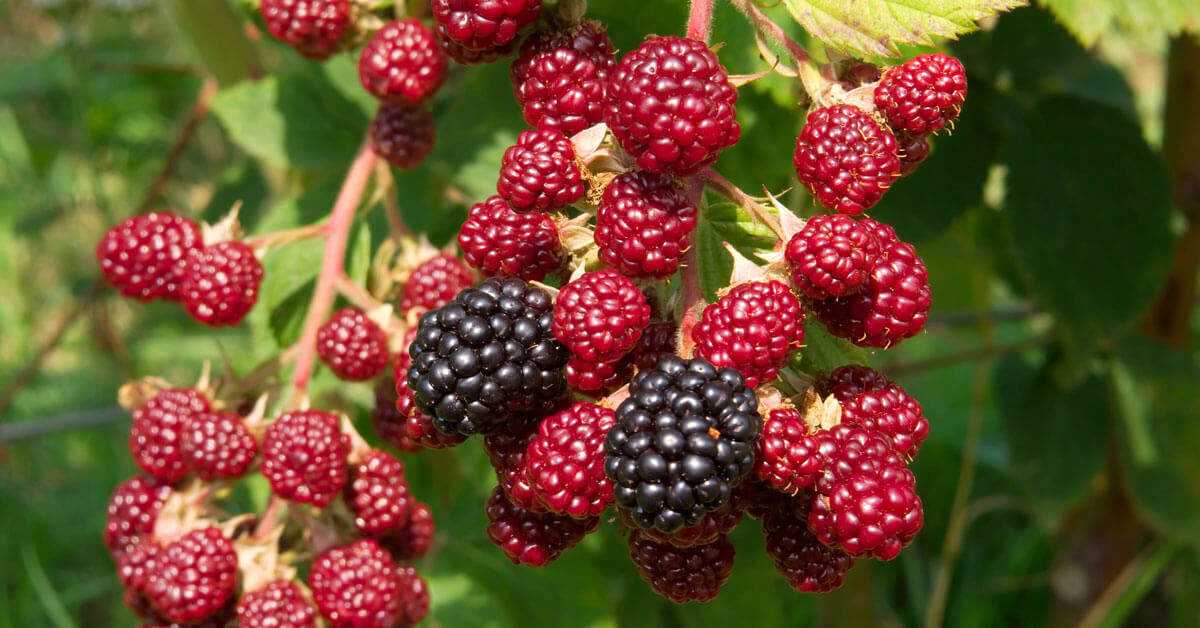
Proper fertilization is key to ensuring healthy growth and a bountiful harvest of raspberries. Here are some guidelines to follow when fertilizing your raspberry plants:
1. Soil Testing
Before applying fertilizers, it is important to conduct a soil test to determine the nutrient levels in your soil. This will help you identify any deficiencies and apply the right type and amount of fertilizer.
2. Types of Fertilizers
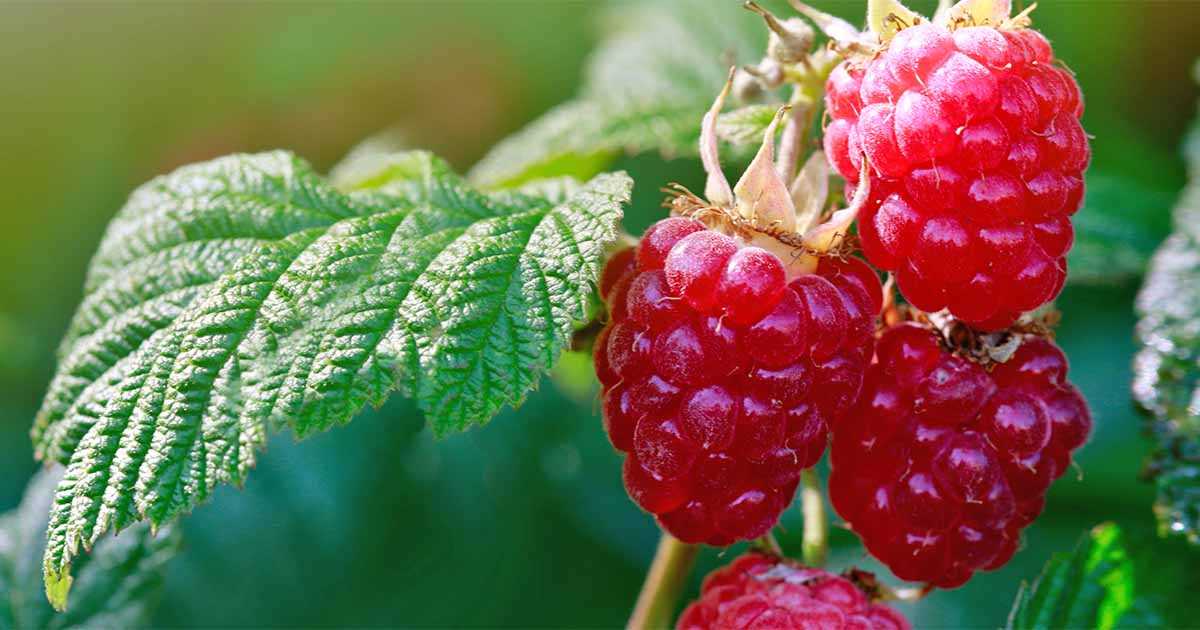
Raspberries have specific nutrient requirements, so it is important to use fertilizers that are formulated for berry plants. Look for fertilizers that are high in nitrogen, phosphorus, and potassium. Organic options, such as compost or well-rotted manure, can also be beneficial.
3. Timing
Fertilize raspberries in early spring before new growth begins. Avoid fertilizing later in the season as it can stimulate new growth that may not have enough time to harden off before winter, increasing the risk of damage.
4. Application Rates
Follow the recommended application rates on the fertilizer packaging. Generally, apply around 2-3 pounds of fertilizer per 100 square feet of growing area. Divide the total amount into two applications, one in early spring and another after fruiting.
5. Application Method
Apply the fertilizer evenly around the base of the plants, avoiding direct contact with the stems. Avoid applying fertilizer on wet foliage as it can cause burning. Water the plants thoroughly after applying fertilizer to help it reach the root zone.
6. Mulching
After fertilizing, consider applying a layer of organic mulch, such as straw or wood chips, around the base of the plants. Mulching helps conserve moisture, suppress weeds, and slowly release nutrients into the soil.
7. Regular Monitoring
Monitor your raspberry plants regularly for any signs of nutrient deficiencies or excesses. Adjust your fertilization program accordingly based on the plant’s needs.
By following these guidelines and providing your raspberries with the proper nutrients, you can promote healthy growth, increased yields, and flavorful berries.
Pruning and Training Raspberry Canes
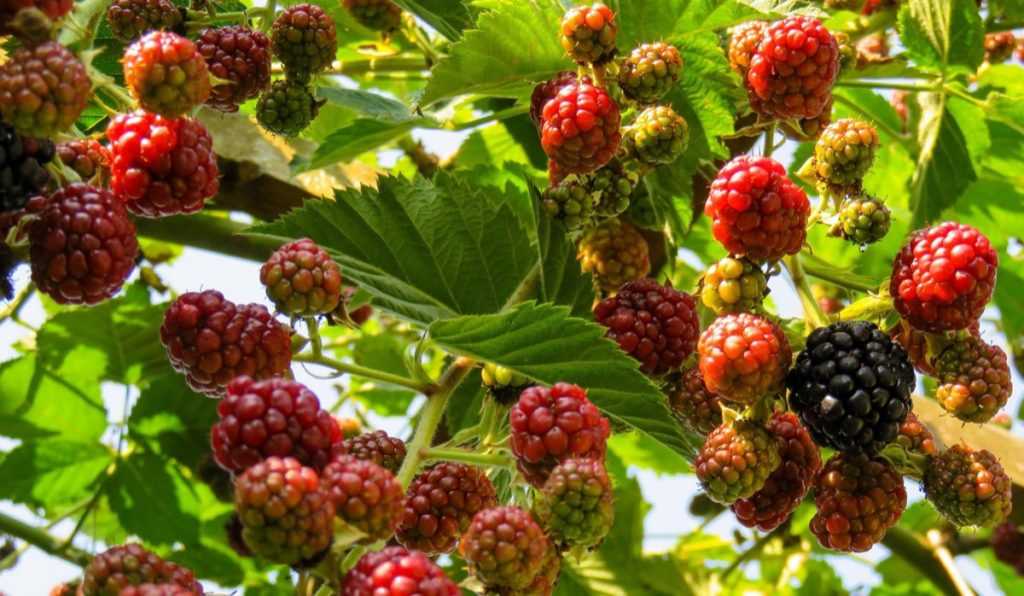
Pruning and training raspberry canes are essential steps in maintaining healthy and productive raspberry plants. Pruning helps to remove diseased, damaged, or overcrowded canes, while training ensures that the canes grow in an organized and manageable manner.
1. Pruning
The best time to prune raspberry canes is in late winter or early spring, before new growth begins. Here are the steps to prune your raspberry canes:
- Identify the canes: Start by identifying the different types of canes. Raspberry plants have two types of canes: primocanes and floricanes. Primocanes are the first-year growth canes, while floricanes are the second-year growth canes.
- Remove the dead canes: Begin by removing any dead or diseased canes. These canes will be dry, brittle, and discolored.
- Thin out overcrowded canes: Next, thin out any overcrowded canes. Ideally, you should have 4-6 sturdy canes per linear foot of row.
- Trim the remaining canes: Finally, trim the remaining canes to a height of around 4-6 feet. This will promote better air circulation and sunlight penetration.
2. Training
Training raspberry canes involves tying them to a trellis or support system to keep them upright and organized. Here’s how to train your raspberry canes:
- Install a trellis or support system: Before training your canes, make sure you have a trellis or support system in place. You can use stakes and wires or a dedicated raspberry trellis.
- Tie the canes: Gently tie the canes to the trellis or support system using soft plant ties. Avoid using materials that can cut into the canes.
- Space the canes: Spread out the canes evenly along the trellis or support system. This will ensure good air circulation and sunlight exposure.
- Regularly check and adjust: As the canes grow, regularly check and adjust the ties to keep them properly supported. Prune any overly long or wayward canes as needed.
By pruning and training your raspberry canes, you will improve the overall health and productivity of your raspberry plants. It will also make harvesting easier and reduce the risk of disease and pest infestation. Follow these steps each year to maintain healthy and vigorous raspberry plants.
Protecting Raspberries from Frost and Winter Damage
Raspberries are susceptible to frost and winter damage, which can greatly reduce the crop yield. It is important to take steps to protect your raspberry plants from these harsh winter conditions. Here are some tips to help you protect your raspberries:
1. Mulching
Mulching is an effective way to protect your raspberry plants from frost damage. Apply a layer of organic mulch, such as straw or compost, around the base of the plants. This will insulate the roots and help regulate the soil temperature, protecting them from freezing during cold winter nights.
2. Pruning
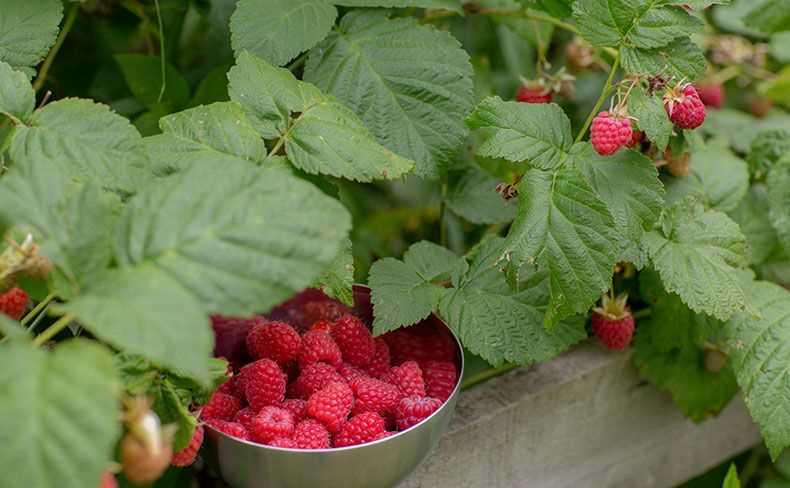
Prune your raspberry plants in late winter or early spring to remove any damaged or dead canes. This will not only help prevent disease and pest infestations but also promote new growth and improve air circulation around the plants. Pruning also allows sunlight to reach the lower parts of the plant, reducing the risk of frost damage.
3. Windbreaks
Planting a windbreak can help protect your raspberry plants from cold winter winds, which can desiccate the canes and lead to winter damage. Consider planting a row of tall shrubs or erecting a fence on the windward side of your raspberry patch to create a barrier against the wind.
4. Covering
In areas with severe winter conditions, covering your raspberry plants with frost blankets or row covers can offer additional protection. These covers act as insulators, trapping heat and protecting the plants from frost damage. Make sure to secure the covers tightly to prevent them from being blown away by strong winds.
5. Watering
Proper watering is crucial for protecting raspberries from winter damage. Make sure to water your raspberry plants thoroughly before the ground freezes. This will help the plants establish deep roots and provide them with enough moisture to endure the winter months. However, be cautious not to overwater, as soggy soil can lead to root rot.
6. Removing Snow
If your raspberry plants are covered with heavy snow, gently brush off the excess snow to prevent the canes from bending or breaking under the weight. This will help the plants maintain their shape and prevent any winter damage.
By implementing these measures, you can greatly reduce the risk of frost and winter damage to your raspberry plants, ensuring a healthier and more productive harvest in the coming year.
Question-answer:
When is the best time to start caring for raspberries in spring?
The best time to start caring for raspberries in spring is when the ground is no longer frozen and the soil can be worked. This usually occurs in early spring, around March or April, depending on your location.
What should I do to prepare the soil for raspberries in spring?
To prepare the soil for raspberries in spring, first remove any weeds or debris from the raspberry bed. Then, add a layer of compost or well-rotted manure to enrich the soil. Finally, till or dig the soil to a depth of about 8-10 inches, ensuring it is loose and well-drained.
How should I prune raspberry plants in spring?
In spring, it is recommended to prune raspberry plants by cutting down all the canes that produced fruit the previous year. These canes will be brown and brittle. Remove them at ground level. Leave the healthy green canes that are one-year-old and have not fruited yet, as these will produce berries in the current season.
Should I fertilize raspberries in spring?
Yes, it is important to fertilize raspberries in spring to promote healthy growth and a higher yield. Apply a balanced fertilizer, such as a 10-10-10 or 14-14-14 formula, according to the recommended dosage on the package. Spread the fertilizer evenly around the base of the plants, being careful not to let it touch the stems to avoid burning them.
How often should I water raspberries in spring?
Raspberries require regular watering, especially in spring when they are actively growing. Water the plants deeply, providing about an inch of water per week, either through rainfall or irrigation. Monitor the moisture level of the soil and adjust the watering schedule accordingly, making sure the plants do not dry out.
Can I mulch raspberry plants in spring?
Yes, it is recommended to mulch raspberry plants in spring to conserve moisture, suppress weeds, and maintain an even temperature in the soil. Apply a layer of organic mulch, such as straw or wood chips, around the base of the plants, taking care not to bury the stems. Leave a small gap around the stems to prevent rot.
