- Choosing the Right Tree for Grafting
- Graft Compatibility
- Rootstock Selection
- Disease Resistance
- Desired Traits
- Local Conditions
- Preparing the Tools and Materials
- Selecting the Best Grafting Technique
- 1. Whip and Tongue Graft
- 2. Cleft Graft
- 3. Side Graft
- Performing the Initial Cut
- Materials Needed
- Instructions
- Attaching the Scion and Rootstock
- Securing the Graft with Protective Materials
- 1. Grafting Tape
- 2. Budding Rubbers
- 3. Parafilm
- 4. Sealant
- Caring for the Grafted Tree
- 1. Watering
- 2. Mulching
- 3. Fertilizing
- 4. Pruning
- 5. Protecting
- 6. Support
- 7. Monitoring
- 8. Patience
- Question-answer:
- What is spring grafting?
- When is the best time to do spring grafting?
- How do you prepare the scion for grafting?
- What is the process of grafting a scion onto a rootstock?
- What should be done after grafting?
- Video: BIGGEST Cutting We’ve ever Rooted: How to Grow a Fig Tree From a Cutting | Extreme Plant propagation
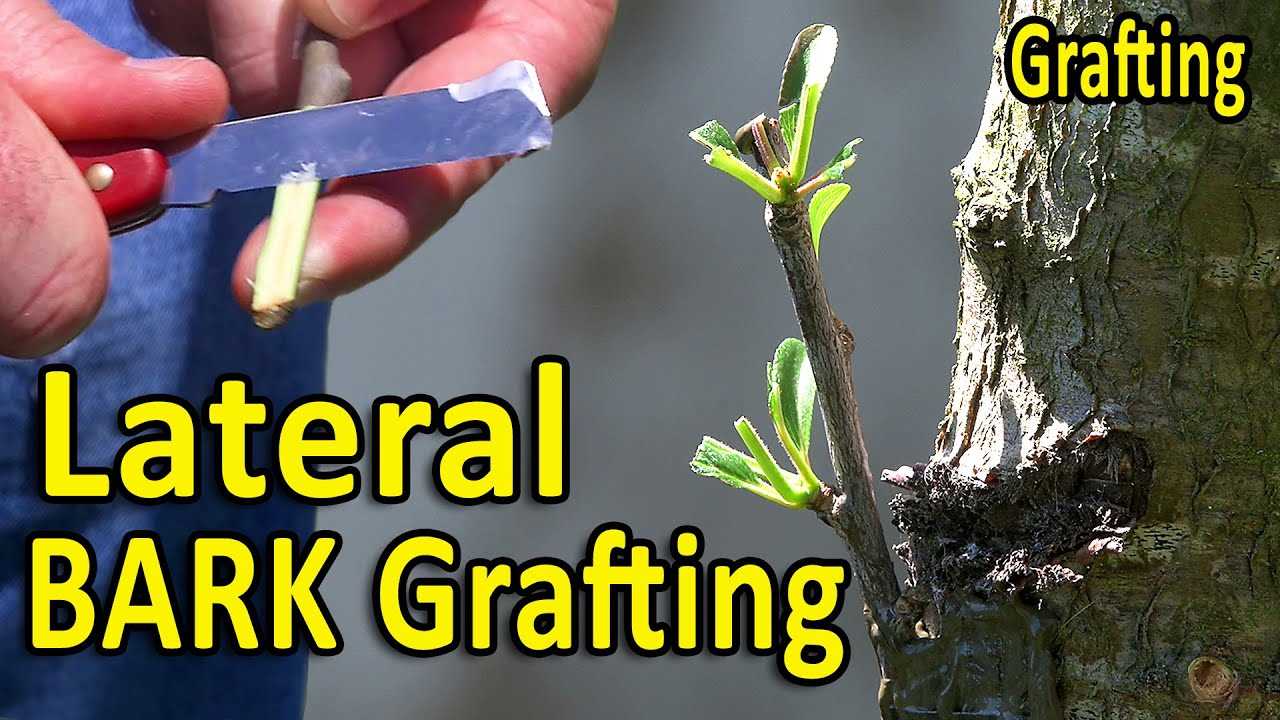
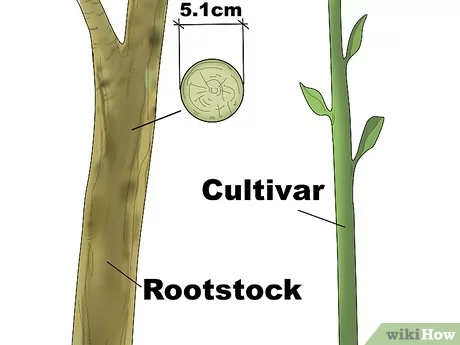
Grafting is a popular technique used by gardeners and horticulturists to propagate trees and plants. It involves taking a small stem or bud from one plant (called the scion) and attaching it to the rootstock of another plant. This method allows for the combination of desired traits, such as disease resistance or improved fruit quality, onto a strong and established root system.
When it comes to spring grafting of trees, timing is crucial. The best time to graft is when the trees are just beginning to wake up from their winter dormancy, usually around early spring. This is when the sap begins to flow, aiding in the healing and union of the graft. It’s important to choose healthy scions and rootstock that are compatible in terms of species and variety.
To begin grafting, gather a sharp knife or grafting tool, grafting tape, and disinfectant. Start by sterilizing the knife or tool by dipping it in a solution of bleach or rubbing alcohol. This will help prevent the spread of diseases. Next, make a clean, slanting cut on the scion and a corresponding cut on the rootstock.
After making the cuts, join the scion and rootstock together by aligning the cambium layers, which are the thin layers just beneath the bark responsible for growth. Secure the graft with grafting tape, ensuring a tight and snug fit. This will prevent air and water from entering the graft site and promote successful healing and rooting.
Once the graft is secured, keep the trees in a moist and shady location to avoid desiccation and promote growth. It is crucial to monitor the graft site closely for any signs of infection or failure. In a few weeks, the scion and rootstock should begin to join together and form a bond. With proper care and attention, your grafted trees will root successfully and thrive for years to come!
Choosing the Right Tree for Grafting
Grafting is a technique used to combine different varieties or species of trees into a single tree. It allows you to create unique combinations of traits, such as fruiting characteristics or disease resistance. However, not all trees are suitable for grafting. When choosing a tree for grafting, there are several factors to consider.
Graft Compatibility
One of the most important factors to consider is graft compatibility. Different species or varieties of trees have different levels of compatibility, meaning they may or may not be able to be successfully grafted together. It’s essential to choose trees that are closely related or have similar characteristics to increase the chances of a successful graft.
Rootstock Selection
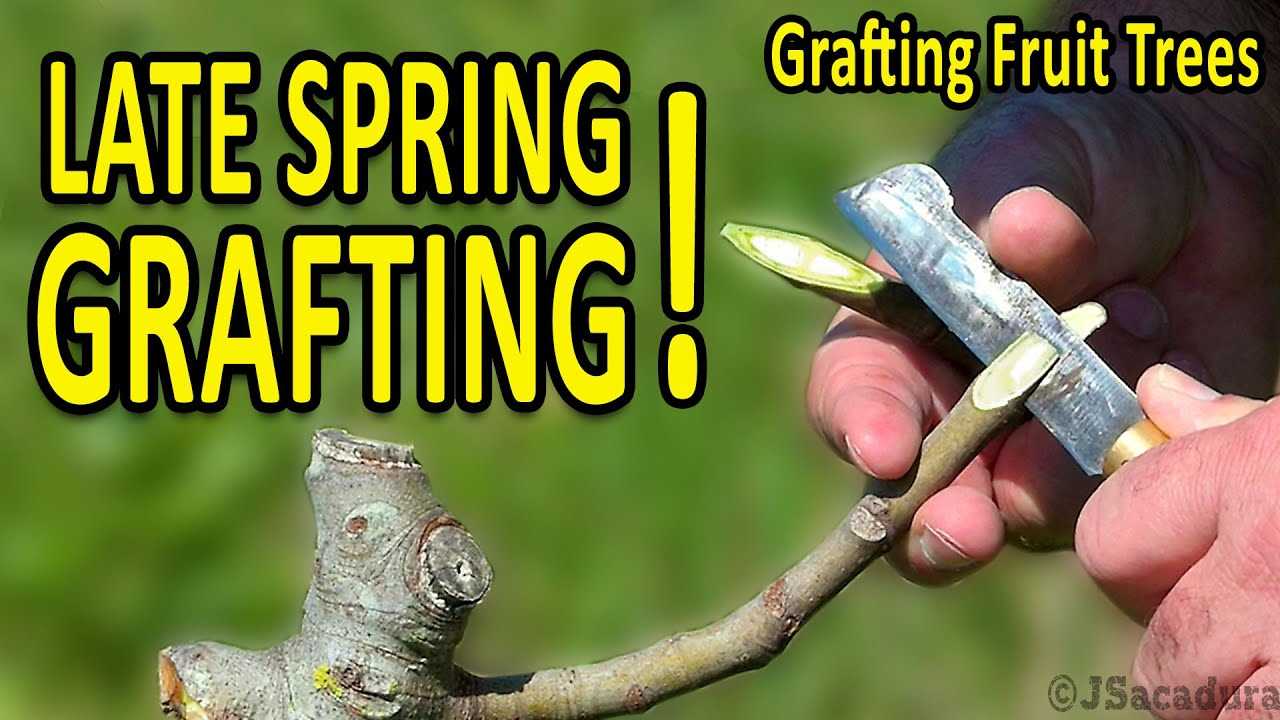

In grafting, the selected tree on which the graft is placed is called the rootstock. The rootstock determines many important factors, such as the tree’s overall size, disease resistance, and adaptability to specific soil and climate conditions. When choosing a rootstock, consider your desired tree size, growing conditions, and the characteristics you want to impart to the grafted portion.
Disease Resistance
Disease resistance is another crucial consideration when choosing a tree for grafting. Some trees have natural resistance to specific diseases or pests, and grafting them onto a susceptible tree can provide increased protection. Research the disease susceptibilities and resistances of the tree varieties you are considering to choose the best combination.
Desired Traits
Consider the specific traits or characteristics you desire in your grafted tree. This can include qualities such as fruit flavor, size, color, or texture. Research different tree varieties and their traits to find the perfect combination to achieve your desired results.
Local Conditions
Finally, consider the local conditions in your area when choosing a tree for grafting. Different trees have different adaptability to specific climates, soil types, and environmental conditions. Ensure that the tree varieties you choose are suitable for your region to promote healthy growth and overall success.
By considering these factors, you can choose the right tree for grafting and increase your chances of a successful graft. Take the time to research and select the best combination of tree varieties to create a unique and thriving grafted tree.
Preparing the Tools and Materials
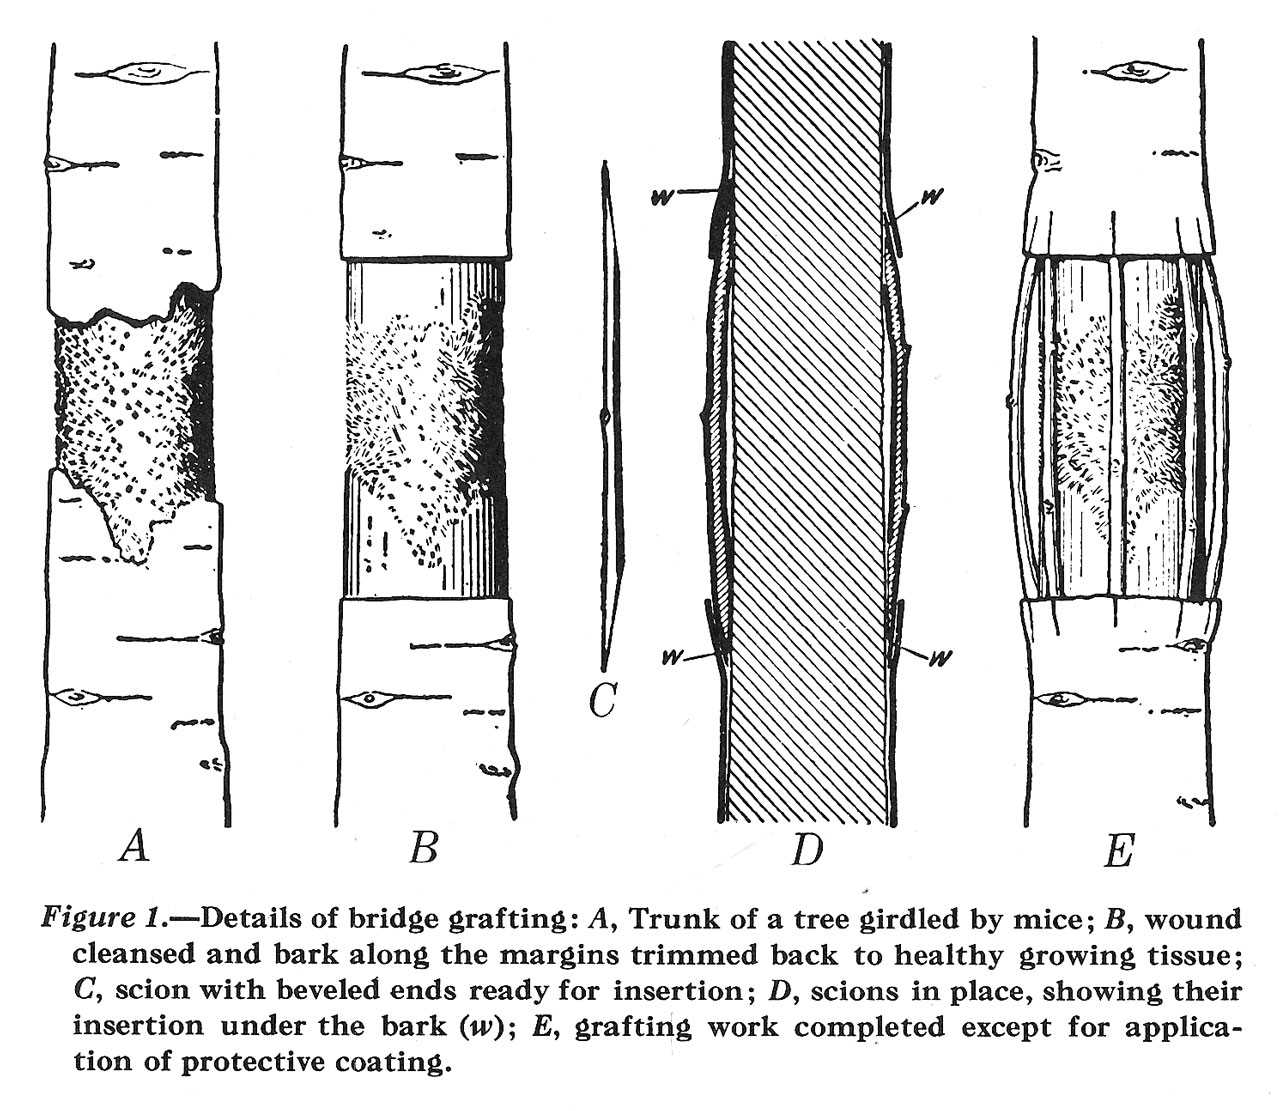

Before you begin the grafting process, it is essential to gather all the necessary tools and materials. Here is a list of what you will need:
- Grafting knife or a sharp, sterile knife with a narrow blade
- Grafting tape or rubber budding strips
- Grafting wax or grafting compound
- Rootstock tree
- Scion wood
- Plastic bags or ziplock bags
- Alcohol or bleach for sterilizing the knife
- Water or a bucket of water for soaking the scion wood
- Labels or markers for identifying the grafts
- Pruning shears or clippers
- Disposable gloves
It is important to choose a grafting knife with a narrow blade that is sharp and sterile. A dull knife can tear the tissues, making it difficult for the graft to heal and root successfully. Sterilizing the knife with alcohol or bleach before each cut helps prevent the spread of diseases.
Grafting tape or rubber budding strips are used to secure the grafts. They should be flexible and stretchable to hold the graft tightly in place without causing excessive pressure on the delicate tissues.
Grafting wax or grafting compound is applied to the grafted area to protect the cut surfaces from drying out and to provide a barrier against infections. It creates a waterproof seal that helps in successful healing and rooting.
The choice of rootstock tree and scion wood is crucial for a successful graft. The rootstock tree should be healthy and compatible with the scion wood, ensuring compatibility and proper nutrient exchange.
Plastic bags or ziplock bags are used to cover the grafts after the procedure to create a humid environment that promotes healing and rooting.
Labels or markers are necessary for identifying the grafts, especially if multiple grafts are done on different trees or varieties. They help in keeping track of the grafted trees and their progress.
Pruning shears or clippers are needed to prepare the rootstock tree and scion wood by making clean, angled cuts.
Disposable gloves are recommended to protect your hands and minimize the risk of contamination during the grafting process.
Selecting the Best Grafting Technique
When it comes to grafting trees in the spring, there are several different techniques that you can use. Each technique has its own advantages and disadvantages, and the best one for you will depend on the specific trees you are working with and your own preferences. Here are a few popular grafting techniques to consider:
1. Whip and Tongue Graft
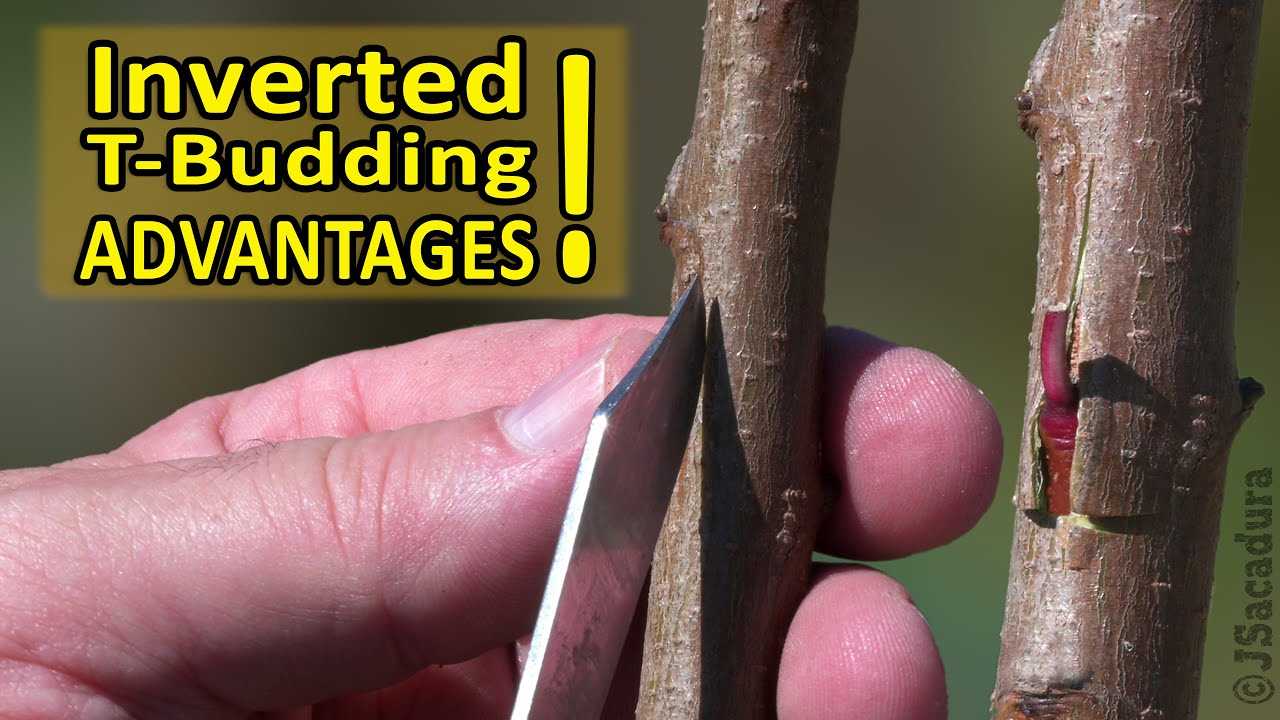

- This grafting technique is commonly used for trees with similar-sized stems.
- It involves cutting a diagonal slice in one stem and matching it with a diagonal slice in another stem to create a tight fit.
- The stems are then bound together until the graft heals.
- Whip and tongue grafting can be a bit more challenging for beginners, but it often results in a strong union between the scion and rootstock.
2. Cleft Graft
- Cleft grafting is a simple and effective technique that is commonly used for trees with larger rootstocks.
- It involves making a vertical slit in the rootstock and inserting the scion into the slit.
- The scion is then secured in place with grafting tape or a similar material.
- Cleft grafting allows for multiple scions to be grafted onto a single rootstock, making it a good option for grafting multiple varieties onto one tree.
3. Side Graft
- Side grafting is often used for trees with larger stems.
- It involves making a horizontal cut in the rootstock and inserting the scion into the cut.
- The scion is then secured in place with grafting tape or a similar material.
- This technique can be easier for beginners to learn and is a good option for grafting onto older trees.
These are just a few examples of the grafting techniques that you can use when grafting trees in the spring. It’s important to choose a technique that suits your specific trees and skill level. With practice and patience, you can master the art of grafting and enjoy the benefits of combining the best characteristics of different tree varieties.
Performing the Initial Cut
Performing the initial cut is the first step in the process of grafting trees in the spring. This step involves making a clean, diagonal cut on both the scion (the small twig from the desired fruit tree) and the rootstock (the established tree that will provide the roots for the grafted scion).
Materials Needed
- Pruning shears or a sharp knife
- Clean cloth or paper towel
- Rubbing alcohol or hydrogen peroxide
Instructions
- Start by choosing a healthy scion and rootstock that are compatible with each other.
- Sterilize your pruning shears or knife by wiping the blades with rubbing alcohol or hydrogen peroxide. This step is essential to prevent the spread of diseases.
- Remove any leaves or buds from the scion, leaving only a small bud at the tip.
- Hold the scion firmly with one hand. With the other hand, make a diagonal cut about 2-3 inches long on the scion. The angle of the cut should be approximately 45 degrees.
- Repeat the same process on the rootstock, making sure the angle of the cut matches the angle of the scion.
- Immediately after making the cuts, join the scion and rootstock together by placing the cut surfaces in close contact. Make sure the cambium layers of both the scion and rootstock align.
- Wrap the graft union with a clean cloth or paper towel to keep it secure and prevent desiccation.
Performing the initial cut correctly is crucial for a successful grafting process. By ensuring a clean and precise cut, you provide optimal conditions for the graft to heal and establish a strong connection between the scion and the rootstock.
Attaching the Scion and Rootstock
When grafting trees, the scion and rootstock are the two main components that need to be joined together for successful growth. Here are the steps to attach the scion and rootstock:
- Prepare the scion and rootstock:
- Create matching cuts:
- Join the scion and rootstock:
- Secure the graft:
Make sure both the scion and rootstock are clean and free from any diseases or pests. Trim any excess leaves or branches.
Using a sharp knife, make a diagonal cut on both the scion and rootstock. The cuts should be about 2-3 inches long and should have a flat surface for better contact.
Place the cut surfaces of the scion and rootstock together, ensuring they align perfectly. The cambium layers on both surfaces should be in contact with each other.
Use grafting tape or rubber bands to tightly bind the scion and rootstock together. Make sure the tape is snug but not too tight to prevent damage to the graft.
It is important to note that the success of the grafting process depends on proper alignment and contact between the scion and rootstock. Make sure to follow these steps carefully to increase the chances of successful grafting and rooting.
Securing the Graft with Protective Materials
Once the graft has been made and properly aligned, it is important to secure it with protective materials to ensure its success.
1. Grafting Tape
Grafting tape is a lightweight, flexible material that is used to hold the graft in place. It is typically made of a stretchable material such as rubber or vinyl, which allows it to expand and contract as the tree grows.
To secure the graft with grafting tape, start at the bottom of the scion and wrap the tape tightly around the graft union. Continue wrapping the tape spirally, overlapping each layer by about half of the previous layer.
2. Budding Rubbers
Budding rubbers are small, elastic bands that are used to hold the graft in place. They are typically made of a stretchable material such as rubber or silicone, which allows them to expand and contract with the growth of the tree.
To secure the graft with budding rubbers, place a rubber band around the graft union and twist it tightly. Make sure the rubber band is secure but not so tight that it cuts into the bark of the tree.
3. Parafilm

Parafilm is a stretchable, self-adhesive tape that is commonly used in grafting to protect the graft union from drying out and to prevent infection. It is typically applied in a spiral manner, starting at the base of the scion and working upward.
To secure the graft with parafilm, start at the base of the scion and wrap the tape tightly around the graft union. Continue wrapping the tape spirally, overlapping each layer by about half of the previous layer.
4. Sealant
A sealant can also be used to protect the graft union and prevent infection. There are several types of sealants available, including grafting wax and pruning paint. Apply the sealant to the graft union using a brush, making sure to cover the entire area.
By securing the graft with these protective materials, you can increase the chances of a successful graft and ensure that the tree grows and develops properly.
Caring for the Grafted Tree

After successfully grafting a tree, it is essential to provide proper care to ensure its healthy growth and development. Here are some important steps to follow:
1. Watering
Water the grafted tree regularly, especially during the first few weeks after grafting. A newly grafted tree has a delicate root system, and sufficient moisture is crucial for the development of new roots. However, avoid overwatering, as excessive moisture can lead to root rot and other problems.
2. Mulching
Apply a layer of mulch around the base of the grafted tree. Mulch helps to retain moisture, regulates soil temperature, and prevents weed growth. It also adds organic matter to the soil as it breaks down over time, improving its fertility.
3. Fertilizing
Provide regular fertilization to promote healthy growth and encourage root development. Use a balanced fertilizer or a fertilizer specifically formulated for newly grafted trees. Follow the manufacturer’s instructions for application rates and frequency.
4. Pruning
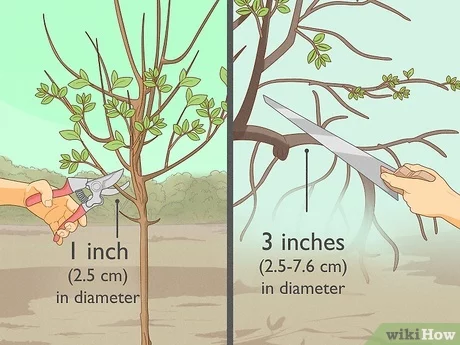
Pruning is essential to shape the grafted tree and remove any unwanted growth. Remove suckers or shoots that emerge below the graft union, as they can weaken the desired variety. Pruning should be done during the dormant season to minimize stress on the tree.
5. Protecting
Protect the grafted tree from extreme weather conditions, pests, and diseases. Use tree guards or wraps to shield the young bark from sunburn or damage caused by animals. Monitor the tree regularly for any signs of pests or diseases and take appropriate action if necessary.
6. Support
Provide support to the grafted tree if needed. Use stakes or support structures to ensure the tree remains upright and stable. This is especially important for young grafted trees with a weak root system.
7. Monitoring
Regularly monitor the grafted tree for any signs of stress, disease, or graft failure. Look for wilting, discoloration, or unusual growth patterns. Address any issues promptly to prevent further damage.
8. Patience
Grafted trees may take some time to establish and begin producing fruit or flowers. Be patient and provide consistent care to give the tree the best chance of success.
By following these care instructions, you can increase the chances of a successful graft and enjoy the benefits of a healthy, productive tree in the future.
Question-answer:
What is spring grafting?
Spring grafting is a technique used to join the branch, or scion, of one tree onto the rootstock of another tree. It is typically done in the spring when the trees are actively growing.
When is the best time to do spring grafting?
The best time to do spring grafting is when the buds on the rootstock have begun to swell and become pliable, usually in early spring. It is important to graft before the rootstock starts to leaf out.
How do you prepare the scion for grafting?
To prepare the scion, first, you need to select a healthy, disease-free branch from the desired tree. Cut the scion from the branch, making sure to keep at least two buds and a sliver of the wood attached to the buds. Trim any excess leaves and side shoots from the scion.
What is the process of grafting a scion onto a rootstock?
The process of grafting involves making a slanted cut in both the scion and the rootstock. The cuts should match up so that the cambium layers of both the scion and the rootstock are exposed. Then, the scion is carefully inserted into the split in the rootstock and secured with grafting tape or wax. The graft union should be wrapped and sealed to protect it from drying out.
What should be done after grafting?
After grafting, it is important to keep the grafted trees in a protected environment with high humidity. This can be achieved by placing a plastic bag or a clear plastic bottle over the graft union. The grafted trees should be kept out of direct sunlight until they have established roots and new growth is visible.
