- What are Radishes?
- Types of Radishes
- Health Benefits of Radishes
- How to Store Radishes
- Conclusion
- Why Grow Radishes at Home?
- Step 1: Selecting the Right Radish Variety
- Different Types of Radishes
- Considerations for Choosing a Radish Variety
- Growing Season
- Size and Shape
- Flavor and Texture
- Growing Conditions
- Resistance to Pests and Diseases
- Step 2: Preparing the Soil
- 1. Choose the Right Location
- 2. Clear the Area
- 3. Loosen the Soil
- 4. Remove Rocks and Debris
- 5. Add Organic Matter
- 6. Level the Soil
- 7. Water the Soil
- Choosing the Right Location
- Sunlight
- Soil Quality
- Temperature
- Protection from Wind
- Proximity to Water Source
- Testing and Amending the Soil
- Soil Testing
- Soil Amendments
- Applying Amendments
- Step 3: Planting Radish Seeds
- 1. Prepare the soil
- 2. Sow the seeds
- 3. Plant the seeds
- 4. Water the seeds
- 5. Thin the seedlings
- 6. Mulch the soil
- When to Plant Radish Seeds
- Spring Planting
- Fall Planting
- Q&A:
- What are the best conditions for growing radishes?
- How long does it take for radishes to grow?
- Can radishes be grown indoors?
- How often should radishes be watered?
- Can radishes be grown in containers?
- Video: No need for a garden, Growing radish at home is easy and gives big tubers
Radishes are a popular root vegetable that can be grown in your own backyard or even in a small container garden. Not only are they easy to grow, but they also have a short growing season, making them a perfect choice for beginner gardeners or those with limited space. In this step-by-step guide, we will walk you through the process of growing and harvesting radishes at home.
Step 1: Choosing the right variety
There are many different varieties of radishes to choose from, each with their own unique flavor and appearance. Some popular varieties include Cherry Belle, French Breakfast, and Watermelon radishes. When choosing a variety, consider the size of your garden and the time it takes for the radishes to mature. Some varieties can be harvested in as little as three weeks, while others may take up to eight weeks.
Step 2: Preparing the soil
Radishes prefer loose, well-draining soil, so it is important to prepare the soil before planting. Start by removing any weeds or debris from the area where you plan to plant the radishes. Then, use a garden fork or tiller to loosen the soil to a depth of about 8-10 inches. Remove any rocks or clumps of soil and add organic matter, such as compost or aged manure, to improve the soil’s fertility.
“Radishes are a popular root vegetable that can be grown in your own backyard or even in a small container garden.”
Step 3: Planting the seeds
Radish seeds are small and can be sown directly into the prepared soil. Make sure to follow the spacing instructions on the seed packet, as radishes need enough room to grow. Plant the seeds about half an inch deep and cover them with soil. Water the area thoroughly to ensure proper germination. Keep the soil moist but not overly wet during the growing process.
Step 4: Caring for the plants
Radishes require minimal care, but there are a few things you can do to help ensure a successful harvest. Keep the soil consistently moist by watering regularly, especially during dry periods. Be sure to thin the seedlings when they are about one inch tall, allowing enough space for each radish to grow. Protect the plants from pests and diseases by checking regularly for signs of damage and taking appropriate action.
Step 5: Harvesting the radishes
Radishes can be harvested when they have reached the desired size, typically around three to four weeks after planting. Gently loosen the soil around the radishes and pull them out of the ground. If the soil is hard or compacted, use a gardening fork to lift the radishes out to avoid damaging the plants. Remove the leaves and wash the radishes thoroughly before using them in your favorite recipes.
What are Radishes?
Radishes are a root vegetable that belongs to the Brassicaceae family, which also includes cabbage, kale, and broccoli. They are known for their crisp texture and peppery flavor, making them a popular addition to salads and dishes. Radishes come in different shapes, sizes, and colors, ranging from small and round to long and slender, and from red to white to black.
Types of Radishes
- Red Radishes: These are the most common type of radishes, known for their bright red skin and white flesh. They have a sharp, tangy flavor.
- White Radishes: Also known as daikon radishes, these are larger in size and have a milder flavor compared to red radishes.
- Black Radishes: These radishes have a black skin and a strong, spicy flavor. They are commonly used in Eastern European cuisine.
- Easter Egg Radishes: These radishes come in a variety of colors, such as red, purple, pink, and white. They are named after their resemblance to Easter eggs.
Health Benefits of Radishes
Radishes are not only delicious but also packed with nutrients. They are low in calories and high in fiber, making them a great choice for weight loss. Radishes are also a good source of vitamin C, which helps boost the immune system and promote collagen production. Additionally, they contain potassium, folate, and antioxidants that contribute to overall health.
How to Store Radishes
To keep radishes fresh, remove the green tops and store them separately. Place the radishes in a plastic bag or container with a damp paper towel to maintain their crispness. They can be stored in the refrigerator for up to a week.
Conclusion
Radishes are a versatile and nutritious vegetable that can be easily grown and enjoyed at home. Their crisp texture and peppery flavor make them a popular choice for salads, sandwiches, and side dishes. Whether you prefer the classic red radishes or like to try different varieties, radishes are a healthy addition to any diet.
Why Grow Radishes at Home?
There are several reasons why you should consider growing radishes at home. Whether you have a small garden or even just a balcony, radishes can be easily grown and provide a satisfying harvest. Here are a few reasons to start growing your own radishes:
- Easy to grow: Radishes are one of the easiest vegetables to grow, making them perfect for beginner gardeners. They have a short growing season and can be harvested in as little as 3-4 weeks.
- Space-saving: Radishes have a compact root system, allowing them to be grown in small spaces such as containers. This makes them ideal for urban gardening or anyone with limited gardening space.
- Nutritious: Radishes are low in calories and high in nutrients. They are a great source of vitamin C, fiber, and potassium. Incorporating radishes into your diet can provide several health benefits.
- Versatile: Radishes can be enjoyed in a variety of ways. They can be eaten raw in salads, pickled, roasted, or even used in stir-fries. Growing radishes at home gives you the opportunity to experiment with different recipes and flavors.
- Cost-effective: Buying radishes from the grocery store can add up over time. By growing your own radishes, you can save money and have a fresh supply of vegetables right at your fingertips.
With all these benefits, it’s no wonder why so many people choose to grow radishes at home. Whether you’re a novice or experienced gardener, radishes are a great addition to any home garden.
Step 1: Selecting the Right Radish Variety
When it comes to growing radishes at home, one of the first things to consider is the variety. There are many different types of radishes, each with its own unique characteristics and flavors. Here are a few factors to keep in mind when selecting the right radish variety for your garden:
- Growth Time: Some radish varieties mature faster than others. If you’re looking for a quick harvest, choose a variety that has a shorter growth time, such as the French Breakfast radish, which can be ready to harvest in as little as 20 days.
- Size: Radishes come in various sizes, from small round globes to larger cylindrical shapes. Consider how you plan to use the radishes and choose a size that suits your needs.
- Flavor: Different radish varieties have different levels of spiciness and flavor. If you prefer milder radishes, look for varieties like the Champion or Cherry Belle, which have a more subtle taste.
- Color: Radishes come in many colors, including red, pink, white, purple, and even multicolored. Consider the visual appeal you want in your garden and choose a radish variety that matches your aesthetic preferences.
- Growing Conditions: Some radish varieties are more suited to specific growing conditions, such as cooler temperatures or certain soil types. Consult the seed packet or a gardening guide to ensure the variety you choose will thrive in your particular environment.
By considering these factors and choosing the right radish variety, you can set yourself up for a successful and rewarding radish growing experience. Now that you’ve selected your radish variety, it’s time to move on to the next step: preparing the soil.
Different Types of Radishes
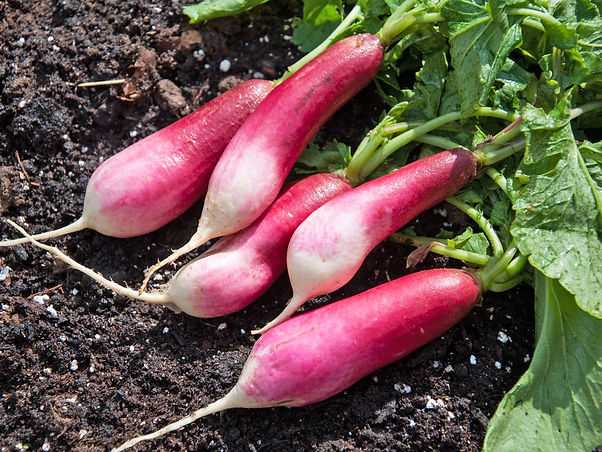
Radishes come in a variety of shapes, sizes, and colors. Here are some of the most common types of radishes you can grow:
Cherry Belle: This is a classic round-shaped radish with a bright red skin and crisp, white flesh. It matures quickly, usually taking about 22 to 27 days to reach full size.
French Breakfast: This radish has an elongated shape with a red top and a white bottom. It has a mild, subtly spicy flavor. French Breakfast radishes are ready to be harvested in about 27 to 35 days.
Watermelon: These radishes have a unique appearance with a green and white outer skin and a bright pink interior. They are larger in size and take longer to mature, usually around 45 to 60 days.
Daikon: Also known as Japanese radish, the daikon has a long and cylindrical shape with a white outer skin and a crisp, juicy interior. It can take anywhere from 50 to 70 days to reach full size.
In addition to these common types, there are also specialty radishes like Easter Egg radishes, which come in a variety of colors including pink, red, purple, and white. Black Spanish radishes have a black skin and a strong, peppery flavor. Chinese radishes, also known as winter radishes, are large and mild-tasting.
Experiment with different types of radishes to discover your favorites and add variety to your garden harvest!
Considerations for Choosing a Radish Variety
When it comes to choosing a radish variety for your home garden, there are several factors to consider. The right variety will depend on your personal preferences, the growing conditions in your area, and how you plan to use the radishes.
Growing Season
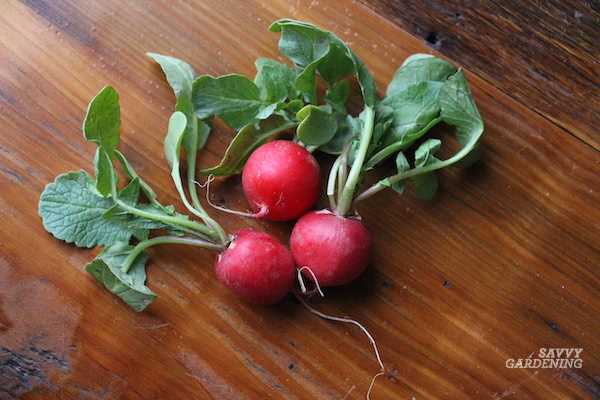
One important factor to consider is the length of the growing season. Some radish varieties are quick to mature and can be harvested in as little as 20 days, while others take up to 60 days to fully mature. Consider how much time you have available for gardening and choose a variety that fits within that timeframe.
Size and Shape
Radishes come in various sizes and shapes, ranging from small round radishes to long, slender ones. Consider how you plan to use the radishes – whether it’s for salads, pickling, or roasting – and choose a variety that suits your needs. For example, round radishes are great for fresh eating and salads, while longer radishes may be better for slicing and pickling.
Flavor and Texture
Radish varieties can vary in flavor from mildly sweet to extremely spicy. Consider your personal taste preferences and choose a variety that aligns with your desired flavor profile. Additionally, some radishes have crisp, crunchy textures, while others have a more tender, juicy texture. Consider what texture you prefer and select a variety accordingly.
Growing Conditions
Take into account the growing conditions in your area, such as the average temperature and soil type. Some radish varieties are more tolerant to heat, while others prefer cooler temperatures. Similarly, certain varieties may thrive in sandy soil, while others prefer loamy soil. Research the specific growing requirements of each variety and choose ones that are suited to your local conditions.
Resistance to Pests and Diseases
Lastly, consider the resistance of each radish variety to common pests and diseases. Some varieties may be more susceptible to damage from pests like aphids or diseases like powdery mildew. Check the seed packet or do some research to find varieties that have good resistance to potential threats in your area.
| Variety | Growing Season | Size | Flavor | Texture | Growing Conditions | Resistance |
|---|---|---|---|---|---|---|
| Cherry Belle | 20-30 days | Small, round | Mild and crisp | Crunchy | Tolerates heat | Aphids |
| French Breakfast | 24-30 days | Long, slender | Mild and slightly spicy | Crunchy | Prefers cooler temperatures | Powdery mildew |
| Watermelon | 35-50 days | Large, round with green skin | Sweet and mildly spicy | Crunchy and juicy | Tolerates various soils | Root maggots |
With these considerations in mind, you can choose a radish variety that will thrive in your garden and meet your culinary needs. Experiment with different varieties to discover your favorites and enjoy the satisfaction of growing your own radishes at home.
Step 2: Preparing the Soil
Before you start planting radishes, it’s important to prepare the soil properly. Here’s a step-by-step guide on how to do it:
1. Choose the Right Location
Radishes thrive in well-drained soil and require at least 6 hours of direct sunlight per day. Choose a spot in your garden that gets plenty of sun and has good drainage.
2. Clear the Area
Remove any weeds or grass from the area where you will be planting the radishes. Use a garden hoe or a hand trowel to clear the area thoroughly.
3. Loosen the Soil
Use a garden fork or a tiller to loosen the soil to a depth of about 6-8 inches. This will help the radish roots to grow easily and get the necessary nutrients.
4. Remove Rocks and Debris
While loosening the soil, make sure to remove any rocks, roots, or other debris that may hinder the growth of the radishes.
5. Add Organic Matter
Radishes prefer soil that is rich in organic matter. Add compost or well-rotted manure to the soil and mix it in thoroughly. This will improve the soil’s fertility and provide the necessary nutrients for the radishes to grow.
6. Level the Soil
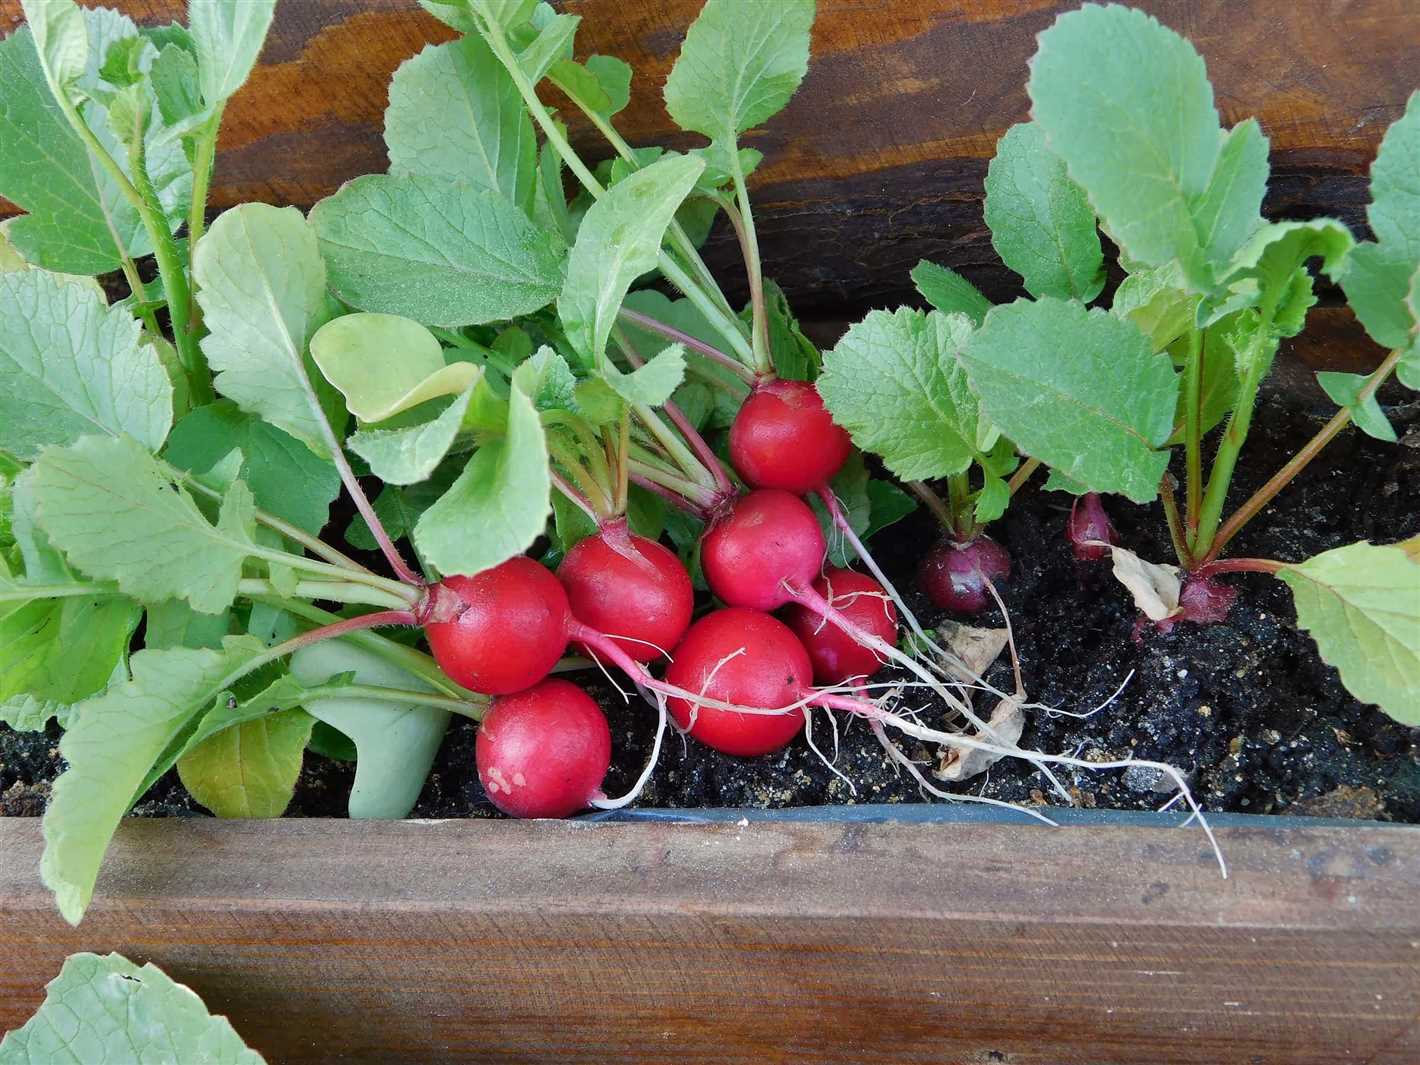
After adding the organic matter, use a garden rake to level the soil. This will provide a smooth surface for planting the radish seeds.
7. Water the Soil
Before planting the radish seeds, water the soil thoroughly. This will ensure that the moisture reaches the root zone and promotes germination.
Follow these steps to prepare the soil for planting radishes, and you’ll be on your way to a successful harvest!
Choosing the Right Location
When growing radishes at home, it is important to choose the right location for optimal growth. Here are some factors to consider:
Sunlight
Radishes thrive in full sunlight, so it is important to choose a location that receives at least 6 hours of direct sunlight each day. If you have limited sunlight in your garden, look for a spot that gets the most sun during the day.
Soil Quality
Radishes prefer well-draining soil with a pH level between 5.8 and 6.8. It is important to test your soil’s pH level before planting radishes. If your soil is too acidic or alkaline, it can be amended with organic matter or lime to reach the optimal pH level.
Temperature
Radishes are cool-season crops and prefer temperatures between 50°F and 70°F (10°C – 21°C). They can tolerate slight frost but do not grow well in extreme heat. Choose a location that has a moderate temperature throughout the growing season.
Protection from Wind
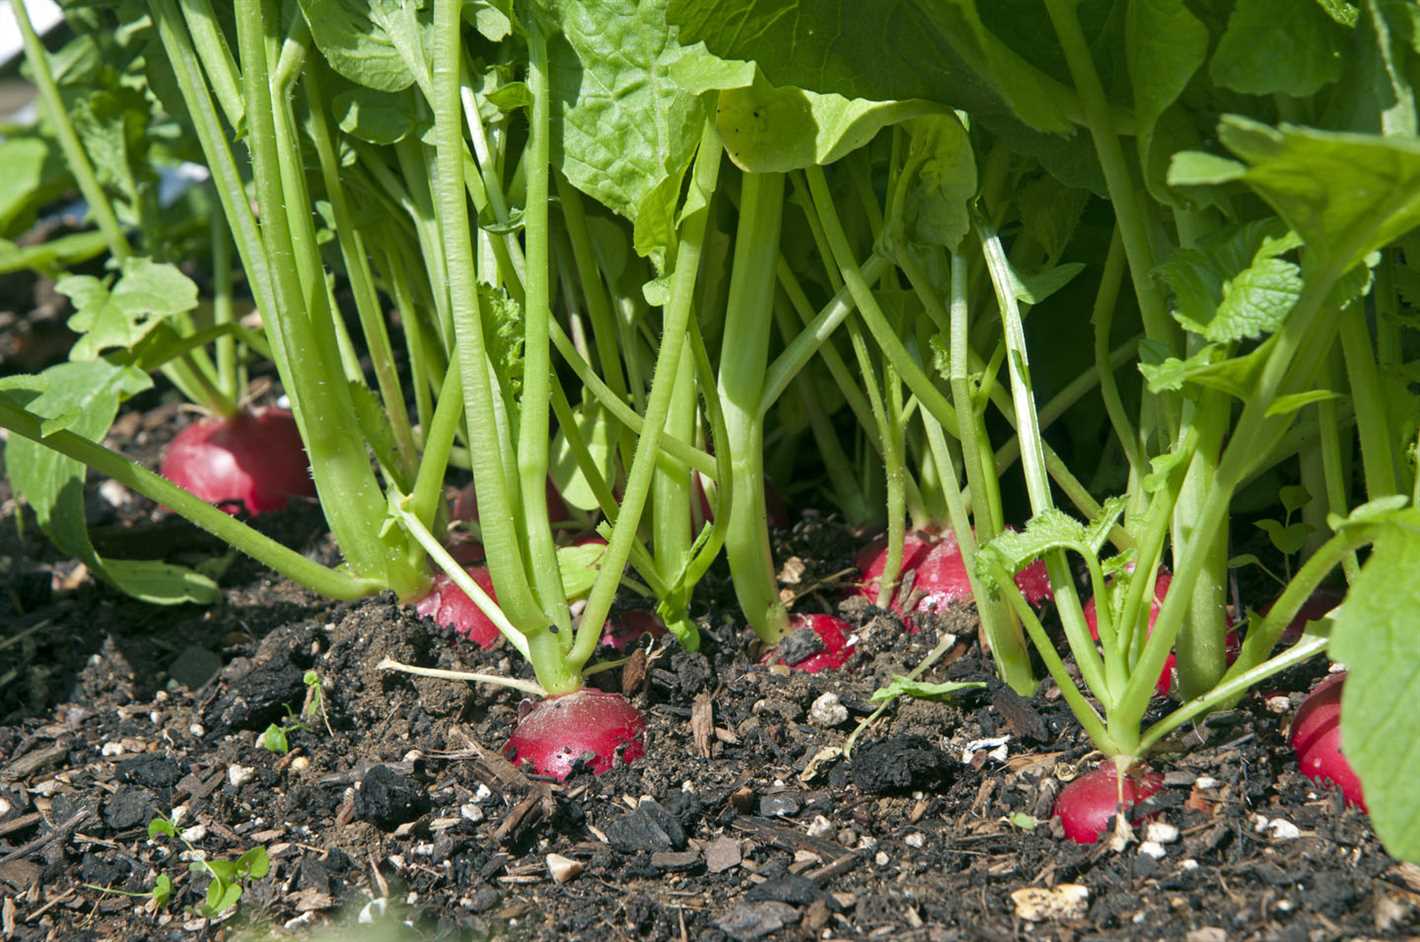
Strong winds can damage radish plants, so it is advisable to choose a location that is sheltered from strong gusts. Planting radishes near a fence or building can provide some protection from wind.
Proximity to Water Source
Radishes need consistent moisture to grow well, so it is important to choose a location that is easily accessible to a water source. This will make it convenient for regular watering.
By considering these factors, you can choose the right location for growing and harvesting healthy radishes at home.
Testing and Amending the Soil
Before planting radishes, it is important to test the soil to ensure it has the proper nutrients and pH levels for optimal growth. A soil test will provide you with valuable information about the current state of your soil and any deficiencies that may need to be addressed.
Soil Testing
To test the soil, you can purchase a soil testing kit from a garden center or send a sample to a professional lab. The kit will typically include instructions on how to collect a soil sample and interpret the results.
Steps for taking a soil sample:
- Using a garden trowel or shovel, dig a small hole in the area where you plan to grow radishes.
- Collect a representative sample of soil from the hole, taking care not to include any rocks or debris.
- Repeat this process in several locations throughout your garden to ensure a comprehensive sample.
- Combine the samples in a clean bucket and mix thoroughly.
- Allow the soil to air dry before packaging it for testing.
Interpreting the soil test results:
The soil test results will provide information about the pH level, nutrient content, and other important factors. If the pH level is not within the ideal range of 6.0 to 7.0, you may need to amend the soil to create a more suitable environment for radish growth.
Soil Amendments
If the soil test indicates that your soil is lacking in certain nutrients, you can amend it by adding organic matter or specific fertilizers. Common soil amendments for radishes include:
- Organic matter: Compost, well-rotted manure, or leaf mold can be added to the soil to improve its structure and fertility.
- Nitrogen: If the soil lacks nitrogen, you can add a nitrogen-rich fertilizer such as blood meal or fish emulsion.
- Phosphorus: If the soil lacks phosphorus, you can add a phosphorus-rich fertilizer such as bone meal or rock phosphate.
- Potassium: If the soil lacks potassium, you can add a potassium-rich fertilizer such as wood ash or potassium sulfate.
It is important to follow the recommended application rates for any fertilizers or amendments to avoid over- or under-application, which can negatively impact plant growth.
Applying Amendments
Once you have determined the appropriate amendments for your soil, you can apply them according to the instructions provided. This may involve spreading them evenly over the garden bed and then tilling or digging them into the top few inches of soil.
After applying the amendments, it is a good practice to retest the soil periodically to monitor its nutrient levels and pH. This will allow you to make any necessary adjustments to ensure optimal conditions for radish growth.
By testing and amending the soil before planting, you can create an ideal growing environment for your radishes and increase your chances of a successful harvest.
Step 3: Planting Radish Seeds
Now that you have prepared the soil and chosen the best location for your radish garden, it’s time to plant the radish seeds. Follow these simple steps to ensure successful planting:
1. Prepare the soil
Before planting, make sure the soil is loose and well-draining. Remove any weeds or rocks and amend the soil with compost or well-rotted manure to provide necessary nutrients.
2. Sow the seeds
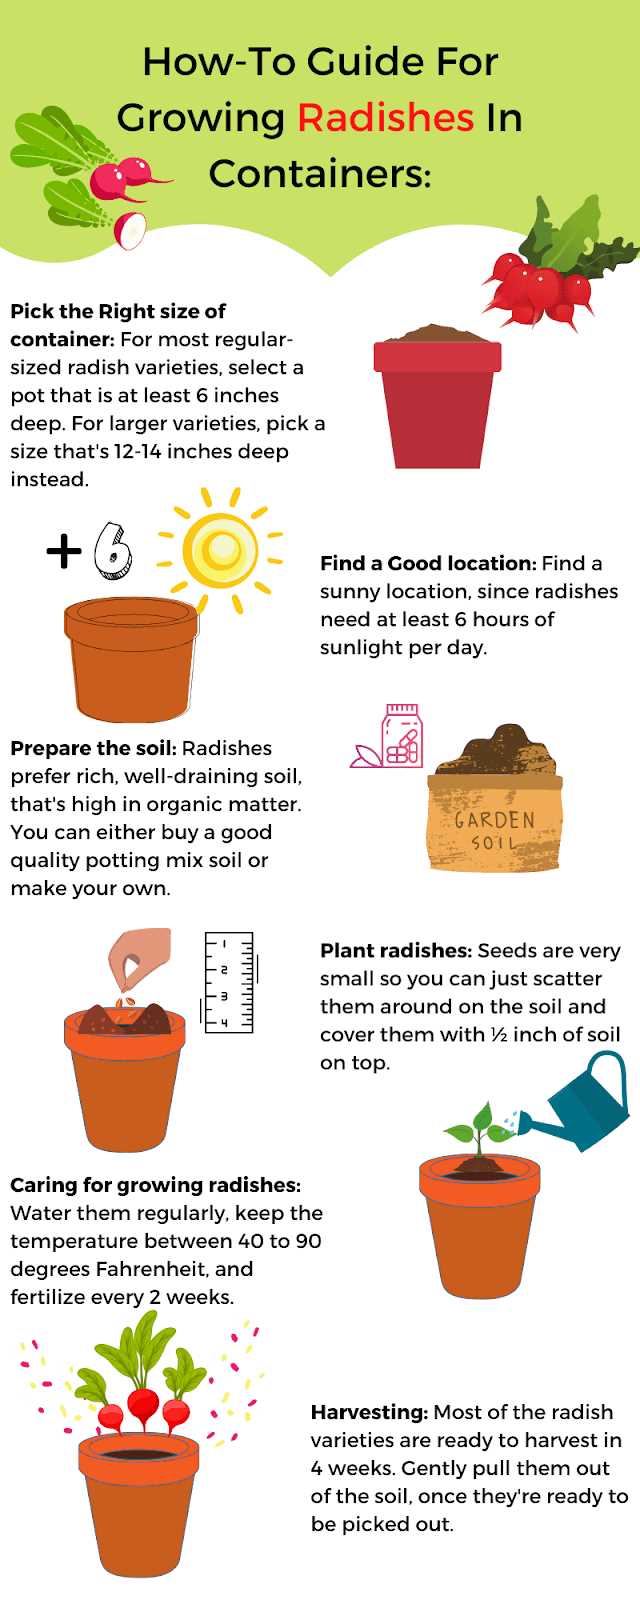
Radish seeds can be directly sown into the garden bed. Create shallow rows or make small holes in the soil with your finger or a garden tool. Space the rows or holes about 4-6 inches apart to allow enough room for the radishes to grow.
3. Plant the seeds
Place one radish seed into each hole or sow several seeds per hole. Cover the seeds with soil, ensuring that they are planted at a depth of approximately ½ inch. Gently press down on the soil to ensure good seed-to-soil contact.
4. Water the seeds
After planting, water the soil gently but thoroughly to provide the seeds with moisture. Avoid overwatering, as this can lead to rot or fungal diseases. Keep the soil consistently moist during the germination period, which is typically 5-7 days.
5. Thin the seedlings
Once the radish seedlings have emerged and developed their first set of true leaves, thin them out to allow proper spacing. Remove any excess seedlings, leaving only one plant every 2-3 inches. This will ensure that the remaining radishes have enough room to grow and develop properly.
6. Mulch the soil
After thinning the seedlings, apply a layer of organic mulch, such as straw or shredded leaves, around the base of the plants. This will help to retain moisture, suppress weed growth, and regulate soil temperature.
Congratulations! You have successfully planted your radish seeds. Now, all you have to do is wait for them to grow and mature. The next step in your radish-growing journey is taking care of the plants and harvesting the radishes when they are ready.
When to Plant Radish Seeds
Radishes are a cool season crop that can be planted in both the spring and fall. The ideal temperature range for radish seeds to germinate is between 50°F and 65°F (10°C and 18°C). When planning your planting schedule, keep in mind that radishes are a fast-growing vegetable and can be harvested in as little as 20 to 30 days after planting.
Spring Planting
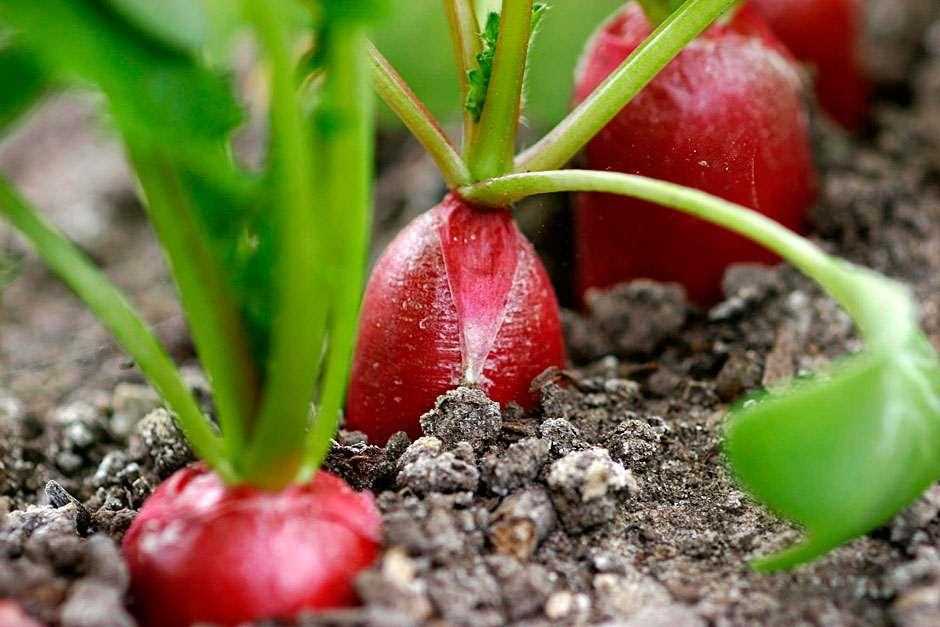
In regions with mild winters, radish seeds can be directly sown in the garden as soon as the soil can be worked in the spring. This is usually 2 to 4 weeks before the average last frost date. Radishes prefer cooler temperatures, so avoid planting them too late in the spring when temperatures start to rise above 75°F (24°C).
When planting radishes in the spring, consider using a succession planting method. This involves sowing a new batch of seeds every 2 weeks to ensure a continuous harvest throughout the spring season.
Fall Planting
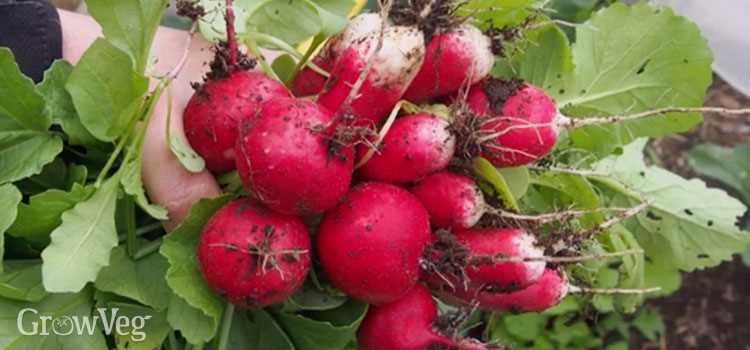
In regions with hot summers, radishes can be planted in late summer, usually around 4 to 6 weeks before the average first frost date. The cooler temperatures of fall provide ideal conditions for radish growth, and the maturing plants can withstand light frosts.
For a fall harvest, choose varieties with shorter maturity dates to ensure that the radishes have enough time to grow before the first frost. Additionally, consider planting radishes in a location that receives full sun to make the most of the shorter fall days.
Overall, the timing of radish seed planting will depend on your climate and the specific variety of radish you are growing. Check the seed packet or consult with local gardening resources to determine the best dates for planting in your area.
Q&A:
What are the best conditions for growing radishes?
The best conditions for growing radishes include full sun exposure, well-drained soil, and a temperature range between 50 and 70 degrees Fahrenheit. Additionally, radishes prefer soil with a pH level of 6.0 to 7.0.
How long does it take for radishes to grow?
Radishes typically take about 22 to 70 days to reach maturity, depending on the variety. Some quick-growing varieties can be harvested in as little as 22 days, while others may take up to 70 days.
Can radishes be grown indoors?
Yes, radishes can be grown indoors as long as they receive enough sunlight or artificial light. You can grow them in pots or containers with well-draining soil and ensure they get at least 6 hours of sunlight or 14-16 hours of artificial light per day.
How often should radishes be watered?
Radishes should be watered regularly to keep the soil moist. It is recommended to water them 1-2 inches per week, ensuring that the water reaches at least 6 inches deep into the soil. However, be careful not to overwater as radishes may develop rot.
Can radishes be grown in containers?
Yes, radishes can be successfully grown in containers. Choose a container that is at least 6-8 inches deep and has drainage holes. Fill it with well-draining potting soil and sow the radish seeds according to the instructions. Ensure the container receives enough sunlight or artificial light and water regularly.
Video:
No need for a garden, Growing radish at home is easy and gives big tubers

