- Step-by-Step Guide to Planting Blackcurrants in March
- Choosing the Right Location
- Preparing the Soil
- Pruning Existing Plants
- Planting New Blackcurrant Plants
- Step 1: Choose a Suitable Location
- Step 2: Prepare the Soil
- Step 3: Dig Planting Holes
- Step 4: Planting the Blackcurrant Plants
- Step 5: Mulch and Water
- Step 6: Pruning and Training
- Step 7: Fertilizing
- Step 8: Harvesting the Fruits
- Step 9: Winter Care
- Final Thoughts
- Watering and Mulching
- Mulching
- Fertilizing the Plants
- Protecting Against Pests and Diseases
- Harvesting and Maintenance Tips
- 1. Harvesting:
- 2. Pruning:
- 3. Watering and Mulching:
- 4. Fertilizing:
- 5. Pest and Disease Control:
- Question-answer:
- What is the best time to plant blackcurrants?
- Can blackcurrants be planted in any type of soil?
- Do blackcurrants need a lot of sunlight?
- How far apart should blackcurrant plants be planted?
- What is the process for planting blackcurrant plants?
- How often should blackcurrant plants be watered?
- When can I expect to harvest blackcurrants?
- Video: FREE Fruit Plants. 2 EASY Ways To Take Cuttings Of Currant Bushes
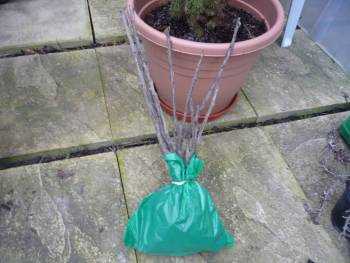
March is the perfect time to start planting blackcurrants to ensure a successful harvest later in the year. Whether you are an experienced gardener or a beginner, this step-by-step guide will help you make the most out of your blackcurrant plants.
First, choose a suitable location for your blackcurrant bushes. They prefer a sunny or partially shaded spot with well-draining soil. Avoid areas with heavy clay or waterlogged soil, as blackcurrants are susceptible to root rot.
Once you have selected the right spot, prepare the soil by removing any weeds and grass. Dig a hole that is wide and deep enough to accommodate the roots of the blackcurrant bush. Add some well-rotted compost or organic matter to the bottom of the hole to improve soil fertility.
Carefully remove the blackcurrant bush from its container and gently tease out the roots. Place the bush in the hole, making sure the roots are spread out and not cramped. Backfill the hole with soil, firming it gently around the base of the bush.
Water the newly planted blackcurrant bush thoroughly, and apply a layer of mulch around the base to help conserve moisture and suppress weeds. Keep the soil moist but not waterlogged throughout the growing season. Prune any damaged or weak branches, and apply a balanced fertilizer in early spring to promote healthy growth.
By following these simple steps, you can enjoy a bountiful harvest of delicious blackcurrants in no time. Don’t forget to regularly check for pests and diseases, and take appropriate measures to protect your plants. Happy planting!
Step-by-Step Guide to Planting Blackcurrants in March
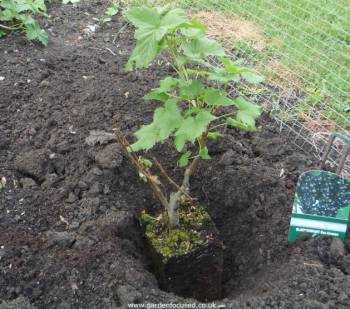
Growing blackcurrants is a great addition to any garden, and March is the perfect time to plant them. Follow these step-by-step instructions to ensure a successful planting:
- Choose a suitable location: Blackcurrants prefer a sunny spot with well-drained soil. Make sure the area you choose is protected from strong winds.
- Prepare the soil: Before planting, dig over the soil and remove any weeds. Add organic matter, such as compost or well-rotted manure, to improve the soil fertility.
- Planting: Dig a hole that is deep and wide enough to accommodate the roots of the blackcurrant bush. Place the bush in the hole, making sure that the base of the stem is level with the soil surface.
- Backfill the hole: Fill the hole with soil and firm it gently around the roots. Ensure that the bush is stable and upright.
- Water: After planting, give the blackcurrant bush a thorough watering. This will help to settle the soil around the roots and provide the necessary moisture for establishment.
- Mulch: Apply a layer of mulch around the base of the blackcurrant bush. This will help to suppress weeds, retain soil moisture, and regulate soil temperatures.
- Pruning: While not necessary at the time of planting, it’s important to note that blackcurrants require annual pruning. This is usually done in late winter or early spring, before new growth appears.
Remember to regularly water and fertilize your blackcurrants throughout the growing season, and protect the plants from pests and diseases. With proper care, your blackcurrant bushes will provide you with delicious fruits for years to come.
Choosing the Right Location
When planting blackcurrants in March, it is important to choose the right location for the plants to thrive. Here are some factors to consider when selecting a spot for your blackcurrant bushes:
- Sunlight: Blackcurrants require a location that receives full sun for at least 6 hours a day. Choose a spot in your garden that is not shaded by trees or buildings.
- Soil: Blackcurrants prefer moist, well-draining soil that is rich in organic matter. Test the pH level of the soil, as blackcurrants prefer a slightly acidic to neutral soil with a pH range between 6 and 7. If necessary, amend the soil to achieve the desired pH level.
- Water: Blackcurrants need to be watered regularly, especially during dry periods. Choose a location with easy access to water, preferably with a nearby water source or irrigation system.
- Air Circulation: Good air circulation is crucial to prevent diseases and promote the health of blackcurrant plants. Avoid planting them in areas with poor airflow, such as low-lying spots or areas surrounded by tall structures.
- Protection from Frost: Blackcurrants are susceptible to frost damage. Choose a location that is protected from harsh winds and frost-prone areas. If your garden is prone to frost, consider planting blackcurrants near a wall or fence to provide some protection.
- Space: Blackcurrant bushes can grow quite large, so make sure you choose a location that allows for adequate spacing between plants. This will ensure good air circulation and prevent overcrowding.
By considering these factors and selecting the right location, you can create an ideal growing environment for your blackcurrant bushes and increase your chances of a successful harvest.
Preparing the Soil
Before planting blackcurrants, it is important to prepare the soil to create an optimal growing environment for the plants. Follow these steps to prepare the soil:
- Choose a well-drained location: Select a spot in your garden that receives full sun or partial shade. Blackcurrants prefer well-draining soil to prevent waterlogging.
- Remove any weeds: Clear the area of any weeds or grass. Use a garden fork or spade to dig up and remove any persistent weeds or grass roots.
- Dig the soil: Dig the soil to a depth of about 12 inches (30 cm). Break up any clumps of soil and remove any large stones or debris.
- Improve drainage: If the soil in your garden is heavy clay or prone to waterlogging, add organic matter such as compost or well-rotted manure to improve drainage.
- Test soil pH: Use a soil testing kit to determine the pH level of your soil. Blackcurrants prefer slightly acidic soil with a pH between 6 and 6.5. If the pH is too high, add garden sulfur or peat moss to lower it.
- Apply fertilizer: Before planting, apply a balanced fertilizer such as a 10-10-10 or 14-14-14 NPK (nitrogen, phosphorus, and potassium) fertilizer. Follow the manufacturer’s instructions for the correct application rate.
By following these steps, you will prepare the soil and create a favorable growing environment for your blackcurrant plants.
Pruning Existing Plants
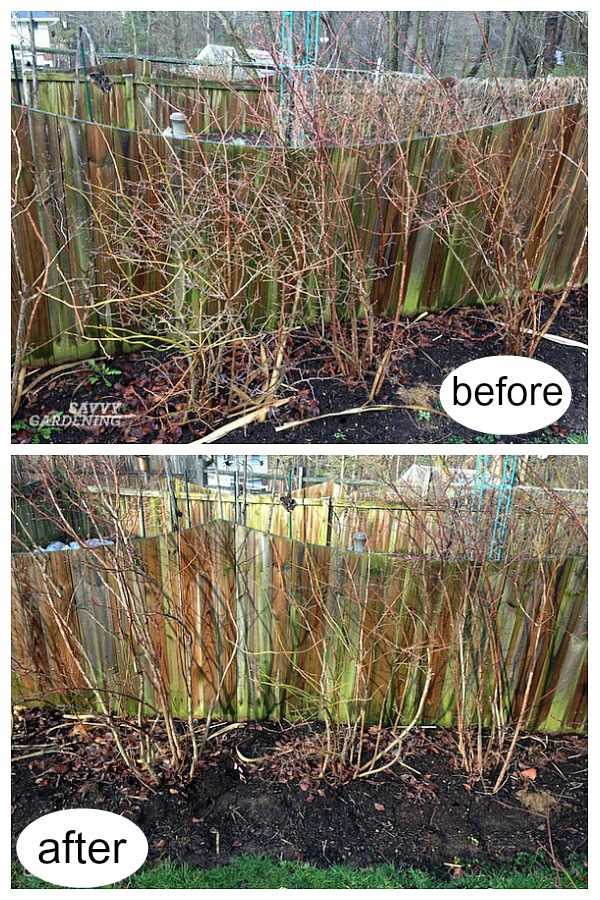
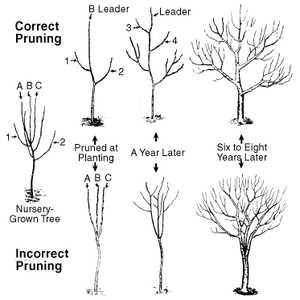
Pruning blackcurrant plants is an essential part of maintaining their health and productivity. Proper pruning helps to encourage new growth, improve air circulation, and control the size and shape of the plant.
Here is a step-by-step guide on how to prune existing blackcurrant plants:
- Choose the right time: Pruning should be done in early spring, before the new growth begins. This allows the plant to focus its energy on producing new shoots.
- Remove any damaged or diseased wood: Start by inspecting the plant and removing any wood that appears dead, damaged, or diseased. Cut these branches all the way back to the base of the plant.
- Thin out older wood: Thin out any older wood that is crowding the center of the plant. This helps improve air circulation and sunlight penetration. Cut these branches back to a healthy bud or lateral shoot.
- Prune to shape the plant: Blackcurrant plants can become quite unruly if left unpruned. To shape the plant, remove any branches that are growing in unwanted directions or crossing each other. Cut them back to a healthy bud or lateral shoot.
- Remove weak or unproductive wood: Identify any weak or unproductive wood and remove them completely. This helps channel nutrients to the more productive parts of the plant.
- Prune the height: If your plant has grown too tall, prune the main stem to a desired height. This encourages a bushier form and makes harvesting easier.
Remember to always use sharp, clean pruning shears to make clean cuts and minimize the risk of disease transmission. After pruning, dispose of the pruned branches properly.
Pruning blackcurrant plants might seem daunting at first, but with practice, it becomes easier and more manageable. Regular pruning will ensure that your plants stay healthy, productive, and continue to provide you with a bountiful harvest year after year.
| Benefit | Description |
|---|---|
| Air circulation | Pruning helps improve air circulation, reducing the risk of fungal diseases. |
| New growth | Pruning stimulates the production of new shoots, which results in a healthier and more productive plant. |
| Controlled size | Regular pruning helps control the size and shape of the plant, preventing it from becoming too unruly. |
| Easier harvest | Pruning helps maintain the plant at a manageable height, making it easier to harvest the fruit. |
Planting New Blackcurrant Plants
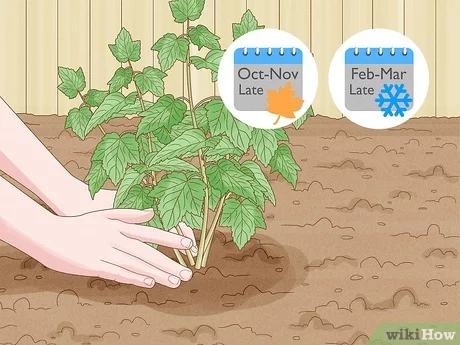
Step 1: Choose a Suitable Location
Before planting your blackcurrant plants, it’s important to select a suitable location in your garden. Blackcurrants thrive in well-draining soil that is rich in organic matter. Choose an area with full sun or partial shade for optimal growth.
Step 2: Prepare the Soil
Prepare the soil by removing any weeds or grass from the planting area. Loosen the soil with a garden fork or tiller to a depth of about 12 inches. Add compost or well-rotted manure to improve the soil’s fertility and drainage.
Step 3: Dig Planting Holes
Dig planting holes that are wide and deep enough to accommodate the root ball of each blackcurrant plant. Space the holes approximately 4 feet apart to allow for proper air circulation and future growth.
Step 4: Planting the Blackcurrant Plants
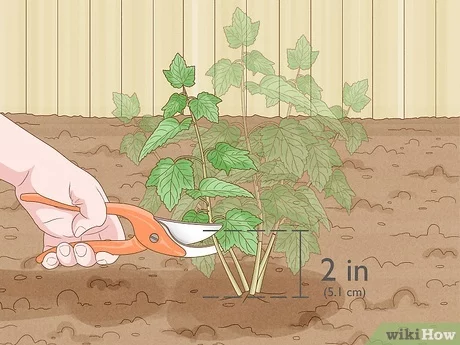
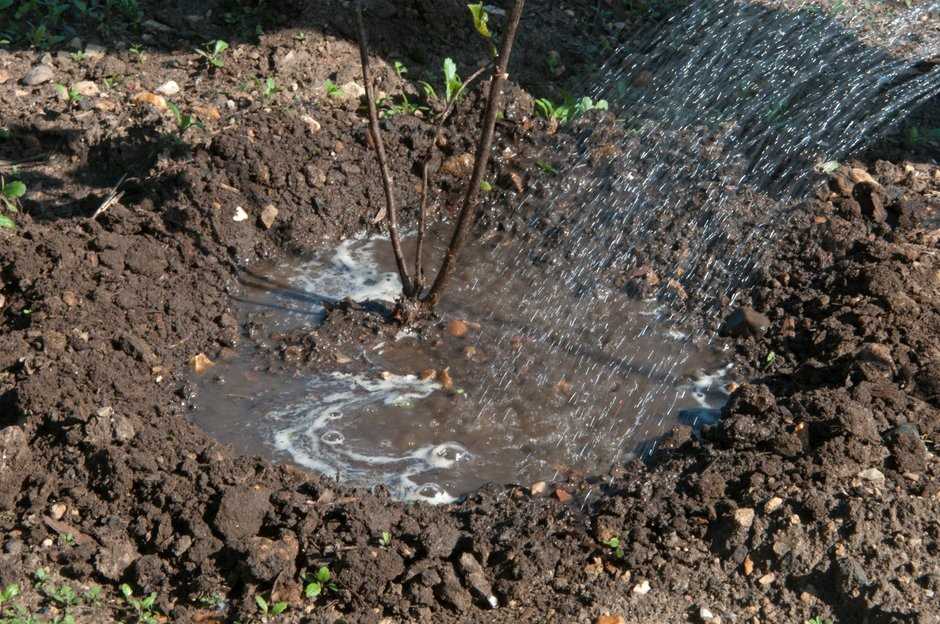
Place each blackcurrant plant in a planting hole, making sure that the top of the root ball is level with the soil surface. Backfill the hole with soil, gently firming it around the roots. Water each plant thoroughly to settle the soil and remove any air pockets.
Step 5: Mulch and Water
Apply a layer of organic mulch around each blackcurrant plant to suppress weeds and conserve moisture. Water the plants regularly, especially during dry periods, to keep the soil evenly moist. Avoid overwatering, as it can lead to root rot.
Step 6: Pruning and Training
After planting, prune the blackcurrant plants to remove any damaged or weak branches. Train the remaining branches to an open-centered or central leader form to promote good air circulation and sunlight penetration. This will help prevent disease and ensure optimal fruit production.
Step 7: Fertilizing
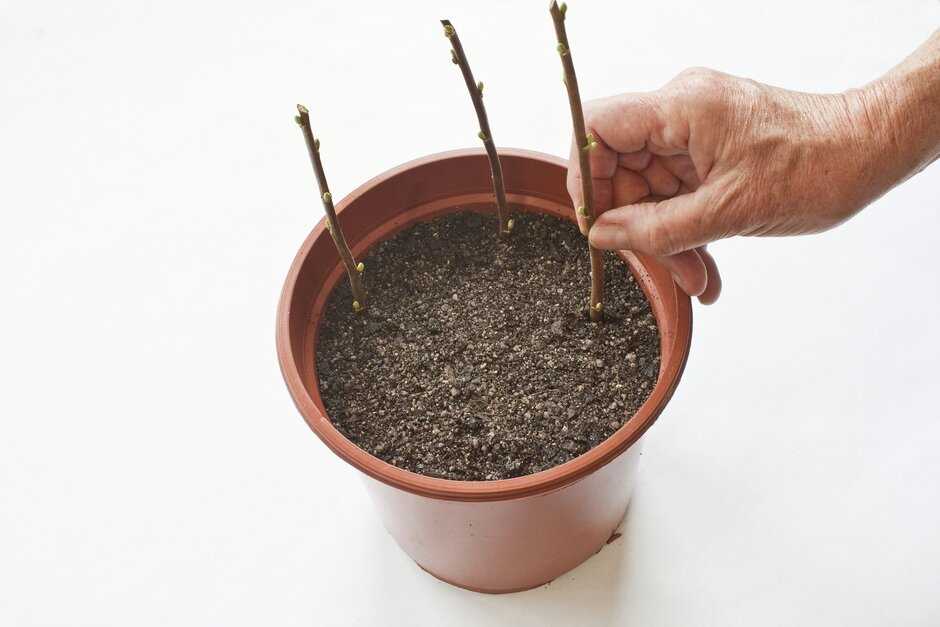
Feed your blackcurrant plants with a balanced fertilizer in early spring and again in early summer. Follow the manufacturer’s instructions for application rates and timing. Avoid excessive fertilization, as it can lead to excessive vegetative growth at the expense of fruit production.
Step 8: Harvesting the Fruits
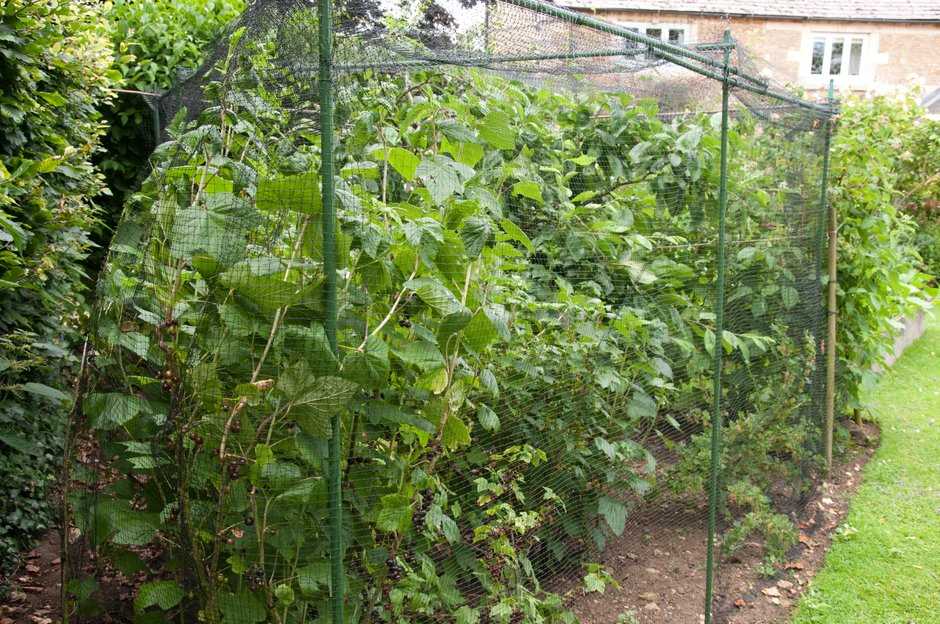
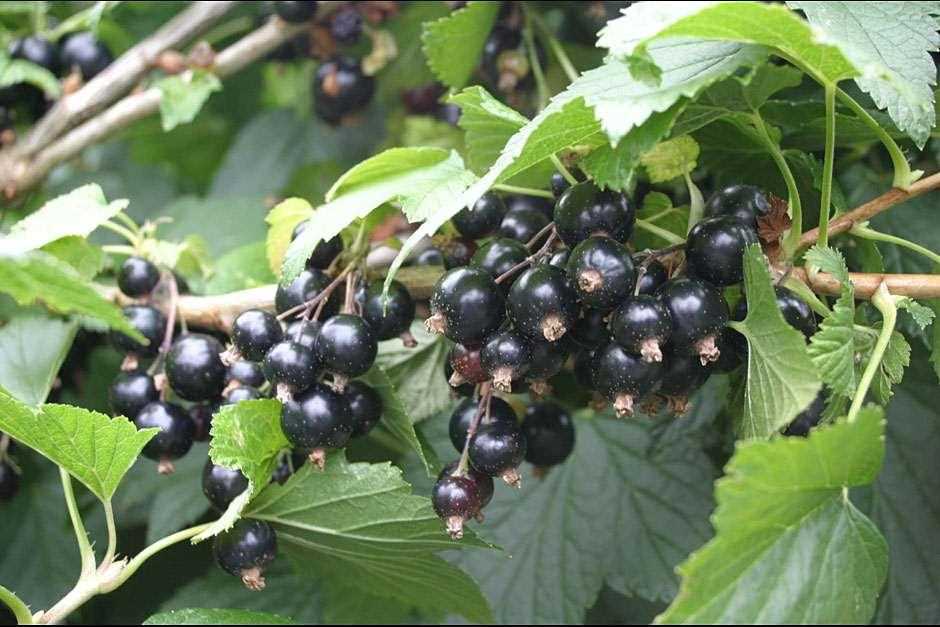
Blackcurrant plants typically begin to bear fruit in their second year. Harvest the fruit when they are fully ripe and firm. You can use the harvested blackcurrants to make delicious jams, jellies, pies, and other culinary delights.
Step 9: Winter Care
Before winter arrives, apply a layer of mulch around the base of each blackcurrant plant to protect the roots from freezing temperatures. Prune the plants in late winter or early spring to remove any dead or damaged wood.
Final Thoughts
Planting blackcurrant plants requires careful site selection, proper soil preparation, and regular maintenance. By following these steps, you can successfully establish and grow healthy blackcurrant plants in your garden. Enjoy the fruits of your labor and savor the rich flavor of homegrown blackcurrants!
Watering and Mulching
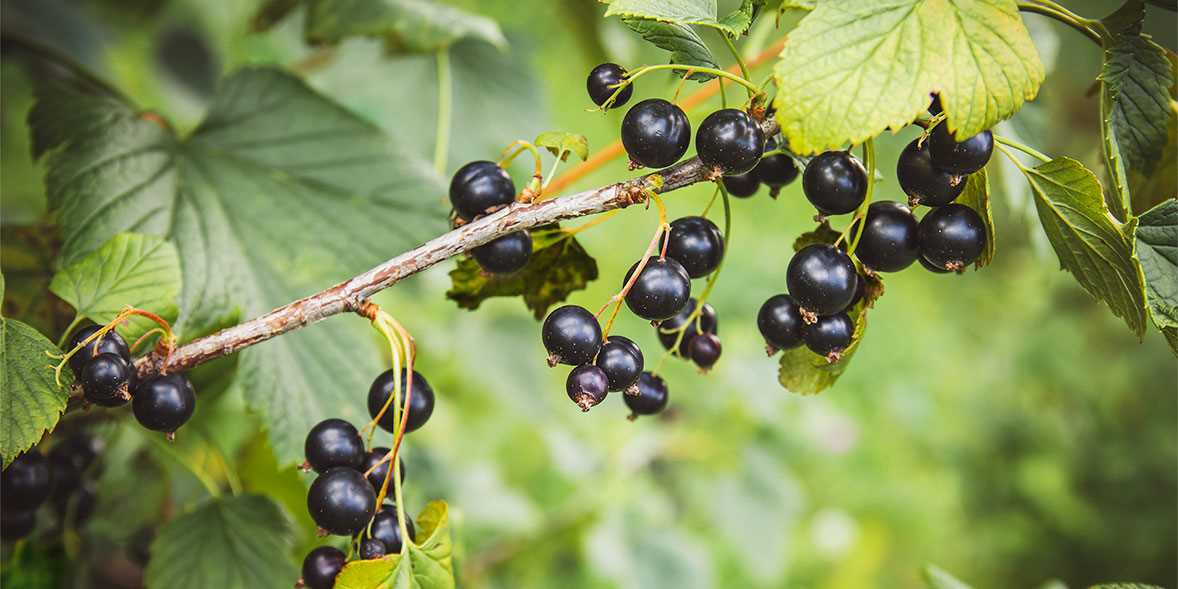
Watering is an important aspect of growing blackcurrants, especially during the first year after planting. Blackcurrants require consistent moisture, but over-watering can damage the roots. Here are some tips for watering blackcurrant plants:
- Water the plants regularly, especially during dry spells.
- Give the plants a deep watering rather than a light sprinkle. This encourages deep root growth.
- Water the plants at the base, avoiding wetting the foliage to prevent diseases.
- Check the moisture level in the soil by sticking your finger about an inch deep into the soil. If it feels dry, it’s time to water.
- Consider installing a drip irrigation system or soaker hose to provide consistent moisture.
Mulching
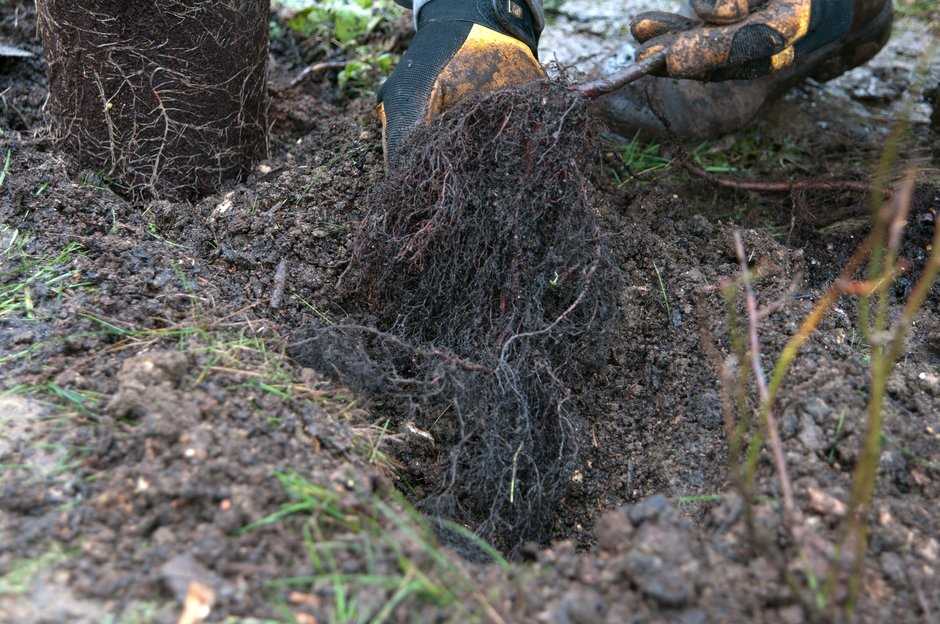
Mulching is another important practice in blackcurrant care. Mulch helps to retain moisture, suppress weeds, and regulate soil temperature. Follow these guidelines for mulching your blackcurrant plants:
- Apply a layer of organic mulch, such as wood chips or straw, around the base of the plants.
- Make sure to leave a gap between the mulch and the stem of the plant to prevent rot.
- The mulch should be about 2-3 inches deep.
- Replenish the mulch as needed, especially after heavy rainfall or as it decomposes over time.
- Avoid using fresh manure or compost as mulch, as it can burn the plants.
By following proper watering and mulching techniques, you can ensure that your blackcurrant plants have the necessary moisture and insulation to thrive. Remember to monitor the soil moisture and adjust your watering schedule accordingly.
Fertilizing the Plants
Proper fertilization is essential for the healthy growth of blackcurrant plants. By providing the right nutrients, you can ensure that the plants have the resources they need to produce abundant fruit. Here is a step-by-step guide on how to fertilize your blackcurrant plants:
- Choose the right fertilizer: When selecting a fertilizer, it’s important to choose one that is specifically formulated for fruit-bearing plants. Look for a balanced fertilizer with a ratio of nitrogen (N), phosphorus (P), and potassium (K).
- Apply the fertilizer: In early spring, just as the plants are starting to emerge from dormancy, sprinkle the fertilizer evenly around the base of the plants. Use a general guideline of about 1/2 cup of fertilizer per plant.
- Avoid direct contact: Be careful not to let the fertilizer come into direct contact with the stems or leaves of the plants, as this can cause damage. Spread it out evenly around the drip line of the plant.
- Water the plants: After applying the fertilizer, water the plants thoroughly. This will help to dissolve the fertilizer and deliver the nutrients to the roots. Aim to provide about 1 inch of water per week.
- Mulch the plants: Apply a layer of organic mulch, such as wood chips or straw, around the base of the plants. This will help to conserve moisture and suppress weed growth.
- Monitor the plants: Regularly check the condition of your blackcurrant plants throughout the growing season. Watch for any signs of nutrient deficiencies, such as yellowing leaves or stunted growth. Adjust your fertilizer application as needed.
By following these steps, you can ensure that your blackcurrant plants are well-nourished and ready to thrive. Happy planting!
Protecting Against Pests and Diseases
Pests and diseases can pose a threat to blackcurrant plants, but with proper care and attention, you can protect your crops and ensure a healthy yield. Here are some common pests and diseases to watch out for and how to manage them:
- Aphids: Aphids are small, pear-shaped insects that suck sap from the leaves and stems of blackcurrant plants. They can cause stunted growth and transmit viruses. To control aphids, you can spray the plants with insecticidal soap or use organic methods like introducing ladybugs, lacewings, or parasitic wasps, which feed on aphids.
- Currant bud mites: Currant bud mites are tiny pests that feed on blackcurrant buds, causing them to become distorted and fail to open properly. To manage currant bud mites, you can prune affected buds during the dormant season and destroy them. Applying dormant oil spray in early spring can also help smother mite eggs.
- Leaf spot: Leaf spot is a fungal disease that causes brown spots on blackcurrant leaves. To prevent leaf spot, ensure good air circulation around the plants by pruning and spacing them properly. It’s also important to remove and destroy infected leaves to prevent the spread of the disease.
- Rust: Rust is another fungal disease that affects blackcurrant plants, causing orange or brown pustules on the leaves and stems. To manage rust, remove and destroy infected leaves and practice proper sanitation by cleaning up fallen leaves and debris. Applying a fungicide may also be necessary in severe cases.
In addition to these specific pests and diseases, it’s important to monitor your blackcurrant plants regularly for any signs of damage or unusual symptoms. By catching any issues early on, you can take appropriate measures to protect your plants and ensure a successful harvest.
Harvesting and Maintenance Tips
Once your blackcurrant plants are established, it’s important to maintain and care for them properly to ensure a healthy harvest. Here are some tips on how to harvest and maintain your blackcurrant plants:
1. Harvesting:
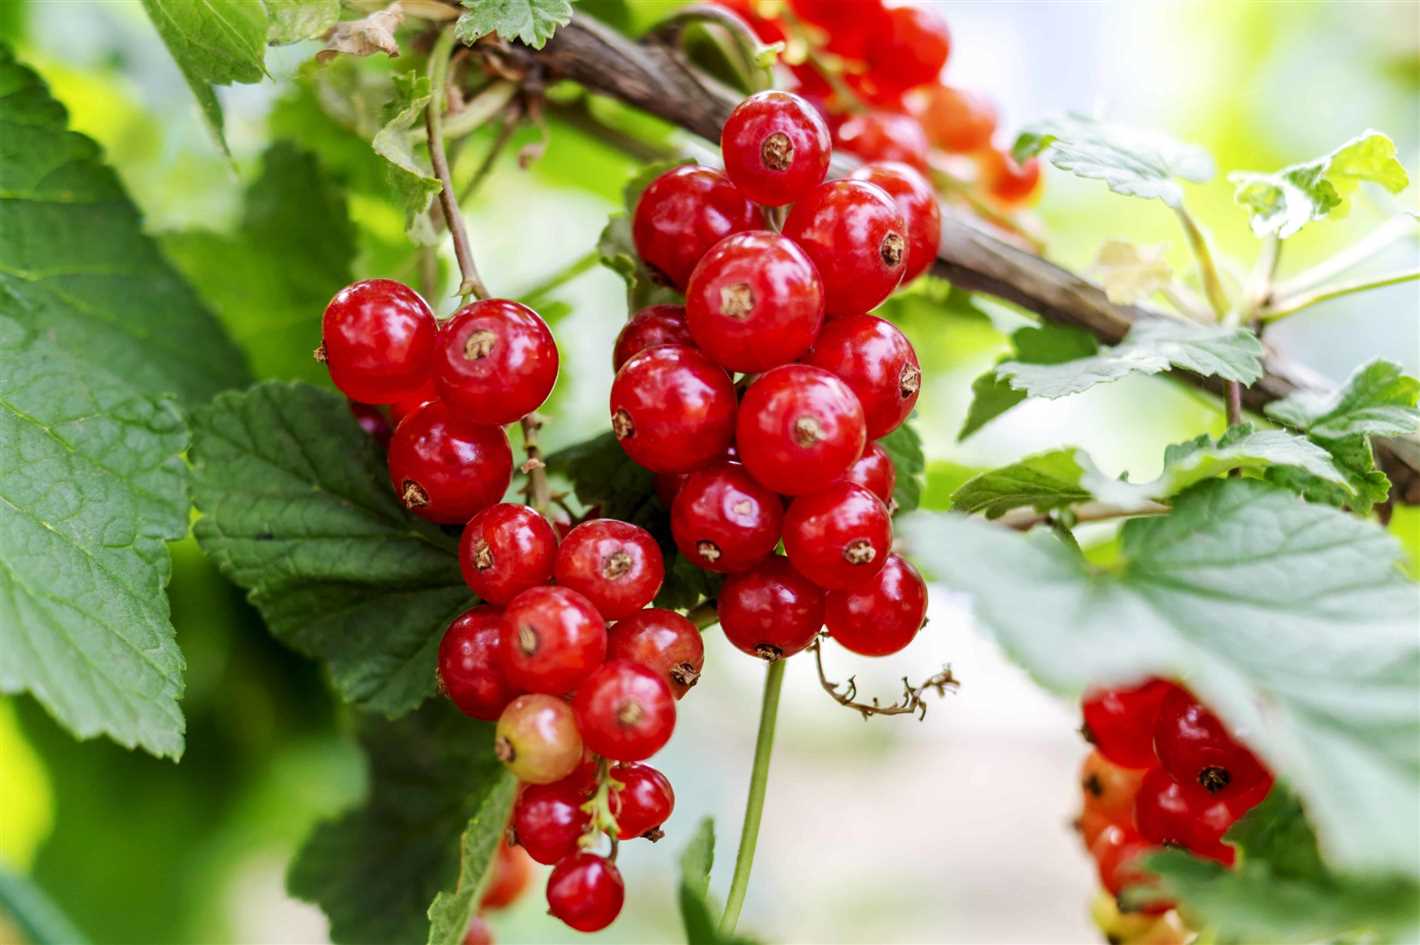
- Blackcurrant berries are ready to be harvested in July and August, when they turn dark purple.
- Gently hold the berry bunches and twist them off the plant. Be careful not to damage the branches or surrounding buds.
- Continue harvesting the ripe berries every few days until all the fruits are picked.
2. Pruning:
- Pruning your blackcurrant plants in late winter or early spring promotes new growth and helps maintain the shape of the bush.
- Remove any dead or damaged branches, as well as weak or overcrowded stems.
- Prune by cutting back the branches to healthy buds or just above the ground.
3. Watering and Mulching:
- Blackcurrant plants need regular watering, especially during dry periods.
- Water deeply to ensure the roots receive enough moisture, and avoid wetting the leaves to prevent diseases.
- Apply a layer of mulch around the base of the plants to help retain moisture and suppress weed growth.
4. Fertilizing:
- Feed your blackcurrant plants with a balanced fertilizer in early spring and again after harvesting.
- Follow the manufacturer’s instructions for the correct dosage and application method.
5. Pest and Disease Control:
- Monitor your blackcurrant plants regularly for signs of pests or diseases.
- Aphids and currant worms can be controlled with insecticidal soap or by attracting natural predators like ladybugs.
- Prevent diseases like powdery mildew and leaf spot by providing good air circulation and avoiding over-watering.
Following these maintenance tips will help you enjoy a bountiful harvest of delicious blackcurrants year after year!
Question-answer:
What is the best time to plant blackcurrants?
The best time to plant blackcurrants is in March or early spring.
Can blackcurrants be planted in any type of soil?
Blackcurrants prefer well-drained soil that is rich in organic matter.
Do blackcurrants need a lot of sunlight?
Blackcurrants thrive in full sunlight, but they can also tolerate partial shade.
How far apart should blackcurrant plants be planted?
Blackcurrant plants should be spaced about 5 to 6 feet apart in rows that are 9 to 10 feet apart.
What is the process for planting blackcurrant plants?
To plant blackcurrants, start by preparing the soil and then dig a hole that is large enough to accommodate the roots of the plant. Place the plant in the hole, ensuring that it is at the same level as it was in the nursery container. Backfill the hole with soil, firming it gently around the plant. Finally, water the plant thoroughly.
How often should blackcurrant plants be watered?
Blackcurrant plants should be watered regularly, especially during dry periods. Ideally, they should receive about 1 to 2 inches of water per week.
When can I expect to harvest blackcurrants?
Blackcurrants can be harvested in July or August, approximately 2 to 3 years after planting.
