- Choosing the Right Flower Seeds
- 1. Climate
- 2. Soil Type
- 3. Sunlight
- 4. Height and Spread
- 5. Bloom Time
- 6. Color and Style
- Preparing the Soil for Planting
- Providing Adequate Lighting
- Choose the Right Light Source
- Position the Lights Properly
- Provide Adequate Light Duration
- Controlling the Temperature and Humidity
- Temperature
- Humidity
- Watering and Fertilizing the Seedlings
- Watering
- Fertilizing
- Protecting the Seedlings from Pests and Diseases
- Transplanting Seedlings into the Garden
- 1. Choose the right time
- 2. Prepare the soil
- 3. Water the seedlings
- 4. Dig the planting holes
- 5. Gently remove seedlings from containers
- 6. Place seedlings in planting holes
- 7. Water and mulch
- 8. Provide support if needed
- 9. Monitor and care for the seedlings
- Maintaining and Caring for the Flower Plants
- Watering
- Fertilizing
- Pruning
- Weed Control
- Pest and Disease Control
- Sunlight and Shade
- Mulching
- Support and Staking
- Questions and Answers:
- What kinds of flowers can I plant as seedlings in February?
- Can I plant flowers directly from seeds in February?
- What are the advantages of planting flower seedlings in February?
- How should I care for flower seedlings planted in February?
- Can I plant flower seedlings in containers or only in the ground?
- Is it necessary to use specific soil or fertilizers for planting flower seedlings in February?
- Videos: 16 Perennial flowers you should grow from seeds. This is why!
February may seem like an unlikely time to start planting flowers for seedlings, but with the right knowledge and preparation, it can be a great opportunity to get a jumpstart on your garden. Whether you are a seasoned gardener or a beginner, these tips from experts will help you make the most of this unique planting season.
One of the key factors to consider when planting flowers for seedlings in February is the temperature. It is important to choose flowers that can tolerate cooler temperatures and shorter days. Some popular options include pansies, violas, snapdragons, and calendula. These flowers not only provide vibrant colors but also have a high tolerance for colder weather.
Another important aspect to keep in mind is the sunlight. While February may have shorter days, it is still crucial to provide enough light to encourage proper growth. Placing your seedlings in a location that receives at least 6 hours of direct sunlight a day will help them thrive. If you don’t have access to enough natural light, consider using artificial grow lights to supplement the required amount.
Proper soil preparation is also essential for successful seedling planting. Starting with a high-quality seedling mix will provide the necessary nutrients and drainage for optimal growth. Additionally, ensure that the soil is well-drained to prevent waterlogged roots. Regularly check the moisture level of the soil and adjust your watering schedule accordingly.
By following these expert tips, you can have a successful and flourishing garden by starting your flower seedlings in February. With careful selection of flowers, proper lighting, and soil preparation, you can enjoy beautiful blooms earlier in the year and extend the beauty of your garden.
Choosing the Right Flower Seeds
Choosing the right flower seeds is an important step in ensuring a successful garden. Here are some factors to consider when selecting flower seeds:
1. Climate
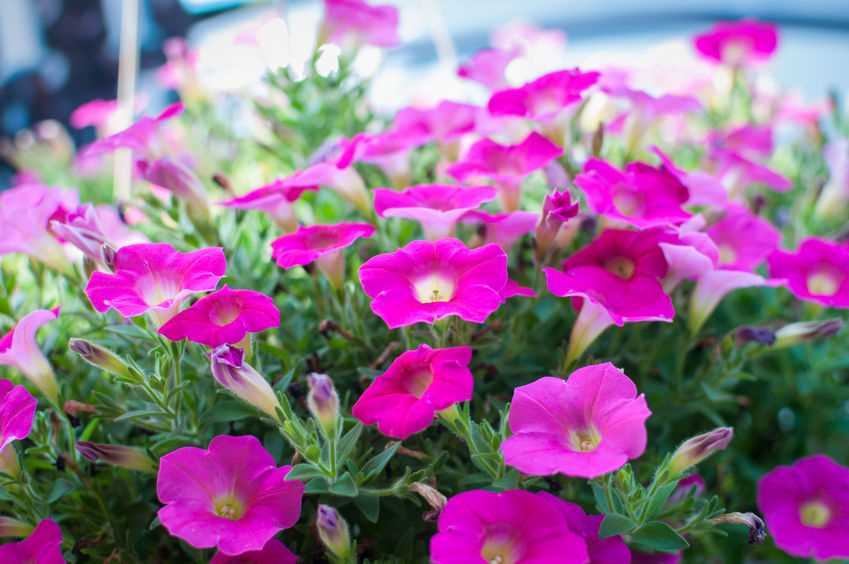
Consider the climate in your area and choose flower seeds that are suitable for your specific zone. Some flowers thrive in hot and dry climates, while others prefer cooler temperatures. Research the recommended hardiness zones for each type of flower you are interested in.
2. Soil Type
Take into account the type of soil you have in your garden. Some flowers prefer well-drained sandy soils, while others do better in heavy clay soils. Consider conducting a soil test to determine the pH level and nutrient content of your soil, and choose flower seeds that are compatible with those conditions.
3. Sunlight
Pay attention to the amount of sunlight your garden receives throughout the day. Flowers are categorized as full sun, partial sun, or shade-loving. Determine the light conditions in your garden and choose flower seeds accordingly.
4. Height and Spread
Consider the height and spread of the flowers you are interested in. Some flowers grow tall and spread wide, while others remain compact. Think about the available space in your garden and choose flower seeds that will fit well within that area.
5. Bloom Time
Choose flower seeds that bloom at different times throughout the year to maintain a vibrant garden. Select a mix of annuals, perennials, and biennials to ensure a continuous display of flowers from spring to fall.
6. Color and Style
Consider your personal preferences when it comes to flower color and style. Choose flower seeds that will complement your existing landscape and add visual interest to your garden. Mix different colors and textures to create a dynamic and eye-catching display.
By taking these factors into consideration, you can make an informed decision when selecting flower seeds for your garden. Experiment with different varieties and have fun exploring the world of flowers!
Preparing the Soil for Planting
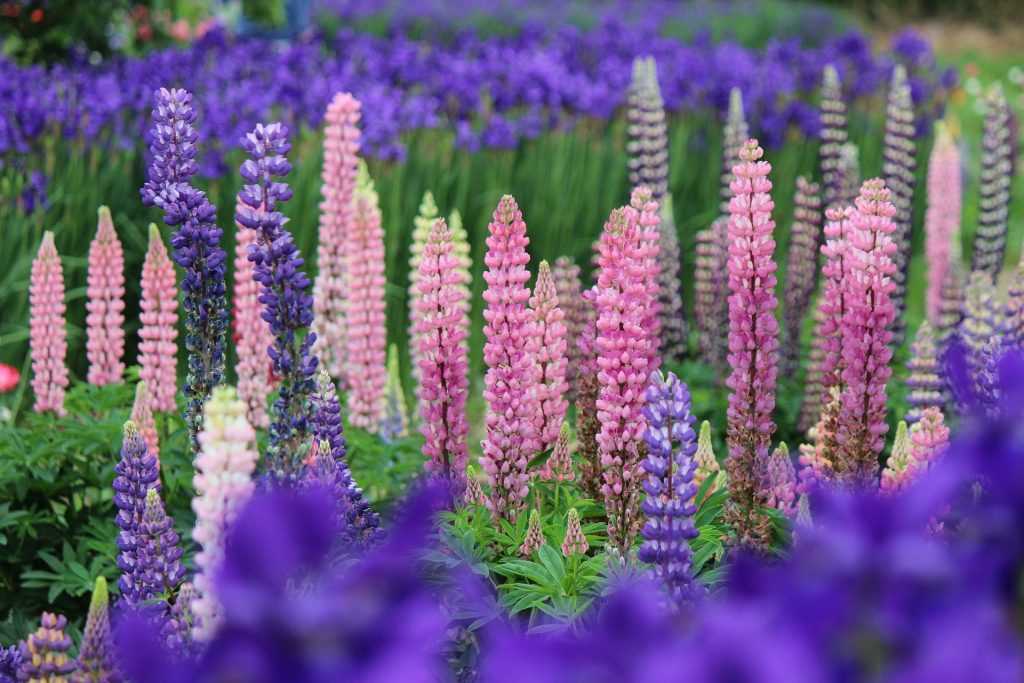
Before planting your flower seedlings in February, it is important to prepare the soil properly. This will ensure that your plants have the best possible start and will thrive throughout the growing season. Here are some steps to follow when preparing the soil:
- Clear the area: Begin by clearing the planting area of any debris, weeds, or existing plants. Remove any rocks or large clumps of dirt that may interfere with the planting process.
- Loosen the soil: Use a garden fork or a tiller to loosen the soil to a depth of about 6-8 inches. This will help improve drainage and allow the roots of your seedlings to penetrate easily.
- Amend the soil: Test the soil pH and nutrient levels using a soil testing kit that can be purchased from a garden center. Based on the test results, add organic matter such as compost, well-rotted manure, or peat moss to improve the soil quality.
- Apply fertilizer: If the soil lacks essential nutrients, apply a balanced fertilizer according to the manufacturer’s instructions. This will provide your seedlings with the necessary nutrients they need for healthy growth.
- Level the soil: Rake the soil surface to level it out and remove any large clumps. This will provide a smooth surface for planting and ensure that water is evenly distributed.
- Water the soil: Before planting your seedlings, give the soil a thorough watering. This will help settle the soil and provide moisture for your plants.
By following these steps and properly preparing the soil, you will create an ideal environment for your flower seedlings to grow and thrive. Remember to choose the right location for your plants, considering their light and moisture requirements, to further ensure their success.
Providing Adequate Lighting
When planting flowers for seedlings in February, one of the most important factors to consider is providing adequate lighting. Since February is still a winter month with shorter days and limited sunlight, it is essential to supplement natural light with artificial lighting in order to promote healthy growth in seedlings.
Choose the Right Light Source
When selecting an artificial light source for your seedlings, it is important to choose one that emits the appropriate spectrum of light. Most plants require a full spectrum of light, which includes both blue and red wavelengths. This is because blue light stimulates vegetative growth, while red light promotes flowering and fruiting.
There are several options for artificial lighting, including fluorescent lights, LED grow lights, and high-intensity discharge (HID) lights. Fluorescent lights are a popular choice due to their affordability and energy efficiency. They are available in different types, including T5, T8, and T12, with T5 being the most efficient. LED grow lights are also a great choice, as they are energy-efficient and can be specifically designed to emit the optimal spectrum of light for plant growth. HID lights, such as metal halide (MH) and high-pressure sodium (HPS) lights, provide a high-intensity light source and are commonly used in larger-scale operations.
Position the Lights Properly
Once you have chosen the right light source, it is crucial to position the lights properly to ensure that your seedlings receive even and adequate light. Hang the lights above the seedlings using adjustable chains or hooks so that they can be raised or lowered as the plants grow. The lights should be kept approximately 2-4 inches above the tops of the seedlings to prevent them from stretching or getting too tall and weak.
Provide Adequate Light Duration
In addition to positioning the lights correctly, it is important to provide the seedlings with an appropriate duration of light each day. Most plants require at least 12-16 hours of light per day to grow properly. Using a timer can help automate the lighting schedule and ensure that the seedlings receive consistent light every day. Aim to provide the seedlings with light during the daylight hours, and turn off the lights at night to give them a period of darkness for rest.
By providing adequate lighting for your seedlings, you can help them grow strong and healthy despite the limited natural light in February. Remember to choose the right light source, position the lights properly, and provide the seedlings with an appropriate duration of light each day.
Controlling the Temperature and Humidity
When planting flowers for seedlings in February, it is important to control the temperature and humidity to ensure successful germination and growth. Here are some tips on how to maintain the ideal conditions for your seedlings:
Temperature
- Warmth: Most flower seeds require warmth to germinate. Maintain a temperature range of 70-75 degrees Fahrenheit (21-24 degrees Celsius) for optimal seed germination. You can use a heating mat or warm spot in your home to provide the necessary warmth.
- Cooling: Once the seeds have germinated, it is important to maintain a slightly cooler temperature, around 60-65 degrees Fahrenheit (15-18 degrees Celsius), to encourage sturdy growth.
- Temperature fluctuations: Avoid drastic temperature fluctuations, as they can stress the seedlings and hinder their growth. Try to maintain a consistent temperature throughout the day and night.
Humidity
- Moisture: Adequate moisture is crucial for seed germination. Use a spray bottle to mist the soil surface regularly, keeping it consistently moist but not waterlogged.
- Covering: To maintain humidity levels around the seedlings, cover the trays or pots with a clear plastic dome or plastic wrap. This will help trap moisture and create a mini greenhouse effect.
- Ventilation: While it is important to maintain humidity, it is equally important to provide good airflow to prevent fungal diseases. Remove the cover once the seedlings start to sprout, and place them in a well-ventilated area.
By controlling the temperature and humidity levels, you can provide the optimal conditions for your flower seedlings to thrive. Remember to monitor these factors regularly and make adjustments as needed to ensure successful growth.
Watering and Fertilizing the Seedlings
Proper watering and fertilization are essential for the healthy growth of seedlings. Here are some tips to ensure your seedlings receive the right amount of water and nutrients:
Watering
- Water the seedlings regularly, ensuring the soil remains consistently moist but not waterlogged.
- Check the moisture level by sticking your finger about an inch into the soil. If it feels dry, it’s time to water.
- Avoid overwatering, as this can lead to root rot and other diseases. Water only when necessary.
- Use a watering can or a gentle spray nozzle on a hose to avoid damaging the delicate seedlings.
Fertilizing
- Start fertilizing the seedlings with a diluted liquid fertilizer once they develop their first true leaves.
- Choose a balanced fertilizer with equal amounts of nitrogen, phosphorus, and potassium.
- Follow the instructions on the fertilizer package for the correct dilution ratio.
- Apply the fertilizer to the soil around the seedlings, making sure not to get it on the leaves.
- Repeat the fertilization process every two weeks or as directed by the fertilizer manufacturer.
Remember, it’s important to monitor the seedlings’ moisture and nutrient needs as they grow. Adjust the watering and fertilizing schedule accordingly to promote healthy and vigorous growth.
Protecting the Seedlings from Pests and Diseases
When planting flowers for seedlings in February, it is important to take preventive measures to protect them from pests and diseases. Here are some tips to keep your seedlings healthy:
- Clean and sterilize your tools: Before planting, clean and sterilize your gardening tools to avoid spreading any potential diseases or pests. This can be done by soaking them in a mixture of bleach and water or using a commercial sterilizing solution.
- Use healthy soil: Start with high-quality soil that is free from pests and diseases. Avoid using soil from your garden, as it may contain harmful pathogens. Instead, opt for a sterile seed-starting mix or make your own by mixing compost, perlite, and vermiculite.
- Avoid overcrowding: Planting seedlings too close together can create favorable conditions for pests and diseases to thrive. Space your seedlings according to the recommendations on the seed packet, ensuring adequate airflow and sunlight.
- Apply organic pest control: Consider using organic pest control methods to protect your seedlings. This can include applying neem oil, introducing beneficial insects like ladybugs or lacewings, or using insecticidal soaps. Avoid using chemical pesticides, as they can harm beneficial insects and contaminate the environment.
- Monitor for signs of pests and diseases: Regularly inspect your seedlings for any signs of pests or diseases, such as yellowing leaves, wilting, or chew marks. Catching problems early can help prevent the spread and minimize damage.
- Practice good watering habits: Overwatering can create a favorable environment for fungal diseases. Water your seedlings in the morning and allow the soil to dry slightly between waterings. Avoid wetting the foliage, as this can contribute to the spread of diseases.
- Rotate your crops: To minimize the risk of recurring pests and diseases, practice crop rotation. Avoid planting the same flowers or related species in the same spot every year.
By following these tips, you can protect your seedlings from pests and diseases and give them the best chance of thriving.
Transplanting Seedlings into the Garden
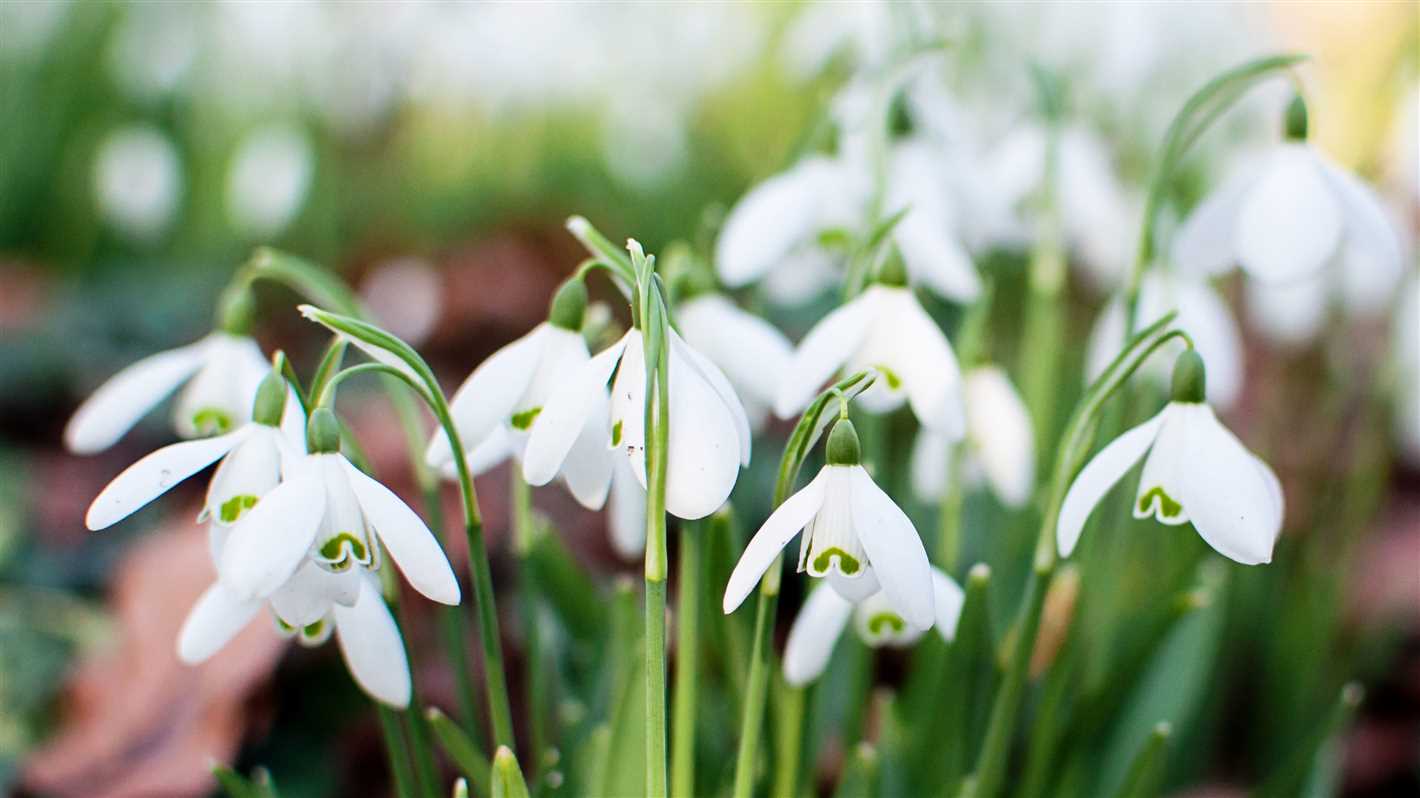
Once your seedlings have grown strong and healthy, it’s time to transplant them into the garden. This process requires careful attention to ensure the seedlings adjust well to their new environment. Follow these steps to successfully transplant seedlings into your garden:
1. Choose the right time
Before transplanting, make sure that the soil in your garden is warm enough for the seedlings to thrive. The last frost date in your area is a good indicator of when it’s safe to plant outdoors. It’s important to wait until all danger of frost has passed to prevent cold damage to the seedlings.
2. Prepare the soil
Prepare the garden bed by removing any weeds, rocks, or debris. Loosen the soil using a garden fork or tiller to a depth of about 6-8 inches. Mix in compost or organic matter to improve the soil’s fertility and drainage.
3. Water the seedlings
Before transplanting, water the seedlings thoroughly to ensure they are well-hydrated. This will help reduce transplant shock and make it easier to remove them from their containers.
4. Dig the planting holes
Dig holes in the garden bed that are slightly larger than the root ball of each seedling. Space the holes according to the recommended spacing for the specific plant variety.
5. Gently remove seedlings from containers
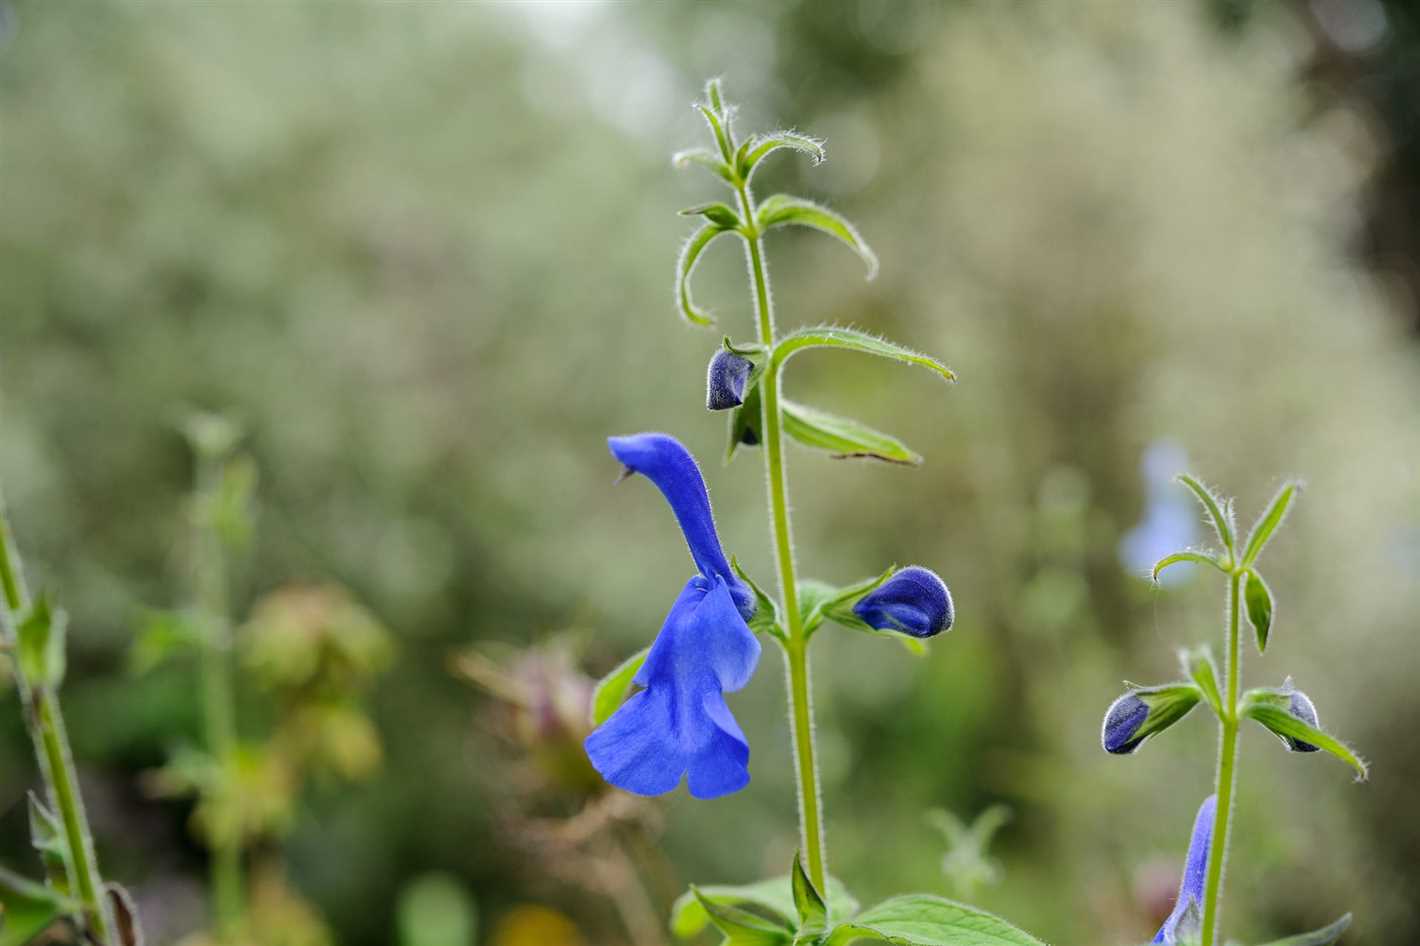
To remove the seedlings from their containers, gently push up from the bottom while holding the stem or leaves of the seedling. Be careful not to squeeze or crush the plant. If the seedlings are tightly packed, use a small tool like a spoon or popsicle stick to carefully loosen the roots.
6. Place seedlings in planting holes
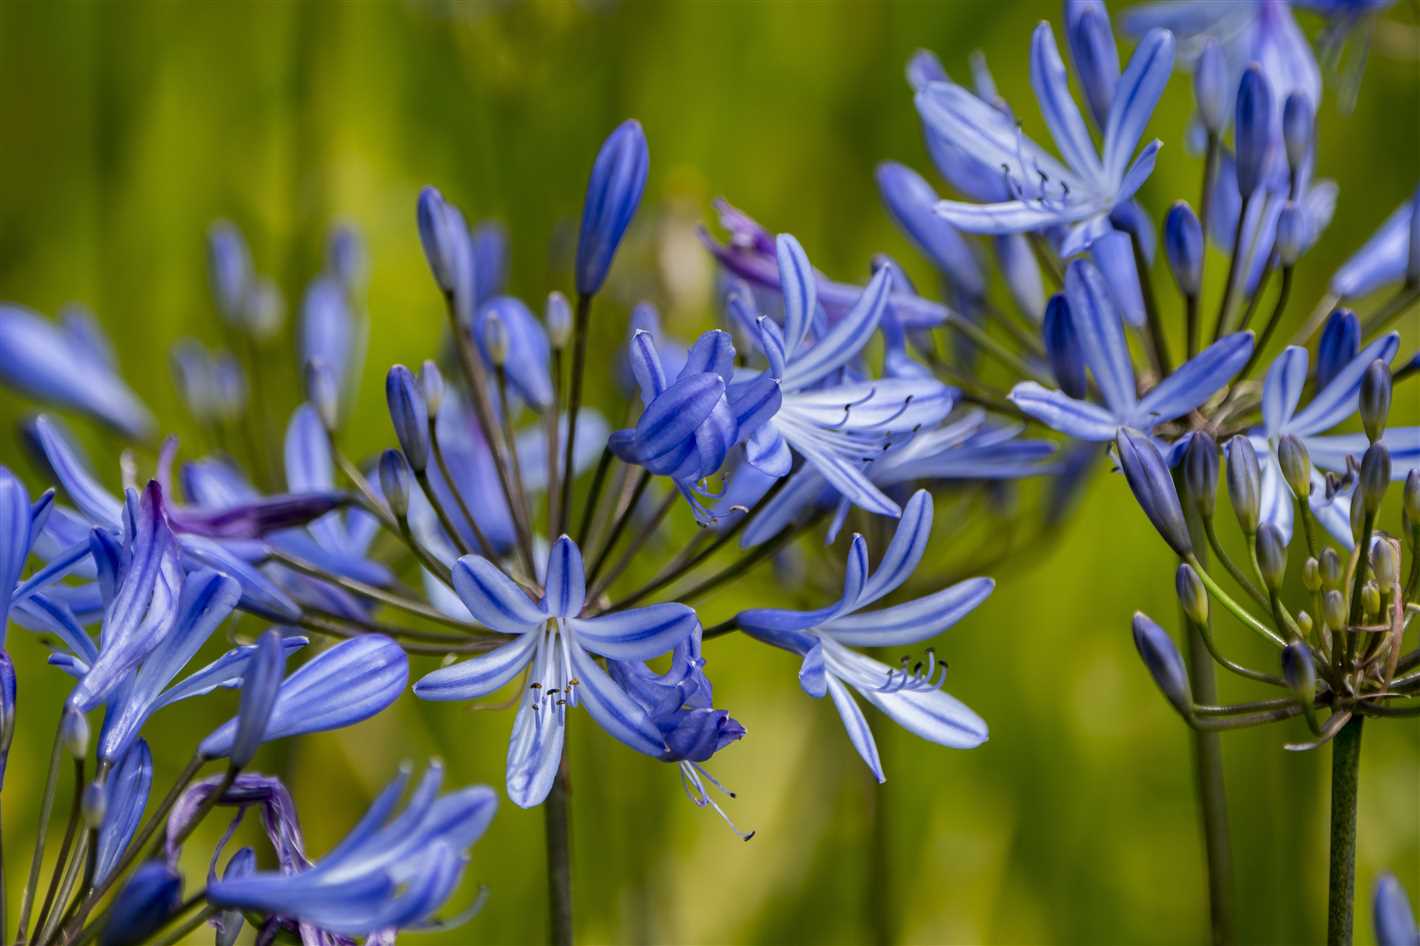
Carefully place each seedling into a planting hole, making sure the roots are spread out and not bent. The top of the root ball should be level with the soil surface or slightly above. Gently pat the soil around the seedling to secure it in place.
7. Water and mulch
After transplanting, water the seedlings again to help settle the soil around the roots. Apply a layer of mulch, such as straw or wood chips, around the base of the seedlings to conserve moisture and prevent weeds.
8. Provide support if needed
If you are planting tall or vining plants, such as tomatoes or peas, provide support as soon as you transplant them into the garden. This will help prevent the seedlings from bending or falling over as they grow.
9. Monitor and care for the seedlings
Keep a close eye on the transplanted seedlings and provide regular care, including watering, fertilizing, and protecting them from pests and diseases. Gradually expose them to longer periods of sunlight to acclimate them to their new surroundings.
By following these steps, you can successfully transplant your seedlings into the garden and give them the best chance of thriving and producing a bountiful harvest.
Maintaining and Caring for the Flower Plants
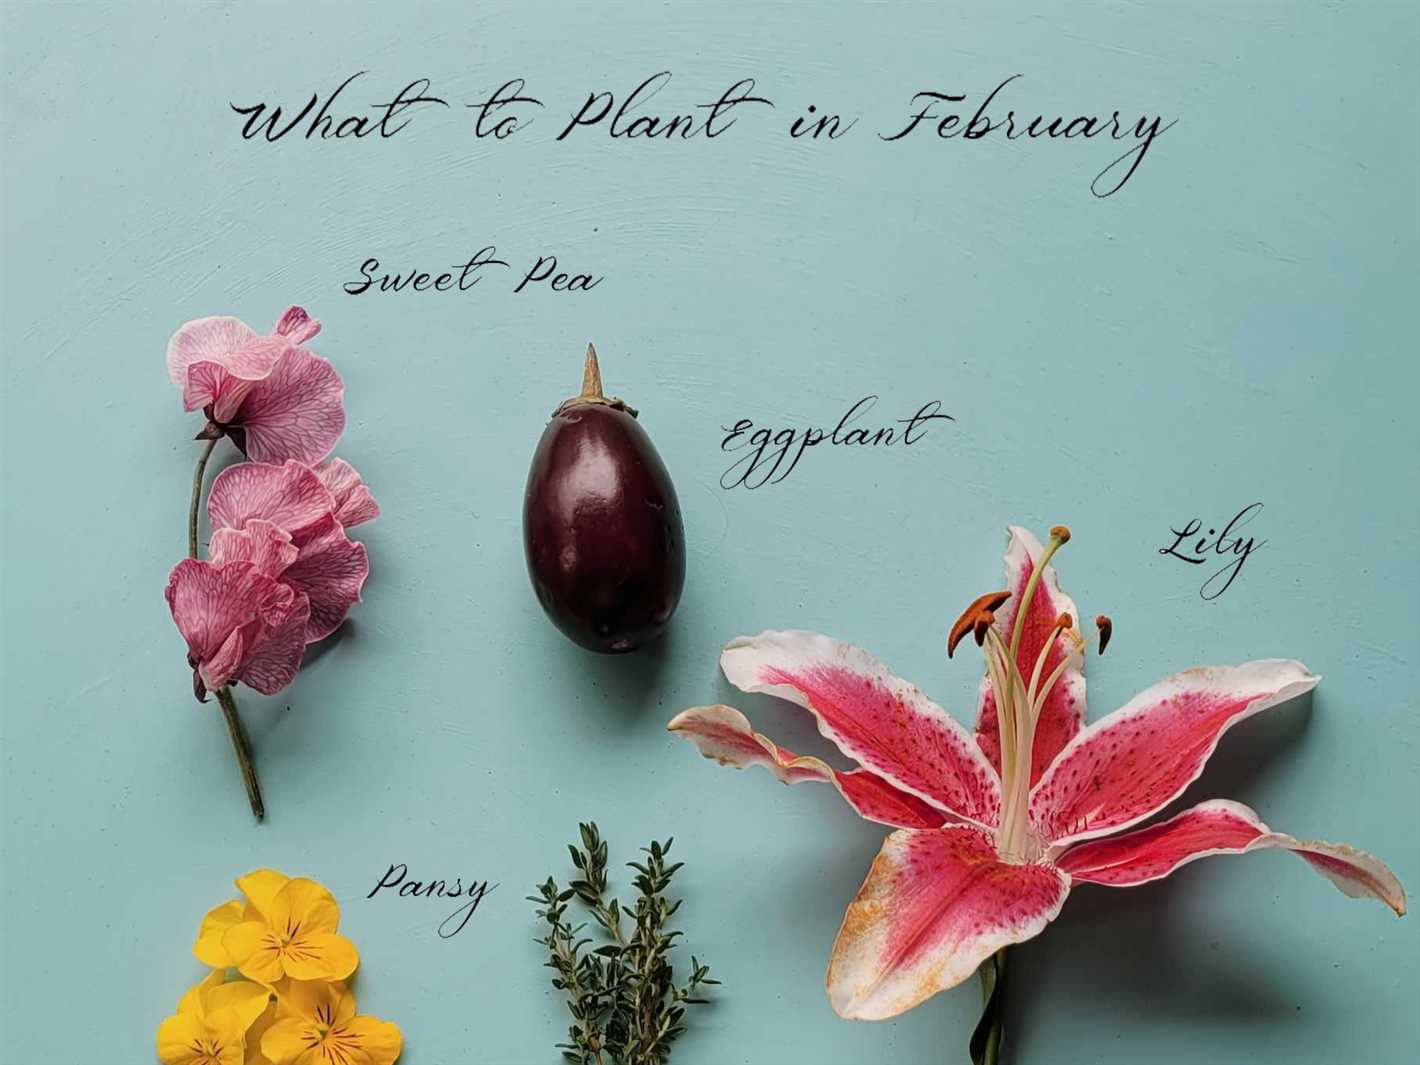
Once you have planted your flower seedlings in February, it is important to properly care for and maintain them to ensure their healthy growth and development. Here are some tips to help you maintain and care for your flower plants:
Watering
Proper watering is crucial for the success of your flower plants. Be sure to water them regularly, especially during dry periods. However, avoid overwatering, as it can lead to root rot and other issues. It is best to water the plants deeply, allowing the water to penetrate the soil and reach the roots.
Fertilizing
Flower plants require regular feeding to thrive and produce vibrant blooms. Use a balanced fertilizer that is specifically formulated for flowering plants. Follow the instructions on the fertilizer package for proper application. Be careful not to over-fertilize, as it can damage the plants.
Pruning
Pruning is an essential part of maintaining flower plants. Regularly remove dead or damaged leaves, stems, and flowers. This will promote healthy growth and prevent the spread of disease. Pruning also helps to shape the plants and encourages better blooming.
Weed Control
Regularly inspect your flower beds for weeds and promptly remove them. Weeds compete with the plants for nutrients and can hinder their growth. Use hand tools or a hoe to carefully remove weeds, being careful not to disturb the roots of the flowers.
Pest and Disease Control
Keep an eye out for common pests and diseases that can affect flower plants. Monitor your plants regularly and take appropriate action if you notice any signs of damage. Consider using natural pest control methods and organic pesticides to protect your flower plants without harming beneficial insects.
Sunlight and Shade
Ensure your flower plants receive adequate sunlight for healthy growth. Most flowering plants require at least 6 hours of direct sunlight per day. If your garden has areas with too much shade, consider relocating your plants or selecting varieties that are more tolerant of shade.
Mulching
Applying mulch around your flower plants helps to retain moisture, regulate temperature, and suppress weed growth. Use organic mulch, such as wood chips or compost, and spread it evenly around the base of the plants. Be careful to avoid covering the stems or foliage, as this can lead to rotting.
Support and Staking
Some flower plants, especially tall or climbing varieties, may require support or staking to prevent them from falling over or bending. Use stakes, trellises, or cages to provide additional support as needed. Be sure to place the supports in position early in the growing season to prevent damage to the plants.
By following these tips for maintaining and caring for your flower plants, you can ensure their health and maximize their beauty. Take the time to provide the necessary care and attention, and you will be rewarded with a colorful and thriving garden.
Questions and Answers:
What kinds of flowers can I plant as seedlings in February?
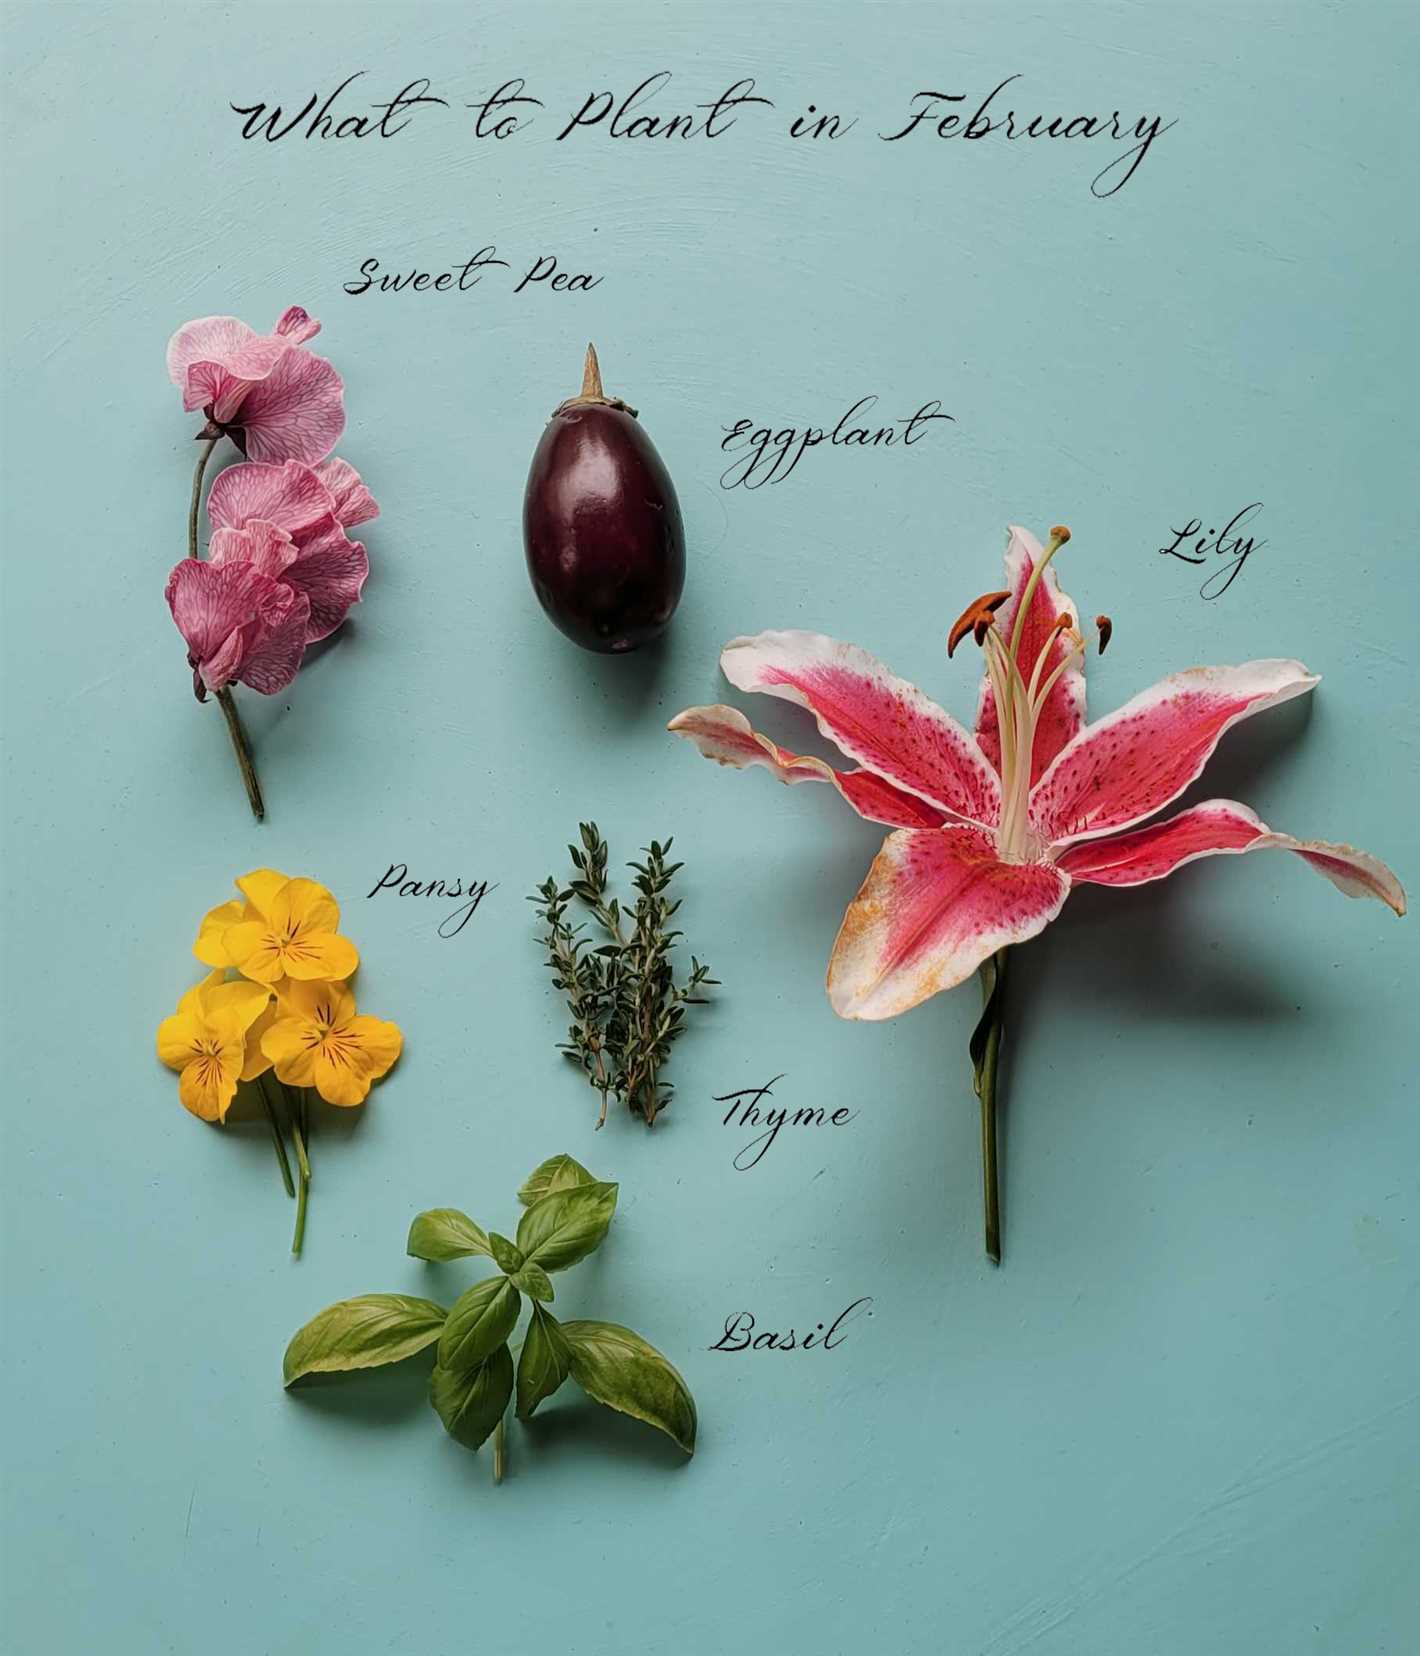
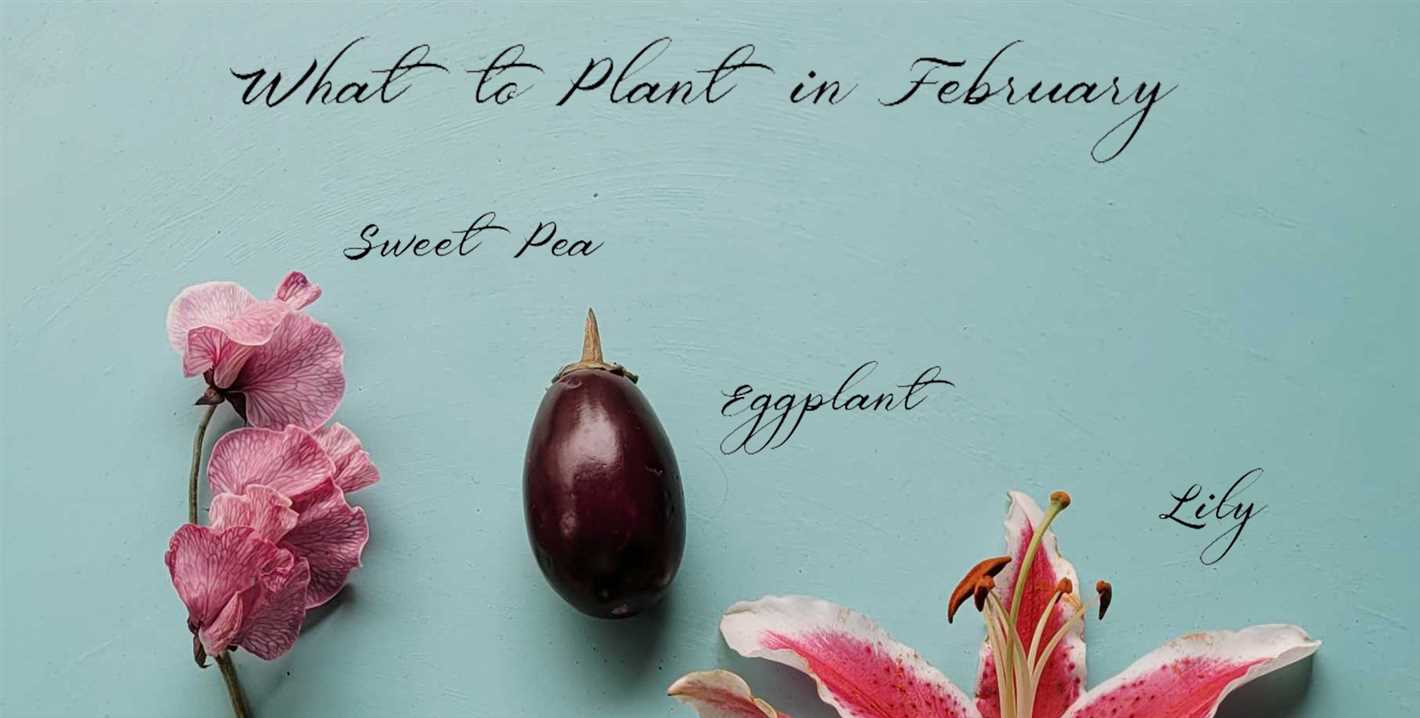
Some flowers that can be planted as seedlings in February include pansies, violas, snapdragons, sweet peas, and calendulas.
Can I plant flowers directly from seeds in February?
Yes, you can directly sow flower seeds in February, but it is advisable to start them indoors as seedlings and then transplant them outdoors when the weather gets warmer.
What are the advantages of planting flower seedlings in February?
Planting flower seedlings in February allows them to establish a strong root system before the warmer spring weather arrives, leading to healthier and more productive plants.
How should I care for flower seedlings planted in February?
It is important to provide the seedlings with adequate sunlight, water, and nutrients. They should also be protected from extreme weather conditions or frost, especially if they are still young and fragile.
Can I plant flower seedlings in containers or only in the ground?
You can plant flower seedlings in containers or in the ground, depending on your preference and available space. Containers provide flexibility and can be moved around, while planting in the ground allows for larger root systems and more space for the plants to grow.
Is it necessary to use specific soil or fertilizers for planting flower seedlings in February?
Using well-draining soil and organic fertilizers can greatly benefit flower seedlings planted in February. The soil should be rich in nutrients and have good drainage to prevent waterlogging, which can lead to root rot.


