- Choosing the Right Crocus Variety
- Climate Adaptability
- Flower Color
- Flowering Time
- Growth Habit
- Special Varieties
- Choosing a Mix
- Preparing the Soil for Crocuses
- When and Where to Plant Crocuses
- Planting Time
- Choosing the Right Spot
- Preparing the Soil
- Planting Depth and Spacing
- Additional Tips
- Providing the Correct Amount of Sunlight
- 1. Location
- 2. Orientation
- 3. Protection
- Watering and Fertilizing Crocuses
- Watering Crocuses
- Fertilizing Crocuses
- Protecting Crocuses from Pests and Diseases
- Pests
- Diseases
- Conclusion
- Proper Crocus Maintenance and Care
- Harvesting and Storing Crocus Bulbs
- 1. Timing is crucial
- 2. Gently dig up the bulbs
- 3. Remove excess soil
- 4. Dry the bulbs
- 5. Remove foliage and stems
- 6. Store in a cool, dry place
- 7. Use a storage container
- 8. Check regularly for mold or rot
- 9. Replant in the fall
- Questions and Answers:
- What is the best time to plant crocus bulbs?
- Can crocus bulbs be planted in containers?
- How deep should crocus bulbs be planted?
- Do crocus bulbs need full sun?
- What type of soil is best for planting crocus bulbs?
- How often should crocus bulbs be watered?
- Videos: How to Plant and Grow Saffron Crocus
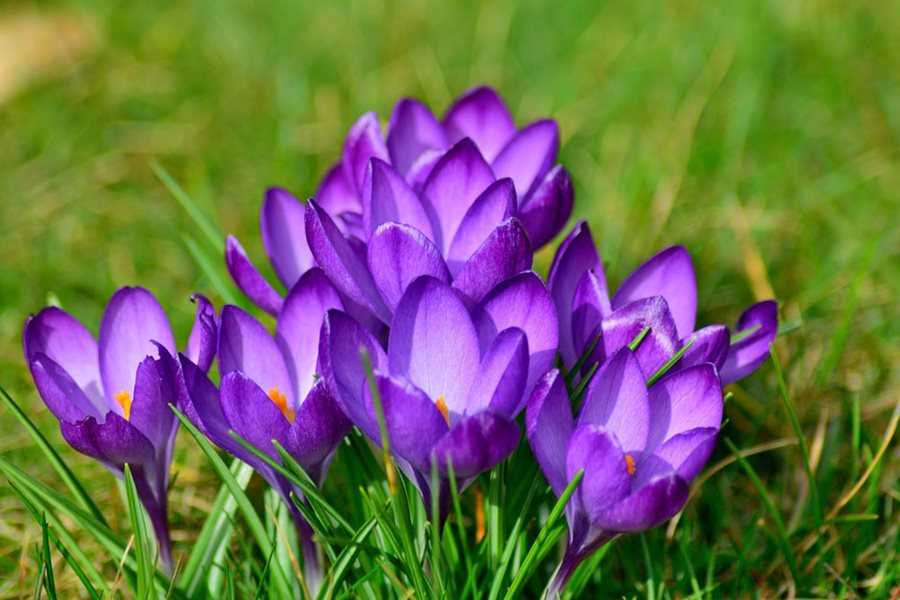
Are you ready to add a splash of color to your garden? Look no further than crocuses! These beautiful flowering plants are known for their vibrant hues and early spring blooms. Whether you’re a seasoned gardener or just starting out, planting crocuses is a great way to brighten up your outdoor space. However, there are a few key factors to consider to ensure successful crocus planting.
Choose the Right Variety
When it comes to crocuses, there are numerous varieties to choose from. Some bloom in early spring, while others flower later in the season. Additionally, they come in a range of colors, including purple, white, yellow, and orange. Consider your climate and the desired look for your garden when selecting the right variety. Keep in mind that different varieties have different planting depths, so it’s essential to follow the instructions for your chosen variety.
Provide Adequate Sunlight
Crocuses thrive in bright sunlight. When selecting the planting location, choose an area that receives at least six hours of direct sunlight per day. If your garden has areas with partial shade, your crocuses can still grow, but they may not bloom as abundantly. Make sure to avoid locations with excessive shade or areas where water may pool, as this can lead to rot and other diseases.
“Proper Soil Preparation is Key”
One of the crucial factors for successful crocus planting is soil preparation. Crocuses prefer well-draining soil, as they can be prone to rot if they sit in waterlogged soil. Before planting, make sure the soil is loose and friable. You can amend heavy clay soil with organic matter, such as compost or peat moss, to improve drainage. Additionally, crocuses prefer slightly acidic to neutral soil pH, so it’s a good idea to test your soil and adjust if necessary.
Choosing the Right Crocus Variety

When it comes to choosing the right crocus variety, you have a wide range of options to consider. Here are a few factors to keep in mind:
Climate Adaptability
Crocus varieties can vary in their climate adaptability. Some varieties are better suited for colder climates, while others thrive in warmer regions. It’s important to consider your climate and choose a variety that is suitable for your location.
Flower Color
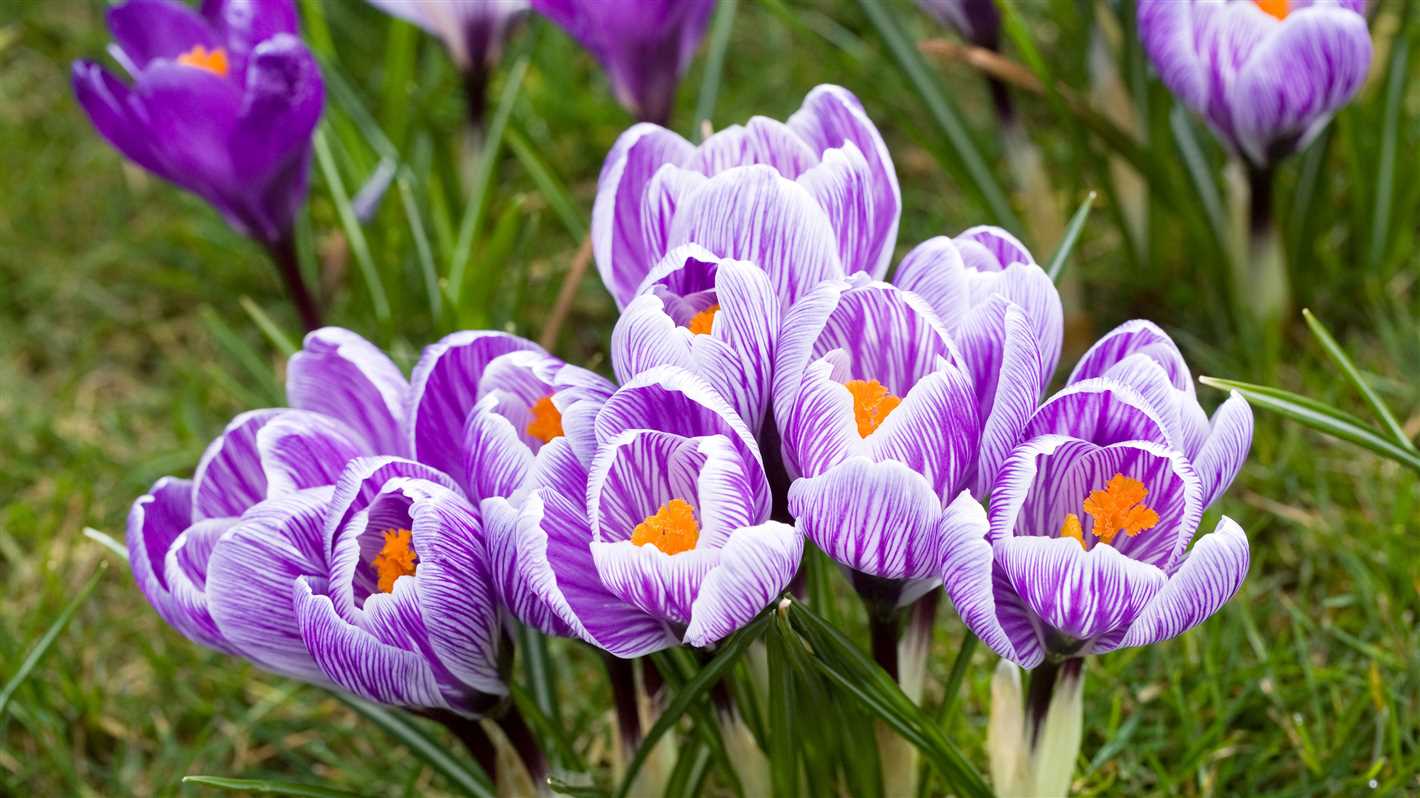
Crocus flowers come in a variety of vibrant colors, including purple, yellow, white, and even striped or two-toned options. Consider the color scheme of your garden and choose a crocus variety that will complement the existing flowers and foliage.
Flowering Time
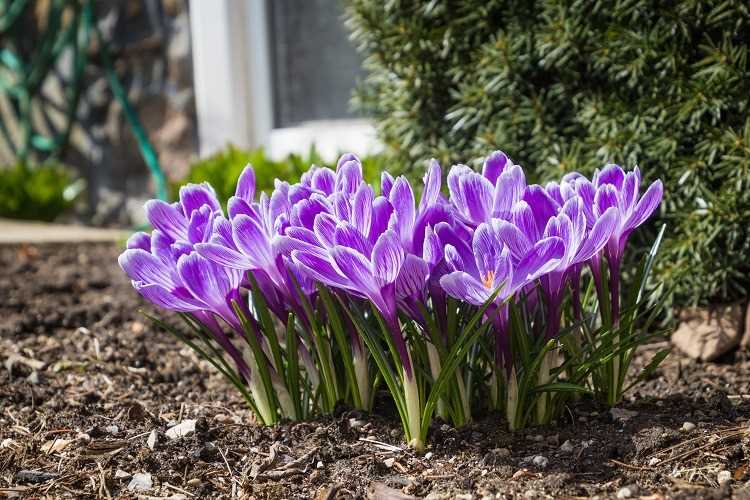

Crocus varieties can have different flowering times, ranging from early spring to late autumn. If you want to have a continuous bloom of crocus flowers throughout the year, select a mix of varieties with different flowering times.
Growth Habit
Some crocus varieties have a clumping growth habit, while others spread and naturalize over time. Consider the space you have available in your garden and choose a crocus variety that suits your desired growth habit.
Special Varieties
In addition to the common varieties, there are also special crocus varieties to choose from, such as giant crocus, snow crocus, and autumn-flowering crocus. These varieties can add unique features to your garden and provide additional interest throughout the year.
Choosing a Mix
If you can’t decide on just one crocus variety, you can also consider purchasing a mix. This will give you a variety of colors and flowering times, creating a diverse and eye-catching display in your garden.
By considering these factors and selecting the right crocus variety or mix for your garden, you can ensure a successful and visually stunning display of crocus flowers throughout the year.
Preparing the Soil for Crocuses
Before planting crocuses, it is important to prepare the soil to provide the optimal conditions for these beautiful flowers to thrive. Follow these steps to ensure a successful crocus planting:
- Choose a sunny location: Crocuses require full sun to bloom properly. Select an area in your garden that receives at least 6 hours of direct sunlight each day.
- Clear the area: Remove any weeds, rocks, or debris from the planting area. This will help prevent competition for nutrients and allow the crocus bulbs to establish roots more easily.
- Loosen the soil: Use a garden fork or tiller to loosen the soil to a depth of 6 to 8 inches. This will improve drainage and allow the crocus bulbs to penetrate the soil more easily.
- Amend the soil: Crocuses prefer well-draining soil with a pH level between 6 and 7. If your soil is heavy or clayey, mix in organic matter such as compost or peat moss to improve drainage and fertility.
- Test the soil: Consider testing your soil’s nutrient levels and pH to determine if any additional amendments are needed. Contact your local cooperative extension service or use a home testing kit for accurate results.
- Add fertilizer: If necessary, incorporate a balanced slow-release fertilizer into the soil before planting. Follow the package instructions for the proper application rate.
- Level the soil: Rake the soil surface to ensure it is level and free of clumps. This will provide a smooth base for planting the crocus bulbs.
By following these steps, you will prepare the soil to create an ideal growing environment for crocuses. This will give them the best chance to thrive and produce vibrant blooms in your garden.
When and Where to Plant Crocuses
Planting crocuses in the right location and at the right time is essential for their successful growth and blooming. Here are some important tips to consider:
Planting Time
- Crocuses should be planted in the fall, typically around September or October, before the first frost hits.
- Early planting gives the bulbs enough time to establish roots before winter sets in.
Choosing the Right Spot
- Crocuses prefer well-drained soil that is rich in organic matter.
- They thrive in areas that receive full sun or partial shade.
- Avoid planting in areas that tend to get waterlogged, as excessive moisture can cause the bulbs to rot.
Preparing the Soil
- Before planting, loosen the soil with a garden fork or tiller to a depth of 6-8 inches.
- Remove any weeds, rocks, or debris that may hinder the growth of the bulbs.
- Mix in compost or well-rotted manure to improve the soil’s fertility and drainage.
Planting Depth and Spacing
- Plant crocus bulbs at a depth of 3-4 inches, with the pointed end facing upward.
- Space the bulbs 2-4 inches apart to allow room for growth and proper air circulation.
Additional Tips
- Consider planting crocuses in groups or clusters to create a more visually appealing display.
- Adding a layer of mulch after planting can help conserve moisture and regulate soil temperature.
- Water the bulbs thoroughly after planting to help them settle in the soil.
By following these tips and guidelines, you can ensure that your crocuses are planted in the right conditions and have the best chance of flourishing. Enjoy the beautiful burst of color they bring to your garden in the early spring!
Providing the Correct Amount of Sunlight
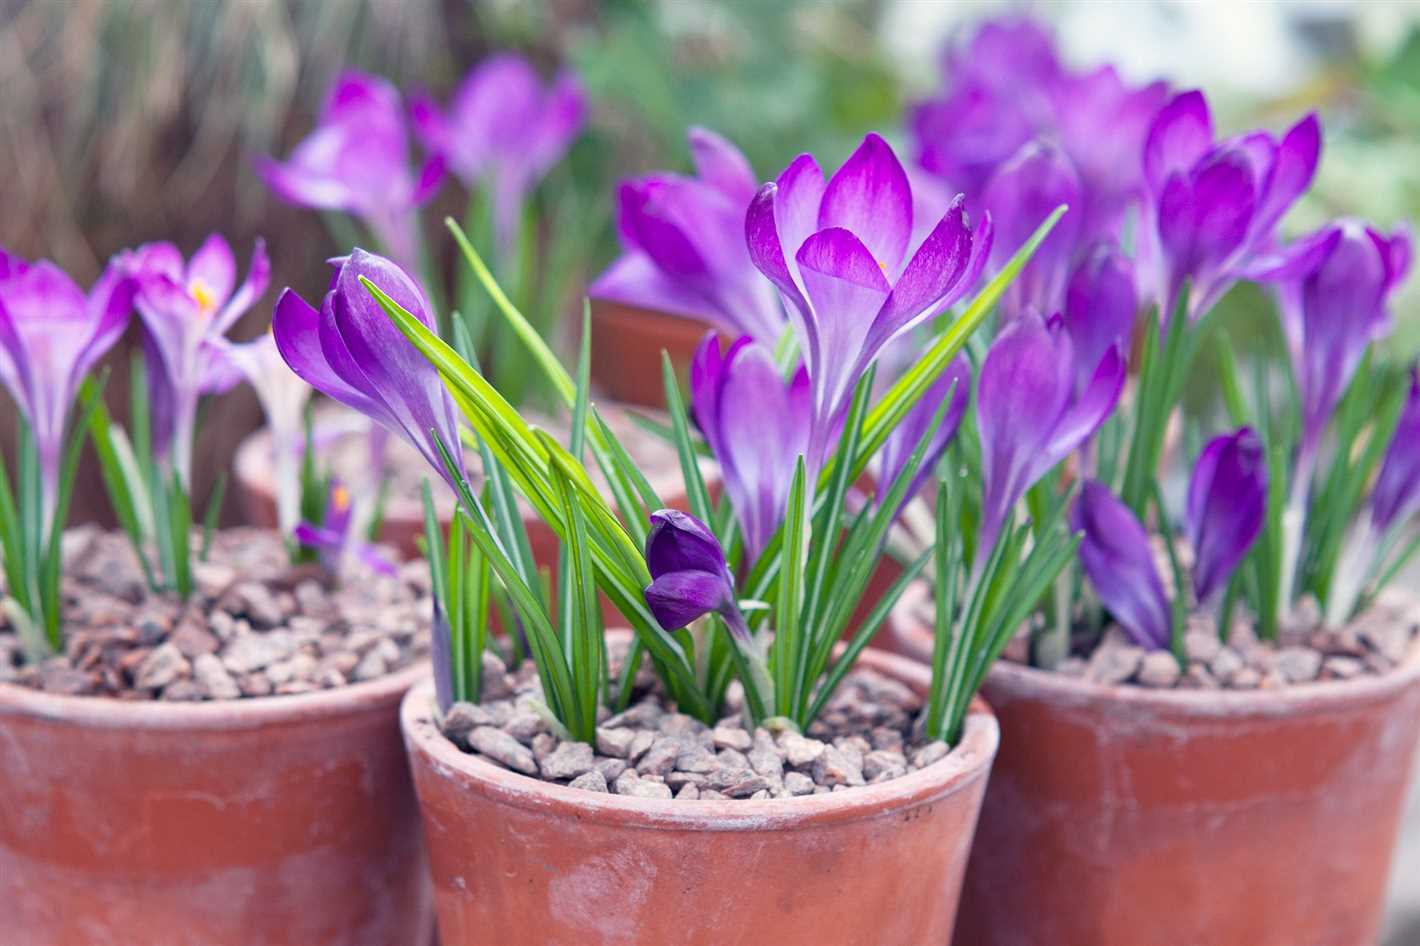

When it comes to planting crocus bulbs, it is important to provide the correct amount of sunlight for optimal growth and blooming. Crocus plants thrive in full sunlight, but they can also tolerate partial shade. However, too much shade can result in weak and leggy plants with fewer flowers.
To ensure that your crocus plants receive the right amount of sunlight, follow these tips:
1. Location
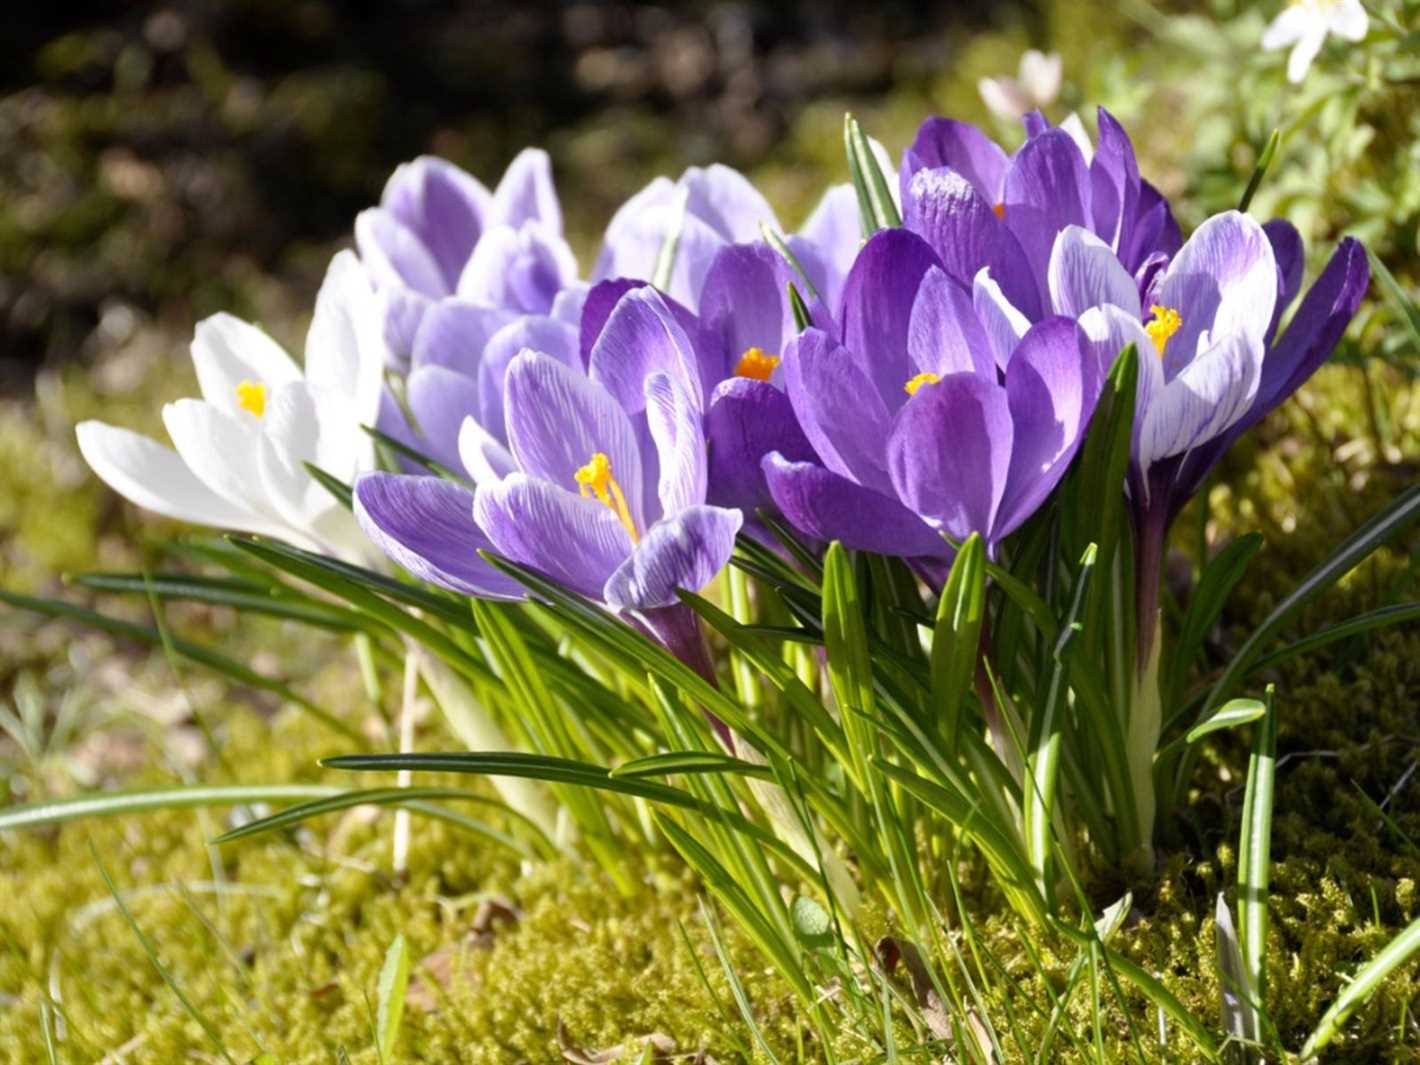

- Choose a planting location that receives at least 6 hours of direct sunlight per day.
- Avoid areas that are heavily shaded by trees or buildings, as the lack of sunlight can hinder the growth and development of the crocus plants.
2. Orientation


- Plant your crocus bulbs in an area that faces south or west. These directions receive the most sunlight throughout the day.
- If planting in a garden bed, arrange the bulbs in rows or clusters to maximize the exposure to sunlight.
3. Protection
- If your planting location is prone to strong winds or has excessive heat, consider providing some protection for your crocus plants.
- Using a light layer of mulch around the plants can help regulate soil temperature and retain moisture, which is beneficial for their growth.
By providing the correct amount of sunlight, you can ensure that your crocus bulbs grow into healthy plants with vibrant and beautiful flowers.
Watering and Fertilizing Crocuses
Watering Crocuses
Crocuses require regular watering to ensure healthy growth and blooming. However, it is important to strike a balance and avoid overwatering, as this can lead to bulb rot.
A good rule of thumb is to water your crocuses when the top inch of soil feels dry to the touch. Be sure to water deeply enough to reach the root zone, but avoid waterlogging the soil.
During the growing season, crocuses benefit from consistent moisture. This is especially crucial during periods of drought or extended dry spells.
Fertilizing Crocuses
Crocuses can benefit from a balanced fertilizer application during their growing season. A slow-release fertilizer can be applied to the soil in early spring, just as the crocuses emerge.
A general-purpose fertilizer with equal amounts of nitrogen, phosphorus, and potassium is suitable for crocuses. Follow the manufacturer’s instructions for application rates and timings.
It is important not to over-fertilize crocuses as this can lead to excessive vegetative growth at the expense of flower production. A light feeding once a year is usually sufficient for healthy crocuses.
The fertilizer should be applied evenly around the crocuses, taking care to avoid direct contact with the bulbs.
Always water your crocuses after fertilizing to help the nutrients penetrate the soil and be absorbed by the roots.
Protecting Crocuses from Pests and Diseases
Crocuses are generally resistant to most pests and diseases, but there are a few common issues to watch out for. By taking certain precautions, you can keep your crocuses healthy and thriving.
Pests
- Squirrels: Squirrels are known to dig up crocus bulbs to eat them. To protect your bulbs, you can cover the planting area with wire mesh or sprinkle some dried blood or red pepper flakes around the plants.
- Deer: Deer can also be a problem as they may eat the flowers and bulbs. Consider using deer repellents or fencing your garden to keep them out.
- Mice and voles: These small rodents can damage bulbs by eating them or burrowing around them. To deter them, you can try planting the bulbs in wire mesh cages or using underground barriers.
- Slugs and snails: These slimy creatures can chew through crocus leaves and flowers. You can use slug and snail traps or apply pet-safe slug pellets to protect your plants.
Diseases
While crocuses are generally resistant to diseases, they can still be affected by a few common ones:
- Botrytis: This fungal disease can cause gray mold on the leaves and flowers. To prevent botrytis, avoid overhead watering and provide good air circulation around the plants.
- Root rot: Overwatering or poorly-drained soil can lead to root rot, which can cause the bulbs to rot. Make sure to provide well-drained soil and avoid overwatering.
- Virus infections: Crocuses can sometimes be affected by virus infections, which can cause yellowing or mottling of the leaves. There is no cure for viral infections, so it’s best to remove and destroy infected plants to prevent the spread of the disease.
Conclusion
By taking precautions against pests and diseases, you can protect your crocuses and enjoy their beautiful blooms. Keep an eye out for any signs of trouble and take appropriate action to keep your crocuses healthy and flourishing.
Proper Crocus Maintenance and Care
- Watering: Crocus bulbs require regular watering, especially during their active growth and blooming period. Ensure that the soil remains moist but not overly saturated. Avoid allowing the bulbs to sit in standing water, as this can cause rot.
- Fertilizing: Apply a balanced slow-release fertilizer to the crocus bulbs in the early spring, just as they begin to emerge from the ground. This will provide them with the necessary nutrients for healthy growth and vibrant blooms.
- Deadheading: Remove spent flowers from the crocus plants to prevent them from going to seed. This will redirect the plant’s energy into bulb development rather than seed production. Simply pinch off the faded flowers at the base of the stem.
- Dividing: Over time, crocus bulbs can multiply and become overcrowded. To maintain their vigor and ensure continued blooming, it is necessary to divide the bulbs every few years. Wait until the foliage has withered and turned yellow, then carefully dig up the bulbs and separate them. Replant the bulbs at the appropriate spacing.
- Protecting: Depending on the climate, crocus bulbs may benefit from a layer of mulch to protect them from extreme cold temperatures. Apply a 2-3 inch layer of organic mulch, such as straw or shredded leaves, in the late fall after the ground has frozen.
- Pest and Disease Control: Crocus plants are generally resistant to pests and diseases. However, they may occasionally be attacked by squirrels, rabbits, or voles, who find the bulbs tasty. To deter these critters, you can cover the planting area with chicken wire or use repellents.
- Pruning: Crocus plants do not require pruning. Simply allow the foliage to die back naturally after blooming. This will help replenish the bulb for the following year’s growth and blooms.
By following these maintenance and care tips, you can ensure that your crocus plants thrive and provide you with beautiful blooms year after year.
Harvesting and Storing Crocus Bulbs
Harvesting and properly storing crocus bulbs is an essential part of maintaining a healthy and vibrant garden. Here are some tips to help you successfully harvest and store your crocus bulbs:
1. Timing is crucial
Wait until the foliage of the crocus plant dies back completely before harvesting the bulbs. This generally occurs in late spring or early summer, depending on your climate. Harvesting too early can result in immature bulbs that may not flower properly.
2. Gently dig up the bulbs
Use a garden fork or trowel to carefully dig up the crocus bulbs. Take care not to damage the bulbs or their roots during the digging process. If you have a large number of crocus bulbs, you may want to use a garden fork to lift them in larger quantities.
3. Remove excess soil
Once the bulbs are dug up, gently shake off any loose soil. Do not attempt to wash or clean the bulbs, as this can increase the risk of disease or damage to the bulbs.
4. Dry the bulbs
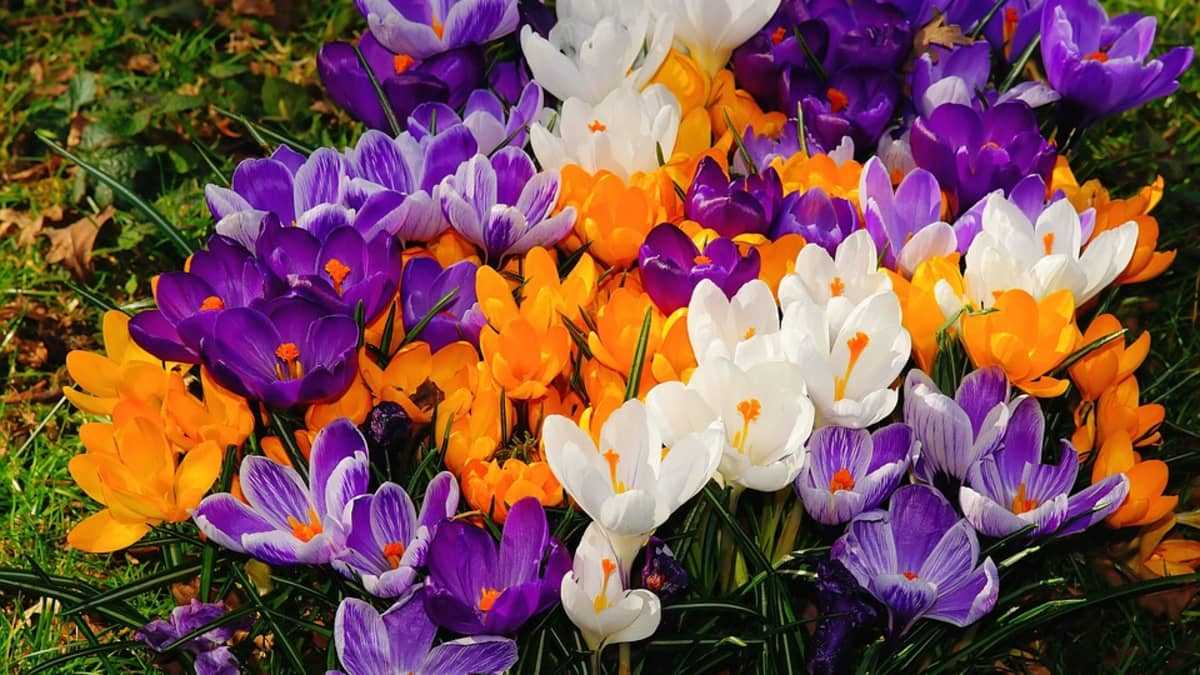

After removing excess soil, place the bulbs in a well-ventilated area to dry. This can be a shady spot in your garden or a cool, dry room indoors. Allow the bulbs to dry for approximately 2-3 weeks. This will help harden the bulbs before storing.
5. Remove foliage and stems
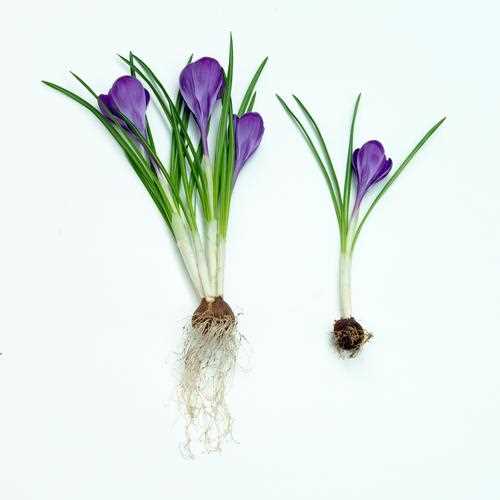

Once the bulbs are dry, carefully trim off any remaining foliage or stems. Be sure to remove only the dead parts and leave any healthy foliage intact. This will prevent the bulbs from wasting energy on decaying foliage and help prevent the spread of diseases.
6. Store in a cool, dry place
After removing the foliage, place the bulbs in a cool, dry place for storage. This can be a basement, garage, or a cool corner in your house. Make sure the storage location has good air circulation and is not prone to temperature fluctuations.
7. Use a storage container
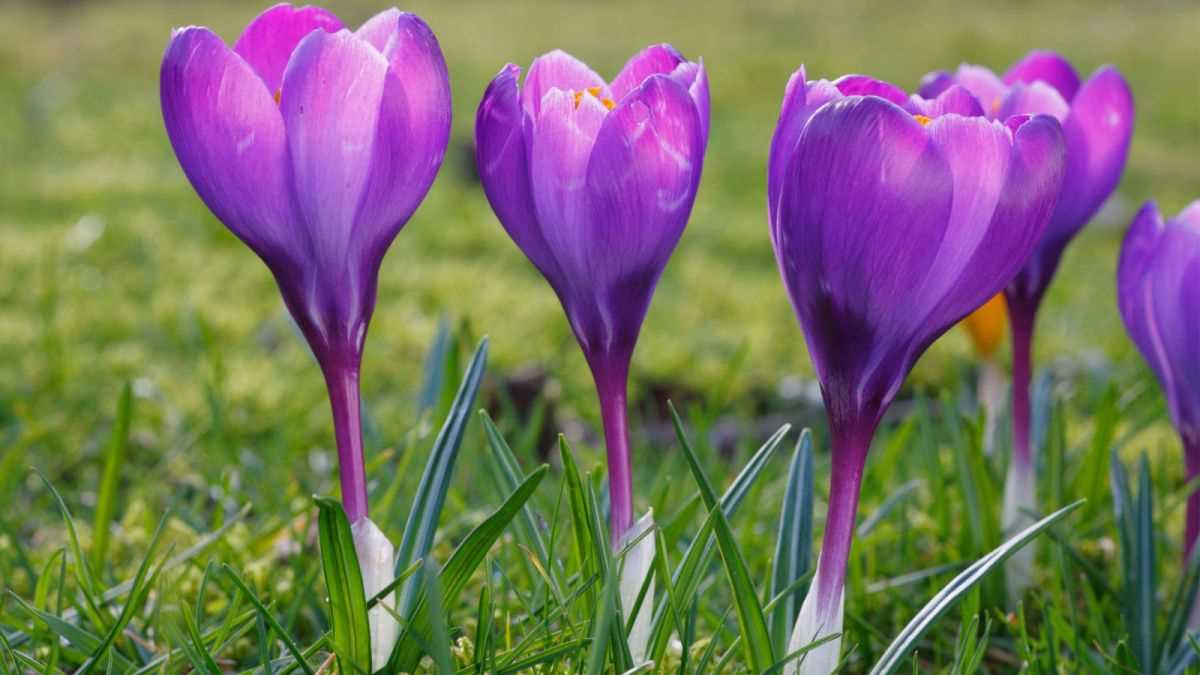

Consider using a storage container, such as a mesh bag or a shallow cardboard box, to store your crocus bulbs. This will help keep the bulbs organized and allow for adequate air circulation.
8. Check regularly for mold or rot
Periodically check your stored bulbs for any signs of mold or rot. If you notice any bulbs showing signs of decay, remove them immediately to prevent the spread of disease to the other stored bulbs.
9. Replant in the fall
In the fall, before the first frost, replant the stored crocus bulbs in a well-prepared garden bed. Follow the planting guidelines for depth and spacing provided for the specific variety of crocus you are planting.
By following these tips for harvesting and storing crocus bulbs, you can ensure that your bulbs remain healthy and give you beautiful blooms season after season.
Questions and Answers:
What is the best time to plant crocus bulbs?
The best time to plant crocus bulbs is in the fall, about 6-8 weeks before the ground freezes.
Can crocus bulbs be planted in containers?
Yes, crocus bulbs can be planted in containers. Just make sure the container has good drainage and is large enough for the bulbs to grow.
How deep should crocus bulbs be planted?
Crocus bulbs should be planted about 3-4 inches deep.
Do crocus bulbs need full sun?
Crocus bulbs prefer full sun, but they can also tolerate partial shade.
What type of soil is best for planting crocus bulbs?
Crocus bulbs prefer well-draining soil that is rich in organic matter.
How often should crocus bulbs be watered?
Crocus bulbs should be watered regularly, especially during dry periods. However, be careful not to overwater them, as they can rot.


