- Choosing the Right Location
- Sunlight Exposure
- Soil Condition
- Air Circulation
- Protection from Wildlife
- Proximity to Water Source
- Gathering the Mushrooms
- Preparing the Garden Bed
- 1. Clear the Area
- 2. Amend the Soil
- 3. Create a Raised Bed
- 4. Provide Shade
- 5. Add Organic Mulch
- 6. Water the Bed
- 7. Inoculate the Bed
- Creating an Ideal Growing Environment
- 1. Shade
- 2. Moisture
- 3. Organic Matter
- 4. pH Level
- 5. Protection from Pests
- 6. Proper Ventilation
- Transferring the Mushrooms
- 1. Clear the Area
- 2. Prepare the Soil
- 3. Moisture the Soil
- 4. Carefully Transfer the Mushrooms
- 5. Place the Mushrooms in the Garden
- 6. Provide Adequate Shade
- 7. Water Regularly
- 8. Monitor and Maintain
- Providing Proper Care
- Harvesting and Storage
- Pest and Disease Control
- Conclusion
- Harvesting and Storing
- 1. Harvesting Mushrooms
- 2. Storing Mushrooms
- Troubleshooting Common Issues
- 1. Lack of Mushroom Growth
- 2. Mushrooms Developing Abnormal Shapes or Colors
- 3. Pests and Wildlife Damage
- 4. Foul Odor
- 5. Low Mushroom Yield
- Q&A:
- What are the benefits of transferring forest mushrooms to the garden?
- How do I transfer forest mushrooms to my garden?
- Can I transfer any type of forest mushroom to my garden?
- What materials do I need to transfer forest mushrooms to my garden?
- Are there any risks or challenges associated with transferring forest mushrooms to the garden?
- Video: Growing Mushrooms in Buckets! Step-by-Step Guide to the Bucket Technique (Bucket Tek / Tech)
Mushrooms are a delicious and nutritious addition to any garden, and transferring forest mushrooms to your own garden is a great way to grow your own supply. While foraging for mushrooms in the wild can be an exciting adventure, it’s important to have a sustainable and controlled source of these fungi. By transferring forest mushrooms to your garden, you can ensure a steady supply of these culinary delights for years to come.
Transferring forest mushrooms to the garden may seem like a daunting task, but with the right knowledge and tools, it can be a rewarding and successful endeavor. This step-by-step guide will walk you through the process, from selecting the right mushrooms to preparing your garden bed.
Step 1: Choose the Right Mushroom Species
Not all mushrooms are suitable for transferring to a garden. It’s important to choose species that are native to your area and thrive in similar growing conditions. Some common forest mushrooms that can be successfully transferred to a garden include oyster mushrooms, shiitake mushrooms, and wine cap mushrooms. Research the specific growing requirements for each species to ensure success.
Step 2: Collect Fresh Spore Prints
Spore prints are a crucial element in transferring mushrooms to the garden. Collect fresh, mature mushrooms from the forest and place them gill-side down on a piece of white paper or glass. Let them sit undisturbed for several hours to release their spores onto the surface. These spore prints will be used to inoculate your garden bed.
Step 3: Prepare the Garden Bed
Choose a well-draining garden bed that receives partial shade, as most forest mushrooms prefer these conditions. Prepare the bed by removing any weeds, rocks, or other debris and amend the soil with organic matter like compost or aged manure. Create a layer of straw or wood chips to mimic the forest floor and provide a suitable habitat for the mushrooms.
By following these steps, you’ll be well on your way to transferring forest mushrooms to your own garden. Remember to monitor the growing conditions and provide regular care to ensure a bountiful harvest. With a little patience and effort, you’ll be enjoying homegrown mushrooms in no time!
Choosing the Right Location
When transferring forest mushrooms to your garden, it is important to choose the right location for their growth. Here are some factors to consider when selecting a location:
Sunlight Exposure
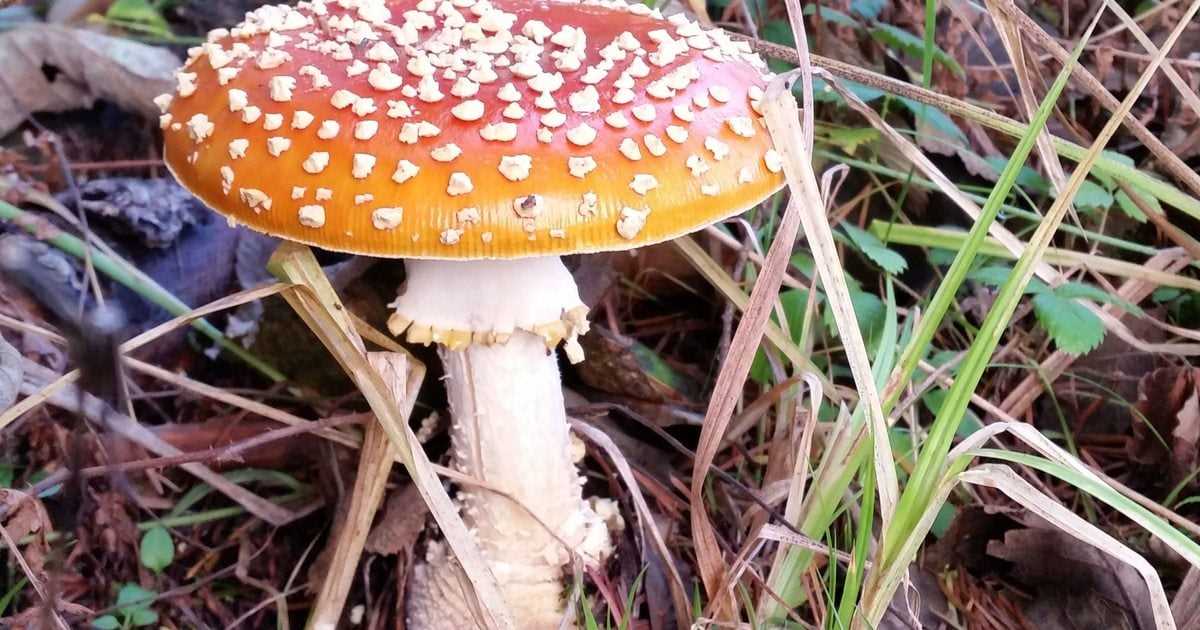
Mushrooms thrive in areas with indirect sunlight or partial shade. Look for a location that receives dappled sunlight throughout the day, such as under a canopy of trees or near a shaded wall or fence.
Soil Condition
The soil should be rich in organic matter and well-draining. Mushrooms prefer a slightly acidic soil pH, ranging from 5.5 to 6.5. Conduct a soil test to determine the pH level of your chosen location, and amend the soil if necessary.
Air Circulation
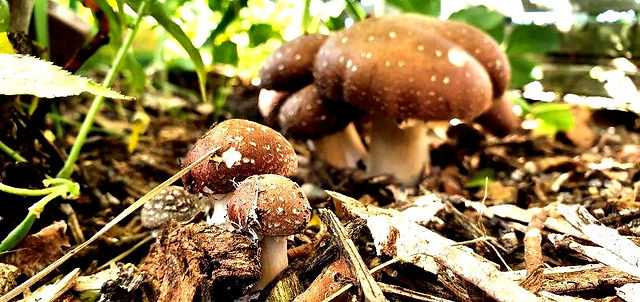
Good air circulation is essential for mushroom growth. Avoid areas that are prone to stagnation or excessive moisture buildup. Consider a location with natural airflow, such as an area with gentle breezes or near a open field.
Protection from Wildlife
While mushrooms can be a food source for wildlife, some animals may also damage or disturb your cultivated mushrooms. Choose a location that is protected from animals, either through fencing or by placing mushroom beds in raised containers.
Proximity to Water Source
Mushrooms require consistent moisture, so it is important to select a location that is conveniently close to a water source. This will make it easier to irrigate the mushroom beds and maintain the necessary moisture levels.
By considering these factors when choosing a location for your transferred forest mushrooms, you can create an environment that promotes their growth and ensures a successful harvest in your garden.
Gathering the Mushrooms
Before you start gathering mushrooms, it’s important to be able to identify the different species that grow in your area. Some mushrooms can be poisonous, so it’s crucial to know which ones are safe to pick and eat. Here are a few tips to help you get started:
- Research and educate yourself about the types of mushrooms that grow in your region. Look for field guides or online resources that provide detailed information on identification.
- Join a local mycology group or take a mushroom identification course. Learning from experienced mushroom hunters can greatly improve your ability to identify different species.
- When gathering mushrooms, always use a basket or a breathable bag to allow the spores to disperse and ensure the continued growth of the fungi.
- Pay attention to the habitat preferences of different mushroom species. Some prefer damp areas, while others thrive in woodlands or meadows. Knowing where to look can increase your chances of finding the mushrooms you’re interested in.
- While harvesting mushrooms, be careful not to damage the mycelium, which is the fungus’s underground network. Leaving a portion of the base intact and undisturbed will allow the mushroom to grow back in the future.
- Make sure to collect only mature mushrooms that have reached their full size and are free from any signs of decay or insect infestation.
- Remember to always respect private property and obtain permission from landowners before hunting for mushrooms on their land.
By following these guidelines, you can confidently gather mushrooms while minimizing the risks and helping to preserve the overall health and biodiversity of the forest ecosystem.
Preparing the Garden Bed
Before transferring forest mushrooms to your garden, it is important to prepare the garden bed properly to ensure optimal growth and yield. Follow these steps to prepare the garden bed:
1. Clear the Area
Start by clearing the area where you plan to transfer the mushrooms. Remove any weeds, rocks, or debris that may interfere with mushroom growth. Having a clean and well-prepared area will help provide the mushrooms with the best conditions for growth.
2. Amend the Soil
Mushrooms thrive in well-drained soil that is rich in organic matter. Before transferring the mushrooms, amend the soil by adding compost or well-rotted manure. This will help improve soil fertility and provide essential nutrients for the mushrooms.
3. Create a Raised Bed
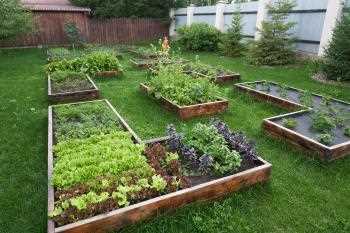
Consider creating a raised bed specifically for the mushrooms. A raised bed provides better drainage and helps to maintain the proper moisture levels for mushroom growth. Use untreated wood or bricks to construct the raised bed, ensuring it is sturdy and well-supported.
4. Provide Shade
Many forest mushrooms prefer shaded conditions. If your garden bed is in a sunny area, consider providing some shade for the mushrooms. You can use shade cloth or plant taller companion plants around the bed to create a shaded environment.
5. Add Organic Mulch
Once the bed is prepared, add a layer of organic mulch such as straw, wood chips, or leaves. The mulch helps to retain moisture, suppress weeds, and create a favorable environment for mushroom colonization.
6. Water the Bed
Before transferring the mushrooms, thoroughly water the bed to ensure the soil is evenly moist. Mushrooms require consistent moisture levels for successful growth, so make sure the bed is adequately hydrated.
7. Inoculate the Bed
Once the bed is prepared and ready, it’s time to transfer the forest mushrooms. Follow the instructions provided with your mushroom spawn or mycelium to properly inoculate the bed. Ensure the mushrooms are evenly distributed and properly spaced.
By following these steps to prepare the garden bed, you are setting the stage for successful mushroom growth in your garden. Remember to monitor the moisture levels, provide necessary shade, and maintain proper care throughout the growing season for the best results.
Creating an Ideal Growing Environment
In order to successfully transfer forest mushrooms to your garden, it is important to create an ideal growing environment. Here are some key factors to consider:
1. Shade
Mushrooms thrive in shady areas where they are protected from direct sunlight. Choose a location in your garden that receives minimal to dappled light throughout the day. If necessary, you can create additional shade using shade cloth or by planting taller plants around the mushroom beds.
2. Moisture
Mushrooms require a moist environment to grow. Make sure the soil in your garden is well-drained and regularly watered. It is important to keep the soil consistently moist, but not waterlogged, as excess water can lead to fungal diseases.
3. Organic Matter
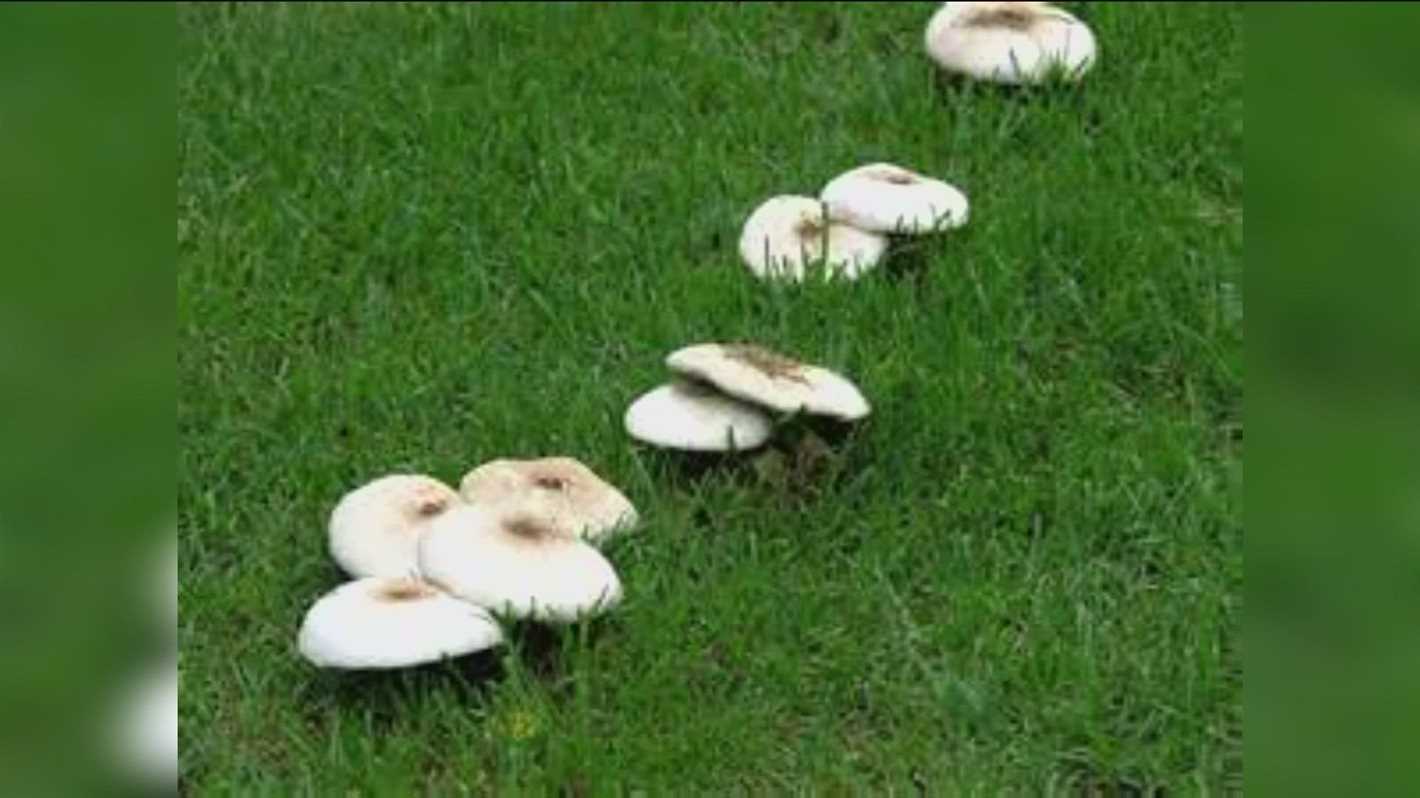
Mushrooms thrive in soil that is rich in organic matter. Prior to transferring the mushrooms, amend the soil in your garden with compost, well-rotted manure, or other organic materials. This will provide the mushrooms with the necessary nutrients and create a fertile growing environment.
4. pH Level
Mushrooms prefer a slightly acidic to neutral pH range. Test the pH level of your garden soil and adjust it if necessary. You can add lime to raise the pH or sulfur to lower it. Maintaining the correct pH level will help optimize the conditions for mushroom growth.
5. Protection from Pests
Mushrooms are vulnerable to pests, such as slugs and snails. Take measures to protect your mushroom beds from these pests by using barriers, such as copper tape or crushed eggshells, around the perimeter. Regularly check the beds for any signs of pest infestation and take appropriate action.
6. Proper Ventilation
Adequate ventilation is essential for the growth of mushrooms. Make sure the area where you transfer the mushrooms has good air circulation. This can be achieved by spacing the mushroom beds properly and clearing any obstructions that may block airflow.
By creating an ideal growing environment, you can increase the chances of success when transferring forest mushrooms to your garden. Pay attention to these factors and make the necessary adjustments to ensure optimal growth and harvest.
Transferring the Mushrooms
Once you have identified the ideal spot in your garden for transferring the mushrooms, it’s time to prepare the area and then proceed with the transfer. Follow these steps to ensure a successful transfer:
1. Clear the Area
Start by clearing any debris, grass, or weeds from the designated area in your garden. This will help create a clean and suitable environment for the mushrooms to thrive.
2. Prepare the Soil
Dig up the soil in the designated area to loosen it and remove any rocks or large clumps. This will provide a loose and nutrient-rich substrate for the mushrooms to establish themselves.
3. Moisture the Soil
Before transferring the mushrooms, make sure to moisten the soil in the designated area. Mushrooms thrive in moist environments, so ensure that the soil is damp but not waterlogged.
4. Carefully Transfer the Mushrooms
Using a sharp knife or a trowel, carefully dig up the mushrooms from their original location, making sure to include a portion of the surrounding substrate. Be gentle to avoid damaging the delicate mycelium.
5. Place the Mushrooms in the Garden
Once you have removed the mushrooms, transfer them directly to the prepared area in your garden. Make sure to place them close to the soil surface and press them gently to ensure good contact with the soil.
6. Provide Adequate Shade
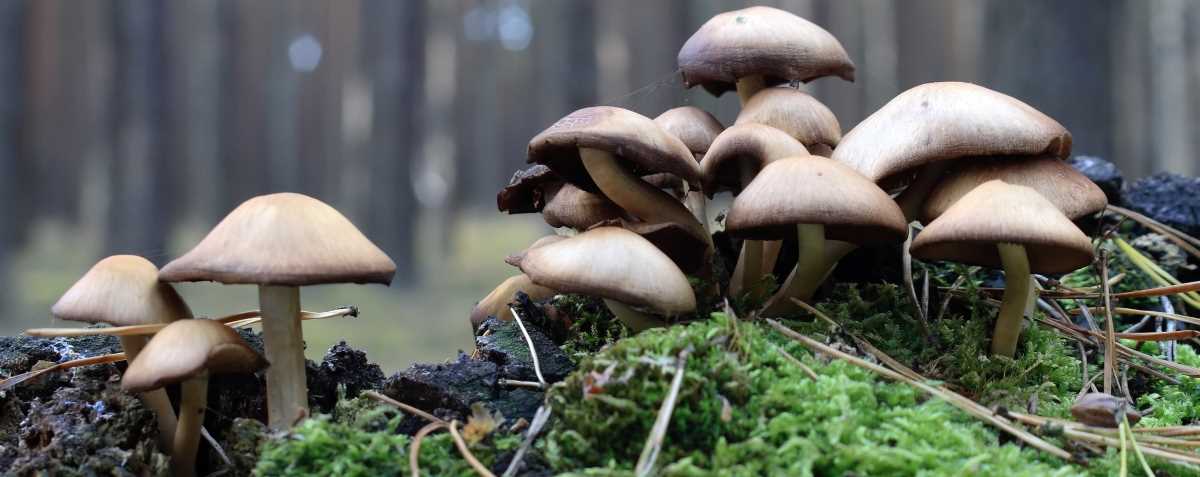
Mushrooms prefer partially shaded areas, so if your garden receives direct sunlight, consider providing some shade. This can be done by placing a mesh or a shade cloth over the area.
7. Water Regularly
Mushrooms require consistent moisture to grow, so make sure to water the area regularly. Avoid overwatering, as this can lead to waterlogged soil and potentially harm the mushrooms.
8. Monitor and Maintain
Monitor the progress of the transferred mushrooms and maintain the appropriate moisture levels. Remove any competing plants or weeds that may inhibit their growth and provide additional shade if needed.
Following these steps will help ensure a successful transfer of the forest mushrooms to your garden. With proper care and maintenance, you can enjoy a bountiful mushroom harvest right in your backyard!
Providing Proper Care
- Watering: Mushrooms require consistent moisture to grow, so it is important to water them regularly. Check the moisture level of the soil daily and water as needed to keep it damp but not soggy.
- Shade: While mushrooms need some light to stimulate growth, they prefer indirect light or shade. Avoid exposing them to direct sunlight for extended periods, as this can cause them to dry out.
- Temperature: Maintaining a consistent temperature is crucial for mushroom growth. Most varieties prefer temperatures between 55°F and 65°F (13°C and 18°C). Keep them away from drafts or extreme temperature fluctuations.
- Air Circulation: Good air circulation is essential for preventing the growth of mold and ensuring the health of your mushrooms. Use a fan or open a window to promote airflow in the growing area.
Harvesting and Storage
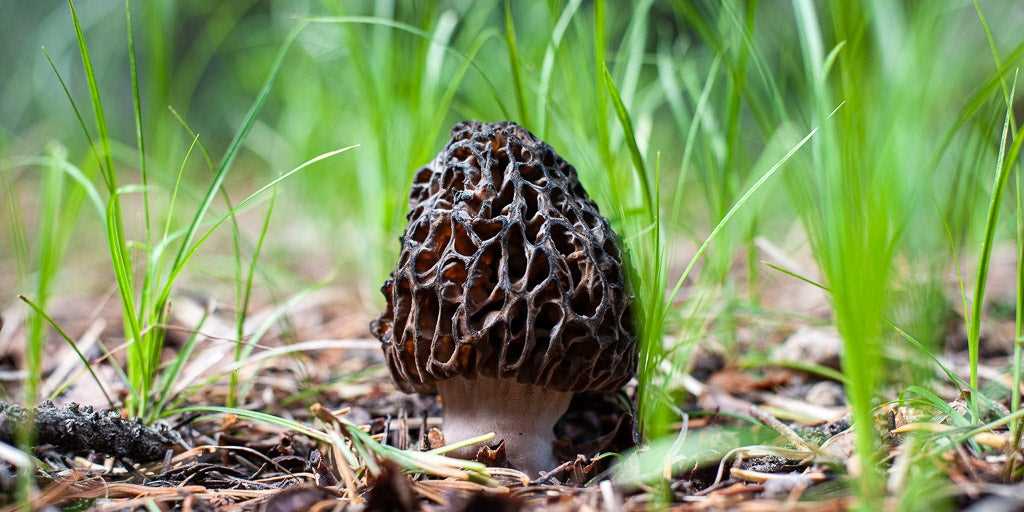
When your mushrooms are ready to harvest, carefully cut them at the base of the stem using a sharp knife or scissors. It is best to harvest them when they are fully mature but before the caps open up completely. Store harvested mushrooms in a breathable container, such as a paper bag or a loosely covered container, and store them in the refrigerator for up to a week.
Pest and Disease Control
While mushrooms are generally resistant to pests and diseases, it is important to monitor them for any signs of trouble. If you notice any unusual growths, discoloration, or pests, remove the affected mushrooms and adjust the growing conditions as needed to prevent further issues.
Conclusion
With proper care and attention, transferring forest mushrooms to your garden can be a rewarding experience. By providing the right growing conditions, including moisture, shade, temperature, and air circulation, you can enjoy a bountiful harvest of delicious and nutritious mushrooms. Remember to harvest them at the right time and store them properly to maximize their freshness.
Harvesting and Storing
1. Harvesting Mushrooms
To harvest forest mushrooms for transferring to your garden, follow these steps:
- Wear gloves and use a knife or scissors to cut the mushrooms at the base of their stems.
- Place the harvested mushrooms in a basket or container. Avoid using plastic bags as they can cause the mushrooms to sweat and deteriorate.
- Inspect each mushroom carefully before collecting. Only select mature mushrooms that are in good condition and free from any signs of decay or damage.
- Leave any small, undeveloped mushrooms or ones with open caps in the forest as they may not be suitable for transferring.
2. Storing Mushrooms
Properly storing the harvested mushrooms is crucial to maintain their freshness and quality. Here are some guidelines:
- Place the mushrooms in a paper bag or a breathable container.
- Avoid washing the mushrooms before storing, as moisture can cause them to spoil quickly.
- Store the mushrooms in a cool and dry place, such as a refrigerator. They can last for several days to a week when refrigerated.
- Do not store mushrooms near strong-smelling foods, as they can easily absorb odors.
- If you’re not going to use the mushrooms immediately, consider preserving them by drying or freezing for longer-term storage.
Troubleshooting Common Issues
1. Lack of Mushroom Growth
If you notice that your transferred forest mushrooms are not growing in your garden, there could be a few possible reasons:
- Improper environmental conditions: Mushrooms require specific environmental conditions to grow, including the right temperature, humidity, and light levels. Make sure you are providing the optimal conditions for mushroom growth.
- Poor substrate quality: The substrate, or the material on which the mushrooms are growing, could be of poor quality or lacking necessary nutrients. Ensure that you are using a high-quality substrate that is nutrient-rich.
- Contamination: If your garden soil or substrate is contaminated with other fungi or bacteria, it can hinder the growth of your transferred mushrooms. Keep your garden soil clean and free from contaminants.
2. Mushrooms Developing Abnormal Shapes or Colors
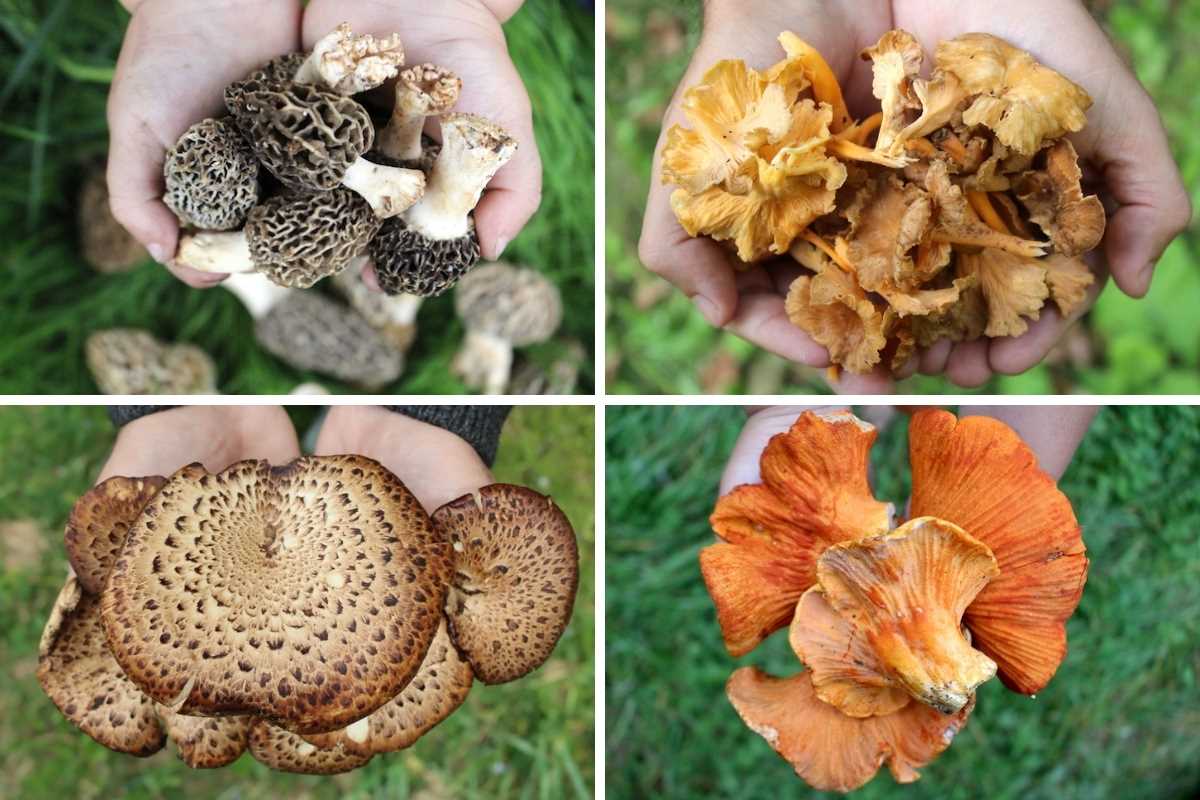
Abnormal shapes or colors in mushrooms could indicate underlying issues:
- Poor growing conditions: Inconsistent environmental conditions, such as fluctuating temperatures or improper watering, can result in mushrooms developing abnormal shapes or colors. Maintain consistent conditions for optimal growth.
- Fungal infections: Certain fungal infections can cause mushrooms to develop odd shapes or colors. Monitor your mushrooms closely and remove any infected ones to prevent the spread of infection.
3. Pests and Wildlife Damage
Pests and wildlife can be a common issue when growing mushrooms in a garden:
- Slugs and snails: These common garden pests are known for their love of mushrooms. Use organic slug repellents or barriers to protect your mushrooms from their damage.
- Rodents: Squirrels, rats, and other small rodents may be attracted to the mushrooms in your garden. Install physical barriers or use scent-based deterrents to keep them away.
- Insects: Certain types of insects, such as flies or maggots, can infest your mushroom beds. Regularly inspect your mushrooms and remove any affected ones to prevent further infestation.
4. Foul Odor
If you notice a foul odor coming from your mushroom bed, there might be an issue:
- Overwatering: Excessive moisture can lead to the growth of bacteria or other unwanted microorganisms, resulting in a foul odor. Ensure that your mushroom bed is well-drained and avoid overwatering.
- Decaying mushrooms: Mushrooms naturally decay over time, and this process can produce an unpleasant odor. Remove any decaying mushrooms promptly to prevent the foul smell from spreading.
5. Low Mushroom Yield
If your mushroom yield is lower than expected, consider the following factors:
- Incorrect harvesting: Harvesting mushrooms too early or too late can affect the overall yield. Follow proper harvesting techniques and timing specific to the type of mushroom you are growing.
- Underdeveloped mycelium: Insufficient mycelium growth can result in a lower yield. Make sure your mycelium is healthy and well-developed before transferring to the garden.
- Competition from other fungi: If there are other types of fungi present in your garden, they might compete with your transferred mushrooms for resources, leading to a lower yield. Maintain a clean and fungi-free growing environment.
By troubleshooting these common issues, you can maximize the success of transferring forest mushrooms to your garden and enjoy a bountiful harvest.
Q&A:
What are the benefits of transferring forest mushrooms to the garden?
Transferring forest mushrooms to the garden can have several benefits. First, you can have a regular supply of fresh mushrooms right in your garden. Second, it allows you to control the growing conditions and ensure that the mushrooms are safe for consumption. Lastly, it can be a fun and rewarding gardening project.
How do I transfer forest mushrooms to my garden?
Transferring forest mushrooms to your garden involves several steps. First, you need to identify the type of mushroom you want to transfer and ensure it is suitable for the garden. Then, you need to gather spores or mycelium from the mushroom and prepare the growing medium. Finally, you can transfer the spores or mycelium to the garden and provide the necessary conditions for them to grow.
Can I transfer any type of forest mushroom to my garden?
No, not all forest mushrooms are suitable for transferring to the garden. Some mushrooms have specific growing requirements, while others may not be safe for consumption. It is important to research and identify the type of mushroom you want to transfer to ensure it is suitable for your garden.
What materials do I need to transfer forest mushrooms to my garden?
To transfer forest mushrooms to your garden, you will need spores or mycelium of the mushroom, a growing medium such as compost or wood chips, containers or beds for growing the mushrooms, and proper tools for handling and maintaining the mushrooms. Additionally, you may need specific materials depending on the requirements of the mushroom species you are transferring.
Are there any risks or challenges associated with transferring forest mushrooms to the garden?
Yes, there are potential risks and challenges when transferring forest mushrooms to the garden. The mushrooms may not adapt well to the garden environment, leading to poor growth or failure to produce mushrooms. There is also a risk of introducing harmful or invasive mushroom species to your garden. It is important to research and follow proper procedures to minimize these risks.

