- Choose the right variety of tunbergia
- Prepare the soil for planting
- Start seeds indoors
- Transplant seedlings outdoors
- Provide support for tunbergia vines
- Water and fertilize regularly
- Prune and train the vines
- Protect tunbergia from pests and diseases
- Questions and Answers:
- What is Tunbergia?
- Can Tunbergia be grown from seed?
- What are the tips for successfully growing Tunbergia from seed?
- When should Tunbergia seeds be planted?
- How long does it take for Tunbergia seeds to germinate?
- Videos: 35 Best Vines for Containers | Climbing Plants for Pots
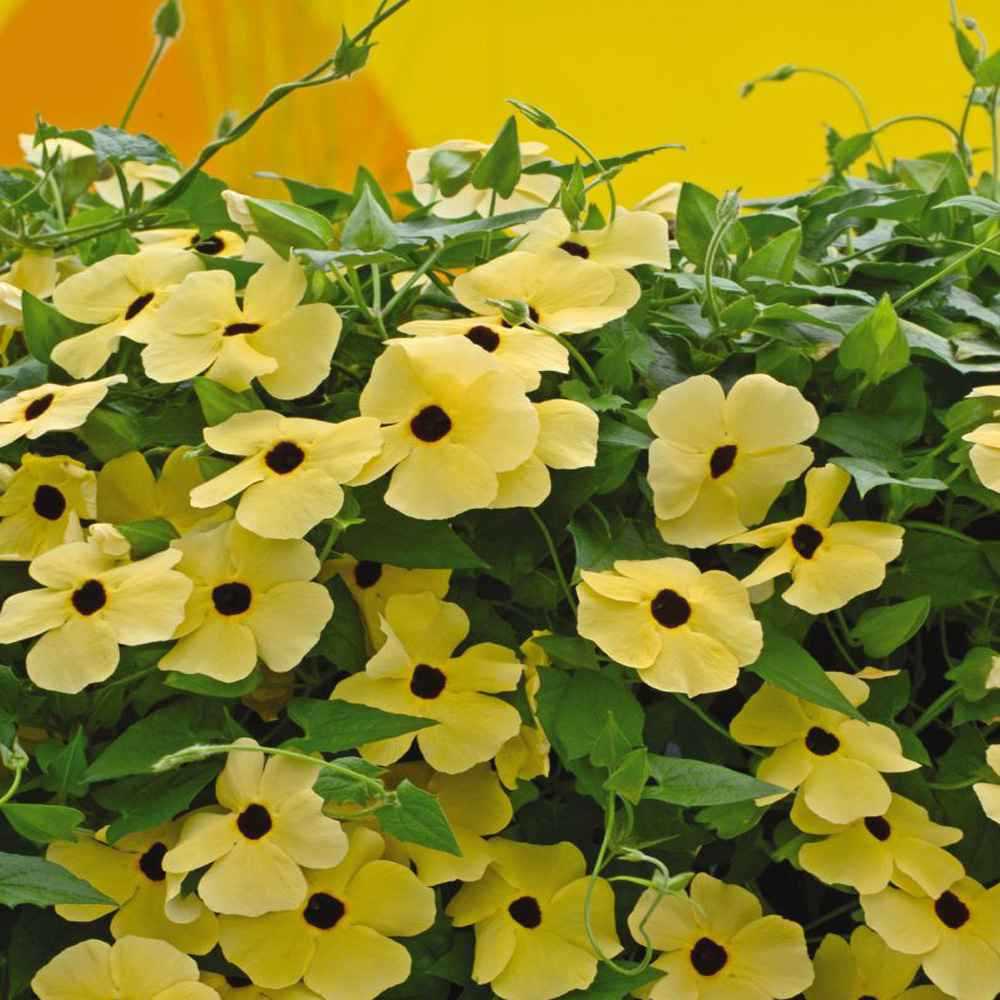
The tunbergia, also known as clock vine or brick-and-butter vine, is a beautiful flowering vine that can add a touch of elegance to any garden. With its vibrant colors and delicate flowers, the tunbergia is a popular choice among garden enthusiasts looking to add some visual interest to their outdoor spaces.
Growing the tunbergia from seed is a rewarding and fulfilling experience. While it may require some patience and care, the end result is well worth the effort. In this article, we will provide you with some helpful tips and guidelines to ensure the successful growth of your tunbergia vine.
First and foremost, it is important to choose the right location for your tunbergia. This vine thrives in full sun or partial shade, so make sure to select a spot in your garden that receives adequate sunlight throughout the day. Additionally, the tunbergia prefers well-draining soil, so be sure to prepare the soil beforehand by adding organic matter or compost to improve drainage.
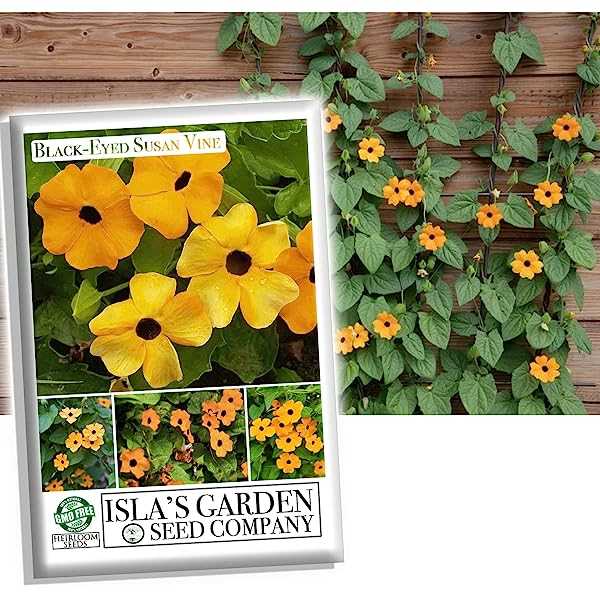
When it comes to planting the tunbergia seeds, it is best to start indoors in late winter or early spring. Fill a seed tray or pots with seed compost and lightly press the seeds onto the surface, without covering them with soil. Mist the seeds with water and cover the tray or pots with a plastic bag or a propagator lid to create a humid environment. Place the tray or pots in a warm location with indirect sunlight, making sure to keep the compost moist.
Choose the right variety of tunbergia

The tunbergia plant comes in a variety of species and cultivars, each with its own unique characteristics and growth habit. When choosing a variety of tunbergia to grow in your garden, consider the following factors:
- Growth habit: Some tunbergia varieties are climbers, while others are more compact and bushy. Determine the growth habit that suits your garden space and design.
- Flower color: Tunbergia flowers come in a range of colors, including shades of purple, blue, white, and yellow. Choose a variety that complements your garden color scheme or personal preference.
- Plant size: Check the expected height and spread of the tunbergia variety to ensure it will fit in your desired location in the garden.
- Climate suitability: Consider the climate in your region and choose a tunbergia variety that is known to thrive in your specific conditions.
- Growing requirements: Some tunbergia varieties may have specific soil, water, or light requirements. Make sure to choose a variety that matches your garden’s growing conditions or be prepared to provide the necessary care.
By selecting the right variety of tunbergia for your garden, you can ensure optimal growth and a beautiful display of flowers throughout the growing season.
Prepare the soil for planting

The success of growing Tunbergia from seeds largely depends on the preparation of the soil. Follow these steps to create the ideal growing conditions for your flowering vine:
- Choose a well-draining location: Tunbergia prefers well-drained soil, so make sure to select a planting spot that does not accumulate water.
- Remove any weeds or debris: Clear the area of any existing weeds or debris before planting the seeds. This will help prevent competition for nutrients and space.
- Loosen the soil: Use a garden fork or tiller to loosen the soil to a depth of at least 8-10 inches. This will improve aeration and drainage.
- Amend the soil: If your soil is heavy or lacking in organic matter, consider adding compost or well-rotted manure. This will enrich the soil and provide essential nutrients for healthy growth.
- Test the pH level: Tunbergia prefers slightly acidic to neutral soil (pH 6.0-7.0). Test the soil pH using a soil testing kit and make any necessary adjustments by adding lime or sulfur.
- Work in slow-release fertilizer: Incorporate a slow-release fertilizer into the soil according to package instructions. This will provide a steady supply of nutrients over time.
Once you have prepared the soil, it is ready for planting Tunbergia seeds. Follow the instructions on the seed packet for the recommended depth and spacing. Keep the soil consistently moist but not waterlogged, and provide a trellis or support for the vines to climb as they grow.
Start seeds indoors
If you want to grow Tunbergia from seed, it is best to start them indoors before the last frost. This will give the seeds a head start and increase the chances of successful germination.
Here are some steps to follow when starting Tunbergia seeds indoors:
- Choose the right time: Start your Tunbergia seeds indoors about 6-8 weeks before the last expected frost in your area. This will give the plants enough time to grow and become established before transplanting them outdoors.
- Select the right location: Find a warm and well-lit area in your home to set up your seed starting station. A south-facing window or a room with grow lights will work great.
- Prepare your containers: Fill seed trays or small pots with a seed starting mix. Moisten the mix but make sure it is not waterlogged.
- Sow the seeds: Place 2-3 Tunbergia seeds in each container, pressing them gently into the soil. Cover them lightly with a thin layer of soil.
- Maintain the right conditions: Keep the soil consistently moist but not overly wet. Place a plastic wrap or a humidity dome over the containers to create a greenhouse-like environment.
- Provide adequate light: Once the seeds germinate, remove the plastic wrap or humidity dome and place the containers under grow lights or in a bright spot near the window.
- Transplanting: When the seedlings have developed their second set of true leaves, they are ready to be transplanted into larger pots or directly into the garden.
By starting Tunbergia seeds indoors, you can ensure a higher success rate and enjoy beautiful flowers in your garden. Happy gardening!
Transplant seedlings outdoors

Once your Tunbergia seedlings have developed their first true leaves, it is time to transplant them outdoors. Transplanting is best done when there is no threat of frost and the soil has warmed up.
Here are the steps to transplant your seedlings outdoors:
- Choose a location with full sun and well-drained soil.
- Prepare the soil by removing any weeds and loosening it with a garden fork or tiller.
- Dig a hole that is slightly larger than the root ball of the seedling.
- Carefully remove the seedling from its container, trying not to disturb the roots too much.
- Place the seedling in the prepared hole and backfill with soil, gently firming it around the roots.
- Water the transplant thoroughly to settle the soil and help the roots establish.
- Provide support for the seedling to climb on, such as a trellis or fence, if desired.
Tips for successful transplantation:
- Choose a location with good air circulation to prevent disease.
- Add organic matter, such as compost or well-rotted manure, to the soil before transplanting to improve fertility and drainage.
- Water the seedlings regularly, especially during hot and dry periods, to ensure they do not dry out.
- Mulch around the seedlings to help conserve moisture and suppress weeds.
- Monitor the seedlings for any signs of pests or diseases, and take appropriate action if needed.
By following these steps and providing proper care, your Tunbergia seedlings should thrive in their new outdoor location and produce beautiful flowers throughout the growing season.
Provide support for tunbergia vines

- Tunbergia vines are climbers and need proper support to grow and thrive in your garden.
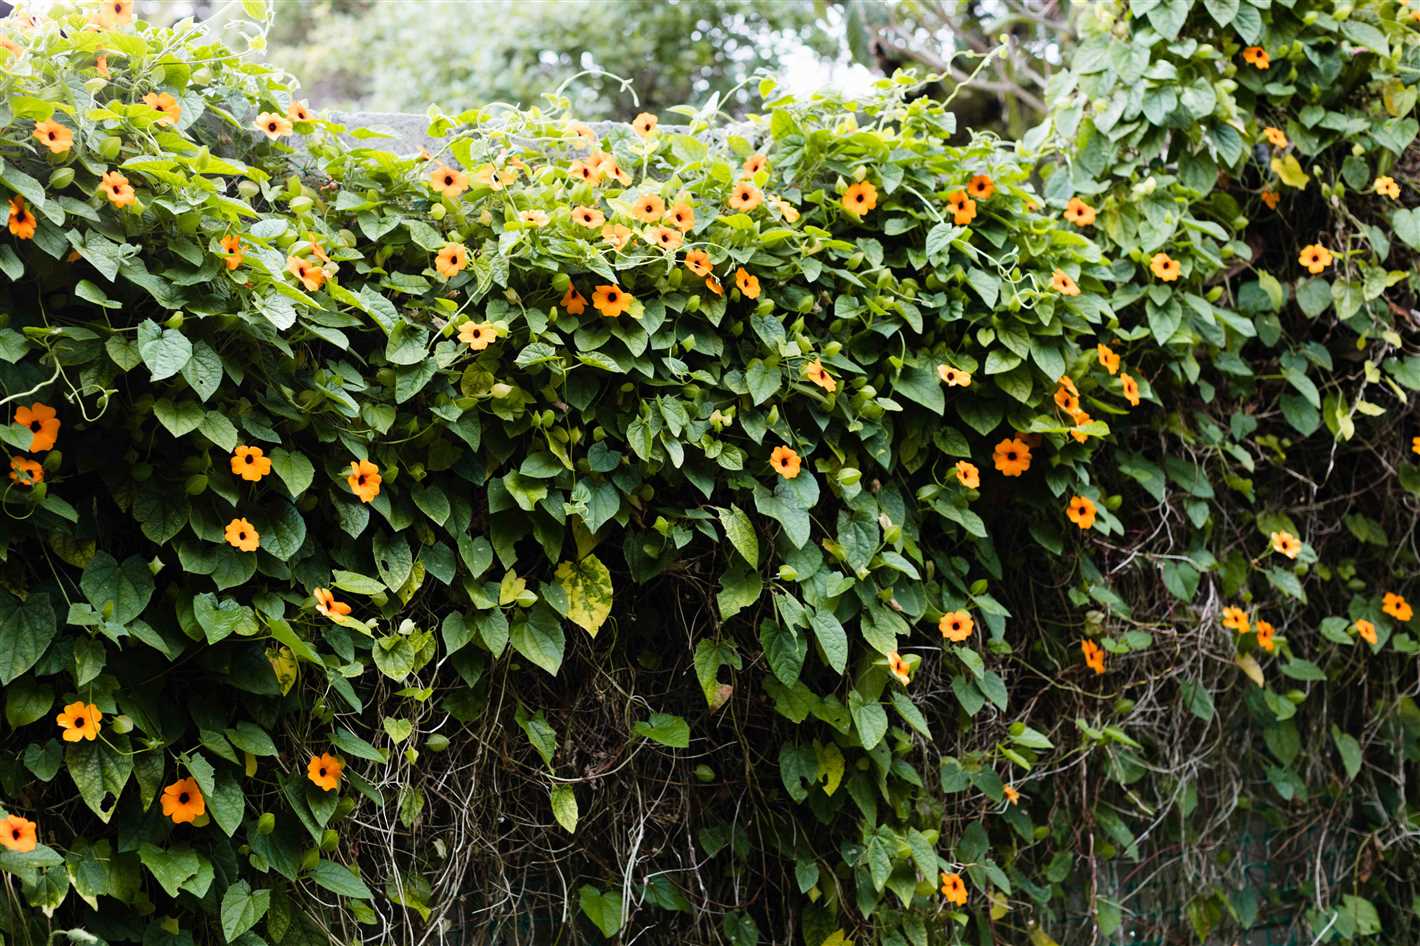
- Install a trellis, arbor, or a sturdy fence that can support the weight of the vines. Ensure that the structure is securely anchored to the ground to prevent it from falling over or getting damaged during strong winds.
- Choose a location away from strong gusts of wind that could cause the vines to break or get tangled.
- Consider using a wire mesh or netting along the support structure to provide additional places for the vines to attach and climb. This will help to create a fuller and more visually appealing display.
- Regularly check and adjust the vines to make sure they are properly attached to the support. Gentle training and pruning may be necessary to guide the growth in the desired direction.
Providing the necessary support for your tunbergia vines will not only help them to grow and spread efficiently, but it will also enhance their appearance in your garden. The proper support will allow the vines to climb and drape gracefully, creating a beautiful and eye-catching display for you to enjoy.
Water and fertilize regularly
Proper watering and fertilization are essential for the successful growth of tunbergia plants. Follow these tips to ensure your plants remain healthy and vibrant:
- Watering: Tunbergia plants prefer consistently moist soil. Water your plants regularly, especially during hot and dry periods. Aim to keep the soil evenly moist, but not soggy. Avoid overwatering, as that can lead to root rot.
- Fertilization: Feed your tunbergia plants with a balanced, water-soluble fertilizer every two weeks during the growing season. Choose a fertilizer specifically formulated for flowering vines or general-purpose plant food. Follow the instructions on the fertilizer packaging for proper application rates.
Additionally, consider the following tips to optimize watering and fertilization:
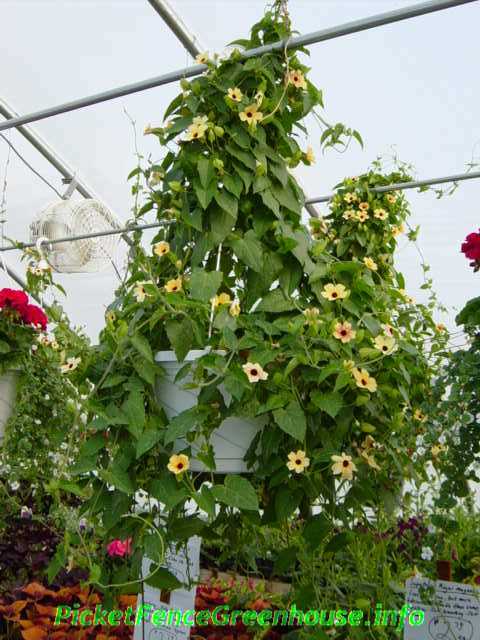
- Container-grown plants: If you are growing tunbergia in containers, ensure that the pots have drainage holes to prevent waterlogging. Water until the water flows out of the drainage holes, and then empty the saucer to avoid standing water.
- Mulching: Apply a layer of organic mulch around the base of the plants to help retain soil moisture and suppress weeds. This will reduce the frequency of watering needed.
By providing adequate water and nutrients, you will encourage healthy growth and abundant blooms in your tunbergia plants.
Prune and train the vines
Pruning and training the vines is essential for maintaining the shape and health of your Tunbergia plants. Here are some tips to help you prune and train your vines:
- Prune in early spring: It is best to prune your Tunbergia vines in early spring before new growth begins. This will help promote new growth and ensure that your plants stay neat and tidy.
- Remove dead or damaged growth: While pruning, remove any dead or damaged growth. This will not only improve the overall appearance of your plants but will also prevent the spread of diseases.
- Control the size and shape: If your Tunbergia vines are growing too large or in an unruly manner, you can prune them to control their size and shape. Trim back any long or excessive growth to maintain a compact and attractive plant.
- Train the vines: Tunbergia vines have a tendency to twine and climb on nearby structures or plants. If you want to train them to grow in a particular direction, you can gently guide their growth by securing them with garden twine or plant ties. This will help create a more organized and aesthetically pleasing display.
- Regular maintenance: Pruning and training should be done on a regular basis to keep your Tunbergia plants in good shape. Regularly inspect your vines for any signs of overgrowth or damage and take prompt action when needed. This will ensure that your plants stay healthy and continue to bloom abundantly.
By following these pruning and training tips, you can enjoy a beautiful and well-maintained Tunbergia vine in your garden.
Protect tunbergia from pests and diseases

Tunbergia can be susceptible to various pests and diseases, but there are steps you can take to protect your plants:
- Aphids: These small insects feed on the sap of tunbergia plants, causing leaves to curl and distort. To control aphids, you can spray the plants with a mixture of water and mild soap or use insecticidal soap. Ladybugs and lacewings are natural predators that can also help control aphids.
- Spider mites: These tiny pests are common on tunbergia plants and can cause yellowing or bronzing of leaves. You can control spider mites by regularly spraying the plants with a strong stream of water to dislodge them. If the infestation is severe, you can use insecticidal soap or an insecticide labeled for spider mites.
- Whiteflies: These small, flying insects can be a problem for tunbergia plants. They suck the sap from the leaves, causing them to yellow and curl. You can control whiteflies by introducing natural predators such as parasitic wasps or by using insecticidal soap.
- Powdery mildew: This fungal disease can appear as a white powdery coating on the leaves of tunbergia plants. To prevent powdery mildew, avoid overhead watering and plant the vines in well-draining soil. If powdery mildew does appear, you can treat it with a fungicide labeled for powdery mildew.
- Root rot: Overwatering or poorly drained soil can lead to root rot in tunbergia plants. To prevent this, make sure the soil is well-draining and water the plants only when the top inch of soil feels dry. If root rot does occur, you may need to remove affected plants and improve the drainage in the area.
By being proactive in protecting your tunbergia plants from pests and diseases, you can help ensure healthy and vibrant vines in your garden.
Questions and Answers:
What is Tunbergia?
Tunbergia is a flowering vine that belongs to the Acanthaceae family. It is known for its beautiful and colorful blossoms.
Can Tunbergia be grown from seed?
Yes, Tunbergia can be grown from seed. It is a relatively easy plant to grow from seed, and many gardeners have had success with it.
What are the tips for successfully growing Tunbergia from seed?
There are a few tips to keep in mind for successfully growing Tunbergia from seed. First, it is important to start the seeds indoors, as they require warm temperatures to germinate. Second, the seeds should be planted in well-draining soil and kept moist but not waterlogged. Finally, once the seedlings have sprouted, they should be gradually acclimated to outdoor conditions before being transplanted into the garden.
When should Tunbergia seeds be planted?
Tunbergia seeds should be planted indoors in early spring, around 8-10 weeks before the last frost date. This will give the seeds plenty of time to grow and develop before they are ready to be transplanted into the garden.
How long does it take for Tunbergia seeds to germinate?
Tunbergia seeds typically take around 10-14 days to germinate, but it can sometimes take longer. It is important to be patient and provide the seeds with the necessary warmth and moisture for germination.


