- What is Pelargonium?
- Why Sow Pelargonium Seeds?
- Sowing Pelargonium Seeds With Boiling Water
- Preparing the Seeds
- Gather the Supplies
- Choose the Method
- Read the Instructions
- Prepare the Germination Tray or Pots
- Moisten the Soil
- Sow the Seeds
- Cover the Seeds
- Label and Cover
- Sowing Process
- Sowing With Boiling Water
- Sowing Without Boiling Water
- Sowing Pelargonium Seeds Without Boiling Water
- Preparing the Seeds
- Sowing Process
- Sowing with Boiling Water:
- Sowing without Boiling Water:
- Q&A:
- What is the best way to sow pelargonium seeds?
- Why is it necessary to soak the pelargonium seeds in boiling water before planting?
- What happens if I don’t soak the pelargonium seeds in boiling water?
- Do I need to boil the water before soaking the pelargonium seeds?
- Can I sow pelargonium seeds without boiling water?
- Are there any other methods for sowing pelargonium seeds?
- Video: How to Grow Geraniums from Seed
So you’ve decided to grow your own pelargonium plants from seeds and you’re wondering what’s the best way to do it? Well, there are two popular methods you can choose from – sowing the seeds with or without boiling water. In this article, we will explore both methods and help you make an informed choice.
Sowing pelargonium seeds with boiling water is a technique that has been used for decades. The idea behind it is that the hot water helps soften the tough outer coating of the seeds, making it easier for them to germinate. To use this method, simply pour boiling water over the seeds and let them soak for a few hours before sowing them in a well-drained potting mix. This method can help speed up germination and increase the overall success rate of your seedlings.
If using boiling water seems like a hassle or you’re concerned about damaging the seeds, there is another method you can try – sowing pelargonium seeds without boiling water. With this method, you simply sow the seeds directly into a well-prepared potting mix without any pre-treatment. While it may take longer for the seeds to germinate compared to the boiling water method, many gardeners have had good success with this technique. It is important to keep the soil consistently moist and provide adequate sunlight for the seedlings to thrive.
What is Pelargonium?
Pelargonium is a genus of flowering plants that belong to the family Geraniaceae. This genus is commonly known as geranium and consists of approximately 280 species. Pelargoniums are native to southern Africa but are also cultivated in various other regions around the world. They are popular garden plants due to their colorful flowers and pleasant fragrances.
Pelargoniums are herbaceous plants with succulent stems and leaves. The leaves are often deeply lobed and can have a variety of shapes, including rounded, oval, and triangular. The flowers are typically five-petaled and come in a range of colors, including pink, red, white, and purple. They are arranged in clusters and have a symmetrical shape.
These plants are often cultivated for their ornamental value, as they can add beauty to gardens, balconies, and indoor spaces. Additionally, pelargoniums can be grown for their scented leaves, which are used in essential oil production. The oil is commonly used in perfumes, soaps, and aromatherapy.
Pelargoniums are relatively easy to grow and can tolerate a variety of growing conditions. They prefer well-draining soil and require regular watering. They can be grown from seeds or propagated through stem cuttings. With proper care, pelargoniums can thrive and provide enjoyment with their vibrant flowers and lovely fragrances.
Why Sow Pelargonium Seeds?
Pelargoniums, also known as geraniums, are popular flowering plants that are easy to grow from seeds. Sowing pelargonium seeds can be a rewarding experience for both experienced gardeners and beginners. Here are a few reasons why you should consider sowing pelargonium seeds:
- Cost Effective: Growing pelargoniums from seeds is much more affordable compared to buying fully-grown plants from a nursery or garden center.
- Wide Variety: Sowing pelargonium seeds gives you access to a wide variety of cultivars and species. There are many different colors, shapes, and sizes of pelargonium flowers to choose from.
- Customization: Sowing pelargonium seeds allows you to grow plants that suit your specific tastes and preferences. You can choose the colors and types of flowers that you find most appealing.
- Learning Experience: Growing pelargoniums from seeds can be an educational experience, especially for beginners. It allows you to learn about the different stages of plant growth and how to care for plants from seedlings to fully-grown plants.
- Indoor and Outdoor Growing: Pelargoniums can be grown both indoors and outdoors, making them versatile plants for any garden or home. Whether you have a small balcony, a sunny windowsill, or a spacious garden, you can find a place to grow pelargoniums.
- Continuous Blooms: Sowing pelargonium seeds allows you to have a continuous supply of blooming flowers throughout the growing season. With proper care and maintenance, pelargoniums can bloom for several months, providing a beautiful display of color.
Overall, sowing pelargonium seeds is a cost-effective, customizable, and educational way to grow these beautiful flowering plants. Whether you are an experienced gardener or a beginner, sowing pelargonium seeds can bring joy and beauty to your garden or home.
Sowing Pelargonium Seeds With Boiling Water
Sowing pelargonium seeds with boiling water can help improve germination rates and speed up the seedling process. Here is a step-by-step guide on how to sow pelargonium seeds using boiling water:
- Gather the materials: You will need pelargonium seeds, boiling water, a bowl or container, and a paper towel.
- Prepare the seeds: If you are using fresh seeds, you can skip this step. If you are using stored seeds, soak them in water overnight to enhance their viability.
- Boil the water: Bring a pot of water to a rolling boil.
- Place the seeds in boiling water: Carefully place the pelargonium seeds into the boiling water and let them soak for about 5 seconds. This process helps to break the seed’s dormancy and improve germination rates.
- Transfer the seeds: Using a spoon or strainer, transfer the seeds to a bowl or container filled with room temperature water.
- Soak the seeds: Allow the seeds to soak in the room temperature water for about 24 hours. This helps to further soften the seed coat and improve germination.
- Prepare the growing medium: While the seeds are soaking, prepare a seed-starting mix or a combination of potting soil and perlite for planting.
- Plant the seeds: After the soaking period, remove the seeds from the water and place them on a damp paper towel. Gently press them into the prepared growing medium, leaving a small gap between each seed.
- Provide optimal conditions: Place the container with the planted seeds in a warm, well-lit area, away from direct sunlight. Keep the growing medium moist but not waterlogged.
- Monitor and care for the seedlings: Keep an eye on the seedlings as they emerge, providing sufficient water and gradually increasing their exposure to sunlight. Thin out the weaker seedlings if necessary.
By sowing pelargonium seeds with boiling water, you can increase the likelihood of successful germination and enjoy healthy seedlings in less time. Remember to always follow the specific instructions provided with your pelargonium seeds for the best results.
Preparing the Seeds
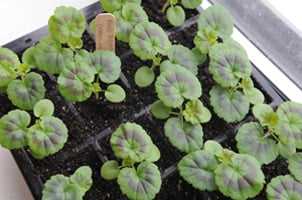
Gather the Supplies
- Germination tray or small pots
- Pelargonium seeds
- Potting soil or seed starting mix
- Watering can or spray bottle
- Clear plastic wrap or germination dome
- Labels or markers
- Pencil or tweezers (optional)
Choose the Method
Before preparing the seeds, decide which method you want to use – with or without boiling water. Each method has its advantages and it’s up to you to choose the one that suits your preferences and circumstances.
Read the Instructions
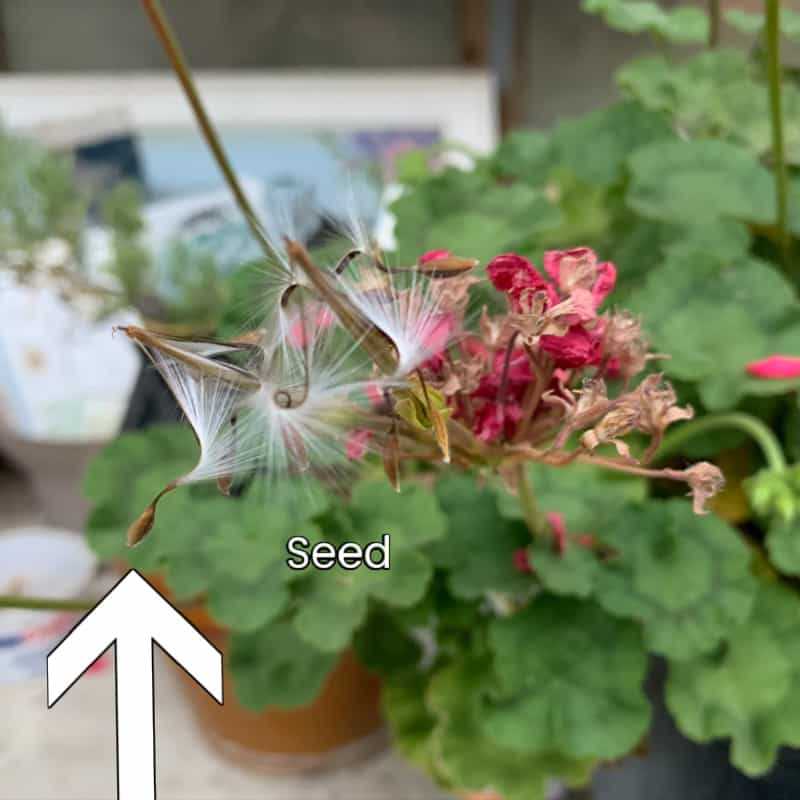
Regardless of the method chosen, it’s important to carefully read and follow the instructions provided with the pelargonium seeds. Different varieties may have specific requirements for successful germination.
Prepare the Germination Tray or Pots
If using a germination tray, fill each cell with potting soil or seed starting mix, leaving about ¼ inch (0.6 cm) of space below the rim. If using small pots, fill them with the same mixture.
Moisten the Soil
Before sowing the seeds, moisten the soil gently with water. This will help create the right conditions for germination.
Sow the Seeds
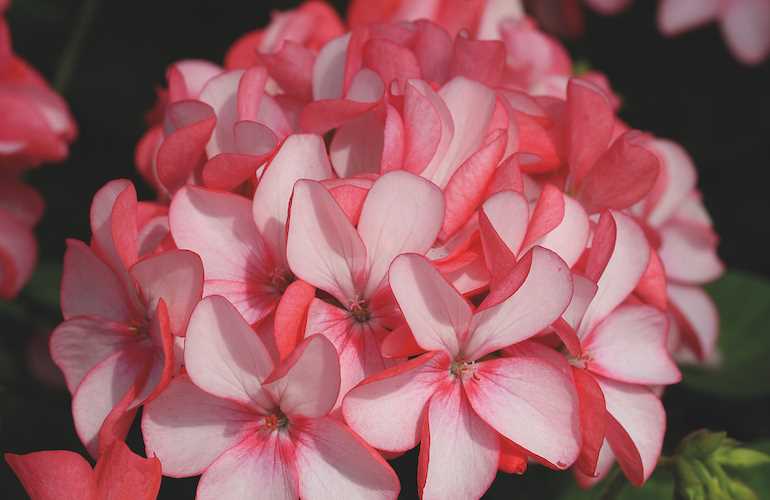
Using your fingers, tweezers, or a pencil, sow the pelargonium seeds on the surface of the soil, spacing them out evenly. The seeds are usually small, so be careful not to sow them too densely.
Cover the Seeds
If using the boiling water method, skip this step and proceed to the next section. Otherwise, lightly sprinkle a thin layer of soil or vermiculite over the pelargonium seeds, just enough to cover them. Press gently to ensure good soil contact.
Label and Cover
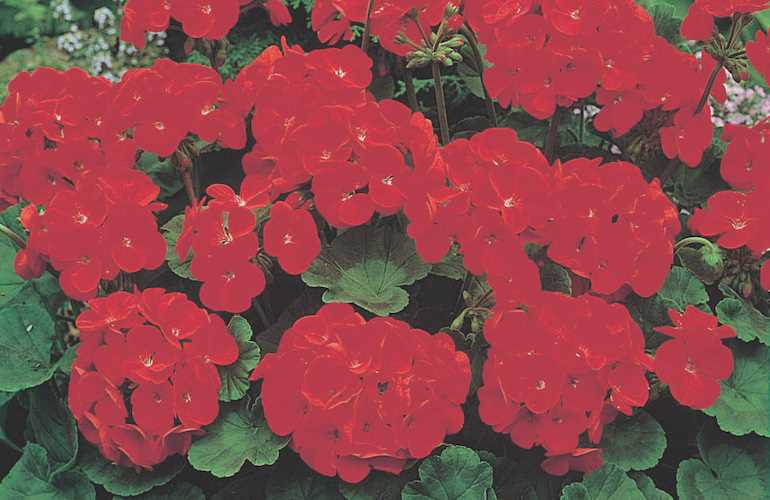
Place labels or markers in the germination tray or pots to identify the pelargonium variety. Cover the tray or pots with clear plastic wrap or a germination dome to create a mini greenhouse effect.
Sowing Process
When sowing pelargonium seeds, there are two methods you can use: one with boiling water and one without. Both methods have their own advantages and disadvantages, so choose the one that works best for you.
Sowing With Boiling Water
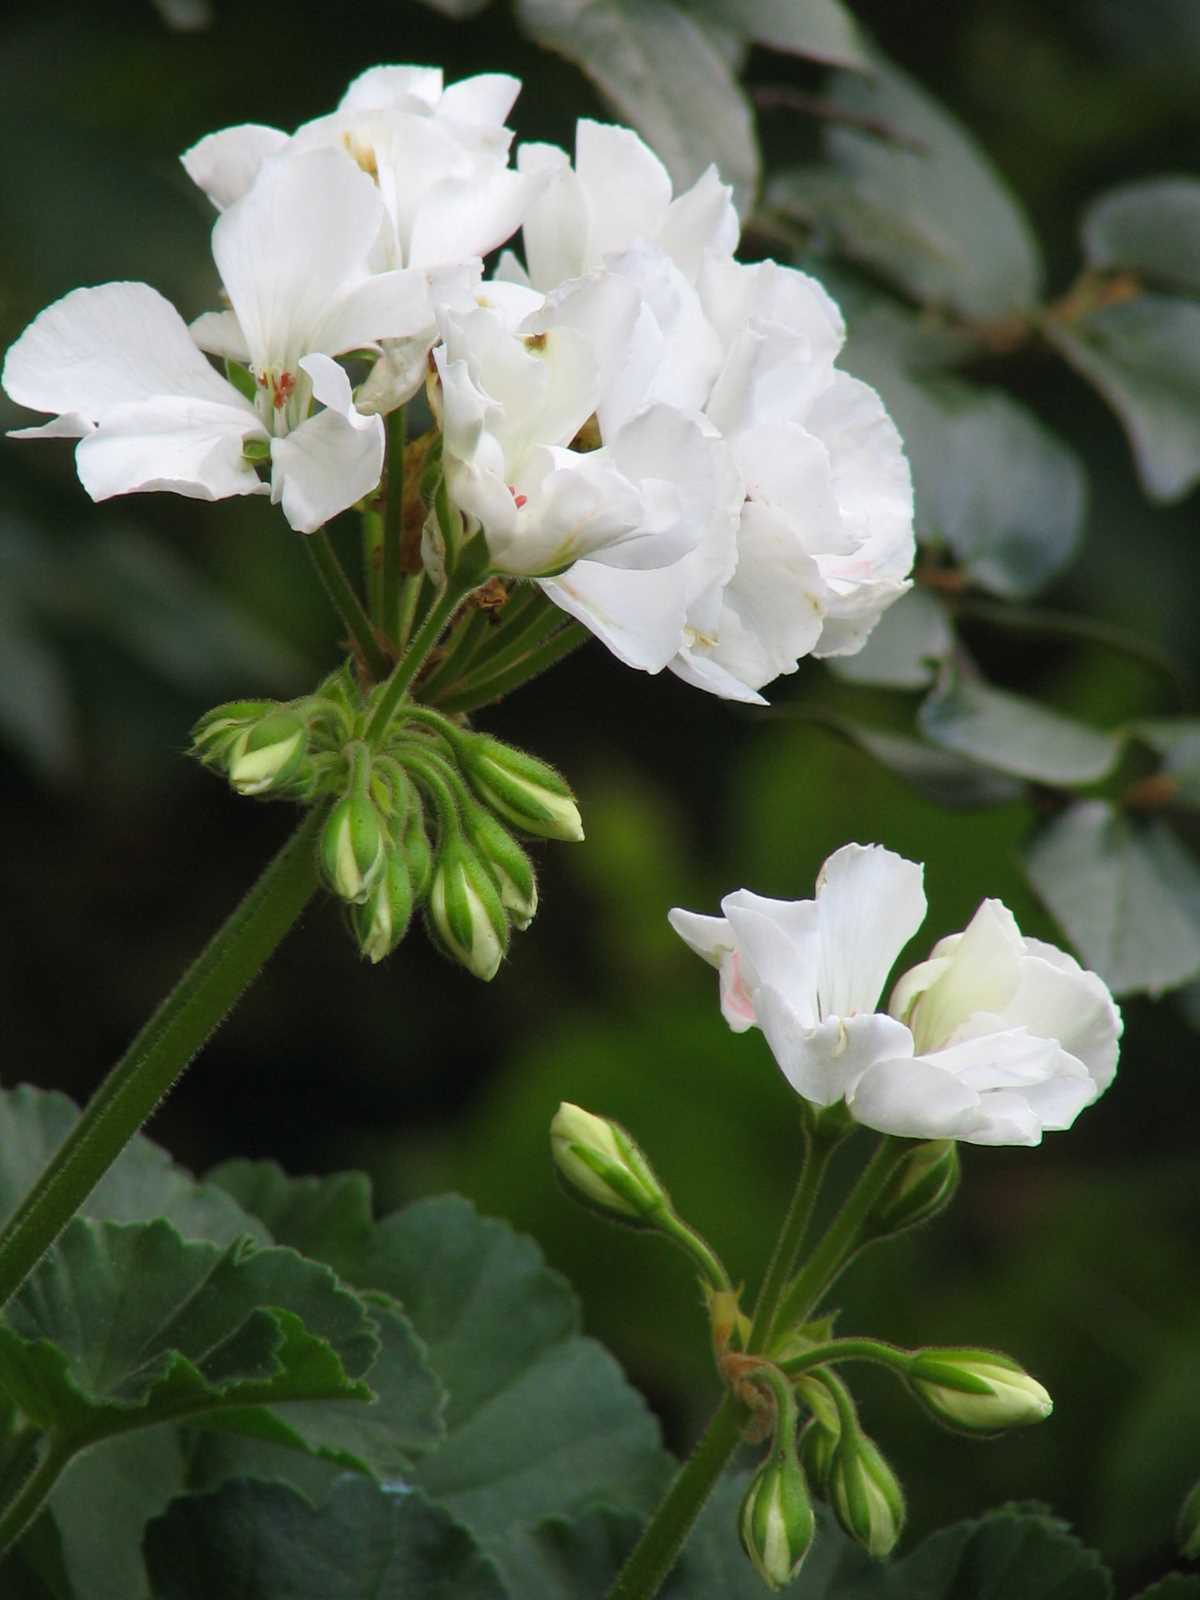
If you choose to use boiling water when sowing pelargonium seeds, here is the step-by-step process:
- Boil a pot of water and let it cool slightly.
- Prepare a seed tray or pots with a suitable potting mix.
- Place the pelargonium seeds on the surface of the potting mix.
- Carefully pour the boiling water over the seeds, covering them completely.
- Cover the tray or pots with a plastic wrap or a clear lid to create a greenhouse effect.
- Place the tray or pots in a warm location with indirect sunlight.
- Maintain the moisture in the potting mix by misting it regularly.
- Wait for the seeds to germinate, which usually takes around 2-4 weeks.
- Once the seedlings have grown strong enough, transplant them into individual pots.
Sowing Without Boiling Water
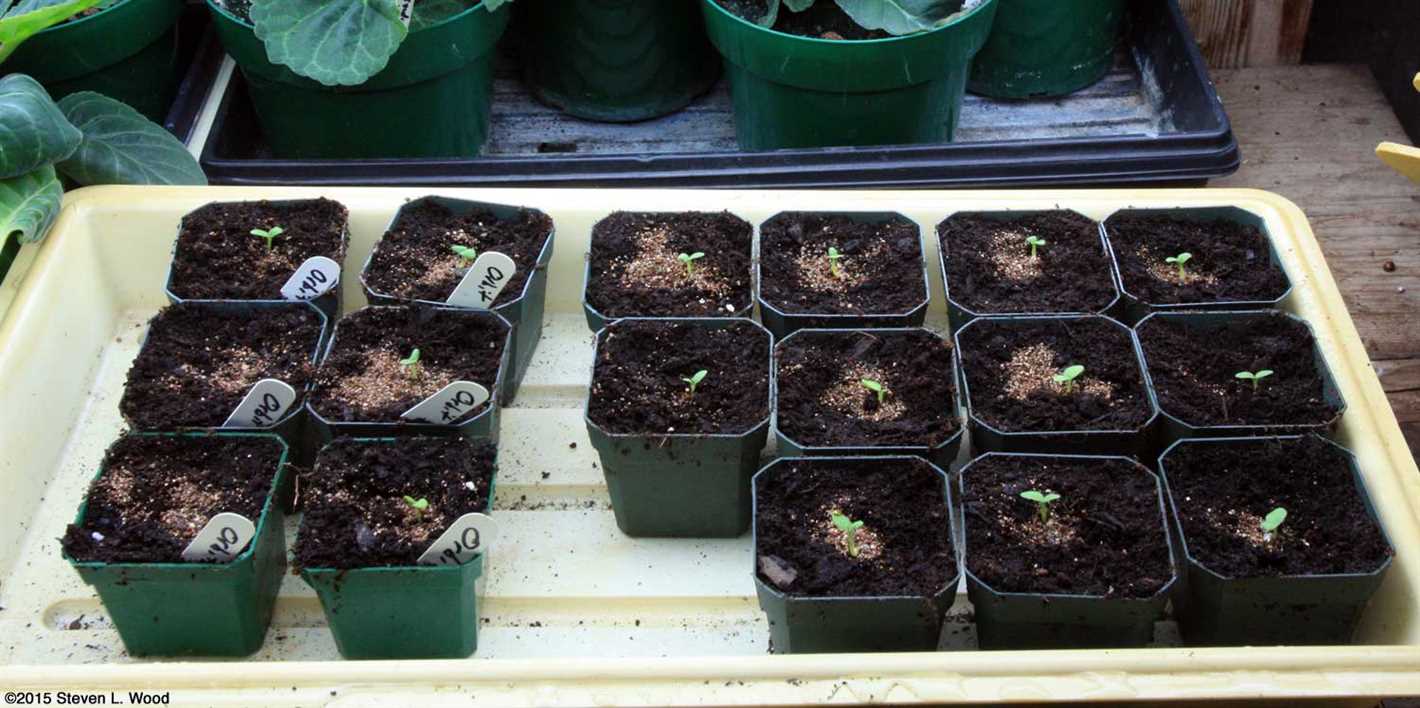
If you prefer not to use boiling water, here is an alternative process:
- Prepare a seed tray or pots with a suitable potting mix.
- Place the pelargonium seeds on the surface of the potting mix.
- Lightly cover the seeds with a thin layer of potting mix.
- Water the potting mix gently to keep it moist, but not saturated.
- Cover the tray or pots with a plastic wrap or a clear lid to create a greenhouse effect.
- Place the tray or pots in a warm location with indirect sunlight.
- Maintain the moisture in the potting mix by misting it regularly.
- Wait for the seeds to germinate, which usually takes around 2-4 weeks.
- Once the seedlings have grown strong enough, transplant them into individual pots.
Regardless of the method you choose, it is important to provide the right conditions for germination and growth. With proper care and attention, you can successfully sow pelargonium seeds and enjoy beautiful blooms in your garden.
Sowing Pelargonium Seeds Without Boiling Water
There is an alternative method for sowing pelargonium seeds that does not involve using boiling water. This method is suitable for gardeners who prefer a simpler approach. Here is how you can sow pelargonium seeds without boiling water:
- Prepare the soil: Start by preparing a well-draining soil mixture. You can use a commercial potting mix or create your own by mixing equal parts of peat moss, perlite, and vermiculite.
- Choose a container: Select a small container with drainage holes at the bottom. This will help prevent waterlogging and promote healthy root growth.
- Sow the seeds: Fill the container with the prepared soil mixture and level the surface. Place the pelargonium seeds on top of the soil, spacing them evenly. Avoid overcrowding to allow each seedling enough space to grow.
- Cover the seeds: Sprinkle a thin layer of soil over the seeds to cover them. Gently press down the soil to ensure good seed-to-soil contact.
- Water the seeds: Use a fine mist sprayer or a watering can with a gentle showering nozzle to water the seeds. Ensure that the soil remains moist but not waterlogged.
- Provide ideal conditions: Place the container in a warm location with indirect sunlight. Maintain a temperature of around 70-75°F (21-24°C) for optimal germination.
- Monitor and care for the seedlings: Keep an eye on the soil moisture and water the seedlings whenever the top inch of the soil feels dry. Thin out the seedlings if they become overcrowded, leaving only the strongest ones.
- Harden off and transplant: After the seedlings have developed a few sets of true leaves and the risk of frost has passed, gradually acclimate them to outdoor conditions. Once hardened off, transplant the seedlings into individual pots or directly into the garden.
Following this method will allow you to successfully sow pelargonium seeds without the use of boiling water. Remember to provide proper care and attention to the seedlings as they grow, and you will soon be rewarded with beautiful pelargonium plants in your garden.
Preparing the Seeds
Before sowing pelargonium seeds, it is important to properly prepare them. This will help increase the chances of successful germination and ensure healthy seedlings.
- Cleaning the seeds: Start by cleaning the pelargonium seeds. Remove any debris, dried flower parts, or other impurities from the seeds. This can be done by gently rubbing the seeds between your fingers or using a fine-mesh sieve.
- Scarifying the seeds: Pelargonium seeds have a hard outer coat that can make it difficult for water to penetrate. To improve germination rates, you can scarify the seeds. This can be done by gently rubbing the seeds with a fine-grit sandpaper or carefully nicking the seed coat with a small knife or nail file. Be cautious not to damage the inner embryo.
- Soaking the seeds: Soaking the pelargonium seeds in water prior to sowing can help soften the seed coat and encourage germination. Place the scarified seeds in a container with warm water and let them soak for 12-24 hours. This step is optional but can be beneficial, especially for seeds with a particularly hard coat.
- Drying the seeds: After soaking, remove the seeds from the water and spread them out on a paper towel or a clean, dry surface to dry. Make sure the seeds are completely dry before sowing, as excess moisture can lead to fungal growth or rot.
By following these steps to prepare the pelargonium seeds, you will be providing them with the best conditions for successful germination. Once the seeds are prepared, you are ready to proceed with sowing them either with or without the use of boiling water, depending on your preferred method.
Sowing Process
There are two methods for sowing pelargonium seeds, with and without boiling water. Let’s take a look at the step-by-step process for each method.
Sowing with Boiling Water:
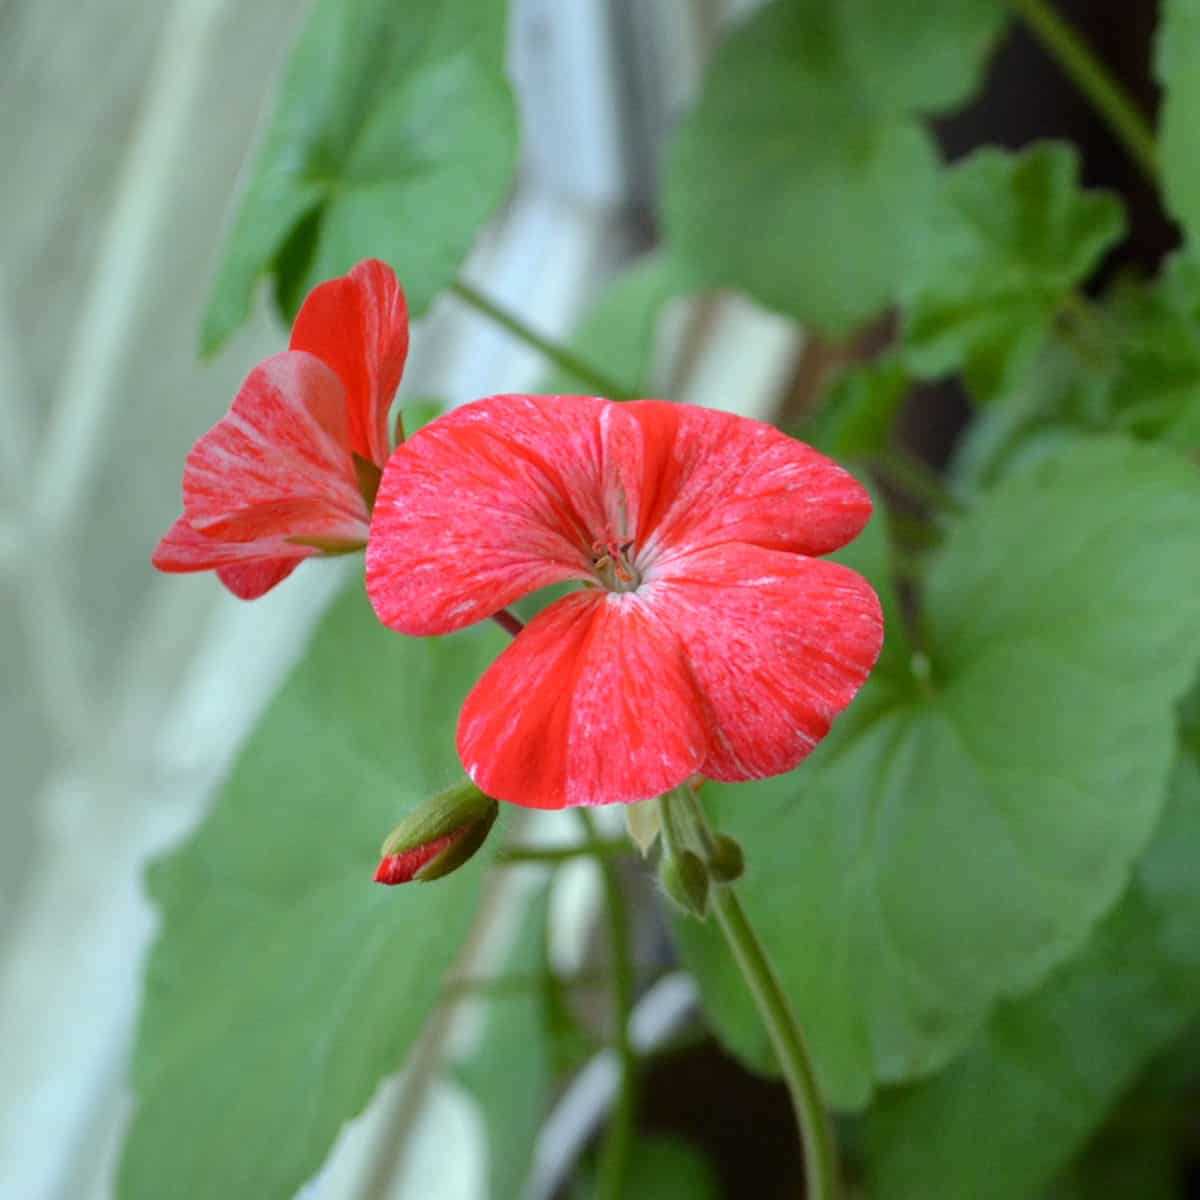
- Step 1: Start by sterilizing your planting pots or seed trays. This will help prevent any diseases or pests from affecting the seeds.
- Step 2: Fill the pots or trays with a well-draining potting mix. Make sure the mix is moist but not overly wet.
- Step 3: Spread the pelargonium seeds evenly over the surface of the soil. Avoid overcrowding to allow the seedlings space to grow.
- Step 4: Fill a container with boiling water and place the pots or trays on top of it. This will create a humid environment that promotes seed germination.
- Step 5: Cover the pots or trays with a clear plastic dome or plastic wrap to retain moisture and heat.
- Step 6: Place the pots or trays in a warm location with indirect sunlight. Maintain a temperature of around 70-75°F (21-24°C).
- Step 7: Check the pots or trays regularly for signs of germination. Once the seedlings have grown a few leaves, remove the plastic cover.
- Step 8: At this point, move the pots or trays to a well-lit area with direct sunlight. Water them regularly, keeping the soil moist but not waterlogged.
- Step 9: When the seedlings have developed a strong root system and several sets of leaves, they can be transplanted into individual pots.
- Step 10: Continue to care for the pelargonium seedlings by providing them with adequate sunlight, water, and nutrients. They should be ready for outdoor planting once all frost dangers have passed.
Sowing without Boiling Water:
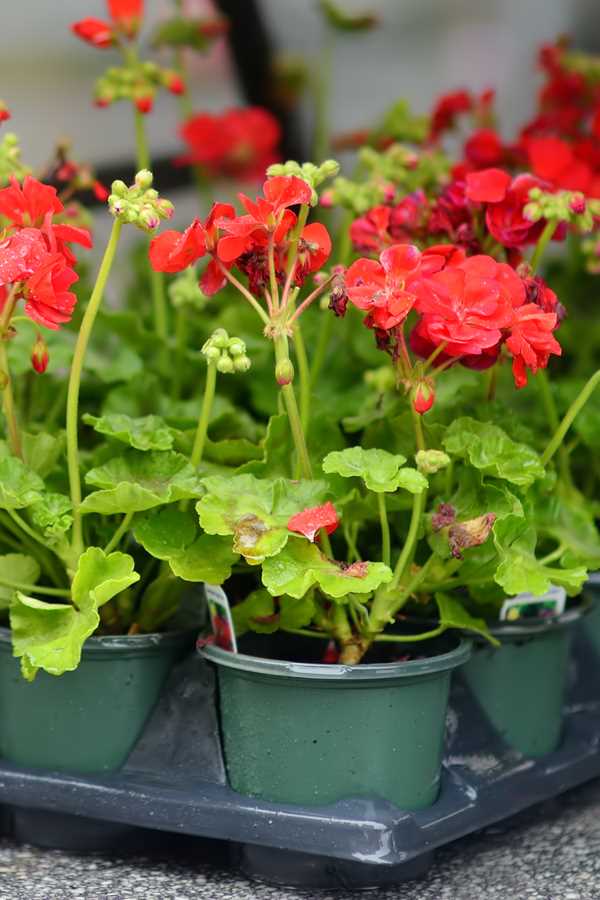
- Step 1: Prepare the planting pots or seed trays by sterilizing them to prevent any diseases or pests from affecting the seeds.
- Step 2: Fill the pots or trays with a well-draining potting mix. Moisten the soil slightly, ensuring it is not too wet.
- Step 3: Spread the pelargonium seeds evenly over the surface of the soil, providing enough space between them for proper growth.
- Step 4: Lightly press the seeds into the soil to ensure good seed-to-soil contact.
- Step 5: Cover the pots or trays with a clear plastic dome or plastic wrap to create a mini greenhouse effect.
- Step 6: Place the pots or trays in a warm location with indirect sunlight. Maintain a temperature of around 70-75°F (21-24°C).
- Step 7: Check the pots or trays regularly for signs of germination. Once the seedlings have grown a few leaves, remove the plastic cover.
- Step 8: Move the pots or trays to a well-lit area with direct sunlight. Water them regularly, keeping the soil moist but not waterlogged.
- Step 9: Once the seedlings have developed a strong root system and several sets of leaves, they can be transplanted into individual pots.
- Step 10: Continue to care for the pelargonium seedlings by providing them with adequate sunlight, water, and nutrients. They should be ready for outdoor planting once all frost dangers have passed.
Q&A:
What is the best way to sow pelargonium seeds?
The best way to sow pelargonium seeds is to soak them in boiling water before planting.
Why is it necessary to soak the pelargonium seeds in boiling water before planting?
Soaking the pelargonium seeds in boiling water helps to soften the seed coat and increase the germination rate.
What happens if I don’t soak the pelargonium seeds in boiling water?
If you don’t soak the pelargonium seeds in boiling water, the germination rate may be lower and it may take longer for the seeds to sprout.
Do I need to boil the water before soaking the pelargonium seeds?
Yes, boiling the water helps to break down the seed coat and improve the germination process.
Can I sow pelargonium seeds without boiling water?
Yes, you can sow pelargonium seeds without boiling water, but the germination rate may be lower and it may take longer for the seeds to sprout.
Are there any other methods for sowing pelargonium seeds?
Yes, besides soaking the seeds in boiling water, you can also scarify the seed coat with sandpaper or use a germination mix to improve germination.
Video:
How to Grow Geraniums from Seed
